Need a bit of help with rear haldex & diff replacement

vfr800

Registered User
Joined
Feb 28, 2012
Messages
762
Reaction score
57
Points
28
Location
Melting Beans
Hi Guys,

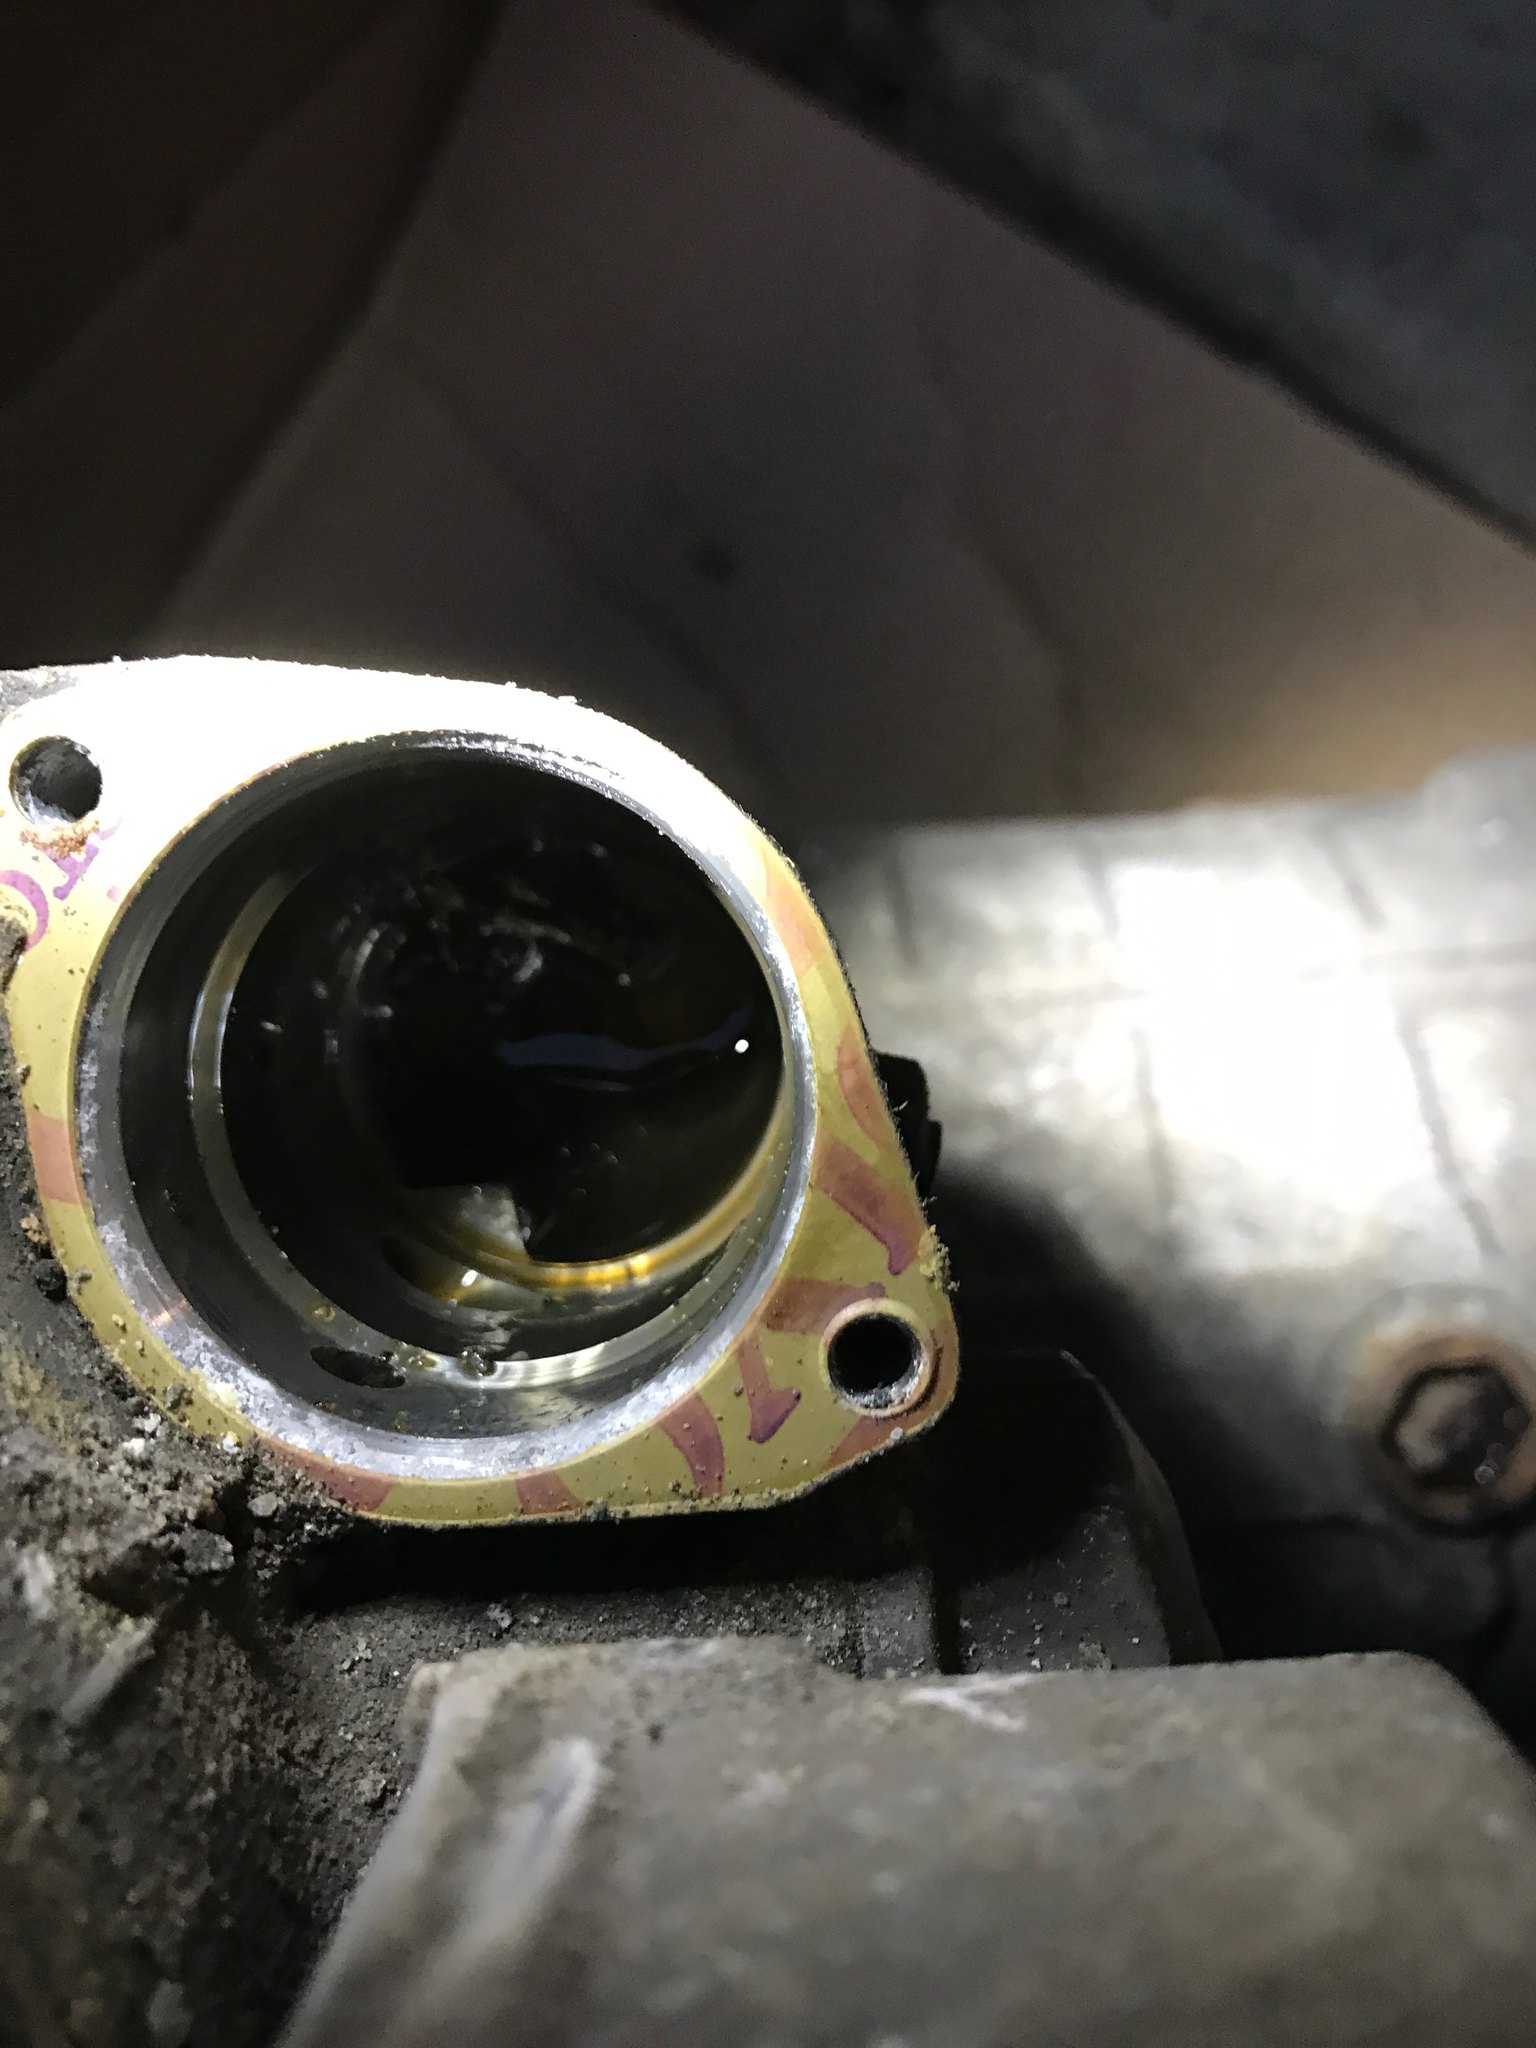
I have finally got around to replacing the rear diff and haldex on the car, it broke last year and I have only just got around to attempting to replace it. I got a spare haldex/rear diff off ebay last year, lets hope its works.

Now I have put the rear of the car on axle stands and removed
  • the wheels
  • undone the tie bars (The OE tie bar inner bushes look completed shagged so I've ordered new power flex poly bushes.)
  • removed the exhasut
  • taken off the heat shield
  • undone the inner drive shaft bolts
However I can only get to two of the propshaft spline bolts, I can't turn the prop shaft by hand. Do I need to raise the front wheel(s) off the ground to turn the prop shaft?

Is there any need to replace the diff mount bushes - they look ok - albeit 15 years old? I see powerflex do replacements, will it be easy enough to remove the old bushes and insert the new poly ones?

I hope this one makes sense: Is it best to undo the two bolts that mount the diff-subframe to the main-subframe? or can I just un do the four bolts that mount the diff to the diff subframe?

Are the bolts on the tie bars stretch bolts? i.e. should I buy new ones or can I just clean them up and apply thread lock?

Thanks, Liam
 
However I can only get to two of the propshaft spline bolts, I can't turn the prop shaft by hand. Do I need to raise the front wheel(s) off the ground to turn the prop shaft?

You should get away with raising just one front wheel but yeah you will need to raise the front to allow the prop to turn

Is there any need to replace the diff mount bushes - they look ok - albeit 15 years old? I see powerflex do replacements, will it be easy enough to remove the old bushes and insert the new poly ones?

No real need tbh... I did look at this myself but the powerflex are quite expensive so decided to leave it...

I hope this one makes sense: Is it best to undo the two bolts that mount the diff-subframe to the main-subframe? or can I just un do the four bolts that mount the diff to the diff subframe?

Problem with undoing the subframe is that they are M12 bolts in M14 holes so lots of chance to put it back in the wrong position and subsequently getting the alignment out by quite a bit.... you should be able to remove the diff with the subframe in place... the funky support bracket is held on by three 6mm allen bolts to the diff but chances are they will be quite corroded... the two splined bolts are ok but the one facing to the front of the car has not much room to get a tool in so will need a short spline to undo...

Are the bolts on the tie bars stretch bolts? i.e. should I buy new ones or can I just clean them up and apply thread lock?

IIRC they are stretch (some torque plus 90 degrees)... you 'can' get away with reusing with locktite maybe once but its up to you... Audi say to replace them...
http://workshop-manuals.com/audi/a3...cles/removing_and_installing_transverse_link/

This may also help...
http://workshop-manuals.com/audi/a3...hicles/exploded_view_of_rear_axle_components/

<tuffty/>
 
  • Like
Reactions: vfr800 and SamHendry
Hi Tufty,

Thanks very much for your help and the links it's very useful and much appreciated!

I have ordered a shed load of new bolts to put it all back together from my local VW dealer.

I've had a look and I there's isn't too much corrosion on the three hex bolts so I shouldn't have any trouble removing the bolts and the funky bracket when I get to it in daylight,

The only problem I have now is how to remove the tie bars, the bottom ones are easy, however when I undid the top bolts I found I can't remove the bolts as they foul on the subframe bush. See the pic below. Do you have a pearl of wisdom for this?

31678799843_22676c4f45_b.jpg


Thanks, Liam
 

Attachments

  • WhatsApp Image 2017-01-21 at 15.59.59.jpeg
    WhatsApp Image 2017-01-21 at 15.59.59.jpeg
    279 KB · Views: 2,572
You have to drop the subframe by undoing those big bolts fouling the top tie bar bolts. Good effort on undoing the bolts mine all needed grinding off

You might be able to just remove the big bolts one at a time and leave everything in situ
 
  • Like
Reactions: vfr800
Thanks Stuart B

I have put some new sub frame bolts in order as they seem to be stretch bolts too. So far All the other bolts have cost £60, plus the poly bushes at £96. All the haldex seals and oils. Oh and the new bigger set of 1/2" spline bits for the tool box.

Ahhhhhhh #moneypit or however the kids say it nowadays. Looking forward to getting this baby back on the road.

Liam
 
  • Like
Reactions: vfr800
Hi

Thanks. Wish I knew about that kit before. Would have made this a cheaper process but the kit looks pretty rare.

For some reason I thought it would be a good idea to work on the car this evening. Fortunately it only got down to -3 deg C. Got all the tie bars out and all the nuts and bolts holding the diff in are now loosened ready for when I have some help.

Need to work out how to remove the old rubber bushes from my tie arms, will probably burn them out as I don't seem to have any thing capable of pressing the old ones out.

Liam
 
the common route is to drill and prise them out.

I bought the above kit because the rose joints and nuts bolts and bolts would be 100+ - then you can sell the tiebars for 20 each afterwards.
 
  • Like
Reactions: vfr800
5 minutes on my brother's forge and job done. Didn't realise burning them out would be so easy. :)

Liam
 
Update ...

Old rear diff is now removed. I started to move the pump and controller over to the replacement diff and noticed my old pump has a paper gasket on the mating surface, on the replacement diff there's only a fragment of the previous gasket left.

I searched ETKA and etka.cc and can't find this paper gasket listed on any diagrams. Do I need it? can I get away without a replacement?

Thanks, Liam

 
Aren't paper gaskets simply made with "paper" and scissors
 
Not been one on any pump I have seen.. they have an o-ring on the pump...

That doesn't look like an OE gasket anyway...

<tuffty/>
 
  • Like
Reactions: vfr800
Thanks Tufty, et al,

I haven't had much time to work on the car, I've put it all together without a paper gasket. If it leaks then I'll go buy some gasket paper and redo it. I have put the pump in with brand new rubber seals. The haldex controller got a brand new metal gasket too.

Just got to go around a torque up all the bolts, then work out how to put the weight on the wheels and rotate all the tie bar nuts 90 deg. :/ thinking of lowering it onto blocks so hopefully I can squeeze under and give it 90 degrees of turn on the bolts.

I've dumped all the old haldex fluid out of the replacement unit and put new oil in. Once i've done a few miles or so I will flush out that fluid and change it, do a few more miles, flush that and then replace the old filter. ( I have got one of those 1L haldex oil bottles so at least three changes of oil in that)

So fingers crossed the car will be drivable this weekend.

Liam
 
  • Like
Reactions: <tuffty/>
the common route is to drill and prise them out.

I bought the above kit because the rose joints and nuts bolts and bolts would be 100+ - then you can sell the tiebars for 20 each afterwards.


i changed mine on the weekend ended up using a rivet gun/impact gun with a punch in the came out straight away as the wouldnt press out.
 
You don't need to fit under the car for the additional 90 degree turn - you can just jack the hub up whilst on axle stands
 
  • Like
Reactions: vfr800
Yippee! Got it all done up and back together and off the axle stands.

Boooo! The battery was almost flat.

Hurrah! Battery charged over night.

Took it for a test spin today. All seemed ok then I turned right at a t junction and get some grinding from the rear, turns out the replacement diff might be faulty too. FML

When I turn tightly I get some graunchy grinding noises from the haldex like its unhappily engaging - only when applying power. Will pull the fuse and see if it stops the noise.

Stupid car :(

Liam
 
Right then ... I have another replacement diff which should be ready to pick up this weekend. At least I know how to change it now, shouldn't take too long at all as none of the bolts are rusted and I'm not redoing the tie arms/bushes this time around.

However ... I scanned with VCDS and cleared some faults from the battery being dead and stuff. Then I ran the car around and got it up to temperature and no faults from the AWD controller came up.

But I'm still getting the crunching noise with the when the fuse is in, when I run without the fuse I get no noises when turning on full lock.

Acceleration is awesome, I'd forgotten how nice it is to have AWD - I have been driving a FWD auto diesel A6 Avant for 9 months. When I was accelerating in a straight line the car sounded and functioned as it should. So with the noise only occuring low speed turns does this mean it's stuck on permanent 4WD? And therefore the crunching I'm hearing is actually the rear wheels scrubbing?

If that's the case then it's probably the controller which is FUBAR? as the pump is supplying enough pressure to push the clutch plates together?

When I have the new diff I might just swap the controller to begin with to see if that resolves the problem.

:sparklingheart: Haldex :heart:

Liam
 
I'm also of the same opinion. I have religiously done the Haldex oil changes at the correct intervals all my car's life and I suffer from the same problem. Not always though (good days and bad days). Without the fuse the problem disappears. I'm keeping an eye out for a spare cheap controller to try swapping to. I get no faults in VCDS either.

I do need to reattach the earth strap properly as that fell off when I breathed near it. I'm not convinced that will solve the problem, but I do need to replace it.
 
Last edited:
The earth strap corrosion is the most popular fix for a dis-functional haldex on this 8L forum! Why would you not expect it to be an issue?

My faulty earth crown on my vw T25 camper van stopped the radiator fan switch, the fan, the indicators and dash lights.
A negative end of an electric current is quite important :)
 
I looked at the earth strap a few years ago and it turned to dust. Bought a much heavier duty one from Halfords and it's still going strong.

I'd like to get hold of a few broken controllers to diagnose them. From the googling I've been doing when the controller fails it's either the stepper motor or the teeth on the pinion that are driven by the stepper motor get stripped. Either way the controller can fail open or closed or somewhere in between. It's nothing to do with the oil changes just pure mechanical failure.

If it's the pinion gear I may layout a 3D model and get a new ones printed. If it's the stepper motor I will try and refurb it.

Hoping the replacement controller I have coming works ok.
 
Makes sense what you're saying because Audi actually offer a refurbishment service. You get a new controller but give them yours in return. Last check it was just shy of £920!
 

Similar threads

Replies
3
Views
1K
Replies
23
Views
5K
Replies
1
Views
789