

Jimmeh
Registered User
Hi all - here's my latest Audi installment that may be of interest.
Audi TT â Major Paint Correction Detail
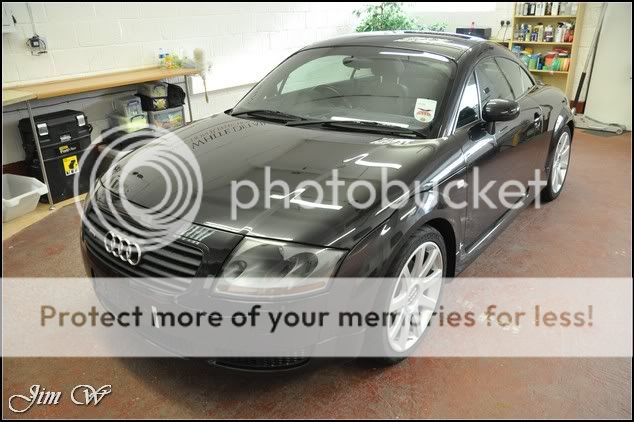
Take an Audi that has clocked 85k miles, been through the hands of 8 previous owners and is 9 years old. Unless itâs been properly cared for in the past, chances are, itâs ready for a bit of TLC!
Over three days my aim was to put as much life back into the paintwork as possible, tidy the engine bay and fully deep cleanse the interior with leather treatments.
Product: AMDetails. AutoSmart. BlackFire. Jeffs Werkstat. LTT. Menzerna and Scholl Concepts.
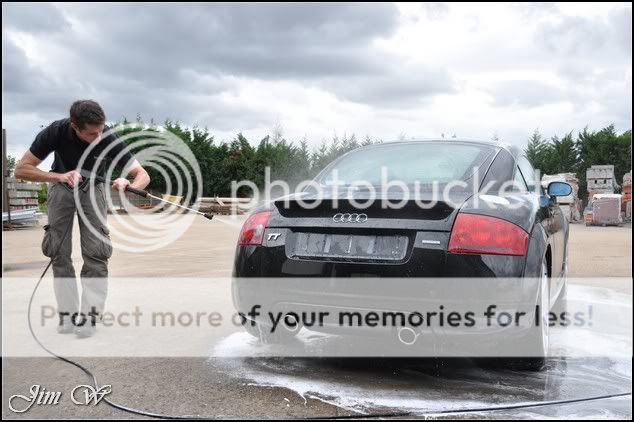
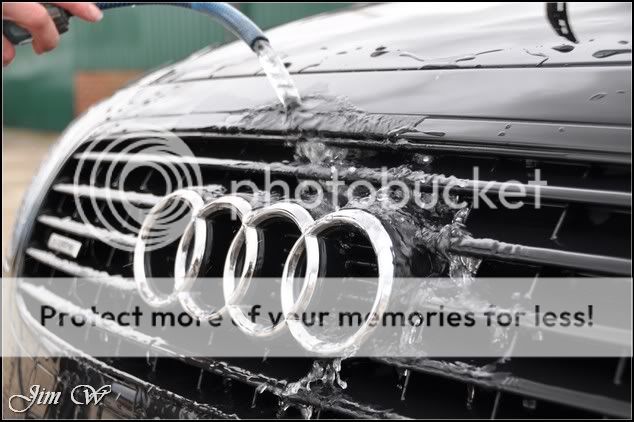
The vehicle was put through its wash stage late on a Sunday evening â âwhy?â Monday, first thing, I had organised a dent repair chap to pull a few of the nasty dings out. No photos unfortunately, but I must say, he did a fantastic job! (Watch this space)
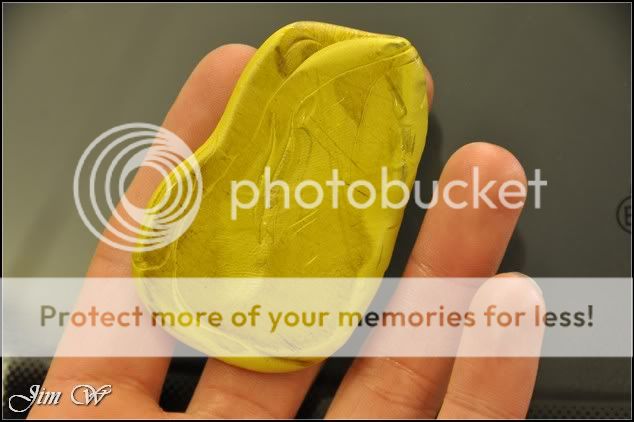
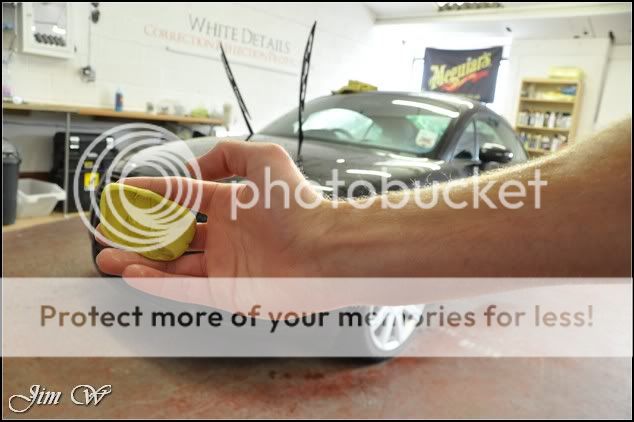
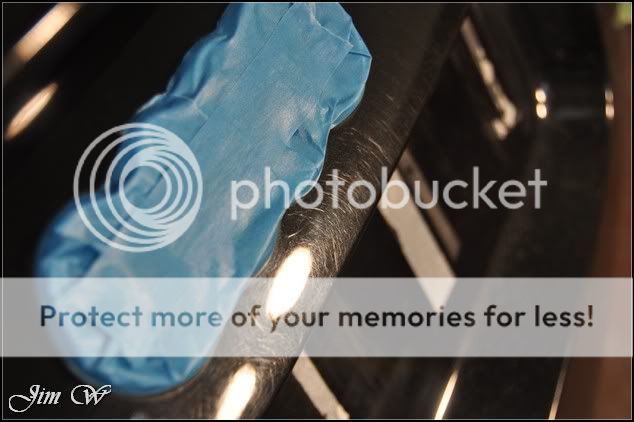
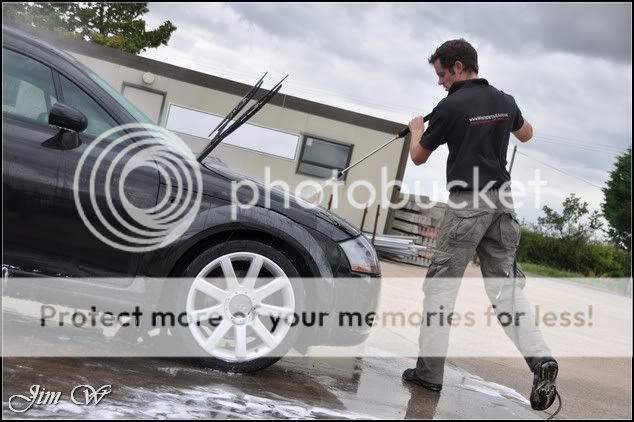
Picking up where Iâd left off, surface contaminants were removed by using a clay bar.

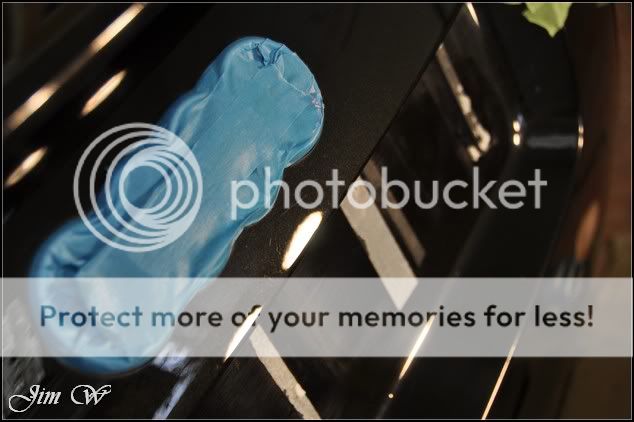
Lots of pick up to be seen:
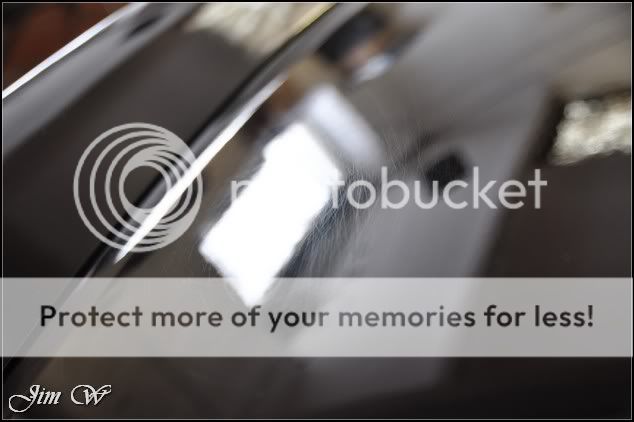
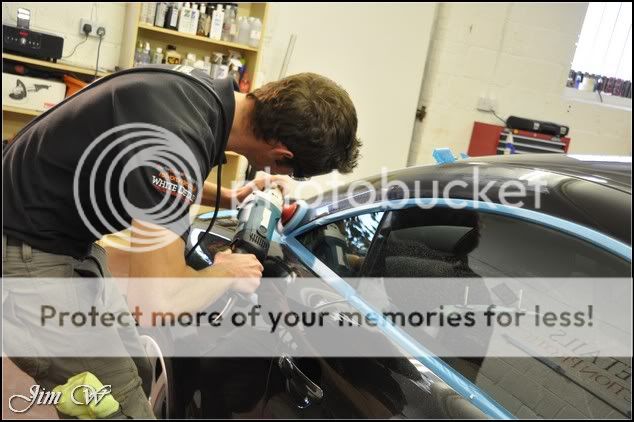
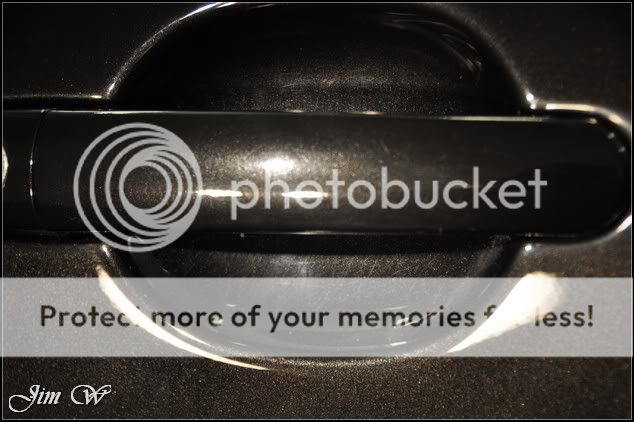
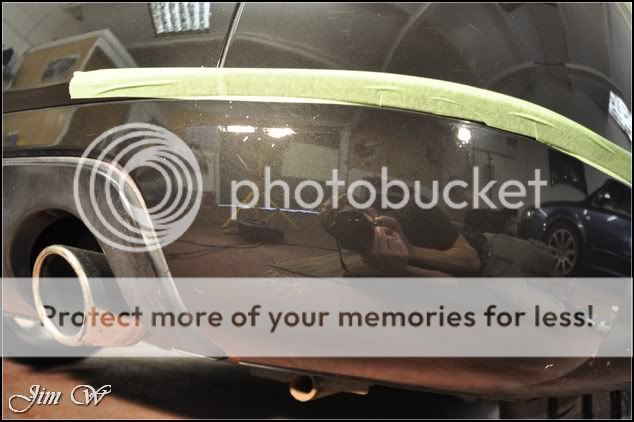
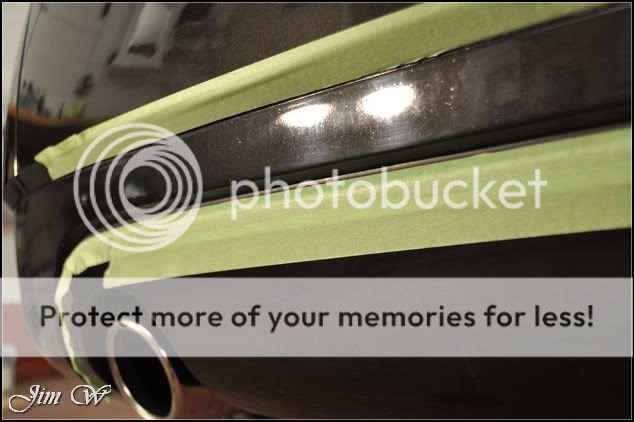
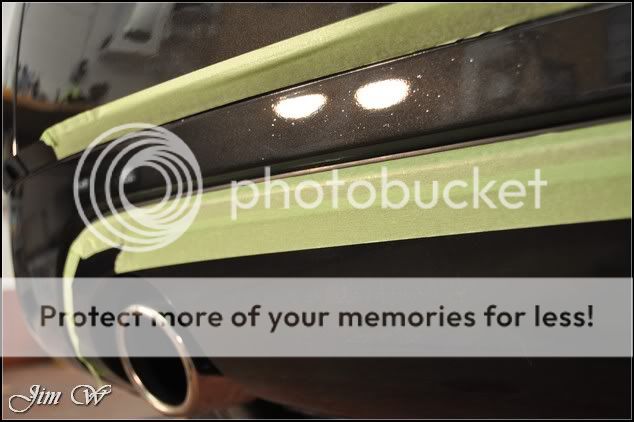
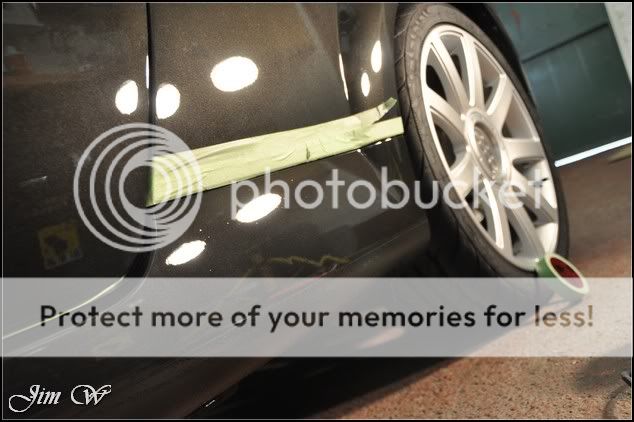
With the car now âcleanâ, it was blown dry to remove excess water from panel gaps, trim, badges etc and then taped up in readiness for some machine polishing.
It was noted that A) the wheels had been badly refurbed (blown over the front-facing but lots of overspray and dirt stuck in the inner rim), B) the front bumper had been repainted and C) the rear bumper had been repainted (badly)
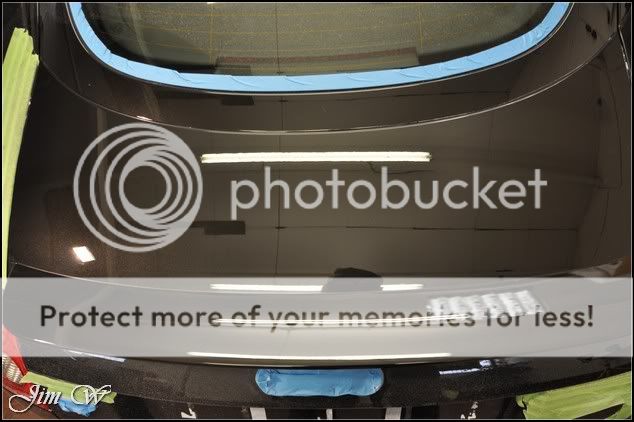
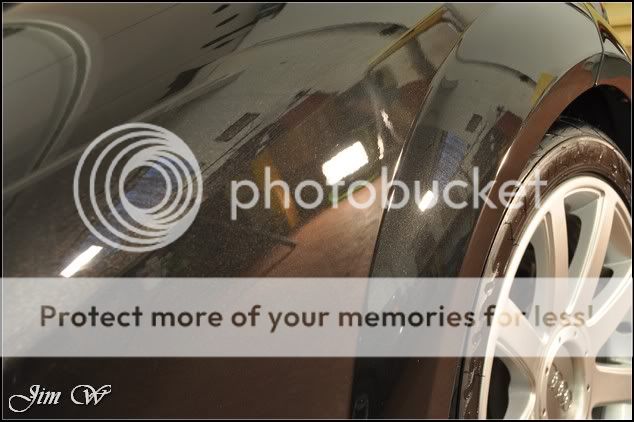
Inspection shots.
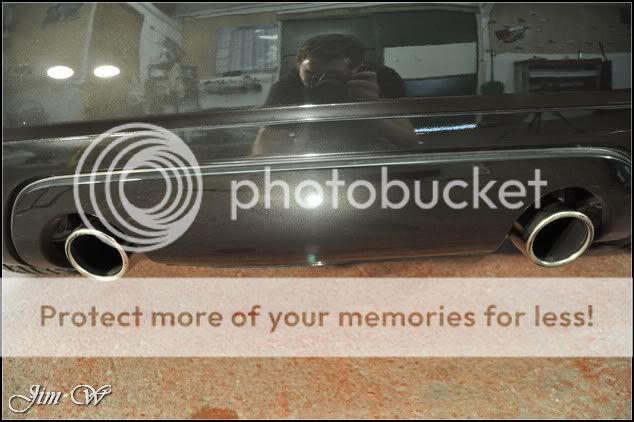
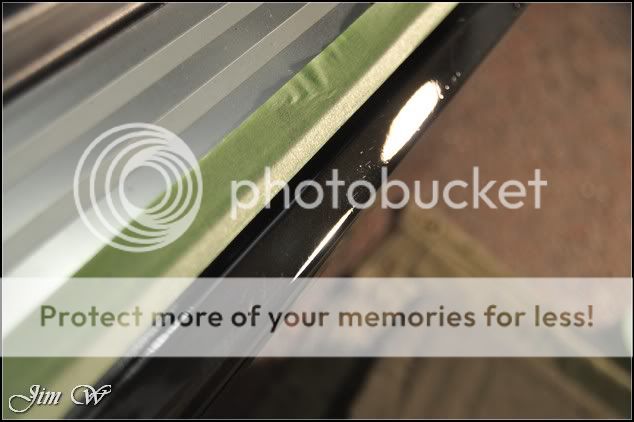
Resprayed areas:
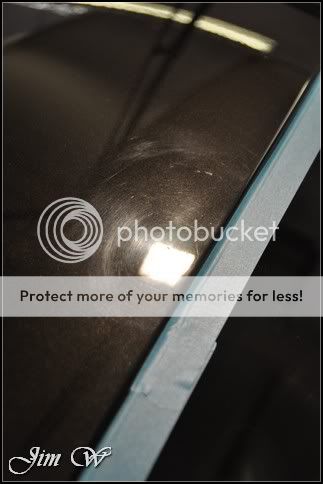
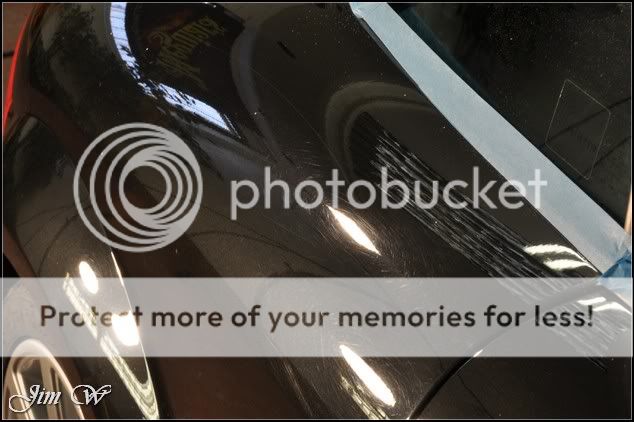
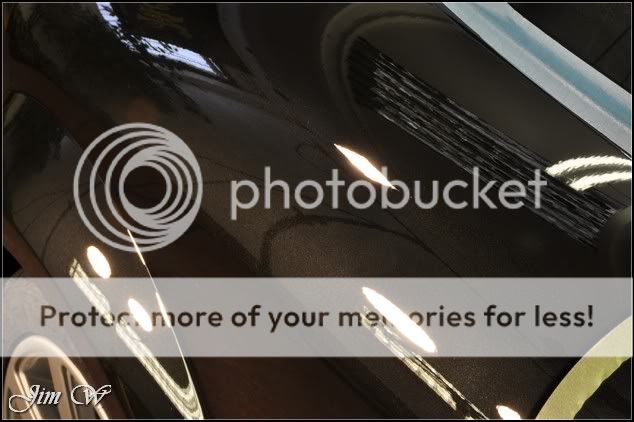
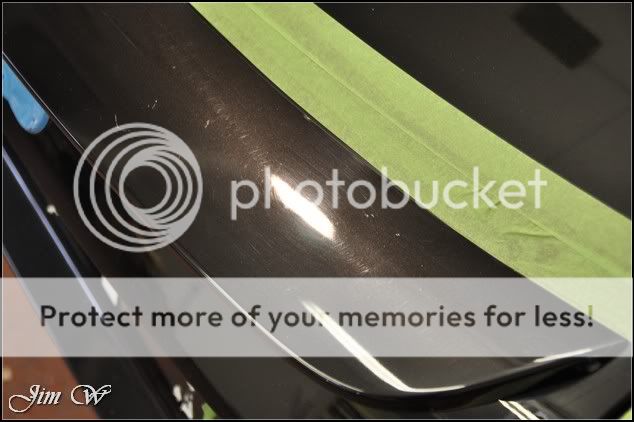
Dull and hazy:

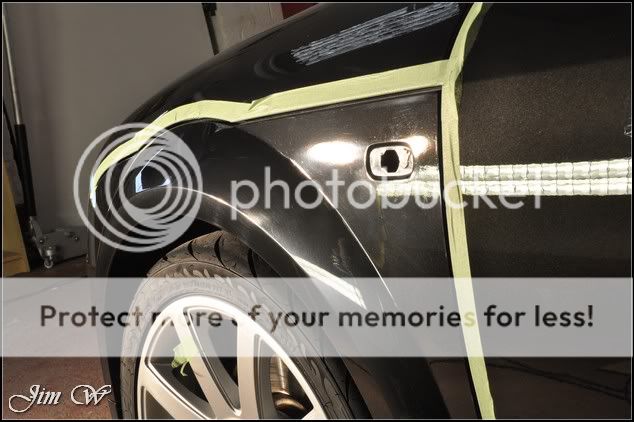
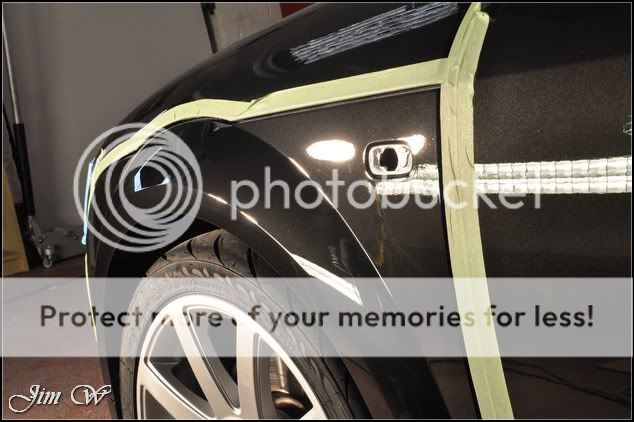
Wings covered in overspray and buffertrails:

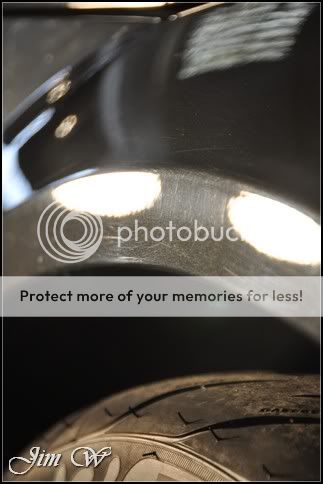
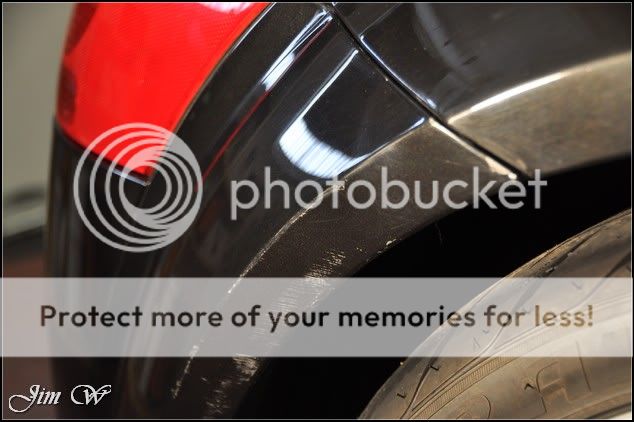
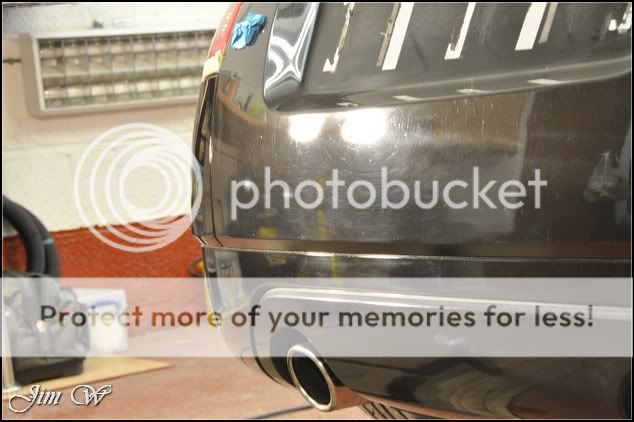
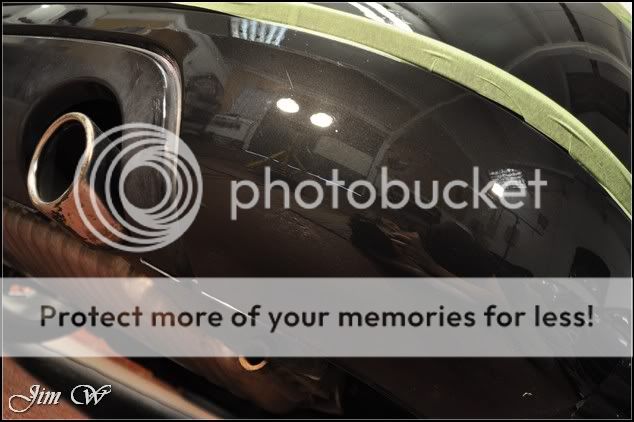
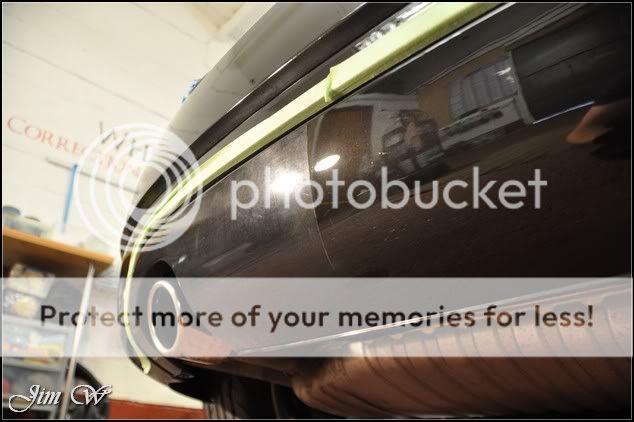
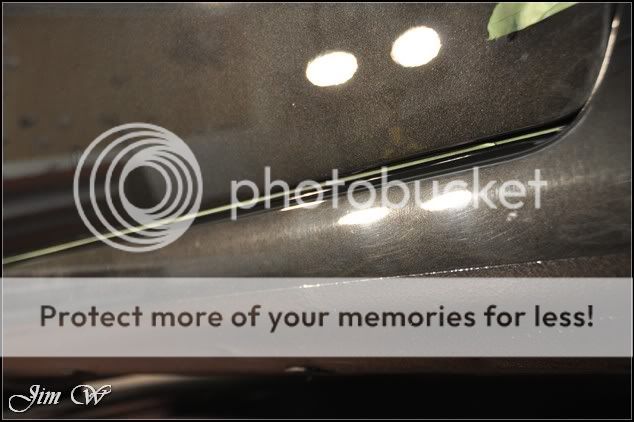
Rear bumper, an area of caution this due to the poor spray work:

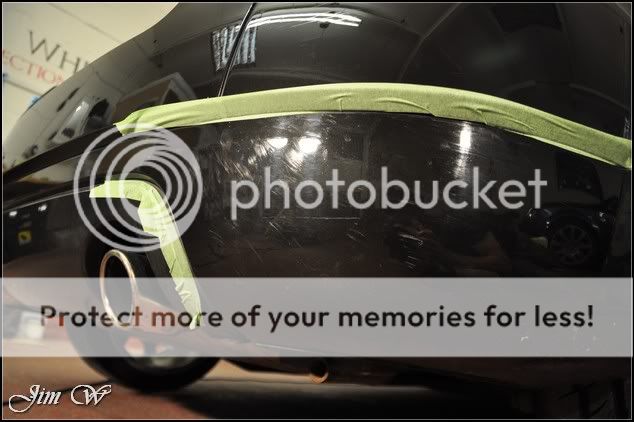
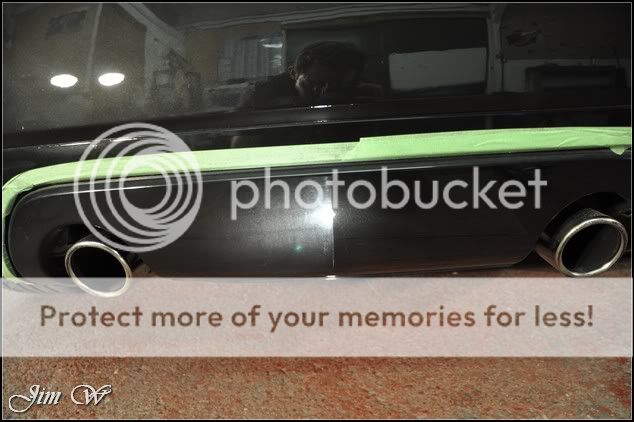
Lower down on rear bumper, there was NO life at all!

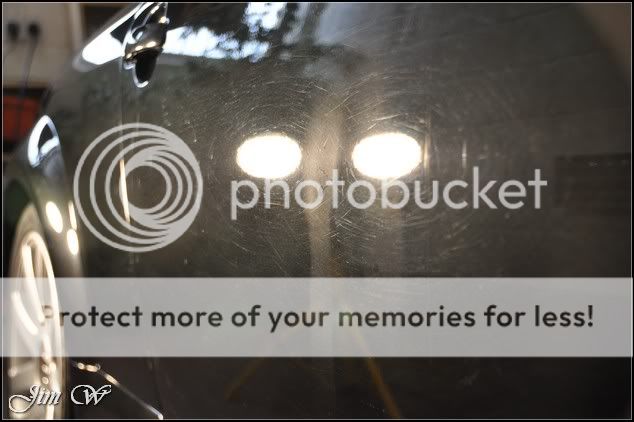
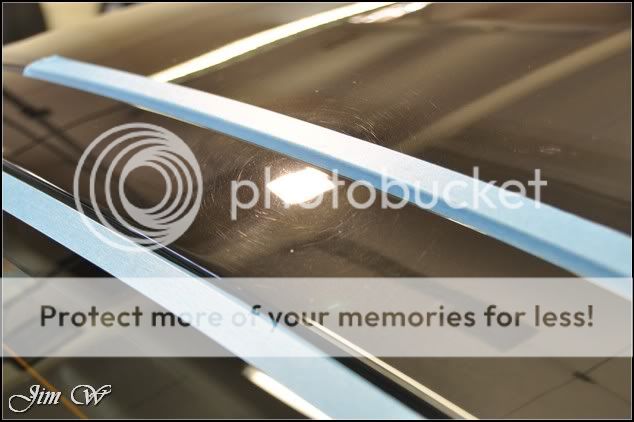
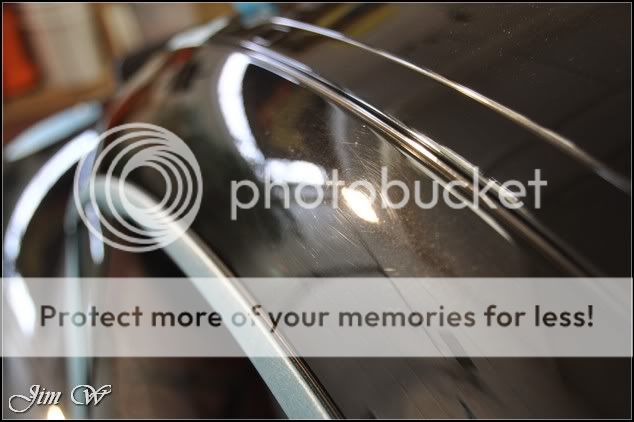
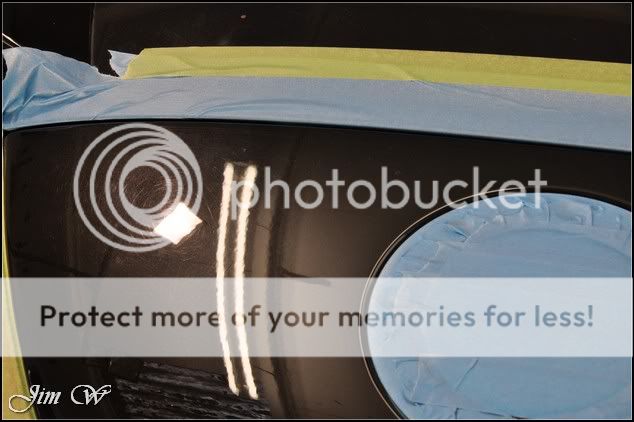
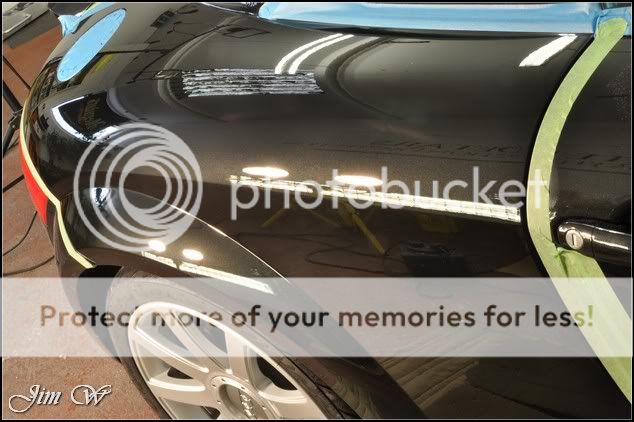
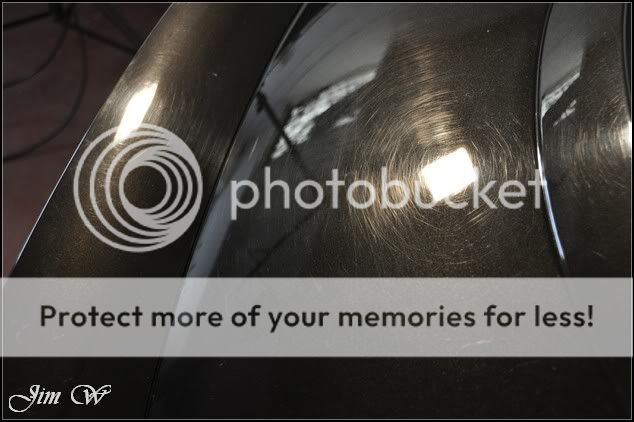
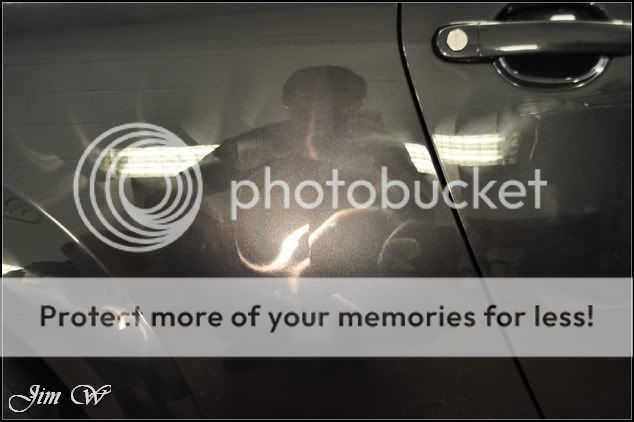
Other than that, general swirling and bad scratches!


Even with the nature light from the window, you can see how bad some areas were:

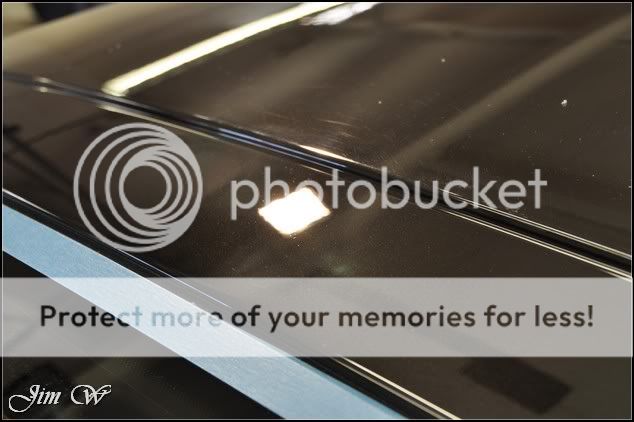
More nasties:


Overspray:

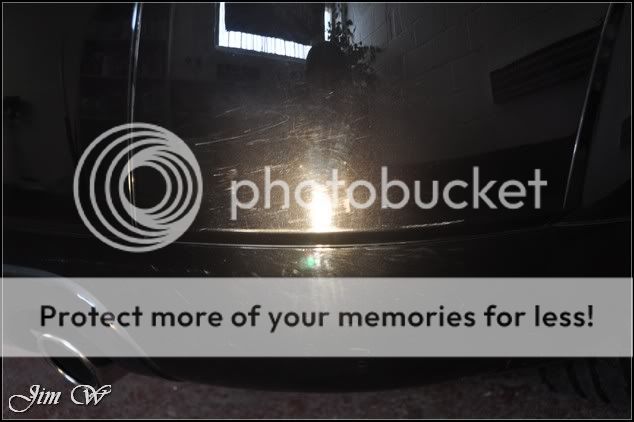
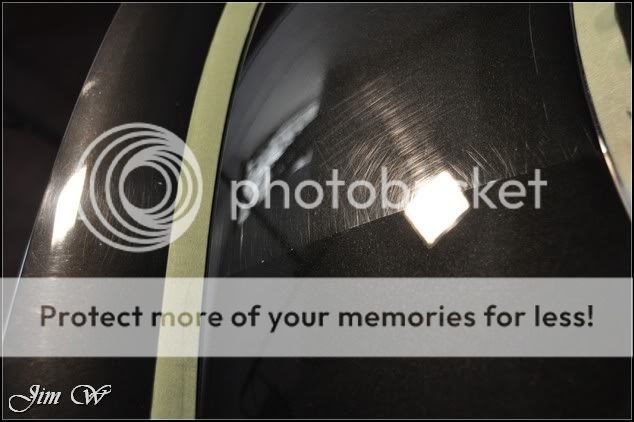
More buffertrails from previous machine polishing:

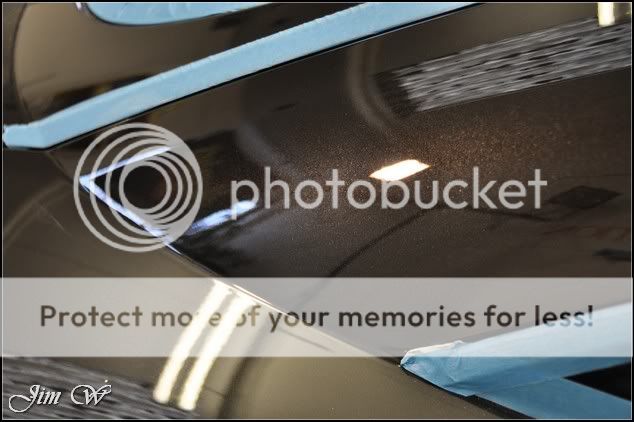
A few areas that really were quite tatty:
And a bird etching thrown in to complete the set:

Good. OK. Plenty to get stuck into then!!
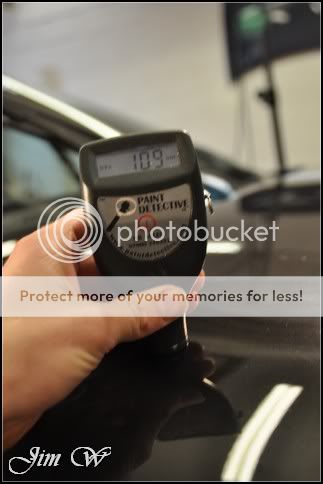
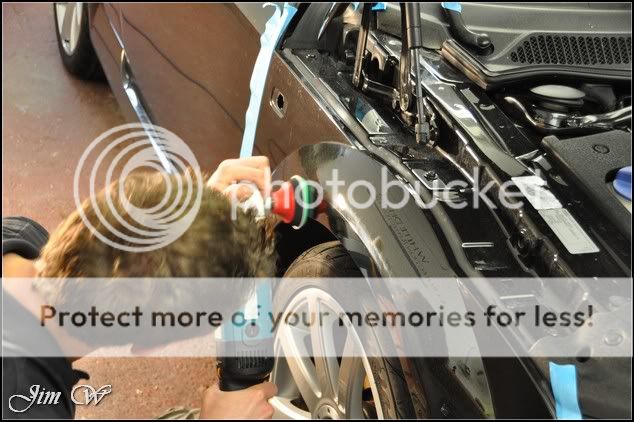
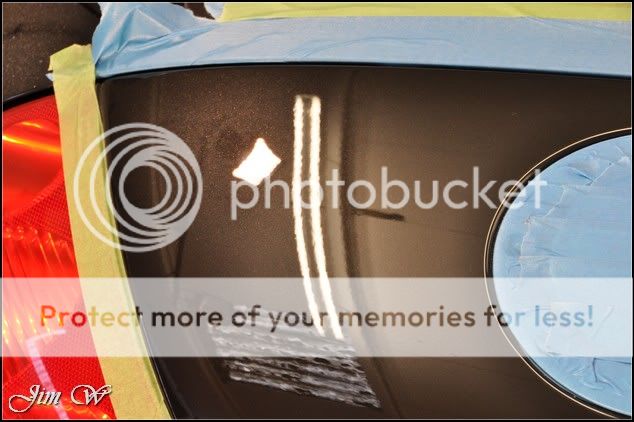
Paint thickness readings on the bonnet: (enough to play with)


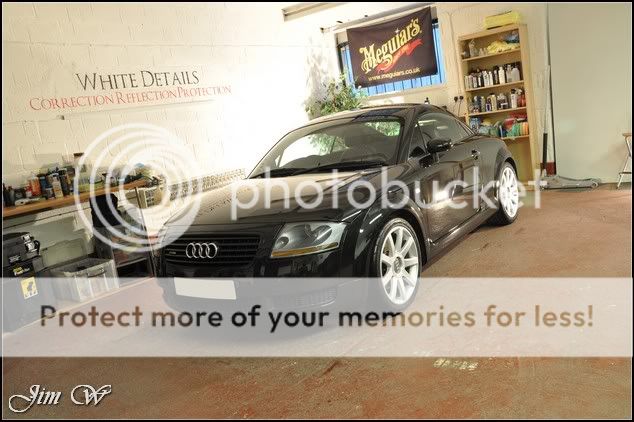
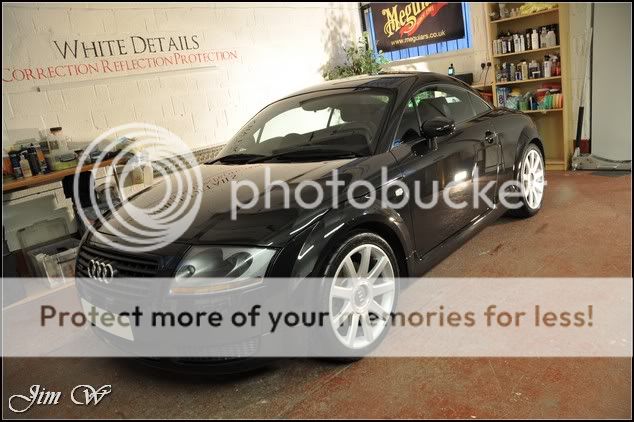
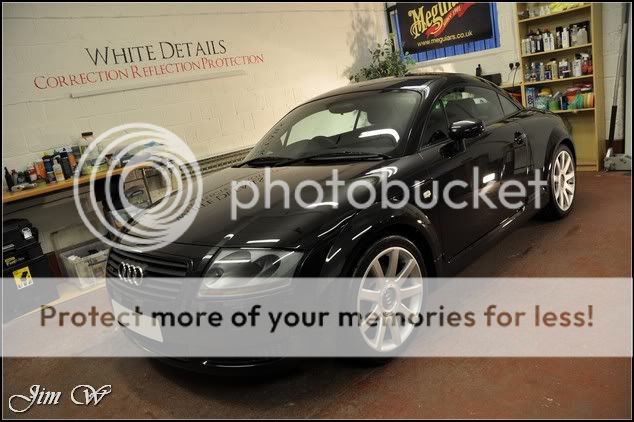
Audi TT â Major Paint Correction Detail
Take an Audi that has clocked 85k miles, been through the hands of 8 previous owners and is 9 years old. Unless itâs been properly cared for in the past, chances are, itâs ready for a bit of TLC!
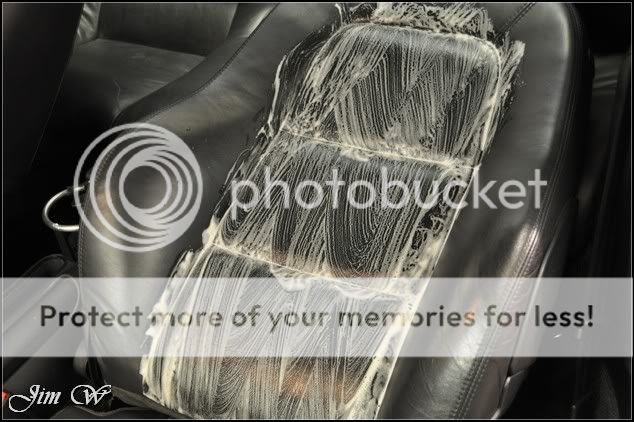
Over three days my aim was to put as much life back into the paintwork as possible, tidy the engine bay and fully deep cleanse the interior with leather treatments.
Product: AMDetails. AutoSmart. BlackFire. Jeffs Werkstat. LTT. Menzerna and Scholl Concepts.
The vehicle was put through its wash stage late on a Sunday evening â âwhy?â Monday, first thing, I had organised a dent repair chap to pull a few of the nasty dings out. No photos unfortunately, but I must say, he did a fantastic job! (Watch this space)
Picking up where Iâd left off, surface contaminants were removed by using a clay bar.
Lots of pick up to be seen:
With the car now âcleanâ, it was blown dry to remove excess water from panel gaps, trim, badges etc and then taped up in readiness for some machine polishing.
It was noted that A) the wheels had been badly refurbed (blown over the front-facing but lots of overspray and dirt stuck in the inner rim), B) the front bumper had been repainted and C) the rear bumper had been repainted (badly)
Inspection shots.
Resprayed areas:
Dull and hazy:
Wings covered in overspray and buffertrails:
Rear bumper, an area of caution this due to the poor spray work:
Lower down on rear bumper, there was NO life at all!
Other than that, general swirling and bad scratches!
Even with the nature light from the window, you can see how bad some areas were:
More nasties:
Overspray:
More buffertrails from previous machine polishing:
A few areas that really were quite tatty:
And a bird etching thrown in to complete the set:
Good. OK. Plenty to get stuck into then!!
Paint thickness readings on the bonnet: (enough to play with)


 how much does a detailing like that cost if you dont mind me asking?


