

Hi all
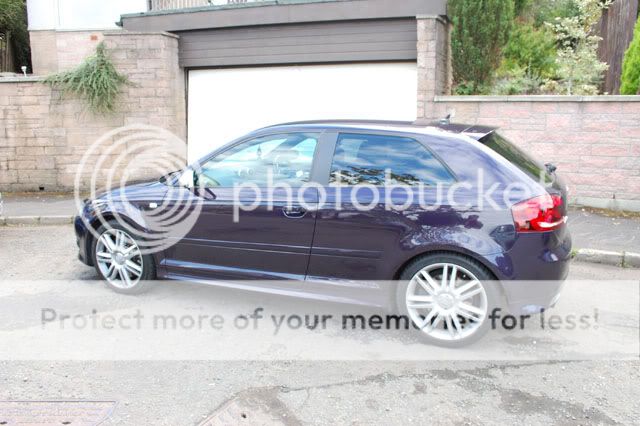
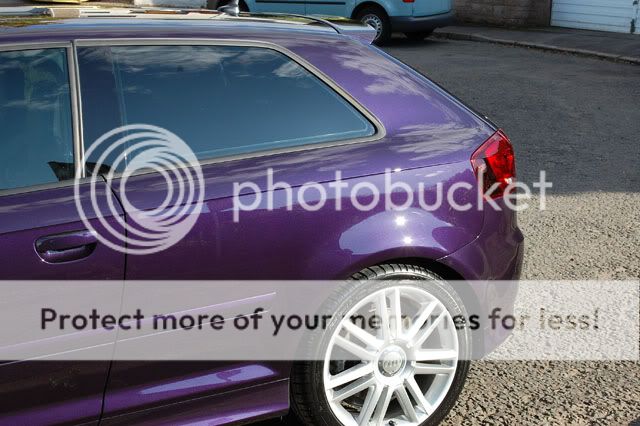
I got around getting my car finally detailed as it was suggested to me by forum members years ago and I am over the moon with the finish!! It's made me realise how much a detail can lift up and car's image, before my car was looking dull and dark but not you can see the pearlescent flakes in the paint and now can appreciate more what a great colour merlin purple really is.
Car was detailed by 'Incredible Detail' in Glasgow and its their reputation and detailing with high end cars like Enzo, SL65, Techart Carrera Turbo is what go be drawn and I highly recommend them to anyone in Glasgow or Central Scotland since they're not many top end detailer in our region. The website is as follows if you want to have a gander:
Incredible Detail | Detailing Glasgow | Detailing Edinburgh | Detailing Scotland | incredibledetail.co.uk
On with the detail, well the detailer has written his experience on detailingworld.co.uk so Im going to just copy his write up (permission was asked) so here goes:
'This car was a booked in for a paintwork correction, engine and interior detail. It had the usual swirls and rds and a couple of areas of deeper scratches which needed to be sorted out.
The car was tuned by MTM and running approx 350bhp. I like the subtlety of these cars and it's quite a sleeper.
I prefer it when the sun is out for before and after pictures as it gives a true representation of what the car really looks like. Luckily it was...


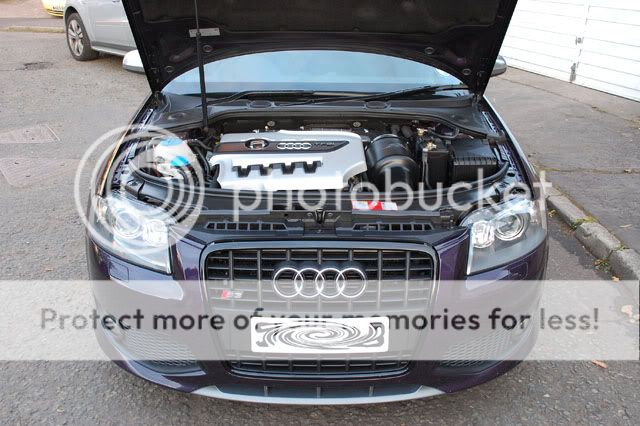
Car and engine bay were washed in the usual way.
The paint on this car was the hardest I'd ever came across. Audis are known for being fairly hard but not to this extent. This car was a special order colour so I suspect it may have had something to do with that.
3 Stage Correction carried out using FCP+ on a hard compouding pad, IP on a light compouding pad & FF on a polishing pad. Each panel was wiped down with IPA between stages and inspected with the 3M Sun gun to ensure proper correction and a trail free finish.
I intended to take a lot more pictures but never got a chance to as the correction was taking forever so only a few before and afters.
Wing
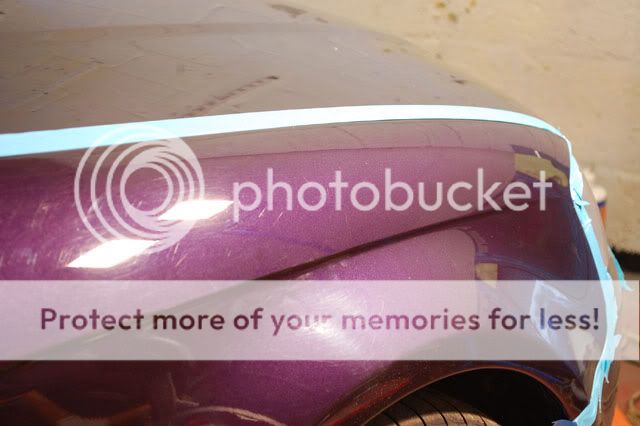
Rear Quarter - Quite badly scuffed.

Here's an example of what was left in.

Excuse my finger mark. This was used so I could see where the mark was whilst looking through the camera and manually focus on it. You can just see the mark where the strip light is.
I forgot to take before pictures of this mark but it was quite an obvious star shape. Almost as if someone had rubbed a bird's dropping into the paintwork. There was also a couple of areas on the car where bird's dropping had badly etched the clear.
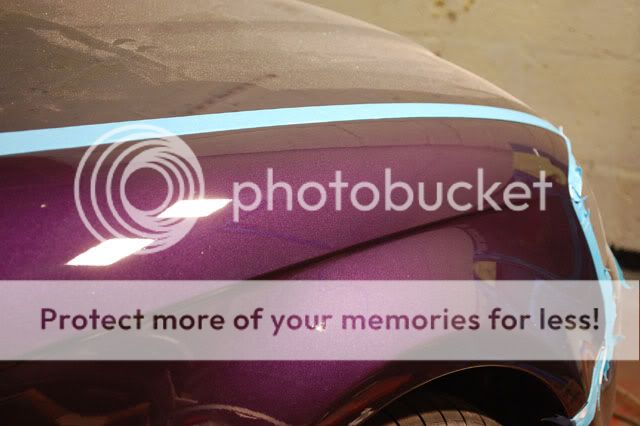
The pictured mark was very deep I manged to take most of it out. The remaining part you can see couldn't be seen in daylight or direct sun so I was happy with that and didn't feel that I had to remove it completely.
Whilst I was detailing the car audi fitted new gloss black panels.
This panel is brand new and looked really badly swirled.

as is this one:

As you can see one is badly swirled and the other is (almost) perfect. One came wrapped in a cloth and the other came with the normal white wrapping you get on new cars. I suspect the one that was in the cloth had been wipped down to remove dust before wrapping it up - or even the cloth itself damaged it.
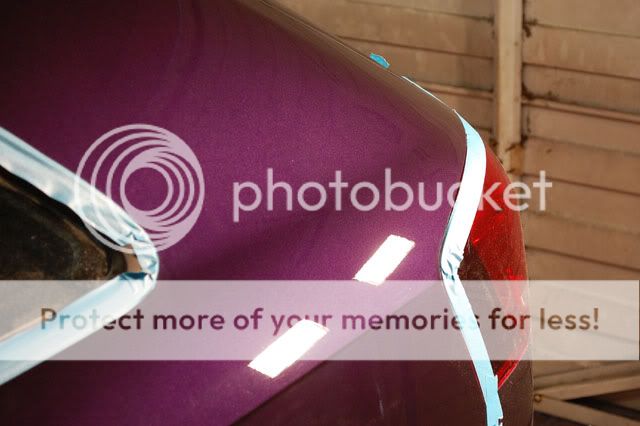
This was corrected using Final Finish on a Blue 3M spot pad.

The car was then wax with Z Vintage and then all the usual details taken care of including cleaning and feeding the leather. Tthe exhaust had a cermaic coating hence why it looks black in the final pictures.
After looking at the final pictures on my computer it appears that I never had the camera on the proper setting so the pictures are of quite low quality compared to the usual.
Tyres were buffed off to prevent sling and give a matt look after the final pictures were taken as I wanted to get the pictures before the sun went behind another big cloud.
They pictures didn't come out too bad though.

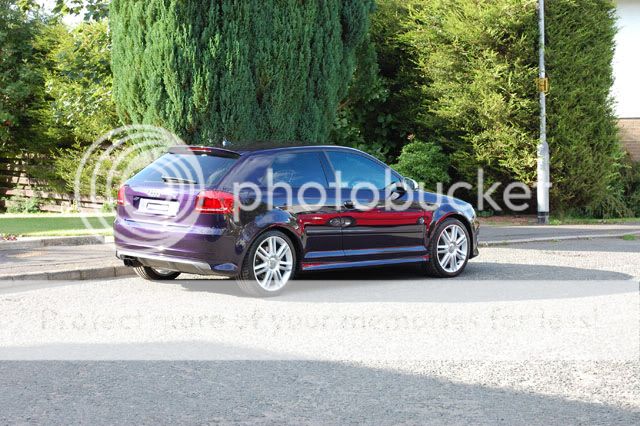

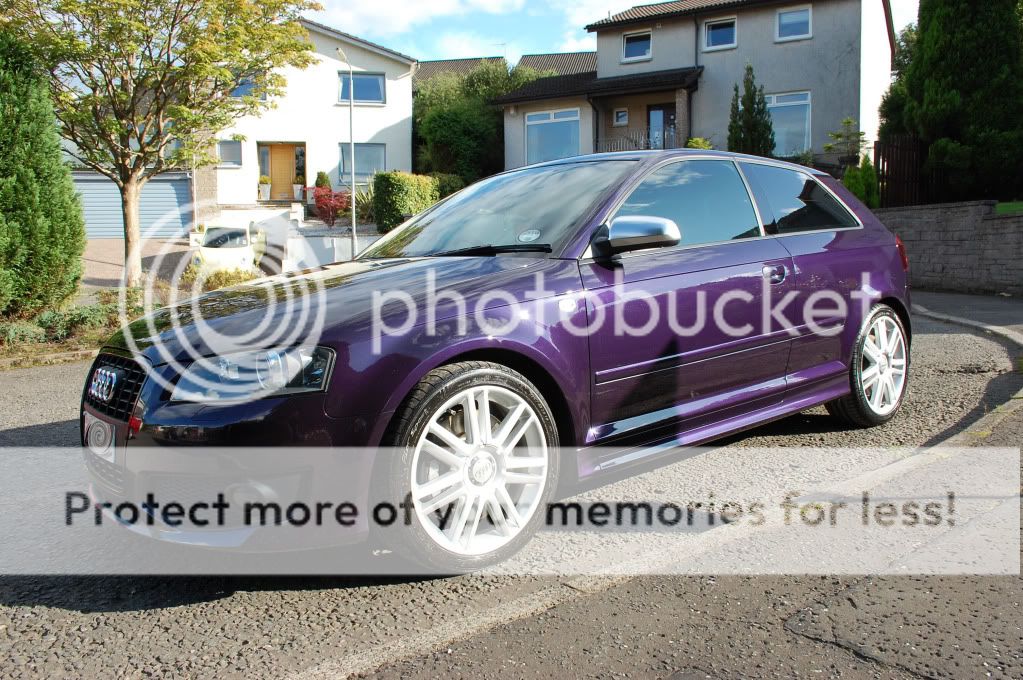
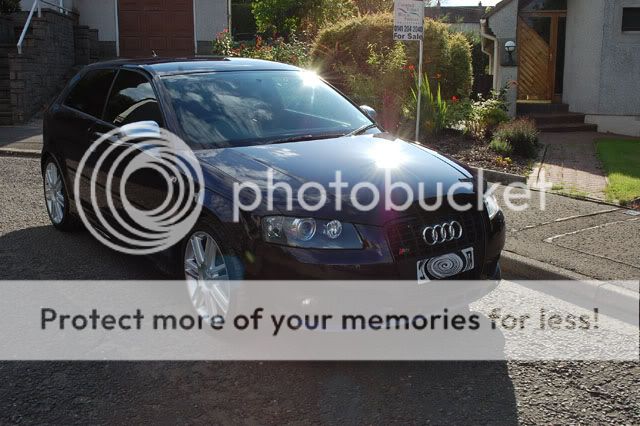
A very enjoyable detail for me and I was really happy with the way the car came out. The colour is really nice and once completed it looked stunning in direct sunlight.
Thanks for reading.'
Ps The rear lights on the car are the MY11 facelift lights (which are darker then the previous facelift clusters) plus the B-Pillars are the new MY11 piano black finish.
I got around getting my car finally detailed as it was suggested to me by forum members years ago and I am over the moon with the finish!! It's made me realise how much a detail can lift up and car's image, before my car was looking dull and dark but not you can see the pearlescent flakes in the paint and now can appreciate more what a great colour merlin purple really is.
Car was detailed by 'Incredible Detail' in Glasgow and its their reputation and detailing with high end cars like Enzo, SL65, Techart Carrera Turbo is what go be drawn and I highly recommend them to anyone in Glasgow or Central Scotland since they're not many top end detailer in our region. The website is as follows if you want to have a gander:
Incredible Detail | Detailing Glasgow | Detailing Edinburgh | Detailing Scotland | incredibledetail.co.uk
On with the detail, well the detailer has written his experience on detailingworld.co.uk so Im going to just copy his write up (permission was asked) so here goes:
'This car was a booked in for a paintwork correction, engine and interior detail. It had the usual swirls and rds and a couple of areas of deeper scratches which needed to be sorted out.
The car was tuned by MTM and running approx 350bhp. I like the subtlety of these cars and it's quite a sleeper.
I prefer it when the sun is out for before and after pictures as it gives a true representation of what the car really looks like. Luckily it was...
Car and engine bay were washed in the usual way.
The paint on this car was the hardest I'd ever came across. Audis are known for being fairly hard but not to this extent. This car was a special order colour so I suspect it may have had something to do with that.
3 Stage Correction carried out using FCP+ on a hard compouding pad, IP on a light compouding pad & FF on a polishing pad. Each panel was wiped down with IPA between stages and inspected with the 3M Sun gun to ensure proper correction and a trail free finish.
I intended to take a lot more pictures but never got a chance to as the correction was taking forever so only a few before and afters.
Wing
Rear Quarter - Quite badly scuffed.
Here's an example of what was left in.
Excuse my finger mark. This was used so I could see where the mark was whilst looking through the camera and manually focus on it. You can just see the mark where the strip light is.
I forgot to take before pictures of this mark but it was quite an obvious star shape. Almost as if someone had rubbed a bird's dropping into the paintwork. There was also a couple of areas on the car where bird's dropping had badly etched the clear.
The pictured mark was very deep I manged to take most of it out. The remaining part you can see couldn't be seen in daylight or direct sun so I was happy with that and didn't feel that I had to remove it completely.
Whilst I was detailing the car audi fitted new gloss black panels.
This panel is brand new and looked really badly swirled.
as is this one:
As you can see one is badly swirled and the other is (almost) perfect. One came wrapped in a cloth and the other came with the normal white wrapping you get on new cars. I suspect the one that was in the cloth had been wipped down to remove dust before wrapping it up - or even the cloth itself damaged it.
This was corrected using Final Finish on a Blue 3M spot pad.
The car was then wax with Z Vintage and then all the usual details taken care of including cleaning and feeding the leather. Tthe exhaust had a cermaic coating hence why it looks black in the final pictures.
After looking at the final pictures on my computer it appears that I never had the camera on the proper setting so the pictures are of quite low quality compared to the usual.
Tyres were buffed off to prevent sling and give a matt look after the final pictures were taken as I wanted to get the pictures before the sun went behind another big cloud.
They pictures didn't come out too bad though.
A very enjoyable detail for me and I was really happy with the way the car came out. The colour is really nice and once completed it looked stunning in direct sunlight.
Thanks for reading.'
Ps The rear lights on the car are the MY11 facelift lights (which are darker then the previous facelift clusters) plus the B-Pillars are the new MY11 piano black finish.
Last edited:
")


 , im glad I didnt wait for the facelift. I just gave her a two bucket wash today due all the dust collected and the finish is still the same as the pics, well chuffed
