

You are using an out of date browser. It may not display this or other websites correctly.
You should upgrade or use an alternative browser.
You should upgrade or use an alternative browser.
- Joined
- Sep 14, 2008
- Messages
- 24,836
- Reaction score
- 6,078
- Points
- 113
- Location
- Wibbleton
- Website
- www.tuffty.co.uk

- Joined
- Sep 14, 2008
- Messages
- 24,836
- Reaction score
- 6,078
- Points
- 113
- Location
- Wibbleton
- Website
- www.tuffty.co.uk
Bit off topic but from the picture above of the glove box etc removed. Where is the wiring to the ABS to get a ABS signal from.
any info would be great
Nathan
I would imagine you pick the wiring for ABS up from the actual ABS unit under the bonnet... there is a wiring plug there... thats where I picked up the speed sensor for the Apexi boost controller I fitted to the Polo at Bill's..
<tuffty/>
I have read on a couple of sat nav forums and they seem to say to get a speed signal from the ABS plug under the passenger footwell (not sure where to get it though so just assumed it would be under the glove box).
Would you happen to remember what pin you connected a wire to the ABS unit plug under the bonnet for a speed signal.
Thanks
Would you happen to remember what pin you connected a wire to the ABS unit plug under the bonnet for a speed signal.
Thanks
Chlippo
Registered User

- Joined
- Sep 14, 2008
- Messages
- 24,836
- Reaction score
- 6,078
- Points
- 113
- Location
- Wibbleton
- Website
- www.tuffty.co.uk
I have read on a couple of sat nav forums and they seem to say to get a speed signal from the ABS plug under the passenger footwell (not sure where to get it though so just assumed it would be under the glove box).
Would you happen to remember what pin you connected a wire to the ABS unit plug under the bonnet for a speed signal.
Thanks
Pretty sure its a different setup on the Polo to the S3 so wouldn't be any use to you even if I could remember (which I can't sadly)....
No idea where it is mate tbh... soz

<tuffty/>
Cookie0125
Registered User
- Joined
- Sep 14, 2008
- Messages
- 24,836
- Reaction score
- 6,078
- Points
- 113
- Location
- Wibbleton
- Website
- www.tuffty.co.uk
What fascia adapter did you use?
Think it was an Autoleads one... looks like this one anyway...

<tuffty/>
Chlippo
Registered User
I have read on a couple of sat nav forums and they seem to say to get a speed signal from the ABS plug under the passenger footwell (not sure where to get it though so just assumed it would be under the glove box).
Would you happen to remember what pin you connected a wire to the ABS unit plug under the bonnet for a speed signal.
Thanks
I recall there is one on the left of the passenger, But are you sure its abs? it might be the "yaw" sensor they are talking about.
S3's got two of those one on the left and one on the right. (one under the steering and one at the passenger side door column.
I know coz i changed mines after being faulty and they affects the speed sensor, angle sensor, abs sensor and esp
- Joined
- Sep 14, 2008
- Messages
- 24,836
- Reaction score
- 6,078
- Points
- 113
- Location
- Wibbleton
- Website
- www.tuffty.co.uk
Busy day 'at the office'... was playing dynos for most of the day
"...here with have the Badger in its natural habitat...."

...yes I did run mine... and by run, I personally ran the car on the dyno....
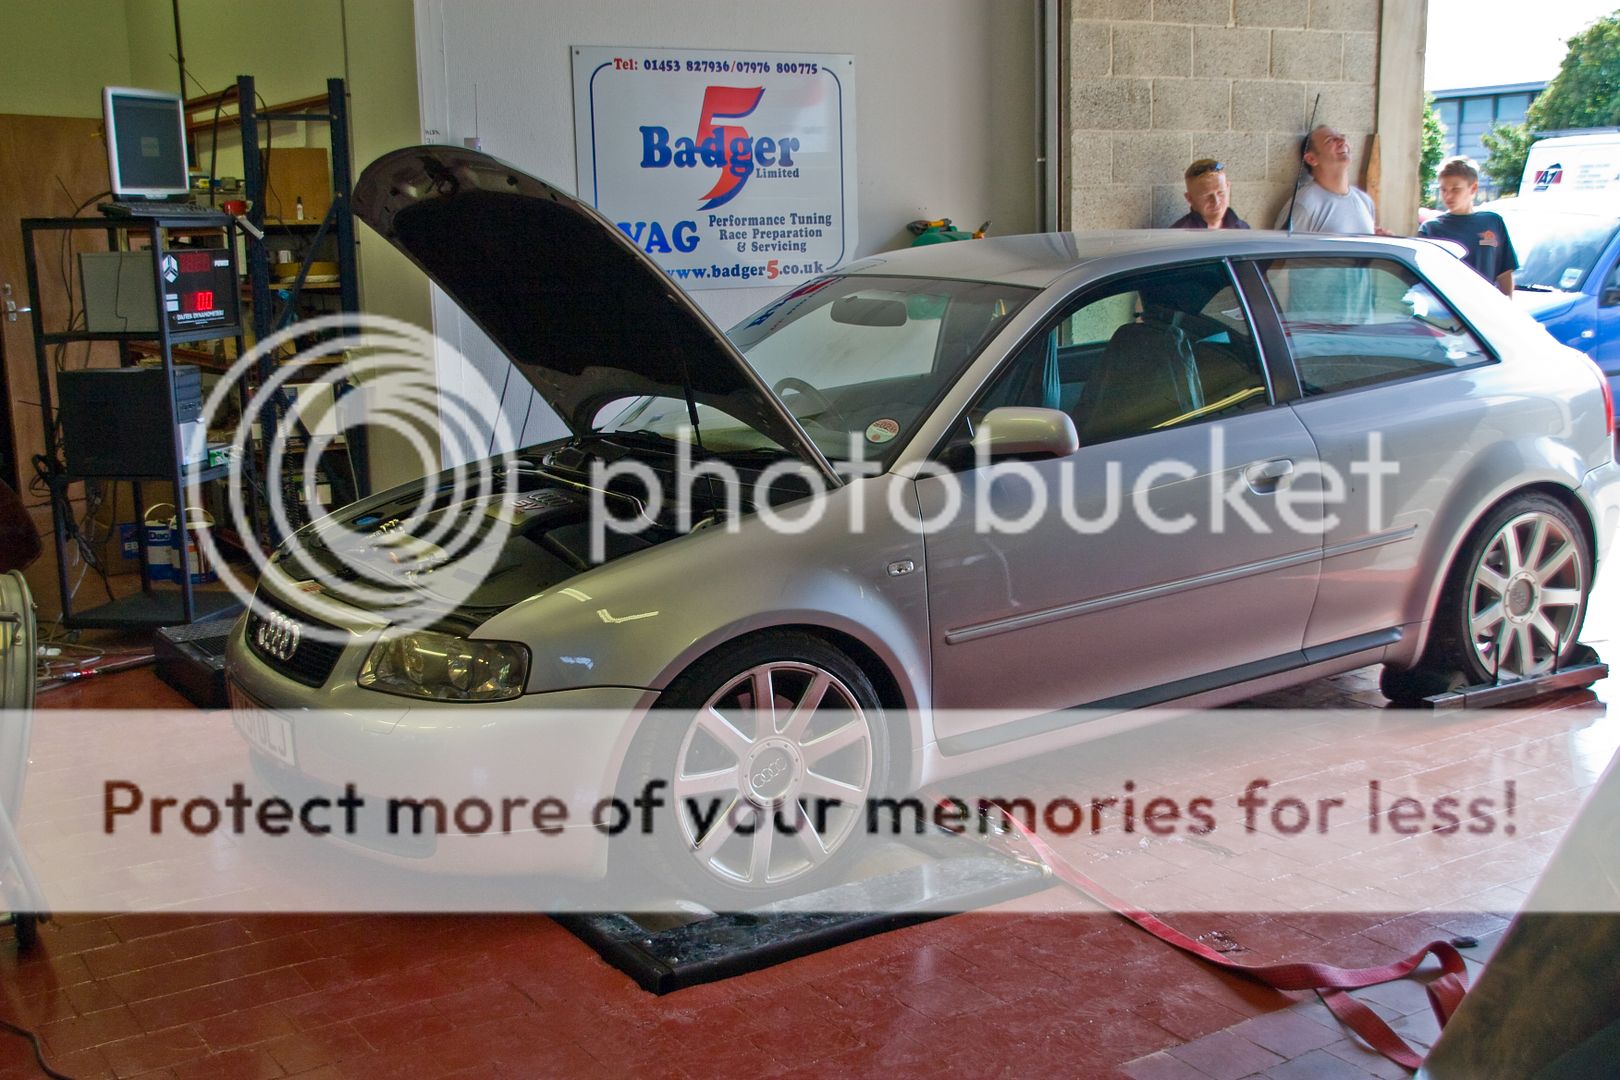
...and no I am not telling you what powered she made... yet...
...anyhoo... started work when I got back from the unit, removed the drivers side lower dash and routed the RCA leads for the 4 channel (front/rear) amp down the drivers side sill. Once done I finished off the rear speakers by using silicon sealant to seal the speakers and get rid of the gap...

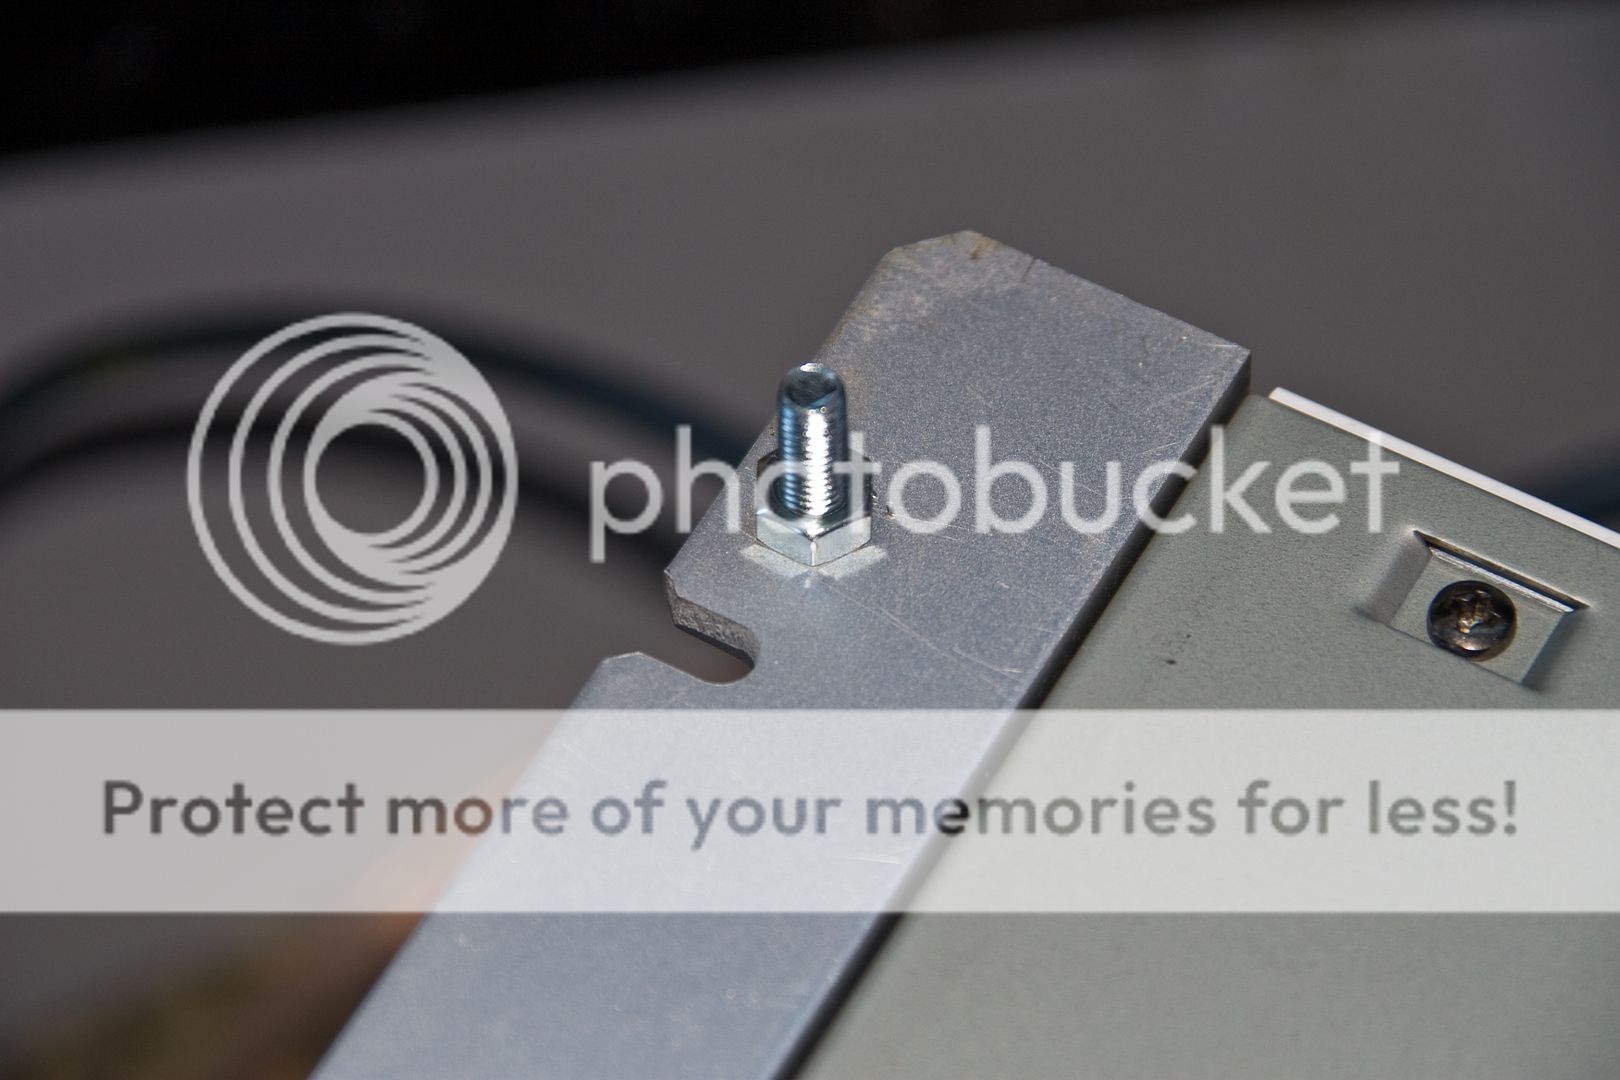
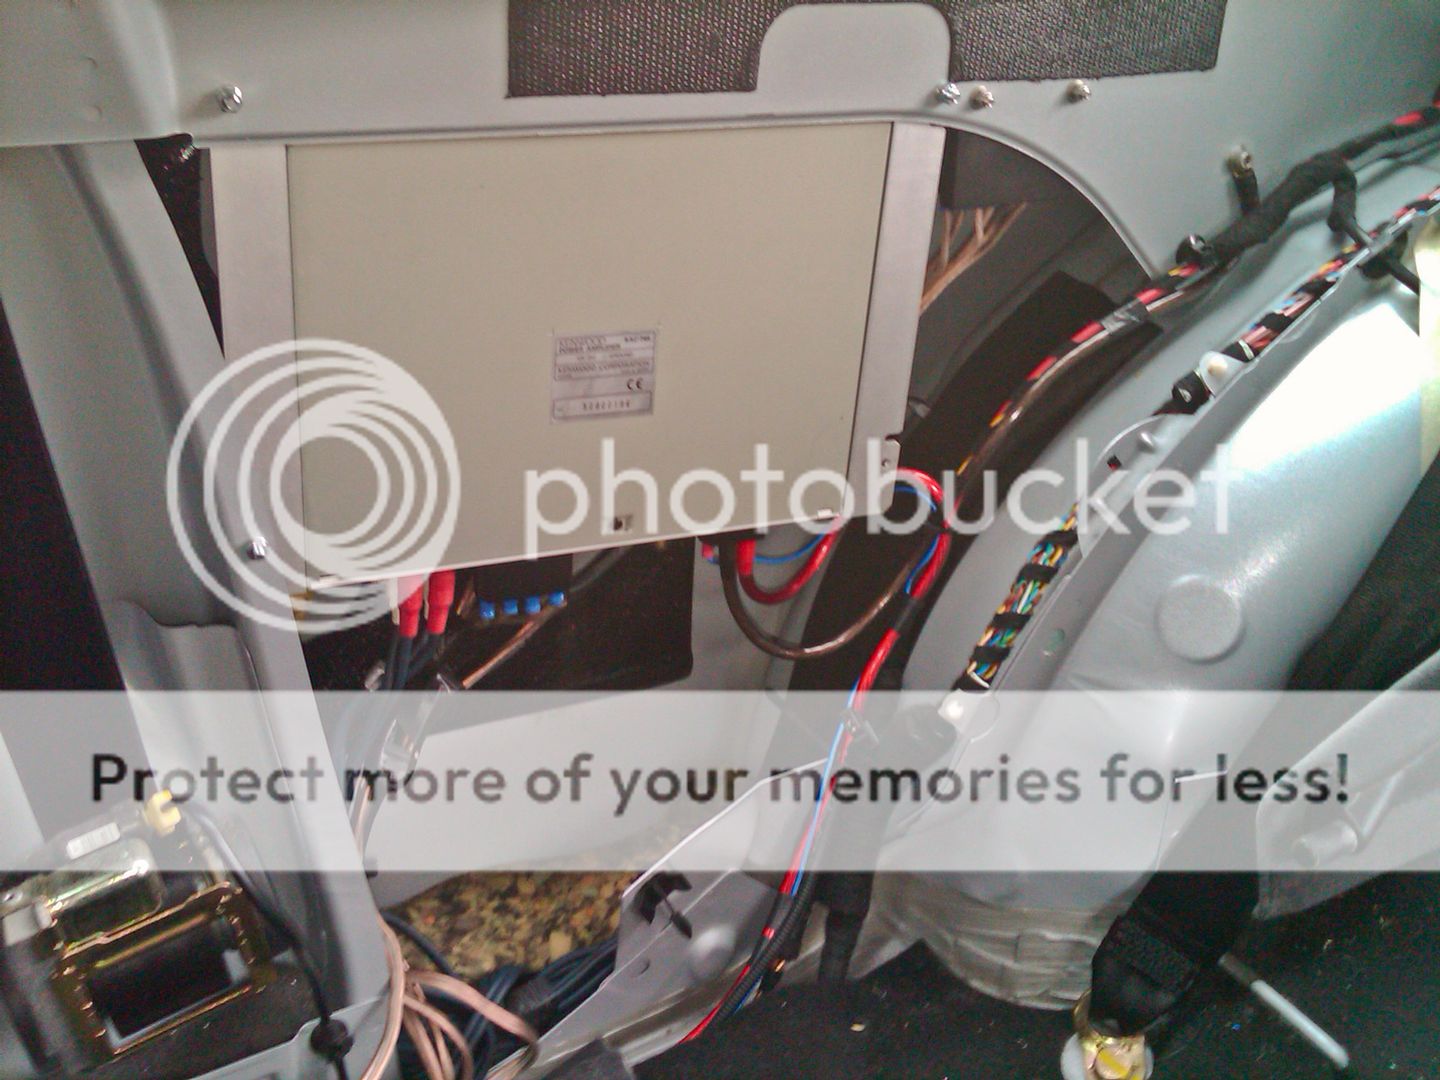
...then moved onto fitting the amps in. Marked and drilled the holes then fitted bolts to the amps... as it was going to be difficult to get to any of the fixings once the amp was in position I used the bolts like a stud by tightening a nut onto the bolt... this allowed the amp to stand off the metal work a bit (as there was a lip where I was fitting them) and allow me to easily tighten another nut with a spring washer to secure the amps...
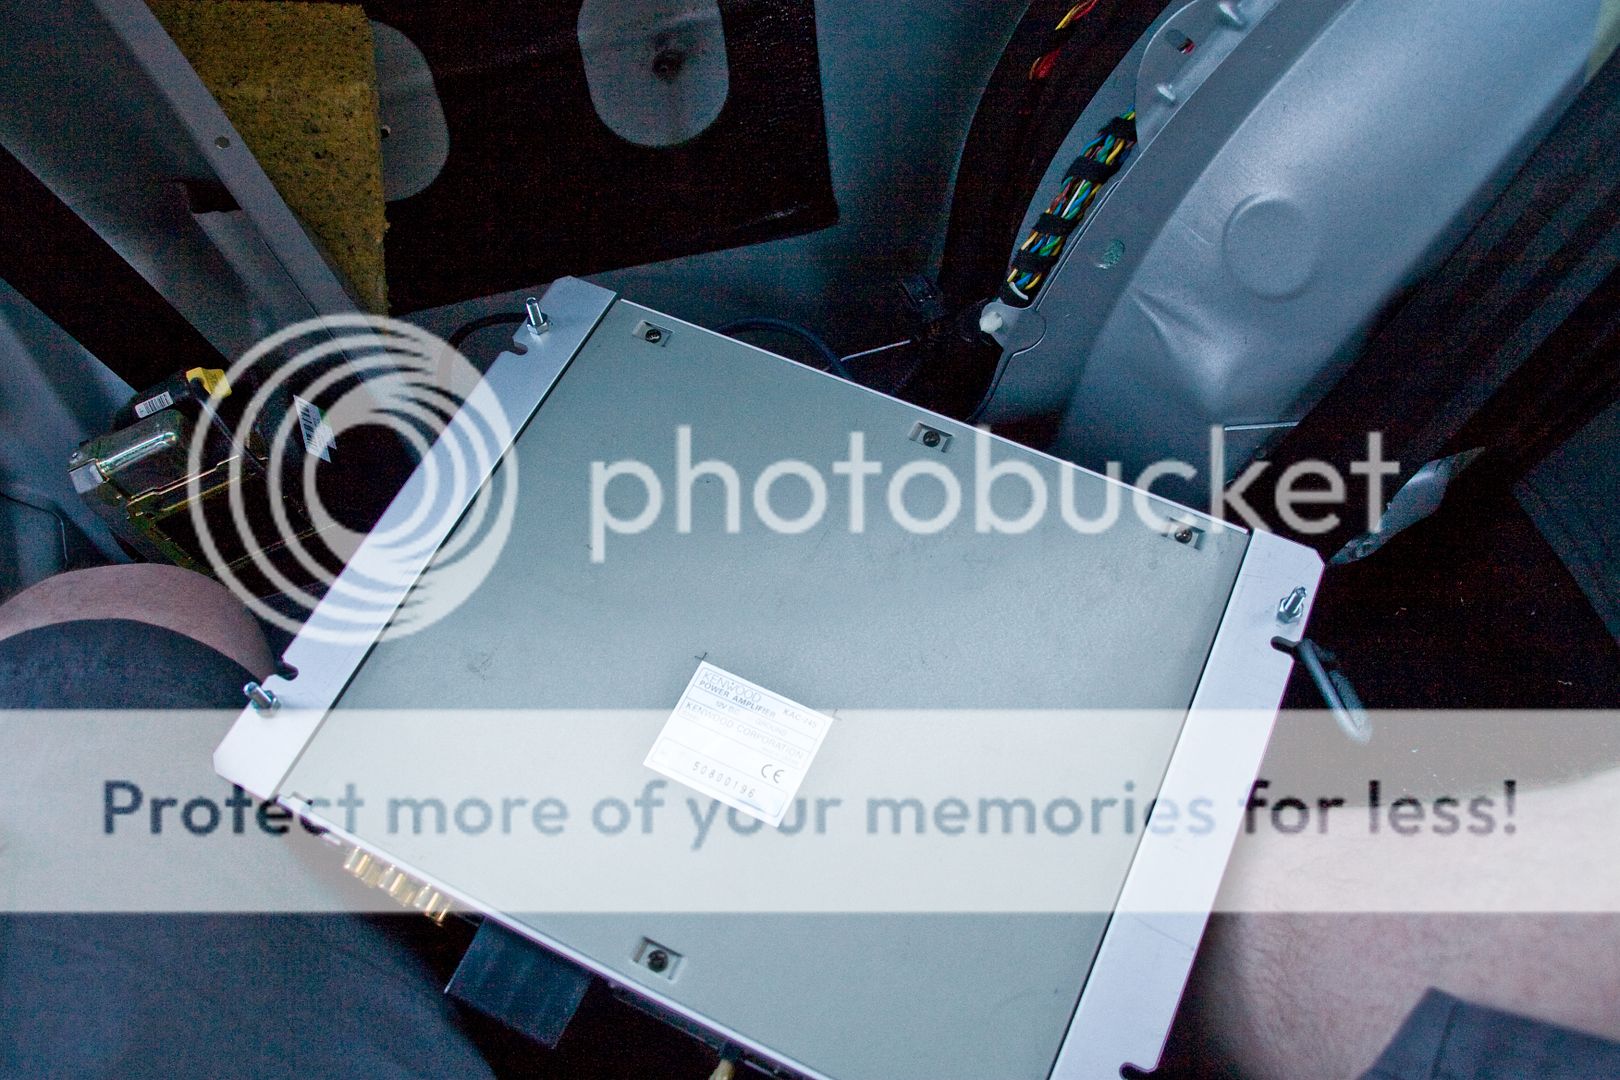
...4 channel amp in position...

...sub amp....
...my daughter grabbed my camera and took this pic as she wanted people to see I was actually working!!

Thats most of the wires in place and hardware fitted... power cables next then front door speakers followed by final connecting it all up and powering up for the first time
<tuffty/>
"...here with have the Badger in its natural habitat...."
...yes I did run mine... and by run, I personally ran the car on the dyno....
...and no I am not telling you what powered she made... yet...
...anyhoo... started work when I got back from the unit, removed the drivers side lower dash and routed the RCA leads for the 4 channel (front/rear) amp down the drivers side sill. Once done I finished off the rear speakers by using silicon sealant to seal the speakers and get rid of the gap...
...then moved onto fitting the amps in. Marked and drilled the holes then fitted bolts to the amps... as it was going to be difficult to get to any of the fixings once the amp was in position I used the bolts like a stud by tightening a nut onto the bolt... this allowed the amp to stand off the metal work a bit (as there was a lip where I was fitting them) and allow me to easily tighten another nut with a spring washer to secure the amps...
...4 channel amp in position...
...sub amp....
...my daughter grabbed my camera and took this pic as she wanted people to see I was actually working!!
Thats most of the wires in place and hardware fitted... power cables next then front door speakers followed by final connecting it all up and powering up for the first time
<tuffty/>
- Joined
- Sep 14, 2008
- Messages
- 24,836
- Reaction score
- 6,078
- Points
- 113
- Location
- Wibbleton
- Website
- www.tuffty.co.uk
Which method did you use to disable the Haldex?
Pulled fuse...
<tuffty/>
- Joined
- Oct 27, 2006
- Messages
- 2,851
- Reaction score
- 110
- Points
- 63
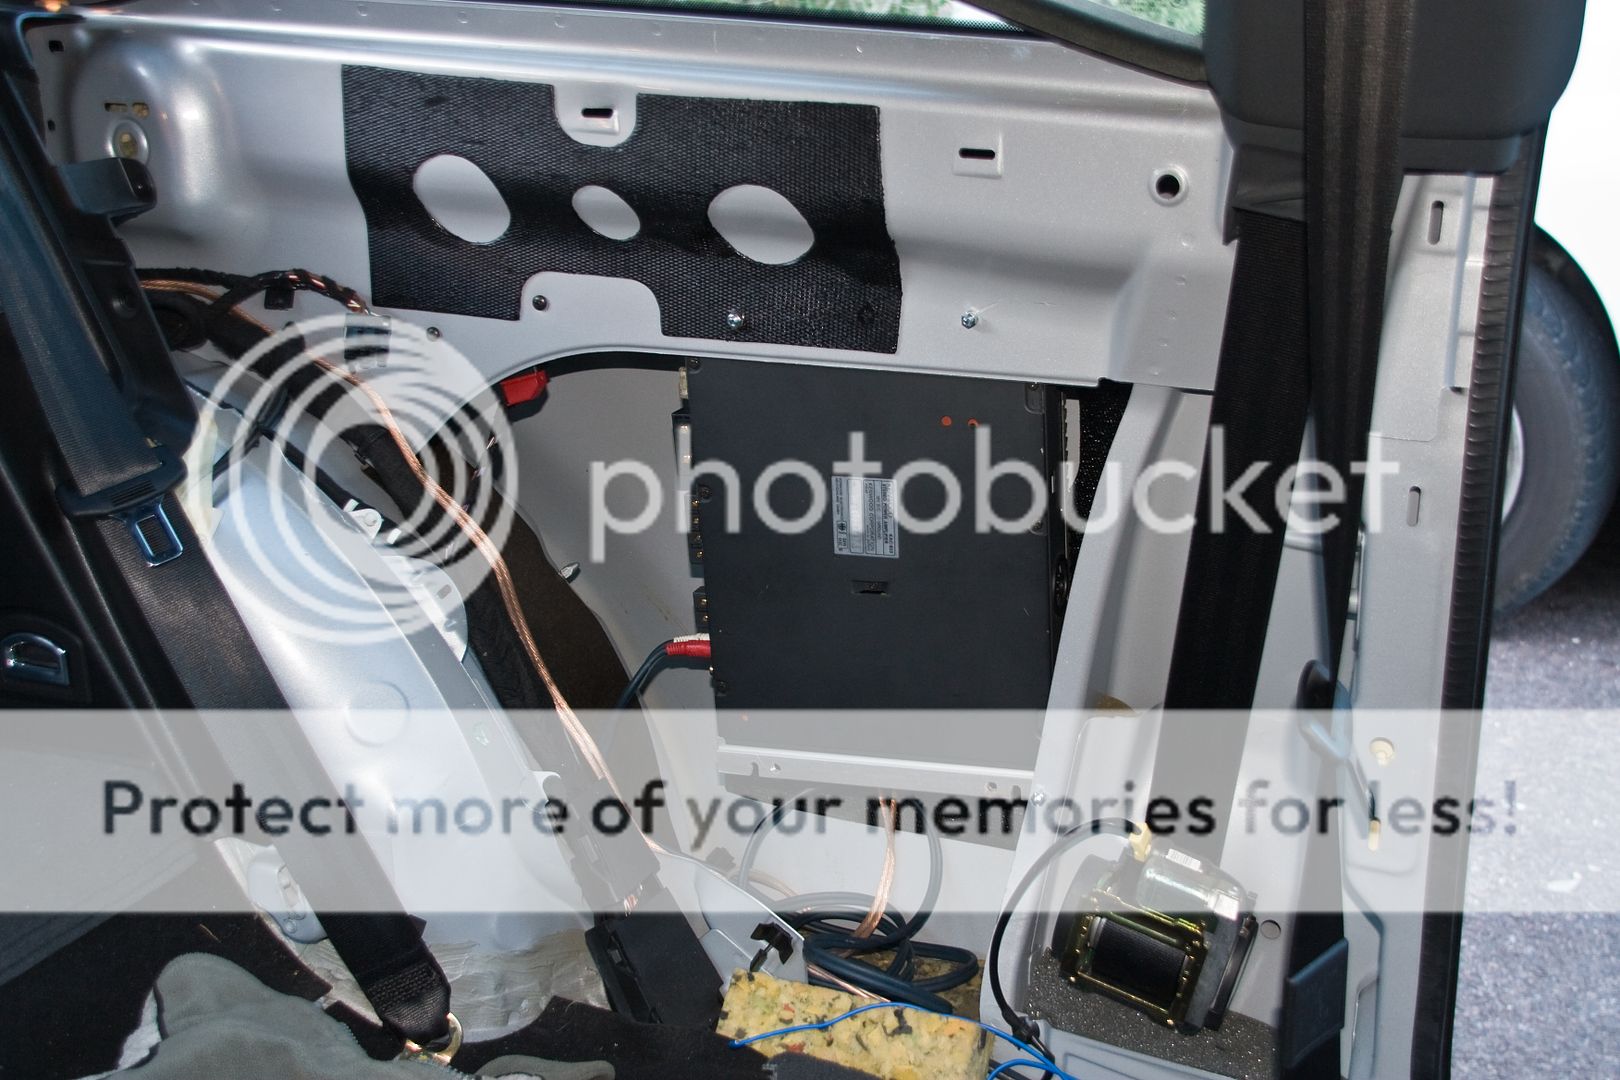
The "brain" for my headunit is fitted in the rear quarter too. It took me ages to find it lol.
Are you going to use the "wiring tunnel" from the bay to the cabin?
It took me a while to feed the power cable in but it was the only tidy option... unless you have another idea?
Are you going to use the "wiring tunnel" from the bay to the cabin?
It took me a while to feed the power cable in but it was the only tidy option... unless you have another idea?
- Joined
- Sep 14, 2008
- Messages
- 24,836
- Reaction score
- 6,078
- Points
- 113
- Location
- Wibbleton
- Website
- www.tuffty.co.uk
Come on.... what power did you make?
I must crack the wip a little.! i want the cold air feed testing now now now !!!
lol
lol.... patience my friend... all will revealed... I need to change my lambda and get the EGT probe in place before doing a proper run... might see if the map needs a tweak too now that we have a safer environment to log and see whats happening... the dyno logs boost and AFR which is good
The guy that Bill bought the dyno from is coming over to train us up... want to be sure that we know how to use the thing properly before anything else really...
<tuffty/>
- Joined
- Sep 14, 2008
- Messages
- 24,836
- Reaction score
- 6,078
- Points
- 113
- Location
- Wibbleton
- Website
- www.tuffty.co.uk
The "brain" for my headunit is fitted in the rear quarter too. It took me ages to find it lol.
Are you going to use the "wiring tunnel" from the bay to the cabin?
It took me a while to feed the power cable in but it was the only tidy option... unless you have another idea?
I assume you mean the channel that runs down the inside of the sills? Yes... I am doing the power now
I will prob run the power on the floor though to minimise potential for interference.. my RCA leads are pretty good ones and not had issues before but then I have wired them this way for years with no probs...
<tuffty/>

Paul, your inbox is full so ill just post what i was going to ask you here lol.
Do you have the measurements for the AH intercooler you fitted?
I'm trying to find out the core dimensions and also the inlet to outlet dimensions if possible, had a look through your thread but cant seem to find them.
Do you have the measurements for the AH intercooler you fitted?
I'm trying to find out the core dimensions and also the inlet to outlet dimensions if possible, had a look through your thread but cant seem to find them.
- Joined
- Sep 14, 2008
- Messages
- 24,836
- Reaction score
- 6,078
- Points
- 113
- Location
- Wibbleton
- Website
- www.tuffty.co.uk
Paul, your inbox is full so ill just post what i was going to ask you here lol.
Do you have the measurements for the AH intercooler you fitted?
I'm trying to find out the core dimensions and also the inlet to outlet dimensions if possible, had a look through your thread but cant seem to find them.
Cleared down my PM's now
Not other than what has been quoted in other threads here and more recently in the 'Forge Intercooler' thread... I found the core dimensions for the Forge intercooler quoted on a thread and thats the dimensions I gave to Alex so he could prototype the AH Fabs cooler for the S3.... I gave him the core dimensions (480x270x60mm... no idea if this is the actual size Forge use as I found the info posted on this forum), said the outlet size needs to be 51mm, that the front of the end tanks need to slope back to follow the contour of the bumper and sent him some pics I had found... I gave him the measurement of the centre of the lower grille between the the sections seperating the fog grilles from the centre as I had a pic of a Forge FMIC fitted to an S3 so used that measurement to gauge overall dimensions and he did the rest...
It was only when I went over to his workshop to trial fit the FMIC that we decided on where the brackets would go...
Viola!! a FMIC for an S3 was born
I looked high and low for a suitably cheap FMIC that would fit my S3 and in the end I decided to just get Alex to develop one for me... as much as I would like to take the credit for developing the AH Fabs FMIC for the S3 (he didn't do one before I came along) all credit to Alex being able to understand all the stuff I sent over too him and producing a top notch bit of kit... I even bore the development cost of 50 actual pounds so you guys wouldn't have to LOL... I should point out that Alex did not have an S3 to hand to build this with and the first time he saw an S3 in his workshop was when I went over with Mark (Byzan A4) to trial fit it for brackets...
I don't think measuring mine will make that much difference in your pursuit of a cheaper alternative as all the ebay 'universal' ones I have seen are either too small or require loads of work and compromises to fit... the FMIC thread in the stickies has all the info needed to help you make a decision over what you wish to do... I have no idea what ebay coolers would be suitable as I have not fitted one...
When I next have my bumper off (to do the 60mm pipework) I will take some measurements as I am being asked all the time... whether that will actually help who knows but as always happy enough to help... just won't be tonight
<tuffty/>
No worries paul.
I will probly end up getting the AH cooler, it's just i was bored early and was browsing the net seeing what was out there.
Are sticking with the AH cooler then and just chagning the pipework to 60mm?
I will probly end up getting the AH cooler, it's just i was bored early and was browsing the net seeing what was out there.
Are sticking with the AH cooler then and just chagning the pipework to 60mm?

- Joined
- Sep 14, 2008
- Messages
- 24,836
- Reaction score
- 6,078
- Points
- 113
- Location
- Wibbleton
- Website
- www.tuffty.co.uk
No worries paul.
I will probly end up getting the AH cooler, it's just i was bored early and was browsing the net seeing what was out there.
Are sticking with the AH cooler then and just chagning the pipework to 60mm?
Thats the plan... need to offer it all up and tack new pipes over existing ones to see if its doable first but I reckon it will with a bit of fettling.... the normal AH Fabs FMIC is more than capable of supporting the airflow of a K04 (and its hybrid cousin) and easy as anything to fit... I still stand by that but I think I am hitting a limit with my little turbo though lol...
<tuffty/>
- Joined
- Sep 14, 2008
- Messages
- 24,836
- Reaction score
- 6,078
- Points
- 113
- Location
- Wibbleton
- Website
- www.tuffty.co.uk
Fairly busy day... doing bits to my car and helping Bill out when needed... I have now got the 4 gauge power cable in...
Here is the grommet to feed the power cable into the cabin... its under the scuttle cover passenger side by the pollen filter..

...which exits above the glove box (remove first of course) behind a bit of sound deadening that you move out the way first to allow the cable to pass through easily...

...ta..da..! etc...
... removed the strut brace, airbox and battery/tray to allow me to route the cable through the cabling channels...

...fitted the circuit breaker to the side of the battery tray...

...all done...

...and in keeping with the rest of the install and my car in general... stealthed...

I now need to get some more 8 gauge so I can split the main power to feed the 2 amps... all the bits I have kicking about are too short.
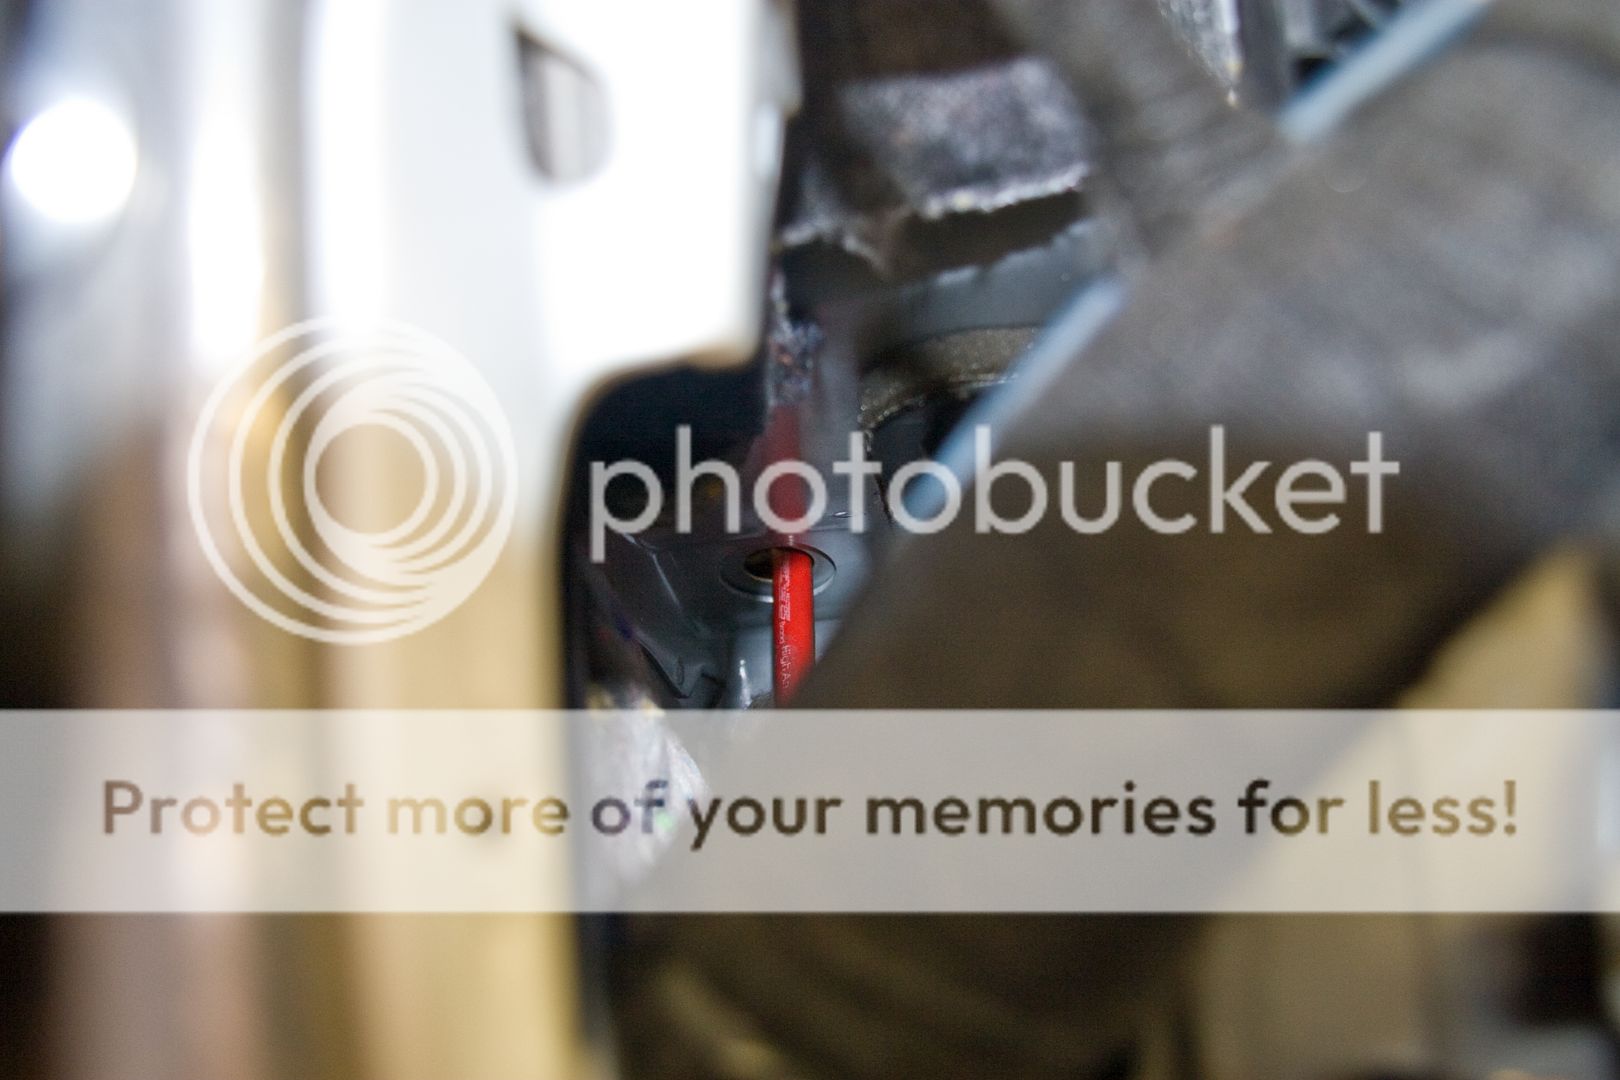
When I got back from the unit I had another look at the front speakers. Problem I have here is that the adaptors don't fit the Focals properly due to the cone suspension..
...you can see the problem better here...

I have cut out some MDF spacers that I need to tweak and see how I get on but I think this will be the trickiest part of the install as there is not much depth to play with... the adaptors when in place look like this..
Will have a play over the next few days, probably after wiring the rest of the system up so I can concentrate on this problem...
<tuffty/>
Here is the grommet to feed the power cable into the cabin... its under the scuttle cover passenger side by the pollen filter..
...which exits above the glove box (remove first of course) behind a bit of sound deadening that you move out the way first to allow the cable to pass through easily...
...ta..da..! etc...
... removed the strut brace, airbox and battery/tray to allow me to route the cable through the cabling channels...
...fitted the circuit breaker to the side of the battery tray...
...all done...
...and in keeping with the rest of the install and my car in general... stealthed...
I now need to get some more 8 gauge so I can split the main power to feed the 2 amps... all the bits I have kicking about are too short.
When I got back from the unit I had another look at the front speakers. Problem I have here is that the adaptors don't fit the Focals properly due to the cone suspension..
...you can see the problem better here...
I have cut out some MDF spacers that I need to tweak and see how I get on but I think this will be the trickiest part of the install as there is not much depth to play with... the adaptors when in place look like this..
Will have a play over the next few days, probably after wiring the rest of the system up so I can concentrate on this problem...
<tuffty/>
I can't believe this, I have been doing the exact same over the last week. I had to remove both of my amps which were originally attached to the back of my rear seats when my car was the only hatchback in the household that could physically transport a new cooker back home.
I relocated my 4 channel amp to the passenger side rear 3/4 using 3 of the mounts and created a bracket for the lower mount which attaches to the same panel you have yours attached to, my sub amp is in the drivers side rear 3/4 in a similar position. Although Im focused on sound quality so have gone the extra mile and sound proofed the rear 3/4 panels and the door cards, reattaching the factory sound deadening with spray adhesive.
Im yet to work on the front but I have some shallow 6.5" mb quart components for which I will make a mdf mount for and again sound deaden the doors and the door card.
Quick question, on my drivers side rear door card one of the plastic mounts which is fixed to the door card and clips into the lower B pillar has fallen off, how suitable do you think a hot glue gun will be to reattach this? Im worried it won't be strong enough.
Cheers
- Joined
- Sep 14, 2008
- Messages
- 24,836
- Reaction score
- 6,078
- Points
- 113
- Location
- Wibbleton
- Website
- www.tuffty.co.uk
How hard is it to remove the front door cards??
Real easy... 2 small screws at the top of the door card (one front, other rear), 1 screw holding a plastic cup under the door handle, remove that then 2 screws holding the handle to the door.... then lift up and pull away... undo the wiring plugs and the door release cable... job done...
....I’m yet to work on the front but I have some shallow 6.5" mb quart components for which I will make a mdf mount for and again sound deaden the doors and the door card.
5" speakers are tight, there is about 60mm depth tops and thats your lot... this would include any adaptors... good luck with getting them in... I would be tempted to fit them in the rear and get 5" components for the front tbh...
....Quick question, on my driver’s side rear door card one of the plastic mounts which is fixed to the door card and clips into the lower B pillar has fallen off, how suitable do you think a hot glue gun will be to reattach this? I’m worried it won't be strong enough.
Hot glue won't cut it really... it will hold it in place but thats about it....
<tuffty/>
- Joined
- Sep 14, 2008
- Messages
- 24,836
- Reaction score
- 6,078
- Points
- 113
- Location
- Wibbleton
- Website
- www.tuffty.co.uk
So you've not been busy whilst I've been away. Not at all. Much....
No mate... been taking it easy
I have an update to do later when I have sorted the pics... got the passenger side door speakers in... drivers side to do tonight...
Will have it all in for AITP then off the road for a couple of weeks to get the large port head, 60mm pipework and clutch (which arrived today) fitted... I already know that I will hit a wall with getting much more power from my car as the throttle body and inlet mani are too small to support much more power so I may just keep the boost conservative for now until I can address that (which won't be this year tbh...)
<tuffty/>
- Joined
- Sep 14, 2008
- Messages
- 24,836
- Reaction score
- 6,078
- Points
- 113
- Location
- Wibbleton
- Website
- www.tuffty.co.uk
much clutchness....
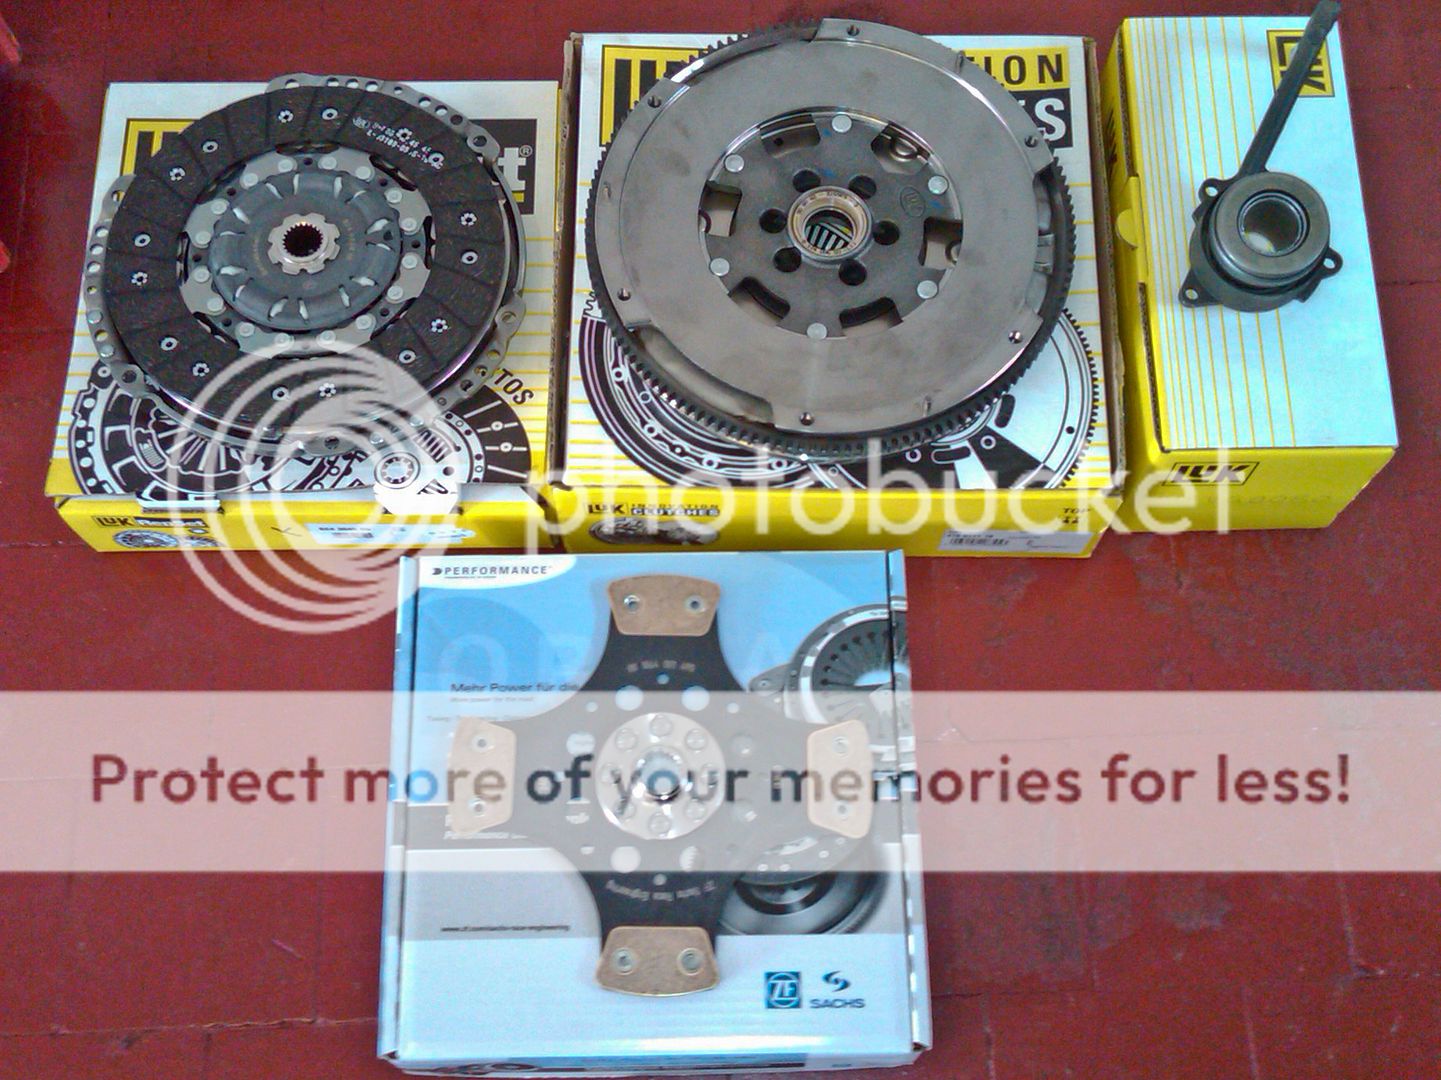
...and a comparison of the std plate vs the Sachs plate...

...more stereo stuff later.... now off to wash the car..
<tuffty/>
...and a comparison of the std plate vs the Sachs plate...
...more stereo stuff later.... now off to wash the car..
<tuffty/>
- Joined
- Sep 14, 2008
- Messages
- 24,836
- Reaction score
- 6,078
- Points
- 113
- Location
- Wibbleton
- Website
- www.tuffty.co.uk
Finished washing the car poor girl was filthy!
Fitted one of the front speakers last night and just off to do the other one once done posting this...
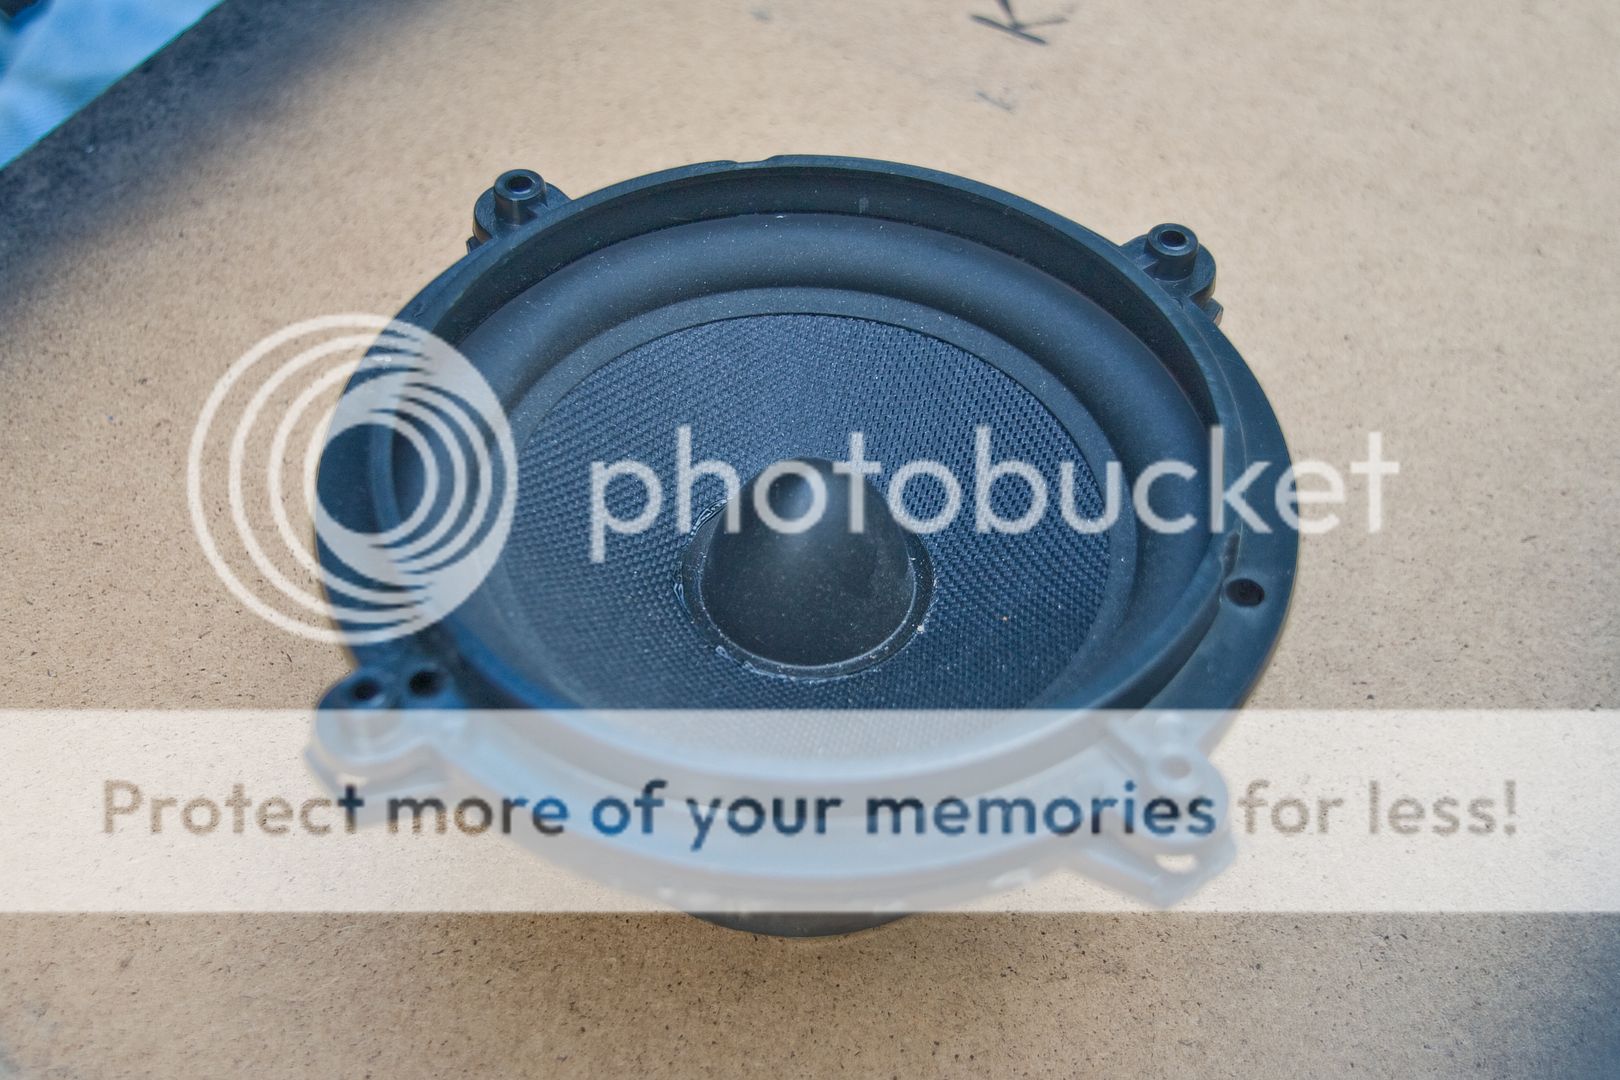
If you remember I had a prob with the adapters for the front speakers... so I modded them by cutting a ring off the bottom of them to make them sit further in the door panel giving me more clearence and then chamfered the inside edge to allow more room for the cone suspension...
You can see the difference in height and the gap between the mount face of the adaptor and speaker is smaller ... (modded one on the right)...

...I cut off a 2-3mm section of the screw mounts on the door panel to allow the adaptor to sit closer in and then screwed it in... I went round the inside with a hot glue gun to seal and fix in more solidly... I used 4 stainless washers per fixing hole to space the speaker (as this was still an issue of course)....

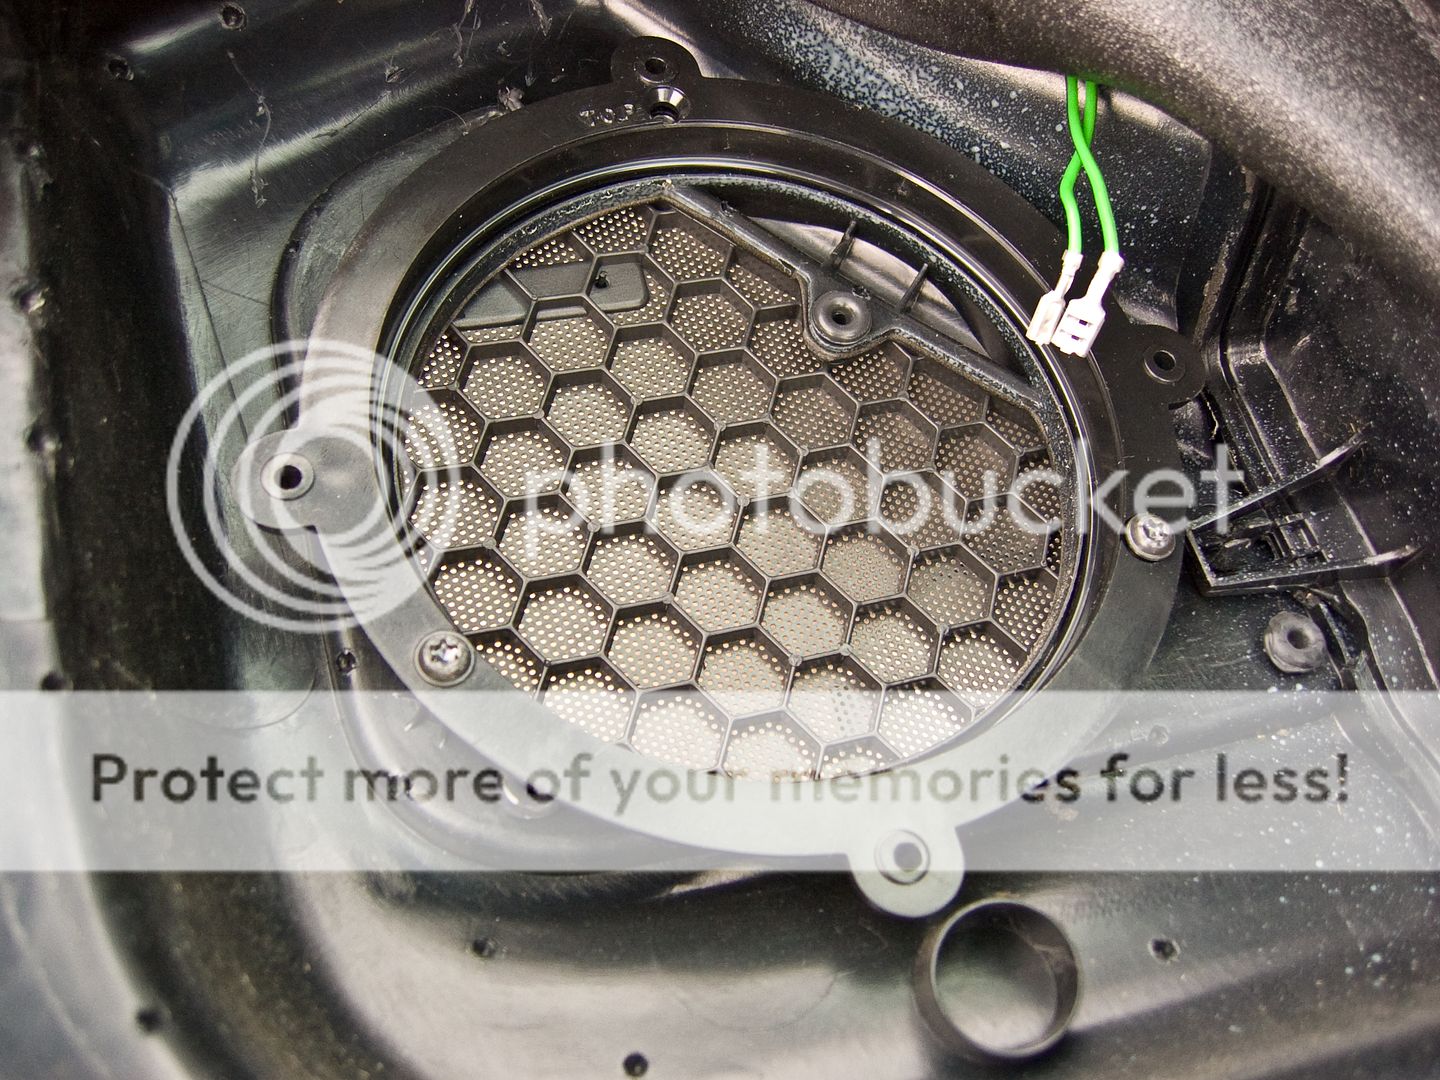
...I then dynamat'd the immediate area and fitted the speaker in sealing it with silicon...

..tweeter fitted...
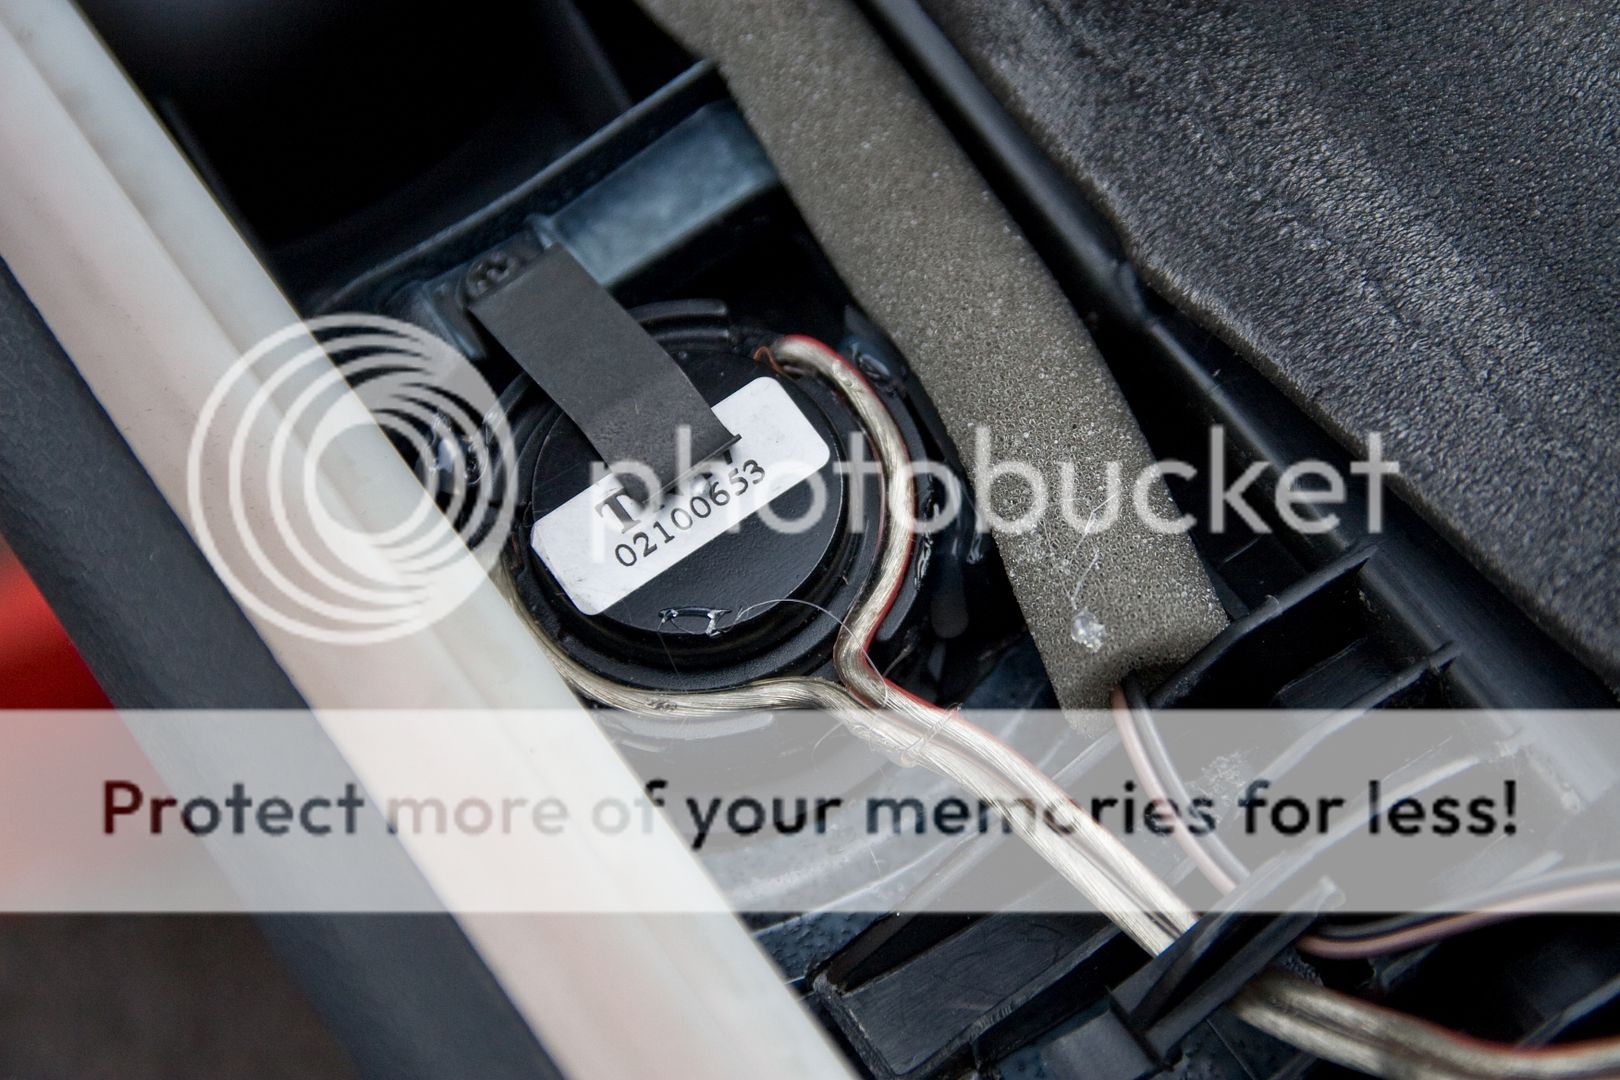
...run speaker wire through the door grommet (easy to remove but a pig to refit!!)...

...hooked up the crossover (which will be mounted behind the glove box) and was ready to wire in the speakers...

I did look to mount the crossover in the door or door panel but tbh there wasn't anywhere I felt happy about fitting it securely or safely so I left it in the car...
Drivers side will be more of the same then its wire up the amps and turn on
<tuffty/>
poor girl was filthy!Fitted one of the front speakers last night and just off to do the other one once done posting this...
If you remember I had a prob with the adapters for the front speakers... so I modded them by cutting a ring off the bottom of them to make them sit further in the door panel giving me more clearence and then chamfered the inside edge to allow more room for the cone suspension...
You can see the difference in height and the gap between the mount face of the adaptor and speaker is smaller ... (modded one on the right)...
...I cut off a 2-3mm section of the screw mounts on the door panel to allow the adaptor to sit closer in and then screwed it in... I went round the inside with a hot glue gun to seal and fix in more solidly... I used 4 stainless washers per fixing hole to space the speaker (as this was still an issue of course)....
...I then dynamat'd the immediate area and fitted the speaker in sealing it with silicon...
..tweeter fitted...
...run speaker wire through the door grommet (easy to remove but a pig to refit!!)...
...hooked up the crossover (which will be mounted behind the glove box) and was ready to wire in the speakers...
I did look to mount the crossover in the door or door panel but tbh there wasn't anywhere I felt happy about fitting it securely or safely so I left it in the car...
Drivers side will be more of the same then its wire up the amps and turn on
<tuffty/>
- Joined
- Sep 14, 2008
- Messages
- 24,836
- Reaction score
- 6,078
- Points
- 113
- Location
- Wibbleton
- Website
- www.tuffty.co.uk
Phew.... hot day today.... ended up working outside as by the time I go to the unit Bill had George's supercharged Mk3 Golf on the dyno tweaking the DTA map...
Anyhoo... last night I tucked the cross overs away, drivers side under the kick panel in the footwell and the passenger one up behind the glovebox... was a happy chappy until I started the car and was getting RF interference from the passenger speakers... I hadn't connected them to anything yet!!! turns out the coils in the crossover were picking up RF from the huge chunk of the main loom tucked behind the glovebox... dropped the crossover to the floor and the interference went... so I relocated the crossover to where the 4 channel amp is and all is now good with the world...
Finished wiring the power and the speaker cables, had to run another to the passenger side because of moving the crossover but no biggie...
Fired it all up and wow!.... the system sounds so much more musical now... I actually have some mid bass now and the front end is sounding crystal clear... I thought they were a tad bright initially... there are 2 settings on the Focal crossovers... live and smooth... I have them set to the live position and debated on trying the smooth but after listening to some different music and after putting the rest of the interior back in it sounds fine...
Happy thats now done, no interference either which is a small relief... modern cars are a nightmare with all the electronics they have these days
Next job is to build the head and get everything ready for after AITP for when I will fit a rather large pile of goodies I have been accumulating in the pursuit of 400bhp... normal service will now resume ;P
<tuffty/>
- Joined
- Jun 19, 2009
- Messages
- 3,883
- Reaction score
- 619
- Points
- 113
- Location
- Leeds
- Website
- www.aldevelopments.com
- Joined
- Sep 14, 2008
- Messages
- 24,836
- Reaction score
- 6,078
- Points
- 113
- Location
- Wibbleton
- Website
- www.tuffty.co.uk
How much was the sach plate?
No idea yet.. invoice hasn't come through...
<tuffty/>
- Joined
- Sep 14, 2008
- Messages
- 24,836
- Reaction score
- 6,078
- Points
- 113
- Location
- Wibbleton
- Website
- www.tuffty.co.uk
Finally got around to sorting the EGT probe... had a bit of a shock when I got under the car though.... discovered the inboard driveshaft gaiter had kinda split.... not a major headache but one I hadn't planned on... seeing as the driveshaft needed to be removed to get the downpipe anyway it wasn't that big an issue..

Got a new gaiter this morning and fitted that after being a pillock and managing to drop a ball from the joint while removing it so I just took the cv joint apart anyway and cleaned it up... moly grease is horrible stuff and seems to get everywhere lol...
Bill welded on the EGT boss and then I refitted the DP, the new lambda probe and the EGT probe after cleaning up the grease that had been spat out when the gaiter split...

EGT's are looking good on the Liquid gauge now... sits around the 550 degrees mark just poodling about, haven't had a chance to log anything yet as I need fuel but hopefully will be running back up on the dyno in the next week or so (once I get the car back from having the rain gutters resprayed) for a bit of tweaking and baselining before I proceed with fitting the large port head.... yay!
<tuffty/>
Got a new gaiter this morning and fitted that after being a pillock and managing to drop a ball from the joint while removing it so I just took the cv joint apart anyway and cleaned it up... moly grease is horrible stuff and seems to get everywhere lol...
Bill welded on the EGT boss and then I refitted the DP, the new lambda probe and the EGT probe after cleaning up the grease that had been spat out when the gaiter split...
EGT's are looking good on the Liquid gauge now... sits around the 550 degrees mark just poodling about, haven't had a chance to log anything yet as I need fuel but hopefully will be running back up on the dyno in the next week or so (once I get the car back from having the rain gutters resprayed) for a bit of tweaking and baselining before I proceed with fitting the large port head.... yay!
<tuffty/>
AudiS3-Turbo
Registered User
Love your car Tuffty! but curious how accurate the EGT are after the turbo as most of the heat is in the manifold under load?
- Joined
- Sep 14, 2008
- Messages
- 24,836
- Reaction score
- 6,078
- Points
- 113
- Location
- Wibbleton
- Website
- www.tuffty.co.uk
It had crossed my mind but tbh the main reason for doing this is to get over the ECU limit... while I am sure it can be coded out we currently can't find it so this will at least keep the ECU happy... my EGT's weren't excessive while the probe was in the mani but enough for the ECU to dump fuel as the limit was for the K04 setup and not for a more powerful GT30 setup... max I ever saw was 960 degrees... ECU fail safe kicks in from 925 degrees...
If we find where the limit is set in the map then I may well go back to having the probe in the mani.... I have the logs from when the probe was there so when I log this time I'll take the relative drop into consideration and keep an eye on it appropriately...
<tuffty/>
If we find where the limit is set in the map then I may well go back to having the probe in the mani.... I have the logs from when the probe was there so when I log this time I'll take the relative drop into consideration and keep an eye on it appropriately...
<tuffty/>
Speedy Steve
Registered User
Morgan-VAGCHECK
Foot to the floor
- Joined
- Jan 31, 2007
- Messages
- 103
- Reaction score
- 2
- Points
- 16
It had crossed my mind but tbh the main reason for doing this is to get over the ECU limit... while I am sure it can be coded out we currently can't find it so this will at least keep the ECU happy... my EGT's weren't excessive while the probe was in the mani but enough for the ECU to dump fuel as the limit was for the K04 setup and not for a more powerful GT30 setup... max I ever saw was 960 degrees... ECU fail safe kicks in from 925 degrees...
If we find where the limit is set in the map then I may well go back to having the probe in the mani.... I have the logs from when the probe was there so when I log this time I'll take the relative drop into consideration and keep an eye on it appropriately...
<tuffty/>
Hi,
If you ask Bill to PM/email me your ECU hardware/software numbers I will tell him where the constant (TABGSS) is you need.
Regards
Morgan
- Joined
- Sep 14, 2008
- Messages
- 24,836
- Reaction score
- 6,078
- Points
- 113
- Location
- Wibbleton
- Website
- www.tuffty.co.uk
Hi,
If you ask Bill to PM/email me your ECU hardware/software numbers I will tell him where the constant (TABGSS) is you need.
Regards
Morgan
Will do :icon_thumright:
<tuffty/>
- Joined
- Sep 14, 2008
- Messages
- 24,836
- Reaction score
- 6,078
- Points
- 113
- Location
- Wibbleton
- Website
- www.tuffty.co.uk
Dropped my car off at the body shop this morning so they can respray my rain channels for the second time!! thankfully its still under warranty but a pain in the **** non the less... they gave me a 1.2ltr Polo as a courtesy car... brilliant!
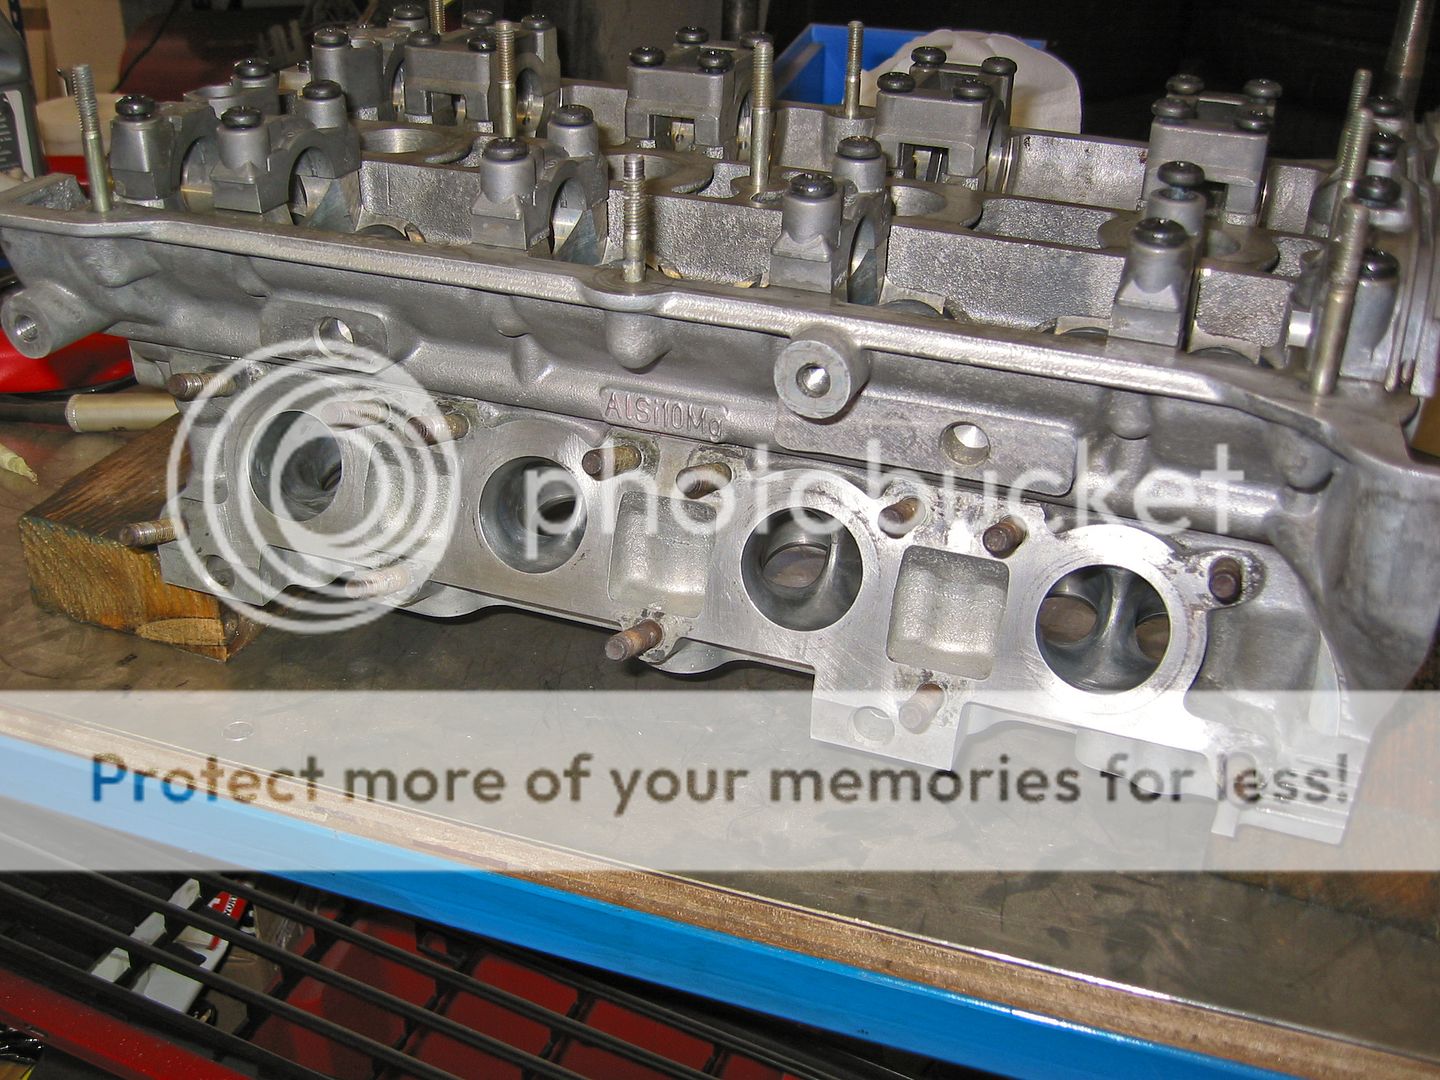
Anyhoo... seeing as I had today off so I could do that and some work on my head I got cracking fitting the valves...
Gave the head and the ports a final polish with a scotch bright wheel and cleaned it thoroughly...

...in readiness for this little lot
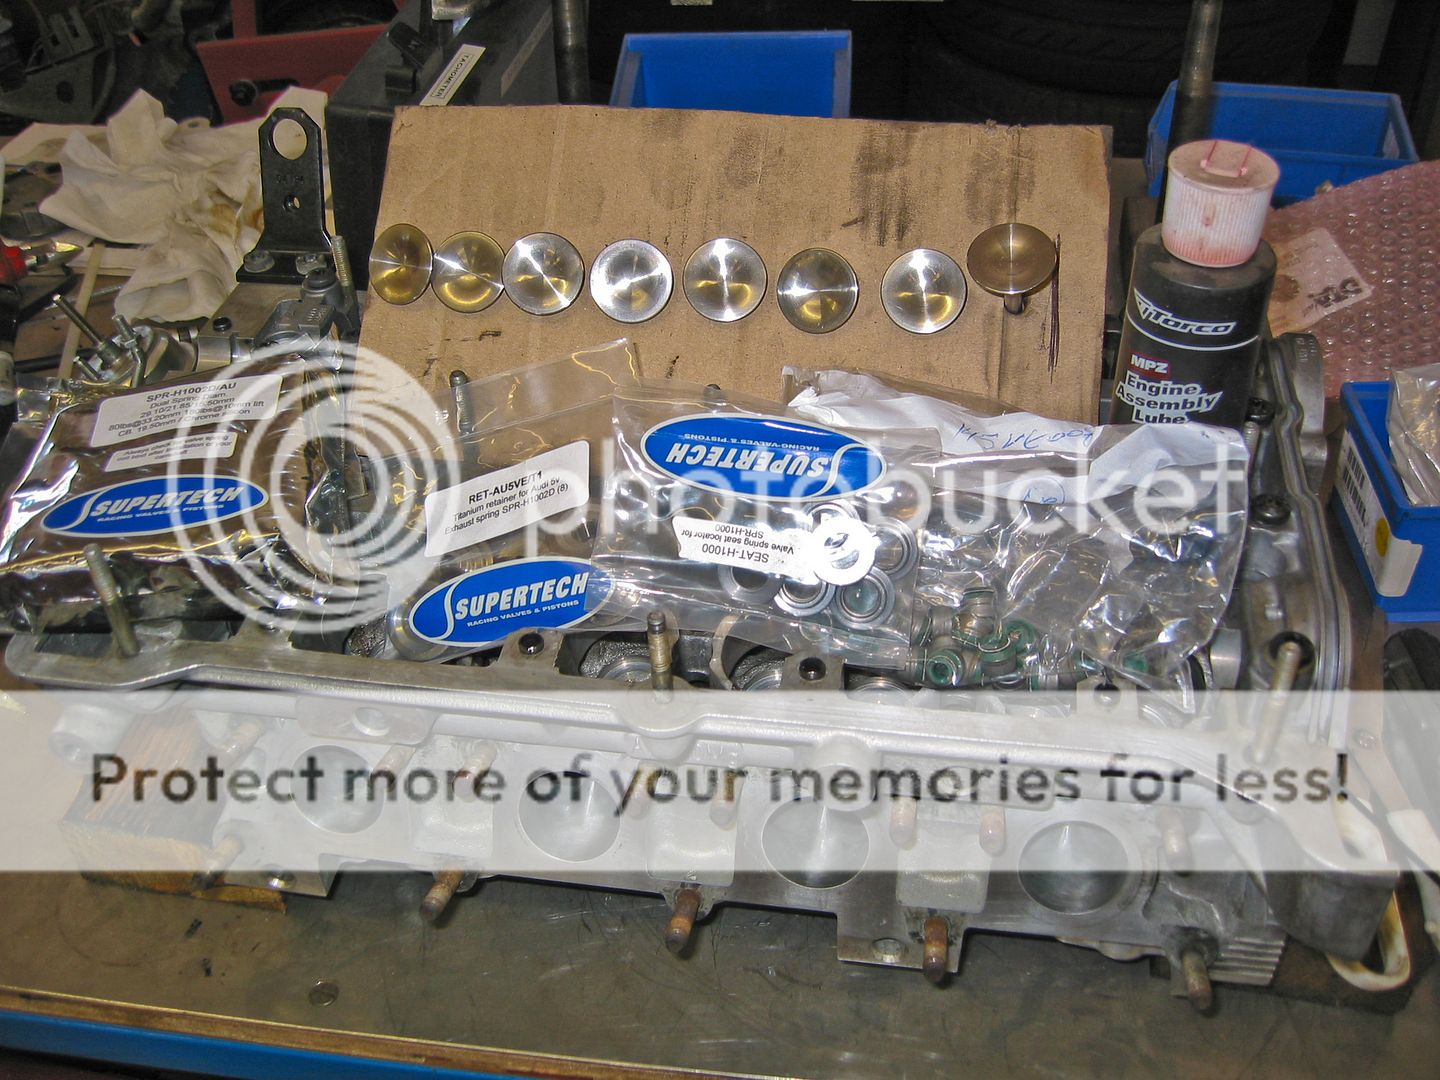
Started off by lapping in the inlet valves and then fitted the exhausts which had already been done when the guides were replaced...

I had a small problem with the exhaust spring lower retainers as it would appear the new guides were oversize and they would not fit over so I open them up a tad and soon had them fitted along with the steam seals...

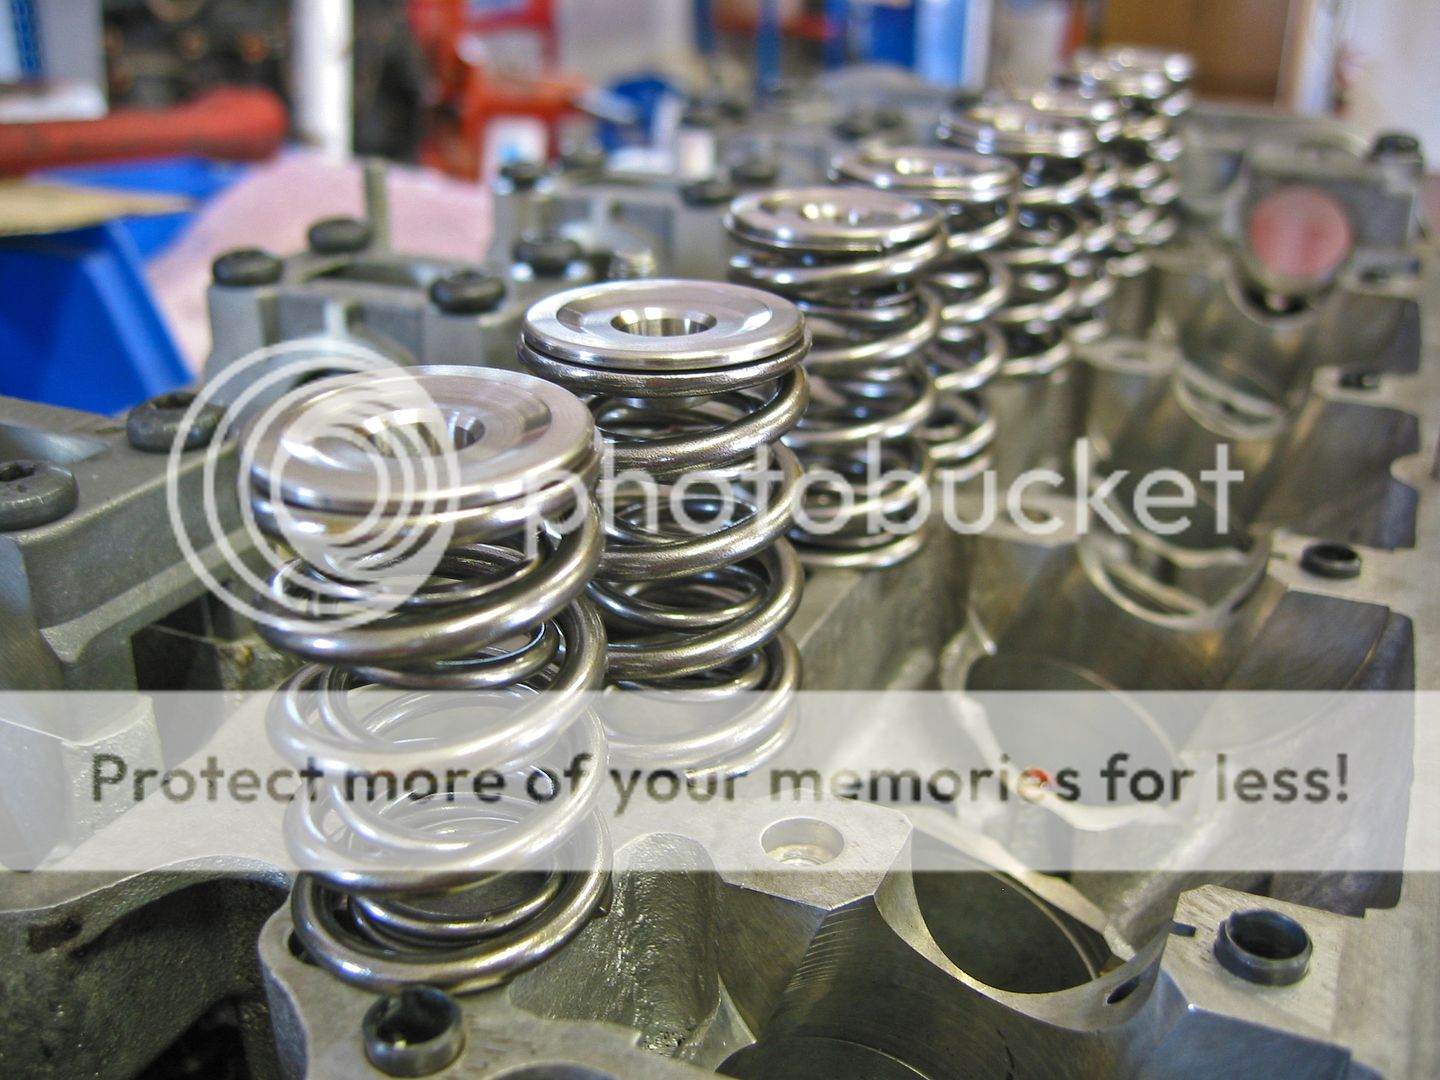
...exhaust spring set ready to be fitted... these are dual springs, std is single...
...fitting the collets...

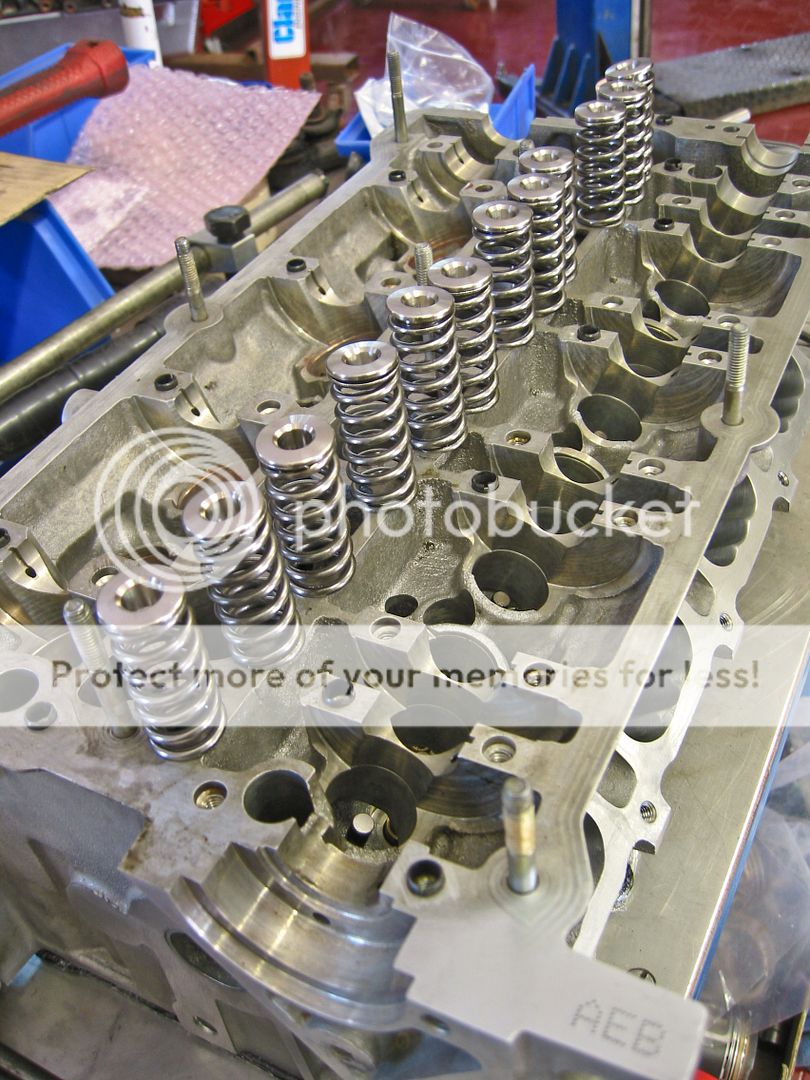
...inlet spring set ready to go in...
...pre-fitted the collets as I found it easier to get them seated this way with the tool I was using, they just required a little teasing with a non magnetic pointy thing (I used a cable tie!) to sit in place...

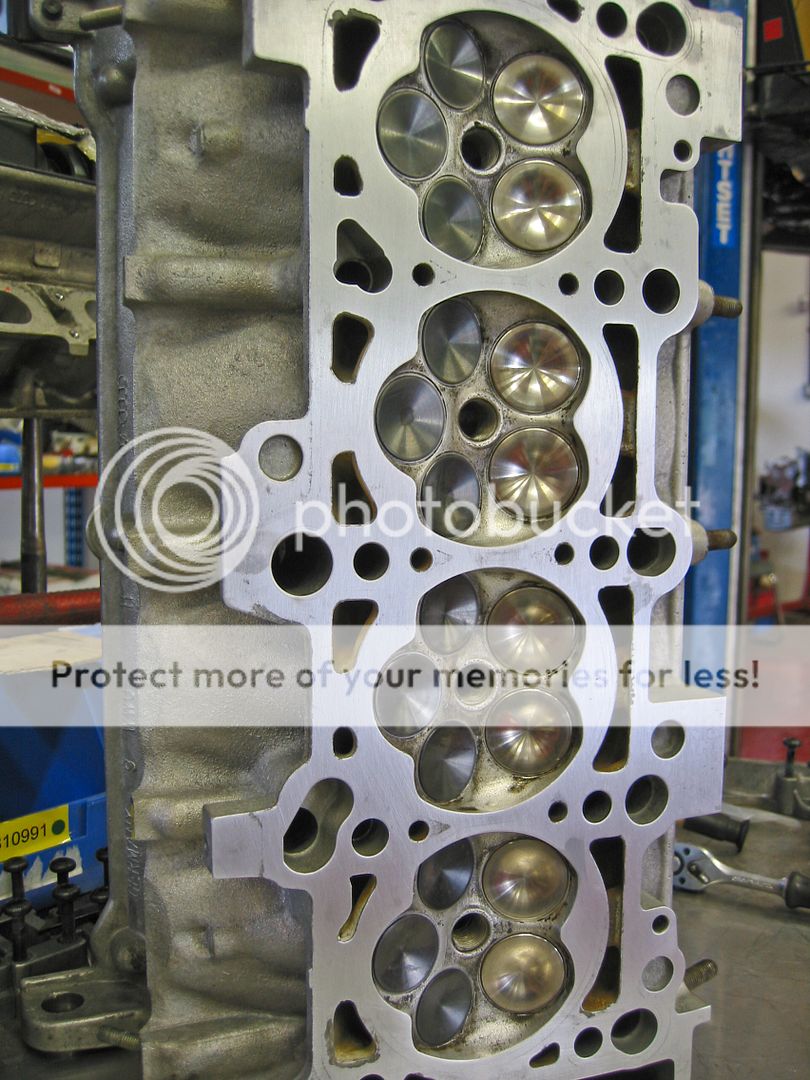
...and there we have it, a couple of blurry vision (tm) pics of the supertech valves, springs and titanium retainers fitted

A good afternoons work, and now the head is essentially ready to fit which will happen sometime towards the end of next month all being well...
<tuffty/>
Anyhoo... seeing as I had today off so I could do that and some work on my head I got cracking fitting the valves...
Gave the head and the ports a final polish with a scotch bright wheel and cleaned it thoroughly...
...in readiness for this little lot
Started off by lapping in the inlet valves and then fitted the exhausts which had already been done when the guides were replaced...
I had a small problem with the exhaust spring lower retainers as it would appear the new guides were oversize and they would not fit over so I open them up a tad and soon had them fitted along with the steam seals...
...exhaust spring set ready to be fitted... these are dual springs, std is single...
...fitting the collets...
...inlet spring set ready to go in...
...pre-fitted the collets as I found it easier to get them seated this way with the tool I was using, they just required a little teasing with a non magnetic pointy thing (I used a cable tie!) to sit in place...
...and there we have it, a couple of blurry vision (tm) pics of the supertech valves, springs and titanium retainers fitted
A good afternoons work, and now the head is essentially ready to fit which will happen sometime towards the end of next month all being well...
<tuffty/>