Goodbye Vauxhall (sort of), well hello Audi S3

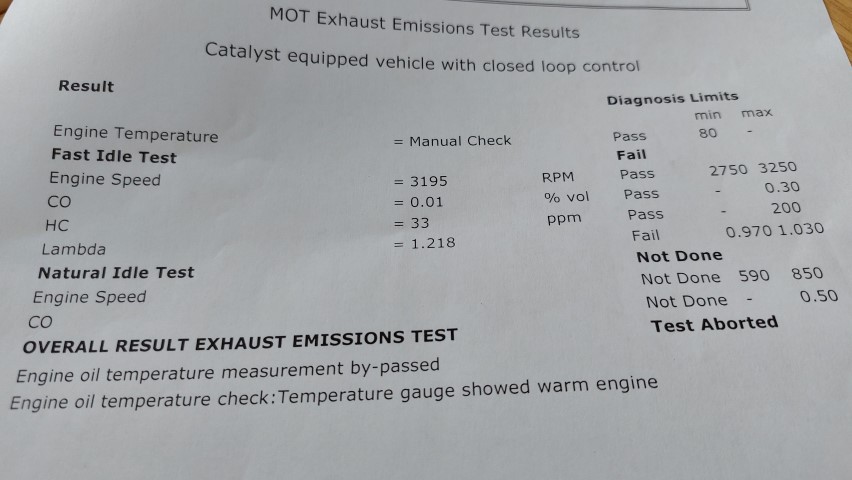
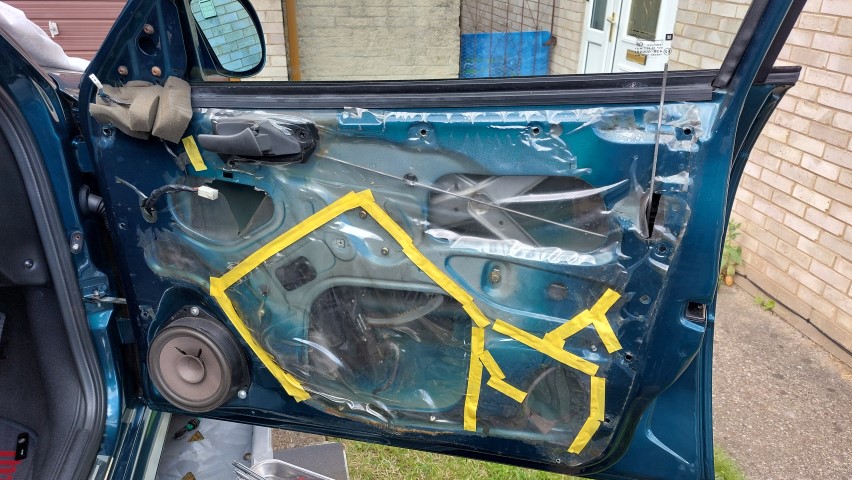
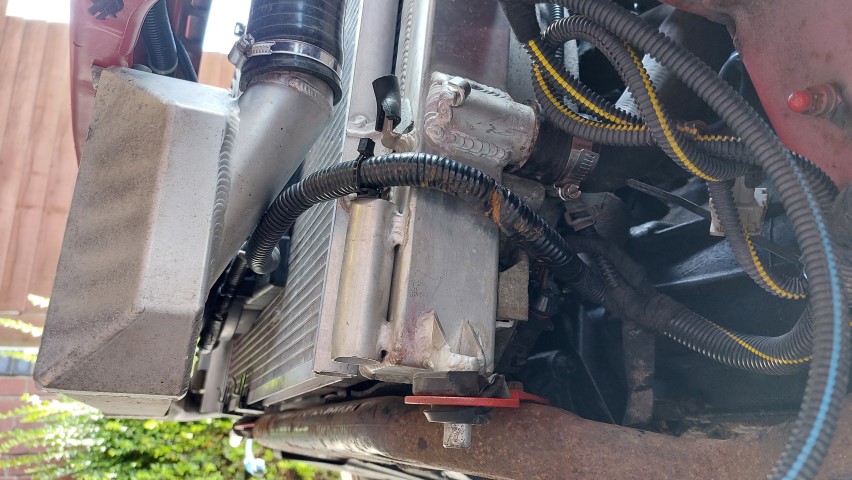
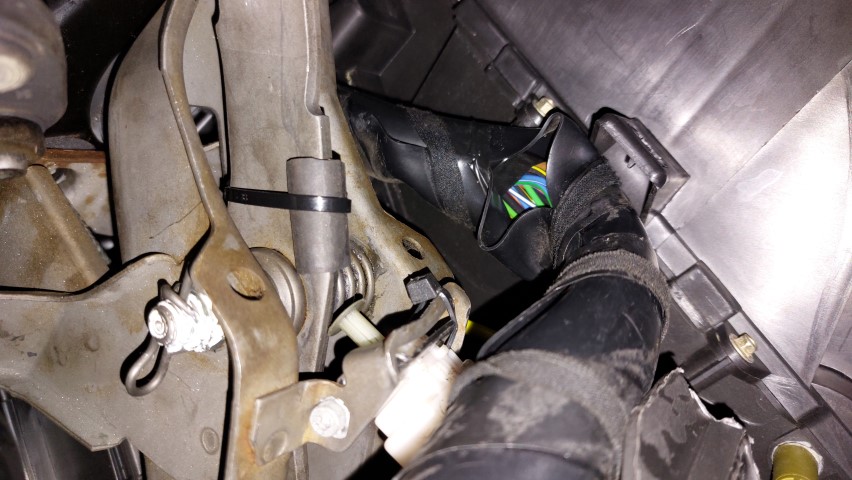
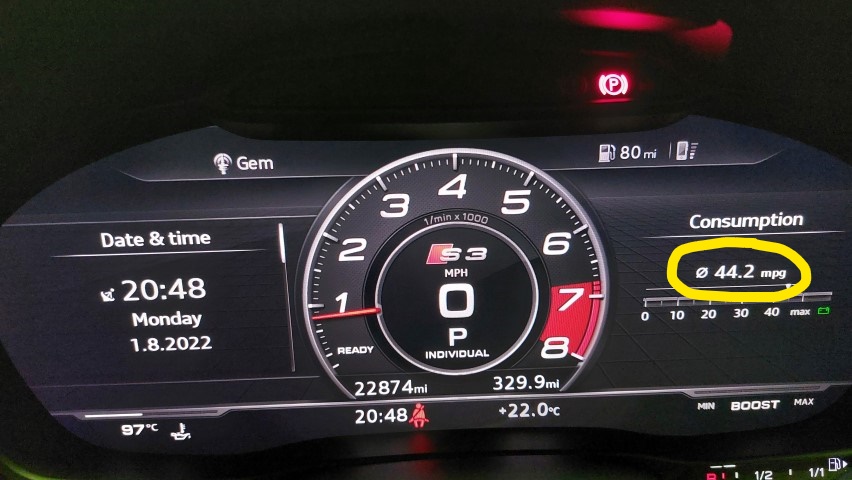
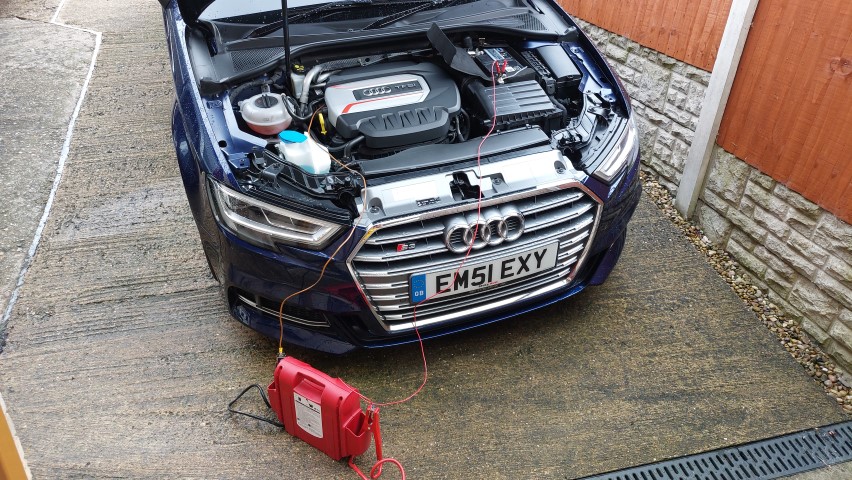
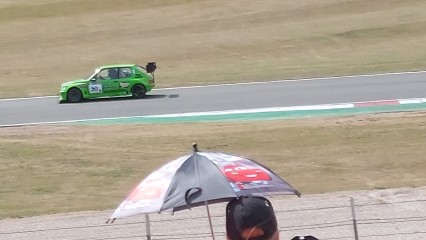
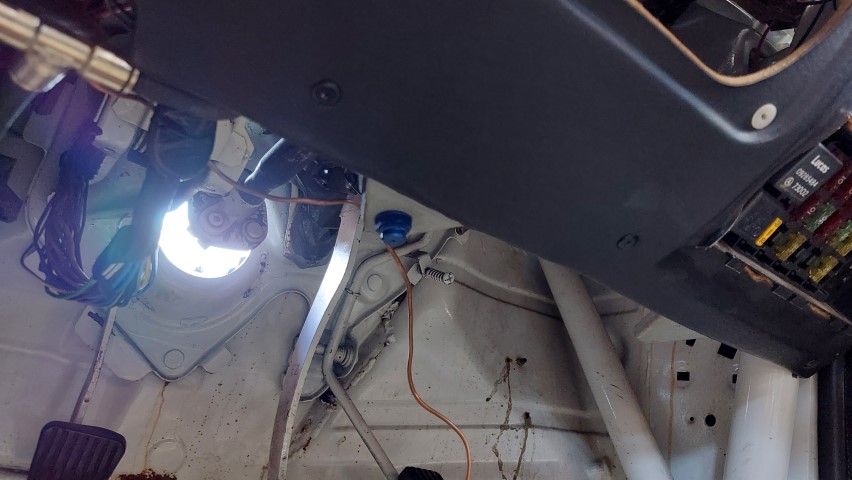
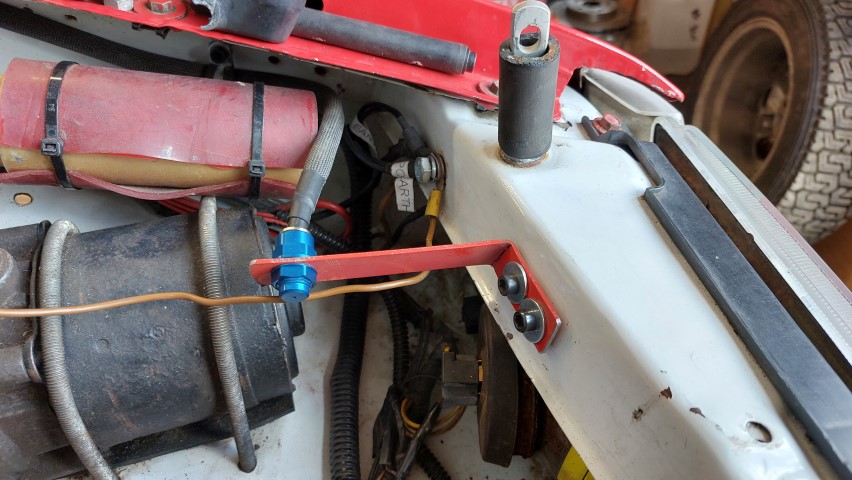
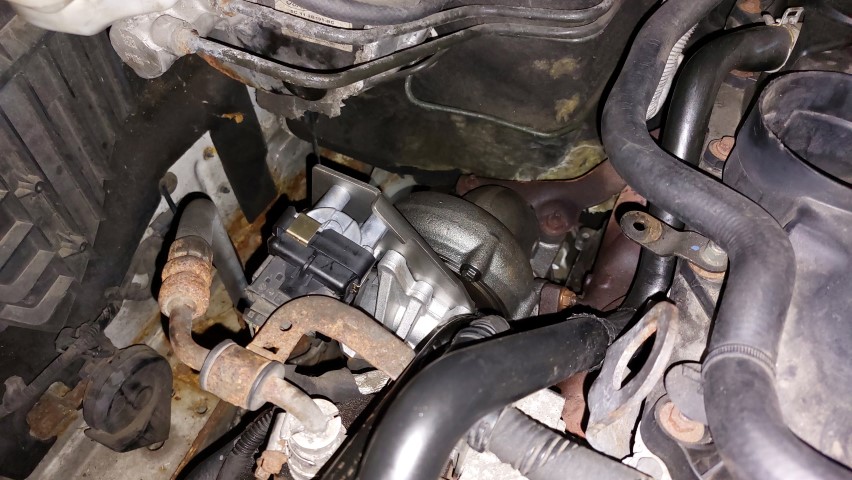
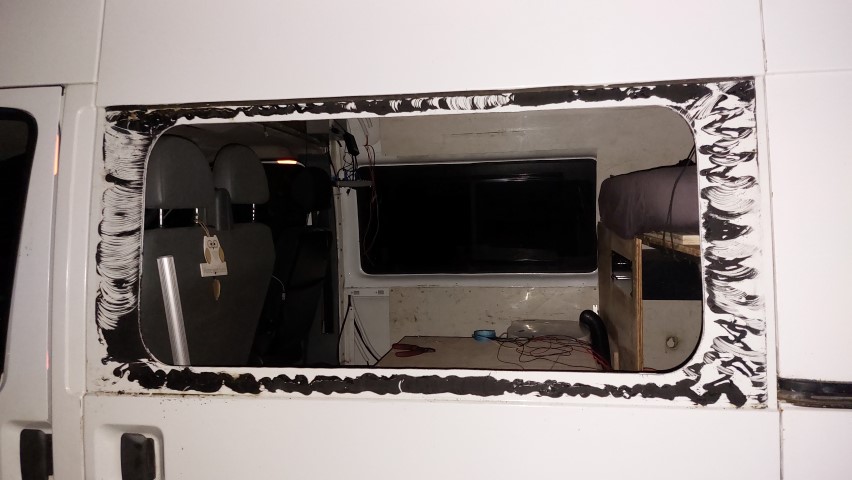
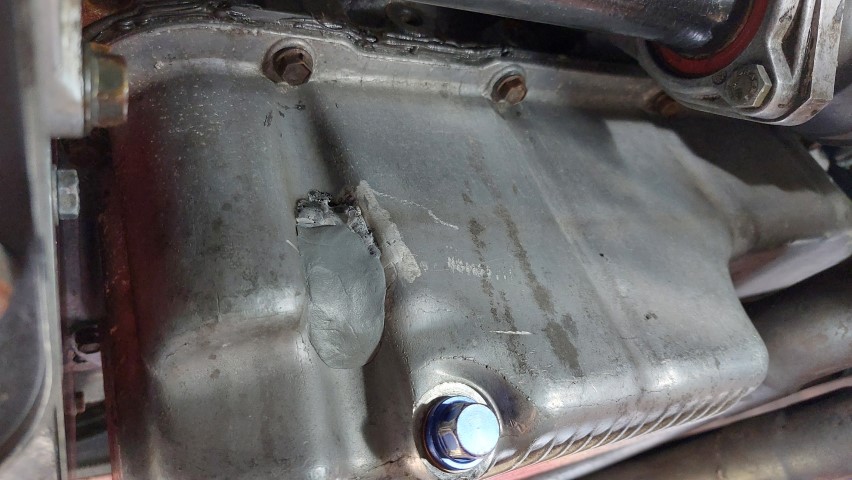
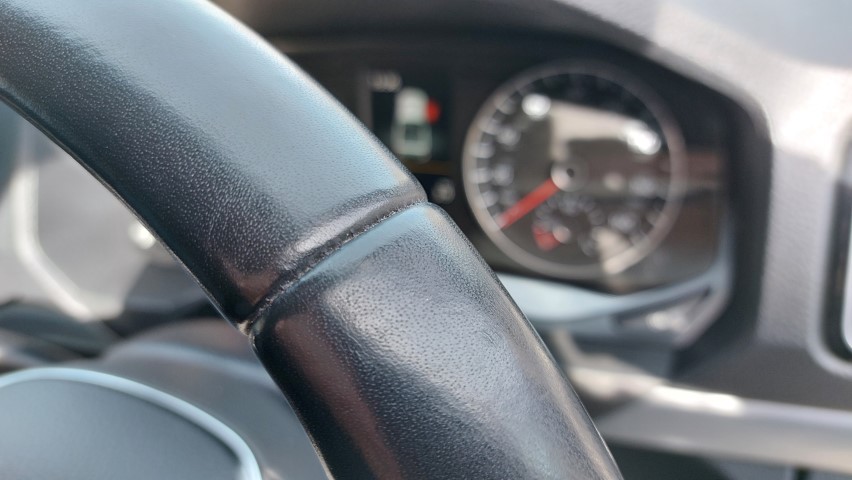
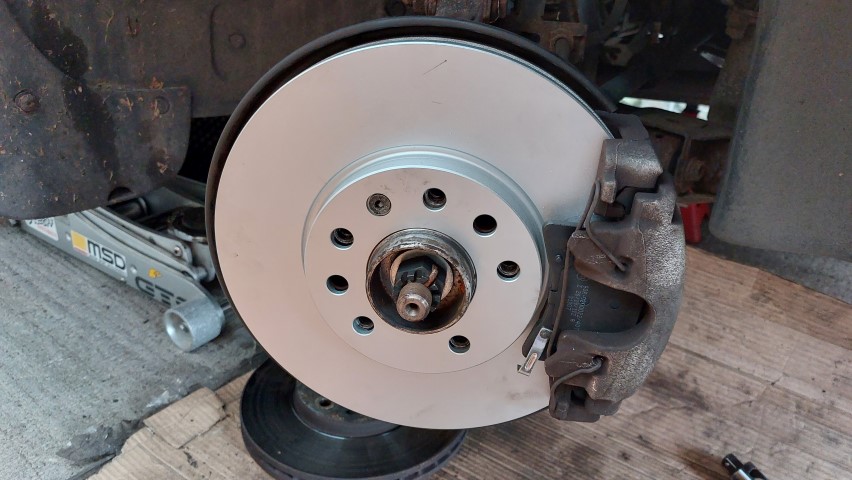
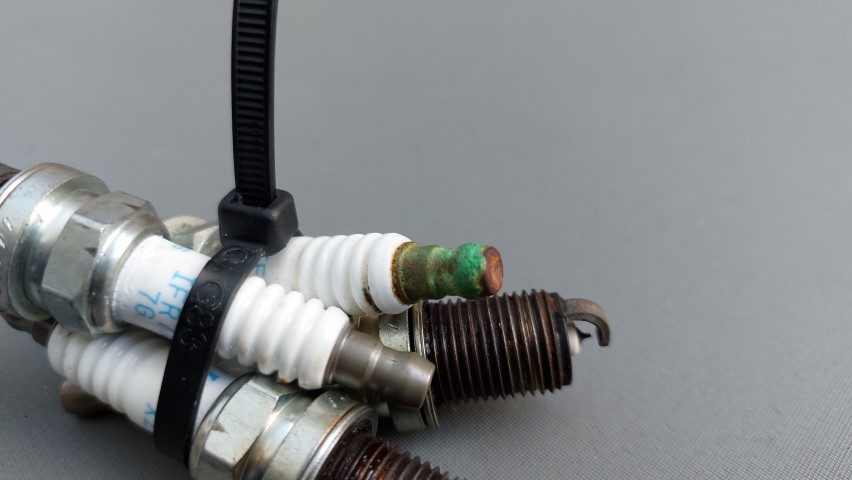
Had a few issues with my tiny 20 ish year old Brise hi-torque competition starter motor on my Astra GTE tack car. It’s been sticking every now and then but mainly when cold, then requires a whack on the starter body to get the motor to engage. The solenoid was replaced by me a few years ago which you can hear clicking but the motor sometimes doesn’t engage which can be very annoying for obvious reasons.

20220529_094406Small.jpg


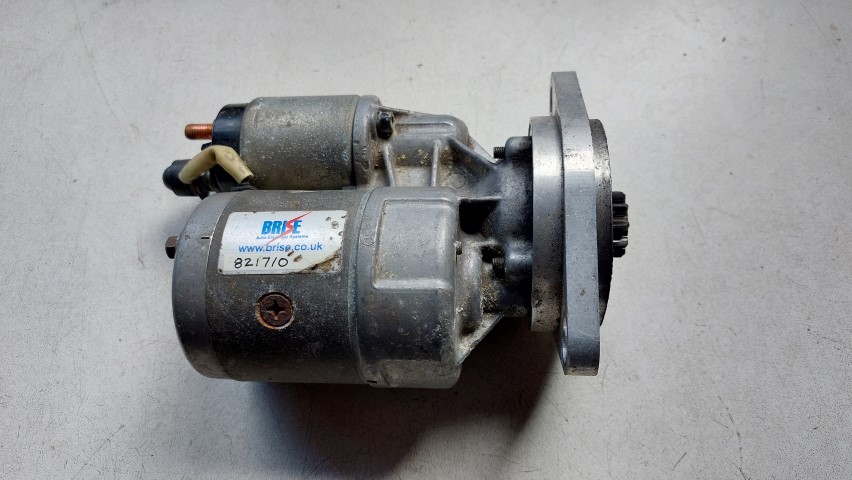
I’ve got medium sized hands so you can tell just how small it is, such a cutie and only weighing around 3kg.

20220529_094052Small.jpg


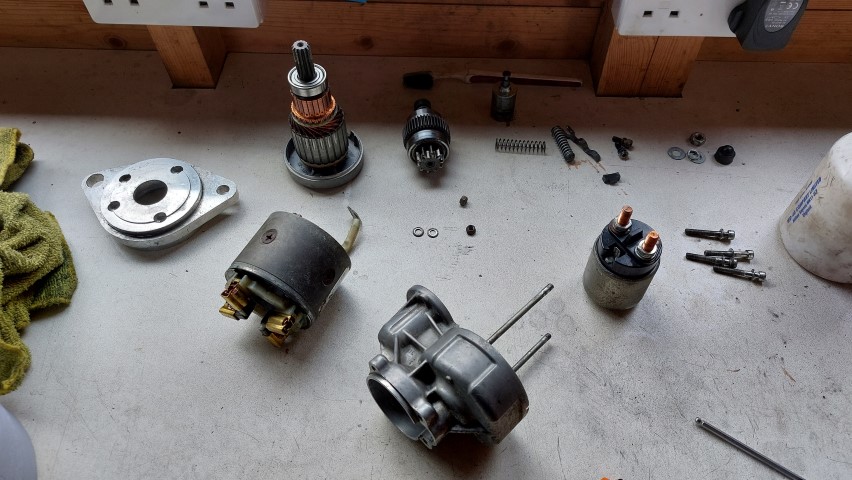
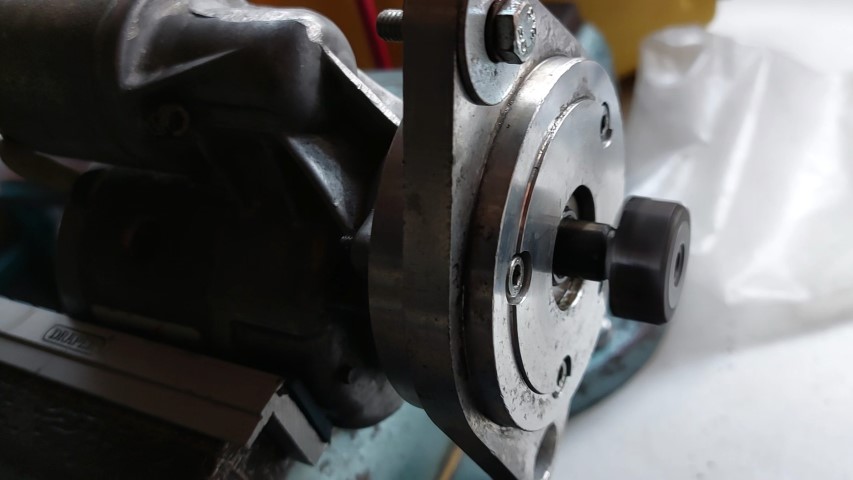
My plan was to strip, inspect and thoroughly clean it internally. It was quite simple really and the motor brushes looked perfectly serviceable with lots of life left.

20220530_133437Small.jpg


20220530_133149Small.jpg


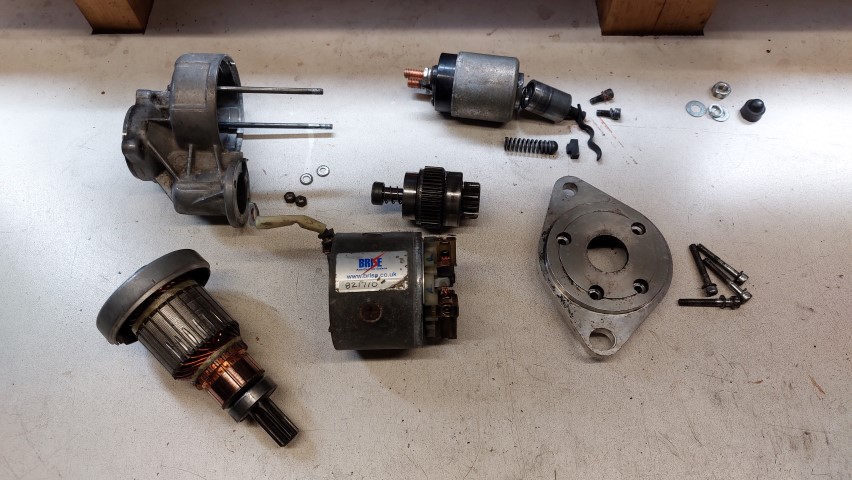
I was surprised just how dirty it was inside so after a good clean I’m hoping this will resolve the issues. Also gave the stator brush contact area (communicator segments) a clean using 1500 grit.

20220530_162847Small.jpg


Bolted it all back together and bench tested successfully with the drive gear popping out and spinning as it should, a very satisfying click, clunk, whiz.

20220530-163037Small.jpg


20220530-163047Small.jpg


Bolted back on the car and tested again turning the engine over every time I pressed my start button. Time will tell if the sticky starter issue is fully resolved but initial signs are good.

20220531_170736Small.jpg


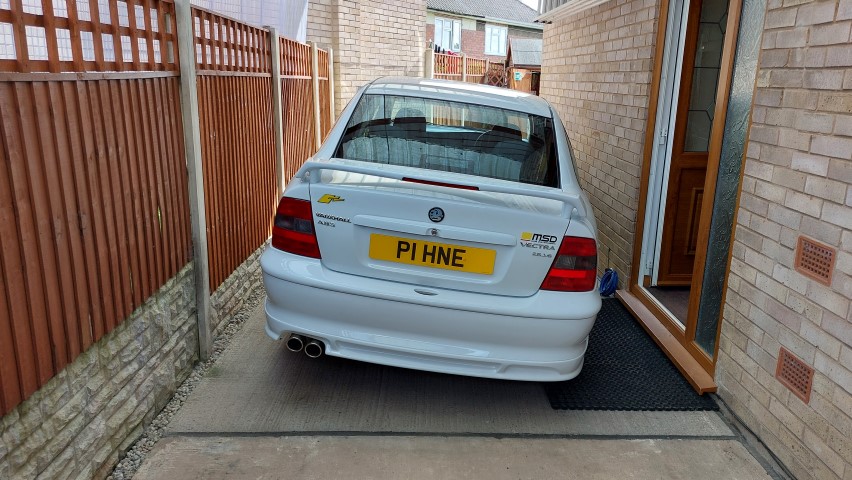
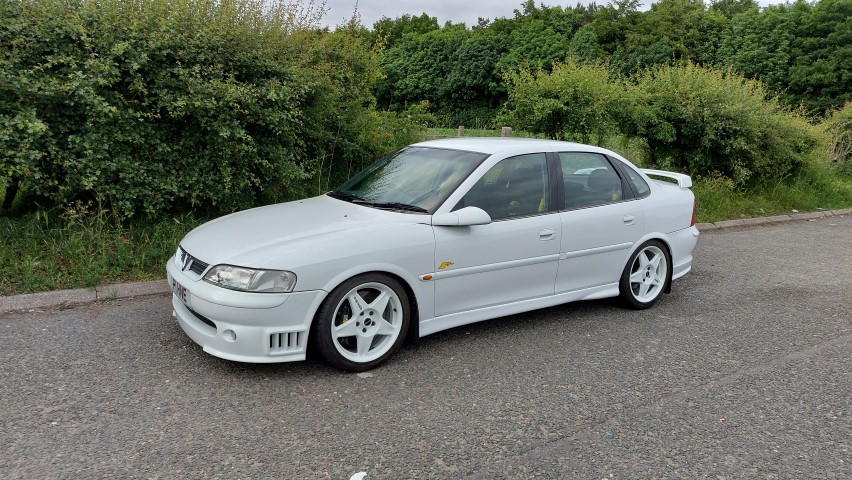
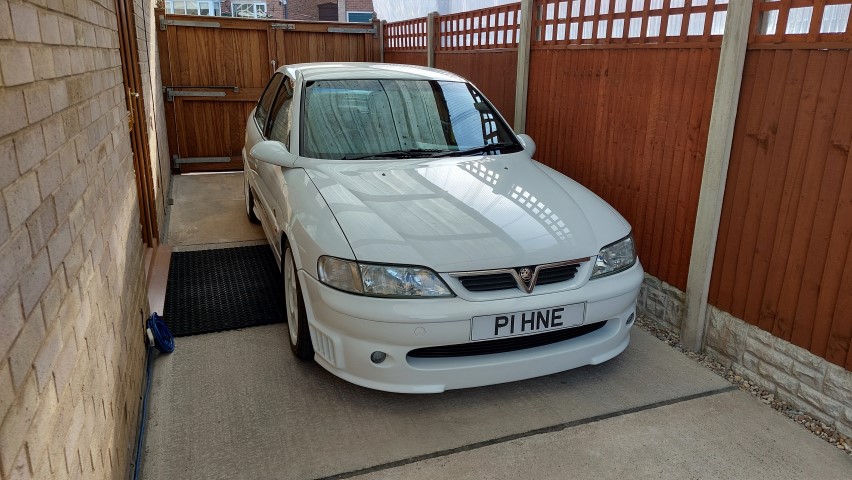
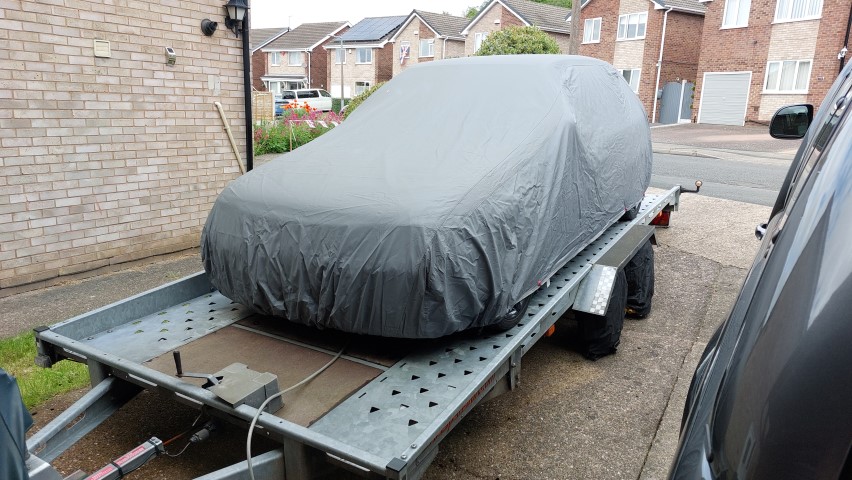
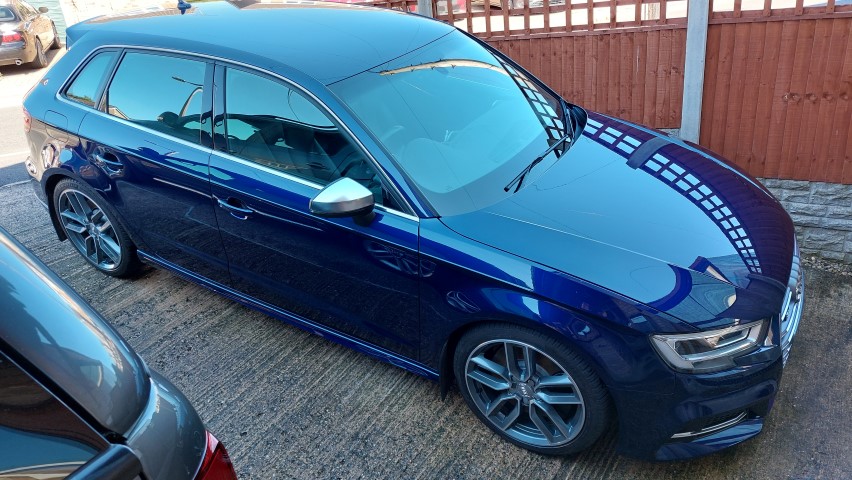
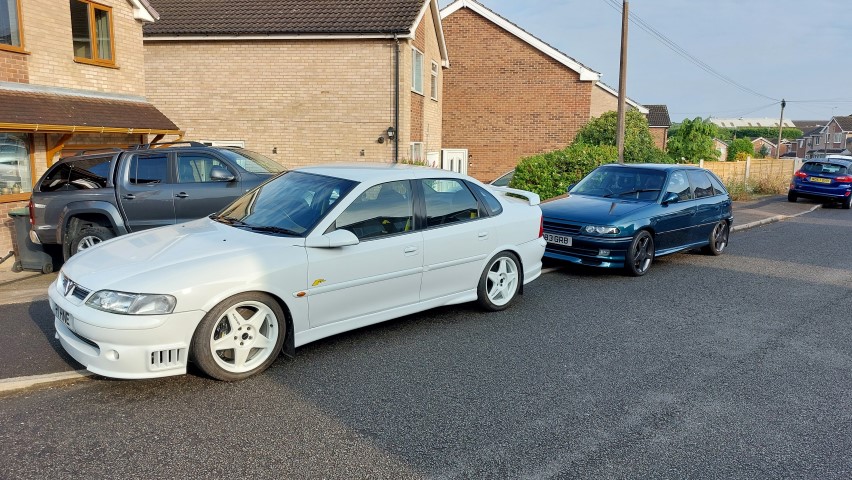
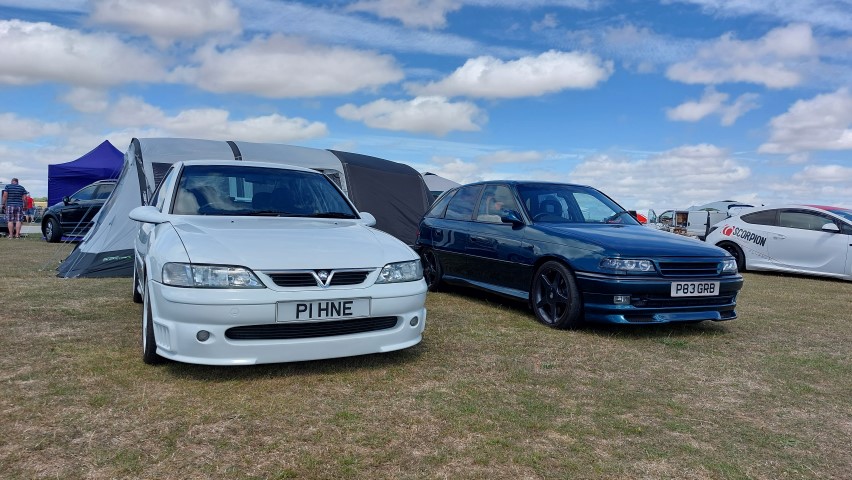
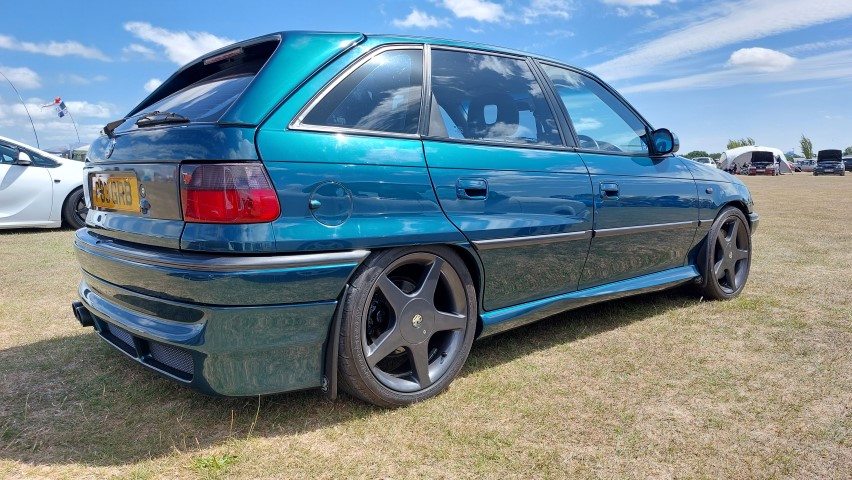
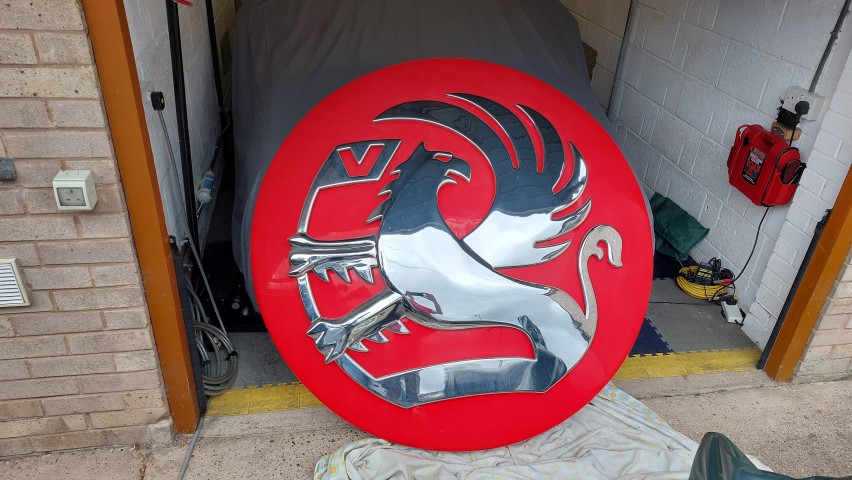
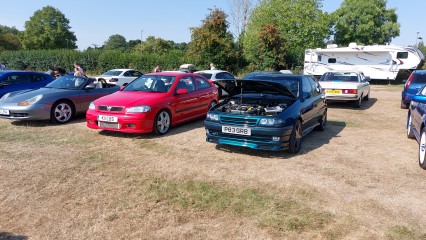
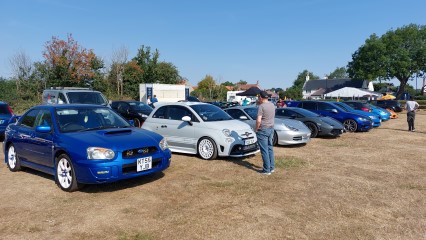
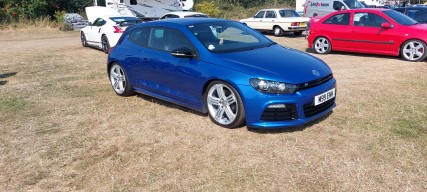
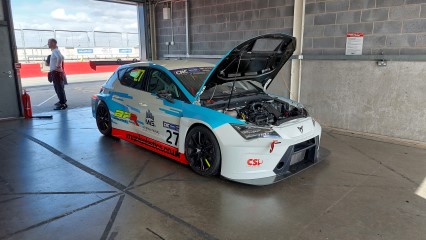
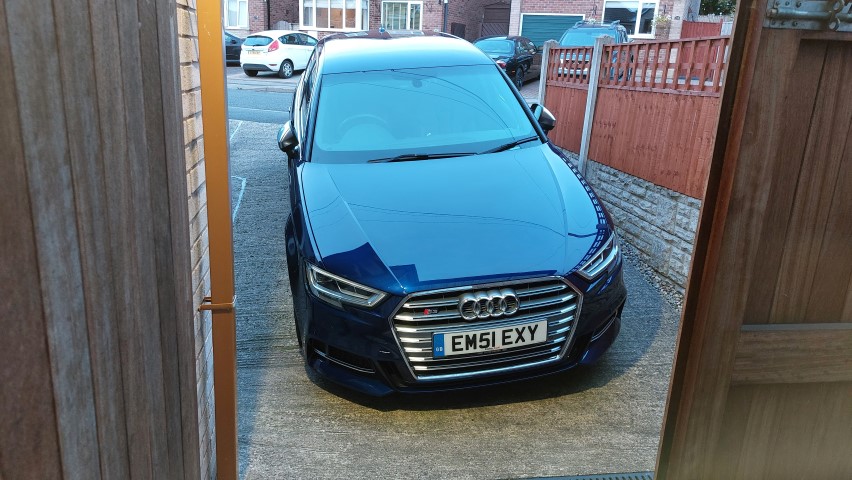
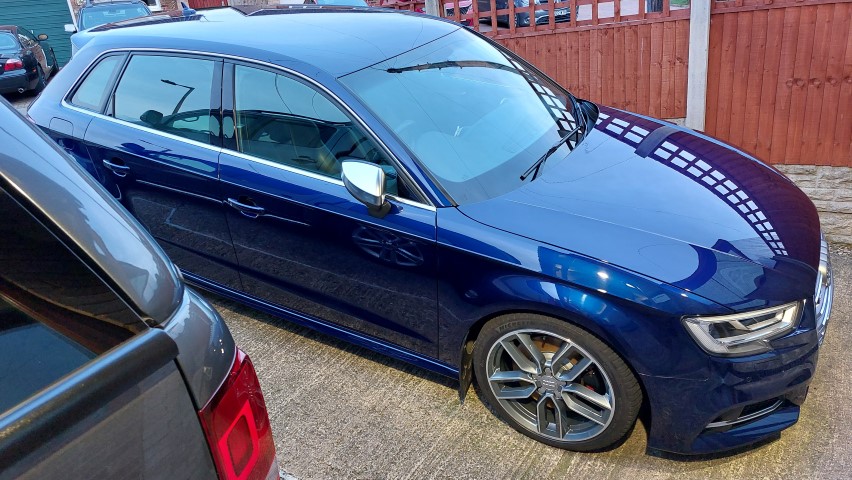
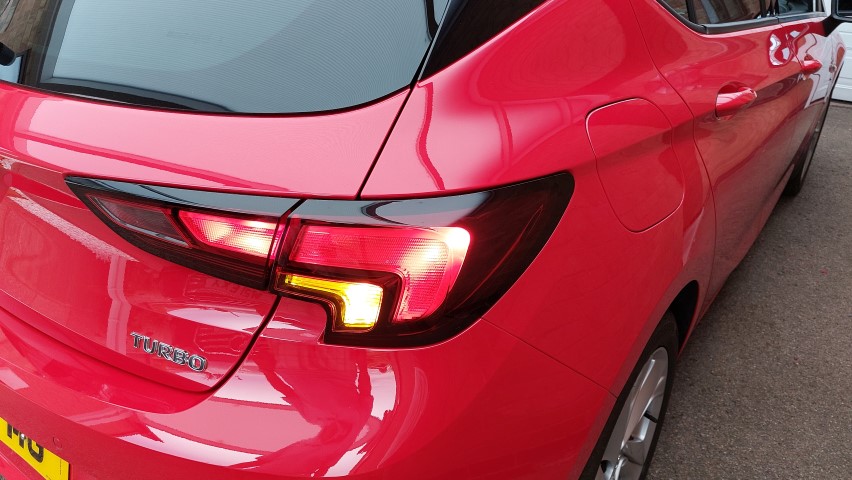
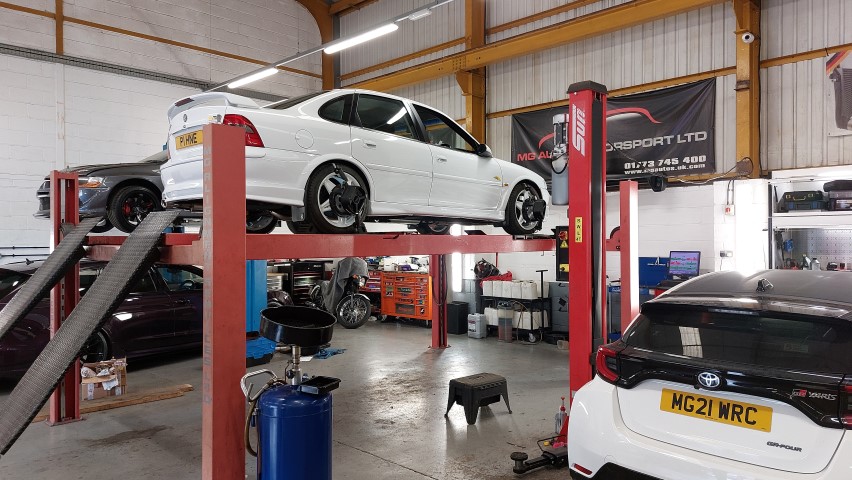
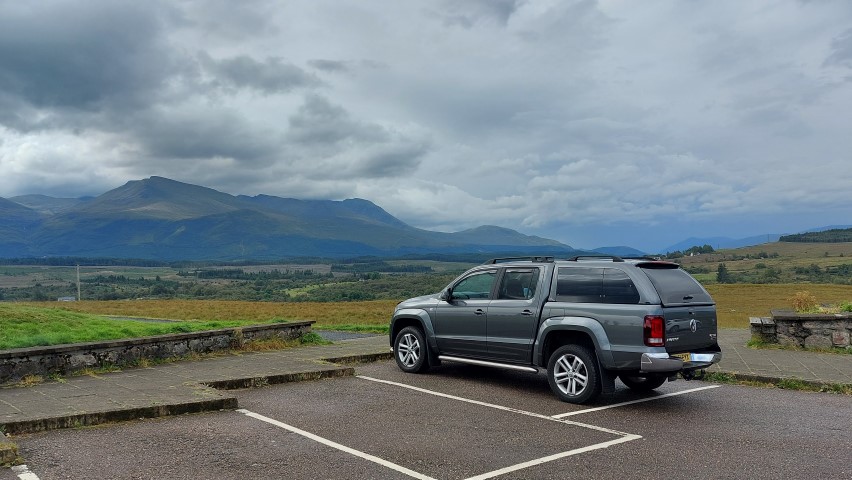
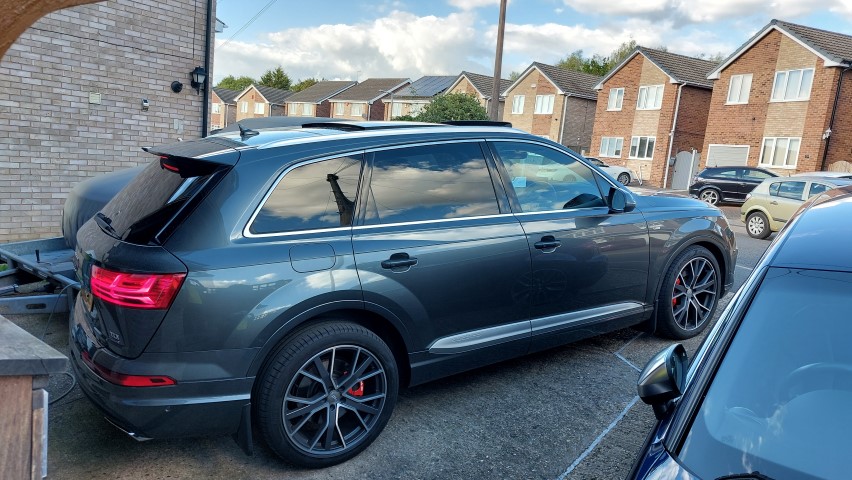
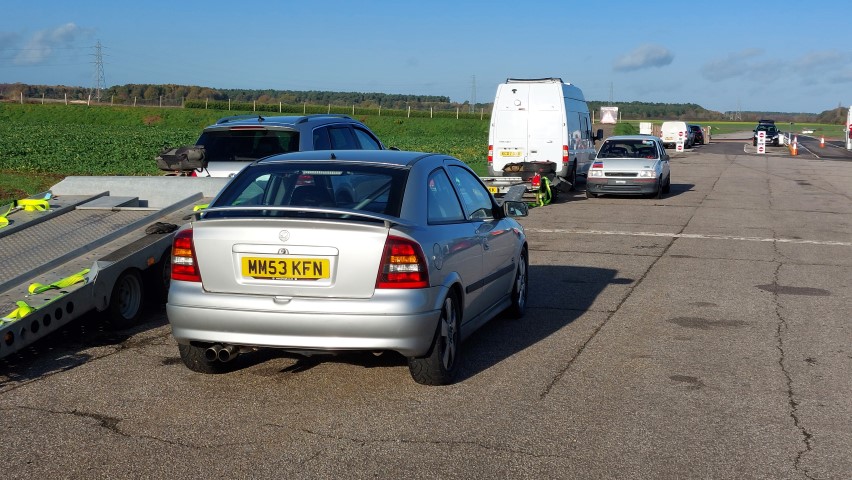
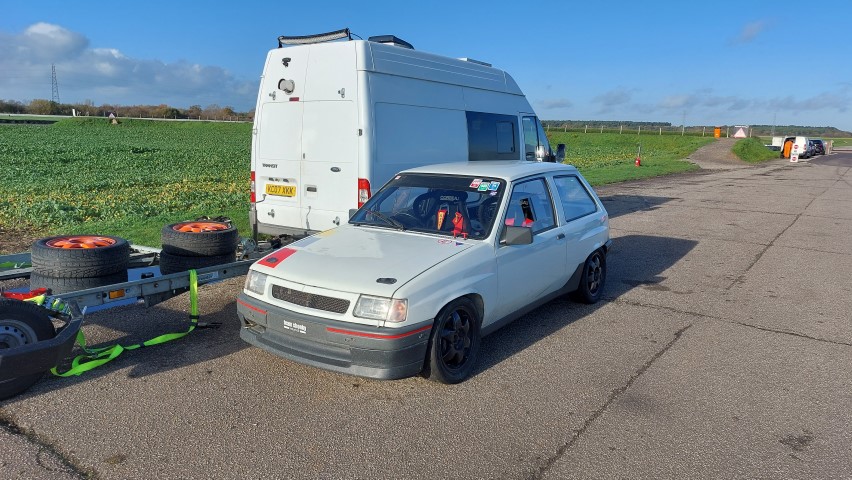
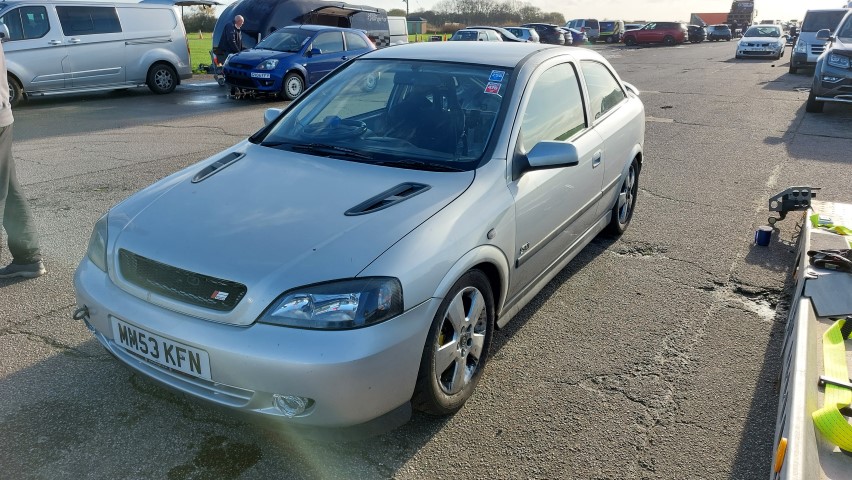
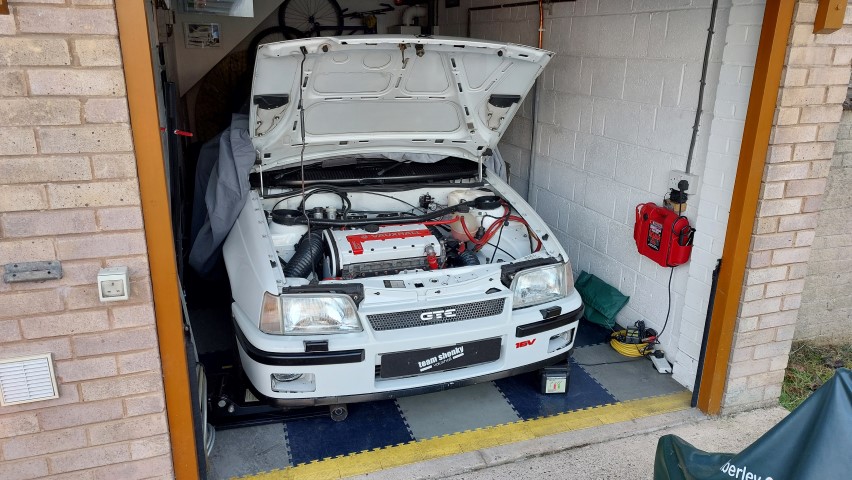
GTE has a posh new home for this Summer instead of being relegated to its usual on-trailer storage as I’ve had a swap around with the crusty Vauxhall fleet.

20220531_171824Small.jpg
 
  • Like
Reactions: Pinky1959 and Jcbmally
I took my Vecta SuperTouring 200 for its MOT last Friday but it wasn’t to be.

20220610_084823Small.jpg


It failed on a split lower ball joint boot which has only covered about 750 miles and the lambda readings were high due to a slight exhaust blow.

20220610_152921Small.jpg


20220610_152959Small.jpg


Friday evening, I checked my stock and found I had a spare as new ball joint and exhaust paste so cracked on with sorting fixes.

20220610_163003Small.jpg


20220610_165037Small.jpg


Jacked it up and popped axle stands under before splitting the blowing join and pasting it up and adding more after reassembly.

20220610_171546Small.jpg


20220610_174345Small.jpg


20220610_180051Small.jpg


Re-test last Monday and…..

20220613_130227Small.jpg


We have a pass so I spent more hard-earned cash and it’s now taxed so fully road legal.

20220613_132254Small.jpg


A small but fiddly Vectra job requiring attention was a damaged rear headrest sleeve.

20220611_173733Small.jpg


I managed to source a brand new genuine replacement thanks to Genuine Part Search after dropping them an email.

20220611_173706Small.jpg


With careful extraction I managed to get the damaged goods removed.

20220611_180756Small.jpg


The replacement just clicked into place and all was happy in ST200 land.

20220611_181449Small.jpg


So far so good after covering around 30 fault free miles. I’m hopeful that’ll continue and I’ll enjoy using it this year as I have a few shows lined up.

20220613_192935Small.jpg


It’s new home for this year under the carport. Planning to give it a wash later as it’s not had one for 6 years, I can then pop my car cover on to stop the spiders thinking it's a climbing frame.

20220616_071807Small.jpg
Still a very nice car.
 
I fell in love with the SuperTouring 200 when I started watching the BTCC in 1998/1999. I think the BTCC might have been what ignited my love of saloon art actually, as I'd been hatchback up until that point, but I gained an affinity with saloon cars, or saloon-looking hatches, around that time

1655683107915
 
  • Love
Reactions: Harvey
The Astra mk3 V6 has been re-homed and relegated to on-trailer storage after a shuffle round with my crusty Vauxhall fleet the other month.

20220603_181423Small.jpg


The cars covered a few miles this year and I’m happy to report the transmission oil level plug fix here has worked with no more fluid weeping.

20220604_132128Small.jpg


I’ve also deploying a version 2 fix for the clunking exhaust which only happens on very bumpy roads which in a firm riding lowered mk3 Astra around my way means most roads. A long rubber hose with heat shielding to stop the exhaust burning through.

20220418_120852Small.jpg


20220418_121403Small.jpg


Another slight annoyance is the central locking as the driver’s door locks via the alarm remote but then unlocks itself, lock it again and it’s fine. I decided it could be the c/l motor so had a good spare which I tested and proved to be working. Driver door card removed, excuse the tape it’s when I retrofitted elec windows.

20220611_095836Small.jpg


Door locking mechanism was surprisingly easy to remove, I was expecting a battle.

20220611_100950Small.jpg


I swapped the suspect c/l motor (bottom) with the tested good spare (top) so the original door mechanism was refitted.

20220611_100954Small.jpg


Bolted back in without a fuss, tested working so popped the genuine mk3 uber rare leather door card back on.

20220611_103902Small.jpg


20220611_103853Small.jpg


For my own idle curiosity I stripped the suspect c/l motor but couldn’t figure out why it was doing what it was. Might be the microswitch was being activated with the plastic sliding section bouncing on lock thus causing it to unlock. No idea so reassembled and stuck it in my spares pile as a working/dodgy spare.

20220611_111058Small.jpg


Astra at rest covered back up until the next play session.

20220604_151313Small.jpg
 
A friend asked me to help with his Astra SRi Turbo as the previous owner had bodged the fitting of a Pace intercooler and not used the correct fitting kit so the stock bumper didn’t sit right and pushed forwards. He didn’t want to cut the bumper so sourced Courtenay Sport cooling pack brackets and painted them race red for 10bhp gain. I managed to get the new lower brackets fitted without having to drop the rad pack, fiddly but easy enough. The fitting kit is required so the AC condenser can be retained.

20220625_120759Small.jpg


20220625_120812Small.jpg


The brackets help pull back the r/h lower mount with l/h lower mount in the same location. You then space back the upper cooling pack mounts by 20mm. With this lot fitted it pulls the whole assembly back and vertical so the Pace intercooler can be bolted to the crash bar using 20mm bracket spacers and held vertically for OE bumper clearance.

20220625_105446Small.jpg


20220625_120748Small.jpg


With the front bumper refitted the intercooler now clears by 10mm and the bumper fits correctly.

20220625_122855Small.jpg


20220625_131125Small.jpg


While I was poking around I noticed this monstrosity of a dodge by an actual garage to the exhaust flexi so it passed the MOT emissions. My mate does plan to get it cut out and sorted as he’s still not got the car on the road yet.

20220625_123714Small.jpg
 
I finally got round to fitting the S3 Summer original mats complete with a 5bhp gain due to the red edging :whistle2:

20220703_094602Small.jpg


20220703_100030Small.jpg


Then it was weekly wash time to remove the covering of dust as we’ve not had much rain around here.

20220707_171102Small.jpg


Still reflecting well at 5 years 6 months old.

20220707_171140Small.jpg
 
  • Like
Reactions: Mr Freeze
Popped down to Sywell Aerodrome for the annual VBOA (Vauxhall Bedford Opel Association) show last weekend and took my Vectra ST200 and the wife’s Astra V6. Loaded and ready for the off, nice uneventful drive both ways and we got a few thumbs up from other drivers. Neither cars missed a beat so I've done something right with my maintenance.

20220723_073555Small.jpg


We had planned on camping Sat and Sun but decided we had burnt enough so scooted home on Sun afternoon. Great weekend and nice catching up with all the fellow club members both new and old.

20220724_130716Small.jpg


The Astra & Vectra were looking half decent in the bright sun to say we couldn’t be bothered to clean it when we got there.

20220724_130639Small.jpg


20220724_130653Small.jpg


On the way home the Astra cruise Control stopped working which I’ve successfully diagnosed to the clutch pedal switch. The switch didn’t have sufficient travel so a lovely motorsport fix sorted that one using a slit 6mm fuel hose and ziptie, now working again.

20220725_090447Small.jpg


20220725_090453Small.jpg


The car of the VBOA show for me was this amazing retromod Firenza and it’s LS3 lump under the hood, all 6.2L V8 goodness. It was missing a supercharger but I’m sure it was fast enough without one.

20220724_104512Small.jpg


20220724_104413Small.jpg


20220724_104317Small.jpg


In other news a mate spotted a wanted add so after making contact I’ve sold my huge Vauxhall sign I’ve had stashed away for 12 years. I had planned on mounting it to my garage ceiling backlit but never got round to it. It’s 138cm (4 foot 6 inch) diameter so a bit of a monster size. The new owner is very pleased so that’s the main thing, it’s gone to a good home.

20220702_140707Small.jpg
 
  • Like
Reactions: GGP
The S3 was recently with VagPro who I’ve used previously for retrofits a couple of years ago see here. It was booked in to have the camera calibration completed to clear the No Basic Setting warning in Module 6C. This was done free of charge and wasn’t completed at the time of the retrofit due to lack of calibration board.

20220726_122800Small.jpg


I also had the MMI updated for unlimited maps with FEC code tweaked to “ff” plus the addition of POI for red light/fixed/average/mobile speed cameras which beep as well as on screen pop-up text alert if not on the nav screen in the MMI. The speed camera POI show in both MMI and Virtual Cockpit. As always great service and professionalism from VagPro who comes highly recommended for all VAG related work. Special thanks to @DJAlix at VAG Car Coding for the remote work ;) the dream team at its best.

20220726_122600Small.jpg


20220726_181000Small.jpg


20220726_180843Small.jpg


Latest maps now loaded so no excuse getting lost. Having a valid Audi Connect license the real-time traffic conditions, road closures, satellite overlay etc all still work as they should.

20220801_204758Small.jpg
 
  • Like
Reactions: s3mad_dude
Managed to grab a picture of the S3 Virtual Cockpit with the camera POI showing average/fixed/mobile but missing the traffic light camera as there aren't any in this area. The wife and I still love the satellite overlay so while we can still get it we’ll be keeping it in spite of the annual cost.

20220805_083100Small.jpg


Popped out the other evening and the S3 still amazes me returning 44.2mpg. Alas, it was a boring 40ish mile drive but I had no reason to press on so thought I’d see what I could get. I'm sure on a longer run it would have been higher if I really tried but the S3 wasn't purchased to chase mpg, it was bought as we wanted it.

20220801_204812Small.jpg
 
  • Like
Reactions: GGP and s3mad_dude
While on the subject of map update VW released the latest 2023 maps for the Discovery Media fitted in the Amarok the other month so I updated it using the DiscoveryCare app which I’ve detailed previously here.

20220729_183042Small.jpg


After reading a few online posts and having a poke around I have managed to find 2022 speed camera POI for the Discovery Media (16GB SD card) so gave it a try and hey presto they work. It gives you a visual icon on the map and you can setup a nonintrusive blip-blop audible warning when approaching traffic light/fixed(inc. average)/mobile camera locations.

20220729_183605Small.jpg


20220729_183014Small.jpg


20220729_183837Small.jpg


My Brother-In-Law has changed his Audi A6 Allroad and gone all posh with a high spec Q7 (Type 4M). It’s a lovely vehicle and I’ll be sorting him a few choice VCDS tweaks soon.

20220710_132018Small.jpg
 
Popped to a small local meet at the weekend in the blistering sunshine, I’m so glad I persevered with the Astra mk3 AC it was a wonderful cool drive out. The meet was at www.griffinsheadnottingham.co.uk I was expecting a larger turnout but it is holiday season and was hot hot hot. My mate came along in his Astra mk4 SRi Turbo so we parked together. Great mix of all sorts so I’ll let the pics do the talking.

20220814_101304Custom.jpg
20220814_101317Custom.jpg
20220814_112318Custom.jpg
20220814_112326Custom.jpg
20220814_112340Custom.jpg
20220814_112352Custom.jpg
20220814_112425Custom.jpg
20220814_112457Custom.jpg
20220814_112518Custom.jpg
20220814_112548Custom.jpg
20220814_112623Custom.jpg
20220814_112831Custom.jpg
20220814_112921Custom.jpg
20220814_112951Custom.jpg
20220814_113110Custom.jpg
20220814_113510Custom.jpg
 
Last edited by a moderator:
  • Like
Reactions: alpesh26
When I had the recent S3 work completed at VagPro click me it was noted my vehicle battery wasn’t in great health so I decided to get it changed before it failed completed having serviced 5.5yrs of faithful use. The S3 came with an EFB from new so I decided to up the game and fit an AGM, you can read about battery types here in this informative article. After a poke around I opted for a Halfords AGM 096 as they come with 5yr warranty and I got Trade Club discount through a mate which made it way cheaper than anywhere else. As I understand it the Halfords own brand batteries are produced by Yuasa which was the brand I was looking to purchase anyway so the decision was easy.

20220730_173501Small.jpg


Prior to disconnecting the old battery I rigged up my booster pack to an earth point and battery +ve so it would be like the 12v supply was never disconnected. This just saves you loads of messing clearing codes and disco dash lights etc.

20220731_100427Small.jpg


I then removed the battery clamp using a 13mm and disconnected the battery terminals using a 10mm.

20220731_100632Small.jpg


Cleaned up the battery tray prior to fitting the new AGM battery and torqued the battery clamp to 15Nm and terminals to 6Nm.

20220731_101552Small.jpg


20220731_103013Small.jpg


Next up was the battery coding everyone always seem to be going on about which isn’t rocket science but is necessary so the vehicle knows it’s got a fresh heart and can adjust the charging parameters accordingly. Plugged in my VCDS HEX-V2 and went into Module 19-CAN Gateway then Adapation-10.

20220731_104634Small.jpg


In the search box type battery adaptation then click the drop-down arrow and you’ll see the options that require coding.

20220731_104854Small.jpg


If you are fitting like for like batteries, you only need to change one digit in the battery serial number but as I was change battery technology, I changed EFB to Fleece with Fleece meaning AGM along with a change to Ah and serial number.

20220731_104954Small.jpg


20220731_104918Small.jpg


20220731_105106Small.jpg


A final auto scan and all is well in the world of the S3.

20220731_105650Small.jpg
 
  • Like
Reactions: s3mad_dude
Strange but true when looking for S3 batteries the Amarok threw a low battery warning message in the Discovery Media screen so I charged/tested then decided to replace it being 4.5yrs old, no point waiting until it dies and you’re stuck in a pickle having to wait for recovery. I opted for a Halfords AGM 019 and when I got it home I stuck it on my Accumate charger to give it a kick prior to install. I took both old S3 plus Amarok batteries to my local metal recyclers and got a nice payment directly into my bank account which made the new batteries even cheaper, winner ;)

20220731_112811Small.jpg


Old top, new bottom in race silver 5bhp gain for sure :)

20220731_115813Small.jpg


I cleaned up the battery tray prior to fitting and before removal of the old battery attached my jumper pack to the +ve lead and an earth point so I got no warning lights or errors and it remained a happy vehicle.

20220731_120156Small.jpg


All done…sort of…

20220731_121231Small.jpg


The next part is the battery coding which most modern vehicles now have so they know a new one if installed and can adjust charging/monitoring to suit. Out came the VCDS and in I went to Module 61 – Battery Regulator.

20220731_122117Small.jpg


Then it was into Long Adaptation - 0A and from the drop-down list selected Battery Information/Replacement.

20220731_122129Small.jpg


If you hover the mouse over the display it’s all very self-explanatory.

20220731_122357Small.jpg


I coded in the new Ah rating and changed the serial number but there was no point changing the vendor so left that as it was.

20220731_122212Small.jpg


One final auto scan of the Amarok and all looking nice and clean with no DTCs (Diagnostic Trouble Codes) present.

20220730_131938Small.jpg
 
Last Sunday it was either a long trip down to Brands Hatch for the Vaux Valves show or a much closer Donington Park for Truck Racing. Can you guess where we went ;) this was on route to Starkeys parking so we had easy access to the Amarok all day and didn’t have to carry everything. Worth paying an extra fiver to park there if you get the chance.

20220821_082305Custom.jpg


An amazing show with lots to see and do infield and around the circuit having managed to cover 10 miles walking around the place as well as watching all the racing. Arrived at 8am and left at 7pm, amazing day.

20220821_094124Custom.jpg
20220821_094643Custom.jpg


Green flag lap for the big rigs.

20220821_111744Custom.jpg


Class 1 trucks go go go…

20220821_112033Custom.jpg


With a staggered start for the Class 2.

20220821_112048Custom.jpg


I forgot to get pics of the juniors in the Saxo’s but they mostly played nicely aged 14-17yrs. The pickups were great and very competitive.

20220821_115918Custom.jpg


There were all sorts in the multi-class CNC Heads racing, Cupra, Lotus Esprit, MG, Holden Commadore, MX5, Caterham, Escort, Pug 205, BMW Compact, Mini, MR2, Mazda 323F, Puma , Capri…the list goes on and on.

20220821_125247Custom.jpg
20220821_130125Custom.jpg
20220821_130136Custom.jpg
20220821_130431Custom.jpg
20220821_130456Custom.jpg
20220821_130652Custom.jpg
20220821_130801Custom.jpg
20220821_130826Custom.jpg


More trucks thundering round.

20220821_143325Custom.jpg
20220821_143955Custom.jpg


A few static shots of various machines which interested me. The Mazda 323F was lovely.

20220821_150736Custom.jpg
20220821_150947Custom.jpg
20220821_151022Custom.jpg
20220821_152702Custom.jpg


Some random sports car racing called Praga Cup and the ikle bike engined Legends.

20220821_154713Custom.jpg
20220821_160737Custom.jpg
20220821_161006Custom.jpg


It does go wrong at times with a truck getting stuck in the gravel at the bottom of Craner and another hitting the wall hard at Hollywood.

20220821_173132Custom.jpg
20220821_173133Custom.jpg
 
On-going Astra mk2 rally car prep round my mates (excuse the mess) with a new Lifeline Zero 2020 FIA 3.0ltr Electric electric fire extinguisher system being plumbed to meet with the latest regs. All pipework is coated aluminium with extra braid added and ends heat shrinked for added protection.

20220820_135628Small.jpg


20220820_164149Small.jpg


Drivers and Co-drivers nozzles plumbed.

20220820_164204Small.jpg


20220820_164158Small.jpg


After a bit of head scratching we found some funky red powder coated steel in the scrap pile so made brackets and fitted out the engine bay nozzles.

20220820_163600Small.jpg


20220820_163608Small.jpg


20220820_163611Small.jpg


20220820_163615Small.jpg
 
I got slightly carried away over the August bank holiday weekend having planned to only polish the S3 roof as it had started to look flat when wet, the rest of the paintwork was still beading nicely. Some hours later after a CarPro Reset (wash) I had done the whole car with Autoglym SRP followed by CarPro Reload to seal. Don’t get me wrong the ceramic coating is still doing its thing but a tickle every now and again won’t harm it to remove any residue build-up sitting on top.

20220828_194227Small.jpg


20220828_194241Small.jpg


Now I simply couldn’t just do the paintwork could I so the tailpipes had a good rubbing with Autosol and still looking like new ;)

20220827_082622Small.jpg


20220827_082724Small.jpg
 
  • Like
Reactions: The Cardinal
The Father-in-laws Astra mk7 required my loving touch after I noted the insides of the wheel rims were looking somewhat disgusting. Don’t get me wrong he otherwise keeps the car immaculate and it’s only covered 14K miles in 6 years. It has never had the inside rims cleaned so with little effort I got them sparkly and gave the whole rim a polish prior to refitting swapping front to back and back to front to even out tyre wear.

This shows a cleaned front wheel on the left and a mucky rear on the right.

20220815_202219Small.jpg


They came up better than I was expecting in truth and F-in-l was very happy.

20220815_204558Small.jpg


Refitted, it’s the small touches that count.

20220815_205146Small.jpg


Being a later model Astra K (mk7) the TPMS is a manual learn system (added cheapness) so you must let the car know the sensors have been swapped round otherwise it’ll read back to front as I’ve swapped the wheels front to back. You start the procedure from the dash and listen for the double horn beep.

20220823_192859Small.jpg


Then using my cheap £3.45 EL-50448 tool you activate the front left wheel sensor shown with the indicator continually lit for that corner. When the sensor has been accepted the horn beeps once and you move to the front right then rear right. I got the F-in-L to press the magic button, he found it all very strange.

20220823_104101Small.jpg


20220823_192939Small.jpg


20220823_193003Small.jpg


20220823_193013Small.jpg


When the rear left is done you hear a single beep for sensor confirmation and then a double horn beep to confirm TPMS sensors are all programmed.

20220823_193053Small.jpg
 
Popped round to my mates to assist with restoring boost to his poorly Transit Camper the other week. The old turbo had shaft play and wasn’t boosting correctly so it was taken to Midland Turbo for a refurb where they noted the casing was also cracked. Turned it round it 2 days and behold, sparkly new 2yr warranty boosting device.

20220817_192536Small.jpg


There looks to be plenty of room in the mk7 Transit engine bay but it’s still like threading a needle with one way out/in and fiddly lining up to bolt it in.

20220817_193858Small.jpg


Got it mounted and everything else connected and fired up first time after priming the oil pressure so the turbo didn’t start dry.

20220817_213245Small.jpg


Took it for a drive and the boost is stronger and no longer spikey, long live the 200K+ mile Transit Camper.

20220817_215936Small.jpg


Next evenings task was replacing the fixed left side window with an opening version same as the right side we fitted in May here. We had to hack the old window out which wasn’t fun but had the correct toolage to assist us.

20220825_191848Small.jpg


20220825_202808Small.jpg


Sometime later out it popped with no breakages apart from our spirit and excitement. What a removal mission that was as the previous installer had fitted it flush to the panel with lots of sealer on the sides.

20220825_210234Small.jpg


20220825_210253Small.jpg


Left my mate to prep for fitting as it was getting late so we installed a secure tarp for overnight protection.

20220825_210650Small.jpg


Primed the new window and the opening, added tape to stop it slipping then gooped it. The black paint won’t be seen and was done to protect the slightly damaged paint caused by the removal wire, mate couldn’t be bothered to buy white as he had black in stock.

20220827_124425Small.jpg


20220827_130653Small.jpg


20220827_131111Small.jpg


Window fitted and left to set over night with the view out a day later of pants on the washing line, how lovely.

20220827_131808Small.jpg


20220828_102853Small.jpg
 
  • Like
Reactions: ahtcap
My GTE had a teeny-weeny seepage from a repair I had done after an age/heat crack appeared when I had the sump baffled. It’s not leaking enough to drip and held fine for three track days but a smear of oil keeps appearing at the lower part of the repair.

20220822_161322Small.jpg


I’ve got another baffled sump I could fit but it’s otherwise dry so don’t want to break the sump gasket seal. I decided to attempt a tried and tested rally fix using Quiksteel. If you’ve never heard of it or used it here’s what the manufacturer says;

  • Withstands Up To 500°F/260°C Temperature
  • Can Be Drilled, Tapped, Filed, Machined, Sanded, & Painted
  • Bonds To All Metals, Fiberglass, Plastics, Glass Wood,
  • Ceramics, Brick — Almost Anything Except Rubber
  • Sets In 5 Minutes
  • Steel Hard In 15 Minutes
  • Full Cure In 1 Hour

20220819_124358Small.jpg


I got my Dremel and roughed up the area where I wanted to stick it then cleaned it up using brake cleaner.

20220822_161558Small.jpg


I blobbed on a decent amount and left it 24 hours so it was more than fully cured. Doesn’t look any worse than the weld repair so hopefully it’ll hold and no more oil seepage.

20220823_162623Small.jpg


While I was underside, I swapped to a new oil filter and added 4L of Millers finest CFS 10w60 liquid gold. I then primed the oil filter by turning it over on the starter until oil pressure built. I’ll now monitor for any oil smearing but hopeful it’ll now be fully dry, well for a while anyway until the next leak appears from as it's an old Vauxhall after all.

20220823_162557Small.jpg


20220823_164647Small.jpg
 
After having an enjoyable few miles in my Vectra ST200 earlier this year I noticed the front inner door handle insert had worn on the drivers side and both went sticky when the car was in the sun. I couldn’t find genuine replacement parts anywhere so took a punt with aftermarket. Being me, I ordered both RH and LH replacements.

New replacements on the left and originals on right. Really happy with the quality and finish.

20220822_165345Small.jpg


20220822_165358Small.jpg


Really happy with the quality and finish and you wouldn’t know they aren’t OE parts once fitted.

20220822_170228Small.jpg


Enjoyed driving the Astra mk3 V6 this year and last month it went for its annual health check and I’m pleased to say no split ball joint boots this year and it passed. MOTer did comment on the loud exhaust but was aware I’ve done all I can to quieten it down with the extra silencers. It’s now SORN and will be making a welcome return to the road next year.

20220913_085542Small.jpg
 
Last edited:
You know…..there are times when you don’t always have to say something. Less is more. It’s pretty easy to be a d1ckhead on a forum when hiding behind a keyboard isn’t it.
 
  • Like
Reactions: Jcbmally, Harvey and Sandra
I'm guessing Moderators sorted that post so thank you.

@s3mad_dude your comment won't mean anything to others unless they are watching my car tinkering diary & have email updates set. Fortunately I choose to simply ignore those kind of posts.
 
Last edited:
I’ve enjoyed having my Vectra ST200 on the road this year but decided the OE suspension had seen better days as the ride wasn’t perfect after 25yrs fitted on the car and being an early build number sat ultra low. I opted for a premium fit and forgot setup in the guise of Bilstein B12 Pro-Kit consisting of Bilstein shocks and Eibach springs. I purchased new Eibach camber bolts along with Febi front top mounts which allowed me to build the fronts for a direct swap.

20220727_164428Small.jpg


20220727_172954Small.jpg


20220727_180640Small.jpg


My next task was to find a pair of donor rear shock fittings being no mean feat for a vehicle that stopped production in 2001 so after a patient wait, I finally sourced a pair and stripped them for the parts needed.

20220729_080105Small.jpg


The parts I require for straight swap of the rear are these.

20220729_165029Small.jpg


Metal parts were sent to my local powder coaters so shout out to UK Powder Coaters East Midlands who did a lovey job.

20220914_124243Small.jpg


Rears built and ready for fitting with brand new Febi bump stops.

20220914_133131Small.jpg


OE rears removed and new installed.

20220914_180036Small.jpg


20220914_182147Small.jpg


Fronts ready for removal, removed and fitted, same ethos applied to the other side front.

20220915_075201Small.jpg


20220915_124927Small.jpg


20220915_164518Small.jpg


Upper front Eibach camber bolts installed with tab positioned to give -ve camber adjustment.

20220915_164555Small.jpg


After the fitting I booked in with MG Motorsport who are based in Ripley, Derbyshire to get it aligned using their Hunter kit.

20220922_143930Small.jpg


Top image is with the new Bilstein B12 Pro-Kit and bottom with OE kit.
OE / B12 arch to floor ride height difference comparison
Front right 601mm / 637mm
Front left 602mm / 638mm
Rear right 613mm / 638mm
Rear left 611mm / 638mm

ST200_suspension_compare.jpg


To say the car is transformed is an understatement, it feels fantastic and totally refreshed. It sounds wrong to say I feel the car has always been sat too low being great for looks but not handling. With the new kit it’s been raised to an acceptable height but still looks good with even arch gap and most importantly much improved handling and feel whilst driving.

I’ll be keeping the OE suspension with all my other stockpile of spares and the Vectra is now SORN and back in a comfy warm garage for a few more years of hibernation until it’s next outing whenever that may be.
 
  • Like
Reactions: Jcbmally and s3mad_dude
Nice write up. How did you find MG Motorsport? Are they decent? I'm not a million miles away and need the S1 tracking done now it's lowered.
 
Nice write up. How did you find MG Motorsport? Are they decent? I'm not a million miles away and need the S1 tracking done now it's lowered.

@Phazer MG Motorsport are great, I've been using them about 8 years for alignment and friends have had other work done there. They are top class and come highly recommended. Come the day I CBA to craw about on my drive I'll defo be more than happy to take my cars there. I'd recommend you try them and see what you thing for yourself.
 
  • Like
Reactions: Phazer
@Phazer MG Motorsport are great, I've been using them about 8 years for alignment and friends have had other work done there. They are top class and come highly recommended. Come the day I CBA to craw about on my drive I'll defo be more than happy to take my cars there. I'd recommend you try them and see what you thing for yourself.
Great, thanks. Always good to have a recommendation with modified cars and billy bonus they're easy to get to. Oh and Revo dealers so that's the remap sorted :D
 
Recently took the Amarok for a 1,200 mile holiday all the way up in the Highlands staying in Fort William, as expected it performed faultlessly and the weather was perfect. Here’s a pic of the wonderful scenery from the Commando Memorial near Spean Bridge.

20220908_104143Small.jpg


Look away if your squeamish…the wife was minding her own business coming home along the motorway when a pigeon decided to try its luck, you guessed it, the Amarok won. Fortunately no vehicle damage, same can’t be said for the bird, and a damp cloth removed all evidence of the murder/death/kill.

20220923_171408Small.jpg


A week or so after the Amarok returned from its Highland fling I noticed the rear right wheel had more brake dust than usual and the handbrake lever had a strange amount of free travel. Further investigation showed an unbalance in the handbrake cable with the right pulling more.

20220924_170748Small.jpg


I then dug deeper and removed the wheel as the disc was showing signs of bluing which occurs when a caliper is sticking.

20220925_083834Small.jpg


I then removed the main caliper body and bolted the lower fitting to the top carrier fitting so I wasn’t juggling with it. The piston wound back lovely (RH is anti-clockwise to wind in) so it wasn’t a sticking piston and this only left one more item to check being the handbrake mechanism so the cable was removed.

20220925_090939Small.jpg


Further checking revealed the caliper handbrake mechanism had seized. I sprayed lashings of WD40 on the pivot and worked it with my hand before winding the piston in and repeating multiple times. I’m now pleased to say it’s fully free and working perfectly with the opposite side checked and found to be fine. This leads me to believe it’s been getting seized for a while and the handbrake cable tighten I completed a few months back here wasn’t necessary as the issue was the caliper lever beginning to seize as it’s fully self-adjusting and you shouldn’t need to tweak the cable at all.

20220925_090958Small.jpg


In other Amarok news I was finding the steering wheel slippery and it was beginning to look shiny so required a leather clean. I opted to buy a very safe cleaner and Autogynm Leather Cleaner was purchased.

20221016_133453Small.jpg


This was before a clean, note the shiny surface with all the contaminates on there.

20221016_133442Small.jpg


This was after a thorough clean as per the guidance found here and back to new matt leather look. Very surprised how well it worked and the muck on the cloth once cleaned, feels so much better with little effort and it’s grippy again.

20221016_134843Small.jpg
 
  • Like
Reactions: The Cardinal
I’ve not been neglecting the S3 as I’ve been looking into retro fitting the rimless auto dim rear view mirror as this didn’t come as standard on the early FL S3 8V models. I took a punt on a poorly pictured but very cheap eBay add for what should have been part no. 81A 857 511. However, what they sent was part no. 81A 857 511 A being the rimless auto dim mirror plus HBA (High Beam Assist) camera.

20221025_195229Small.jpg


20221025_195245Small.jpg


The mirror itself is perfect and was a bargain so I now have extra work as the HBA requires a few extra CAN wires in addition to coding to get it fully working, challenge accepted.

20221025_195307Small.jpg


I’d like to offer a huge thanks and hugs to @Potterswheel for the free mirror loom that he made up for me. I’ve had it stashed away for a while and will soon be putting it to good use.

20221025_195347Small.jpg


I found I had a brand-new Gecko air freshener that I think I got last Christmas so boshed that in the S3 for fresh fragrances and wonderful aromas.

20221025_194657Small.jpg
 
  • Like
Reactions: The Cardinal
How did you get your date/time on the left and mpg etc on the right?
20220801_204812Small.jpg

On both my VC s3's they have been the other way round... I prefer them your way. Does your map sit on the right too? Mines on the left.
 
How did you get your date/time on the left and mpg etc on the right?

On both my VC s3's they have been the other way round... I prefer them your way. Does your map sit on the right too? Mines on the left.
It's just the standard dash config and my map is on the left in the view with the centre gauges. so just have a play with yours. I've not tweaked anything differently to change the layout options and it's what is available from factory for UK spec.
 
Never seen one with date/time on the left before! Mine is below. Date/time is ALWAYS there no matter what I have the left set to.
S3inside2
 
@nothingness here's the dash layout mystery resolved for you as I knew it was a setting as I said previously so give this a try on your VC.

On the left of the steering wheel press the right setting button with the ignition on.

20221105_120122Small.jpg


Then press the scroll wheel to select Additional display

20221105_120034Small.jpg


Now you will see the display options for the right panel of the VC when in Sports display. Click the left scroll wheel to select the option you want.

20221105_120049Small.jpg


20221105_120024Small.jpg
 
Ahh thank you, I saw that menu yesterday but just presumed it was for the left side.

Not very useful of Audi really... I would far prefer date/time/info on the left and sat nav on the right.

Do you get annoyed by the scroll button too? I scroll upwards (in) to zoom in but of course it zooms out. Hah
 
  • Like
Reactions: Harvey
The Brother-in-Law installed a Westfelia removable towbar on his Q7 along with a PF Jones 13 pin wiring kit and I was tasked with the coding.

Q7towbar05.jpg


The wiring came with basic coding instructions but they weren’t very good and I was sure it didn’t cover all necessary modules so a spot of online research was required. I found numerous do this do that but eventually on a post in the Ross Tech forum found what I needed. Below is all the coding that’s required for Q7 4M with removable towbar, these options require selecting and thus a tick in the box. Module 3C wasn’t present on the Q7 I coded so only there for reference, should yours have the module it needs coding. Don’t forget to perform a backup before you do any coding just in case you make a mistake and need to revert.

On a side note the Q7 I coded had no label files for Module 01 so I had to do some double checking with my Amarok which had label files. I ended up editing the long coding Hex directly after a Binary conversion. Messy but got there and a faulty PF Jones module thrown into the mix didn’t help but they were quick to resolve it.

  • Module 19-CAN Gateway > select 69 - Trailer
  • Module 01-Engine > Coding 07 > Long coding helper > Byte5 > Bit4 “Trailer Recognition Control Module (J345) Installed [PR-1D1/1D2”
  • Module 09-Cent. Elect. > Coding 07 > Long coding helper > Byte13 > Bit4 “hitch_ecu”
  • Module 13-Auto Dist. > Coding 07 > Long coding helper > Byte3 > Bit3 “Control_module_for_towing_sensor”
  • Module 17-Instruments > Coding 07 > Long coding helper > Byte14 > Bit5 “Trailer”
  • *Module 3C-Lane Change > Coding 07 > Long coding helper > Byte0 > Bit4
  • Module 46-Central Conv. > Coding 07 > Long coding helper > Byte14 > Bit6 “trailer_control_unit”
  • Module 6C-Back-up Cam. > Coding 07 > Long coding helper > Byte14 > Bit0 “equipment_ahk”
  • Module 6D-Trunk Elect. > Coding 07 > Long coding helper > Byte1 > Bit7 “Trailer”
  • Module 74-Chassis Control > Coding 07 > Long coding helper > Byte0 > Bit7 “Trailer”
  • Module A5-Frt Sens. Drv. Assist > Coding 07 > Long coding helper > Byte11 > Bit0 “AAG”

A few sample module coding from the list above.

Q7towbar01.jpg


Q7towbar02.jpg


Q7towbar03.jpg


Q7towbar04.jpg


No label files for Module 01 so direct long coding was required once the binary to hex was checked.

Q7towbar06.jpg


Q7towbar11.jpg


Physical check after towbar coding completed using my car trailer and it all worked perfectly, I do surprise myself sometimes.

Q7towbar10.jpg


I did further tweaks that the Bro-in-Law requested including seatbelt bong disabling, remote lock/unlock with engine running, park assist deactivation at higher speed and adaptive cruise control enabled by default. There’s a list of Q7 4M coding options on another forum here.

Q7towbar07.jpg


Q7towbar08.jpg


Q7towbar09.jpg
 
Time to get down a dirty with a full service on my Dad’s Meriva B a few weeks ago having sailed through its MOT with flying colours.

20221112_083047Small.jpg


No boring oil+filter pics but it was changed, instead more exciting items to replace this year as its finally reached 40,000 miles so the brake disc+pads were replaced.

20221112_101104Small.jpg


The discs came with a coating which require no prior cleaning to fit, you simply slap them on and your done.

20221112_103940Small.jpg


20221113_081116Small.jpg


Rear got the usual piston wind-back treatment using my cheap but ever so useful kit.

20221112_115418Small.jpg


20221112_123807Small.jpg


Spark plugs were also changed due to the mileage. I noticed the top of old plug no.4 had corrosion even though there was no water ingress evident. Cleaned the coil pack contact and popped the new plugs in. The car had no misfires so just lucky timing they were being changed.

20221112_124641Small.jpg


I also performed a full brake/clutch fluid change as it has been a couple of years since it was last done. I was surprised just how heat soaked the old fluid was which you can see with how dark it was, old vs new fluid colours below.

20221112_151703Small.jpg


20221112_151715Small.jpg


Scooted up to Blyton Park recently as a couple of mates were having a final outing for the year in their Vauxhalls. Both went well with only a minor issue on the Astra when the ignition switch failed which was fixed by bridging the wiring in typical Shonky Vauxhall fashion.

20221120_125609Small.jpg


20221120_123626Small.jpg


20221120_123655Small.jpg
 
  • Like
Reactions: The Cardinal
I noticed VAG have released the latest nav maps so I updated the S3 and it’s now running the 2023 version. I’m only able to complete this myself after I had the MMI FEC code tweaked by VAGPro earlier this year ;)

20221202_141254Small.jpg


I’ve also updated the Amarok maps but Discovery Media used in Windows OS for updating the SD card wasn’t showing the latest maps so I employed the manual method of download/extract/delete/copy/paste onto the OEM nav SD card.

20221127_140706Small.jpg
 
  • Like
Reactions: s3mad_dude
Harvey - Have you had your MMI “hacked” by VagPro so that you can update the maps yourself?
 
Have you had your MMI “tweaked” by VagPro so that you can update the maps yourself?
@s3mad_dude I can neither confirm nor deny it but lets just say my unit now has a pre-boot patch to adjust the FEC code which allows you to manually update the maps yourself. As you know VW supply map updates for free whereby Audi change a fortune! I researched and found all the details to crack, I mean tweak, the MMI myself but you can brick your unit if it goes wrong so I took the decision to let the professions sort it for me while I enjoyed a lovely walk around a nearby country park with my wife.
 
I was aware my Audi Connect licence was due on 20th December and using MyAudi in late November the Shop wasn’t allowing me to renew.

20221129_142513Small.jpg


20221129_184924Small.jpg


I had a feeling in December this would change so I checked again on 1st Dec and the Shop was showing the renewal option. As per last year I opted for the annual renewal as it’s cheaper than monthly payment over 12 months.

20221201_224159Small.jpg


20221201_224301Small.jpg


The next day the new licence expiry was showing.

20221205_171441Small.jpg
 

Similar threads

Replies
32
Views
5K
Replies
14
Views
2K
Replies
15
Views
2K
Replies
4
Views
1K