Owners of any mk3 FL 8V will know the Stop/Start can be rather challenging as it kicks in while the vehicle is still moving at 4mph instead of 0mph. This can be very annoying as you might be turning the wheel which suddenly becomes heavy, not actually going to come to a dead stop and just want to then get going. I could go on but I hate it with a passion on my S3, less so on my Amarok as it only activates at 0mph and can be controlled easily with brake pressure, however I still end up manually turning it off via the dash button at start up in both vehicles. I rarely use SS but wanted to retain it should I ever feel the need so tweaking VCDS to disable it permanently wasn’t an option.
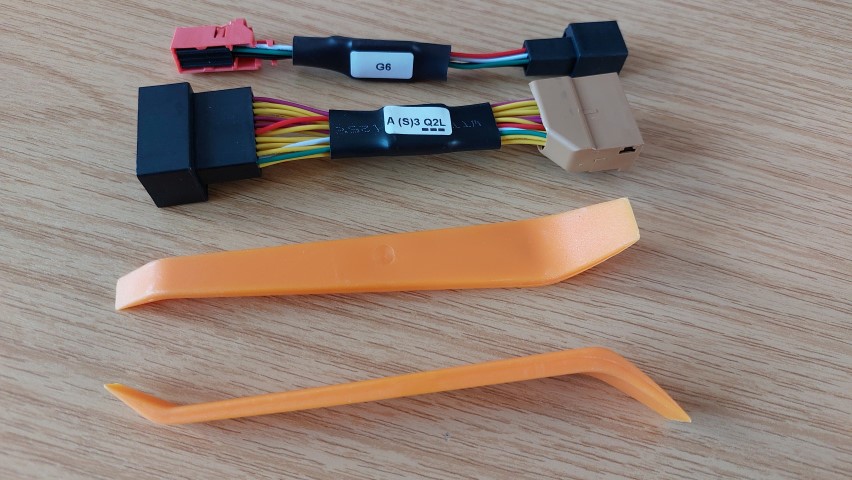
I recently stumbled across SS in-line loom adaptors sold on AliExpress thanks to
@Potterswheel so took a punt and bought one for my mk3 FL S3 but could only find Amarok equivalent at twice the price. A bit more searching and cross checking and the Golf mk6 uses the same SS switch plug as the Amarok V6, £30 and both looms were ordered and arrived in 8 days.
They even come with plastic trim tools included, I do have my own but these will no doubt come in handy.
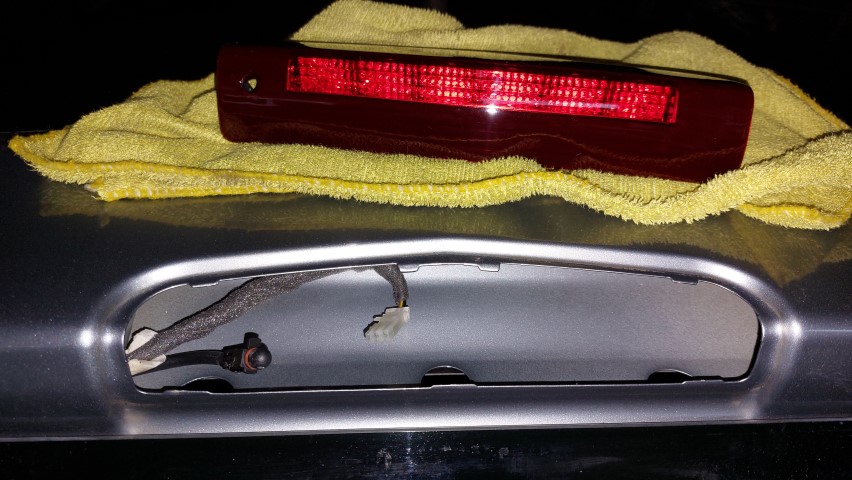
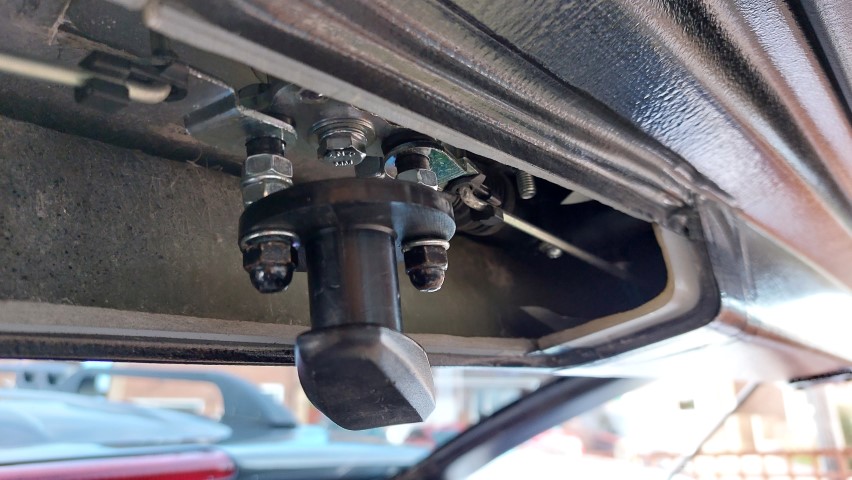
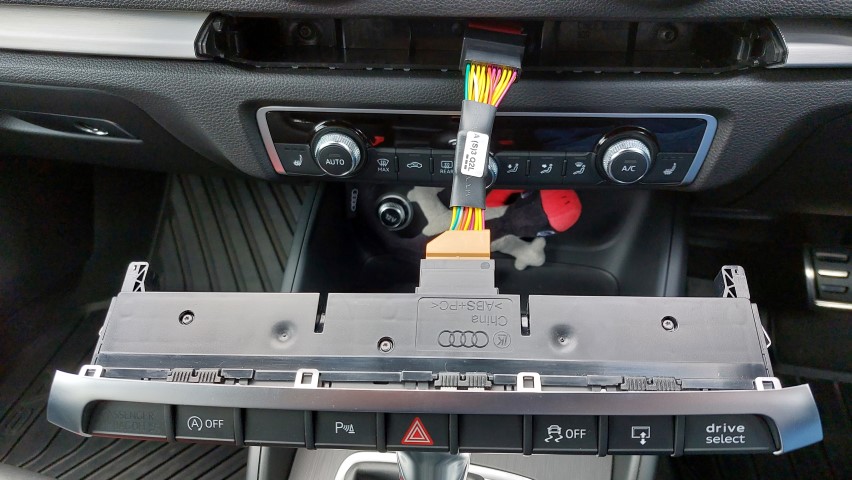
First, I tackled the S3 and popped the switch panel out using proper removal tools as this can’t be done with plastic trim tools.
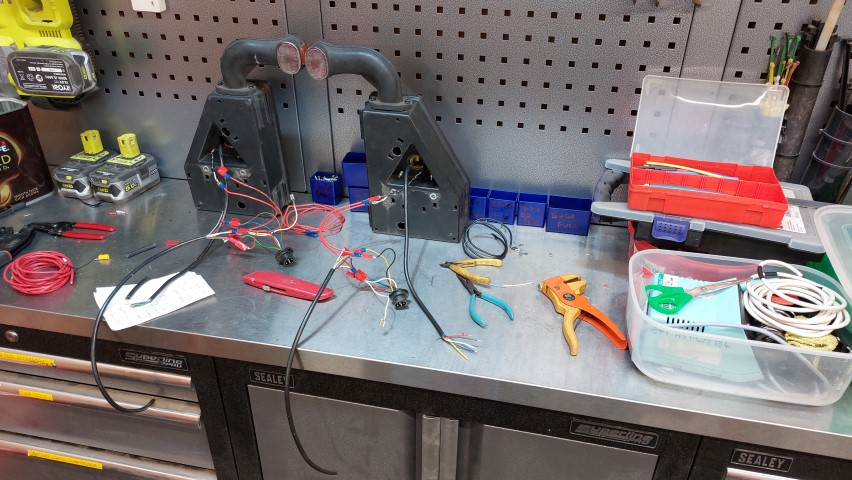
SS in-line loom installed and then I tested all button functions were working correctly prior to refitting the panel.
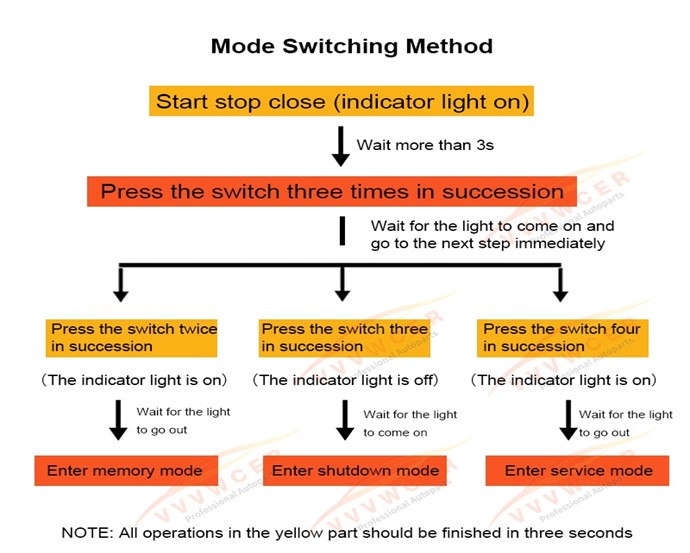
The SS in-line adaptor loom let you program the SS button behaviour as follows:
Auto-off mode - Every time the car is started, the start-stop will be automatically turned off. If it is manually turned on it will still be turned off after the car is turned off and locked.
Memory mode - Manually switch the start-stop switch once, and the start-stop state will be saved and memorized at the next ignition cycle.
Service mode (original factory mode) - The effect is the same as the original car.
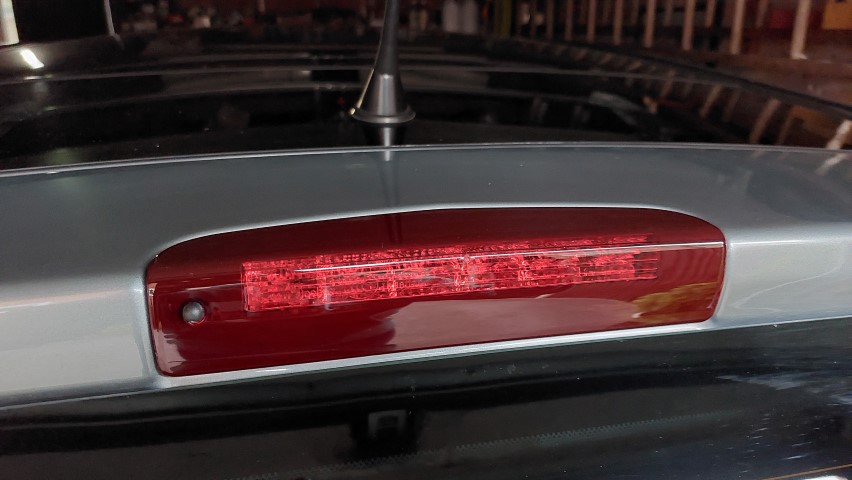
I opted for auto-off mode and no longer have to press the SS button when I turn the ignition on as SS is now auto disable. You can still enjoy the wonders of SS simply by pressing the dash button should you ever feel the need to use it. Be amazed by my quality video, lol.
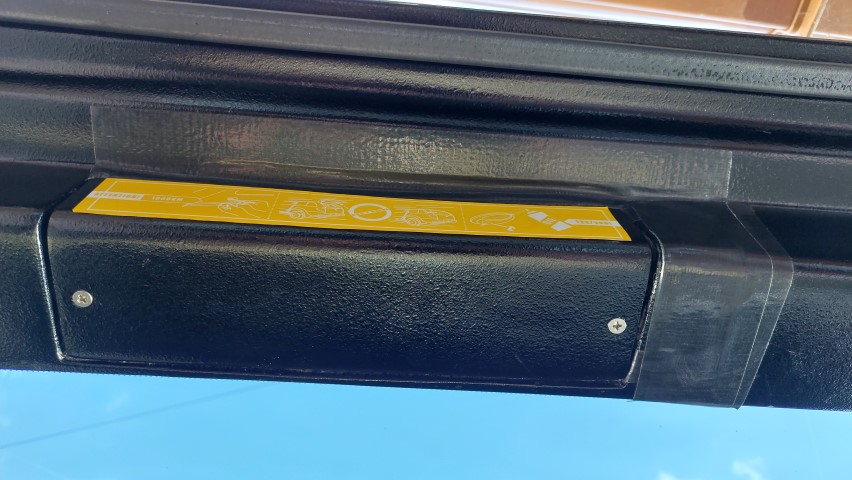
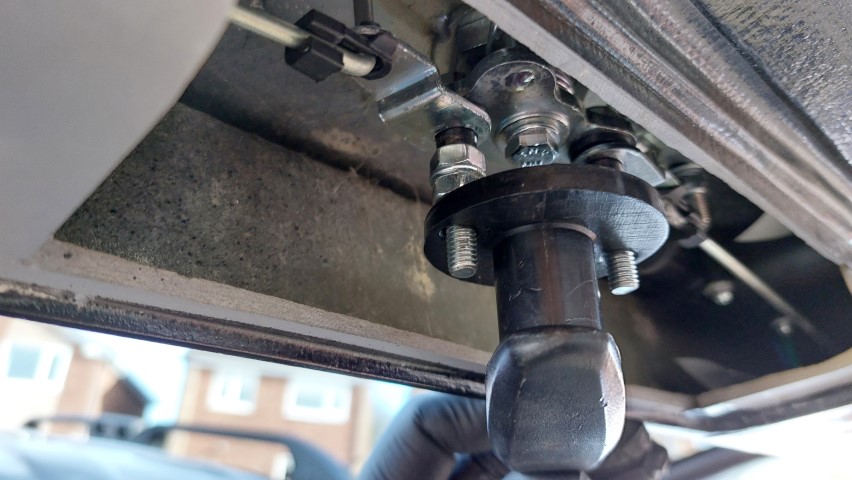
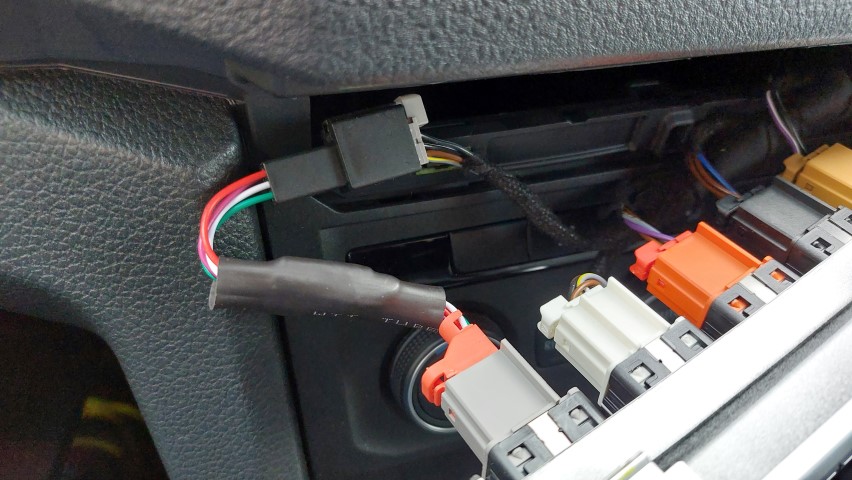
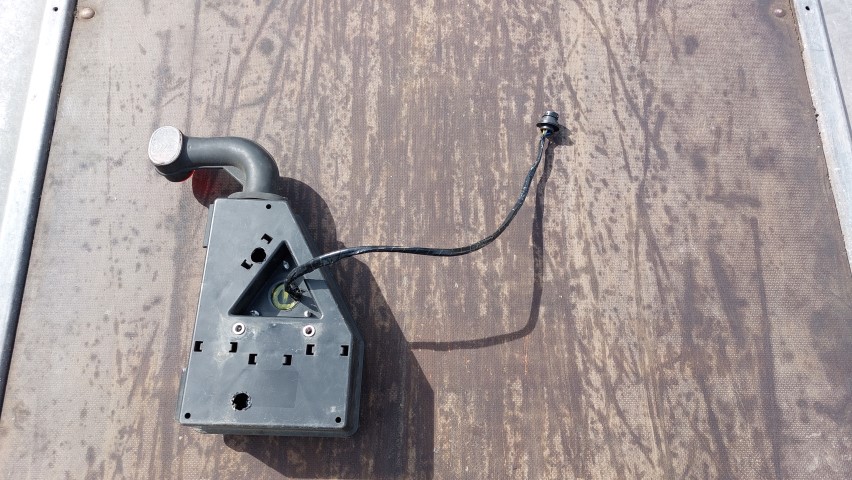
The Amarok was a little more challenging as the dash buttons are built into the long dash trim which is a pig to remove but I managed it without breaking any plastic clips, scary process.
Amarok SS loom plugged in place.
You guessed it another top pro quality video of the Amarok SS auto disabling, happy with that!
For anyone interested my Stop Start gizmos were purchased from AliExpress store VVVWCER
here. They will work with both the 8V PFL and FL plus you may find them cheaper from other sellers on AliExpress so shop around and see what you can kind.