A4 1.8TQM Track Build

durandal

Registered User
Joined
May 23, 2020
Messages
8
Reaction score
2
Points
3
Location
Colorado
Hey,

New here but found two really good build threads by olds_kool and Moniek88 and thought it would be fun to post my progress and get feedback along the way.

This is my first complete build so things are going slow as I read through forums/bentley/haynes/you name it.

The goal for this car is to compete in German Touring Series GTS3 eventually but be road legal to drive to the track in the interim. I'm starting from a 2001 A4 1.8t Quattro Sport, some kind of gold color. Odometer has just over 200k miles and mostly sat for the last 10 years with the second owner. It just passed local emissions treadmill test flawlessly and waited until I got it into my garage to dump all the coolant from a bad t-stat housing seal.

a4_starting_point_exterior.JPG

a4_starting_interior.JPG
 
I started off running a compression check, 1 and 4 jump up to 160psi pretty quickly, 2 and 3 slowly get up to 120. The connects for the coil pack were very brittle and two of them fell apart when unclipping even while using a special tool for these connectors. I bought an ignition wiring kit and replaced the coil pack connectors. I'm going to need to spend some more time repairing the harness as the fuel injector connectors are in similar shape.


With the ignition wiring fixed I was able to move the car and start disassembly to get the motor out. There is a very thick coating of oil on the front of the motor as well as behind it. I suspect there are some bad seals. This is a photo of the front you can see heavy caking of oil near the front pulley and all over the turbo inlet.


I followed the Haynes to get the motor out, didn't run into any major snags.


Got the motor apart, lots of carbon build up everywhere. The cylinder walls seem to be in pretty good shape, visible crosshatching. Once I cleaned the carbon build up off the top of the cylinder I can't detect any ridge ring with my fingernail. This is pretty good for a motor with 200k miles on it?


Before I take the motor apart further I got a measurement of the crankshaft endplay, 0.005. According to the Haynes this is near the middle of spec, maybe a good omen.


Next up is head disassembly and getting more measurements.
 
  • Like
Reactions: Vex182
Looks quite good condition in the bores. I bet all the oil on the end of the engine is down to a hose or two on the intake / PCV system leaking. My car is a transverse 1.8 TT and that has had nearly every PCV hose changed as they go soft and split. compression is pretty poor on two cylinders they shouild be around 160-170 PSI really. The wiring on the ignition coils does get fried with all the heat from the turbo, Something to remember when building up a new engine especially if you are using it on the track. lot's of heat shielding between the turbo and anything plastic.
 
Looks quite good condition in the bores. I bet all the oil on the end of the engine is down to a hose or two on the intake / PCV system leaking. My car is a transverse 1.8 TT and that has had nearly every PCV hose changed as they go soft and split. compression is pretty poor on two cylinders they shouild be around 160-170 PSI really. The wiring on the ignition coils does get fried with all the heat from the turbo, Something to remember when building up a new engine especially if you are using it on the track. lot's of heat shielding between the turbo and anything plastic.

You're probably right, all the hoses are in pretty bad shape and I'm going to replace all of them. There is so much oil on everything its hard to pin point any specific location. I'm going to have to do a lot of repair on the ECU wiring harness across the board so definitely looking at how to protect them. I've seen some bays using a kind of heat blanket and wrapping the wiring then using metal snaps or pop rivets. I'll have to do some more research there. The heat shielding around the turbo is damaged as well which can't be helping.
 
I'm currently looking for some material to rebuild the heat shield. Let me know if you find something and vice versa.
Hopefully next year I'll be taking my engine apart so I'll be watching this thread.
 
Will do! Really enjoying your build, I'm going to copy some of the paint steps you did.
 
Finished the measurements on the block/head.

Everything is flat as far as my 0.002" feeler gauge and mechanics ruler can determine. All the bores are within the round/taper spec.

I wasn't confident in my ability to use a telescoping bore gauge so I kept taking measurements over and over until I got some consistency. After a few hour long sessions doing that I took 3 measurements of each position and used the average. The positions for the bore were perpendicular to to the crank, 30 degrees left and right of that. Those three taken at the top of the bore below where the ridge line and then 2/3 down the bore. I used these measurements to get get taper and round. The mics I'm using have a vernier scale accurate to 0.0001"

Spec says taper and round limit are both 0.0031"

Cylinder #1 Taper 0.0022" Round 0.0016"
Cylinder #2 Taper 0.0010" Round 0.0011"
Cylinder #3 Taper 0.0008" Round 0.0013"
Cylinder #4 Taper 0.0011" Round 0.0006"

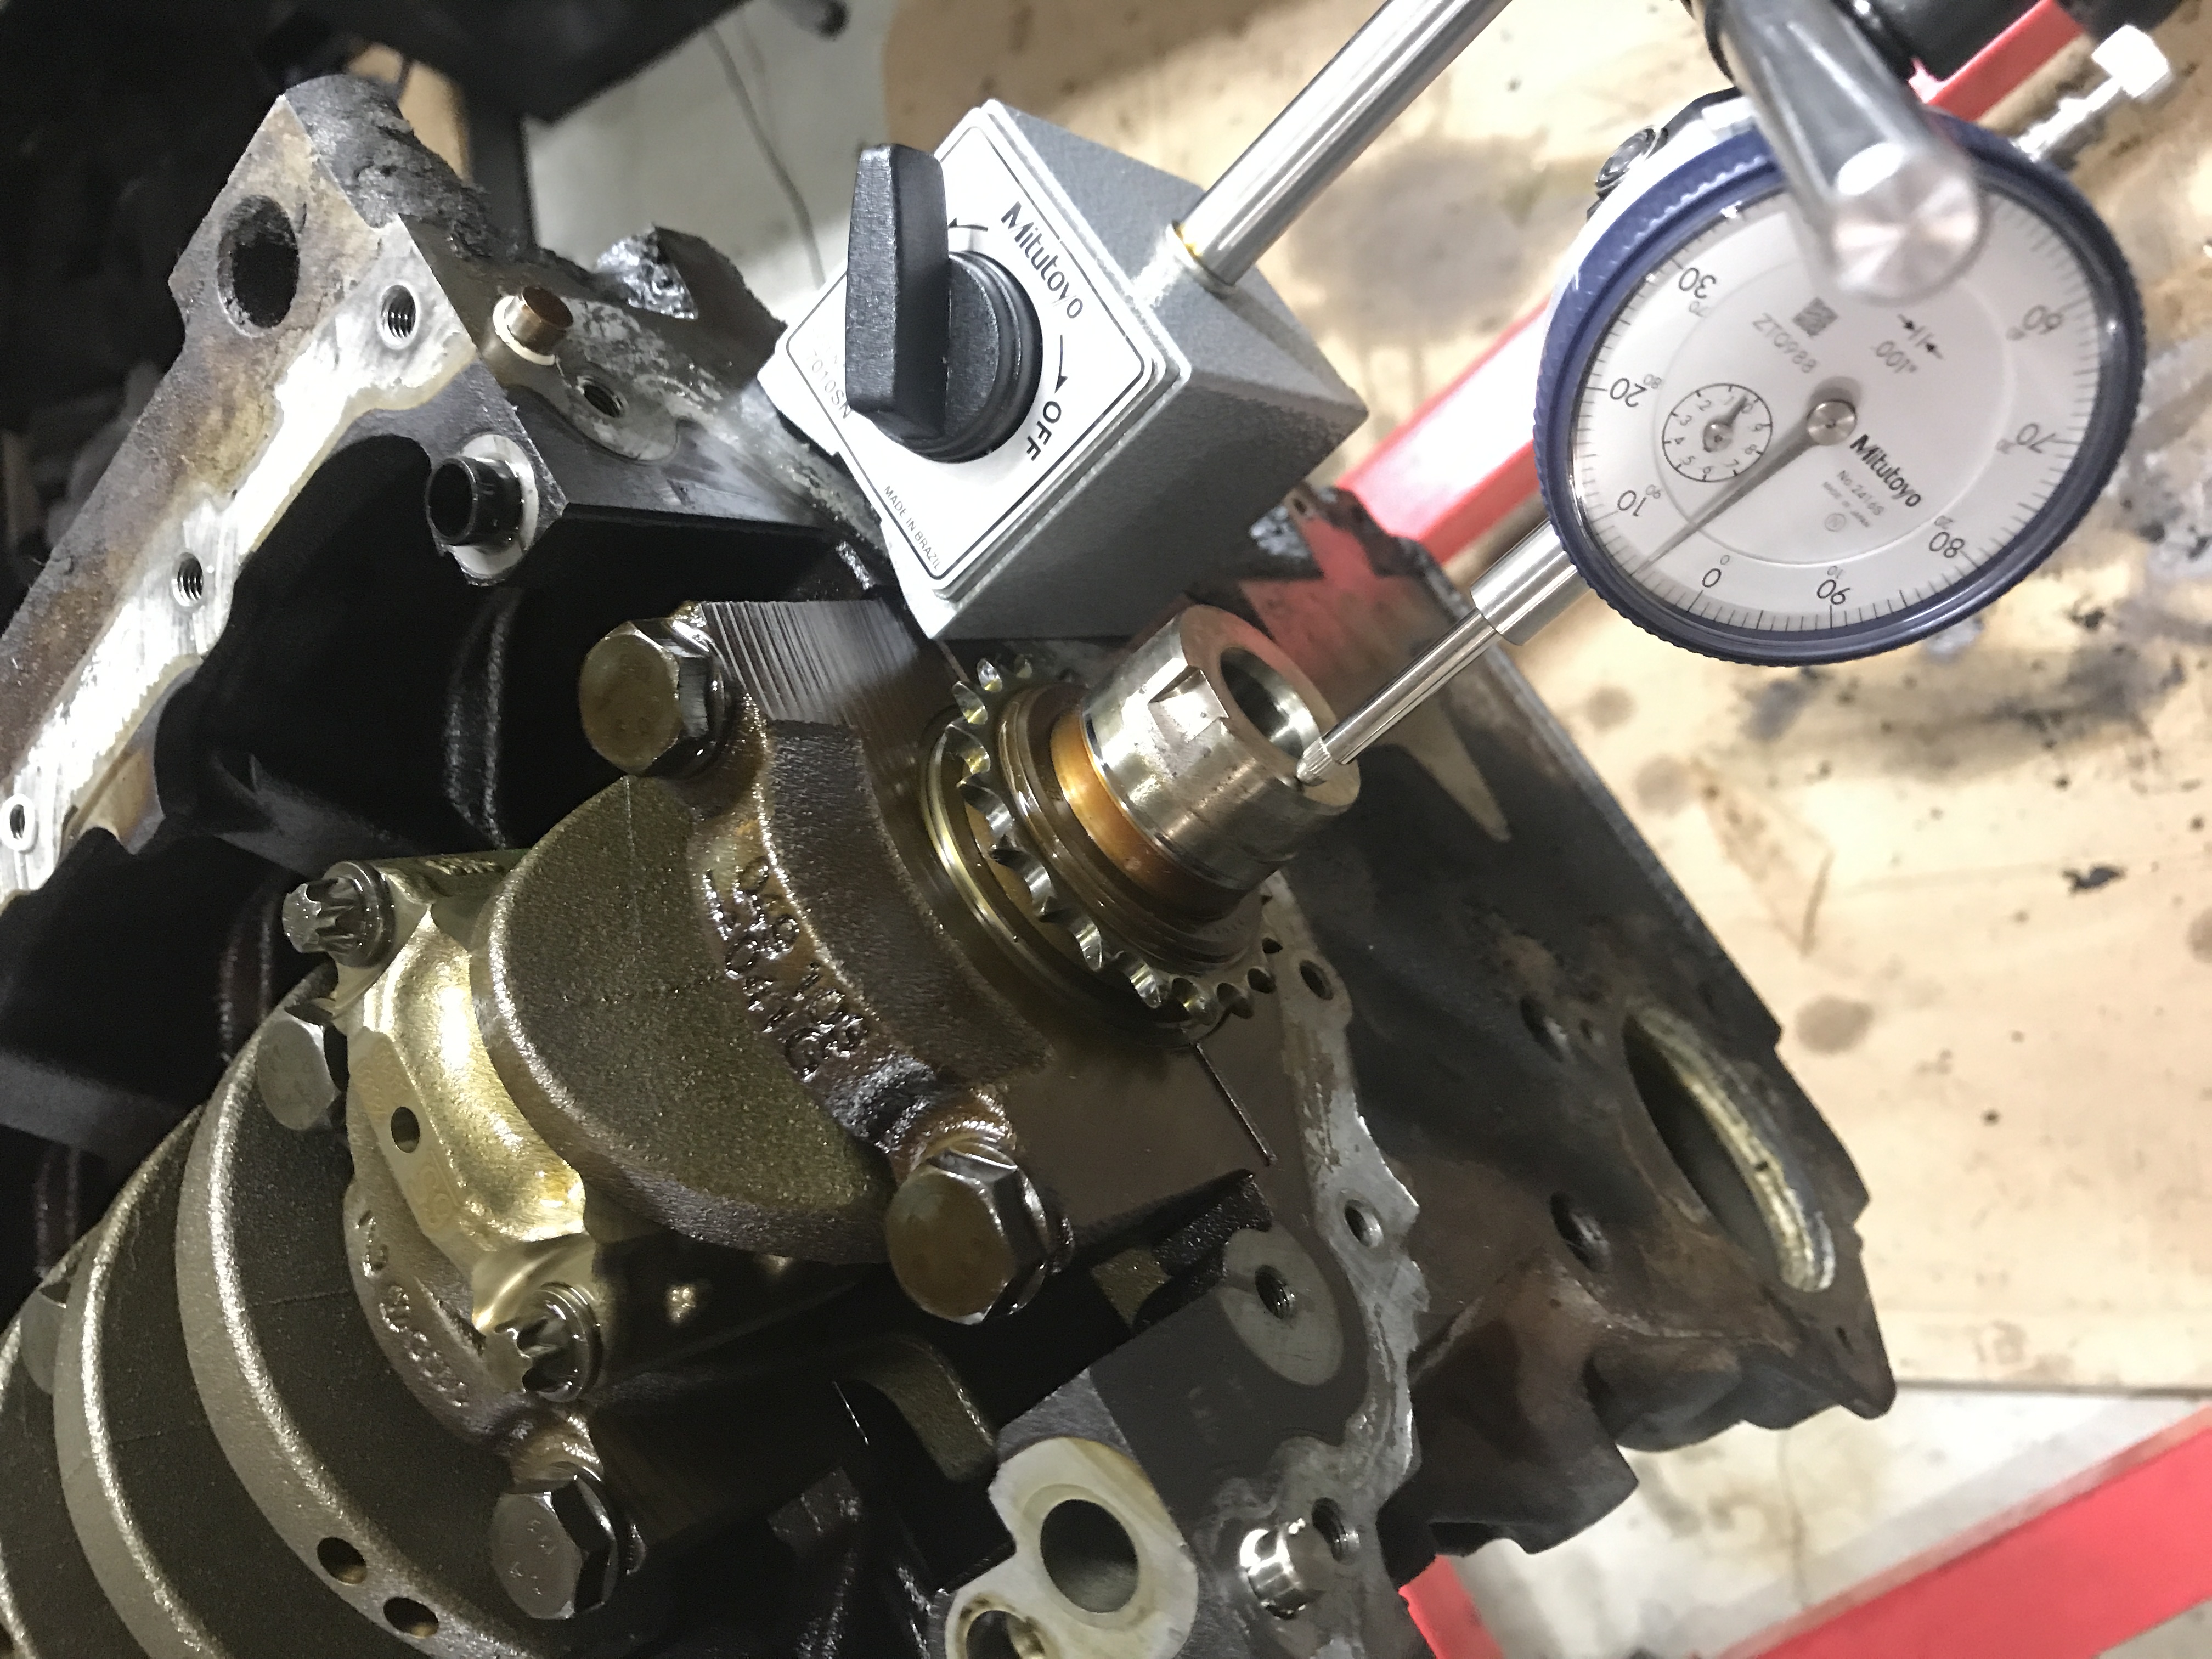
Next I measured out the crank for journal diameter and roundness. Here I took two measurements at 90degree angles to get roundness and took the "worst" diameter reading for journal diameter.

Spec says out of round limit is 0.0002". Main journal diameter is 2.1260" Tolerance -0.0008" to -0.00165"


Main Journal #1 Round 0.0001" Diameter 2.1250"
Main Journal #2 Round 0.0001" Diameter 2.1251"
Main Journal #3 Round 0.0000" Diameter 2.1249"
Main Journal #4 Round 0.0000" Diameter 2.1250"
Main Journal #5 Round 0.0001" Diameter 2.1250"

Round is good, Diameter is right on the bottom end of size for the main journal. I may in the future have this ground down to the first undersize. I'm not going for big HP build for the first pass, I suspect having a proper 1st undersize tolerance and associated bearing/oil clearance would be desirable.

Rod journal spec is same 0.0002" for out of round and diameter is 1.8819" Tolerance -0.0008 to -0.0016

Rod Journal #1 Round 0.0000" Diameter 1.8804"
Rod Journal #2 Round 0.0000" Diameter 1.8804"
Rod Journal #3 Round 0.0000" Diameter 1.8804"
Rod Journal #4 Round 0.0000" Diameter 1.8804"

Looking better on the rod journals, close into the diameter spec here and all coming up exact same sizes with no out of round.

Pistons don't have a spec listed in my manuals. I think the important thing here is piston to wall clearance. I may try to shuffle the order here to get a more consistent P2W clearance. I'm seeing the forged pistons calling for a larger P2W as they expand more at temp. **Any advice here on piston to wall clearance?**

Piston #1 Diameter 0.1875"
Piston #2 Diameter 0.1874"
Piston #3 Diameter 0.1876"
Piston #4 Diameter 0.1879"

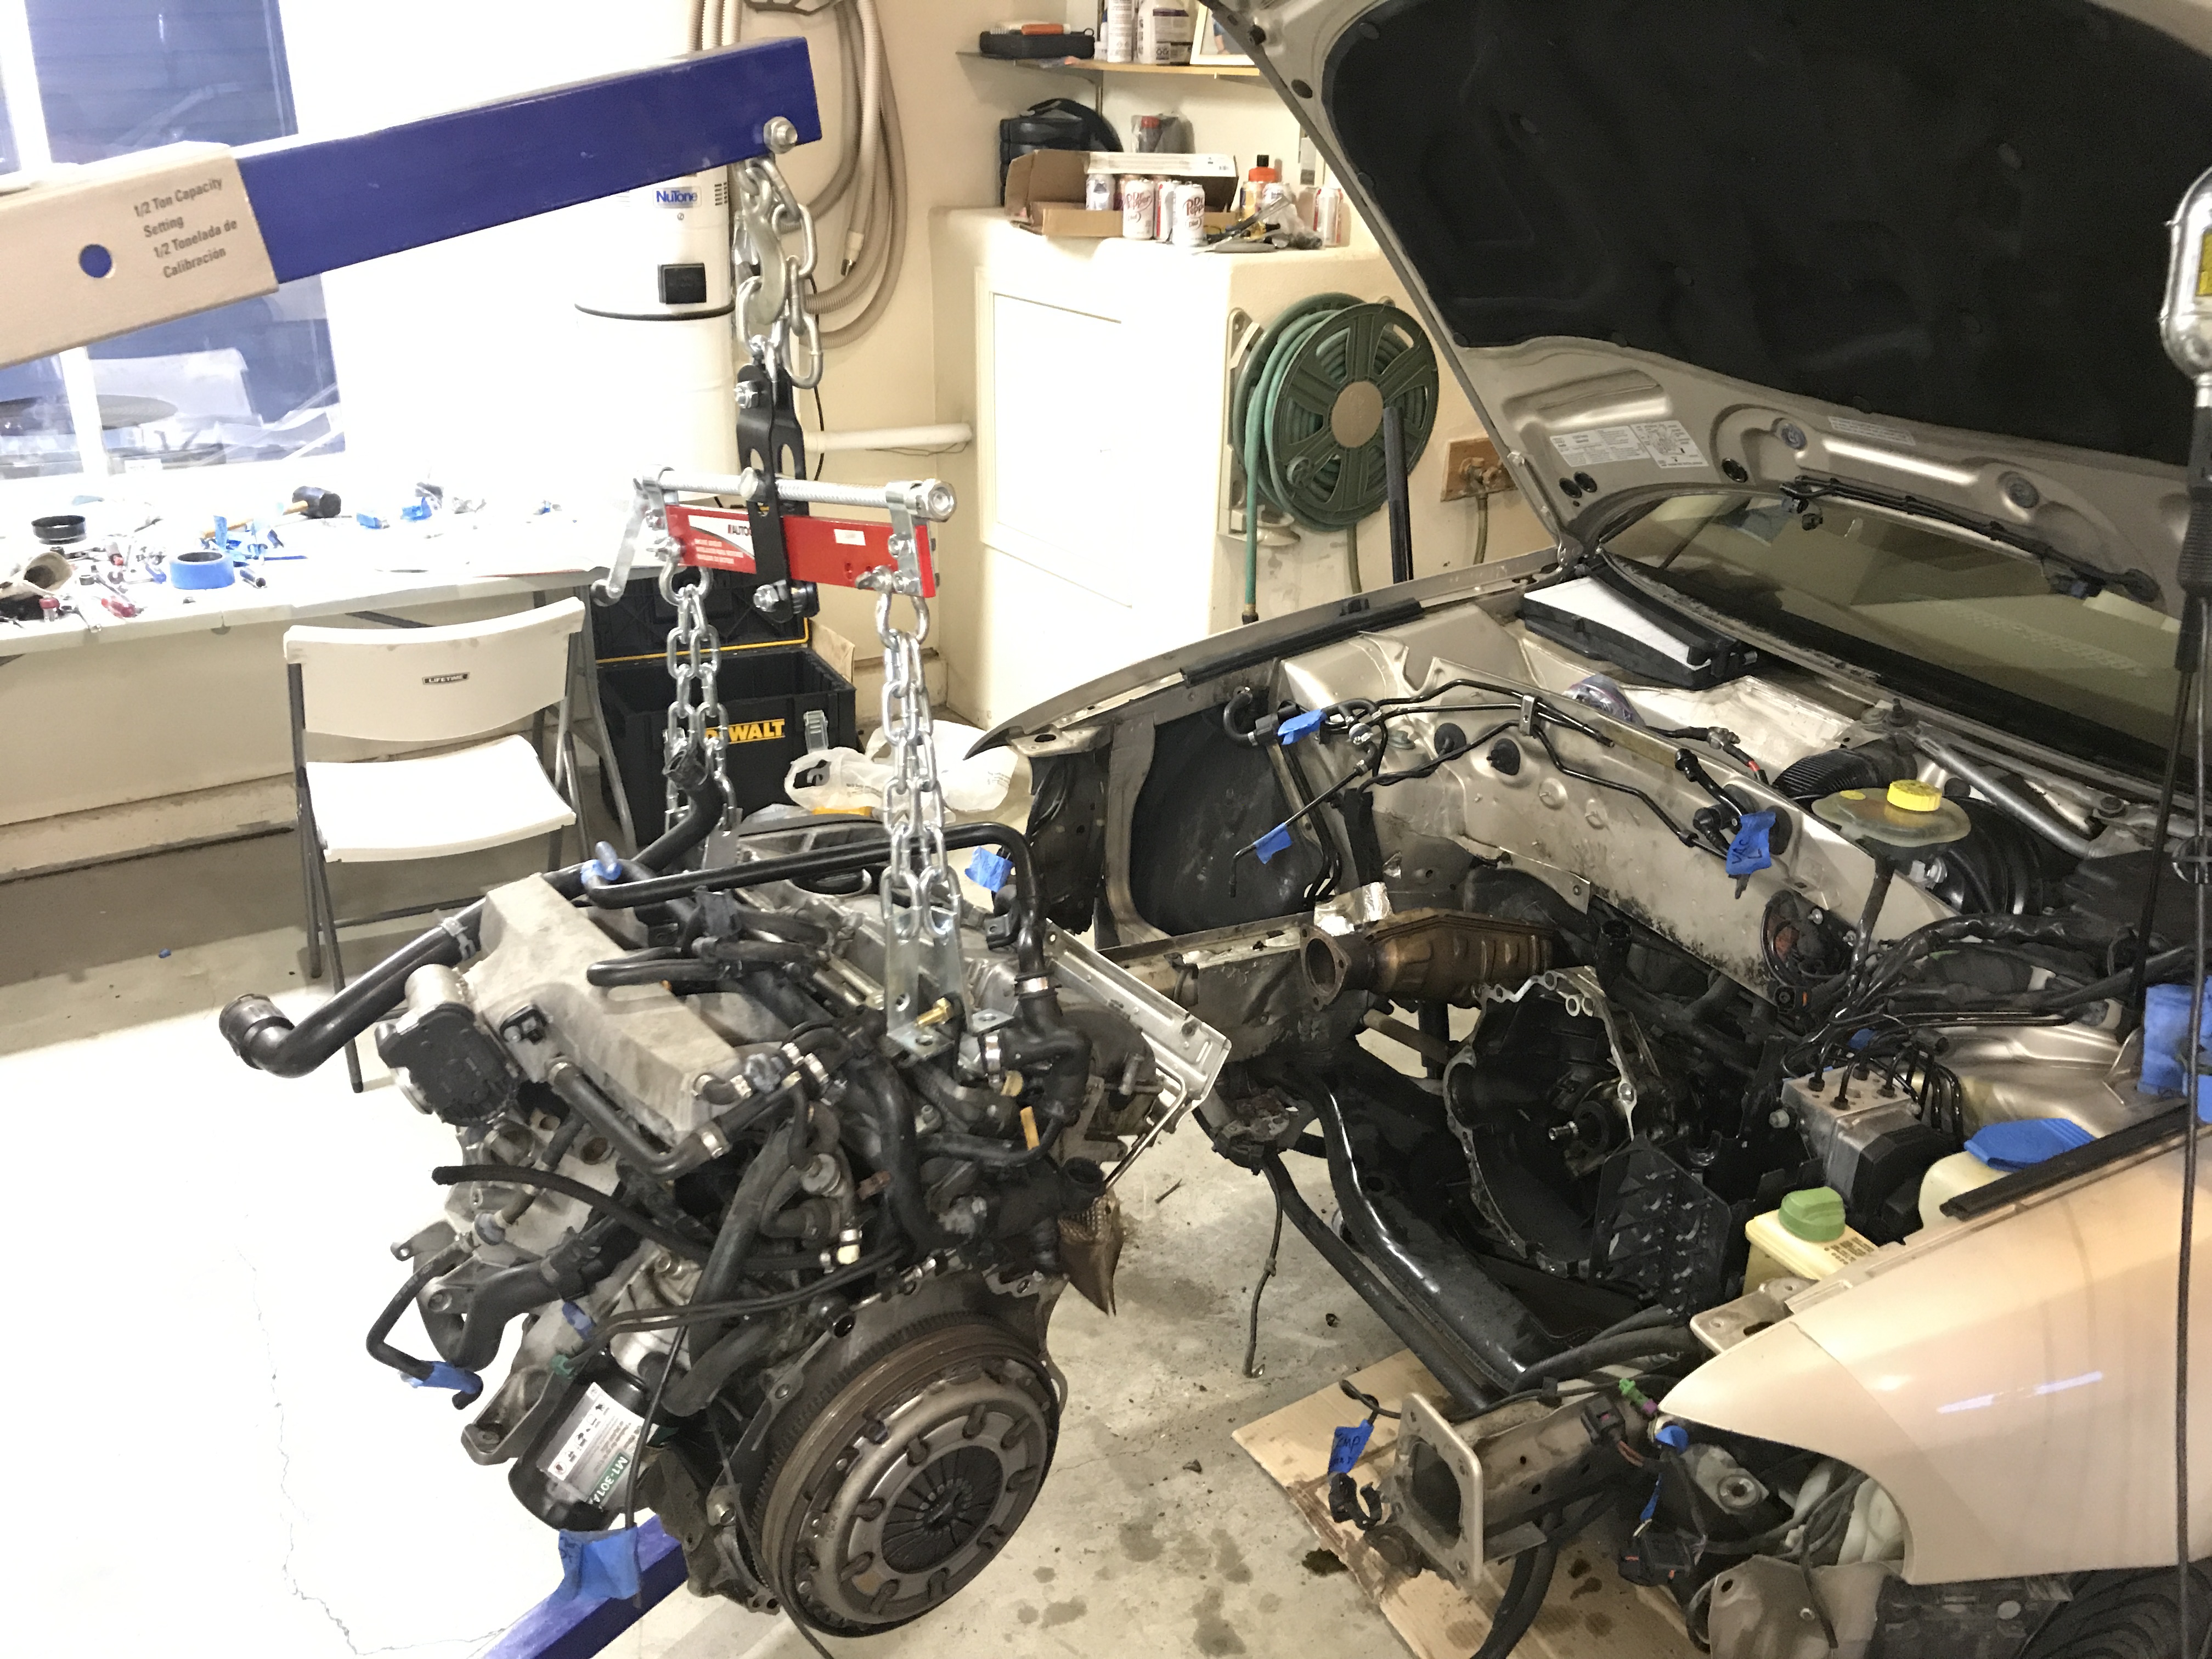
Here is the engine laid out, note I store the crank standing up on the flywheel so it doesn't settle/warp.


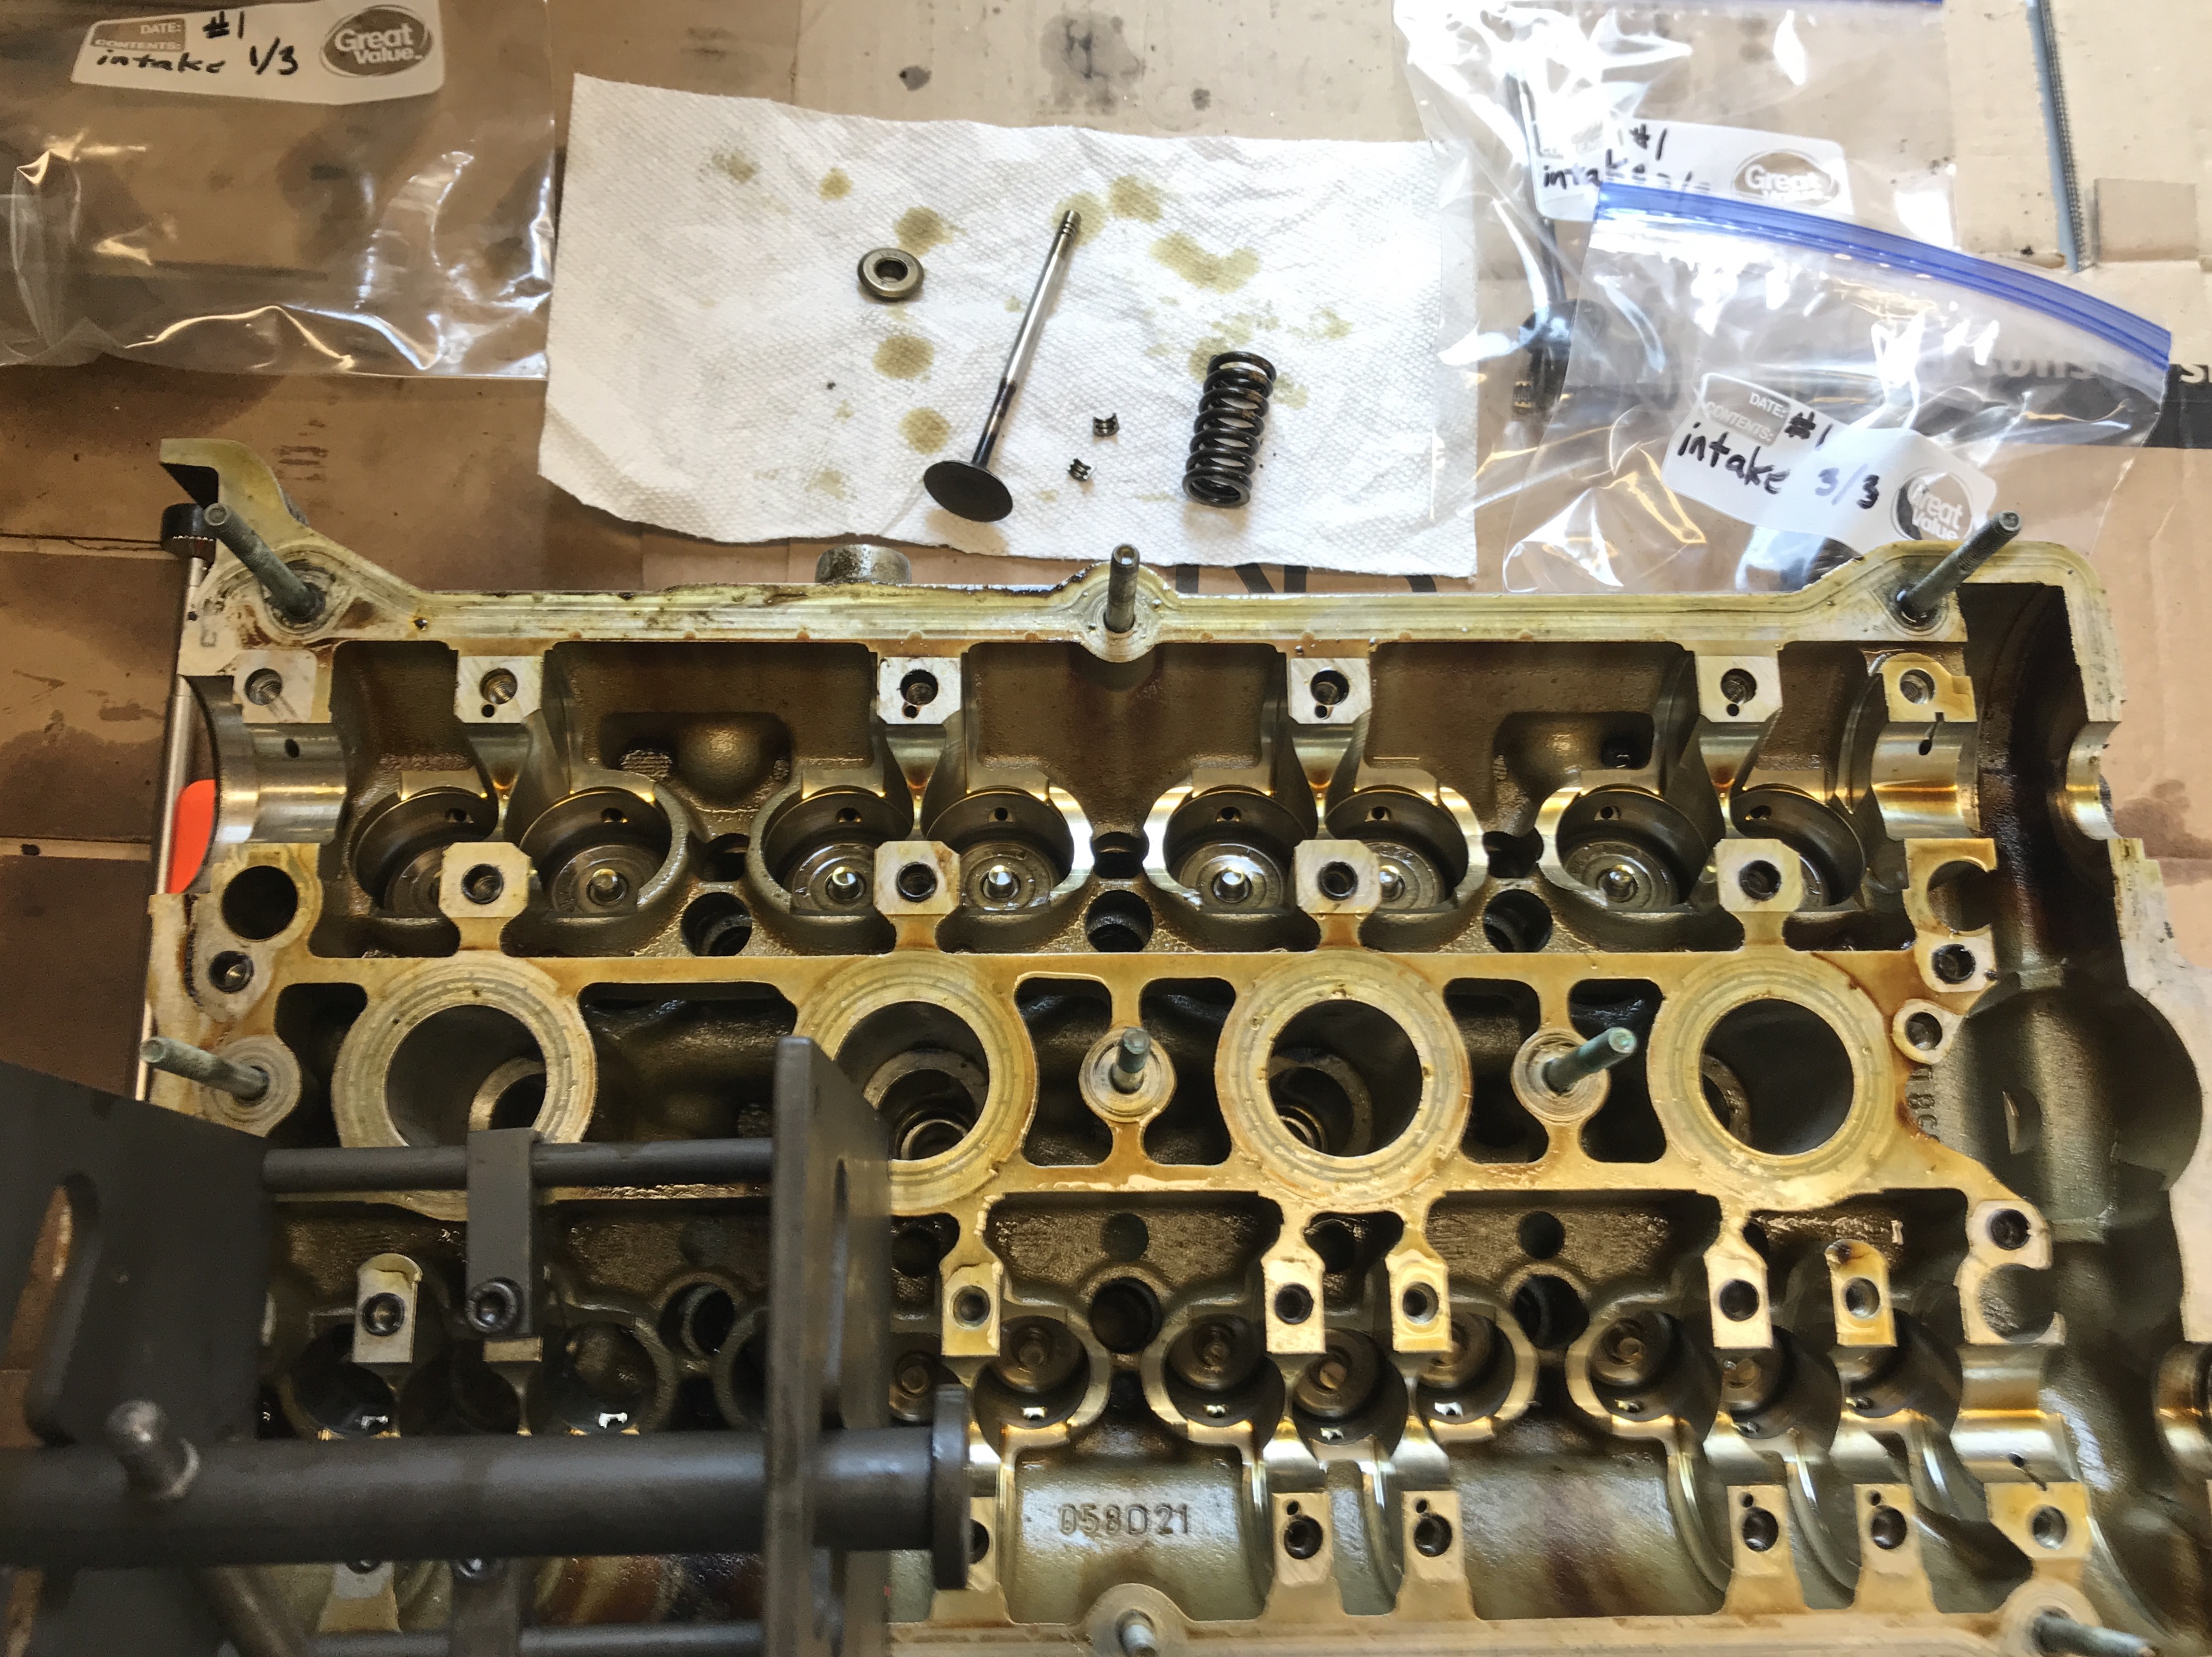
I took the head apart with the help of the VAG spring compression tool. Due to the small space with the 3 intake valves I saw some people using a motorcycle spring compressor with success.


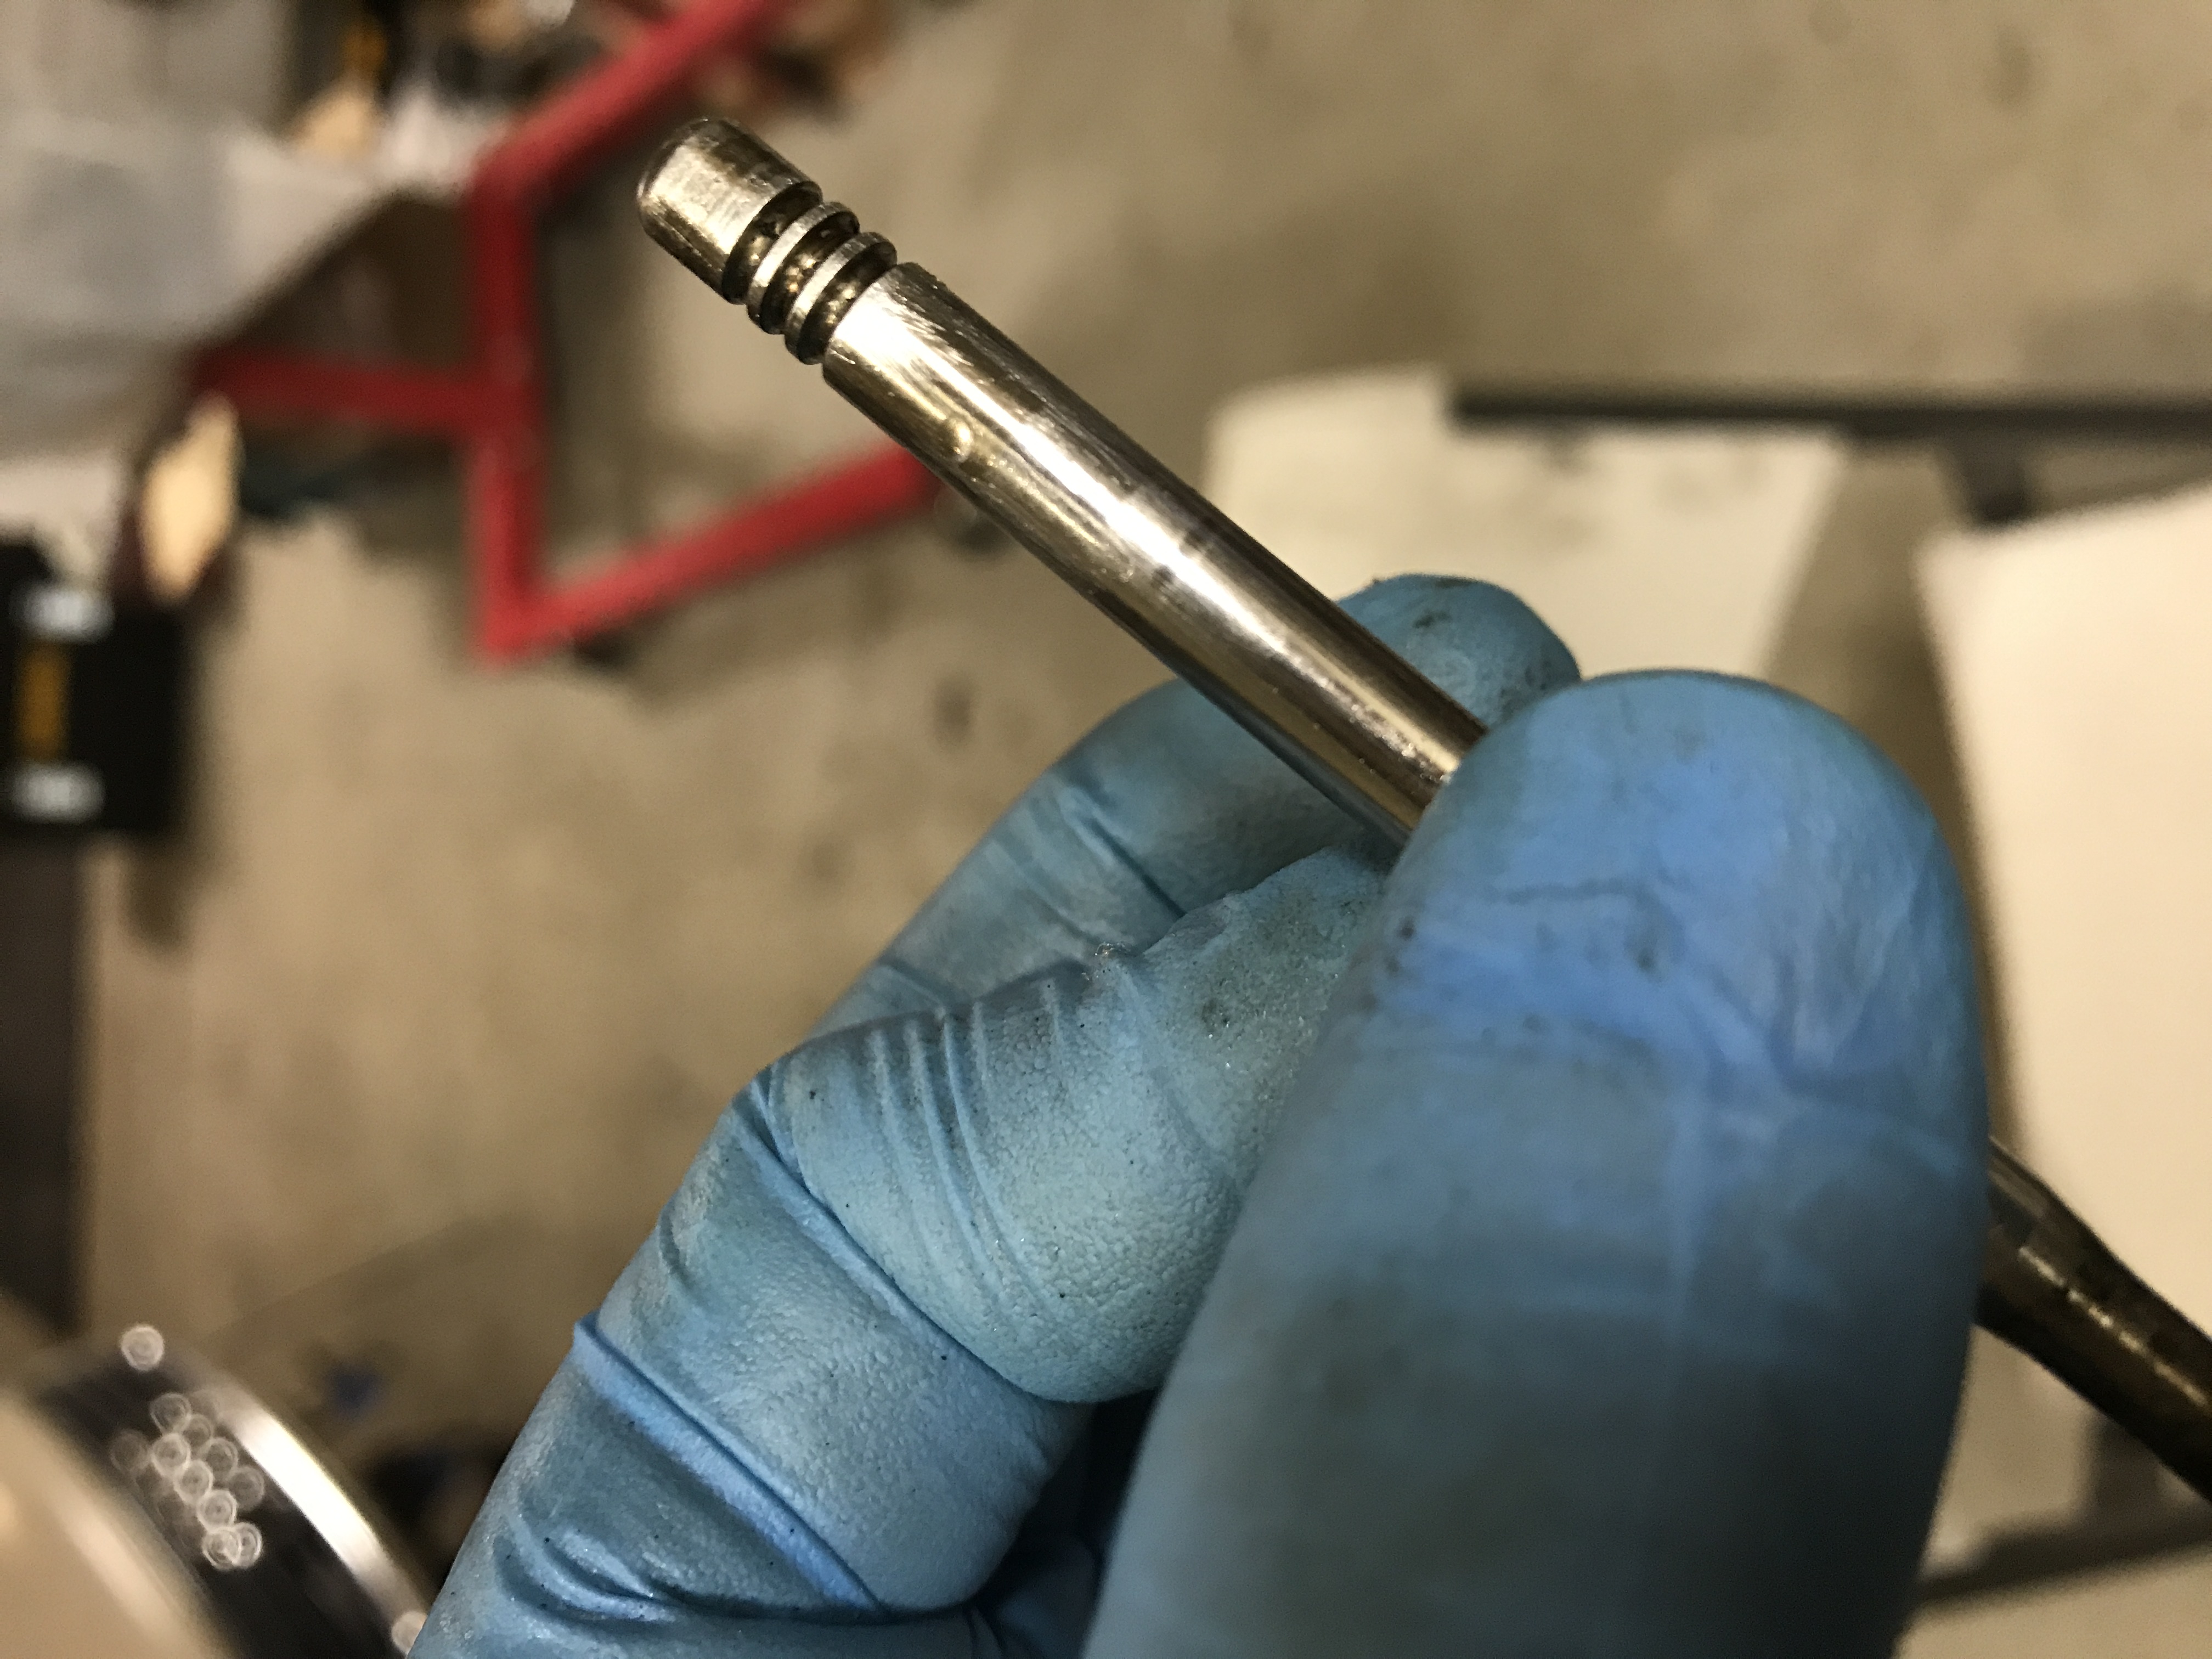
The only issue I ran into where damaged intake valves on the center intake on cylinders #2 and #3. The springs for just these two damaged valves where also clearly out of square. Its very tight in there and I had a difficult time getting emory cloth down in there to sand the stem smooth so I could extract. I ended up using a combination of small emory strips with a hook shaped pick to apply pressure to the stem while sanding. I verified the work with a 3x magnifying glass to see the progress. Cleaned the area with compressed air between steps. Despite my effort here I gouged both valve guides removing the damaged valves. I'm hoping the shop can just hone these as it looks like slight damage and the clearance on the guides was good based on measuring valve play with a dial indicator. I used the VAG tool to get the guide seals off, its like a slide hammer thing. Here is a pic of the dent both the damaged valves had, dent sat right above the valve guide height wise.


I called a few machine shops and picked one that seemed willing to answer my questions the most, a shot in the dark really.

I asked them to perform the following work

Block
  • Remove/Replace Oil Gallery Plugs
  • Jetwash
  • Inspect/Magnaflux
  • Hone Cyclinders
Crank
  • Jetwash
  • Polish
Head
  • Jetwash
  • Inspect
  • Repair or replace center intake guides on #2 and #3
  • Mill surface for gasket seating

They are about 4 weeks behind on this kind of work so while they get that done I'm going to move onto suspension work. I provided them with my measurements and asked that they verify. If I'm wrong they'll catch it and we may be looking at boring instead of a hone.
 
Last edited:
  • Like
Reactions: Vex182
While most of the motor is at the machine shop I'm working on other items, next up is the turbo. I have a k03s, I think. The plate on the turbo is too far worn to read but since this is a 2001 a4 sport rated at 170hp I think it has a k03s instead of a k03.

The exhaust housing has some cracks and I managed to snap an exhaust bolt off during removal. Since it had some cracks around the wastegate and I hate extracting bolts I went ahead and bought what I'm sure is a knock off exhaust housing for $30 shipped. I also ordered a rebuild kit from turbo america via amazon for ~$60 shipped. I know that for the time and cost involved these probably aren't worth rebuilding but I'm after the experience of rebuilding a turbo so when I have a nice one that is worth rebuilding it's not my first run at it. If this turbo blows up I'm not too concerned.

There was a good amount of radial and axial play present on the turbo. Thrust washer design will have some radial but axial is bad, so I've read. Here is a picture of where I started from.


I followed instructions from pelican parts specific to the k03/k04 and they were super helpful. I did need to use a hefty 2 jaw puller to separate the compressor housing as there was a good bit of RTV in there. I also had to heat the compressor wheel with a torch to get it to come free of the shaft. Before I remove the compressor wheel I took reference photos and marked with paint the orientation of the turbine wheel relative to the compressor wheel. I did this so on reassembly I can hopefully have a balanced enough CHRA.

Here is a picture of the turbo apart, you can see coking on the hot side. I soaked the pieces to be reused in carb cleaner and did a few rounds of purple power on the compressor housing. Everything internal got down to shiny metal.


Reassembly was pretty straightforward. The kit included an o-ring for the compressor housing to center section, I did not use that and instead used a high temperature gasket maker. Oddly enough I did not need to heat the compressor wheel to get it onto the turbine shaft during reassembly. I used engine assembly lube and will turn the motor a few times without the fuel pump enabled to get this bathed in lubricant for first start.


Here is the assembled turbo. Axial shaft play is not detectable and radial shaft play is reduced. The spinning motion also "Feels" better. Hopefully this turbo is ready to be flogged at the track now.


Working on suspension next.
 
I was always afraid to have a go myself on the turbo unit. It doesn't seems that bad in the end. Hope it will boost fine and for long time :racer: .
Looking forward for further work.
 
  • Like
Reactions: durandal
The things that will probably need replacing on the cylinder head are the exhaust valve guides. I rebuilt my 225 BAM engine with forged pistons, rods new bearings , supertech exhaust valves, Rosten springs etc etc. The only really worn part of the engine were the exhaust valve guides. The sten diameter on the inlet and exhaust valves is the same so try comparing the inlet and exhaust guides with a valve .
Even at 90K miles could still see the original hone marks and it had good compression. I had the block bored for 82.5mm pistons so you go from 1780cc to around 1850cc.
I would get the turbo checked for balance on a turbo VSR if I was you. Even though you put it back as it came apart the turbo is better off being checked.