My Audi A4 DTM - "Brought Back From The Brink" progress thread!

Nice touch. Old friend of mine had a little trick for doing such things - use a modellers small paint roller and gently run it over the top of your embossed logo, that way you get nice smooth edges and an even paint finish. In this case you'd need to mask off the surrounding area is it's raised also, but perfect for this kind of job :)

Thanks Mooster, good tip too, I'll use that method next time :yes:

I done a few jobs on the DTM over the past few weeks. This is the first chance I had to upload any progress.
I've been collecting various parts that were missing or broken.

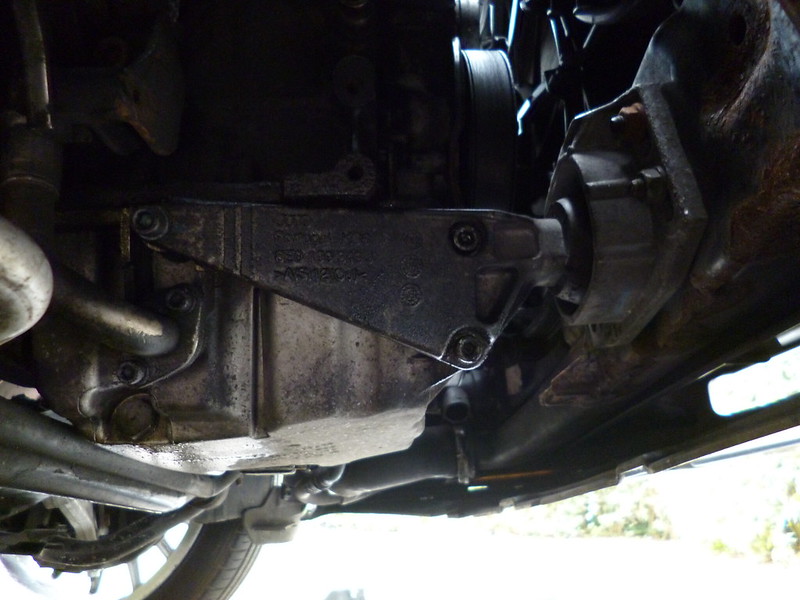
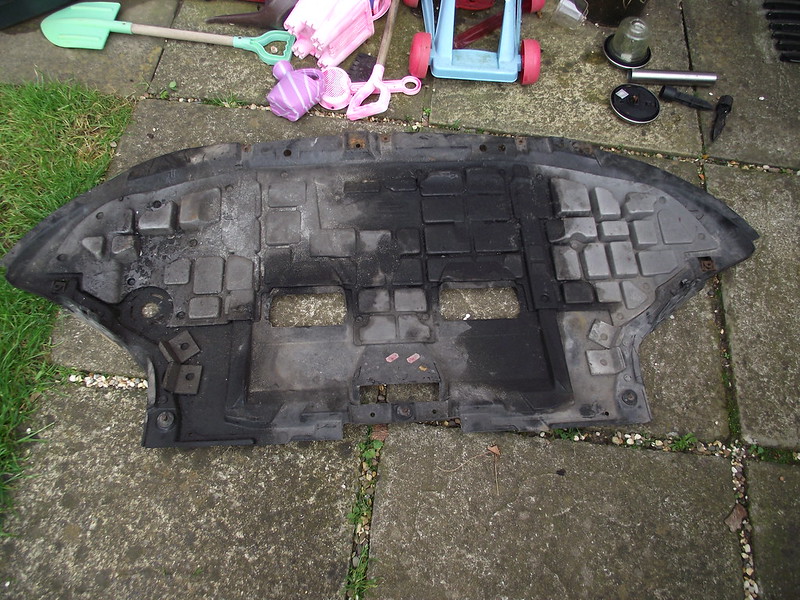
Another part that was missing was the engine and gearbox undertray. I managed to bag both genuine trays for £45 delivered.

Engine tray.


Gearbox tray.


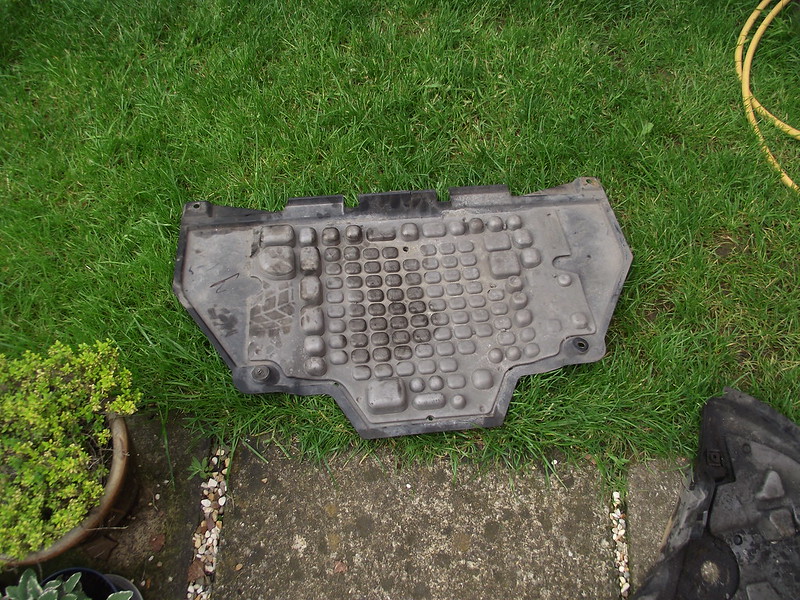
Both in good used nick, but in need of some TLC. But I ain't going to fit them to my car looking like that am I...!!

After alot of APC and scrubbing. (both of my kids helped too!)


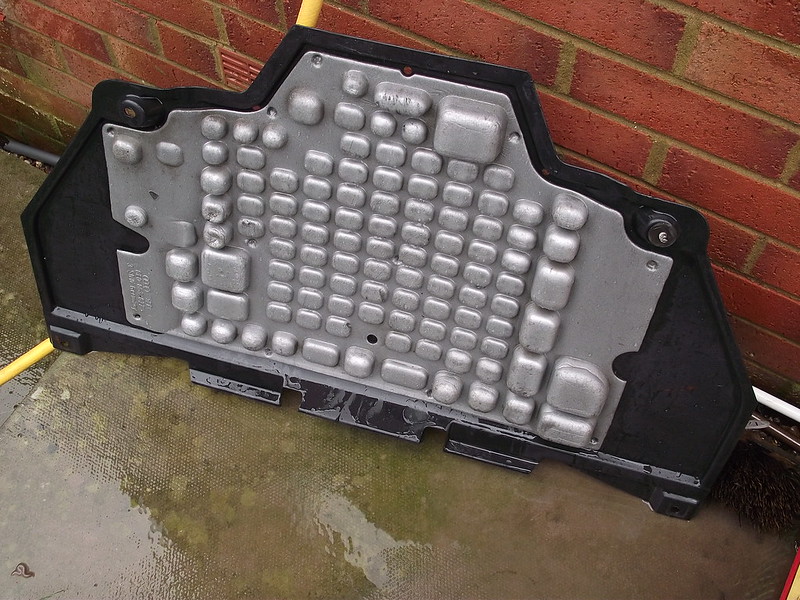
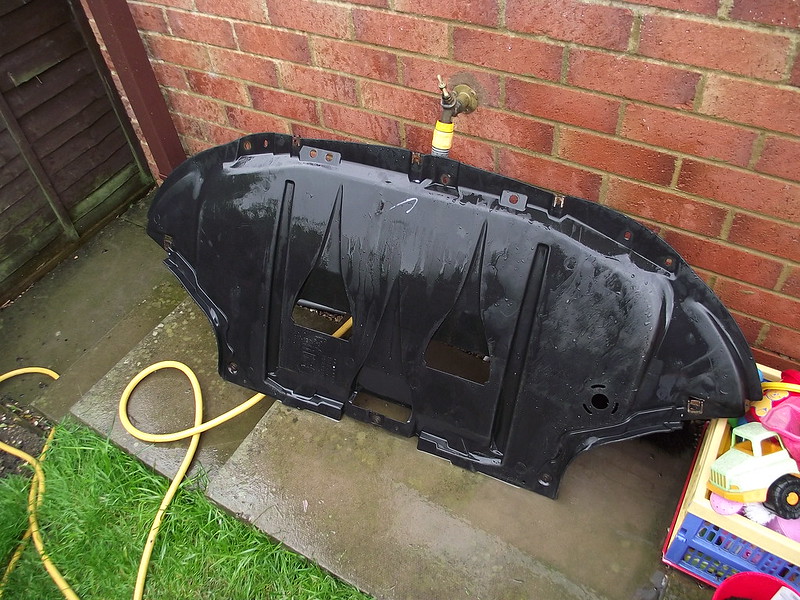
Not perfect, but much cleaner and worthy of going under my car!

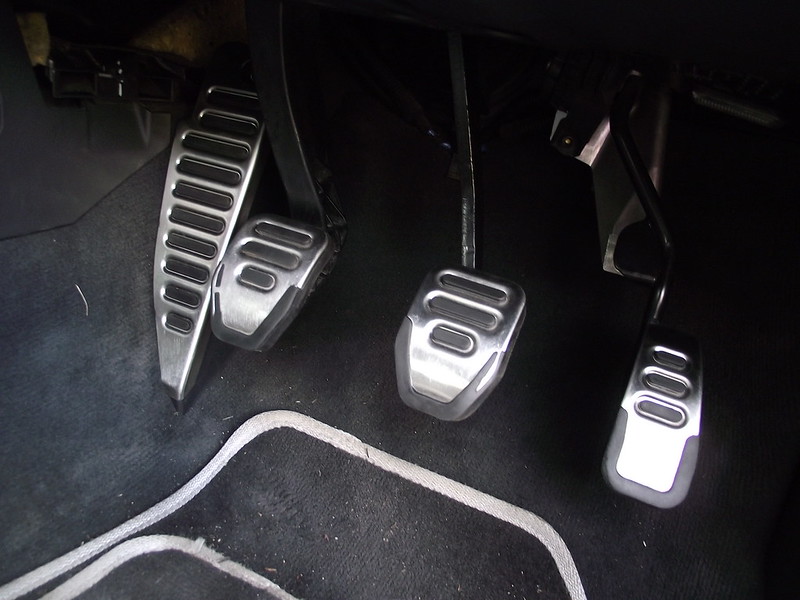
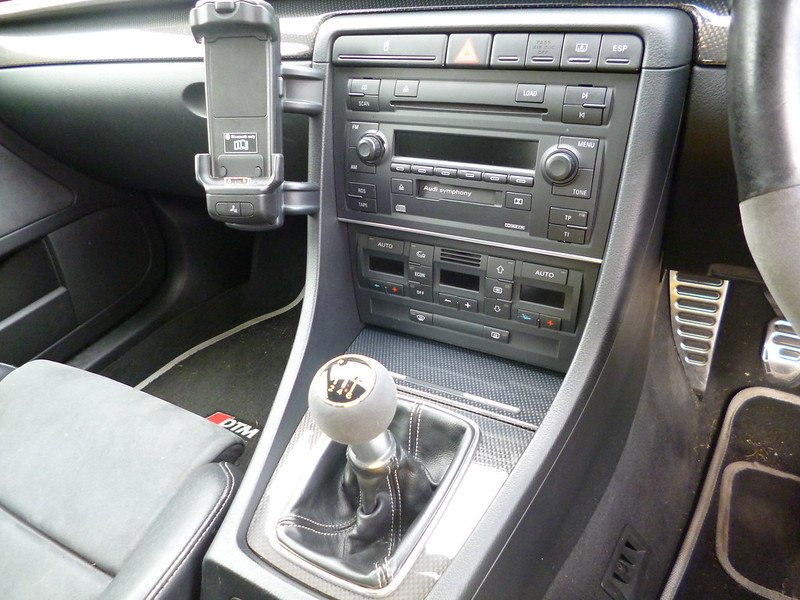
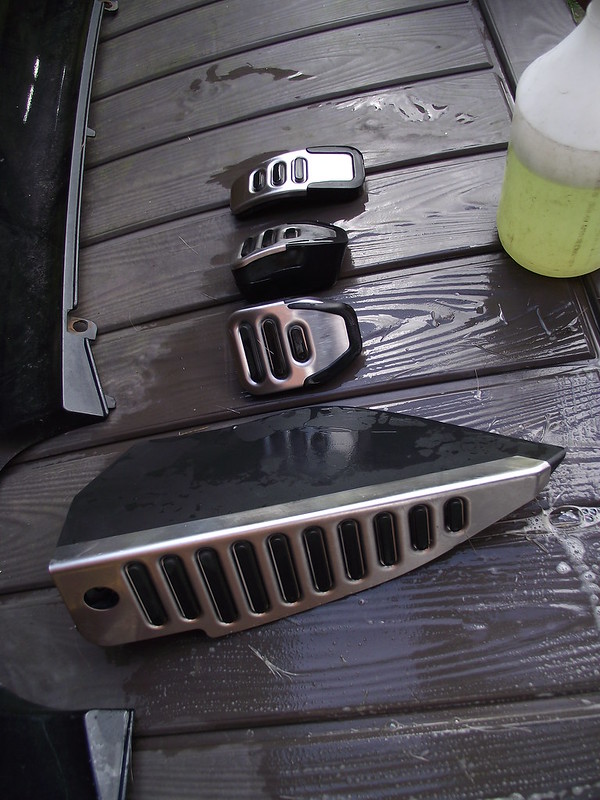
Another little upgrade! RS4 Alloy pedals! Also used on the Special Ed Audi A4's. Again bargain find on eBay!


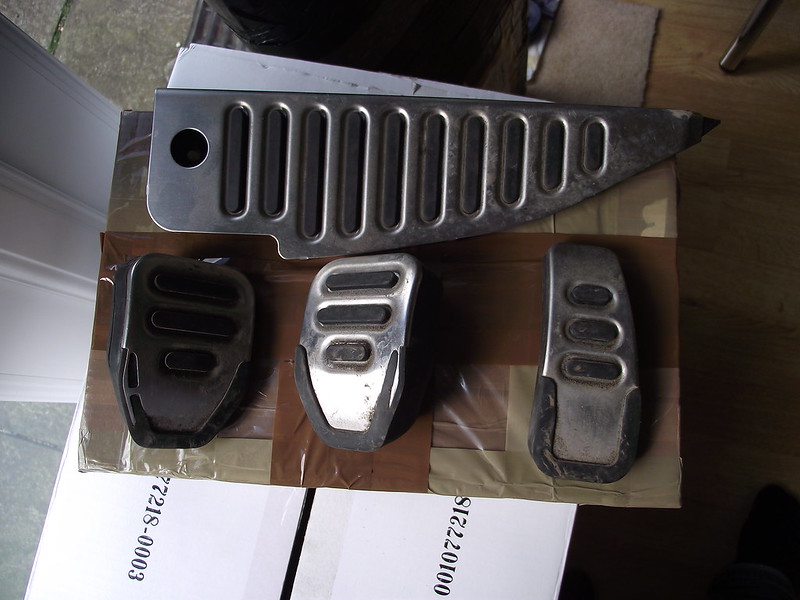
In need of a little cleaning.


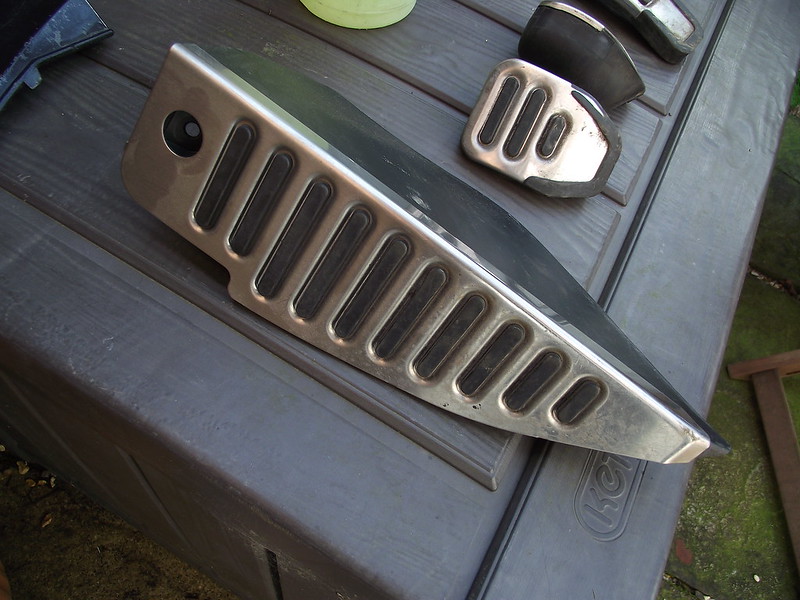
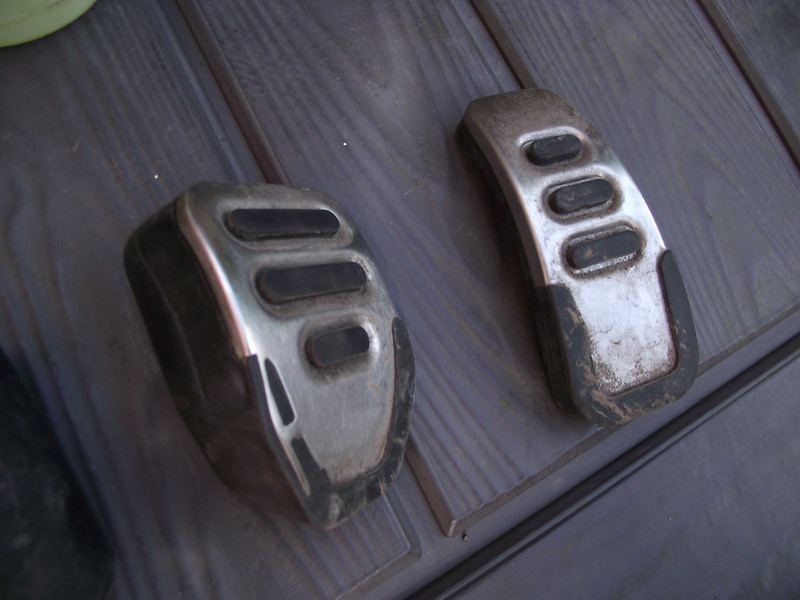
Then after APC'ing and a brush.


Yeah, they're a little worn but that's in keeping with the car.

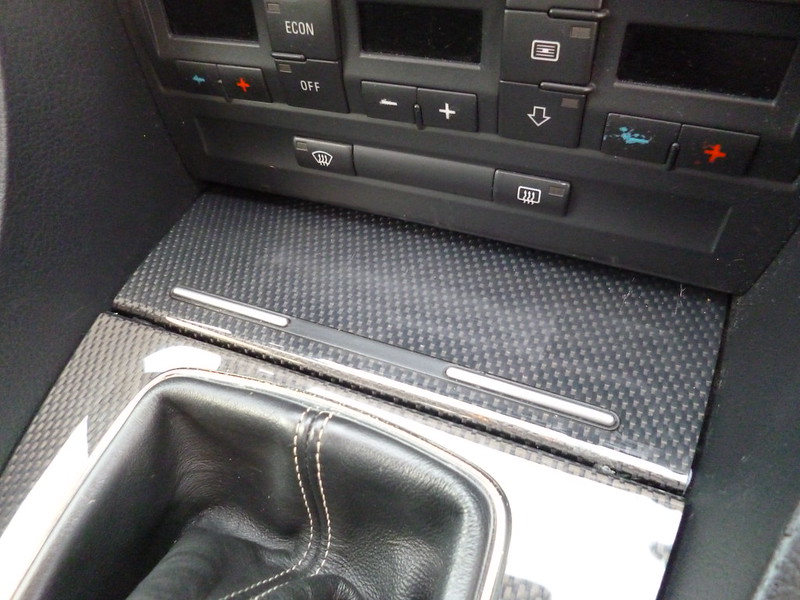
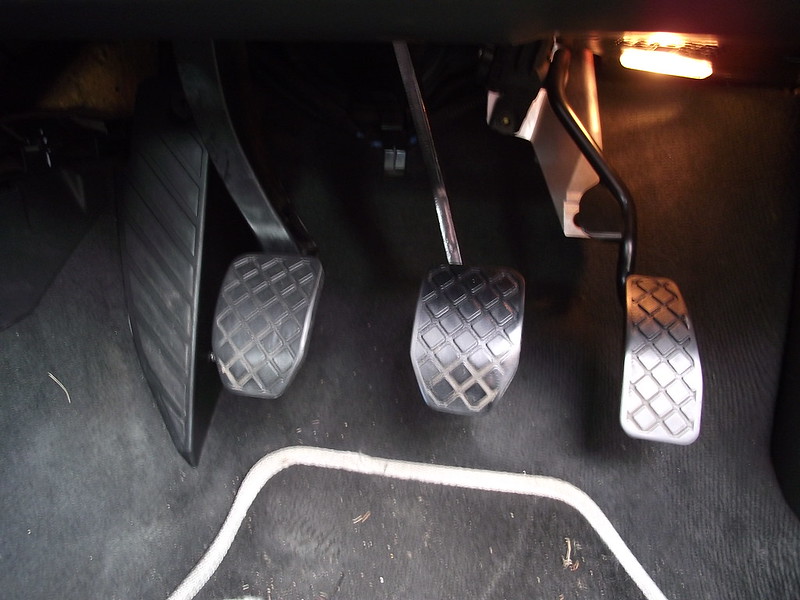
The original set up.


Foot rest removed.


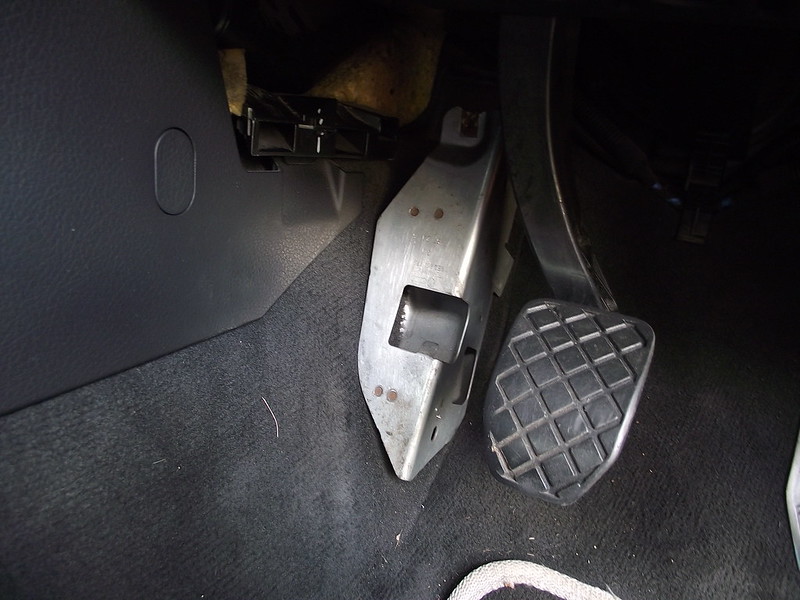
After fitting the new rest (which any monkey could do!). It was onto the pedals. What a faff getting them off and then on Jeeezus!


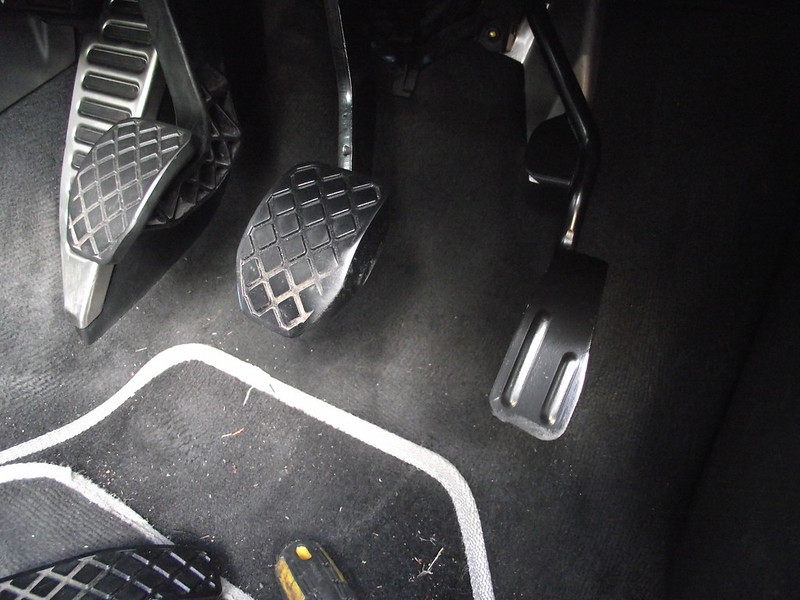
There you go all done, much posher now!

 
  • Like
Reactions: Tyrer
Another little niggle, was the boot trim. The striking plate cover had broken off, which was troubling my OCD :sadlike:


Very simple to fit, pull off rubber seal and undo two nuts and pull up.

Replacement back in.


It's the little improvements that make all the difference to the overall condition of the car.


I had to replace the front tyres too. One had a puncture the other was losing pressure from the bead, due to corrosion on the alloy.


So, now I have new Falken 453's all round. :racer:


Well I couldn't leave them any longer, as they were pretty worn. So, the next job on the DTM was to replace the front Discs and pads.


The calipers were also ripe for a re-furb too.


So once the car was on axel stands, I removed the alloy. Discs very worn, ribbed and lipped!


Nice large Calipers, in need of some attention.


The new rotors. MTEC Brakes 320mm with dimples and grooves. Paired with Mintex Pads.


First thing, to remove the calipier, is to remove the retaining clip. (And watch your fingers!)


Then remove the caliper by removing the sliders, and wiggling the caliper off.


Then to remove the disc, the caliper carrier has to be removed. The brake pad wear indicator bracket also has to be removed for better access to the carrier bolts.


So after alot of pulling, pushing, breaker bars, hammers, swearing and shed loads of WD40, the carrier was off. :rockwoot:


Old disc off.


Then the whole brake system and hub were wire brushed and cleaned up, (after this pic.)


Then I used a G clamp to push the piston back in. The pads were installed at this point.


To release some pressure off the caliper you need to unscrew the brake reservoir. (don't do what I did and forget to tighten it ip again!):unamused:


The sliders were looking dirty, so these were cleaned and lubed with copper grease.


The copper grease. essential for these jobs.


Slider(s) cleaned and copper greased.


Then loctite for the caliper bolts. I managed to scrape enough out of this well used tube!


Then all back together. Nice.

 
  • Like
Reactions: Tyrer and mister.c.
Then I decided, as I've gone this far I may as well paint the calipers.

The rear aluminum area was masked off.


The colour of choice, Hammerite smooth red. I chose red to match up with the little red touches over the car.
There are better paints, but for speed and the overall look, it should be fine.


After the first thin coating.


The retaining clip was also prepped and painted. Not perfect but good enough.


While the paint was drying I completed the brake change on the passenger side. This took half the time to complete, as I knew what I was doing!:laughing:


Old disc off...OOFF!


Passenger side all back together. The Caliper all cleaned and prepped up, ready for painting.


First coat.


After an hour...Second coat.


Both clips painted.


After the third coat, looking better.


I painted the top of the heat shield with black hammerite smooth, to finish it off.


The clips were replaced.

All done.


Masking removed.


Alloy back on.


Looking fresher now. Very happy with the finish too. Just need to paint the rears now!

:pride:
 
  • Like
Reactions: makelja and Tyrer
I had some spare time today and the weather was looking good, so I decided to "refurb" the rear calipers and discs.

The aim is to freshen them up. I know they will not be perfect, as I'm doing them on the car. But the effect will look good!


The calipers are looking tired and in need of some love.


The hubs, disc edges and the sheild all need cleaning and painting.


The rear was jacked up and put on axel stands. Front wheels also chocked for safety.
The wheels were removed. Revealing the quite new but rusty brake discs and calipers.


The brakes were cleaned and wire brushed to remove the worst of the loose rust. They weren't too bad actually.


The shield was painted first. As before Hammerite smooth paint was used throughout.


The rubbers were masked off.


Then the hubs and edges were painted.


The drivers side was prepped, while the passenger side dryed.


The shield, disc and hubs painted.


Then one thin layer of red Hammerite smooth applied.


The same on the drivers side.


Second coat.


Then third and final coat applied.


Then the masking removed.


At this point, I realised I hadn't painted the hub face, as this isn't covered by the wheel, as I first thought!


Now the passenger side wheel back on.


Looking much neater and matching the front calipers.


Very happy with the look of them, freshens the car up nicely and only took a few hours to do.

Thanks for looking :smiley:
 
  • Like
Reactions: Tyrer
job i have wanted to do but I am undecided on colour against the light silver - red looks nice on yours and good right up for people.

You got any full side shots?
 
Looking amazing as always pal.
 
  • Like
Reactions: Audi-Rog
Red calipers look great.

Car is looking very very clean now compared to how you found it!


Sent from my iPhone using Tapatalk
 
  • Like
Reactions: Audi-Rog
Thankyou for the great comments everyone! :smiley:

*update*

The DTM had its first MOT in my ownwership last month, It did fail intially:unamused:

But it was nothing too major. All that was required, was to tighten up the battery clamp, a new exhaust clamp and a new lower track arm. I also had the oil changed too.

While it was up on the lift, I was able to have a good look around underneath all was in good nick apart from discovering the gearbox mount backet was broken! :frowning:

So this was replaced with a genuine part a week later. The car did have some issues going from 1st to second gear at speed. This was obviously the reason.

Then to add to all this, the clutch, which had been slipping a little, started to slip badly in the higher gears :weary:

So last week I bit the bullet and had the clutch and DMF replaced. Although, it's been an expensive month, to say the least! It has definately been worth it, as the car now feels awesome to drive :racer::greyrs4:

It is safe to say I won't be selling the car any time soon....

A few pics to cheer me up :)


:sunglasses:
 
Last edited:
  • Like
Reactions: Tyrer and RS5 JON
Glad it's all sorted mate.

What was the issue with going from 1st to 2nd?
 
Glad it's all sorted mate.

What was the issue with going from 1st to 2nd?

If I was pulling away quickly, from 1st to 2nd, the gearbox felt very notchy or wouldn't go in cleanly. It would also do this from 2nd to 3rd, if I was accelerating hard. Now the gear box mount has been replaced it has pretty much cured the problem. I'm going to replace the worn snub mount soon too, to reduce any further slack.
 
Was it hard to replace the gearbox bracket mount?
 
Little update*

The ashtray had never opened, since I've had the DTM. So I decided to see what was going on.


This is what greeted me after forcing it open......blue tack and a shed load of superglue!!
1f62e.png


The ashtray mechanism had stopped working and the lid wouldn't stay down. Common issue on these Audis.

The previous owner obviously didn't know how fix it, or couldn't be ***** to sort it.!


So off to eBay to look for a replacement. A genuine Carbon fibre ashtray and lid cover was from £50.

But I knew the lid covers were interchangeable, so I bought one with a wooden lid for £14.50 delivered! Easy!


Just pull the old cover off and it's ready for the Carbon Fibre lid.


To remove the ashtray, I pulled up the gear surround, to gain access to these 8M bolts.

They ashtray insert was also glued in and wasn't looking too great, covered in crap!


The bolts weren't holding the ashtray down anyway as the plastic retainers had snapped!


The HU has to be removed to be able to push out the Climate control unit.


Control unit pushed out.


The old ashtray removed and the carbon fibre cover removed.


Voila!

I gave this a polish while it was off, with Menzerna 2400, to remove/or lessen some marks.


Then the new unit was replaced, remembering to re-connect this connector.


Bolted down properly now.


The surround replaced.


Now working as it should.


I even managed to rescue the ashray insert. Removed the glue and polished up the plastic. Although not perfect, it certainly looks much better.


Another little niggle sorted!


Next up replace Snub Mount.
 
  • Like
Reactions: Tyrer
*Little Update*

Fresh in from China, a new genuine Snub Mount Bush for the Audi.

The old mount was looking cracked and worn and for £5 posted from china, it was a no brainer. It is apparently very easy to fit, we will see!

I had thought about upgrading to a poly bush or the Passat mount, but in the end I went back to the original. If I change my mind it's only cost me £5.


The old mount, situated on the front slam panel. It's purpose is to stop the engine moving under load.

I would imagine this is the original mount, so it's over 11 years old.


First, jack up the car and put on an axel stand.


Remove engine under tray.


This is the mount bracket, attached to the engine sump with 3 6M hex head bolts.


Better view of the old mount.


Remove bracket.


Old worn bush.


Comparison to new snub mount.


Very worn, soggy and cracked.


New bush replaced. Make sure it is pushed all the way on, otherwise it won't fit back in properly, like I found out!


Then re-fit.


New mount from the top view. Very, very easy to install, took around 20 mins all in.

Should feel better to drive too.
1f609.png


:greyrs4: :smile new:
 
  • Like
Reactions: MuPPeT_ON_TouR, PeterPatch1, Tyrer and 1 other person
Good work Roger! Cars looking real nice.

I fitted the poly snub & did notice an improvement. The car stopped kangaroo'ing when driving off or stopping at low speeds. Under acceleration you could tell the engine wasn't diving back & forward too much during gear changes.

I'm not sure what difference a oem snub would feel compared to a poly, maybe stiffer & last a lot longer. But its definitely something I recommend changing if your getting any of the above symptoms.

Take it easy fella
 
  • Like
Reactions: Tyrer and Audi-Rog
Great work on the ashtray! I was reading thinking "wonder if he finds a carbon tray" then read on and felt rather stupid.

Think so many people would think to change the whole lot!!! Quick logical thinking.

Snub mount has me thinking


Sent from my iPhone using Tapatalk
 
  • Like
Reactions: WozzaAK and Audi-Rog
Good work Roger! Cars looking real nice.

I fitted the poly snub & did notice an improvement. The car stopped kangaroo'ing when driving off or stopping at low speeds. Under acceleration you could tell the engine wasn't diving back & forward too much during gear changes.

I'm not sure what difference a oem snub would feel compared to a poly, maybe stiffer & last a lot longer. But its definitely something I recommend changing if your getting any of the above symptoms.

Take it easy fella

Thanks mate :smiley:

I chose the OEM snub mount, as it was only a fiver. It's too early to say if has made any significant difference. I have only driven it once since fitting it!
I'm sure it has, whether I can tell is another thing :tonguewink:

I may opt for a poly snub later, if I get any of the symptoms your talking about. It's so easy to fit anyway.

Great work on the ashtray! I was reading thinking "wonder if he finds a carbon tray" then read on and felt rather stupid.

Think so many people would think to change the whole lot!!! Quick logical thinking.

Snub mount has me thinking


Sent from my iPhone using Tapatalk

Cheers Tyrer :pride:

It was a cheap and simple fix in the end. I almost thought about buying the Carbon ashtray and realised the lid comes off.

The fact I hate spending money also helped me find a cheap fix :congratulatory:

I still can't believe the last owner was happy to leave it like that, being a premium motor and all :angry:
 
great work here.

do you have a link for where you bought the snub mount from?

thanks
darren
 
  • Like
Reactions: Audi-Rog
Very nice

You definitely have too much time on your hands

Thanks mate :icon thumright:

Enjoyed working on the DTM. However, it's not been in my hands now for over 2 years......I almost wish it was :blownose:

However I now have a project 2004 TT 3.2 that I'm trying to return to former glory :sunglasses:

url=https://flic.kr/p/2eMAEwf]
47117336242_e5ca207c96_c.jpg
[/url]P1130581 by Roger Freeman, on Flickr

I may put it in the project room, we'll see...
 
Last edited: