On a non car related matter, I've got a new job again starting tomorrow for a large global pharmaceutical manufacturer called GSK as a technician in the respiratory sector. Will be lots more to learn and newer tech compared to what have been working on
")
Looking forward to learning the ins and outs of how their electromagnetic conveyor and rotary clamp systems work.
On a downside I expect once again will be a large reduction or complete stop with regards to homework and research on car related stuff at work.
But all in all happy to be going back to a faster paced production environment compared to automation. Did have fun playing with this kit and the cranes though

Now off of the boring stuff and onto the car
Now I've got all my bits for the fuel and power cell area I started on fabricating the mounts etc.

I found some nice heavy duty rubber mounts to hopefully isolate any noise from the pumps. They should be more than strong enough as we mount 10kg compressors on them at work

I've got myself a 3 quart wmi tank now due to height restrictions, this then meant unless I bent the lines round I would have to rotate the pump as inlet was on the wrong side.
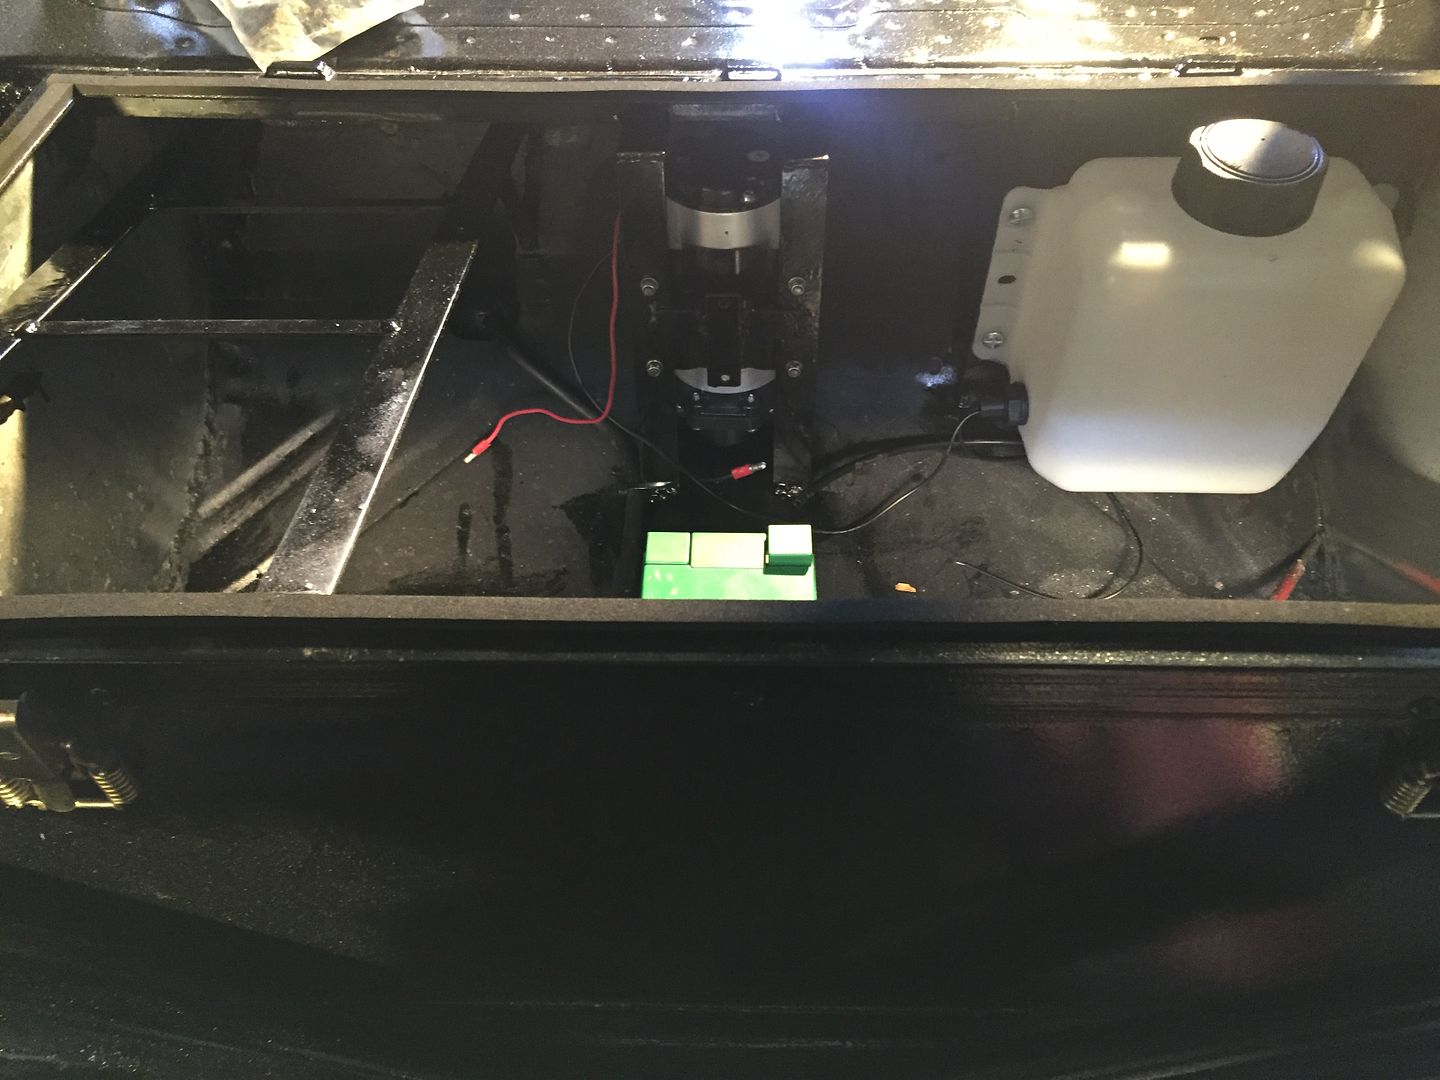
I very quickly slapped some hammerite paint on to stop it rusting. It was literally slapped on as not fussed about cosmetics inside here and I had a sausage sandwich waiting indoors lol

A few pics of how its at now


I've used the seat belt anchor as an earth and have got to put some other wiring relays etc in there yet but besides that it's getting there
I'm planning on using this relay at the mo as is a freeby had lying around from either the derv golf or stuff have removed from here. Only downside I can see at the mo is that I've got nothing to mount it with bar cable ties? I will pick the feed up off of the original pump to turn the relay on and then just run the pumps with positive fused from the battery.


May be a little while before get some time on the car as believe I'm on mon-fri for the first few weeks on the new role.