Ok so here my write up for the instal;
1. Firstly place light in the Oven at 120c for 10 mins (make sure all caps and metal holding clips removed)
2. Remove from oven (wear gloves) and then prize apart the lamp

3. Release clips show in pictures below to remove whole of dipped beam reflector, use flat head screwdriver, pull gently and wiggle and it will come out
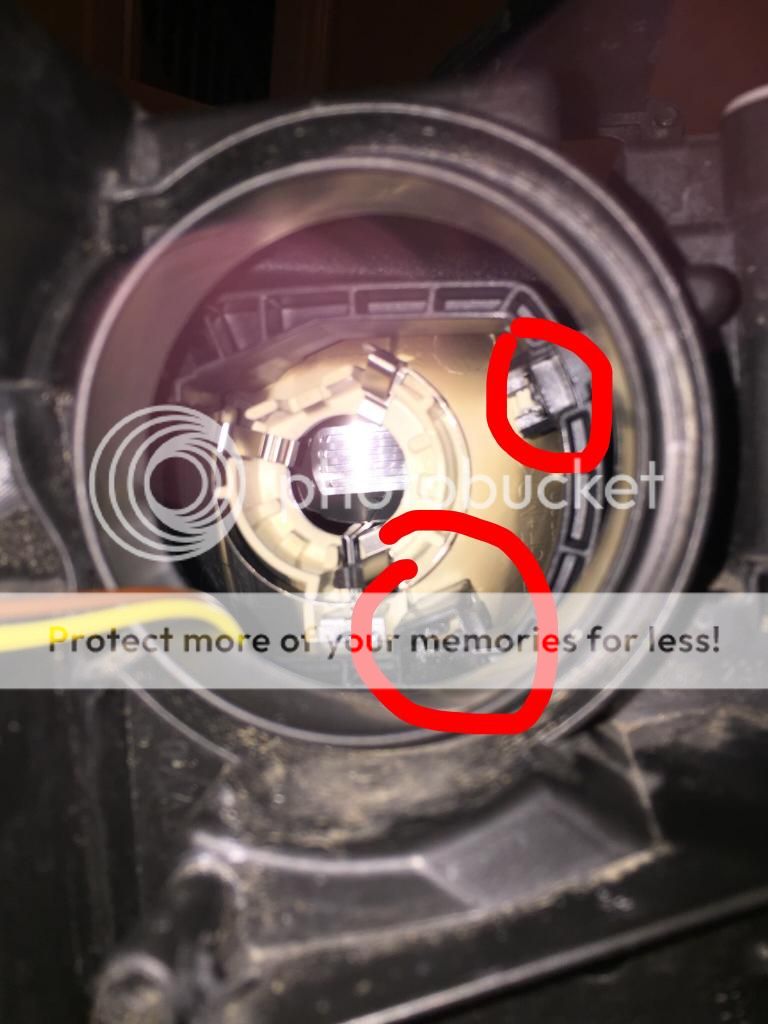
4. From rear of reflector, remove silver circular clip and bulb cap with an Alan key type tool
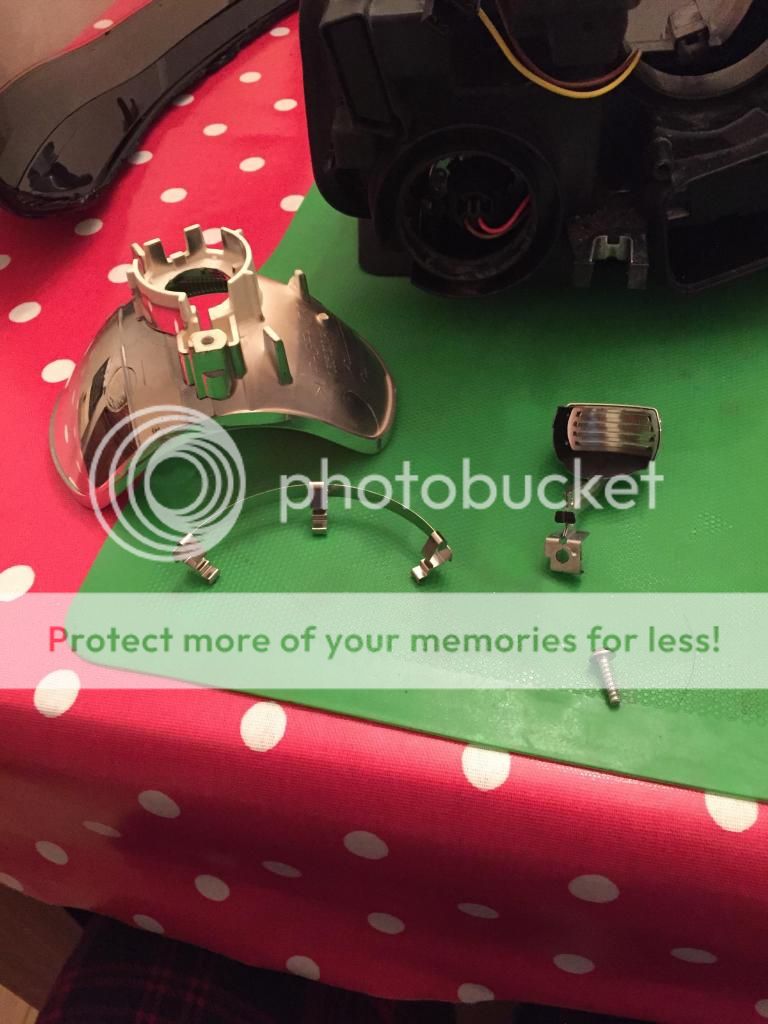
5. Place smaller rubber circle around projector, feed through the wires into the hole in the reflector + then file down the H7 adaptor to create a smooth circle within centre, and place on rear of projector

6. Screw on rear projector nut using nose pliers, keep projector straight at all times

7. Screw on H1 adaptor using screws already within projector
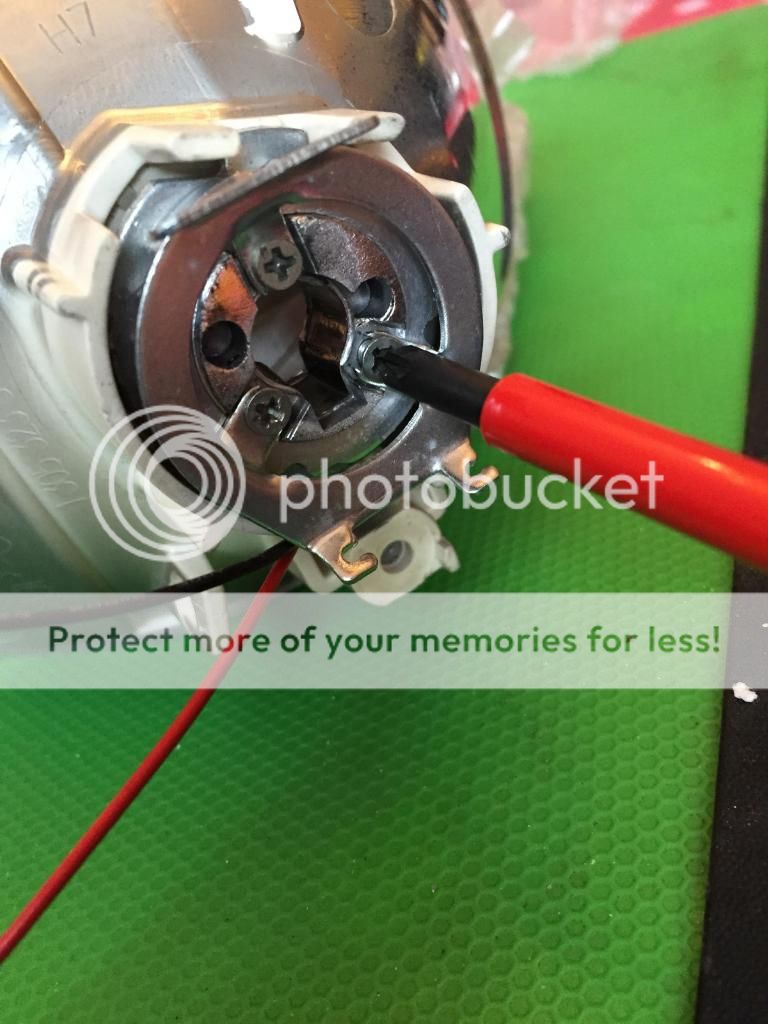
8. Insert projector back into headlamp feeding wores through rear of headlamp

9. At this stage, wire up projector to the main beam, I used a plug and play look from Trups, which in my opinion is the easier option
10. Cut shroud to roughly shape of the reflector, I did this with a hack saw and just took my time, then filed the rough edges

11. Using some strong glue (I chose JB kwick weld) apply a small amount to the outer plastic of the projector and slide the shroud in place, **before doing this make sure there is enough space above and below shroud for adjustment of your headlihht if required**
12. At this stage once dried I polished the inside of the lamp with a lint free cloth.
13. Replace outer headlamp cover and push together as best as you can, then place back in the oven at 120c for 10 mins
14. Once removed from the oven, press together and re apply the metal clips and rubber corner covers, then replace all bulb caps as required
15. Instal and check headlihht alignment.
** Note that it's an optional part of the process to glue around the rear of the projector where the nut it before putting on the h1 adapter, this can prevent the projector moving, however I did not do it this as I feel the projector is tight enough**
Overall as an experience it was really easy, very nerv racking but actually very simple, the hardest part was fiddling around to loop the wires around as there is a lack of space in the back of the light,
This has by far been the best MOD iv done so far, gives the car a great higher spec looks, and certainly saves on getting S-line lights.
I may have missed things so please highlight if I have, and any questions or help just PM me, I'm In the glasgow area and could offer assistance if needed.
Hope this helps folks
Thanks
Kall


