future
Scuderia Vittoria Edition 001
Hey, thought i would post this up just incase it is of use to anyone.
I have had some "race" density bushes sat around the house for the old girl for a while now, so me and rob (vrbob) decided it was time to get my **** into gear and get them on.
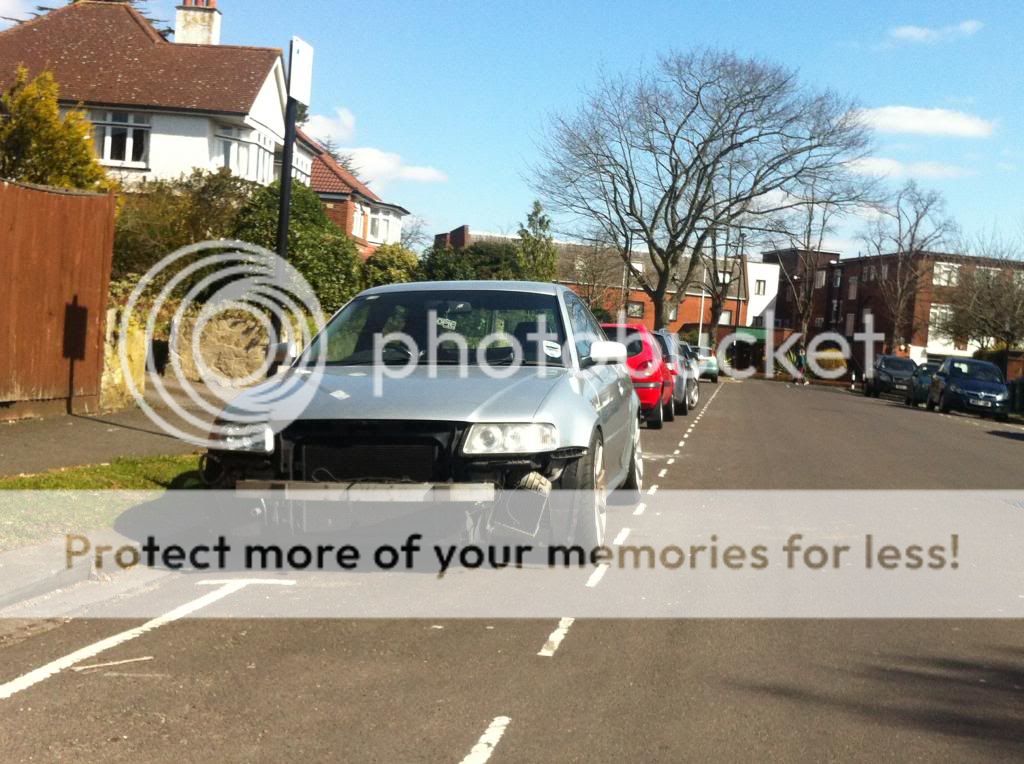
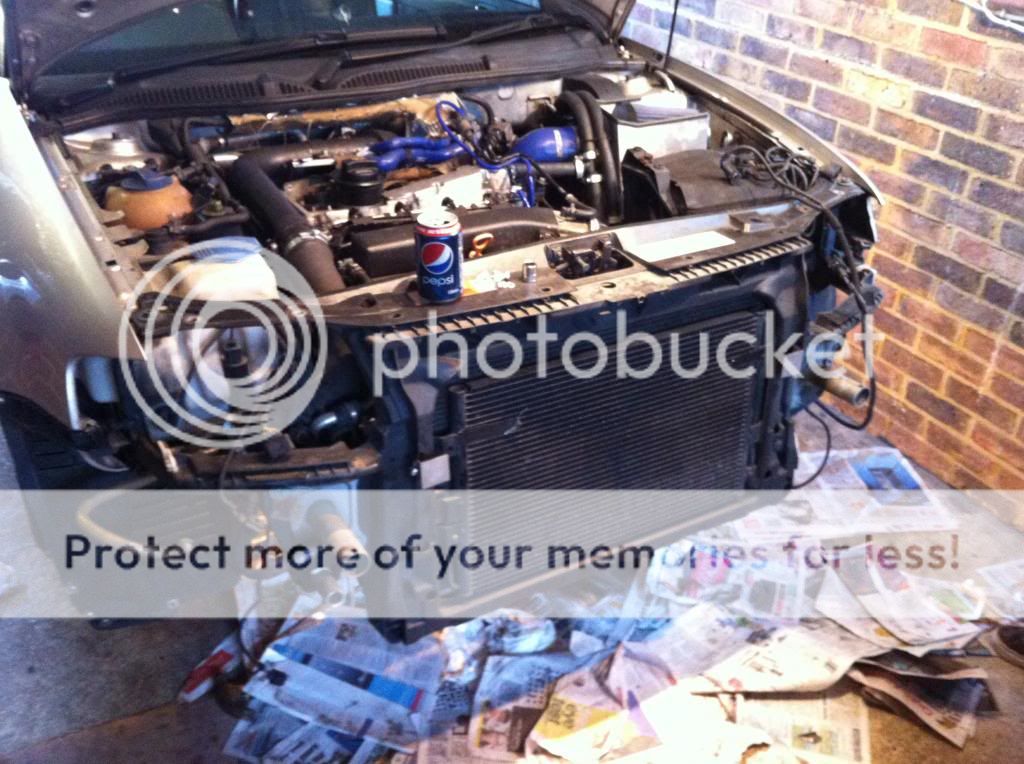
So i rocked up to robs about 9 (thanks mate) and we got started with it looking like this:

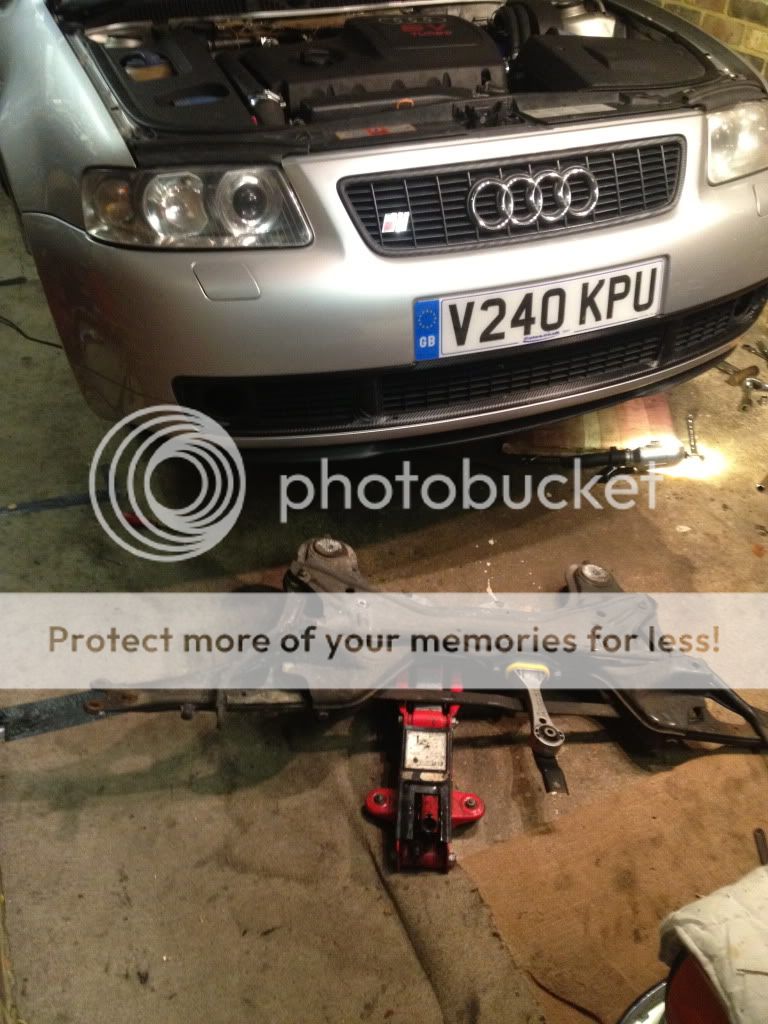
So we jacked her up and realised the suspension may already be a wee bit on the stiff side :s

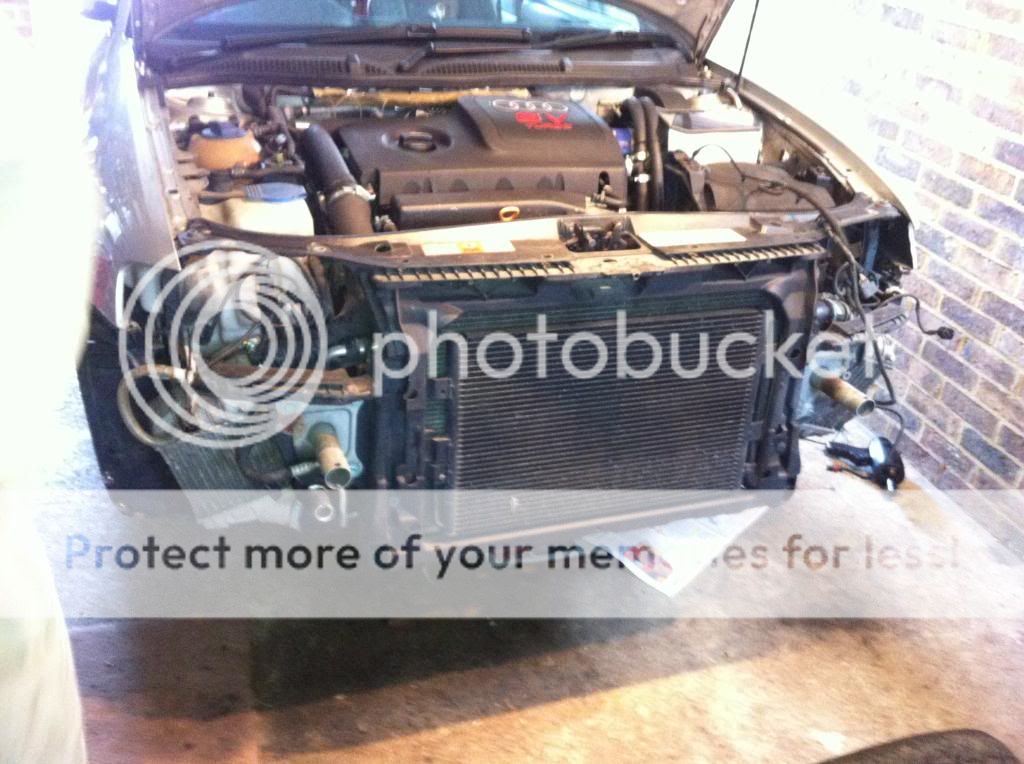
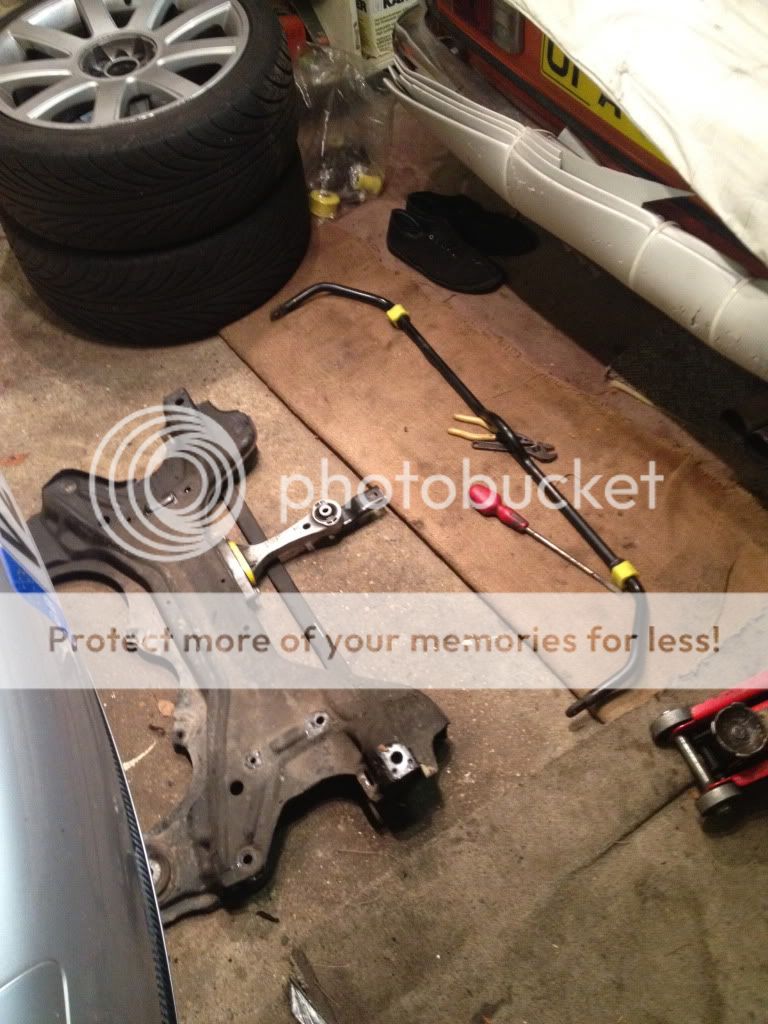
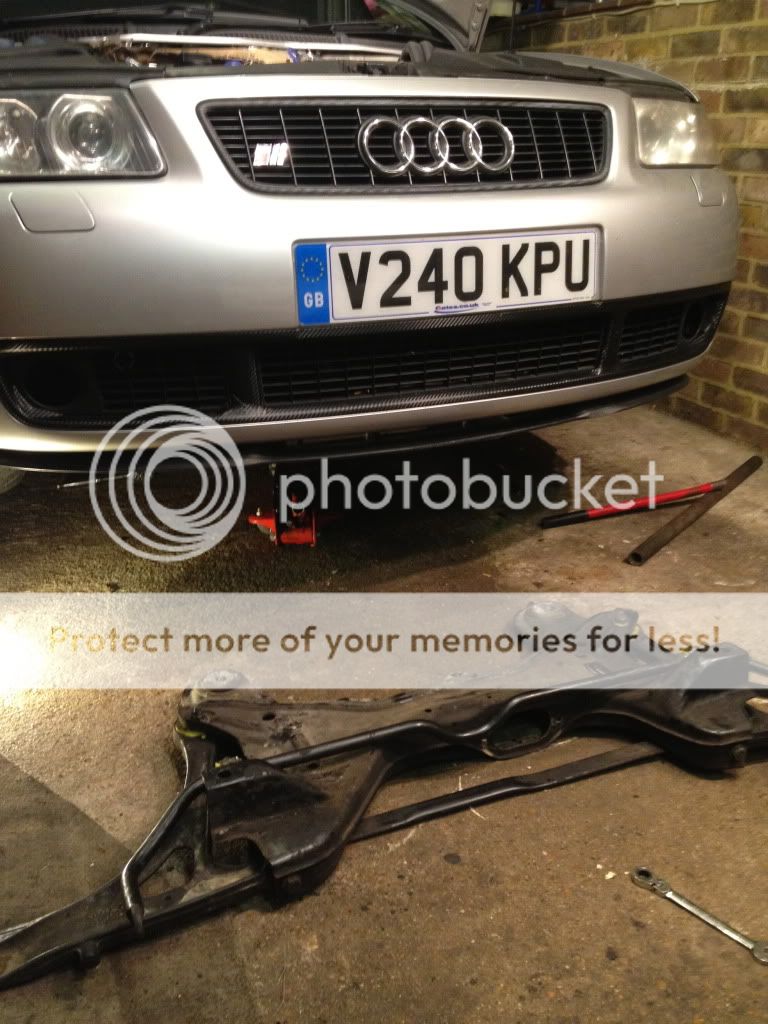
Once i had changed my now soiled pants from the jacking moment we set about dropping the sub frame, which if im honest is not a bad job at all. So about 30 mins later it looked like this:
List of bolts to remove is -
3 x 16mm's on the ball joint
4 x 13mm's holding the steering rack to the sub frame
4 x 21mm's holding the sub frame to the chassis
2 x 18mm's ARB - drop links
and finally the dog bone mount
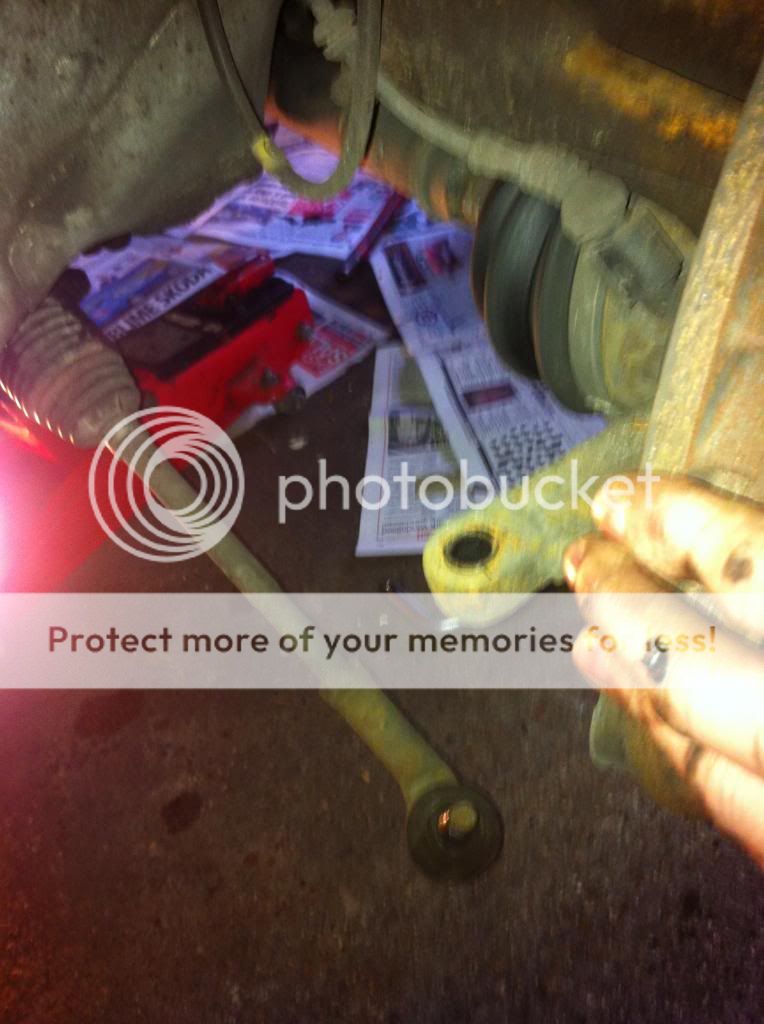
Then arms and ARB off and fit new bushes:
Re assembled:

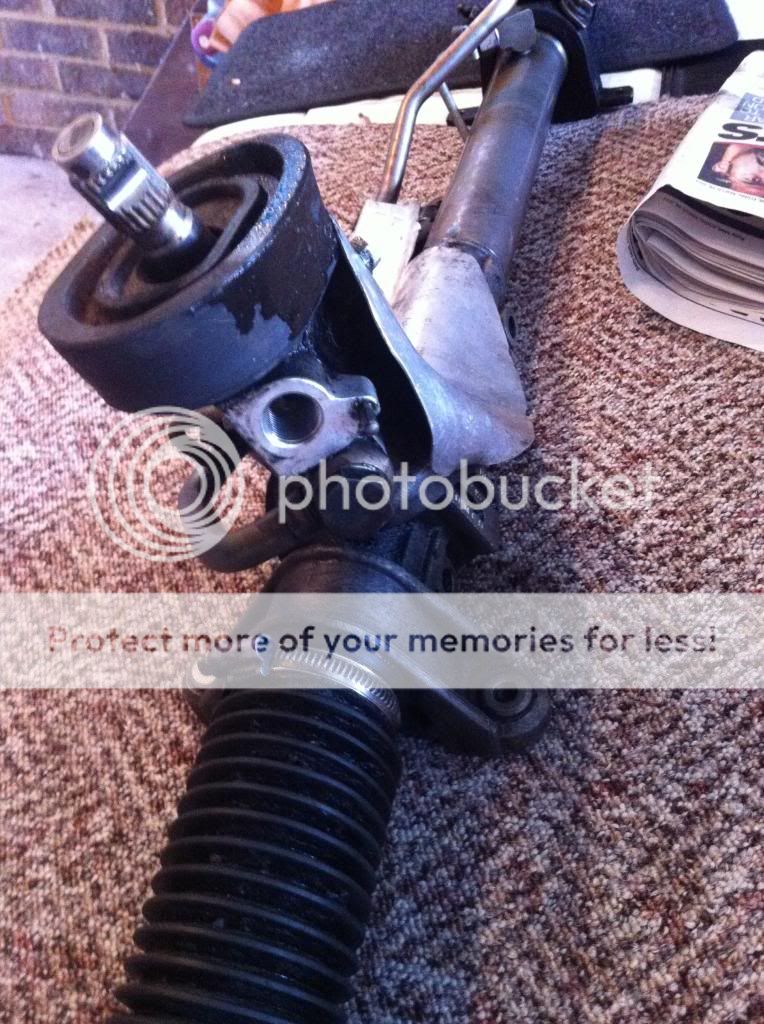
At this point we removed the dogbone mount completely to easer re fitting and she is ready to go back in:
Then to get the subframe back in we found it easiest to put the ball joints in loosely with the subframe jacked in place. Then re attach the steering rack (drivers side first) and she slots back in nicely") do the rest of the bolts and shes good as new!
do the rest of the bolts and shes good as new!

The difference is night and day and the car holds the road so much better now! If anyone would like links and things to the bushes i used feel free to pm me :thumbsup:
Hope this is helpful
Tom
I have had some "race" density bushes sat around the house for the old girl for a while now, so me and rob (vrbob) decided it was time to get my **** into gear and get them on.
So i rocked up to robs about 9 (thanks mate) and we got started with it looking like this:
So we jacked her up and realised the suspension may already be a wee bit on the stiff side :s
Once i had changed my now soiled pants from the jacking moment we set about dropping the sub frame, which if im honest is not a bad job at all. So about 30 mins later it looked like this:
List of bolts to remove is -
3 x 16mm's on the ball joint
4 x 13mm's holding the steering rack to the sub frame
4 x 21mm's holding the sub frame to the chassis
2 x 18mm's ARB - drop links
and finally the dog bone mount
Then arms and ARB off and fit new bushes:
Re assembled:
At this point we removed the dogbone mount completely to easer re fitting and she is ready to go back in:
Then to get the subframe back in we found it easiest to put the ball joints in loosely with the subframe jacked in place. Then re attach the steering rack (drivers side first) and she slots back in nicely
do the rest of the bolts and shes good as new!
The difference is night and day and the car holds the road so much better now! If anyone would like links and things to the bushes i used feel free to pm me :thumbsup:
Hope this is helpful
Tom


 should probably get some pics up of mine now i have a 'proper' one
  they are original hella ones, but before i fitted them i used tufty's restoration guide which i believe is in the stickies