- Joined
- Nov 24, 2010
- Messages
- 15,084
- Reaction score
- 1,131
- Points
- 113
- Location
- Plymouth
- Website
- wheelsnwires.blogspot.com
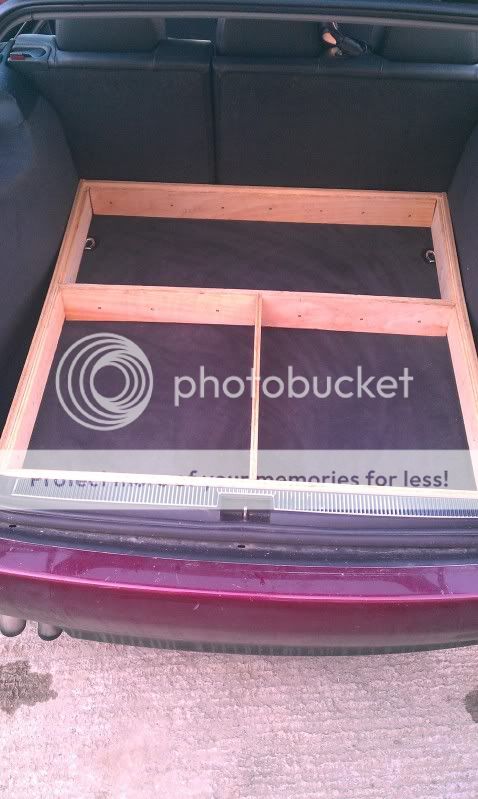
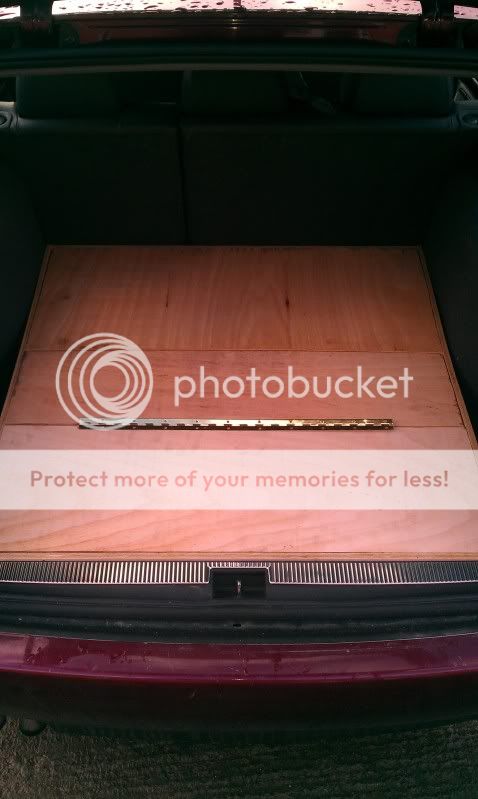
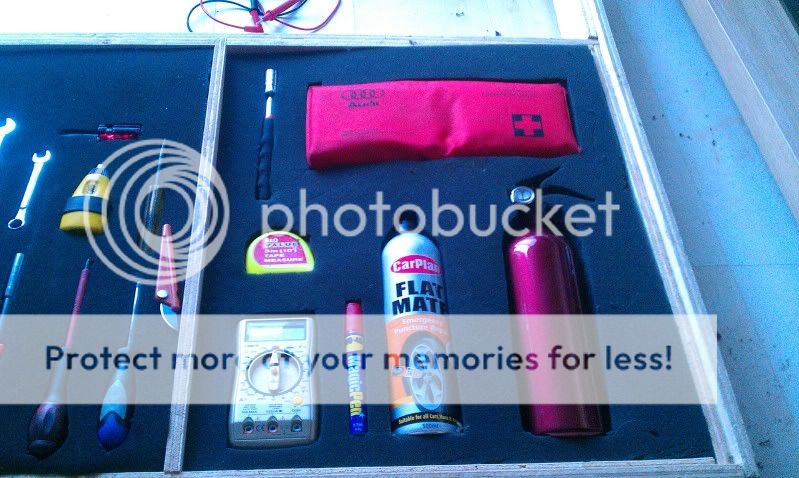
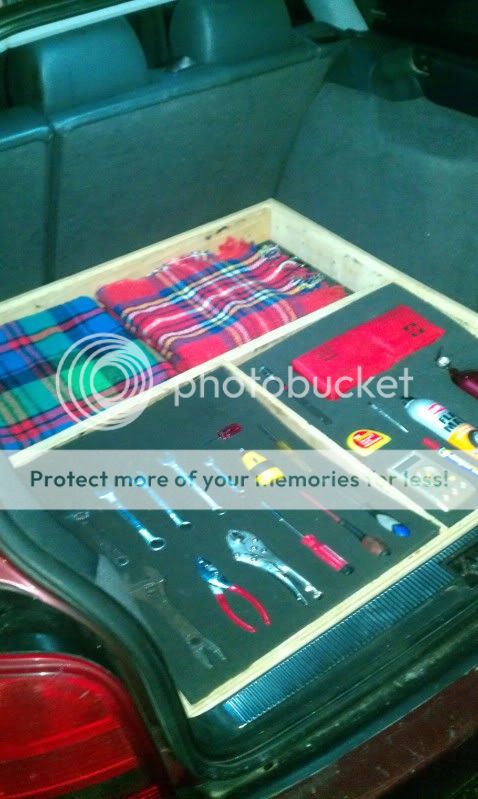
Bit of a update,
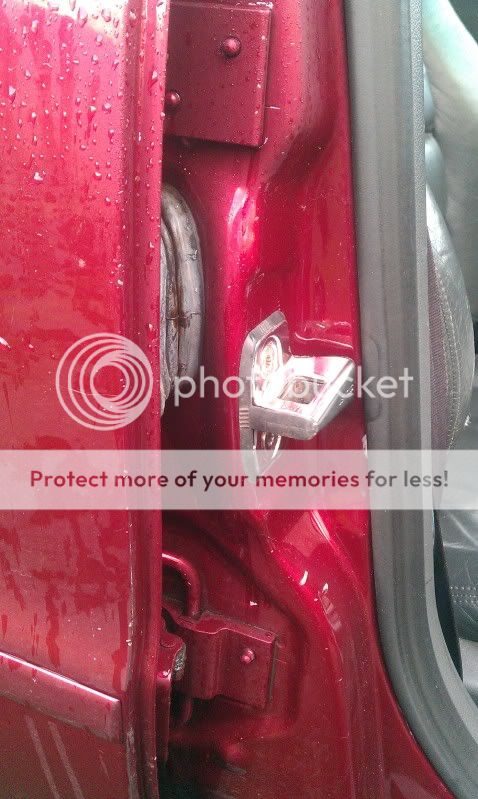
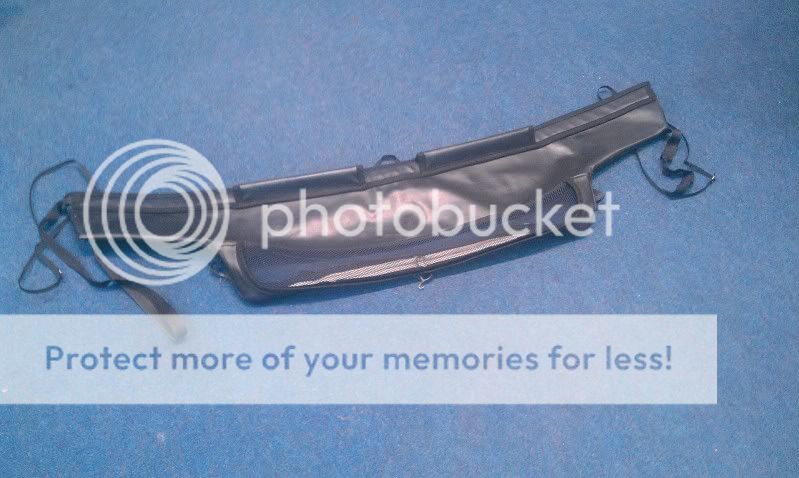
I've been looking for a control unit and stumbled on the Omega rear blind control unit.
2 cables out and 3 cables in.
1 live, 1 earth, 1 switch and 2 to the blind.
I did a test fit today to make sure the relay works and stops when the blind hits top and bottom.
Here is a video (I hope).

I had to do some swapping around of the plugs to get the blind plug in to fit. Cause its a left switch and left is where my rear fogs are. I moved my rear fogs to the middle, using the front fog switch and put the blind to the left.

There is a couple of issues with this switch.
1, Its the wrong colour.
2, Its a different angle to the B5 switches.
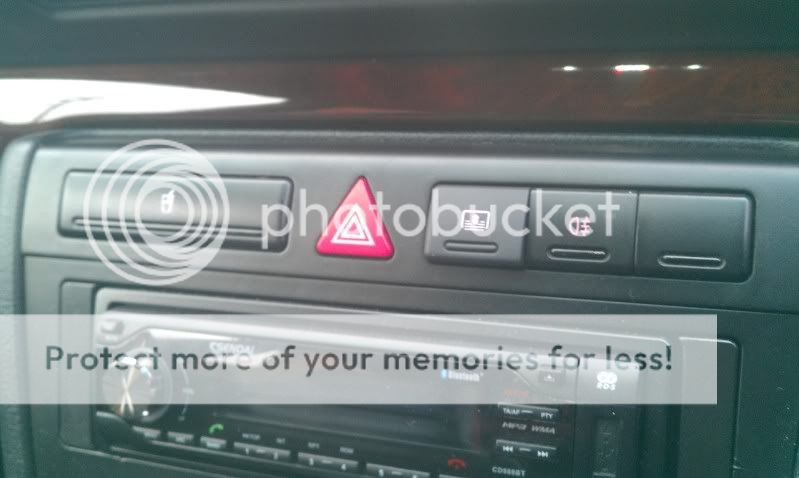
I might have to rethink the button.
If there is one that fits on the right hand side of them 3, possible FUNK or something. I'll go for that one.
I'll spend this weekend routing the cables and wiring it in correctly.
I've been looking for a control unit and stumbled on the Omega rear blind control unit.
2 cables out and 3 cables in.
1 live, 1 earth, 1 switch and 2 to the blind.
I did a test fit today to make sure the relay works and stops when the blind hits top and bottom.
Here is a video (I hope).
I had to do some swapping around of the plugs to get the blind plug in to fit. Cause its a left switch and left is where my rear fogs are. I moved my rear fogs to the middle, using the front fog switch and put the blind to the left.
There is a couple of issues with this switch.
1, Its the wrong colour.
2, Its a different angle to the B5 switches.
I might have to rethink the button.
If there is one that fits on the right hand side of them 3, possible FUNK or something. I'll go for that one.
I'll spend this weekend routing the cables and wiring it in correctly.
")