

What have you done to your A4 b6 today?
- Thread starter krisavant
- Start date
You are using an out of date browser. It may not display this or other websites correctly.
You should upgrade or use an alternative browser.
You should upgrade or use an alternative browser.
Adamwagg
Registered User

Removed the front 2 Arch Liner screws. I needed a tiny short wrench with T20 (not usual T25) screw end as the gap between my 20 inch wheels and the screw was a couple of centimetres.
Seems to have done the job as my tyres were catching going over bumps..even quote slow.
Seems to have done the job as my tyres were catching going over bumps..even quote slow.
Adamwagg
Registered User
My screws catch on full lock as well I needed do thisRemoved the front 2 Arch Liner screws. I needed a tiny short wrench with T20 (not usual T25) screw end as the gap between my 20 inch wheels and the screw was a couple of centimetres.
Seems to have done the job as my tyres were catching going over bumps..even quote slow.
Adamwagg
Registered User
Yeah had it a few months mateAh Adam, isnt your car a relatively new purchase?
My screws catch on full lock as well I needed do this
You're planning on leaving the B6 so soon. *shedding a tear* lol
Yes, worth doing if it catches at all but not sure how it catches by simply turning the wheel. Are you lowered a lot?
Adamwagg
Registered User
Doubt I willed rid as I fall in love with it every time I see it haha.yeah front is low mate and catches only on hard lockYou're planning on leaving the B6 so soon. *shedding a tear* lol
Yes, worth doing if it catches at all but not sure how it catches by simply turning the wheel. Are you lowered a lot?

I tried to do this once, but it couldn't come off, so thought it couldn't be removed...!Removed the front 2 Arch Liner screws. I needed a tiny short wrench with T20 (not usual T25) screw end as the gap between my 20 inch wheels and the screw was a couple of centimetres.
Seems to have done the job as my tyres were catching going over bumps..even quote slow.
The screw came out fine, but that lump it is holding, sat tight.. Did you tap it off or??
I tried to do this once, but it couldn't come off, so thought it couldn't be removed...!
The screw came out fine, but that lump it is holding, sat tight.. Did you tap it off or??
So as I visually saw it, the 2 screws hold the arch 'liners' firmly in place and protrude from the underside of the front arches.
The actual screws come out quite easily but yes, there is also a lump of plastic that is still left behind so to speak. I was thinking of cutting them off as they are similar to the thickness of a standard plastic washer. Ended up leaving them in place as the removal of the screws where all i needed to rid.
Ralphthemouth
Registered User
Just had a go at respraying some door blades. Sanded down, then halfords plastic primer, sanded down, paint from halfords (made up while you wait). Then some 2k laquer from eBay.Tried to listen to where the rattling noise is coming from in the exhaust system. I think it's coming from the catalytic. Sounds like something metal/like coins rattling when accelerator pushed down.
Also got code
Address 01: Engine Labels: 06C-909-559-ASN.lbl
Part No SW: 8E0 909 559 H HW: 8E0 909 059
Component: 3.0L V6/5V G 0003
Coding: 0011711
Shop #: WSC 63351 000 00000
VCID: 3A7BD46A76FF94CE9A7-517A
1 Fault Found:
16815 - Warm Up Catalyst; Bank 2
P0431 - 001 - Efficiency Below Threshold - MIL ON
Readiness: 0000 0000
I guess that's the cat, don't know if plan for milltek/BCS is ruined yet
Oh and this arrived a few days ago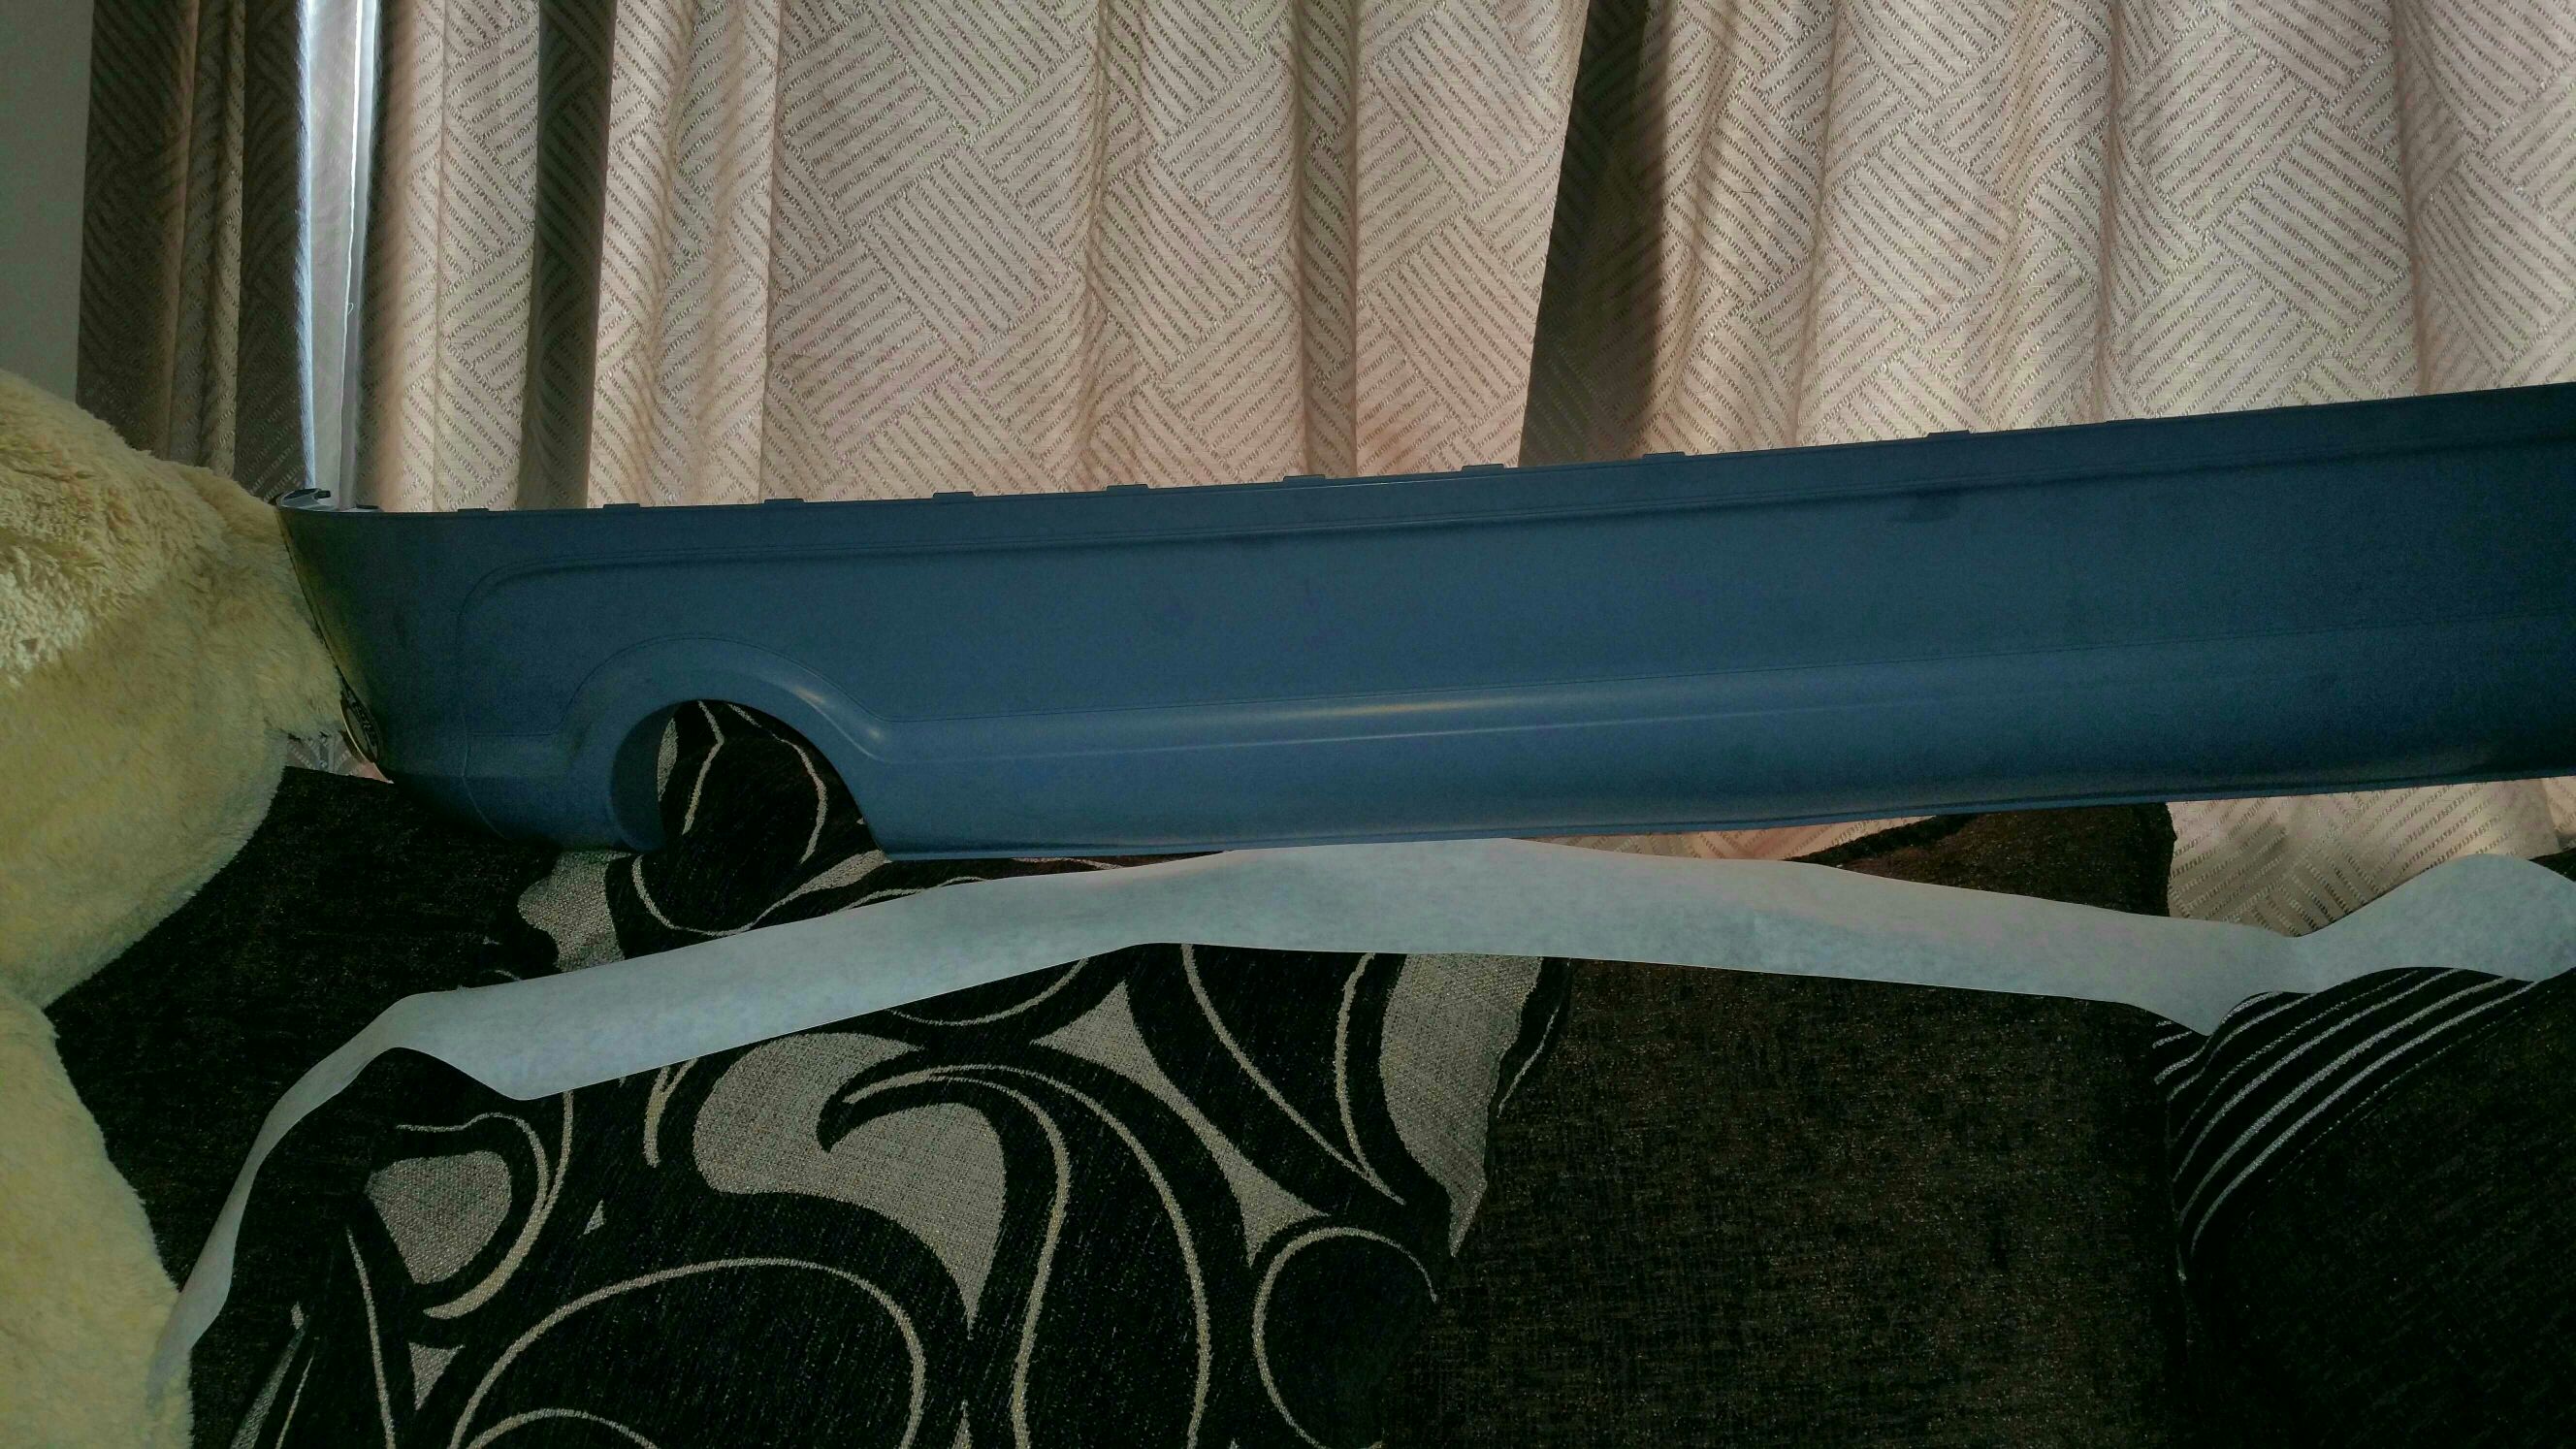
S line rear for avant b6, with black decal sticker
Thinking of painting it my self, but I may paint the door blades and skirts first to see how 'good' I can DIY paint
 . Sounds like something metal/like coins rattling when accelerator pushed down.
They look ****. Orange peel like the surface of the moon.
Total cost
£8.99 primer
£15.99 paint
£14.99 two cans of laquer
£4.99 wet and dry sand paper.
Better off taking it to a professional.
Ahh really? I thought of doing the door blades my self too, thought if I mess it up, shouldn't be too hard to correct haha!! "surface of the moon"Just had a go at respraying some door blades. Sanded down, then halfords plastic primer, sanded down, paint from halfords (made up while you wait). Then some 2k laquer from eBay.
They look ****. Orange peel like the surface of the moon.
Total cost
£8.99 primer
£15.99 paint
£14.99 two cans of laquer
£4.99 wet and dry sand paper.
Better off taking it to a professional.

Sent from my SM-N910F using Tapatalk
Adamwagg
Registered User
Painted mine Just had a go at respraying some door blades. Sanded down, then halfords plastic primer, sanded down, paint from halfords (made up while you wait). Then some 2k laquer from eBay.
They look ****. Orange peel like the surface of the moon.
Total cost
£8.99 primer
£15.99 paint
£14.99 two cans of laquer
£4.99 wet and dry sand paper.
Better off taking it to a professional.
Attachments


Look great!! What are thoooooseeee! And how low you sitting, ride heightt looks spot onNew wheels fitted


Sent from my SM-N910F using Tapatalk

I must admit they look great on ur car, fills the arches just right. Bet ur well happy with them
Will keep a eye out for when you get it all fitted, should look great with them wheels.I been looking for new alloys for mine but can't settle on a set yet.lol
Asv alloys lol concave tooI know we're there are some nice advice 19" alloys need one tyre though for £350 mint
Sanded down the lip of the wheels, because I was too lazy when painting them...
Only need to clear coat the barrel it self inside.. And then polish the h*** out of the lip with the recently bought polishing gear..
And reassemble.. And get the tires fitted...
Hopefully before the summer is over


Only need to clear coat the barrel it self inside.. And then polish the h*** out of the lip with the recently bought polishing gear..
And reassemble.. And get the tires fitted...
Hopefully before the summer is over
Majic
Registered User
Fitted new wing. Its of ebay. Great paintjob. Great fit. £115 incl postage


Headlight not fixed in properly so sticking out a bit in the picture.
Headlight not fixed in properly so sticking out a bit in the picture.


Majic
Registered User
Was it a hard job??
This was my first ever try at a thing like that. So after watching YouTube and doing some read up i started today at 9 am. Finished at 4Pm incl rain breaks and one trip to Screwfix(needed angled torx as there is one screw between wing and bumper with like 1 inch space between them) It wasn't difficult. Used this video . Its pretty accurate. I had two differences. First was my side skirt(Votex) is fastened also from the bottom. And where it shows to undo deadening foam i have in this space also some sort of a tank that restricted access to wing screws behind. But all sorted new wing is on and i can sleep at night now without rust nightmares.
Adamwagg
Registered User
With an aftermarket headunit did it have the standard wiring harness to make it work with the bose as I want to fit a dabjust done one thing today. removed the dab player and fitted a oem headunit. i like to stock look. some may say iam going backards but like i said like the oem look.View attachment 86889
neil ratcliffe
coupe rebuild master
Adamwagg
Registered User
Sweet thanks think I have found on on e bayhi mate no i had an adaptor lead.
neil ratcliffe
coupe rebuild master
Jimmy TDI
Pro Tinkerer
Found a page that claims they should be torqued down to 22/24 ft/lb
I'm using Nm so I'll go with 30 Nm
http://www.edition38.com/forums/index.php?showtopic=127763
Cheers for that, and it looks like your almost done with yours now.
