stainless manifold heat sheild (relentless)sheild.

liquids3

Registered User
Joined
Jul 2, 2010
Messages
914
Reaction score
23
Points
18
Location
Bristol
Hi,
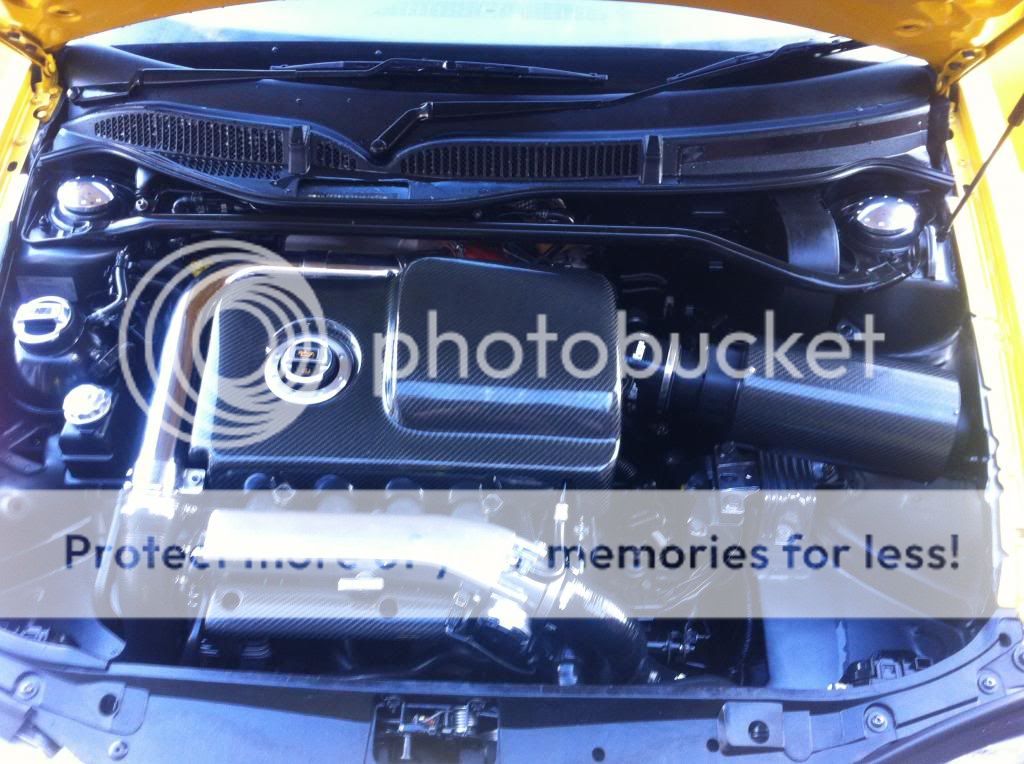
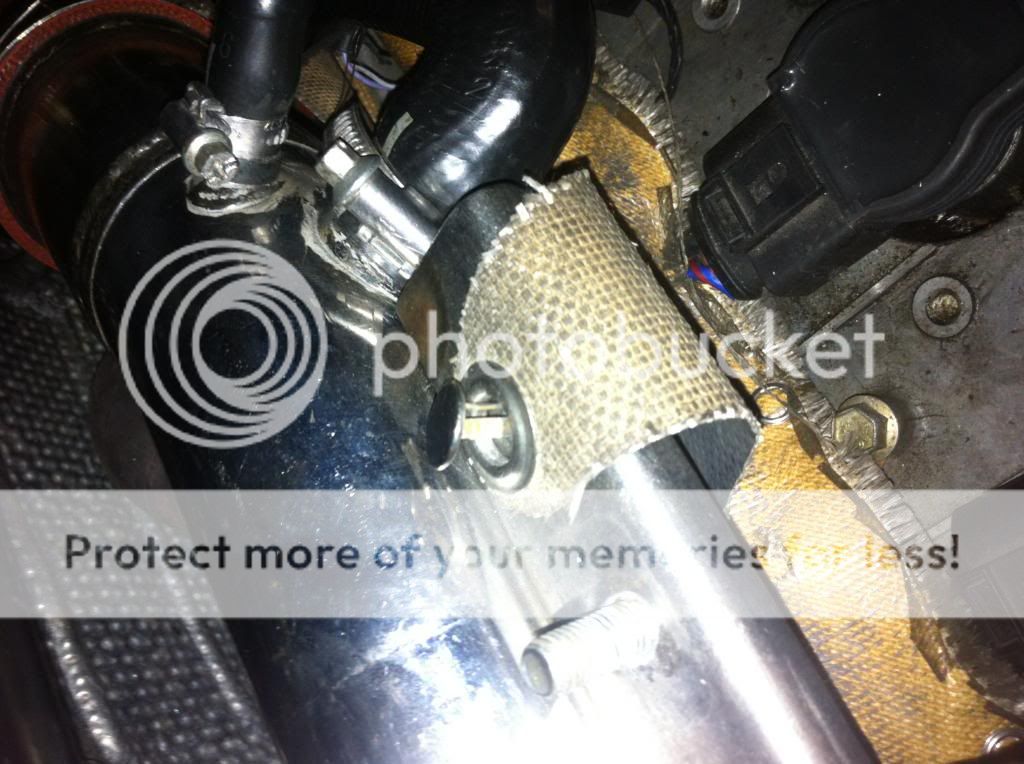
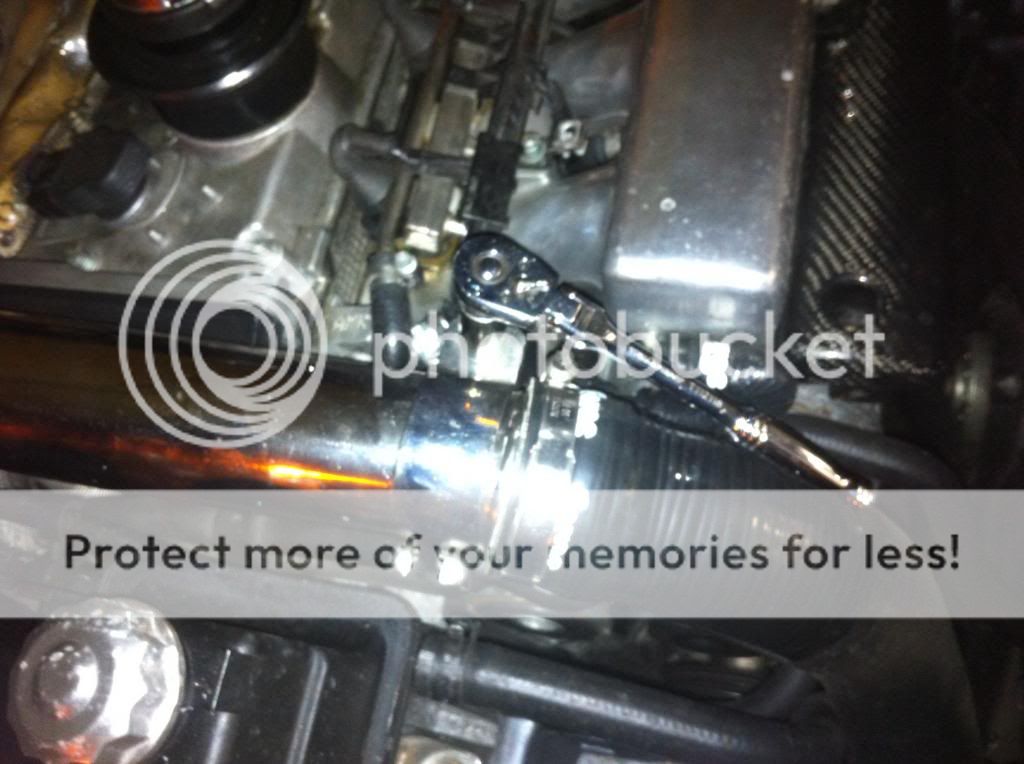
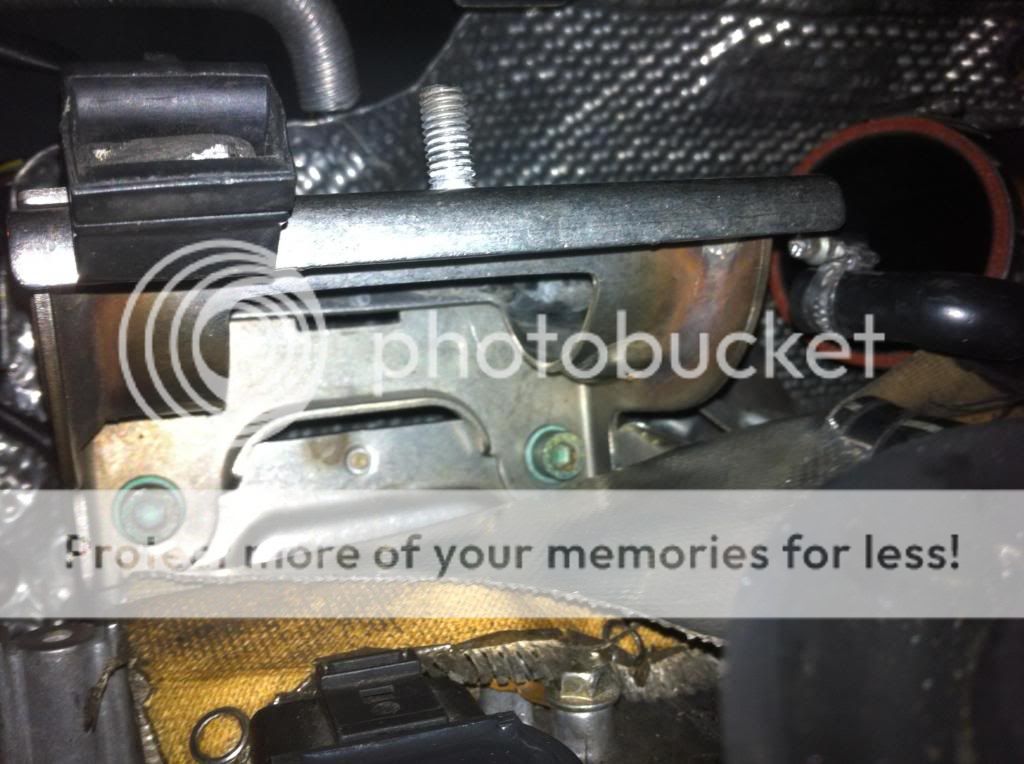
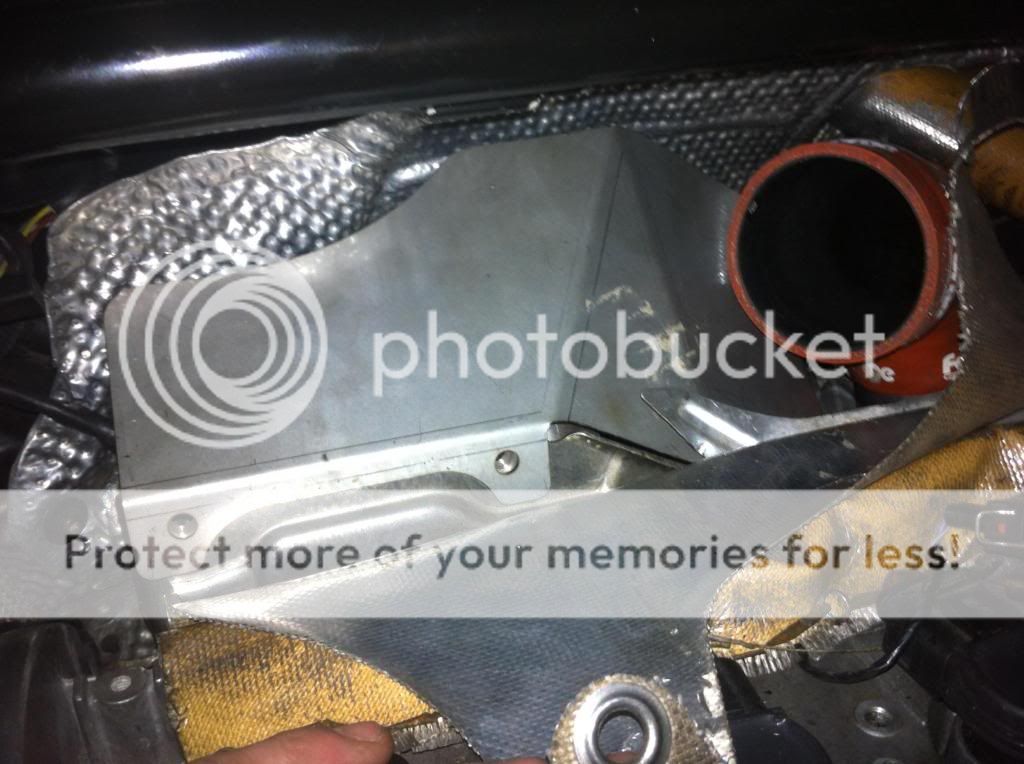
we now have more of these heat sheilds made and ready for dispatch.it consist's of a stainless steel heat sheild,that fit's above the manifold,main reason's for these sheild's are,to keep heat away from the red turbo pipe,i.e stop them bursting under increased heat,and also reflect heat away from the charge pipe,i.e cooler charge pipe temps.
these sheilds don't keep the heat within the manifold,which would create crack's on your manifold,these just keep the heat away from the vital part's you want to keep cool.but still let the manifold breeth.

with buying the material and getting these sheild's made they are'nt that cheep,im not lookin to make a massive profit on these just made more up,due to demand.price reflect's materiel (stainless steel) and man hour's to produce.

right so these will be for sale at £45 each £4 p&p
payment to paypal - adamsenington@hotmail.co.uk please attatch a note with your delivery address. Thanks adam.
IMG code
 
image-1.jpg
 
Are these a piece of cake to fit? Any use for just a stage1 mapped car?
yes easy to fit,i will post up a how to fit ect late tomorrow,all you have to do is,charge pipe of,charge pipe bracket of,sheild in place then refit.ive had one on mine for 6 month's,and my car had only a map exhaust airfilter manifold.so it still would keep heat away from vital pipes ect.standard manifolds still glow when driven hard,so yea would help.thanks
 
Think i may purchase one of these, good idea even on none relentless cars.

Any updates with the install pics etc mate?
 
thats the one,sam bryant fitted his earlyer,i will do instal pics tomorrow,at some point,inbetween sorting a boost problem on a mate's golf.

Thought so, thought I'd post the pic more to be helpful and show what it's like. It's better than your pictures :p

Good work with this, nice to see people still organising proper group buys off their own back. Good man :)
 
Thought so, thought I'd post the pic more to be helpful and show what it's like. It's better than your pictures :p

Good work with this, nice to see people still organising proper group buys off their own back. Good man :)
lol haha,yea my pic did'nt give it justice haha.thanks mate,be good to see how much difference it makes to charge intake temp's.i only made more due to demand of a few asn members wanting some made up.good thing is i can get as many as i want made up now.ive sold more to people abroad so far.
 
Nice bit of kit, I think it's a shame that it bolts to the stock heatshield though, when there are two redundant holes on the rocker cover just 15mm and 1 extra bend away.

It limits your market to people with ko4 based cars only, when there are now LOTS of people fitting relentless manifolds and k04's to ko3 based cars, so they won't have the OEM heat shield to bolt this new part to.

Otherwise, looks cool :)
yes you do have a point there prawn,all feedback welcome.main reason for that is i wanted to design a sheild for my car,was'nt thinking of saleing these on.but you have a good point.il be working on a golf mk4 today,i will take a sheild with me,and see how i can go about this,the fabricator i use is brilliant,i could get some made up,expand the market.i will look into this thank's.
 
right i now have a guide of how to fit these sheild's,sorry if the quility of photo's are not great.
image-1.jpg
 
image-5.jpg

first thing is to take of the charge pipe,there are two jubile clips on either side of the charge pipe,these both need to be loose'nd
 
image-4.jpg

then there are two breather pipes need taking off,located at the top of the charge pipe
 
image-3.jpg

including this little clip that can be poped of with a little screw driver ect
 
image-2.jpg

then you will need a 13mm socket to take of the two brackets top and bottom of the charge pipe,which hold it in place.
 
Last edited:
image-6.jpg

then it should look like this with no charge pipe attatched.
 
image-7.jpg

then you should be able to get to the charge pipe bracket(located above the manifold),this need's to be taken off,picture showing the two bolts you will need to take out.
 
Last edited:
image-8.jpg

next you will need to remove the bolts from the wireing harness,part of the shield will sit under this.
 
Last edited:
image-9.jpg

then you can place the new heat sheild in place,and rebolt the wireing harness into place.
 
image-11.jpg

then you can start to put everything back on into place,new sheild on.
 
image-12.jpg

then all finished,it should look like this.it took me 10 minuites to fit this tonite,easy to fit.sorry for low quility pictures