RNSe chrome knobs again!!

JohnS3

Registered User
Joined
Oct 21, 2004
Messages
3,405
Reaction score
95
Points
48
Has anyone fitted the push on/pull off chrome knobs from Vagparts? MarcQ I'm thinking of you here....:icon_thumright:

[FONT=Arial, Helvetica][SIZE=-1] [SIZE=+1]A3 2008> aluminum style radio knobs[/SIZE]
These are the original aluminium effect radio control knobs as fitted to 2008 onwards A3. [/SIZE][/FONT]
[FONT=Arial, Helvetica][SIZE=-1]27mm diameter large one and 17mm small one. These push on / pull off. [/SIZE][/FONT]

Chromeradioknobs300_300x230.jpg
 
Yeah I've fitted & removed several times to adjust, what you wanna know?
 
to fit the bottom one you need to remove the front of the unit as the bit on the inside is fatter than the hole it comes through. the top one just pulls off.

to remove the front of the unit you will need to follow sections of this guide:
http://www.native1design.com/rnse/RNSEmotherboard.pdf

you will also need to file pretty much all of the inside of the big one out to make it not stick out a mile.

these knobs are actually from the RNS-Low so are not a perfect fit for the RNS-e. Not sure why ETKA just lists the Low knobs and not the E ones.
 
yeah but the bottom one does need actually modding aswell to fit with the old inner housing dial, reason being if you just swap the knobs over for volume you can see the 4 NESW led's bleeding brightly through the gap of the new knob & RNS trim & trust me its ****** annoying when your driving at night, I'll upload some images to my server then post links so you can see what I mean & what I did to fix it, maybe Marc can add this to his guide as trust me the led's are bright when not covered up as the old knob did.
 
Well what I did to sort the led's from bleeding bright light from round the new knob was take the old knob apart & mod it to fit with the new knob, as you can see the 1st images show the led's at night shining through & even if you dont look down at them alot of course they are still in the corner of your eye & very bright aswell as annoying & destracting when driving, should be a soft lighting for safety factor aswell as comfort.

SDC10164.JPG


SDC10167.JPG

As you can see I removed the previous knob parts which included the clear holder & the old black knob surround that I made smaller with my dremel, along with the new knob

SDC10172.JPG


This image shows the surround made smaller

SDC10173.JPG


Then I put the black surround after modding over the top of the clear knob holder, then I stuck the new knob onto the clear plastic holder which you actually cant see when all put together, which then lined up with the top of the black surround as below, so what you end up with is the black surround covers the led's internally under the new knob so you dont get the bright bleeding light from round the new knob, but still shoots the light up through the middle of the knob at night

SDC10175.JPG


Then all you do is put the new knob on to the existing torx style fixing & put the rns fascia all back together & reassemble the rns, images not perfectly clear but you can see the light around the lower dial now is alot better no bright bleeding light round the knob just from the top

SDC10197.JPG


SDC10199.JPG


Hope it helps anyone out.
 
I understand what you're saying about being able to see it out of the corner of your eye - but I don't have my dash lit up like runway! My lights are probably at about 20% so the light doesn't bleed out - it ends up like a subtle glow around the button. I'm surprised you can even notice it with the intensity of all the other lights!

All the same... good job on it. I wouldn't want to do any trimming down of the original buttons so that when I come to sell the RNS-e I can just stick the original buttons back on since the top button fitting is not ideal.
 
lol, yeah missus is from Venice mainland & so moving there soon I hope, should of been there already but slight bump in the road, but will get there(as soon as finished my car & emptied the house, lol)
 
lol, yeah missus is from Venice mainland & so moving there soon I hope, should of been there already but slight bump in the road, but will get there(as soon as finished my car & emptied the house, lol)

is there a spare room going a begging if any of us are in that neck of the wood LOL
 
Thanks guys. I was curious to know if they were a straight swop and clearly they aren't.
 
is there a spare room going a begging if any of us are in that neck of the wood LOL

Dont see why not, I'll update when I move anyway so no worries, we were hoping to build a new family house for us & her parents, the italian thing, but not sure yet but I'd like a double garage with bench for work etc I think like Marc's got from his images I've seen.

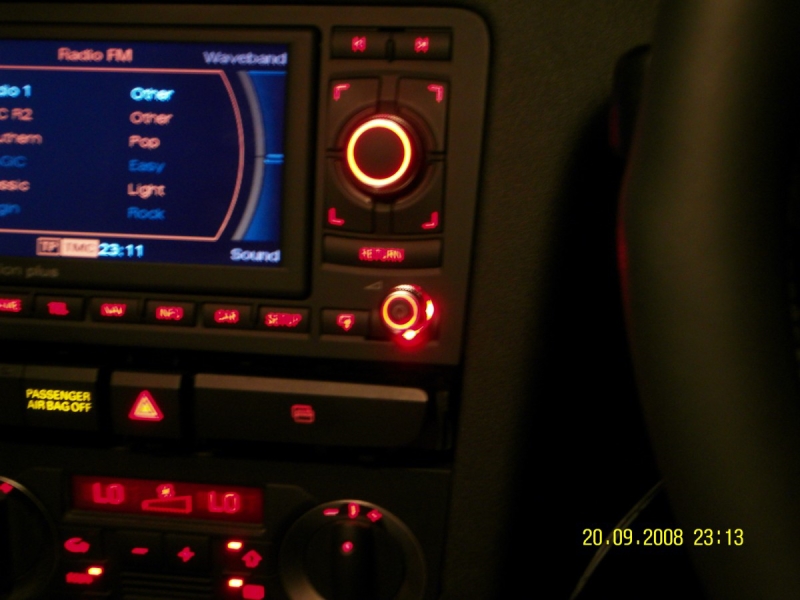
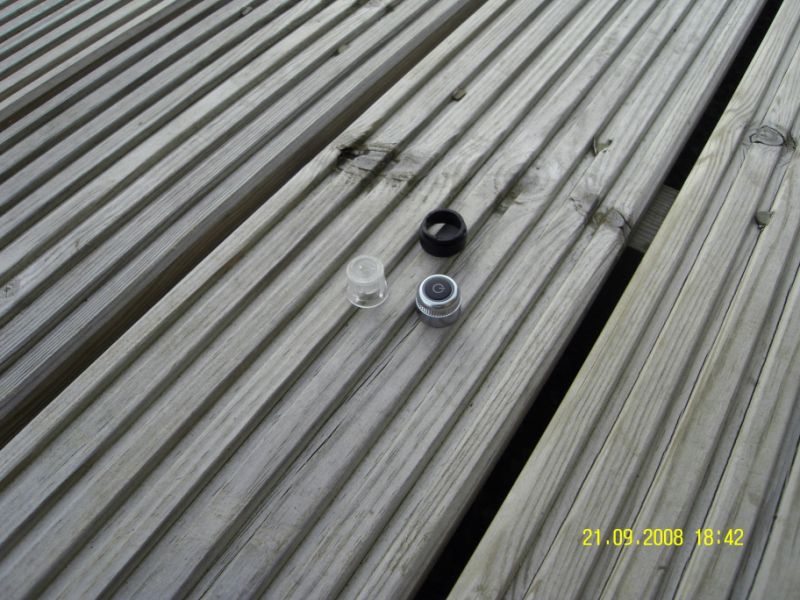
Anyway I've managed to permanently fix the selector knob on now as below, the issue is it doesnt just fit on, it sticks out to far as I think Marc has found, the inner part of the knob rubs on the outer part of the fitting on the rns, so what I did was grind all the of new internal fixing of the new knob down & left it with about 2-3mm still raised inside, I then trimmed the new knob on the bottom so it sunk further down into the RNS, dremel worked a treat if careful so doesnt damage the chroming & as you cant see the bottom of the new knob as it hidden then it doesnt matter, I also gave the bottom a tapered edge internally to also stop any rubbing, then I dremmeled out the inside of the new knob white plastic to a thin layer not touching the outer casing so also doesnt rub this might require some superglue to hold the inner white plastic casing against the outer casing to also stop rubbing, finally as you have to glue it on to the rns, you have to stop the glue from dropping down into the rns/selector knob so it doesnt get stuck in place, so I fixed a small washer to the fitting screw head on the rns so it gave it a kinda lip not to big to block the led light but enough to hold the glue within the new knob, I used some epoxy glue mix of the 2 chemicals like araldite & as its runny from start until 5 minutes I let it react until it started to become less runny then applied some to the rns fitment head & around the washer head, stuck the knob on & aligned the edges so centred & also check its level from the side view of rns & left for 10 minutes to set, now it doesnt budge & works perfectly.
job to do but well worth it.

Only bit annoyed me of now & no doubt you is I managed to delete the images while doing but here's finished job anyway, whoops.

& before anyone asks I'm awaiting for the wider hazard button to close the gap, as they changed it after I got my kit & I upgraded to the surround with the small alum bottom trim

SDC10212-2.JPG


SDC10216-2.JPG
 
I take it you got your facelift switches from Germany? I see they are on the left of the hazard switch.
 
Left right who cares, better coin try that side as use it more often than the ESP & not exactly far away is it, lol, prefer over previous as nicer lines but have to say fitment is crap cause gaps & movement, coin tray fitment is ****, have to push in right location or it catches the trim sides, but it'll do for now, ok maybe until next week.
 

Similar threads