Clark@Polishedbliss
Professional Detailer
- Joined
- Feb 4, 2007
- Messages
- 226
- Reaction score
- 0
- Points
- 16
- Location
- Aberdeen
- Website
- www.polishedbliss.co.uk
This was a nice easy one compared to some recent cars, a rather nice XKR with approx 12k on the clock ")
The customer had made the journey up from Glasgow to have the car detailed so it was looking a bit grubby when it arrived yesterday morning:


So, first up was the wash stage - Firstly i gave the car a thorough pre-rinse at high pressure with hot water (60 degrees), this makes such a difference and quite often negates the need for foaming at all, this is how the car looked after just the first rinse:


Next up were the wheels and arches - i used Megs Superdegreaser and a brush for the arches (which were fabric liners all round) and tyres and Menzerna 7.5 Gel for the wheels:
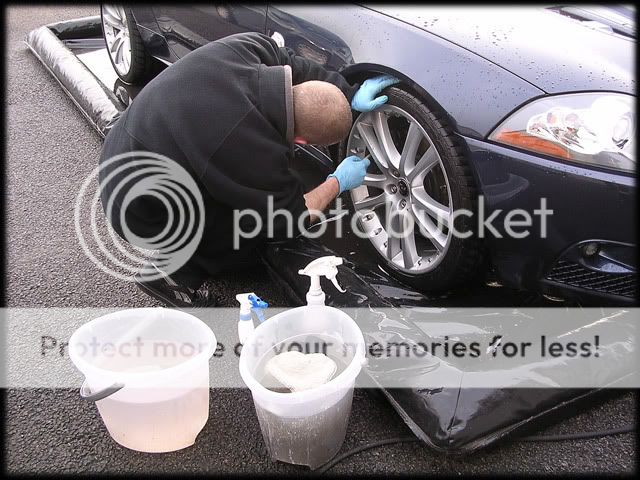
These were then rinsed off and i then proceeded to wash the car with the 2 bucket method and Megs Shampoo Plus, including the shuts etc:
I then rinsed the car and moved onto the engine bay, which wasnt too bad really, just a light coating of dirt/dust:
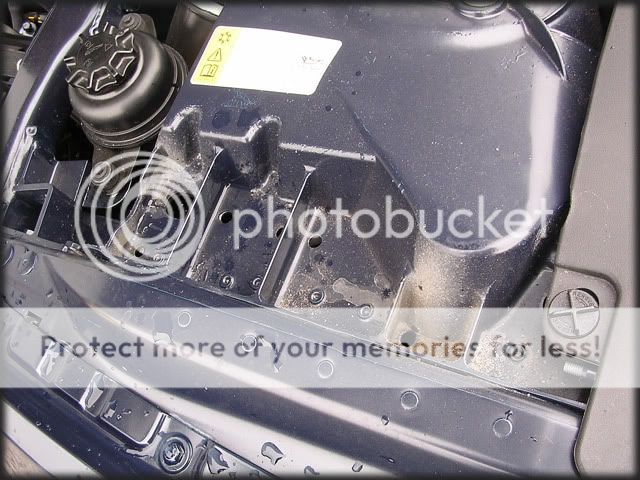
This was soaked with Megs Superdegreaser and pressure washed at medium pressure (40 degrees). I forgot to take pics after i'd rinsed it off so apologies for that
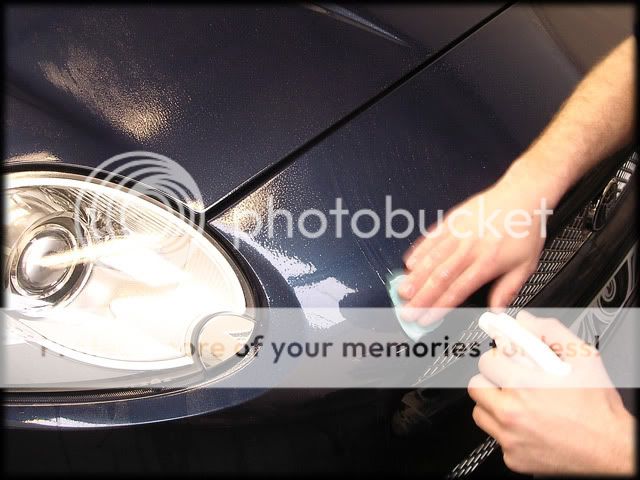
Autosmarts Tardis was next, this was applied to the lower half of the car:

I left it for a minute or two and then wiped any tar spots away with a MF.
The wheels were done also, these were nice and easy to get my hands into:

All the inner rims still had sticker residue, obviously from when they were brand new:

The Tardis easiy removed the residue though:

I gave the car another quick rinse and then moved it inside for claying, i prefer to do this inside to prevent any dust settling on the car - especially on a windy day.
Megs Mild Detailing Clay and Last Touch were used:
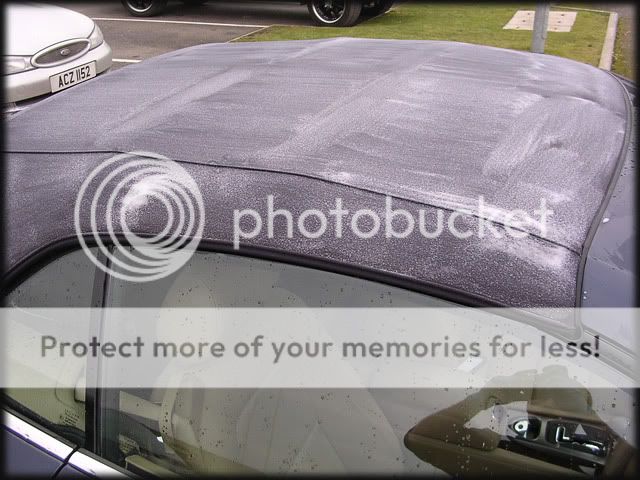
The car was then put back outside to be rinsed with hot water before i did the last step of the wash stage, this was to clean the fabric hood - which to be fair wasnt that dirty but its better to make sure
Zymöl Fabrique diluted in a Schpritzer bottle was the product of choice:

This was sprayed onto the hood and left to sit for a minute or two before being lightly brushed:
I then rinsed off at low pressure and dried the car with a waffle weave towel:

The leaf blower was used afterwards to blast out all the remaining water in the panel gaps etc.
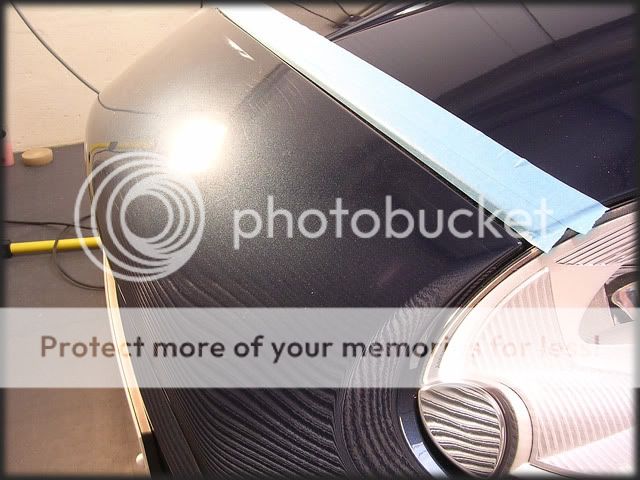
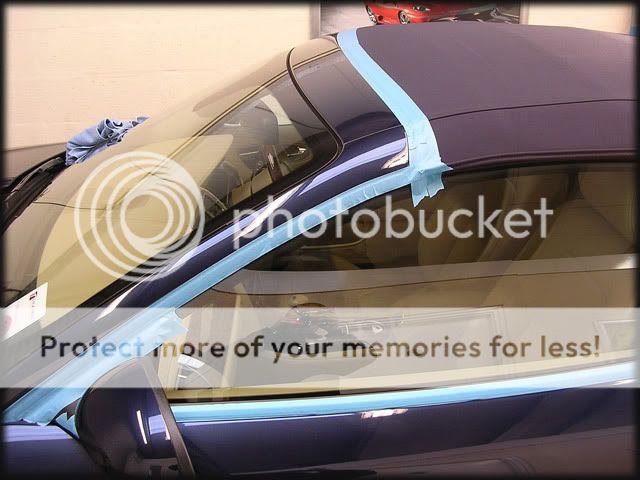
Now dry, the car was taped up ready for polishing:
As we all know, paint readings have to be taken first! I was curious as to what the gauges would reveal as i've seen a couple of new XK's posted on DW that have had seriously low paint - hopefully this one wouldnt be the same!
Most of the panels were fairly healthy:
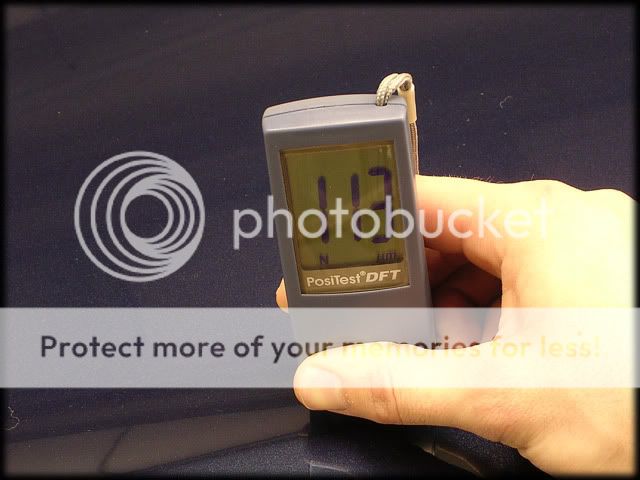
One panel healthier than the rest, which indicated a re-spray on the o/s front wing:

There were unfortunately a fair few areas where the paint was low:

The lowest reading i got was 52 microns, and the paint was incredibly inconsistant - probably the most inconsistant car i've come across yet.
Fortunately, the Composite gauge revealed that even the areas that were sub60/70 microns had at least 15-20 microns of clear coat...perhaps evidence to suggest that some manufacturers are now laying down less pigment before adding clear coat - hence giving lower overall thickness readings
This isnt to say that all new cars that some of you may come across with scary thin levels of paint are ok to polish, as i wouldnt have polished these areas if i hadnt have had the Composite guage to tell me just how much paint i had to play with :thumb:
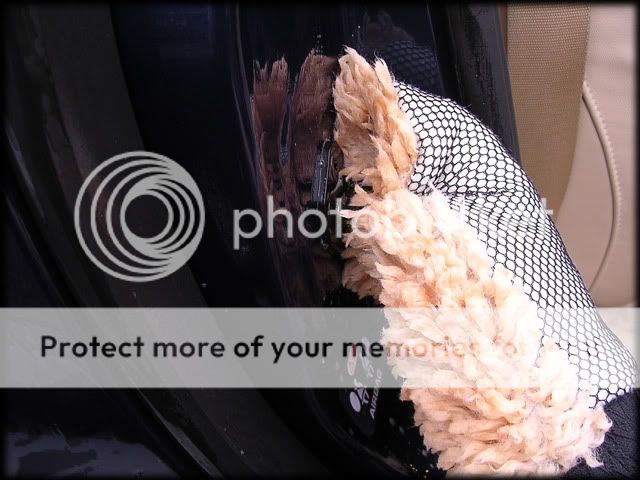
So now that the paint was measured it was time to assess the paint. The owner freely admitted that he had been previously washing the car with a sponge, which had inflicted random scratches more than anything else - certainly not as bad as it could have been but bad enough:

The flake in the paint was really strong so it prevented some of the lighter scratches showing up on camera, this is probably the nicest colour i've worked on for a while
Knowing that the paint should be of medium-ish hardness i started off with Menzerna 106FA with a Megs polishing pad but the polish decided to be akward, so i swapped over to 106FF - this worked perfectly
The polish was worked at 1800rpm's:

Result:

The customer had made the journey up from Glasgow to have the car detailed so it was looking a bit grubby when it arrived yesterday morning:
So, first up was the wash stage - Firstly i gave the car a thorough pre-rinse at high pressure with hot water (60 degrees), this makes such a difference and quite often negates the need for foaming at all, this is how the car looked after just the first rinse:
Next up were the wheels and arches - i used Megs Superdegreaser and a brush for the arches (which were fabric liners all round) and tyres and Menzerna 7.5 Gel for the wheels:
These were then rinsed off and i then proceeded to wash the car with the 2 bucket method and Megs Shampoo Plus, including the shuts etc:
I then rinsed the car and moved onto the engine bay, which wasnt too bad really, just a light coating of dirt/dust:
This was soaked with Megs Superdegreaser and pressure washed at medium pressure (40 degrees). I forgot to take pics after i'd rinsed it off so apologies for that
Autosmarts Tardis was next, this was applied to the lower half of the car:
I left it for a minute or two and then wiped any tar spots away with a MF.
The wheels were done also, these were nice and easy to get my hands into:
All the inner rims still had sticker residue, obviously from when they were brand new:
The Tardis easiy removed the residue though:
I gave the car another quick rinse and then moved it inside for claying, i prefer to do this inside to prevent any dust settling on the car - especially on a windy day.
Megs Mild Detailing Clay and Last Touch were used:
The car was then put back outside to be rinsed with hot water before i did the last step of the wash stage, this was to clean the fabric hood - which to be fair wasnt that dirty but its better to make sure
Zymöl Fabrique diluted in a Schpritzer bottle was the product of choice:
This was sprayed onto the hood and left to sit for a minute or two before being lightly brushed:
I then rinsed off at low pressure and dried the car with a waffle weave towel:
The leaf blower was used afterwards to blast out all the remaining water in the panel gaps etc.
Now dry, the car was taped up ready for polishing:
As we all know, paint readings have to be taken first! I was curious as to what the gauges would reveal as i've seen a couple of new XK's posted on DW that have had seriously low paint - hopefully this one wouldnt be the same!
Most of the panels were fairly healthy:
One panel healthier than the rest, which indicated a re-spray on the o/s front wing:
There were unfortunately a fair few areas where the paint was low:
The lowest reading i got was 52 microns, and the paint was incredibly inconsistant - probably the most inconsistant car i've come across yet.
Fortunately, the Composite gauge revealed that even the areas that were sub60/70 microns had at least 15-20 microns of clear coat...perhaps evidence to suggest that some manufacturers are now laying down less pigment before adding clear coat - hence giving lower overall thickness readings
This isnt to say that all new cars that some of you may come across with scary thin levels of paint are ok to polish, as i wouldnt have polished these areas if i hadnt have had the Composite guage to tell me just how much paint i had to play with :thumb:
So now that the paint was measured it was time to assess the paint. The owner freely admitted that he had been previously washing the car with a sponge, which had inflicted random scratches more than anything else - certainly not as bad as it could have been but bad enough:
The flake in the paint was really strong so it prevented some of the lighter scratches showing up on camera, this is probably the nicest colour i've worked on for a while
Knowing that the paint should be of medium-ish hardness i started off with Menzerna 106FA with a Megs polishing pad but the polish decided to be akward, so i swapped over to 106FF - this worked perfectly
The polish was worked at 1800rpm's:
Result: