Polished Bliss®: 996 GT3 Club Sport

John @ PB

Registered User
Joined
Sep 15, 2010
Messages
360
Reaction score
7
Points
16
Location
NULL
Being a bit of a Porsche nut I'd looked forward to this one for months!

The car was a fairly new purchase by a member of the Porsche Club and he had been told by the previous owner that if he had any problems and needed some detailing work carried out then come and see us :)

As far as I'm aware the previous owner is possibly a member on here so if they read this then thanks very much for the referral :thumb:


The car itself was already in fantastic condition with the underside almost as immaculate as the bodywork, the only thing letting it down was the defects in the paint so that's where we come in.

On arrival, this is about as dirty as I've ever seen it to be honest:

CS001.jpg


CS002.jpg


CS004.jpg


CS003.jpg


CS006.jpg


CS005.jpg


CS007.jpg
 
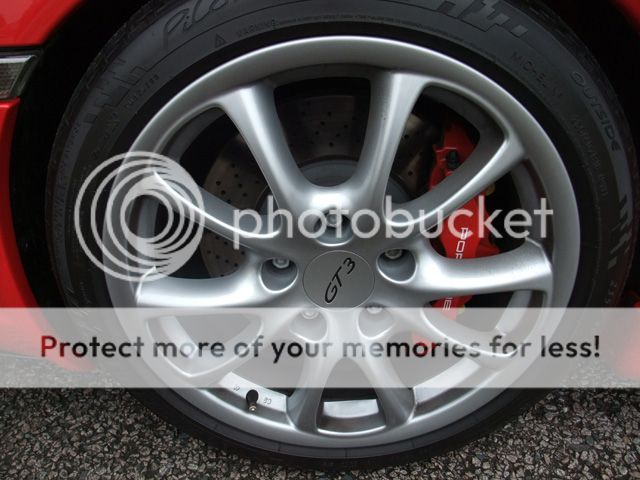
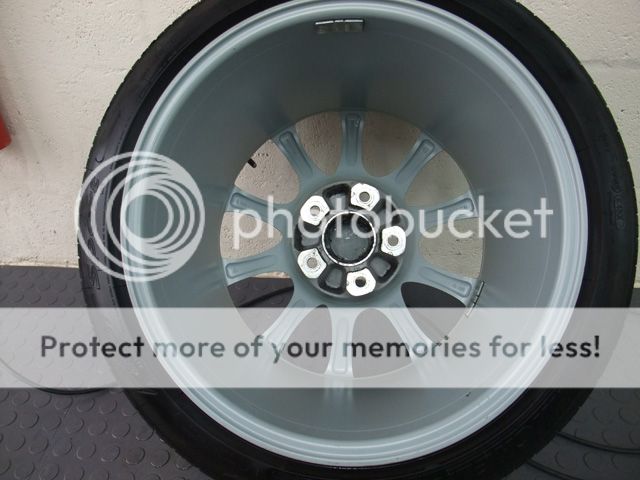
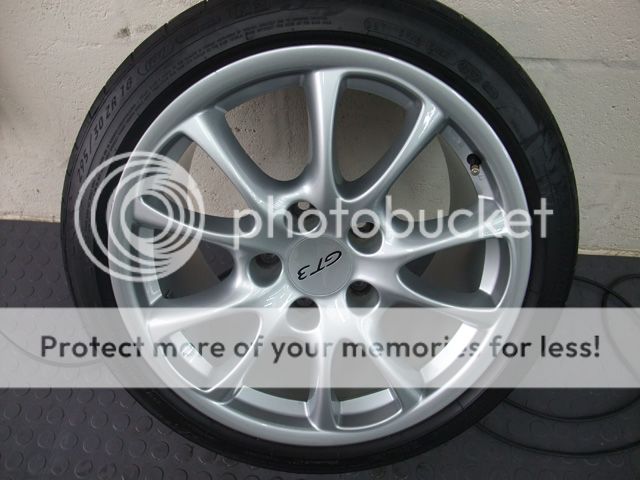
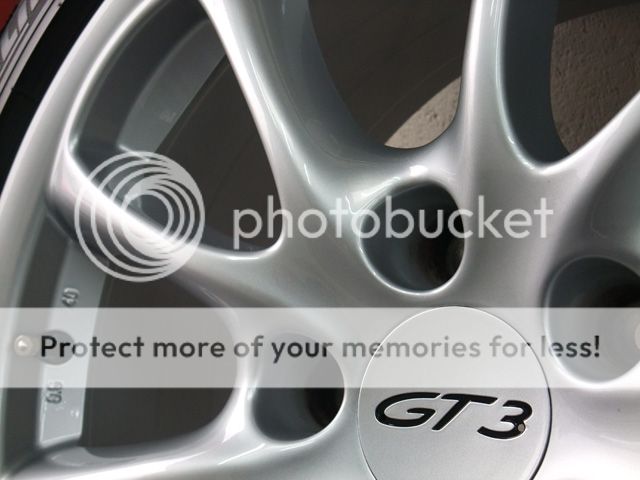
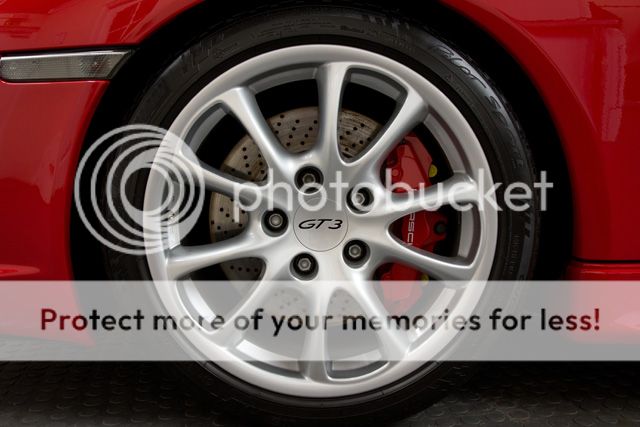
As with any detail I started with the wheels, these had some really stubborn stains on the inner rims so I decided it would be quicker to just remove them:

CS008.jpg


CS009.jpg


I gave them a good pre rinse and applied Wolf's Decon Gel and left them for 10 minutes while I gave the arches a quick going over:

CS011.jpg


CS010.jpg


After Auto Finesse Citrus Power (10:1):

CS012.jpg


The Decon Gel had done its thing by now and was ready to give a quick agitate and rinse:

CS013.jpg


After rinsing there was some minor tar spots and transport wax type overspray, this was easily removed with Autosmart Tardis:

CS014.jpg
CS015.jpg


After being dried off with the Black Baron (or Metro Vac as it's now called) I applied a coat of Swissvax Autobahn:

CS017.jpg


CS018.jpg


CS019.jpg


The other 3 corners were repeated in the same way before carrying out the usual wash and decontamination process.
 
With the car now inside I dried it off with a "Dry Me Crazy Towel" before blasting out any excess water with the Black Baron:

CS020.jpg


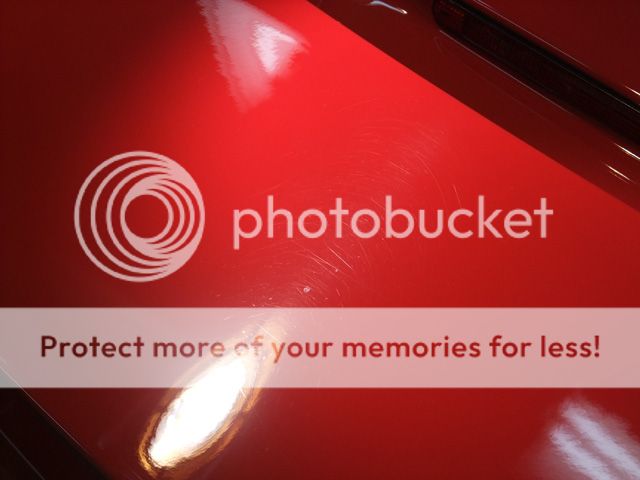
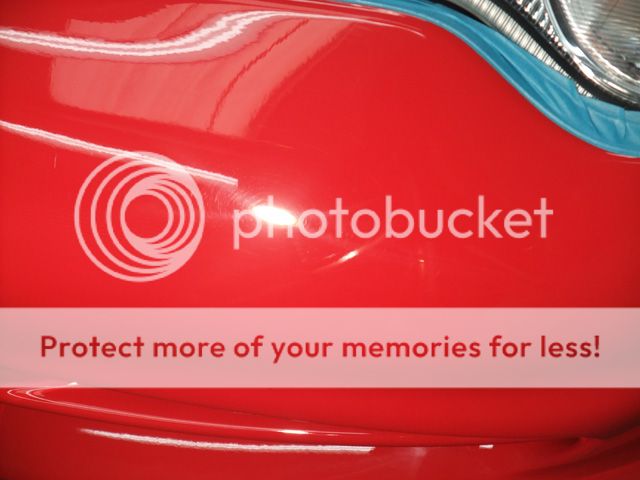
After collecting paint depth readings it was time to start polishing. I'm not going to make out like the car was riddled with massive deep scratches everywhere as it wasn't - but it did have a fairly even distribution of intermediate defects with the odd deep one here and there. Red is a nightmare to capture swirls on camera but this was about as good as I could get without wasting too much time:

CS022.jpg


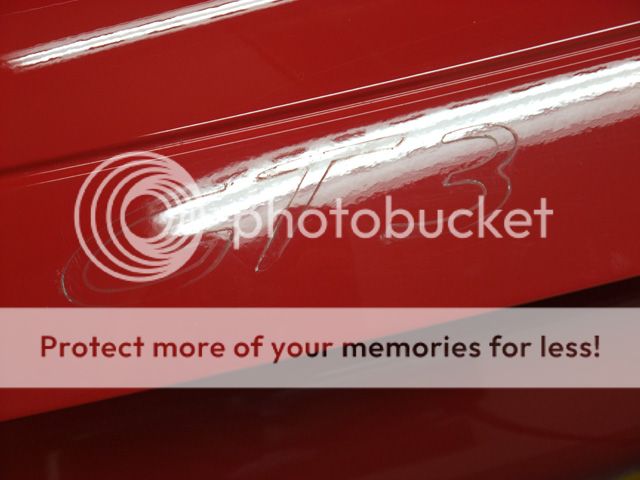
The GT3 badges were removed from the engine cover to get at the defects behind them:

CS021.jpg


The plastic panels such as the bumpers, side skirts, rear wing and engine cover were corrected with Menzerna 3.02 & Lake Country foamed wool @1800rpm's. I then followed up this step with a Meguiars V2 Polishing pad and Menzerna 203S @1500rpm's leaving just the final stage of refining later on.


Here's a few before and afters:


CS023.jpg
CS024.jpg


CS031.jpg


CS025.jpg
CS026.jpg


CS027.jpg
CS028.jpg


CS029.jpg


CS030.jpg


CS032.jpg
CS033.jpg


CS034.jpg
CS035.jpg


Rear Bumper:

CS036.jpg
CS037.jpg
 
Door handles were done with a Meguiars Polishing Pad & Menzerna 106FA @600rpm's:

CS038.jpg
CS039.jpg


As expected, the metal panels were extremely sticky to polish so the Meguiars Microfibre System was used to correct them. I don't use the MF system much but it's a god send on sticky paint as the polish doesn't dry out or weld itself to the paintwork.

I tend to work the polish for longer than Meguiars suggest as I find you get better results correction wise but it will inflict a bit of micro marring now and again as you can see here:

CS040.jpg


Of course, this is easily removed with a refining stage and Menzerna 85RE and Meguiars Polishing Pads were used with the DAS 6 Pro to get that crystal clear finish.


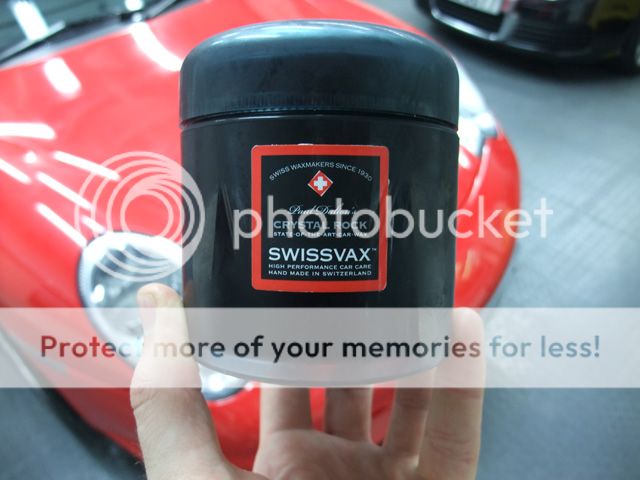
With the paint fully corrected & prepped it was time to protect with Swissvax Crystal Rock:

CS041.jpg


This was applied to the whole car and left while I sealed the glass:

CS042.jpg


CS043.jpg


Amongst all the little details that remained the tyres were dressed with Swissvax Pneu, Tailpipes polished with Auto Finesse Metal Polish and the engine bay was protected with Swissvax Motorshine (this was done before polishing so any light overspray was removed).

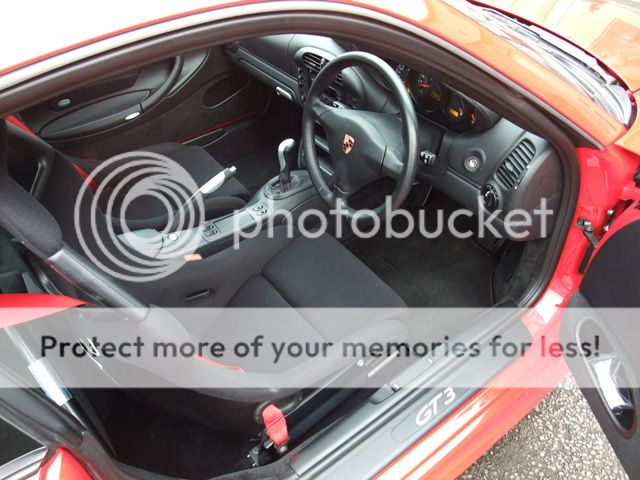
The interior was given a quick going over but it didn't need much, just a good dust down and hoover, wiped down with a damp MF etc and glass cleaned with Auto Finesse Crystal:

CS060.jpg


CS058.jpg


CS057.jpg


CS059.jpg


Back on the exterior now and all that remained was a final wipe down with Auto Finesse Finale and jobs a good un' :thumb:


As already stated, the car wasn't exactly bad to begin with so it was nice to be able to pretty much fully concentrate on the paintwork.


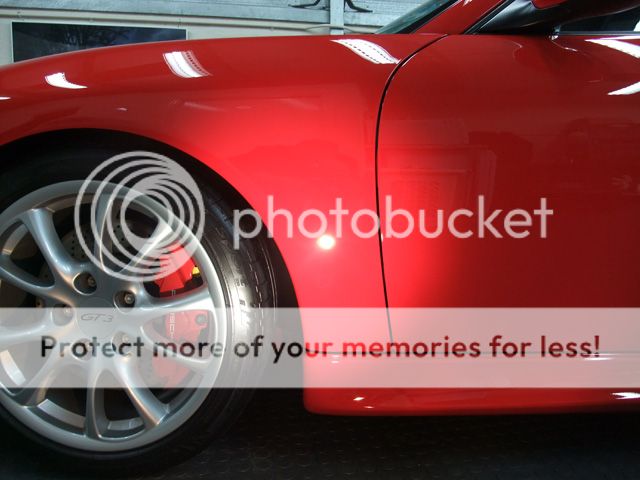
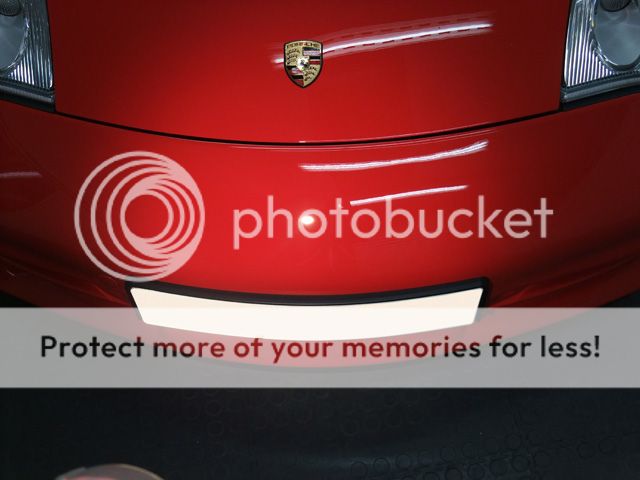
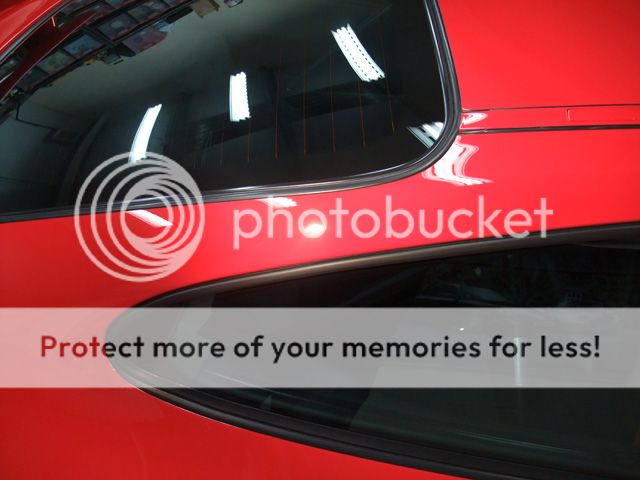
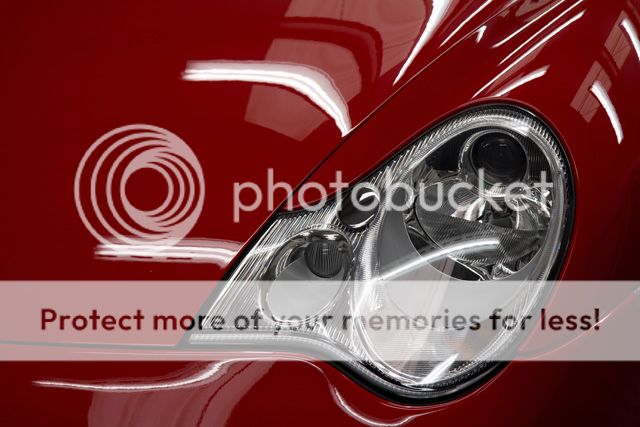
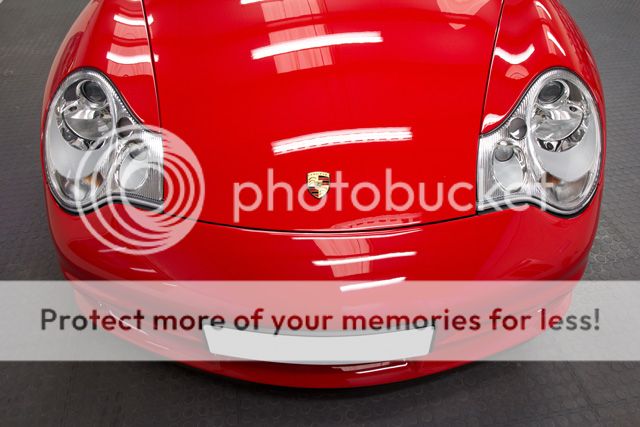
Due to the weather being proper dull I had to use the Sun Gun to replicate some sunlight to try and at least give an impression of what the final finish looked like:
 
The rest of these pics were taken with Rich's new Canon:


CS065.jpg


CS064.jpg


CS066.jpg


CS067.jpg


CS069.jpg


CS070.jpg


CS071.jpg


CS072.jpg


CS074.jpg


CS063.jpg


CS073.jpg


CS076.jpg


CS061.jpg


CS075.jpg


And as a little extra, here's a short video Rich put together just as a quick play around for future plans we have (click on 1080p HD if your internet connection is half decent)

Polished Bliss: Porsche 911 (996) GT3 Club Sport Correction Detail - YouTube


Thanks for looking, total work time for this one was approx 40 hours.