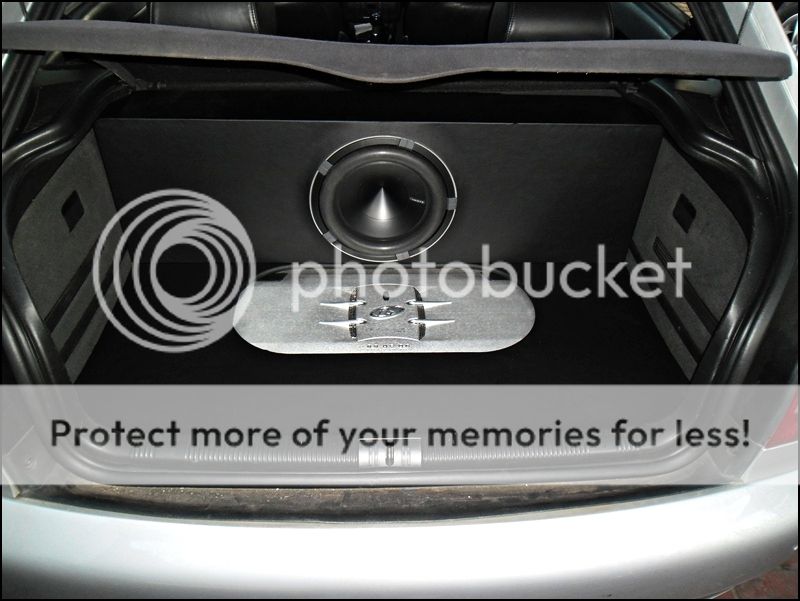
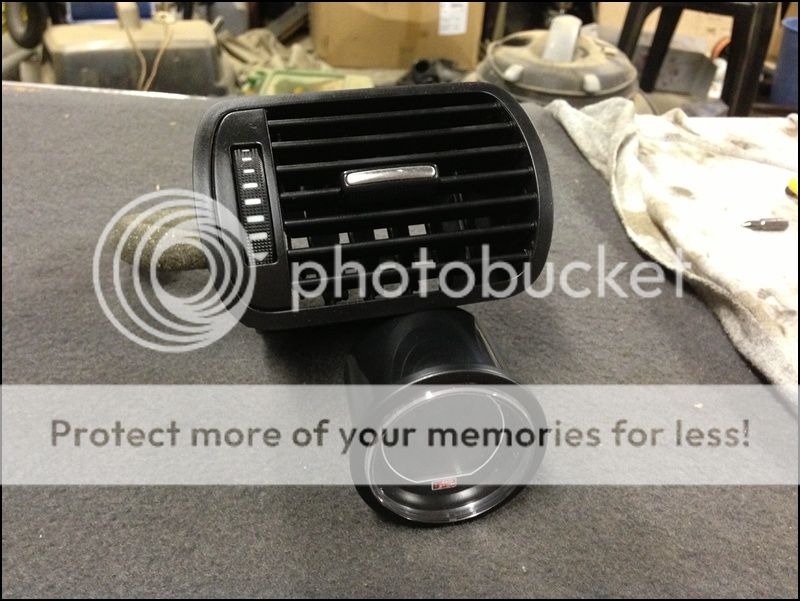
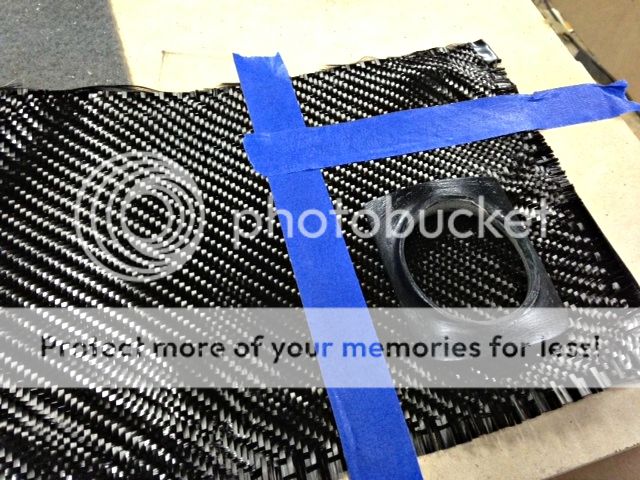
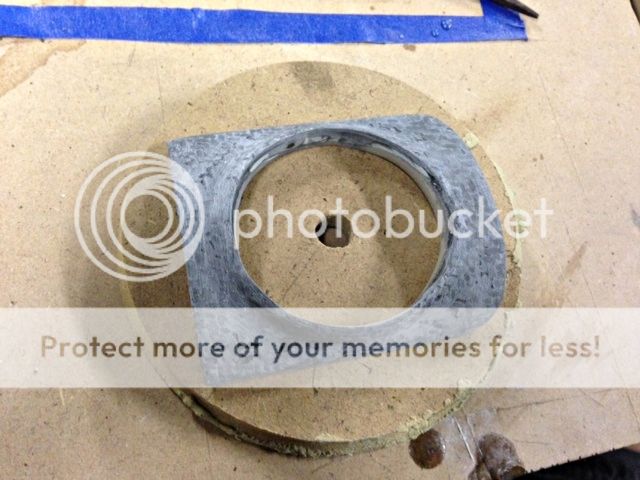
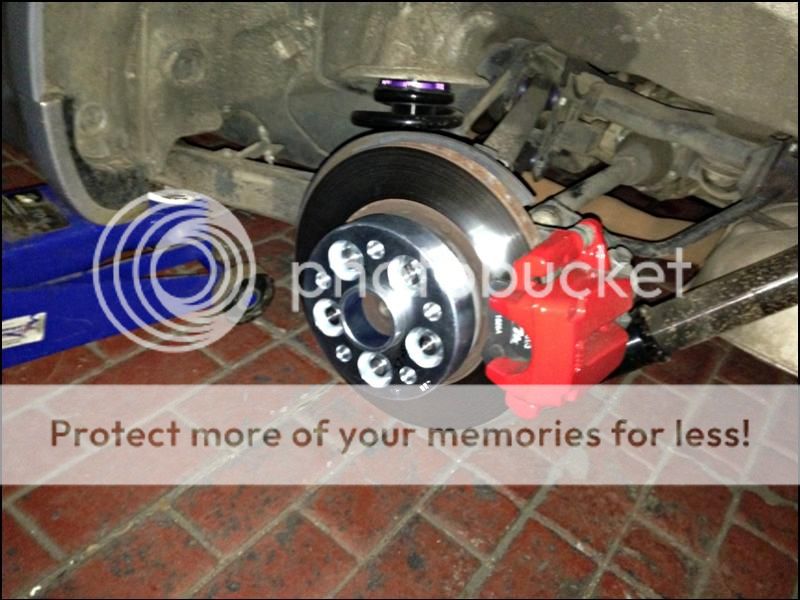
For a better front stage, the stock locations are crap.
ooooooo ok makes sense!
tommy would be very impressed with your work!
For a better front stage, the stock locations are crap.


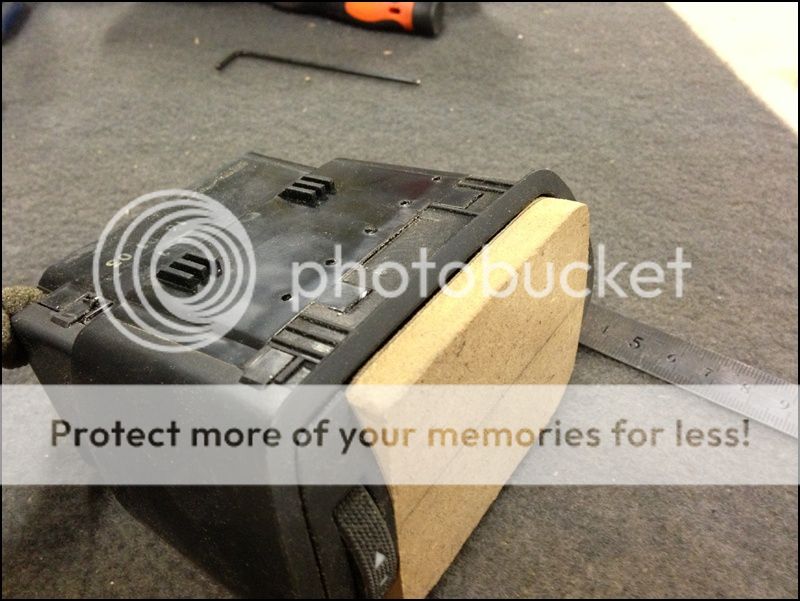


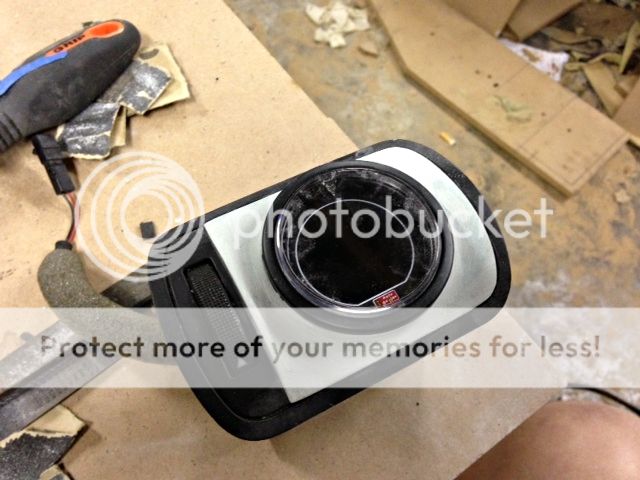


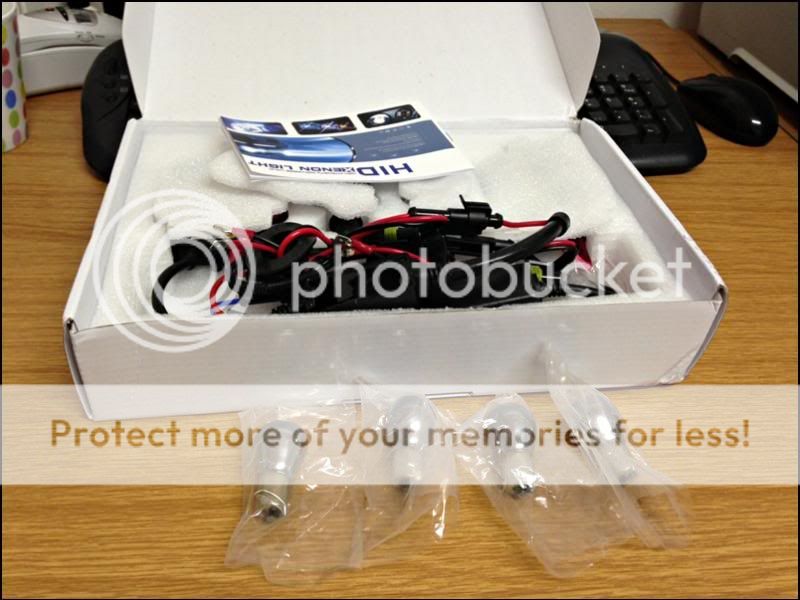


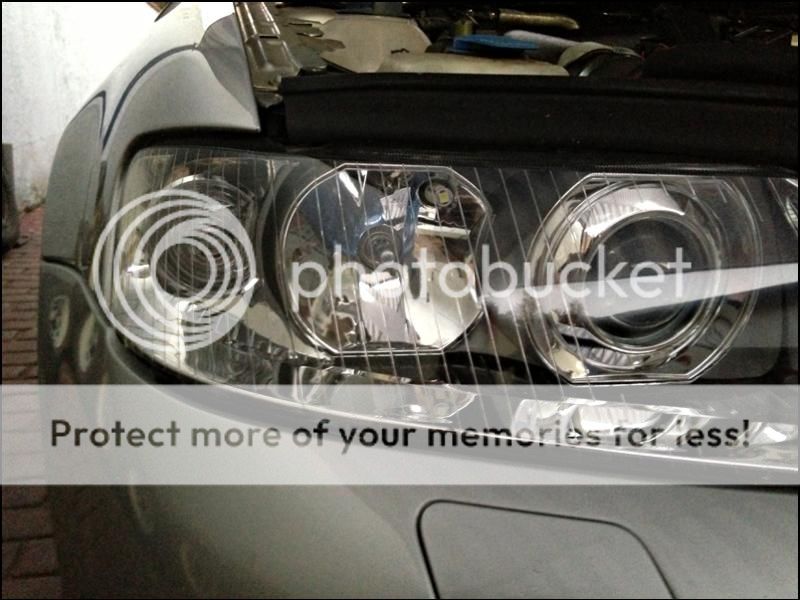
Nope, they are new lights, so dont want to split them open to joey mod just yet.

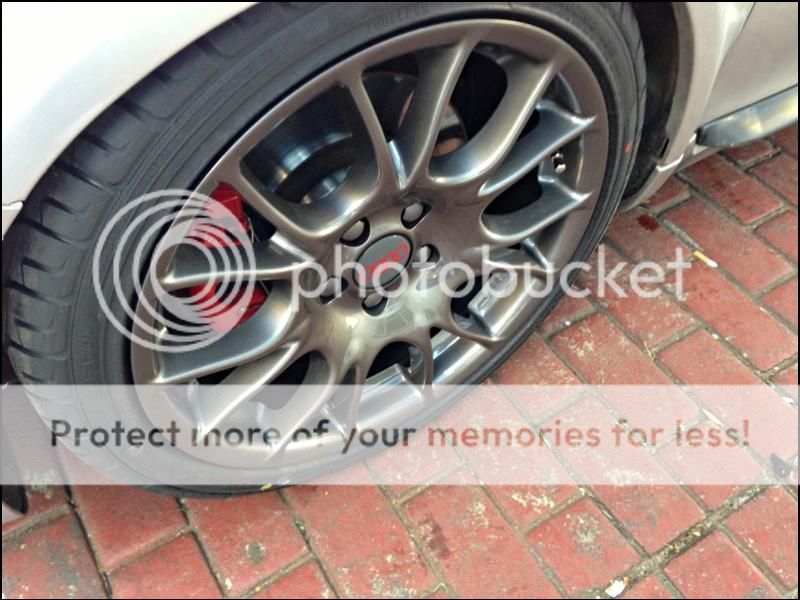
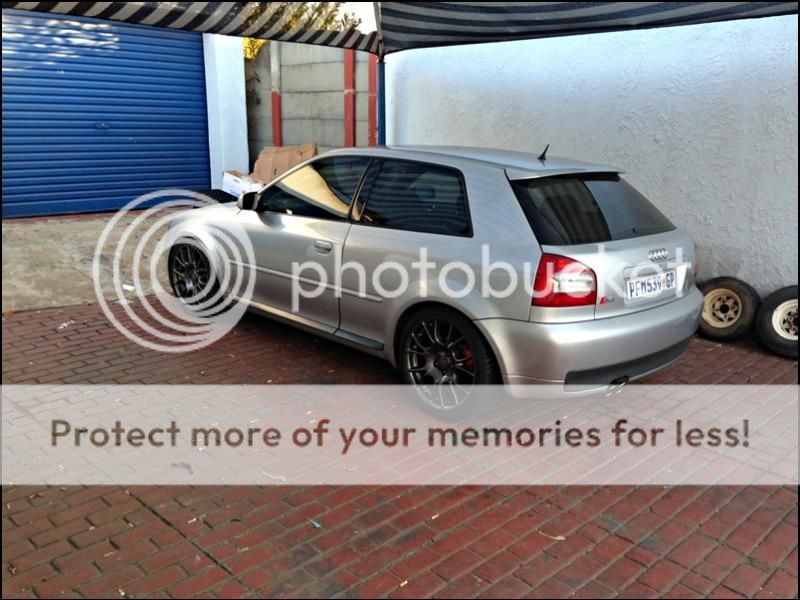

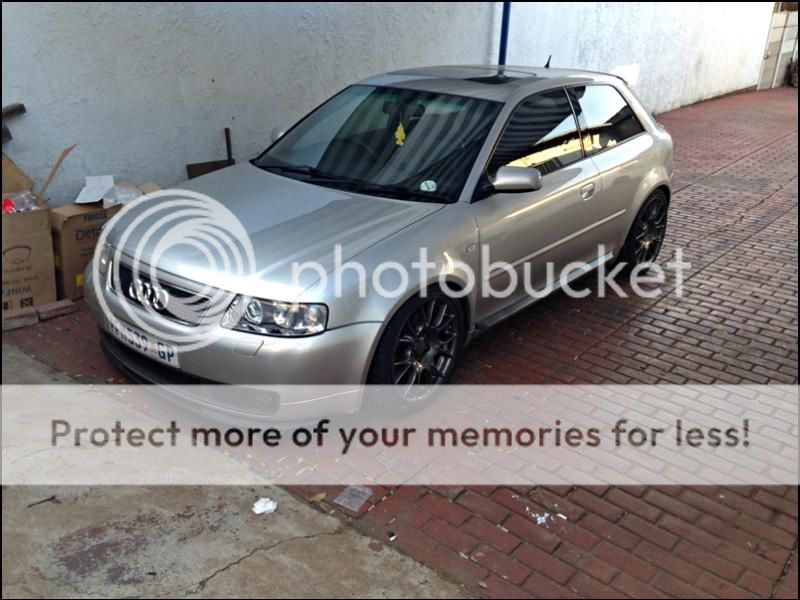

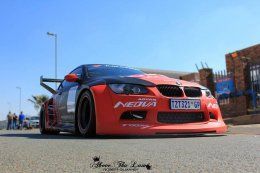
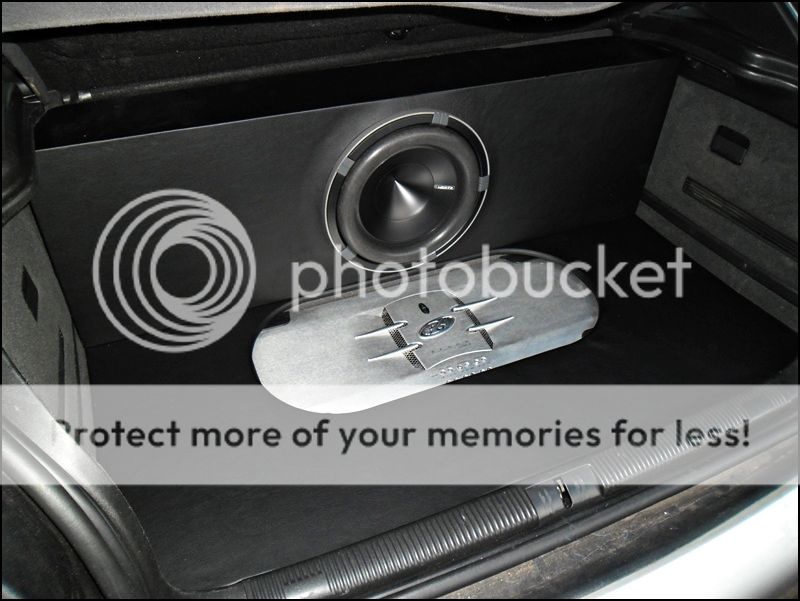
Some other pics of the event.mk2 escort to your left?? sweeeet
you SA's sure know how to role!