My DIY Guide for Retro Fitting Foot well lights

Hi. Anyone did this DIY on a MY09 facelift? I have central electrics module part no.: 8P0 907 279 N

So if anyone has done this on this module, I would be glad to get a feedback, before ordering the looms. Thank you!
 
There seems to be a wiring change on the post 2010 cars, its not as simple as the pre 2010 cars to wire the footwell lights. I think it is do-able however i do have access to a post 2010 car to have a look to see where the connection is located. If someone has a post 2010 car and would like some footwell lights and lives close to me i am more than willing to have a look at the car to see what the deal is.
 
Hi do you know if this would be able to fitted into an 8L S3 at all? Thanks
 
Nice write up!.......im gona do footwell lighting..........how do they work? do they stay on with your side/headlights or work with the roof lighting and go off after a few seconds?
 
Hi, I already have the LED canbus footwell lights...but to install these, do i need vagcom? or can i do it without and follow your guide?? (i dont have a vagcom)
 
Just installed mine following this guide. I couldn't get the group of connectors to release but managed to release connector B from the block to add the wire.

Thanks Robin for the loom/lights and guide.
 
Hi, had anybody mounted the footwell lights on A4/B7? I haven't found the socket/pin according to these descriptions? Are they really the same? If not, does anybody know where and which is the right socket and pin to connect the (+) lights wire? Thank you!
 
Just a quick update for fitting footwell lights to 61 plate onwards A3's as Audi have changed the location of the control module.

The feed for the footwell lights is located in connector block B on the Onboard supply Terminal 50.

It is located directly to the left of the fuse box, behind the light switch. It has relays on its front side, and 3 x 52 pin connectors underneath.

Thanks to StokeBalloon (Dave) for the above information, i will hopefully have some pictures of the above when SilkyS3 (Matt) fits his footwell lights to his S3.
 
I have done this and also the puddle/emergentcy lights and they are a great little kit to get, Robin was helpful throughout the whole process even when I made a couple mistakes xD after Xmas I probably be going ahead and getting the back footwell lights sorted but got a problem with the passenger seat not moving first before that

Again just wanted to leave a message saying this is a very good DIY and anyone who doesnt have this option should get in contact with Robin :thumbsup: :D
 
For sure, once this weather lets up for 10mins!

Just a quick update for fitting footwell lights to 61 plate onwards A3's as Audi have changed the location of the control module.

The feed for the footwell lights is located in connector block B on the Onboard supply Terminal 50.

It is located directly to the left of the fuse box, behind the light switch. It has relays on its front side, and 3 x 52 pin connectors underneath.

Thanks to StokeBalloon (Dave) for the above information, i will hopefully have some pictures of the above when SilkyS3 (Matt) fits his footwell lights to his S3.
 
Right so here goes, finally!

Firstly, big thanks to Stokeballoon and Robin, as Stokeballoon provided the wiring pin locations on the new 2010+ module and the part numbers for the LED TTRS Footwell lights and repairs wires needed, and Robin made the looms and ordered the parts for me. Top guys both of them!

So, as some of you may the know the central electric module changed in 2010 and as such the modules location, type and wiring all changed from earlier A/S3's. Also the TTRS came out with LED footwell lights as standard and these are the same size fitment as the A/S3 ones. So this is how to fit OEM LED foot well lights to a 2010+ A/S3.

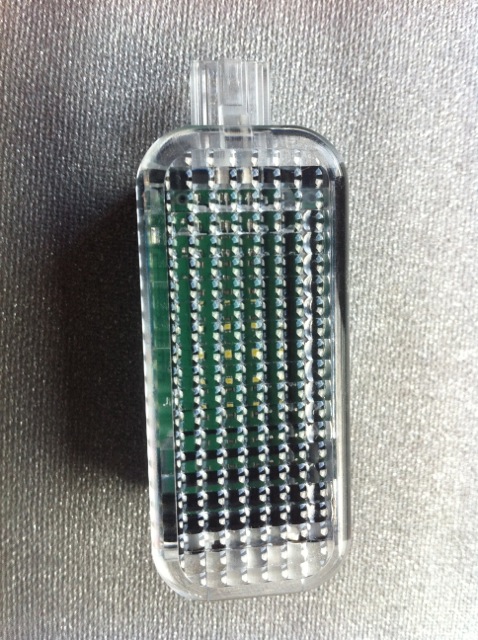
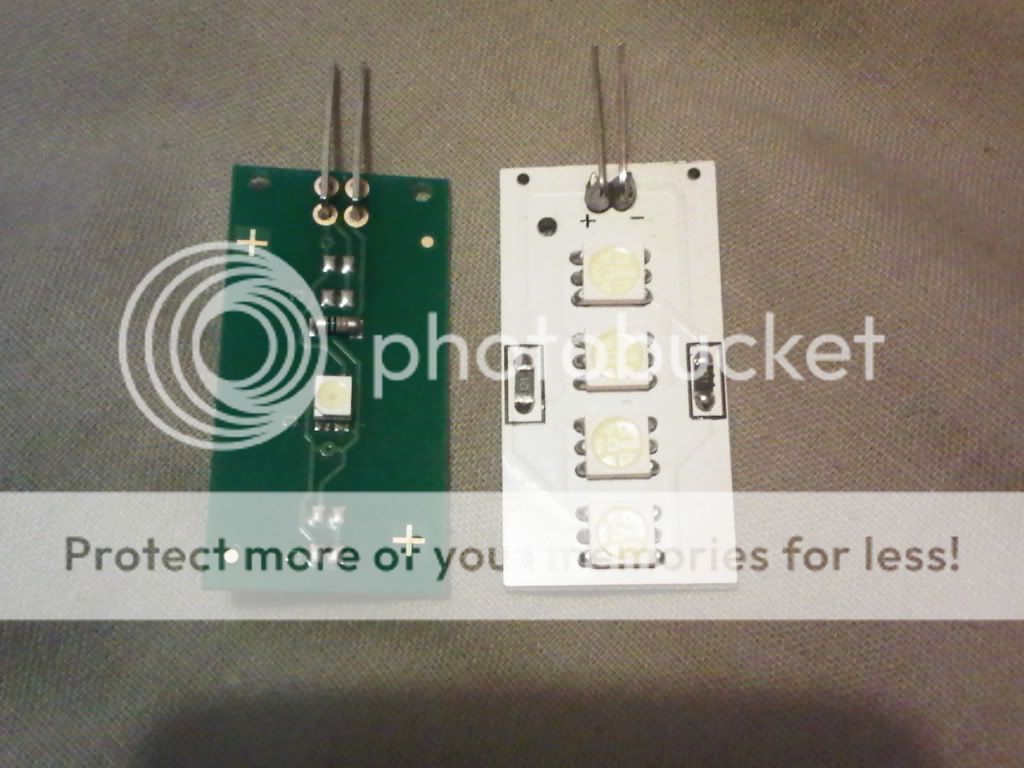
This is a close up of the OEM LED footwell lights (standard on TTRS):

Footwell02.jpg

Footwell03.jpg


Loom and parts as supplied by Robin:

Footwell01.jpg


Firstly follow Robins instructions above to remove the drivers side knee panel which gets you to this point:

Footwell04.jpg


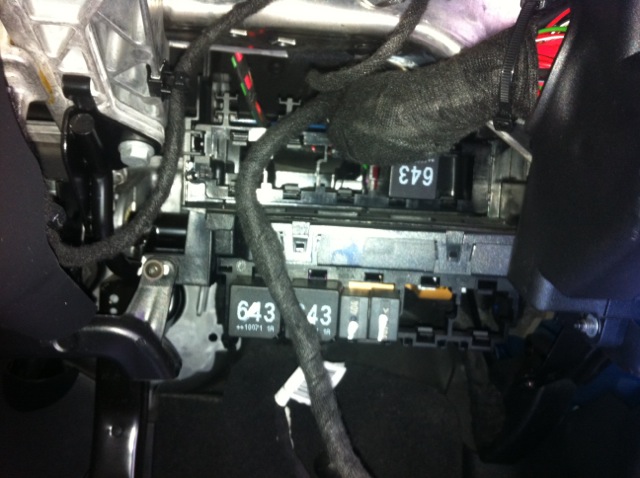
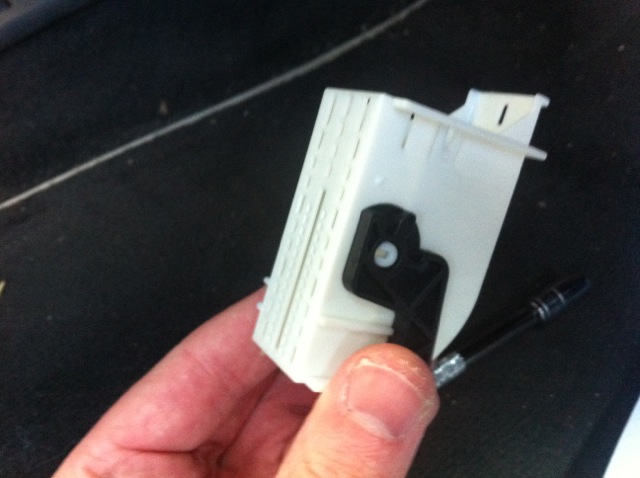
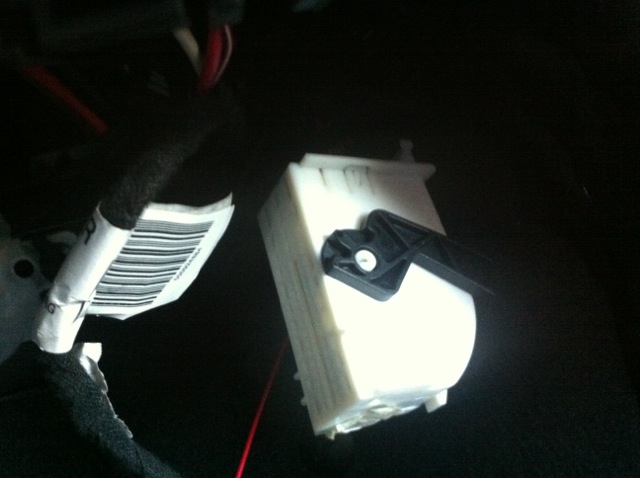
Stick your head up and you will see this module (lots of little relays on the front), its just to the left of the fusebox:

Footwell05.jpg

Footwell06.jpg


Now if you stick your head right under this module and look underneath/behind it you will see 3 x big 52 pin connectors:

Footwell09.jpg


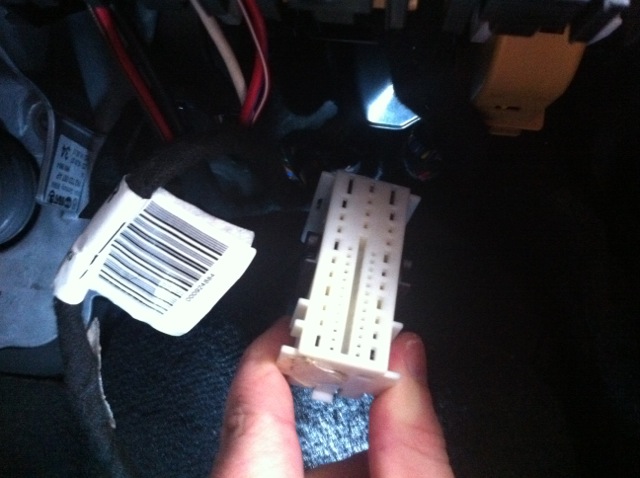
So you have black, white and yellow. We need the middle white connector, so press in the little tang, and pivot down the locking bar and pull out the connector:

Footwell10.jpg

Footwell11.jpg


So we now need to remove the outer casing of the connector so we can get to the pins, do this buy cutting the zip tie at the top:

Footwell13.jpg


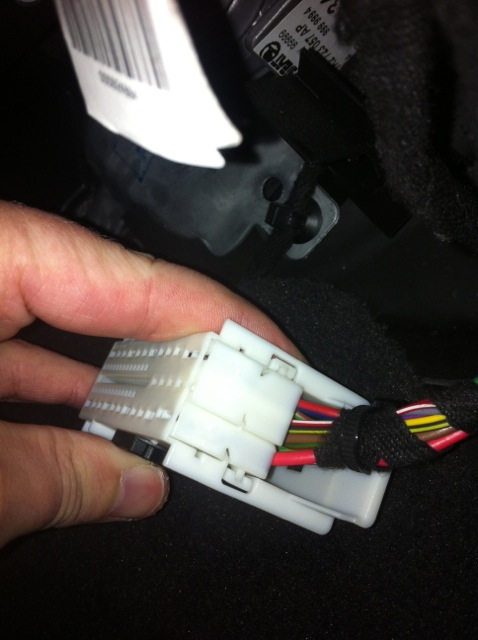
and press in the two tangs that hold the pin block to the outer casing, slide off the outer casing:

Footwell12.jpg


Once off you are left with the outer case and the pin block:

Footwell14.jpg

Footwell15.jpg


Now we need to insert the feed (+ve) from the footwell light loom into PIN 50. This is the 3rd pin up from the bottom on the left side (next to the blue/white wire on the pic above), but all the pins are numbered on the outside of the pin block, so its easy to find which is the right pin, again PIN 50 is what you need. The pin will only slide into the box one way, thats the right way.

Footwell16.jpg


Once you have put in the pin, slide the outer cover back over the connector and click it in to place. If you like you can also replace the zip tie but I did not bother as its solid without it. So thats the feed sorted, now just for the earth. I used a bolt up near the fuse box here:

Footwell18.jpg


Footwell19.jpg


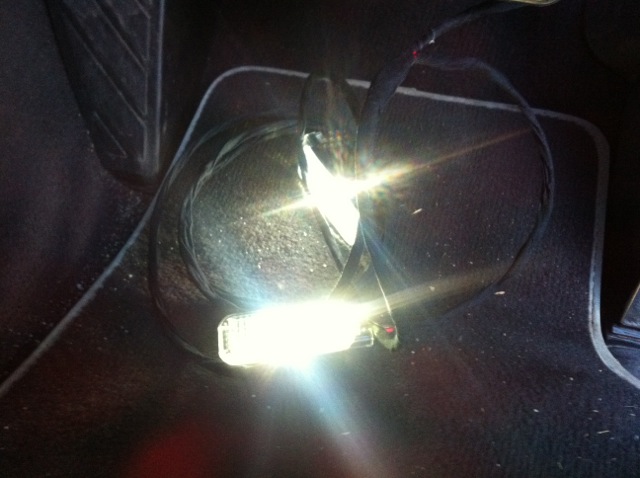
Then as long as you have done the VCDS coding (see below for that) you should have light once you close and open the door!

Footwell20.jpg


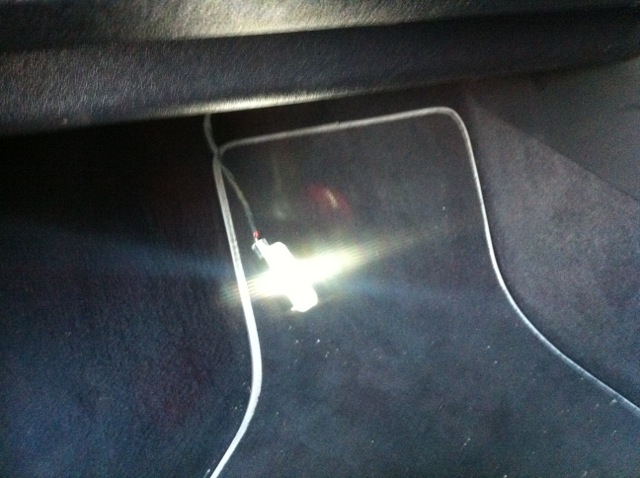
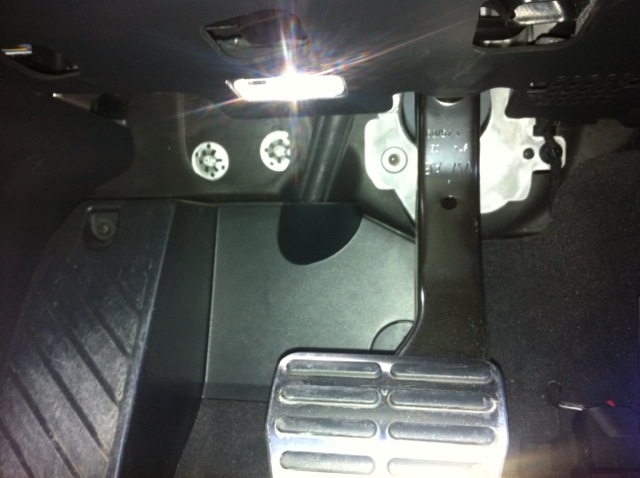
I then slid the RNS-E forward, to allow me to push the other side wire/light across, and then dropped the glovebox to pull it through and put the light into place (see Robins instructions above for removing glovebox etc) Pass side done:

Footwell21.jpg

Footwell22.jpg


Then as above refit the the drivers side knee panel and then its all done:

Footwell23.jpg


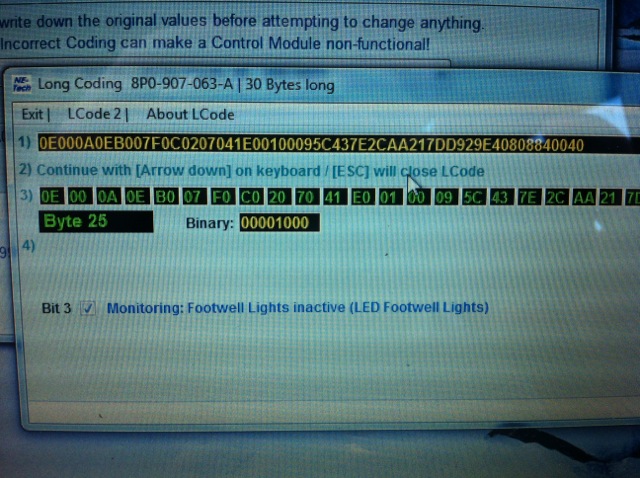
With regard to VCDS coding, if you are fitting LED lights you need to change it in 2 places in Module 09. Byte 20, Bit 0 and Byte 25, Bit 3:

Footwell24.jpg

Footwell25.jpg


Make sure you tick the LED monitoring inactive if you have fitted LED ones otherwise you will get bulb errors.
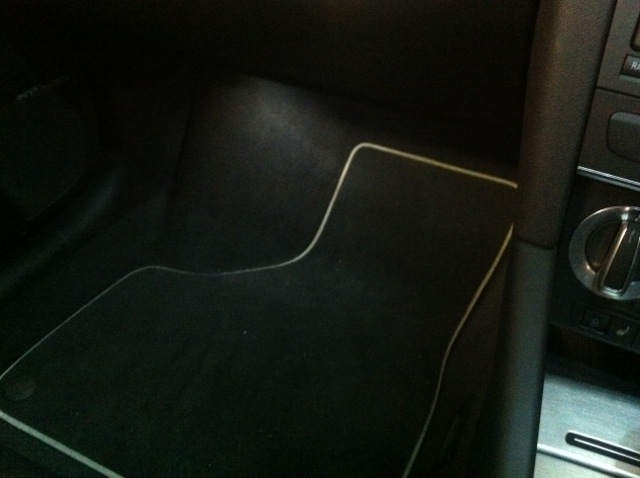
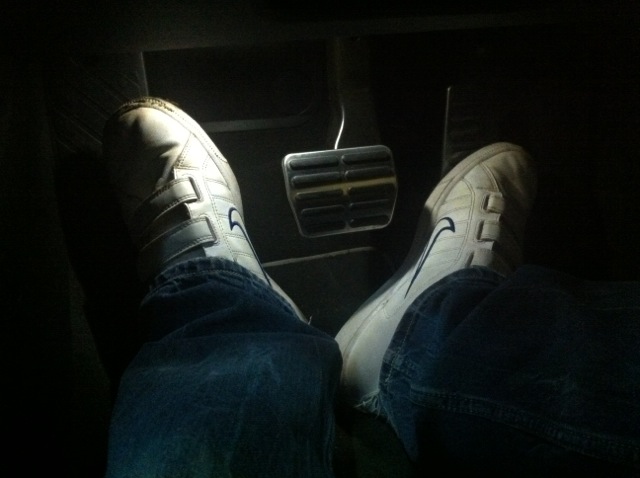
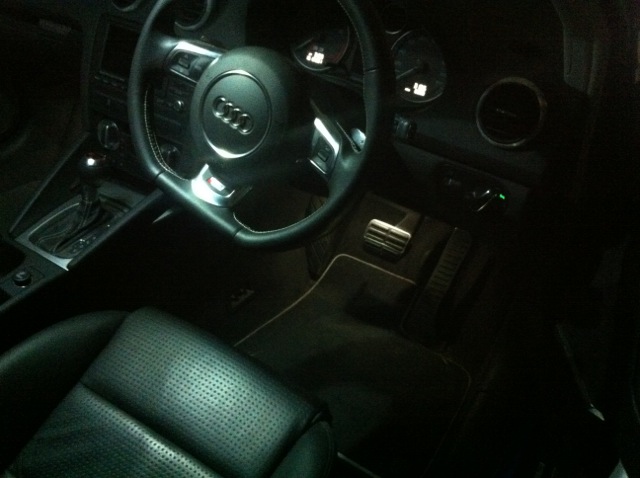
Some final pics:

Footwell26.jpg

Footwell27.jpg

Footwell28.jpg

Footwell29.jpg


So thats its soft start/stop OEM LED footwell lights fitted to a 2010 S3.

Any questions let me know! :)
 
  • Like
Reactions: RobinA3, G60DAN and lgooch
Tip Top!

Don't need to remove glove box or RNS, I used a coat hanger, and pulled the sound-proofing down slightly to run the wire through and fit the light.

So much better than std lights, and still OEM.

Great!

I have the TTRS Led lights fitted in All FW's, and as Door Puddle lights.

Also fitted TTRS Led's as boot light, and an extra Boot Light.
 
Tip Top!

Don't need to remove glove box or RNS, I used a coat hanger, and pulled the sound-proofing down slightly to run the wire through and fit the light.

Yer I was gonna try that but could not find a wire coat hanger anywhere! Lol. Thanks for your help again mate. Also, how did you run the FW wiring for the rear lights?
 
How much mate? Are they much brighter? I did notice that the OEM are slightly yellow when compared to my other LEDS that you supplied.
 
They are brighter Matt, and they look awesom, i have sold to the members on the A5 forum and they are happy with them. and because they are slightly lifted away from the plastic lense compared to the halogens they are a nice white coulour.

They are £15 a pair or 2 pairs for £25.
 
  • Like
Reactions: martinivw
I bought this kit a few days ago and fitted it today, the craftsmanship on this loom is excellent, the guide is easy to follow and it only took an hour and a half(ish) including coding and a coffee break as it was freezing outside!

Thank you Robin, puddle lights are next on my list...
 
Now poke your head up in the foot well and look up for the bunch of electrical connectors, you'll see a red tab, push that and that will release the connectors.

footlight6.jpg

Robin (or anyone else who knows), when you say "release the connectors" above. Does it release the whole block of connectors to give better access or does it just allow the connectors to be disconnected from their mating half?

I'm trying to wire some other bits and pieces in and it's a pain to get at.
 
The whole connector unit can't come out without more badgering around, it only releases the smaller connectors which are plugged into them.
 
Fitted mine at the weekend .

Firstly, many thanks to Robin for the looms - fantastic and at a very reasonable price .
Secondly, cheers to Silky. I discovered that my '09 plate Sportback is actually a 10MY (confirmed by the A in the VIN plate) and had to revert to the wiring instructions in his post.
Thirdly, thanks to Stokeballoon who suggested the coat hanger trick. I managed to get one from my Gran so that must have saved me half hours work !

Just a couple of things from me if they've not been said already. I found the lower dash trim a bit awkward to remove at first (next time it will be much easier!) so I suggest putting masking tape or similar on the sides of your lower steering column trim to protect it. The other thing I found is that if you test them and they stay on don't panic, it's simply because the headlamp switch is disconnected so just flick the roof courtesy light switch off if you need to. I had to do that as we went out and I finished putting everything back together the following day. The alternative would be just to disconnect the earth.
 
Spent this afternoon fitting the front and rear footwell lights. I also put in the LEDs which I bought from trups.

The footwell looms build quality is awesome. second no non! Looks like genuine OEM stuff! Would definately recommend anyone thats thinking of buying them to get them! Well worth the investment.

Cheers Robin!
 
Hi,

Are you still producing and selling these?

Thanks
Dave
 
recived today and got them fitted very easy job. thanks to robin's guide
just need to code them now. cant wait
 
Got my looms from Robin at the weekend - got them fitted and working 100%

Thanks Robin!!! :D

Just waiting on my footwell LEDs from Trups and I'll update photos tomorrow ;)

IMG_3046_zps3d1b8bb6.jpg


IMG_3047_zps313cbd53.jpg


IMG_3045_zps2ab9cd00.jpg


IMG_3048_zps384d7ff1.jpg
 
Everything 100% Robin - plenty of slack where needed.

Thanks again ;)
 
Hi, how much would you want for a set of front and rear footwell lights and also puddle/warning lights. Cheers
 
I am writing you from Bulgaria. My car is a 2005 A3 8P. Can anyone help me with coding in VCDS.
029142859-big.jpg

029142860-big.jpg

029142861-big.jpg

029142862-big.jpg

029142863-big.jpg
 
Are you trying to code for footwell lights? If so then on row 3) you need to go across - you are on byte 0 so you need to press the right arrow button on your keyboard.
 
That's it. I can not figure out where to activate lights in the footwell. If someone can help me I would appreciate it.
 
It looks like the controller fitted on your car does not support footwell lights.
 
  • Like
Reactions: Damian Owen
Is there no way to activate. Or make a connection with general lighting. Can you give me some advice. I'd be grateful.
 
You can't activate it if the control module doesn't support it. Only solution is to wire them to the interior light.