- Joined
- Dec 15, 2009
- Messages
- 268
- Reaction score
- 100
- Points
- 43
- Location
- Buckinghamshire,United Kingdom
HI Project Room 
I'm Rog, I've been on here a while , but have been away from the site, as I haven't had an Audi for over a year since I sold this!
3.2 Q A3 S-line
 DSCN1037 by Roger Freeman, on Flickr
Build Thread Link here: Audi A3 Build Thread
I had a few Audis over the years, these are my previous cars.
Project 80 Cab:
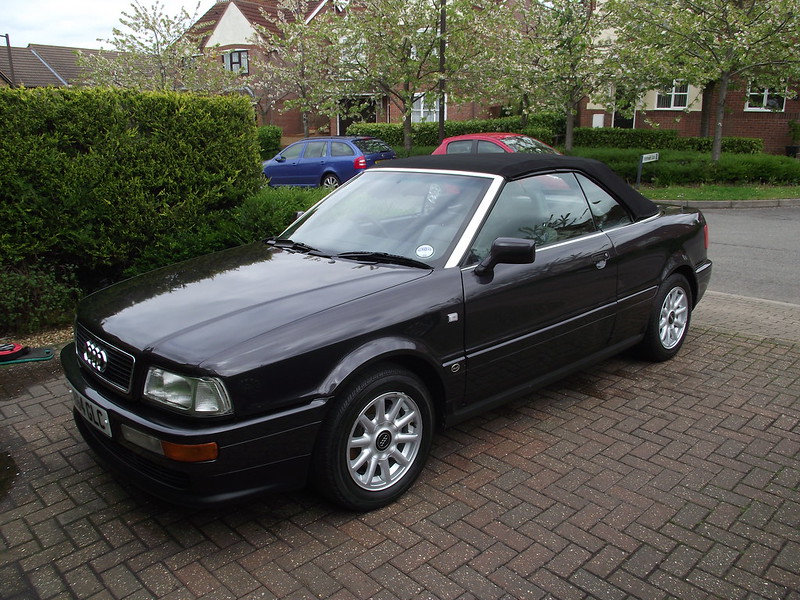 DSCF7234 by Roger Freeman, on Flickr
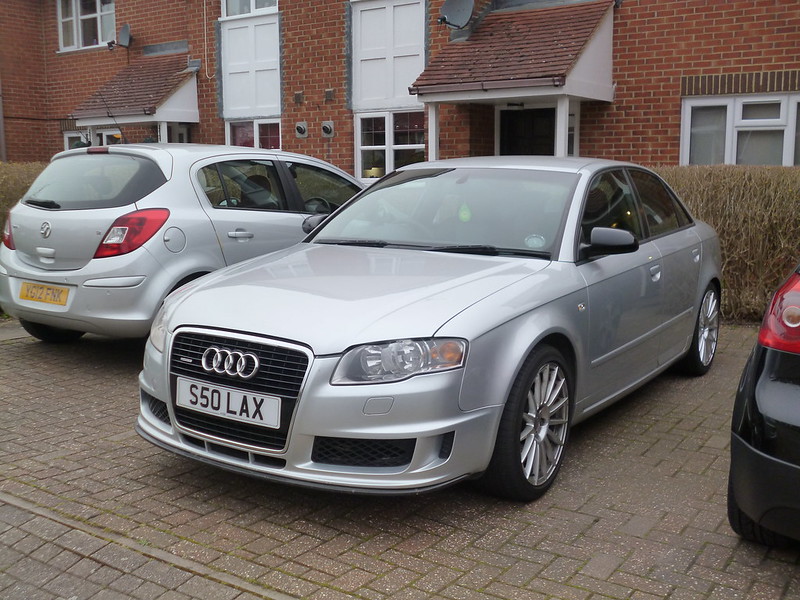
S4 B6:
 DSCF2801 by Roger Freeman, on Flickr
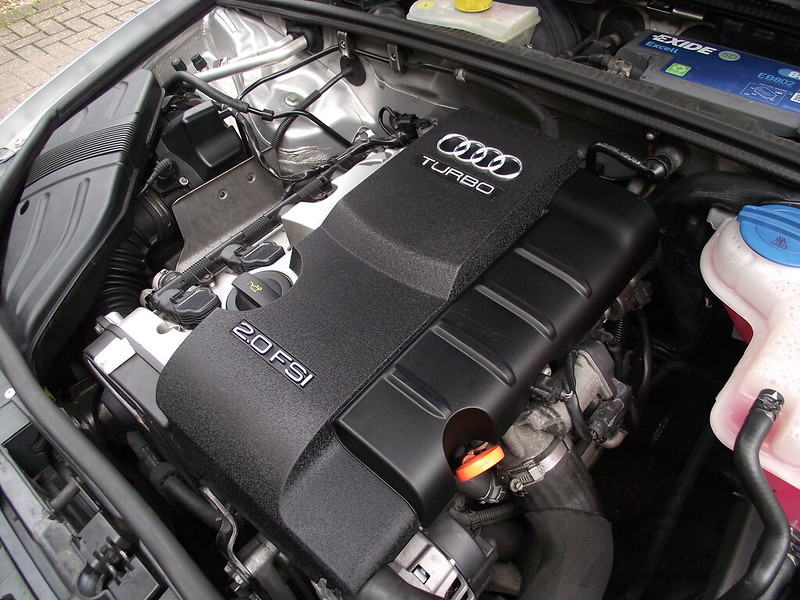
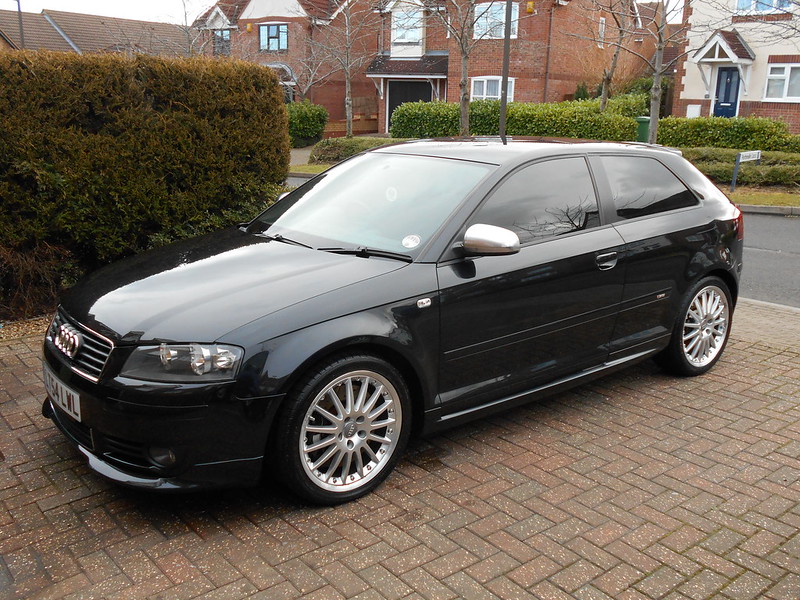
A3 2.0 TFSI Q:
 DSCF1283 by Roger Freeman, on Flickr
Other VAG group cars I've owned include, 1.8T 25th Anniversary Golf, Corrado VR6, Skoda Octavia II VRS and Mk5 Golf GTI (now the wife's).
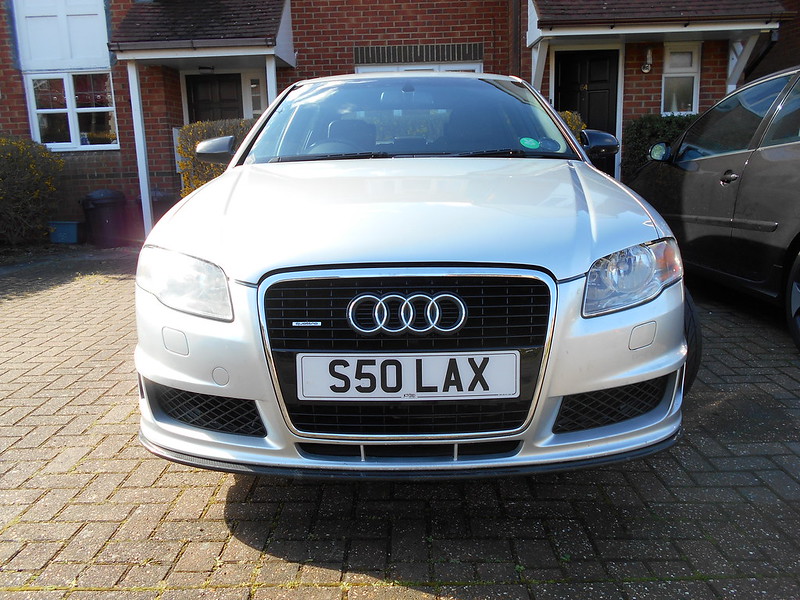
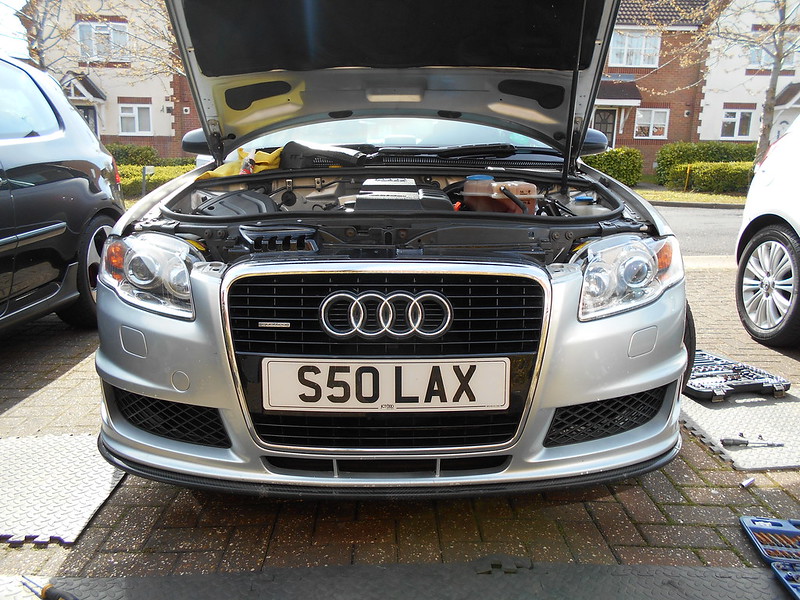
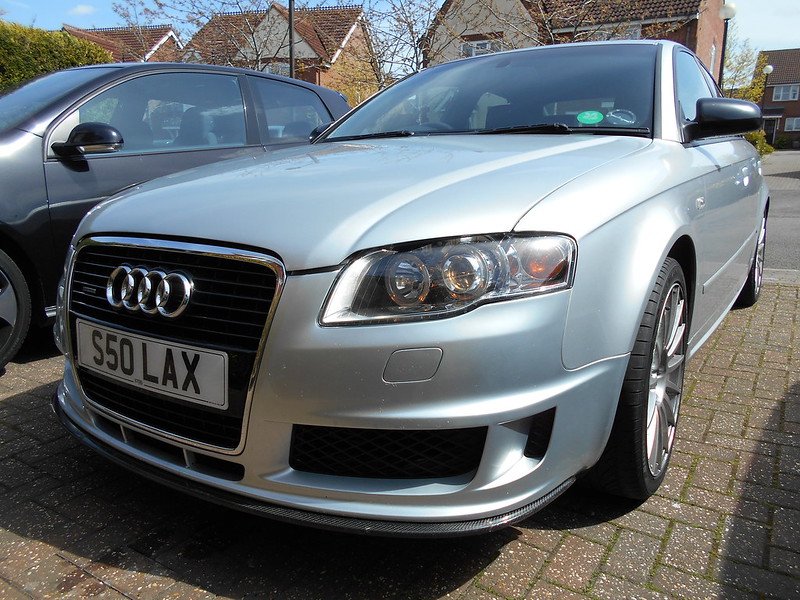
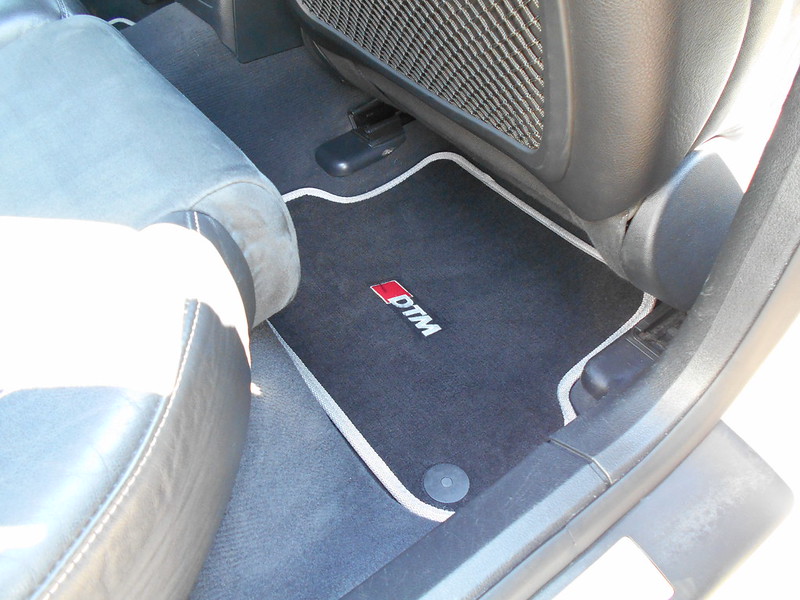
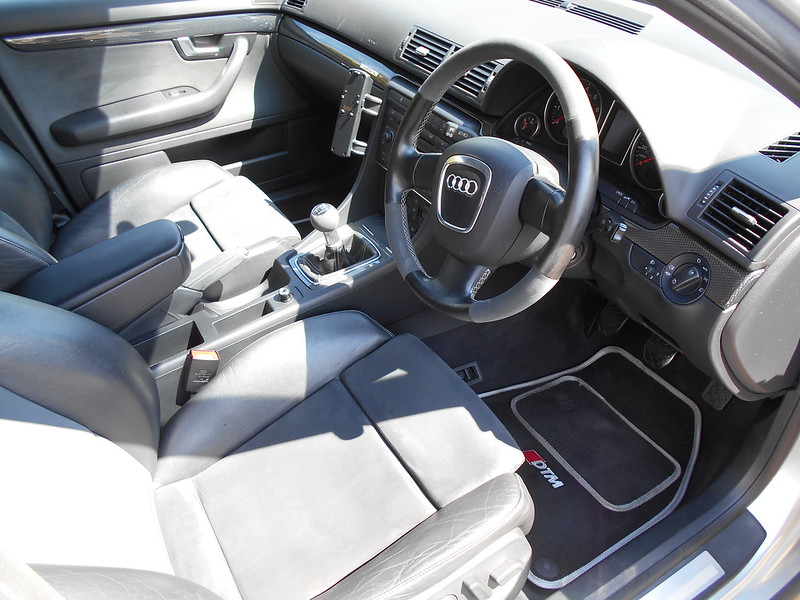
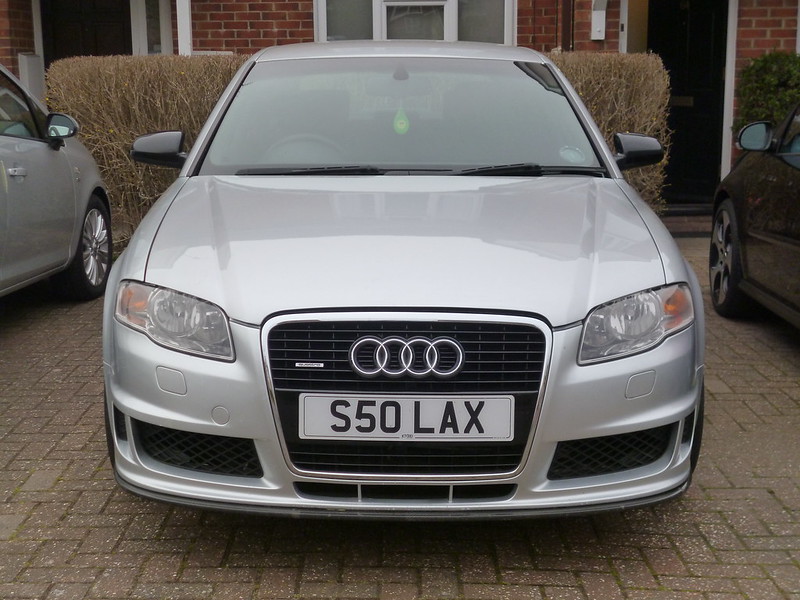
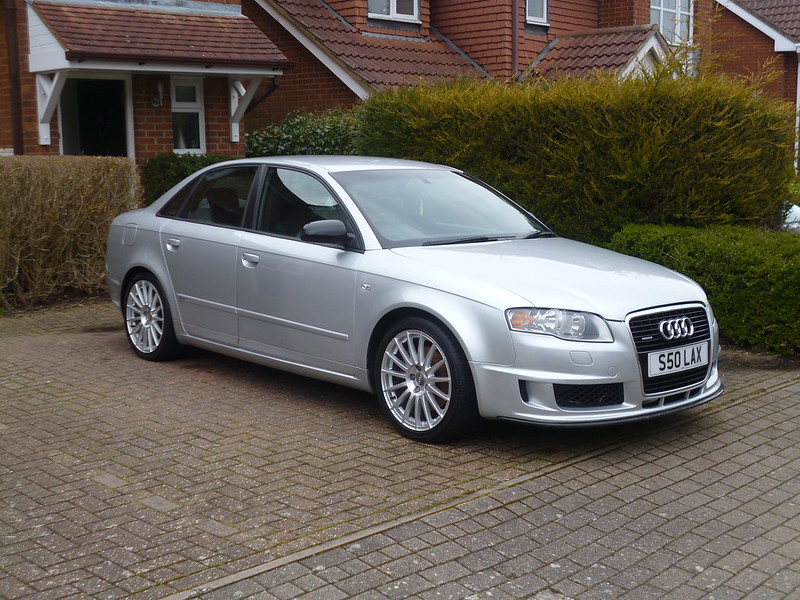
Now I'm back in an Audi! And back in style with an A4 DTM Edition...
I found her lanquishing on a small used car dealer in Bedford. I had been watching it for weeks on eBay and Autotrader. It hadn't been snapped up, which was surprising, as it looked good in the pics and was been sold at way under book price value!
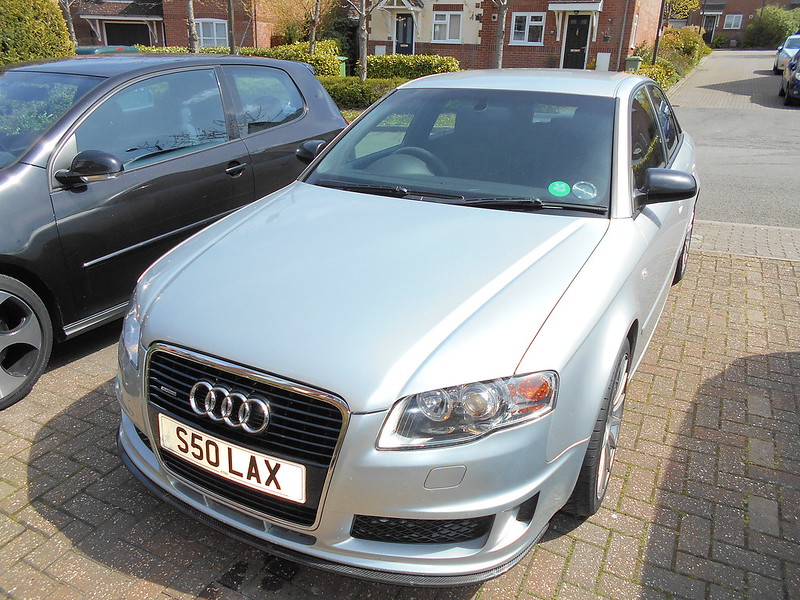
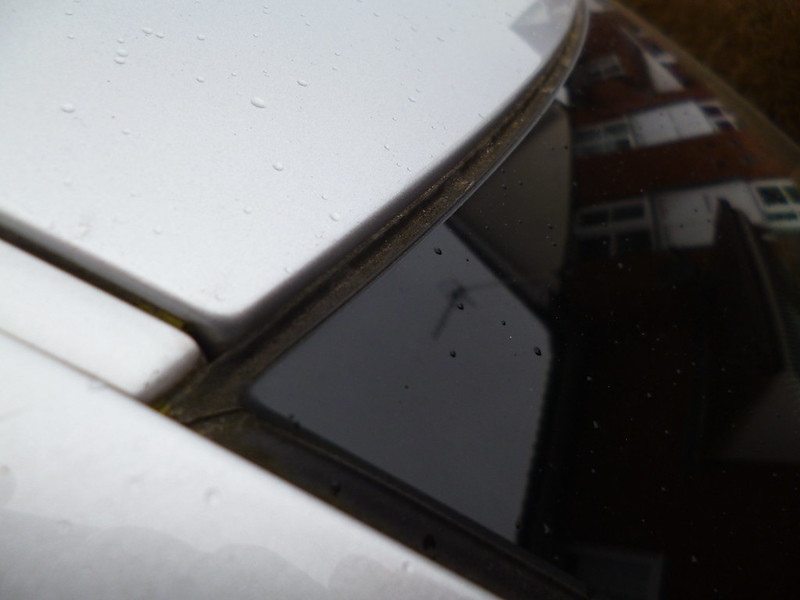
So a couple of weeks ago, I went over to have a closer look.... OMG! This car looked ok in the pics but in reality, it looked a bit of a shocker. The bodywork was a little tatty, the drivers door wasn't aligned properly, the rear boot lid had been repaired on site (to an ok standard!), paint work and windows were covered in paint and clearcoat overspray ...what a cowboy! So, I left the place very disappointed.
Anyway, I went over again, with my mate, to look at another A4 Avant, he had up for sale, as that was what I was looking for originally. That was was being sprayed on site too, as it had some damage. That car was even worse!
So, once I showed my mate the DTM, he thought why don't you just get that instead, as it looked the nuts (to him...he couldn't see all the faults like me!). To cut a long story short, I took it out for a spin and was totally hooked. it drove great and has plenty of poke
I am heavily in to car detailing and previously had a little weekend detailing business, which I did pretty well at. So, I could see through alot of the paint work issues. The car deserved better and I felt I needed to to rescue it, from certain doom or even worse, some boy racer
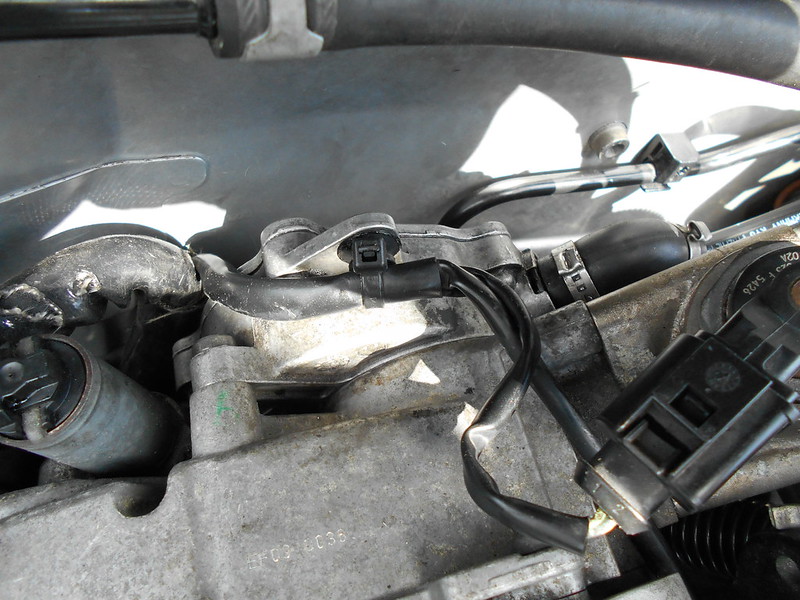
The car has been looked after mechanically, thank god! FSH, with 96K on the clocks. Lots of work done to the engine, cam chain and tensioner, cam follower, Rev "d" DV valve. Cambelt done at 72K.
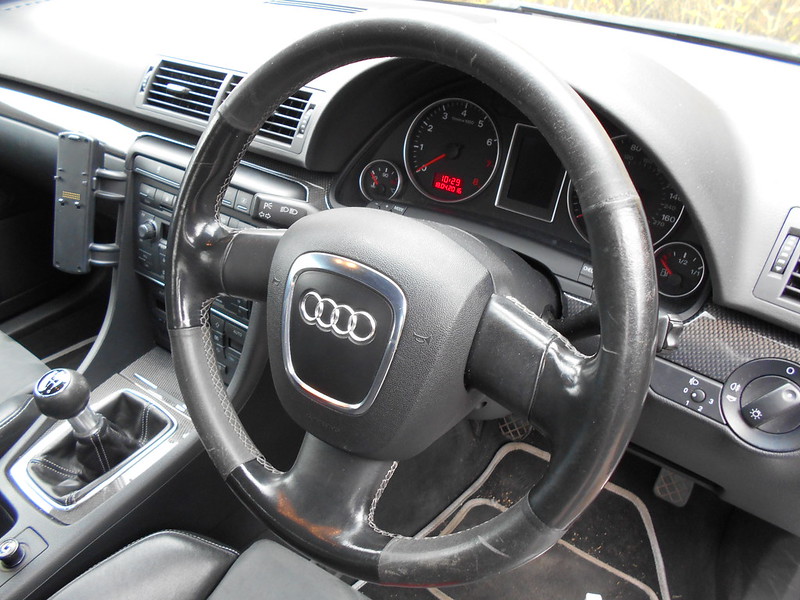
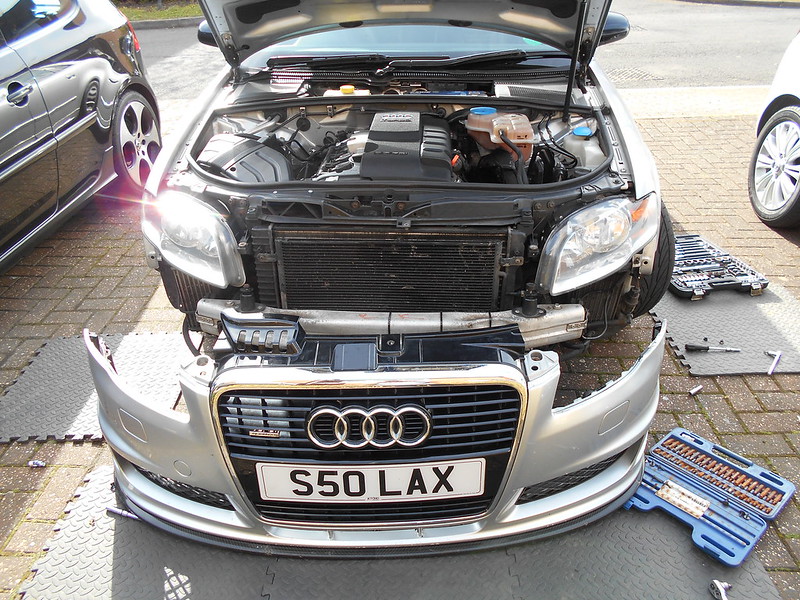
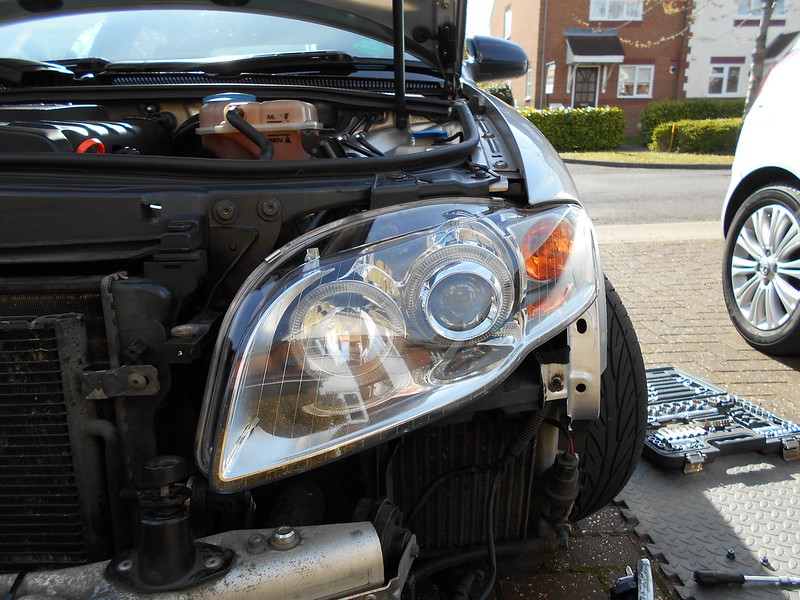
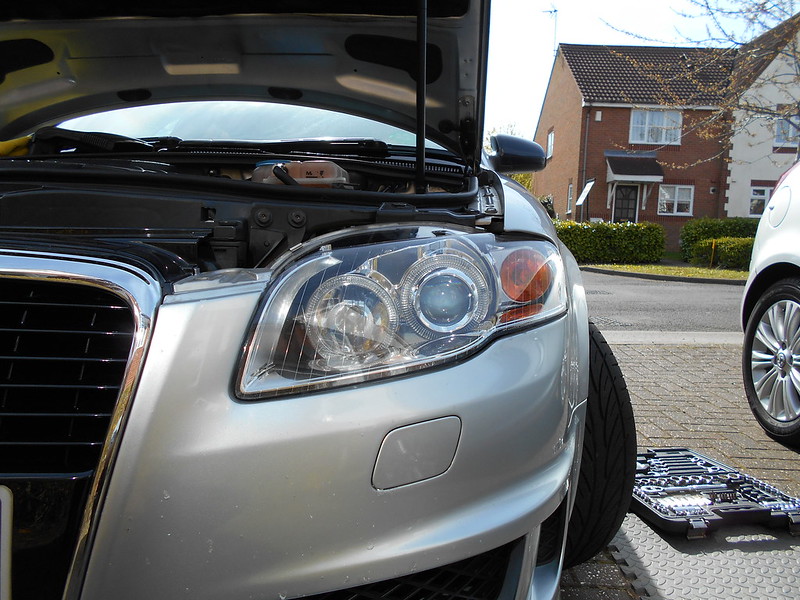
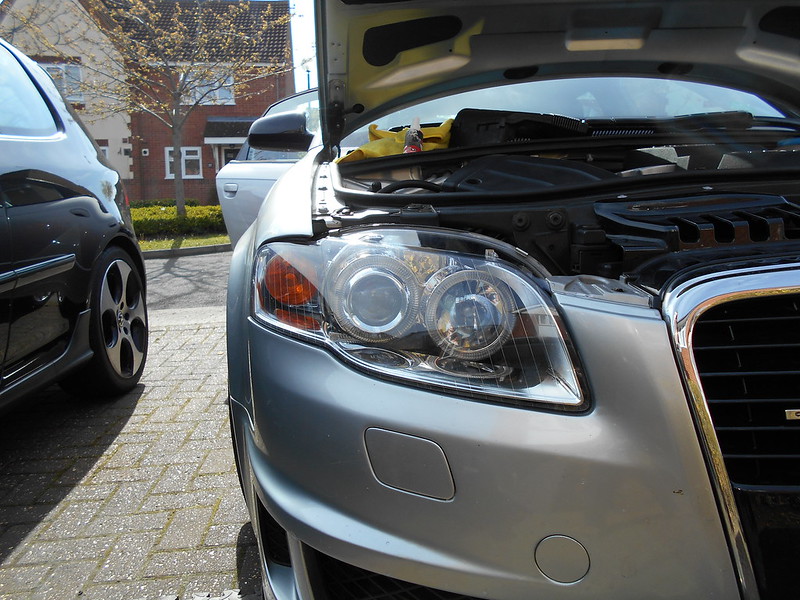
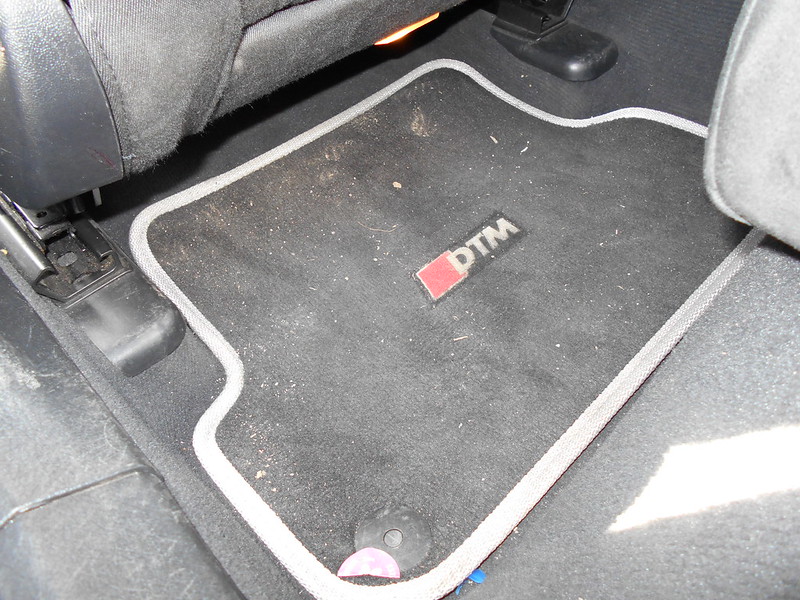
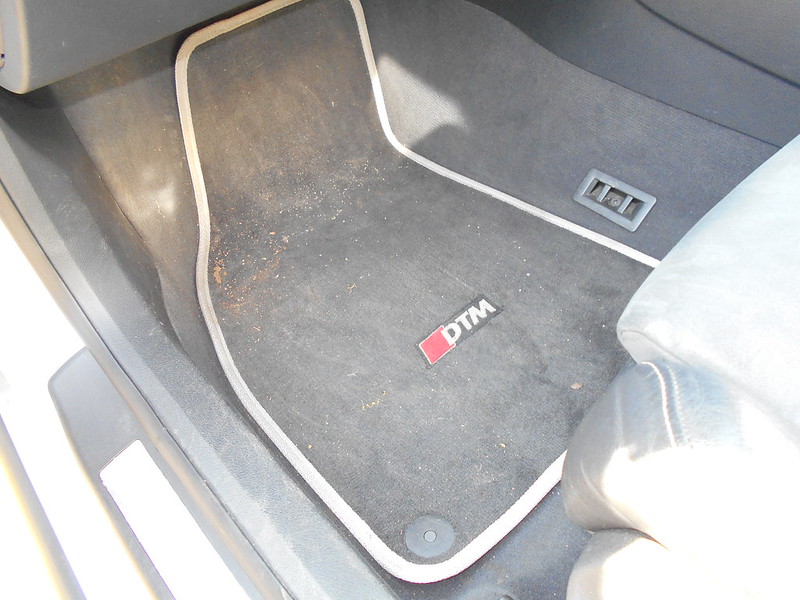
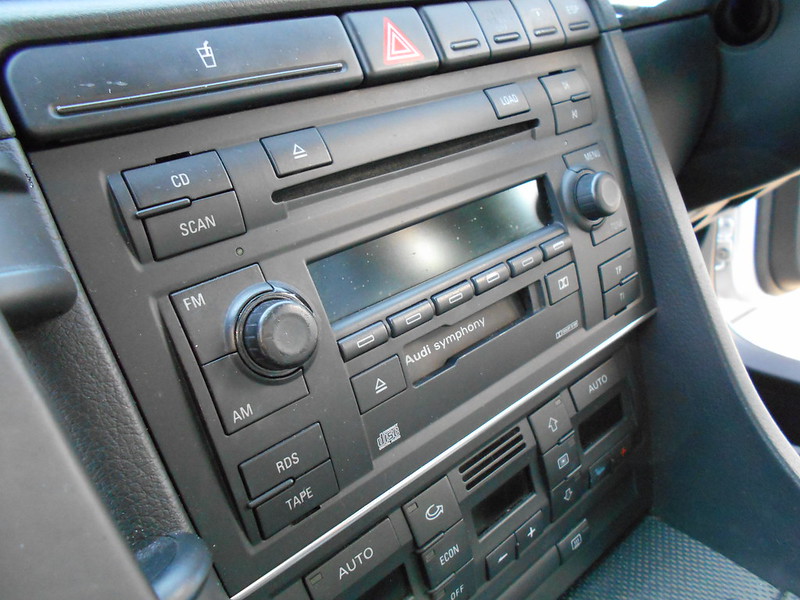
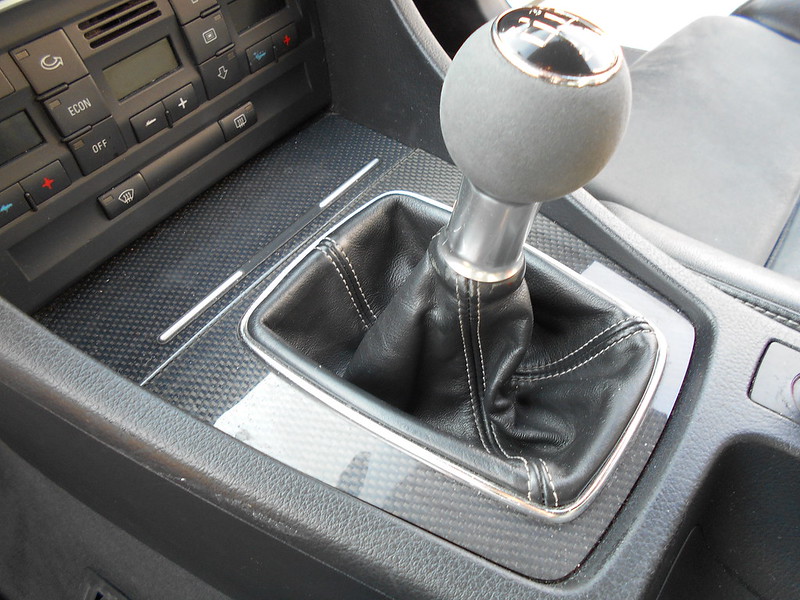
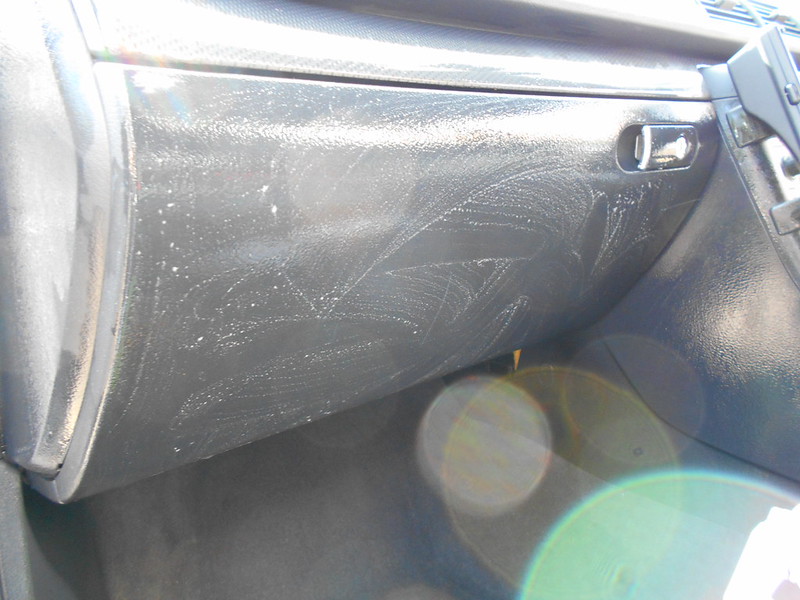
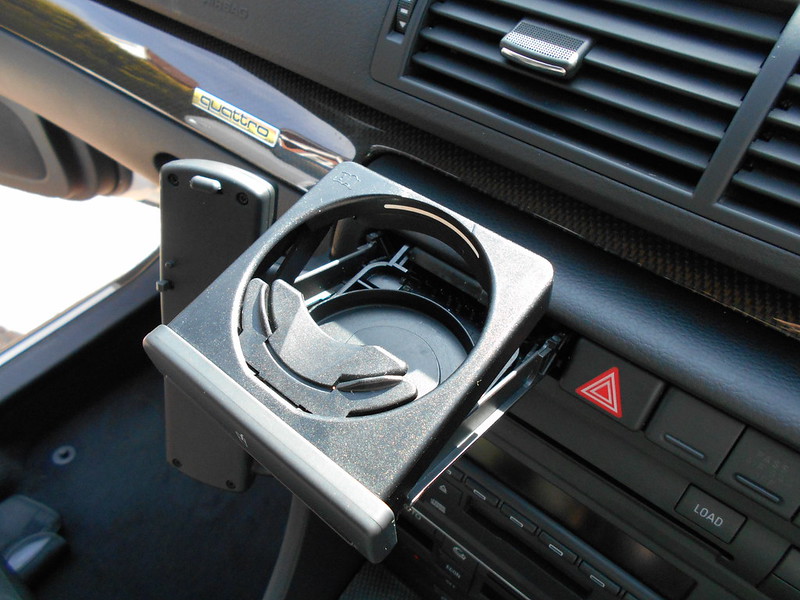
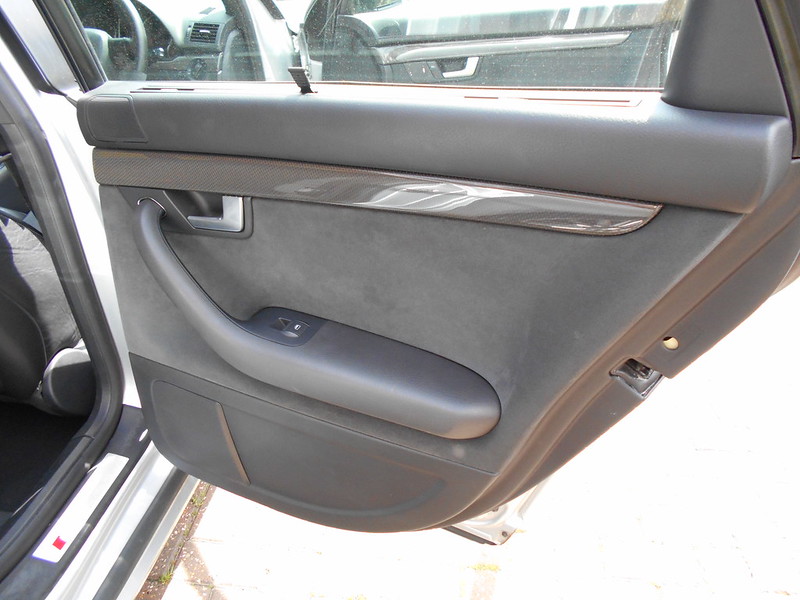
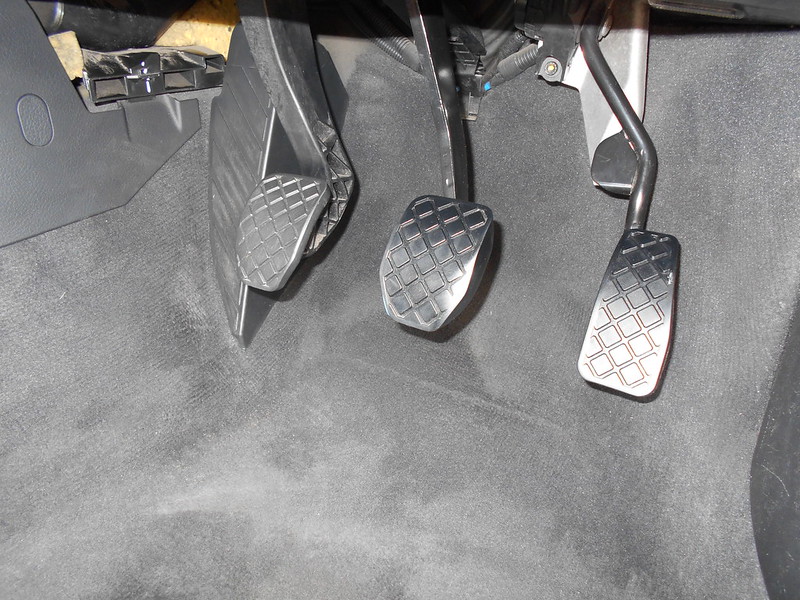
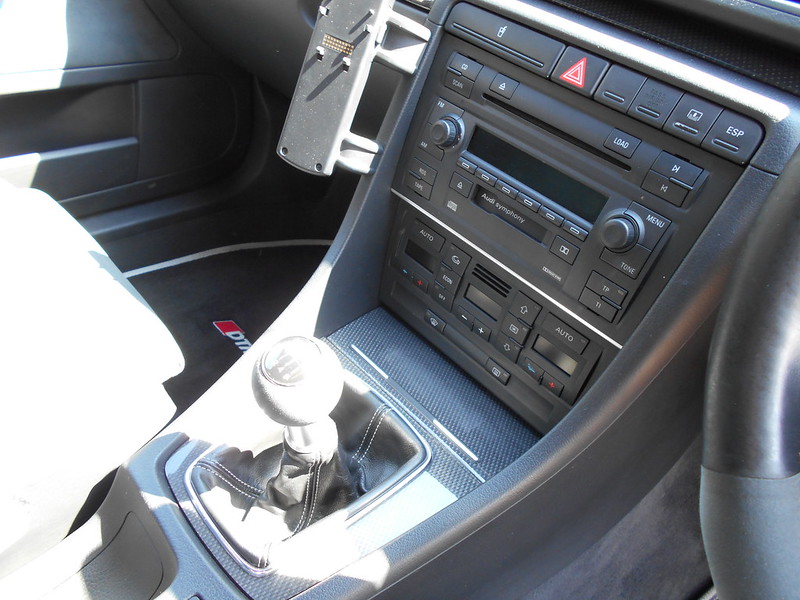
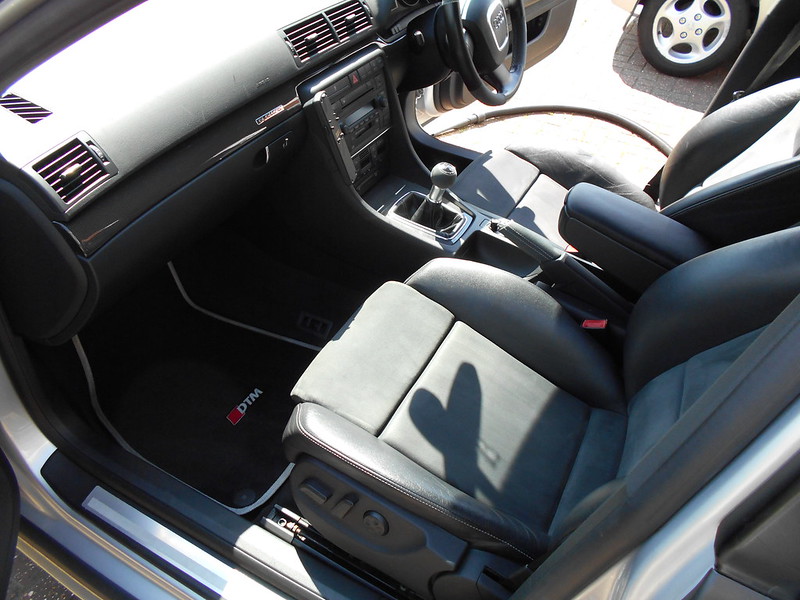
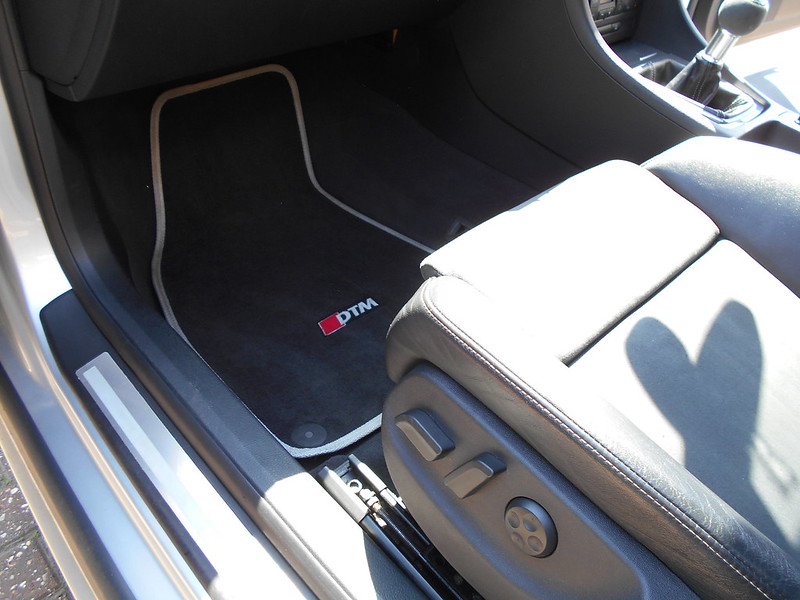
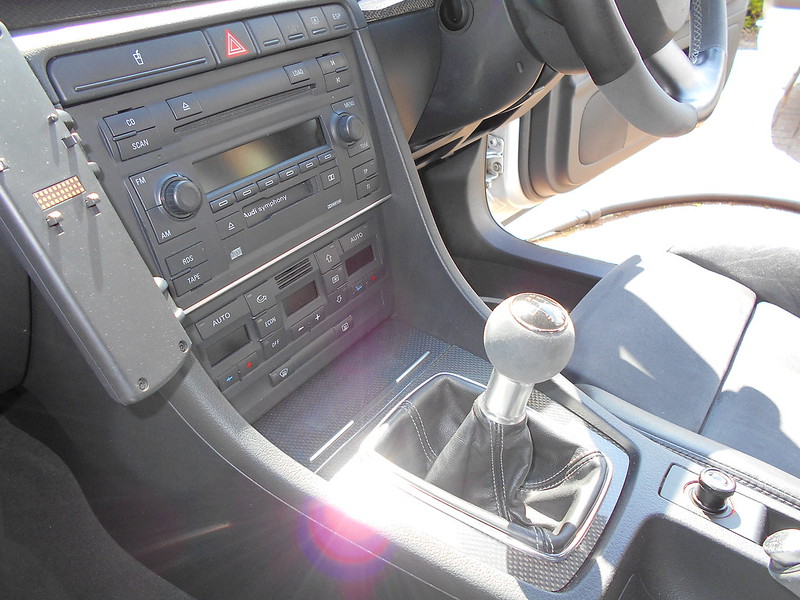
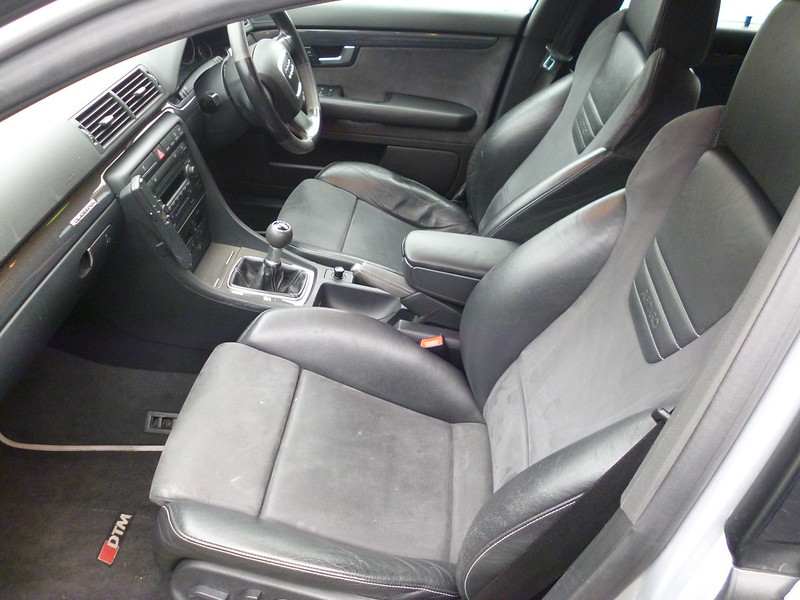
This picture thread will show the progress of going from a rather unloved (in the looks dept), back to a head turner again.
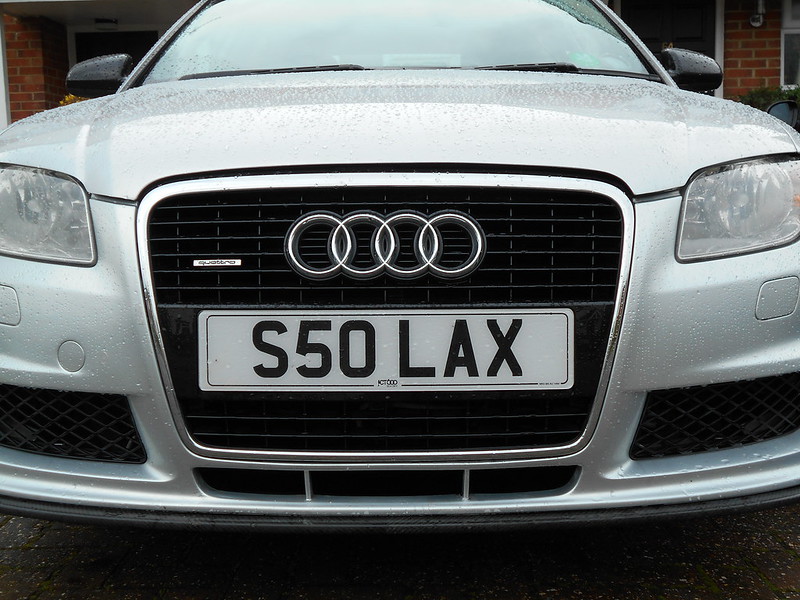
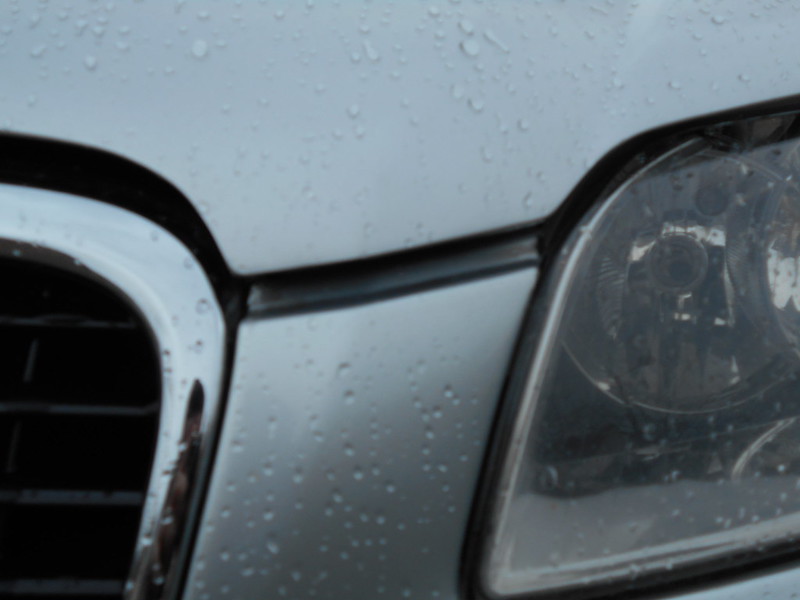
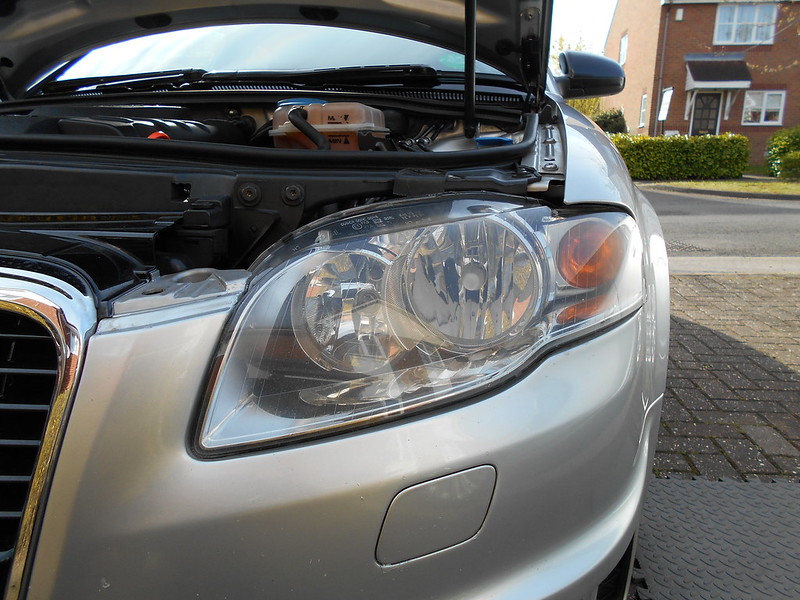
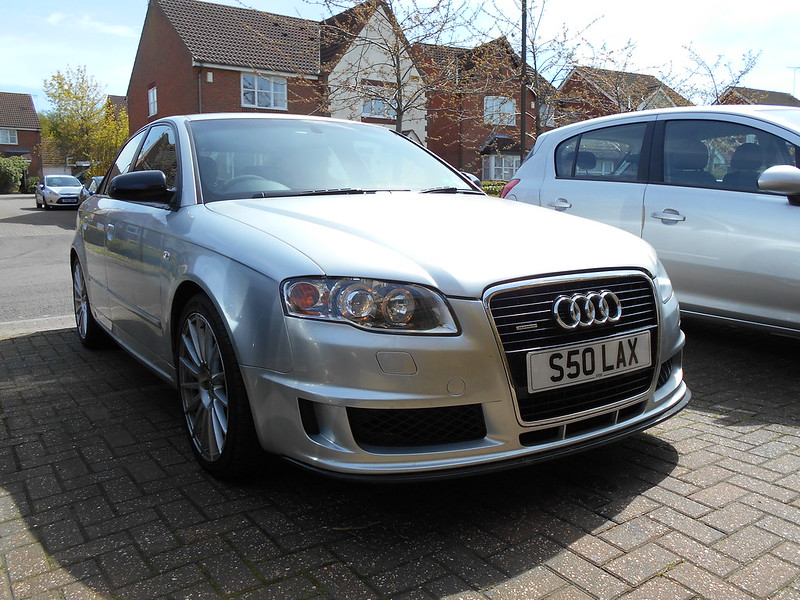
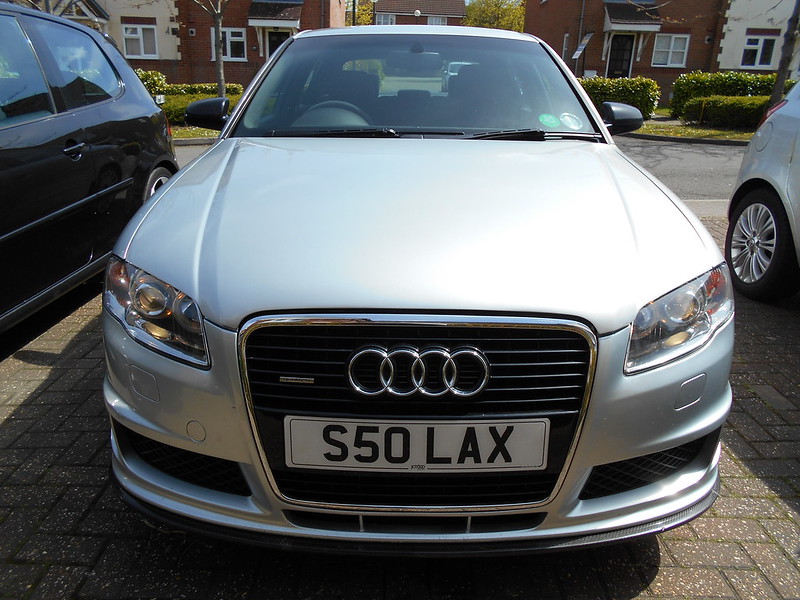
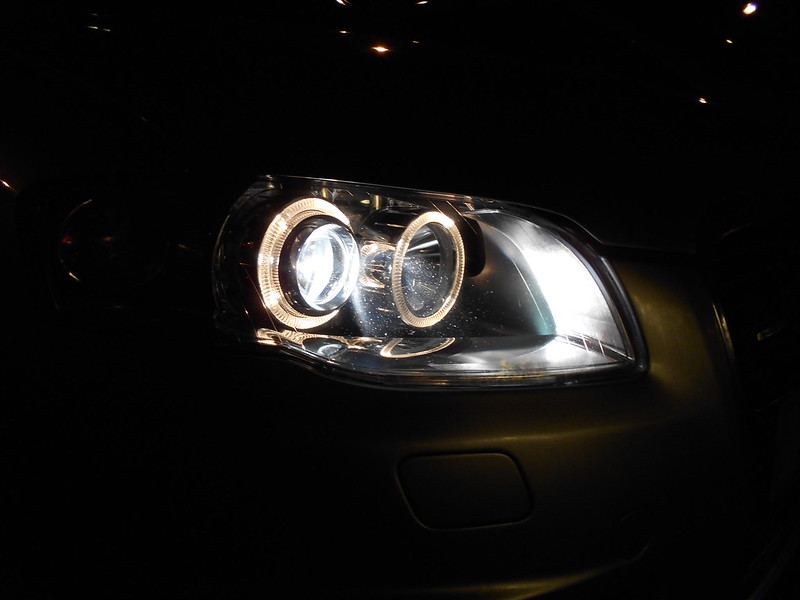
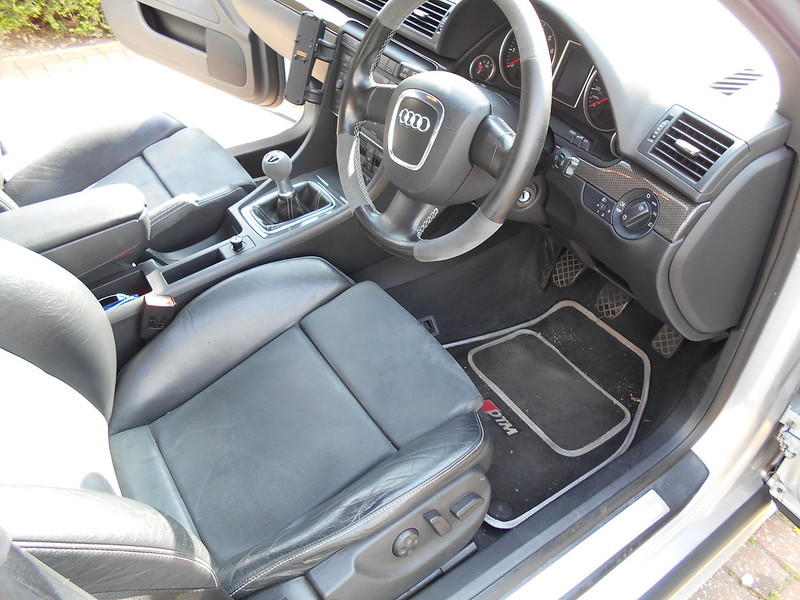
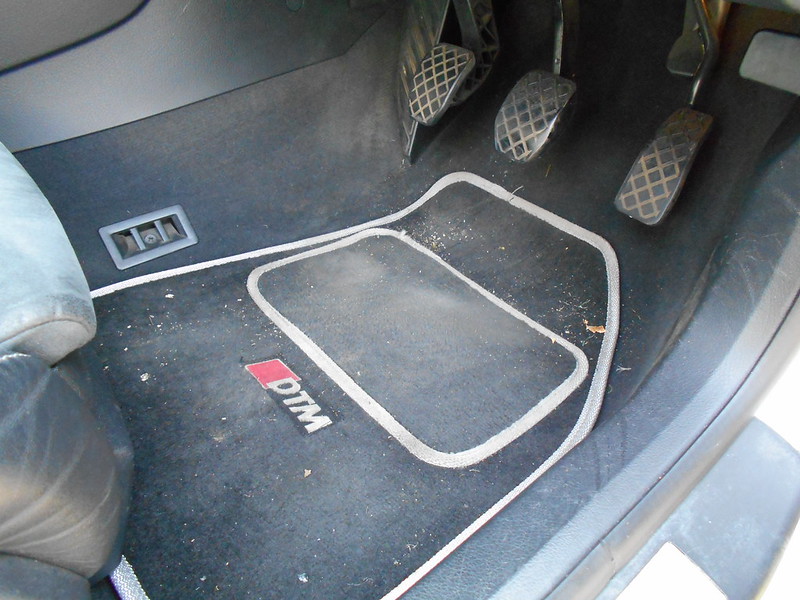
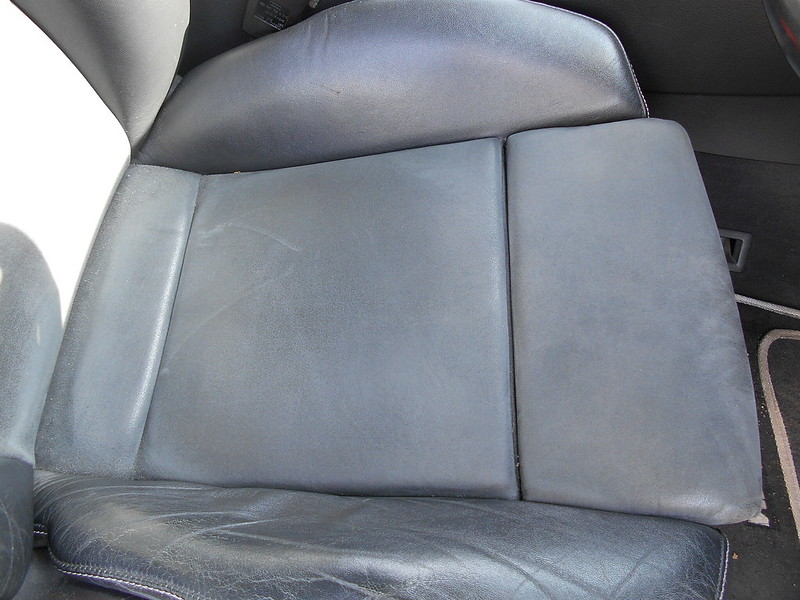
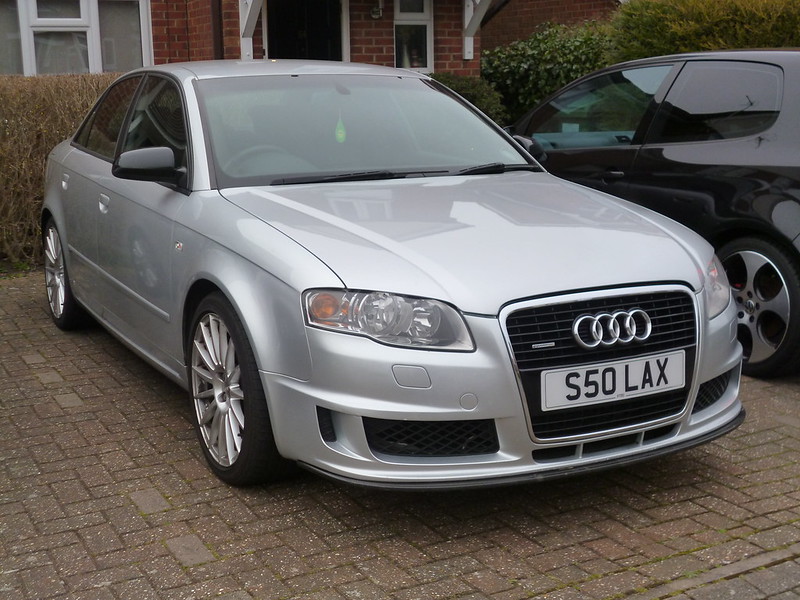
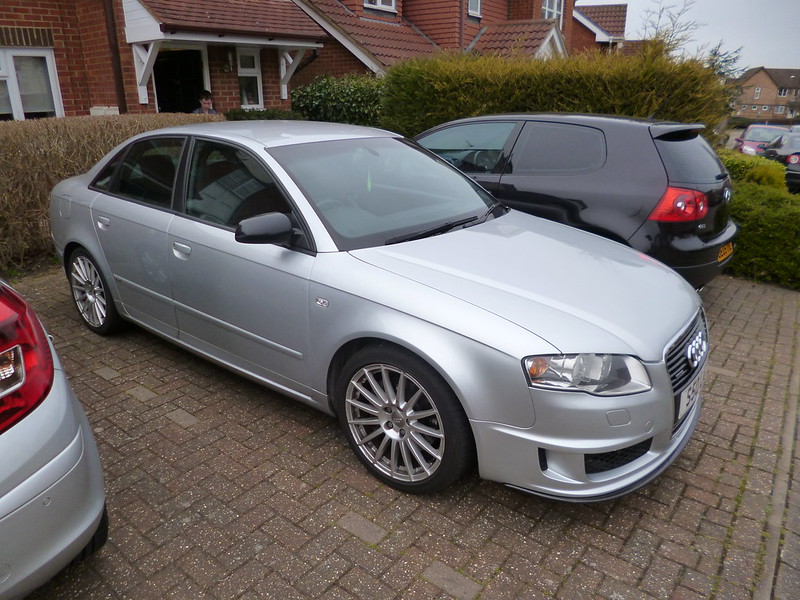
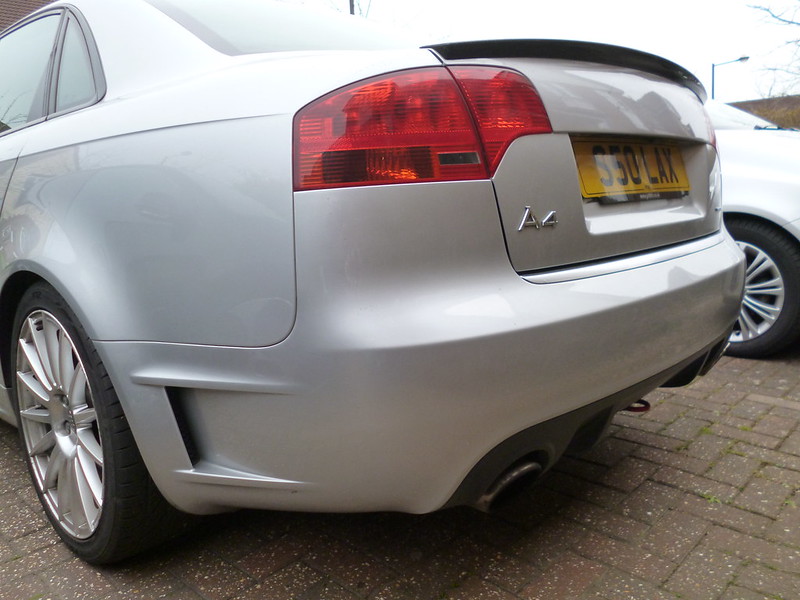
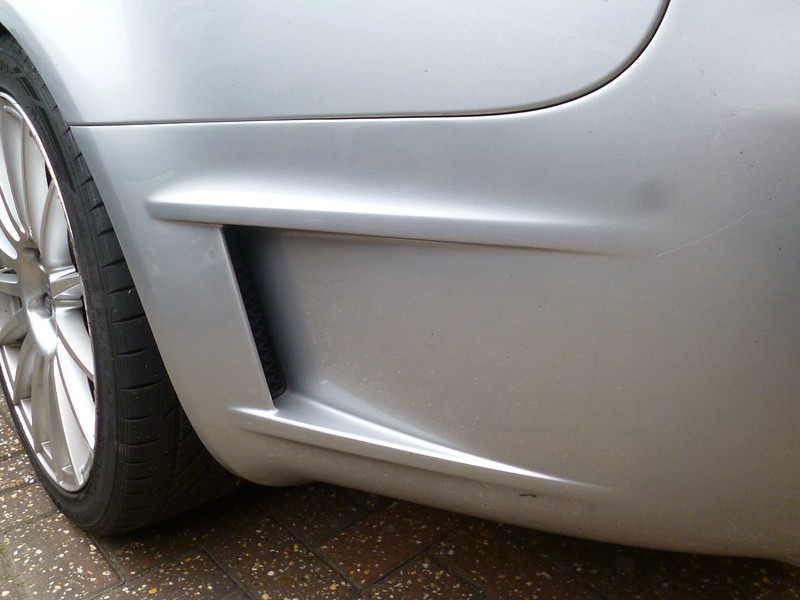
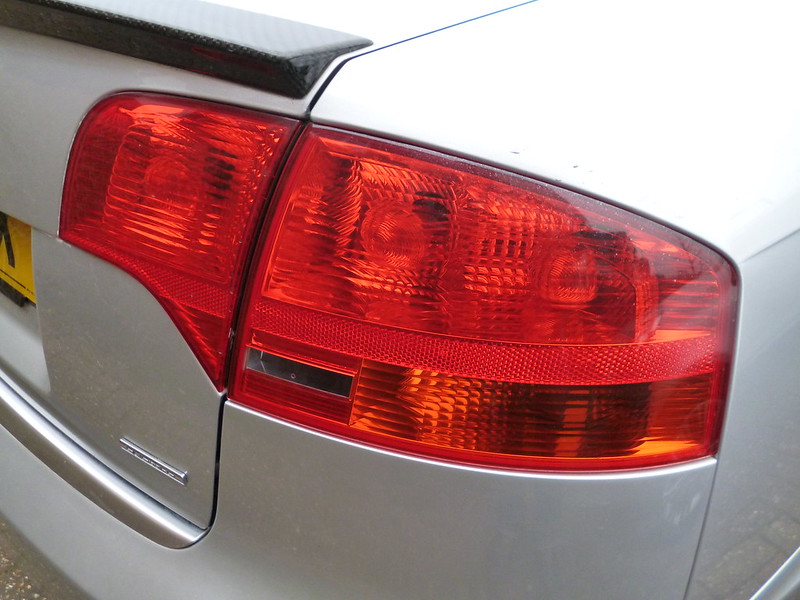
This is on the day i bought it.
 P1050938 by Roger Freeman, on Flickr
 P1050939 by Roger Freeman, on Flickr
 P1050940 by Roger Freeman, on Flickr
 P1050942 by Roger Freeman, on Flickr
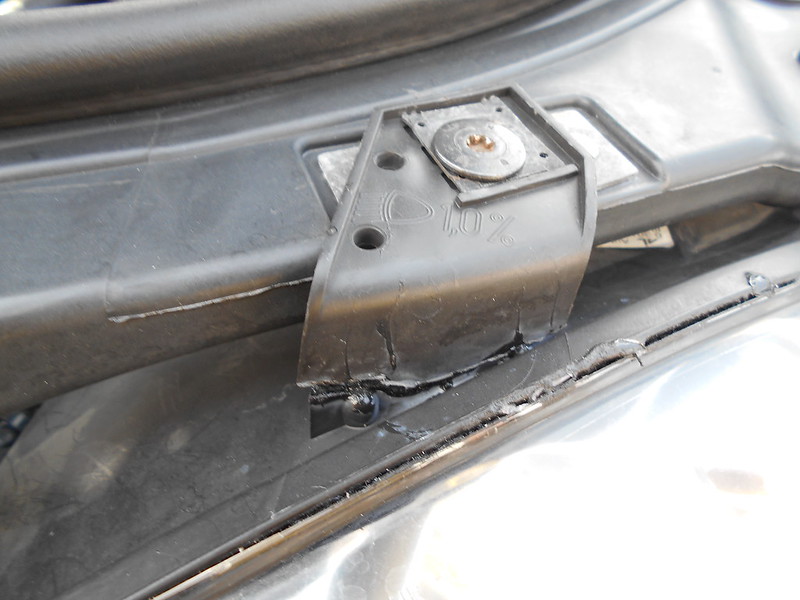
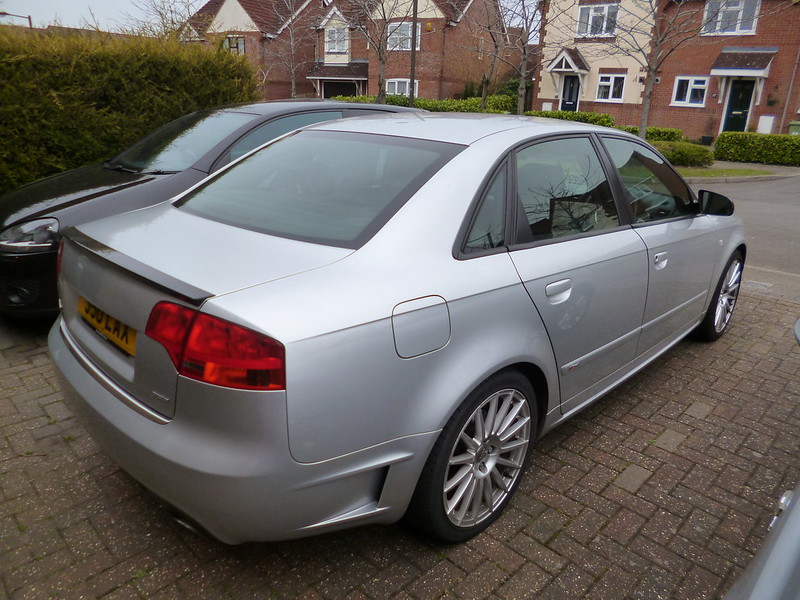
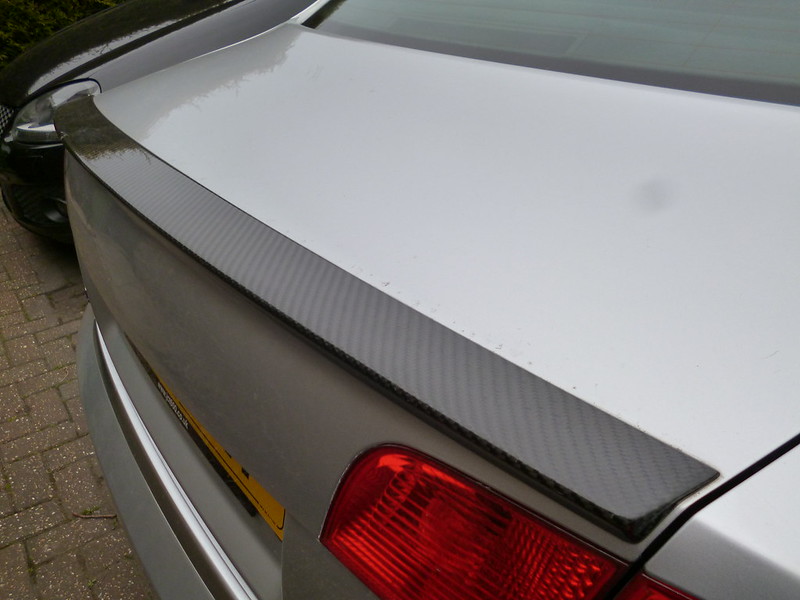
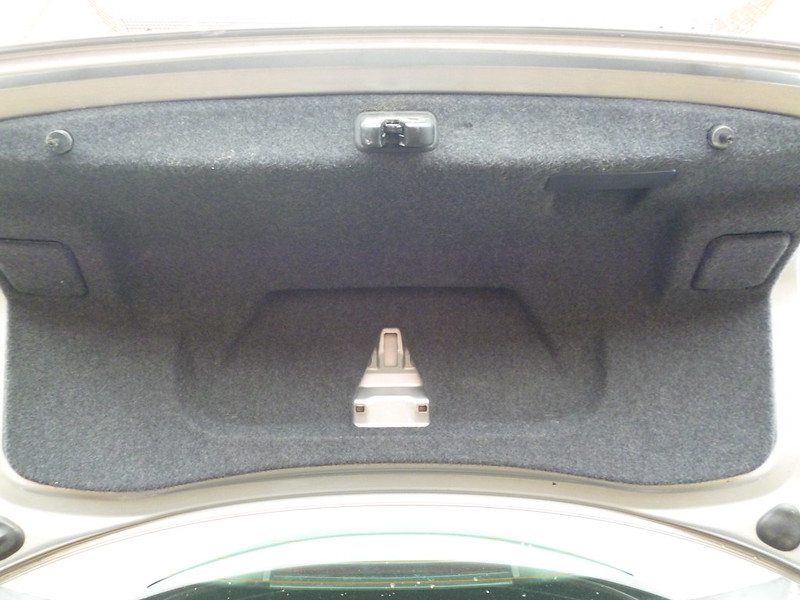
Rear audi badge missing. This is the repaired area.
 P1050943 by Roger Freeman, on Flickr
 P1050945 by Roger Freeman, on Flickr
 P1050946 by Roger Freeman, on Flickr
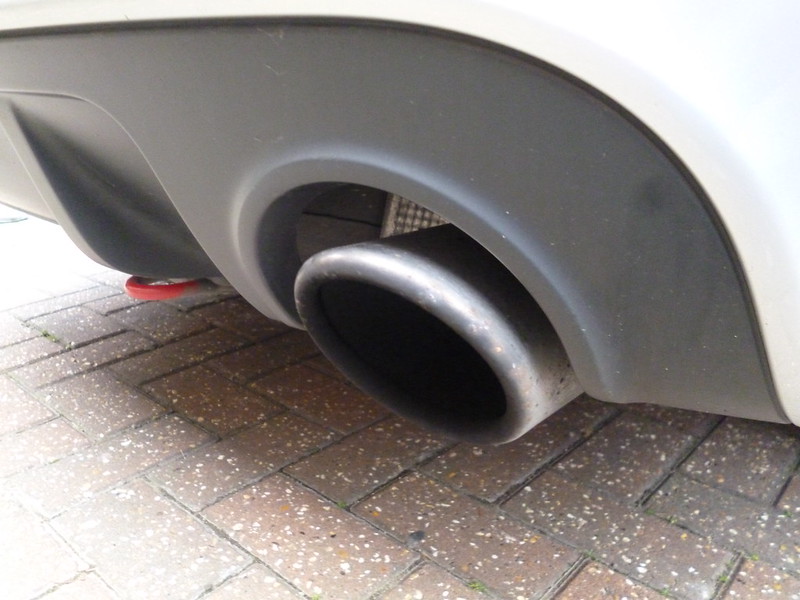
Exhausts need some love!
 P1050948 by Roger Freeman, on Flickr
 P1050950 by Roger Freeman, on Flickr
 P1050951 by Roger Freeman, on Flickr
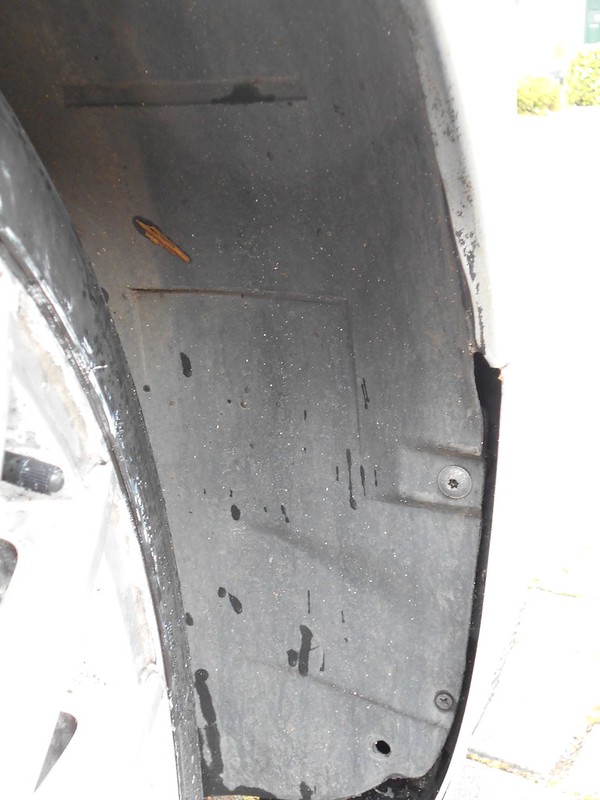
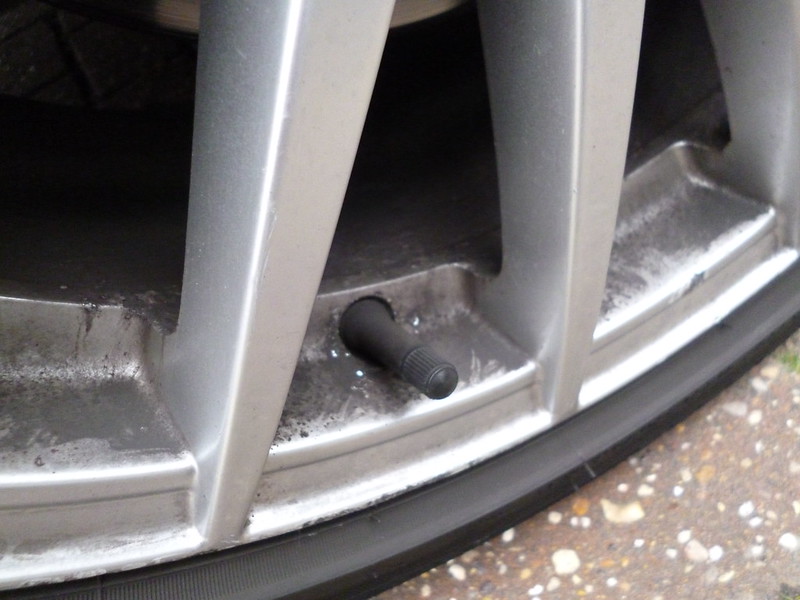
The wheels look like they have never been cleaned properly....ever!
 P1050952 by Roger Freeman, on Flickr
 P1050957 by Roger Freeman, on Flickr
I'm Rog, I've been on here a while , but have been away from the site, as I haven't had an Audi for over a year since I sold this!
3.2 Q A3 S-line
DSCN1037 by Roger Freeman, on FlickrBuild Thread Link here: Audi A3 Build Thread
I had a few Audis over the years, these are my previous cars.
Project 80 Cab:
DSCF7234 by Roger Freeman, on FlickrS4 B6:
DSCF2801 by Roger Freeman, on FlickrA3 2.0 TFSI Q:
DSCF1283 by Roger Freeman, on FlickrOther VAG group cars I've owned include, 1.8T 25th Anniversary Golf, Corrado VR6, Skoda Octavia II VRS and Mk5 Golf GTI (now the wife's).
Now I'm back in an Audi! And back in style with an A4 DTM Edition...
I found her lanquishing on a small used car dealer in Bedford. I had been watching it for weeks on eBay and Autotrader. It hadn't been snapped up, which was surprising, as it looked good in the pics and was been sold at way under book price value!
So a couple of weeks ago, I went over to have a closer look.... OMG! This car looked ok in the pics but in reality, it looked a bit of a shocker. The bodywork was a little tatty, the drivers door wasn't aligned properly, the rear boot lid had been repaired on site (to an ok standard!), paint work and windows were covered in paint and clearcoat overspray
...what a cowboy! So, I left the place very disappointed.Anyway, I went over again, with my mate, to look at another A4 Avant, he had up for sale, as that was what I was looking for originally. That was was being sprayed on site too, as it had some damage. That car was even worse!
So, once I showed my mate the DTM, he thought why don't you just get that instead, as it looked the nuts (to him...he couldn't see all the faults like me!). To cut a long story short, I took it out for a spin and was totally hooked. it drove great and has plenty of poke
I am heavily in to car detailing and previously had a little weekend detailing business, which I did pretty well at. So, I could see through alot of the paint work issues. The car deserved better and I felt I needed to to rescue it, from certain doom or even worse, some boy racer
The car has been looked after mechanically, thank god! FSH, with 96K on the clocks. Lots of work done to the engine, cam chain and tensioner, cam follower, Rev "d" DV valve. Cambelt done at 72K.
This picture thread will show the progress of going from a rather unloved (in the looks dept), back to a head turner again.
This is on the day i bought it.
P1050938 by Roger Freeman, on FlickrP1050939 by Roger Freeman, on FlickrP1050940 by Roger Freeman, on FlickrP1050942 by Roger Freeman, on FlickrRear audi badge missing. This is the repaired area.
P1050943 by Roger Freeman, on FlickrP1050945 by Roger Freeman, on FlickrP1050946 by Roger Freeman, on FlickrExhausts need some love!
P1050948 by Roger Freeman, on FlickrP1050950 by Roger Freeman, on FlickrP1050951 by Roger Freeman, on FlickrThe wheels look like they have never been cleaned properly....ever!
P1050952 by Roger Freeman, on FlickrP1050957 by Roger Freeman, on Flickr

 P1050959
 P1050960
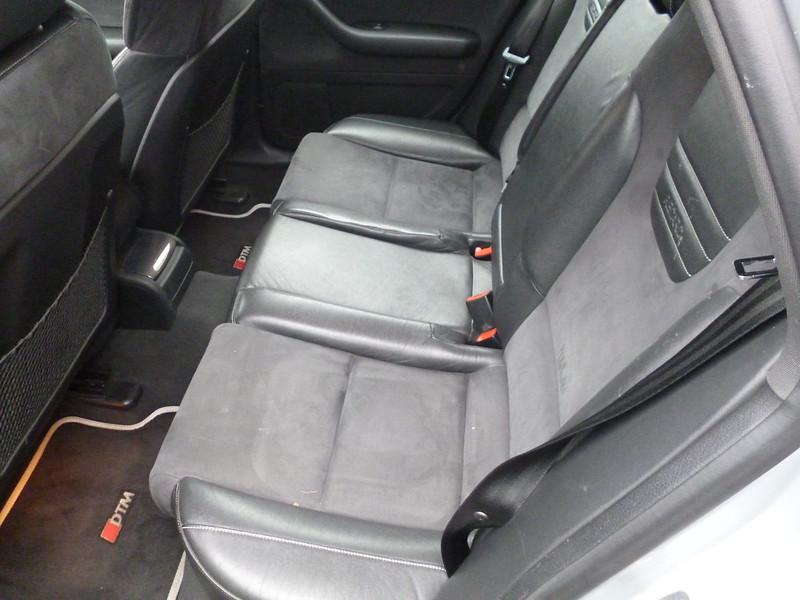 P1050961
 P1050962
 P1050963
 P1050964
 P1050965
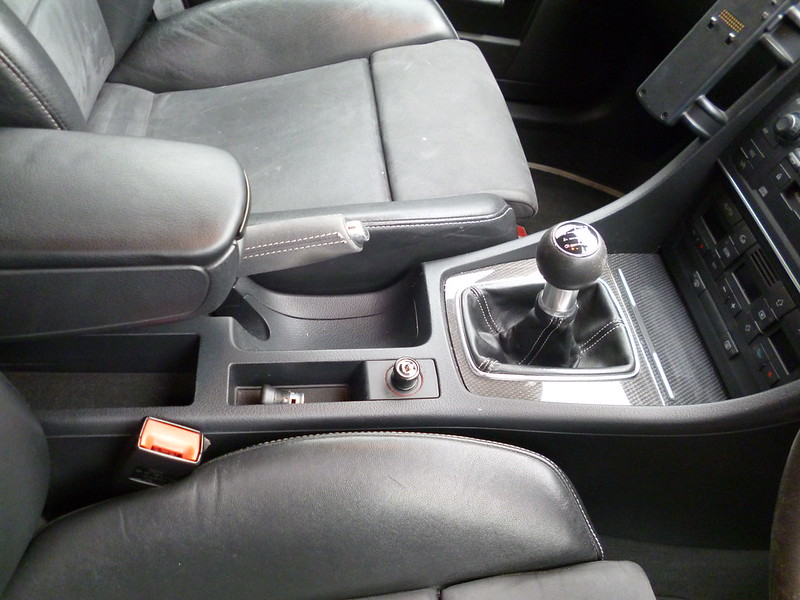 P1050966
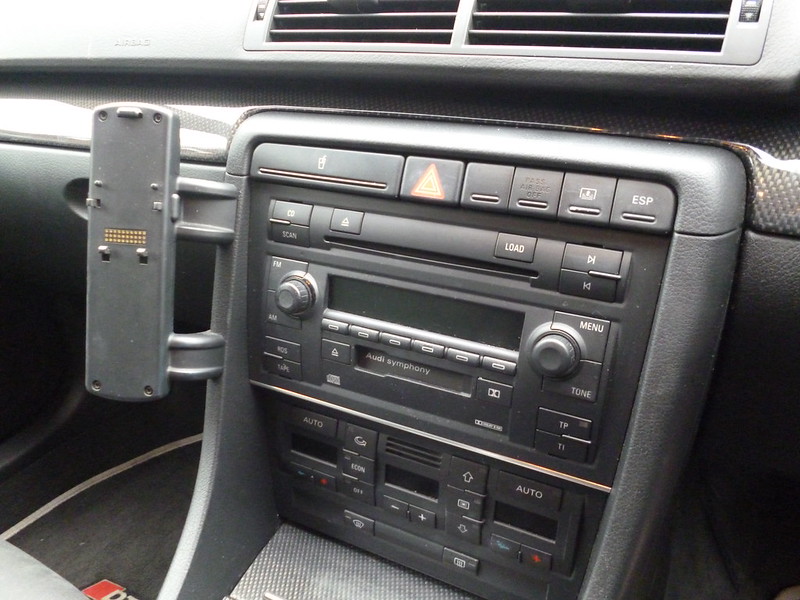 P1050967
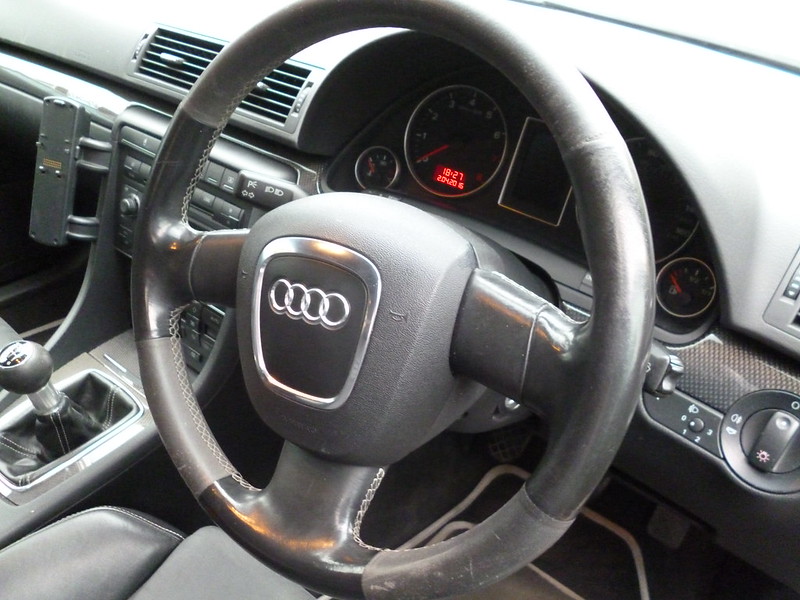 P1050968
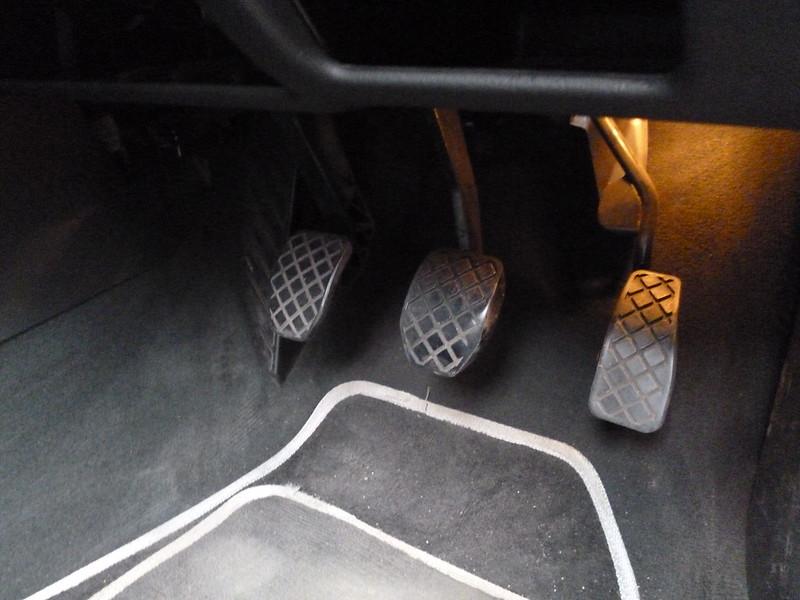 P1050970
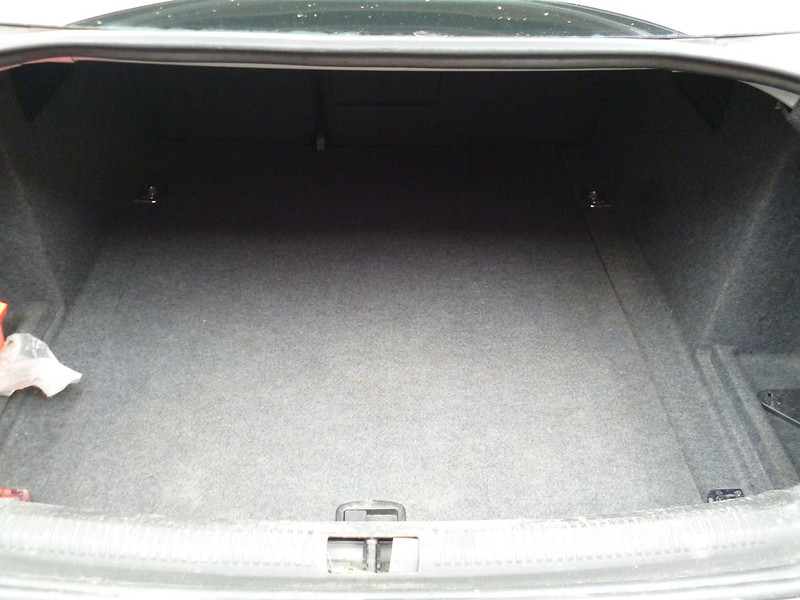 P1050971
 P1050972
 P1050974
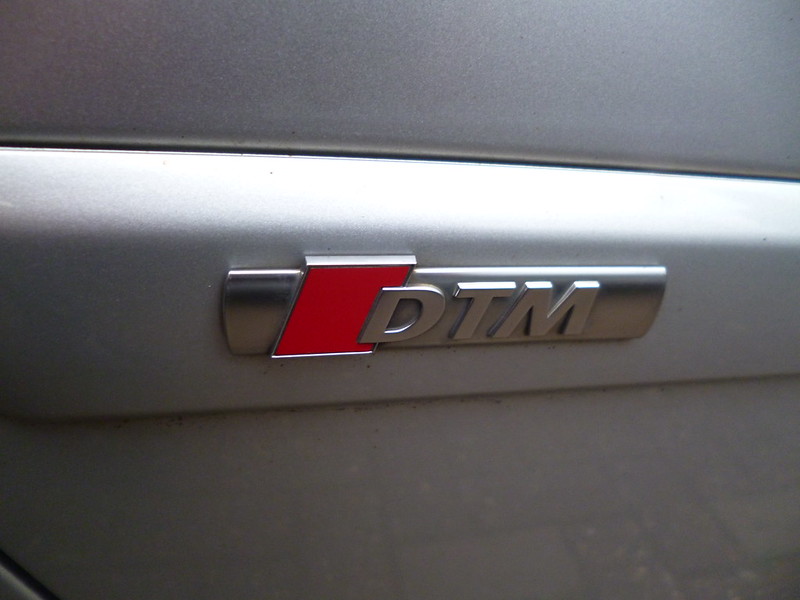 P1050976
 P1050977
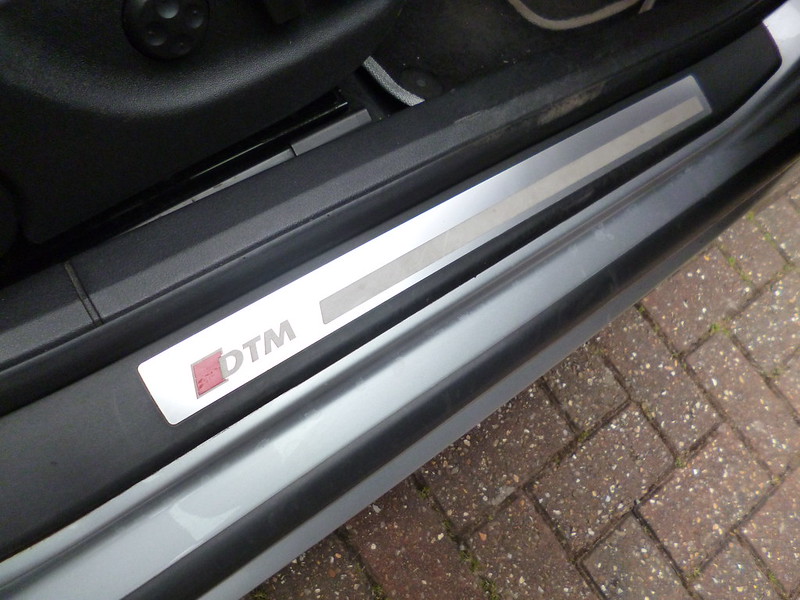 P1050979
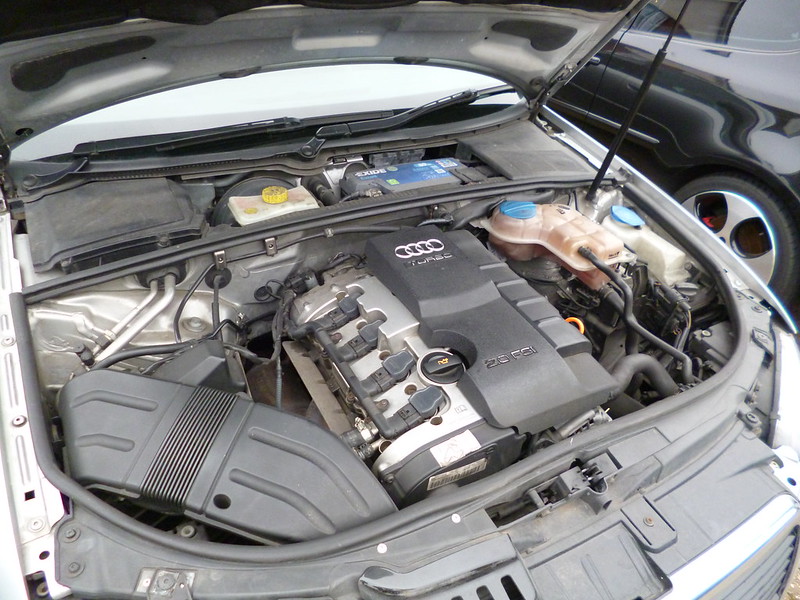 P1050980
 P1050981
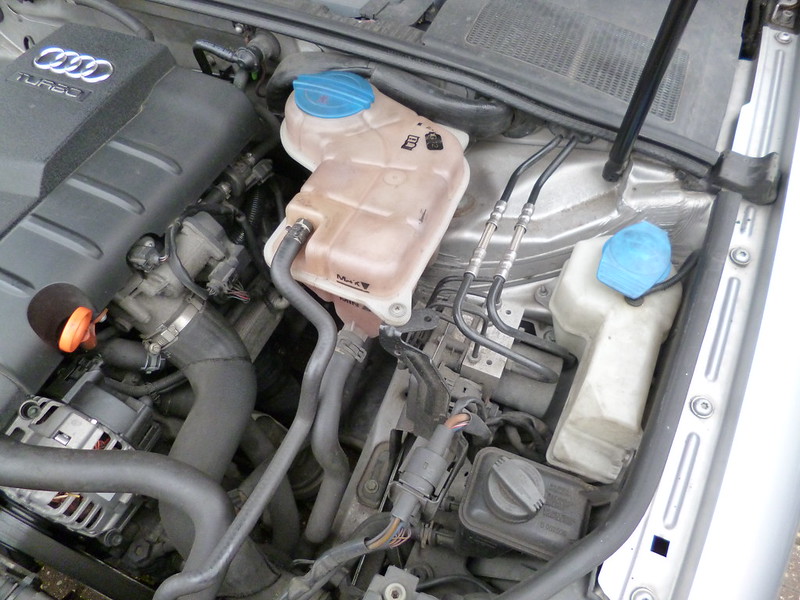 P1050982
 P1050983
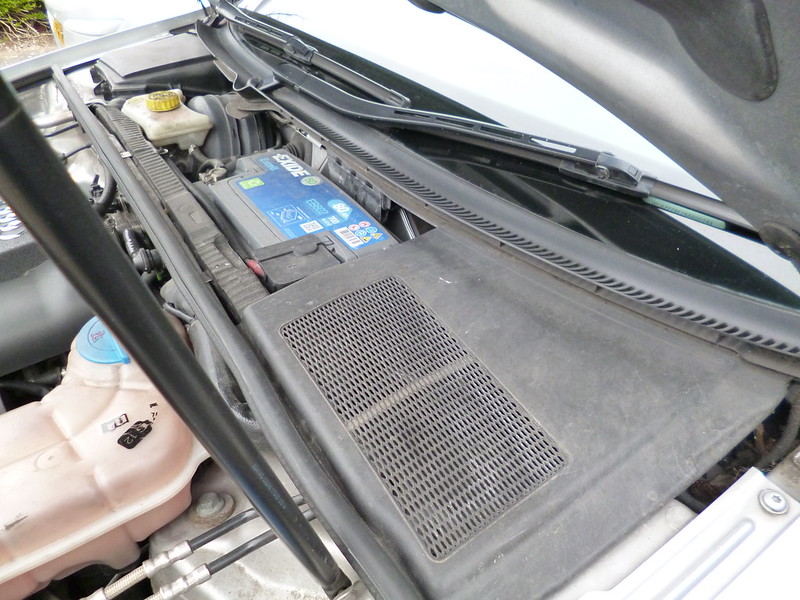 P1050984
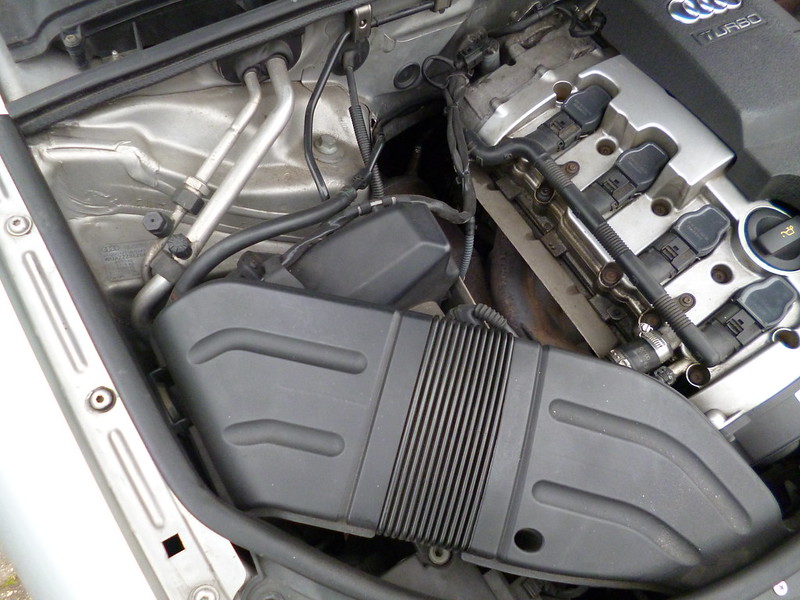 P1050985
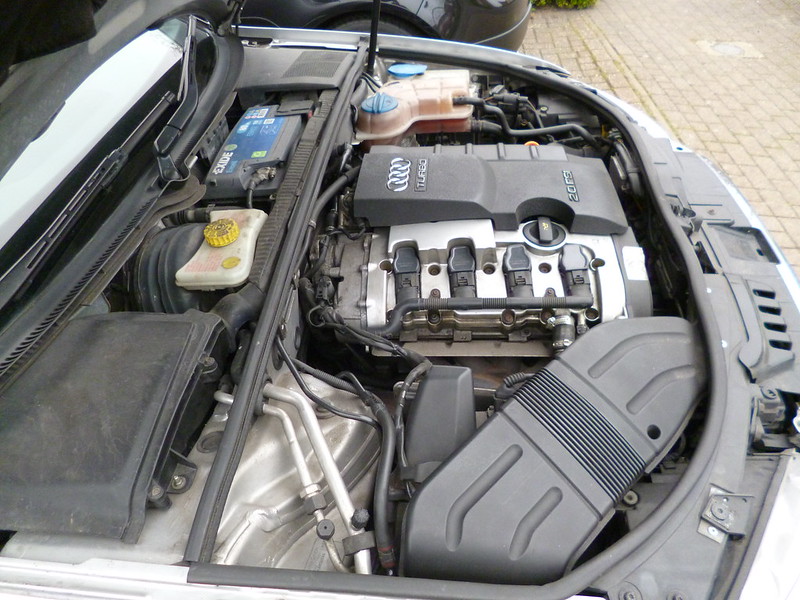 P1050986
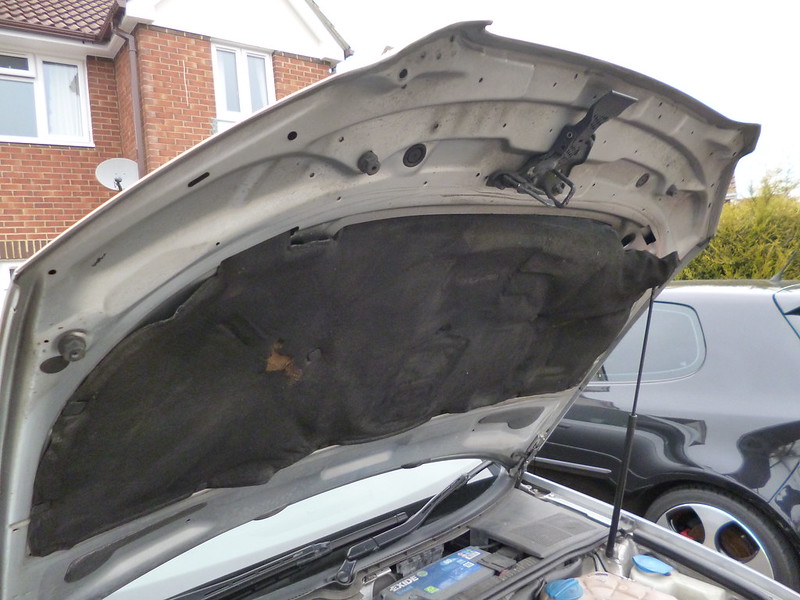 P1050987
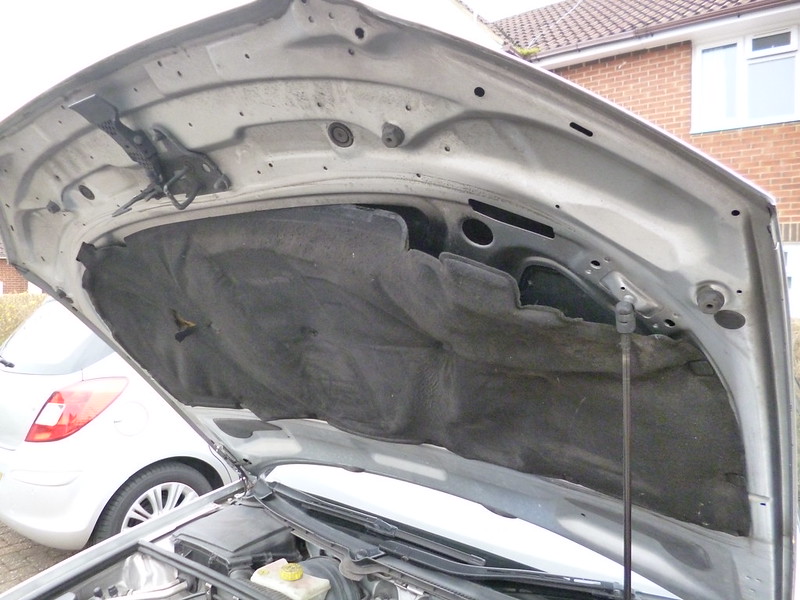 P1050988
 P1050990
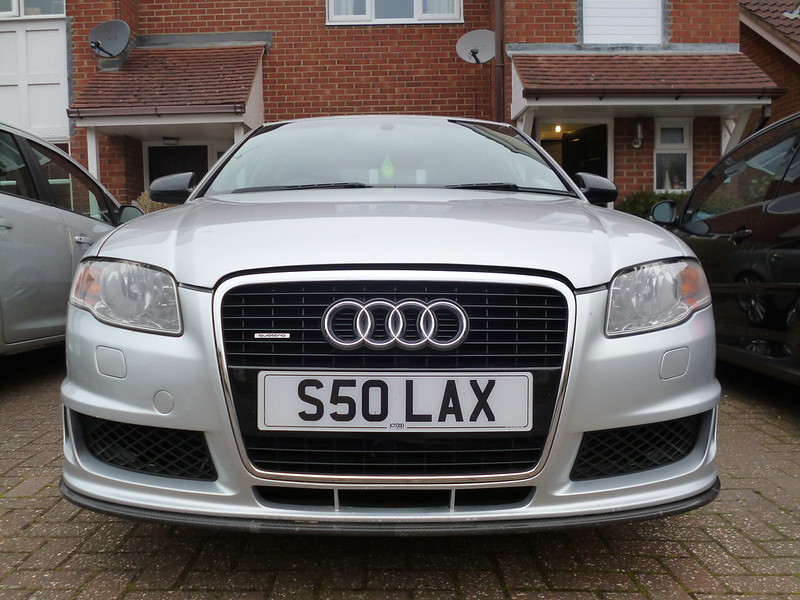 P1050991
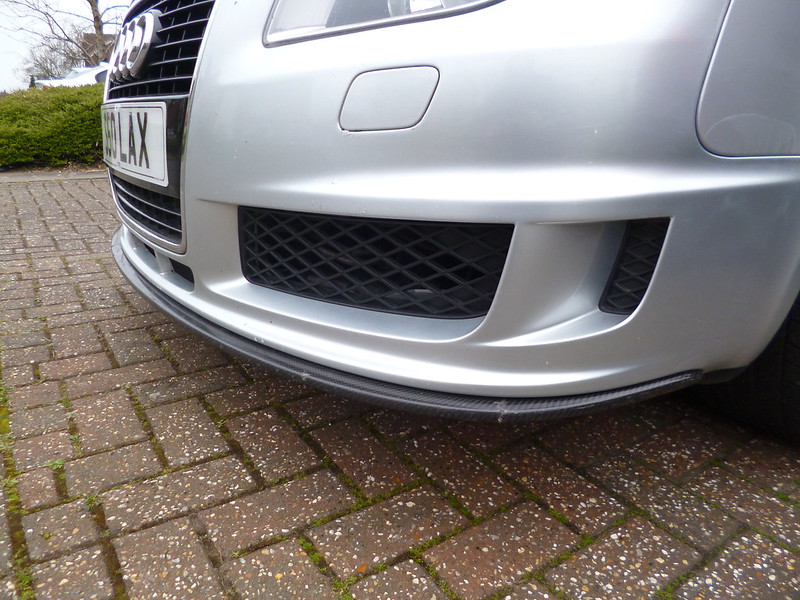 P1050992
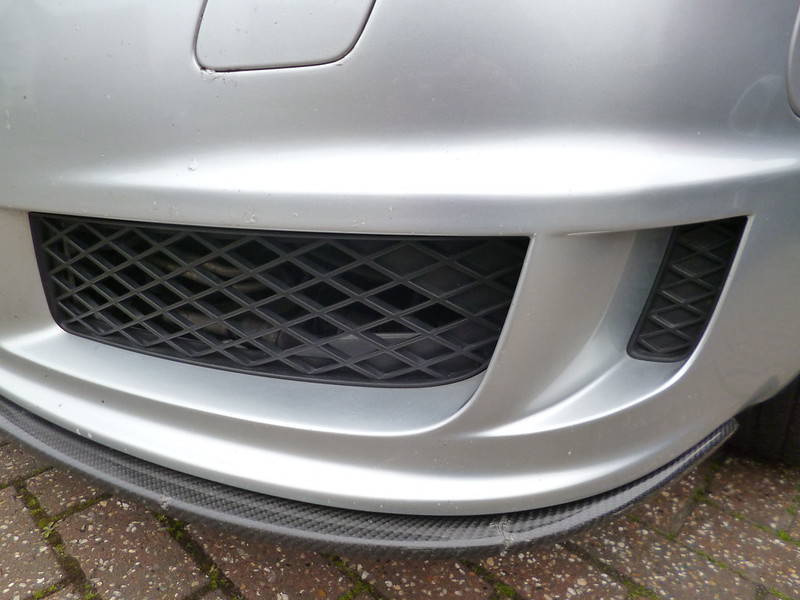 P1050993
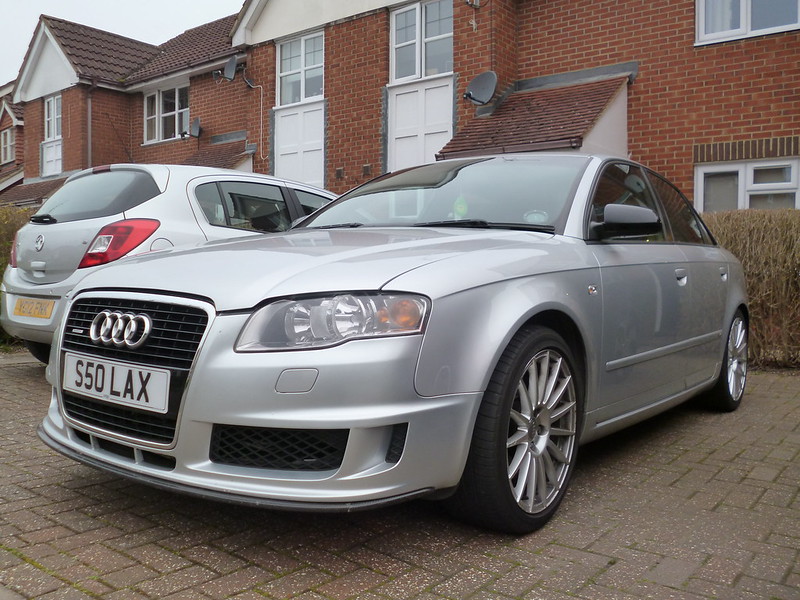 P1050994
 P1050999
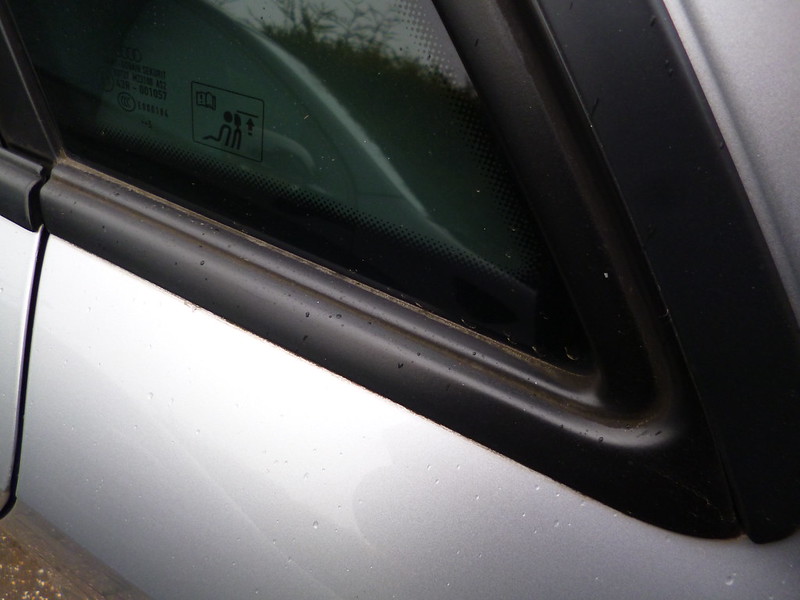 P1060001
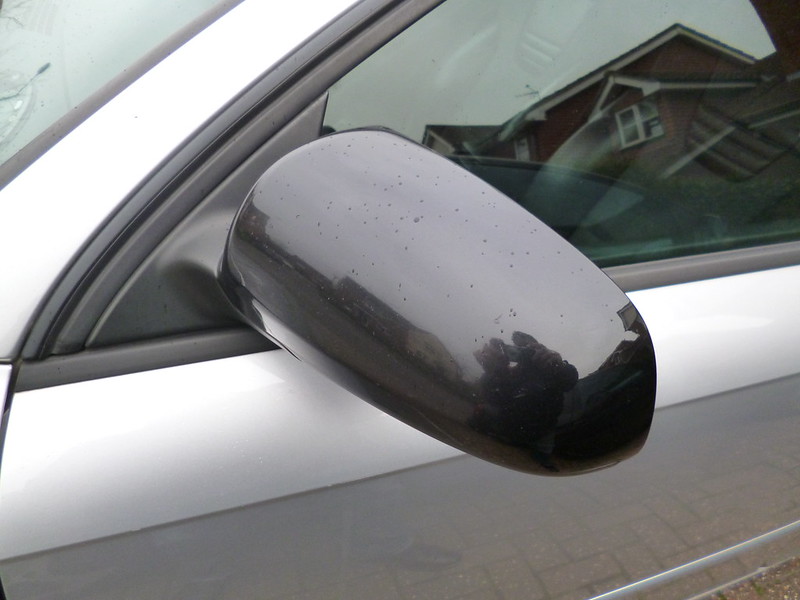 P1060002
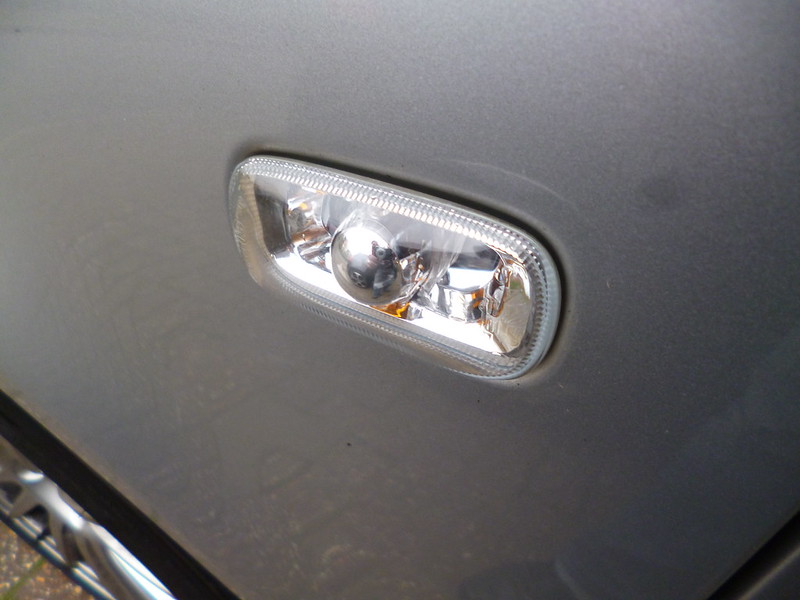 P1060003
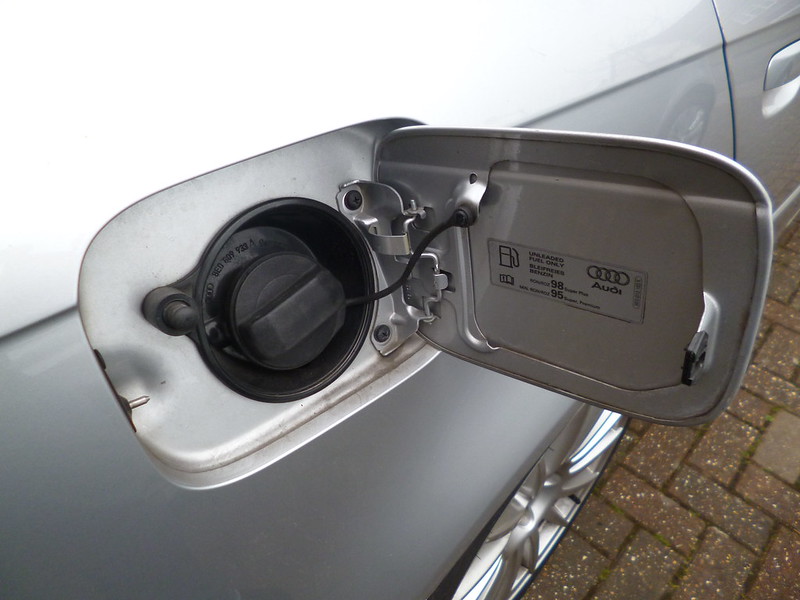 P1060004
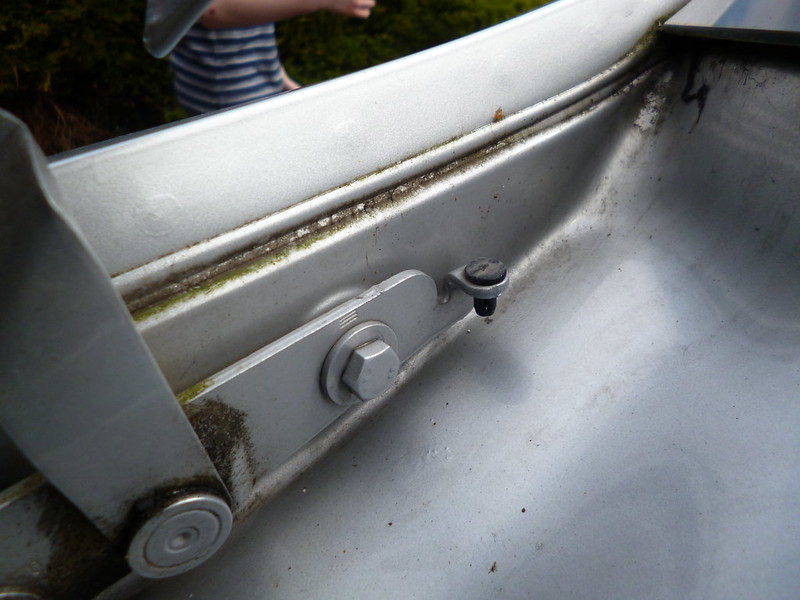 P1060009
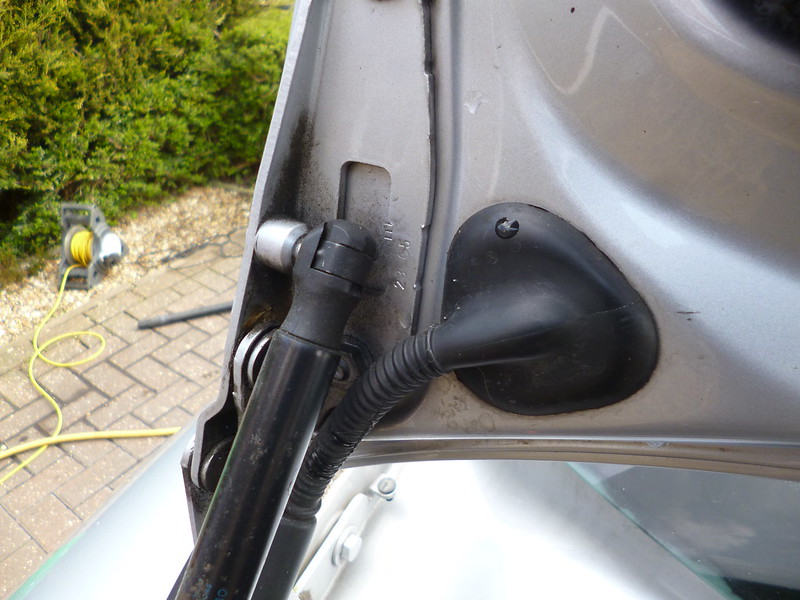 P1060010
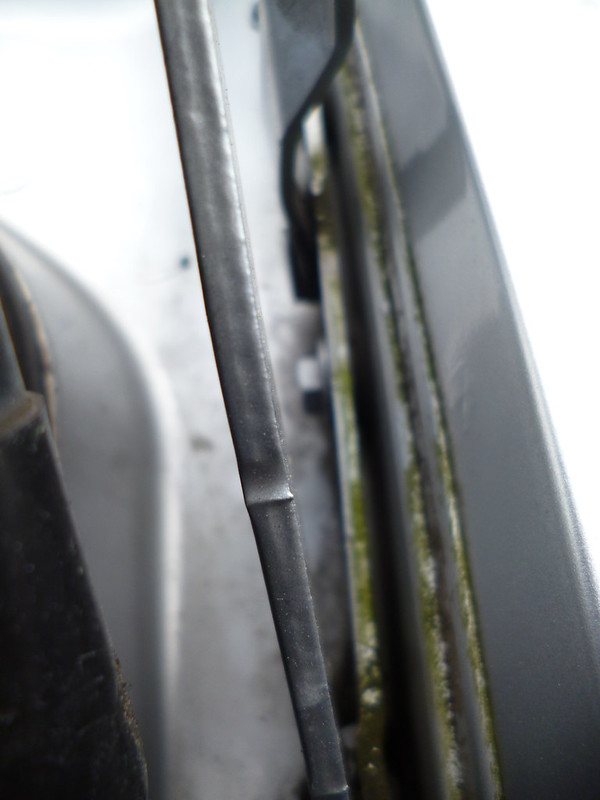 P1060013
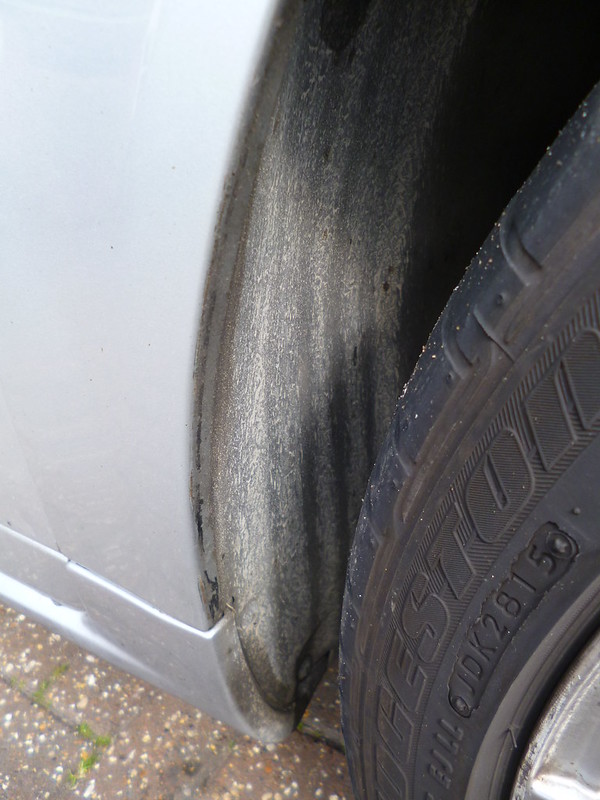 P1060014
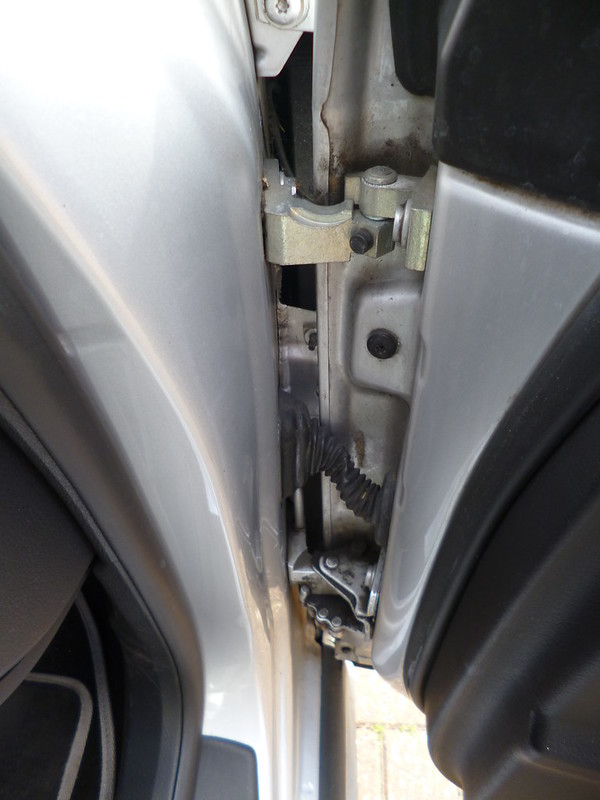 P1060016
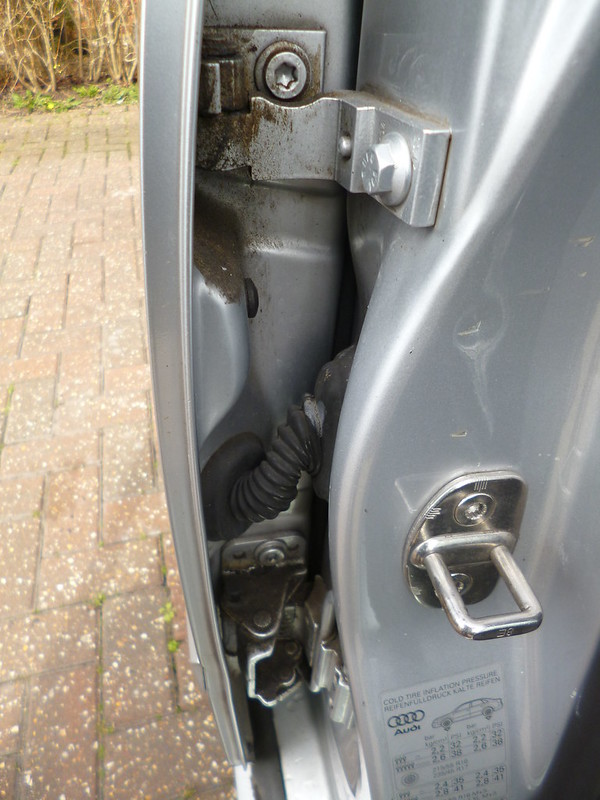 P1060019
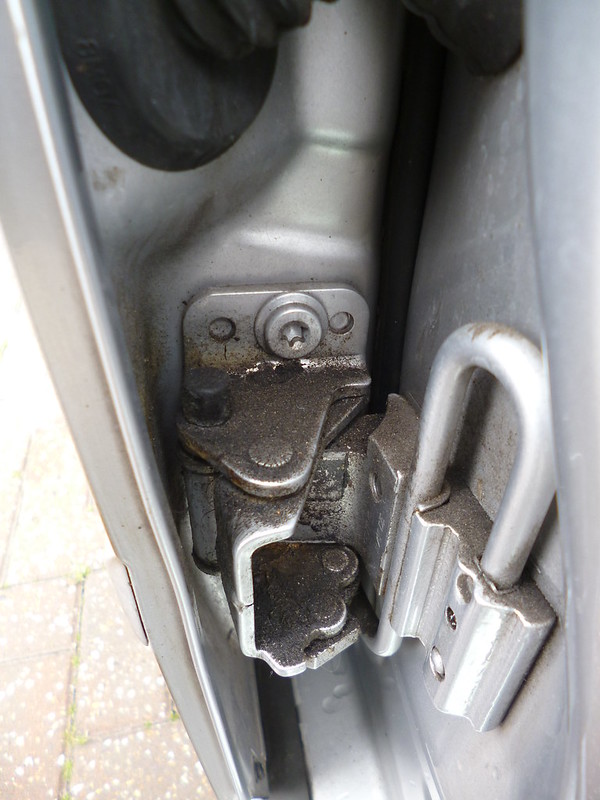 P1060020
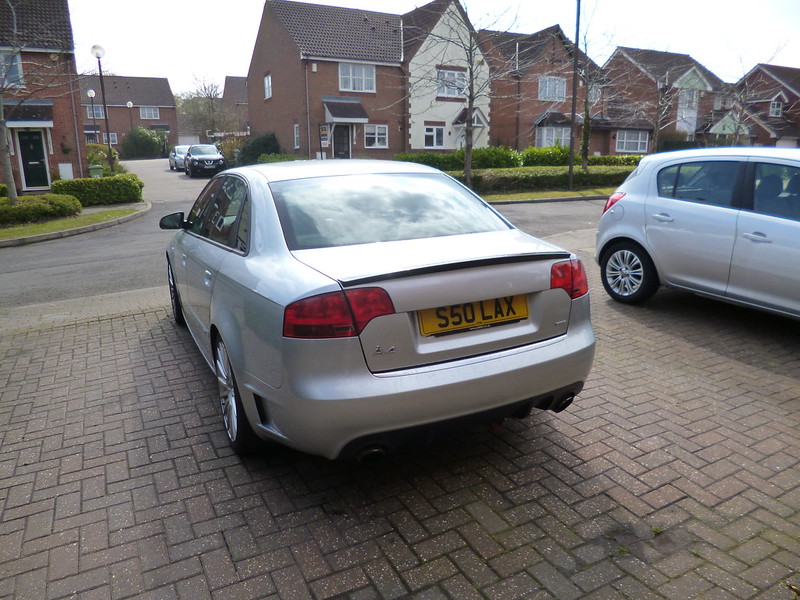 P1060005
 P1060008
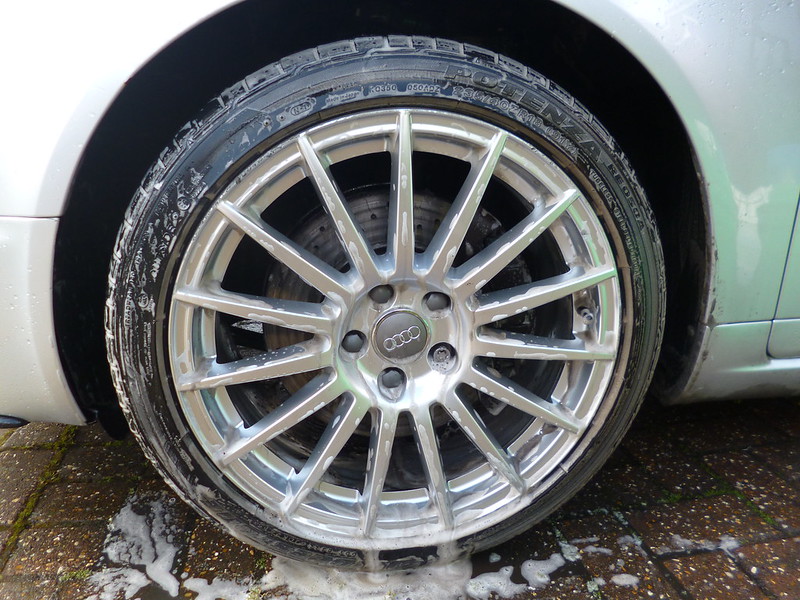 P1060026
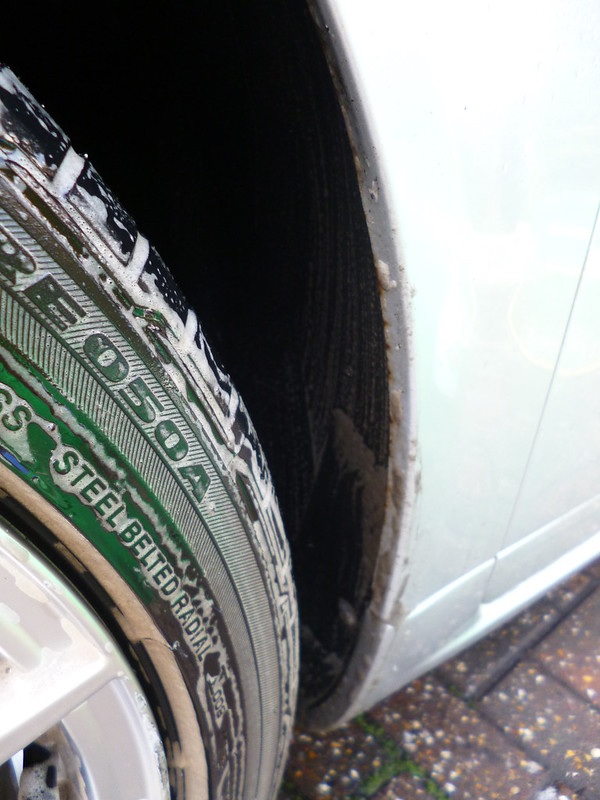 P1060027
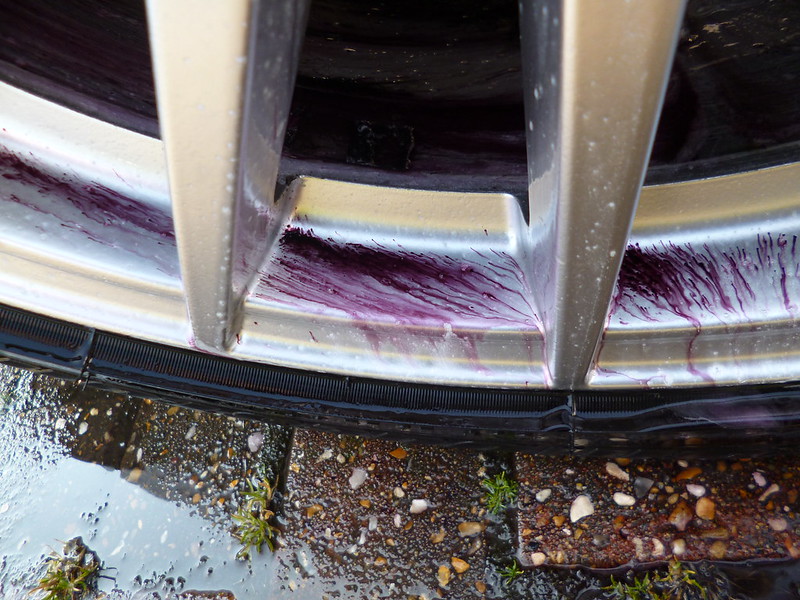 P1060029
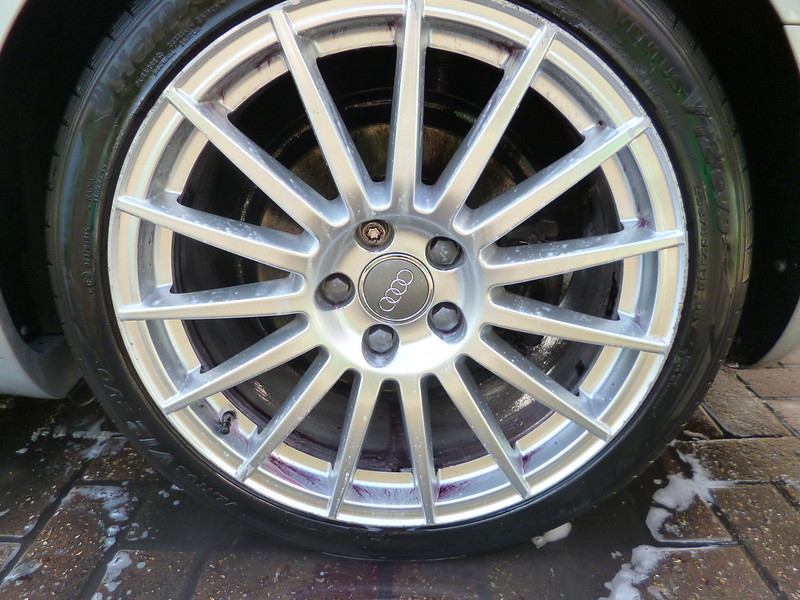 P1060030
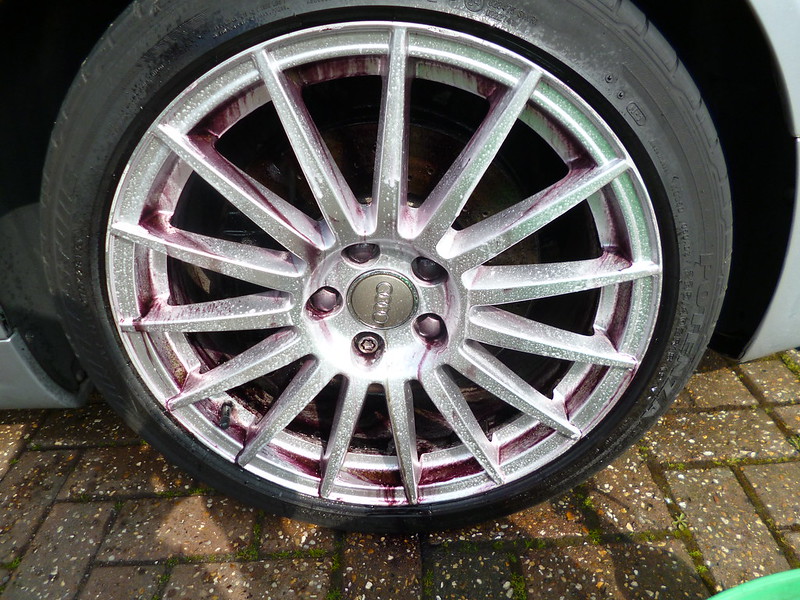 P1060031
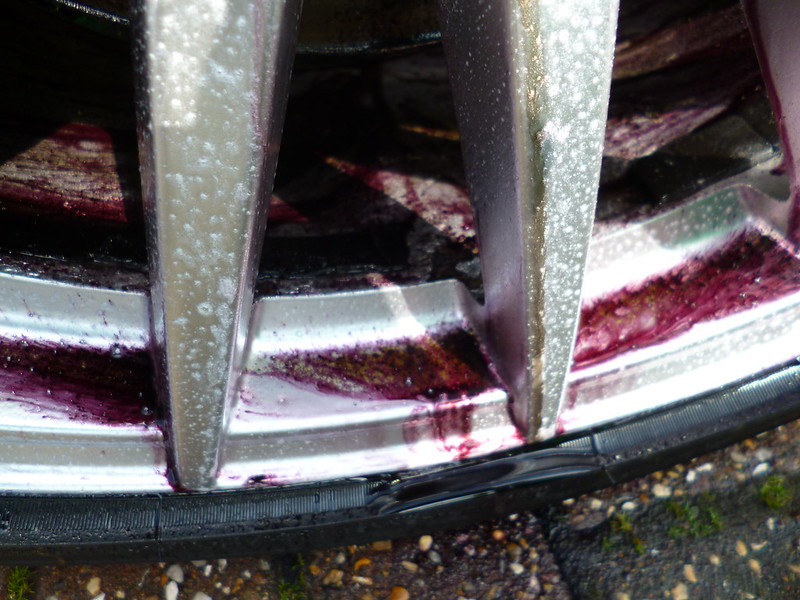 P1060032
 P1060033
 P1060035
 P1060037
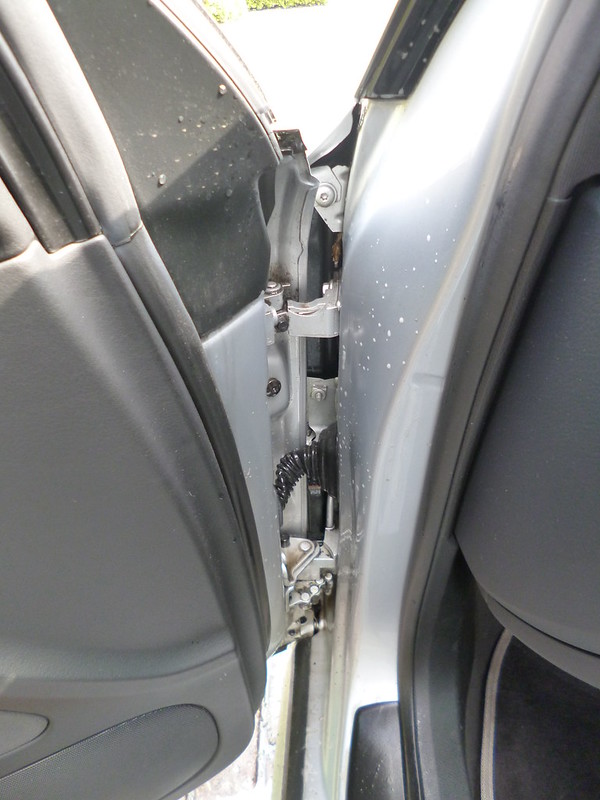 P1060038
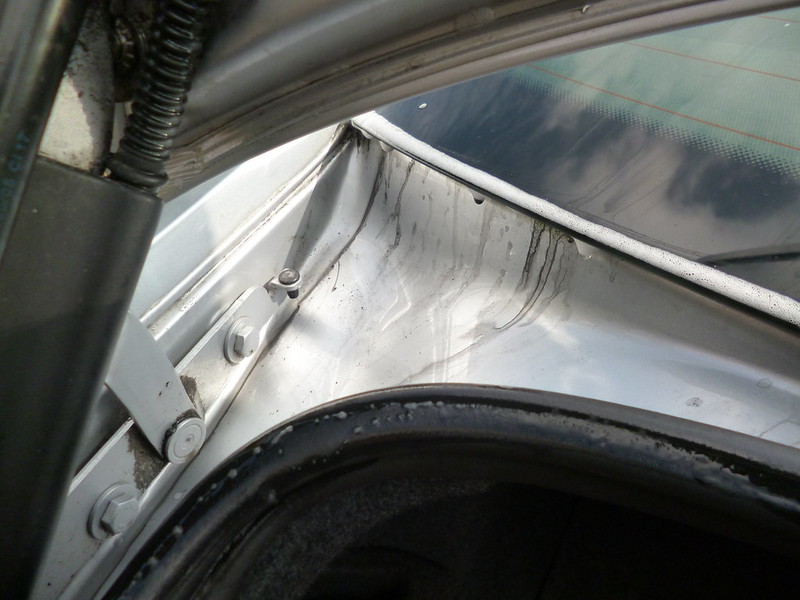 P1060039
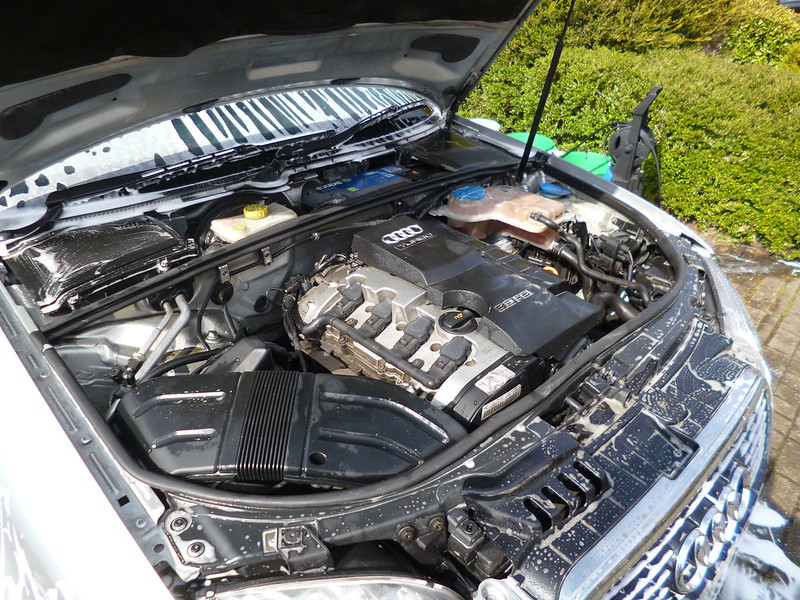 P1060040
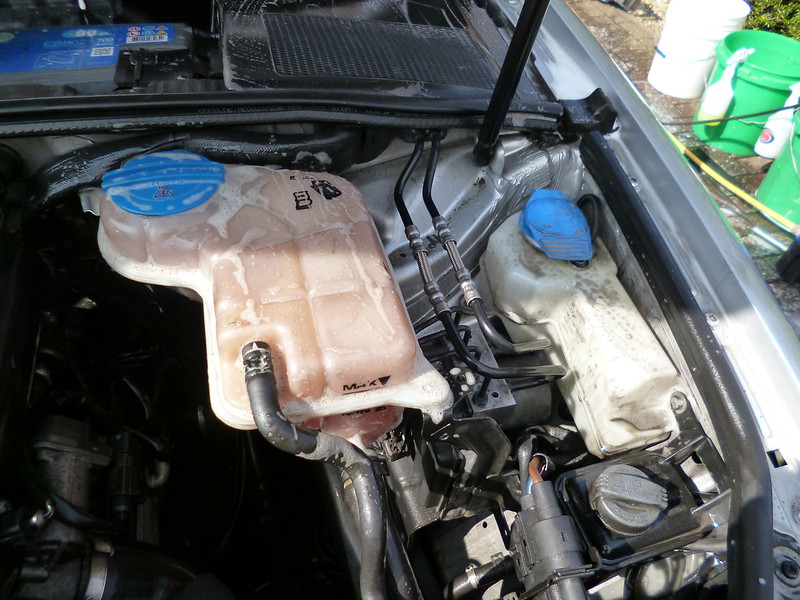 P1060041
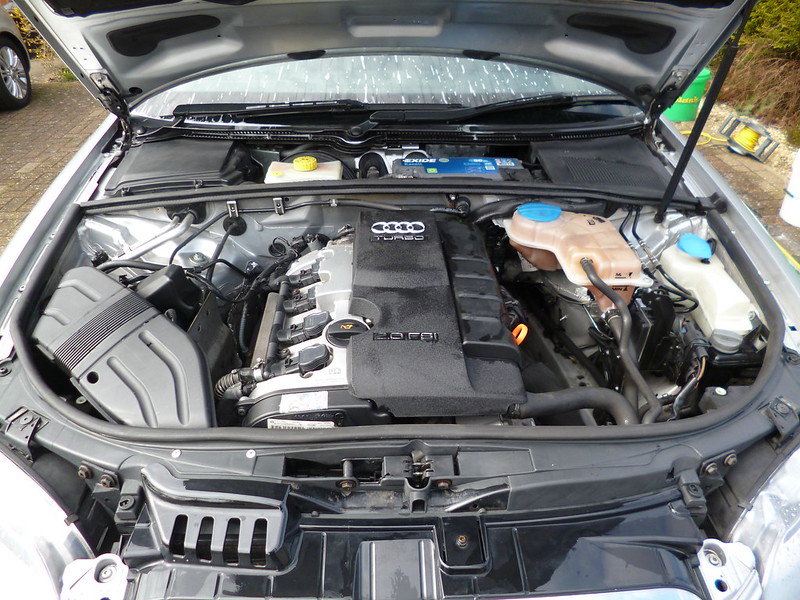 P1060043
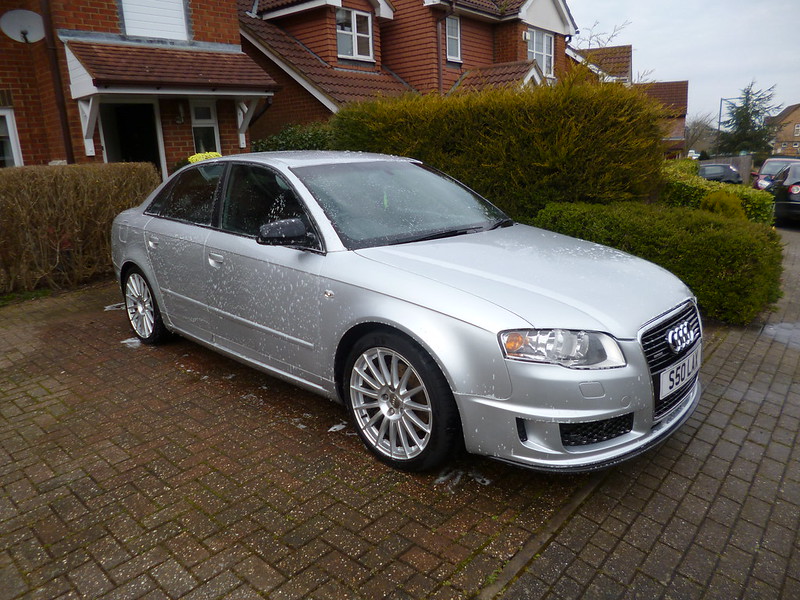 P1060044
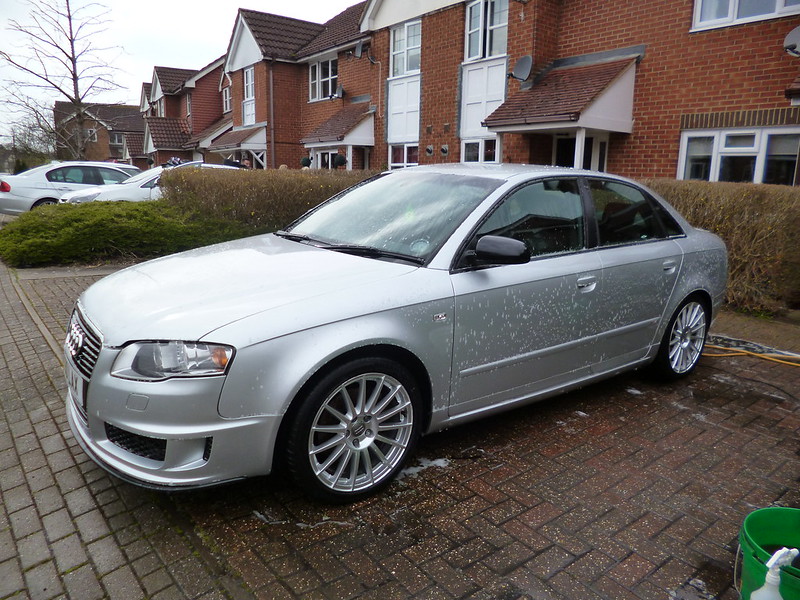 P1060045
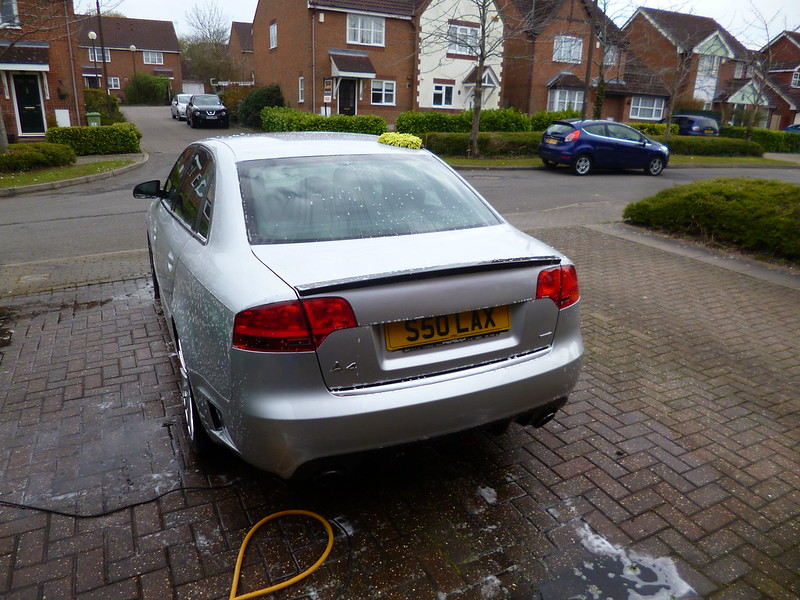 P1060046
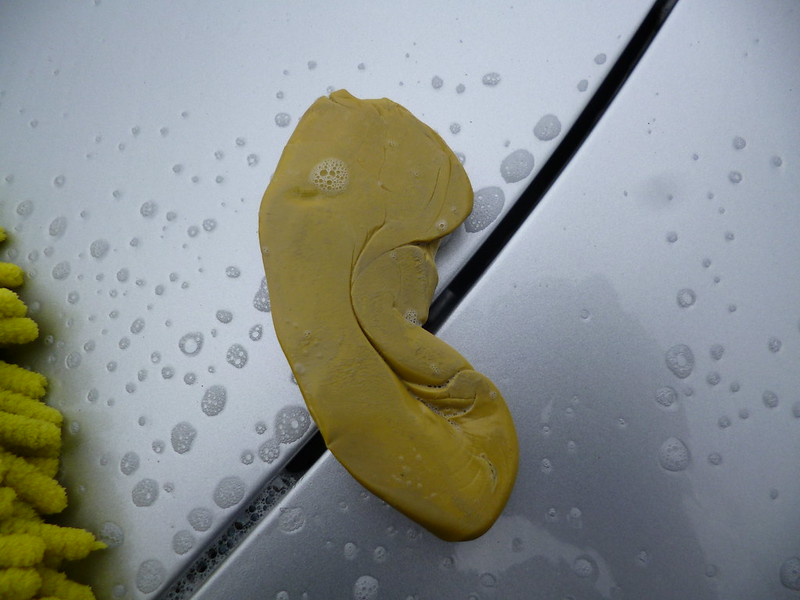 P1060047
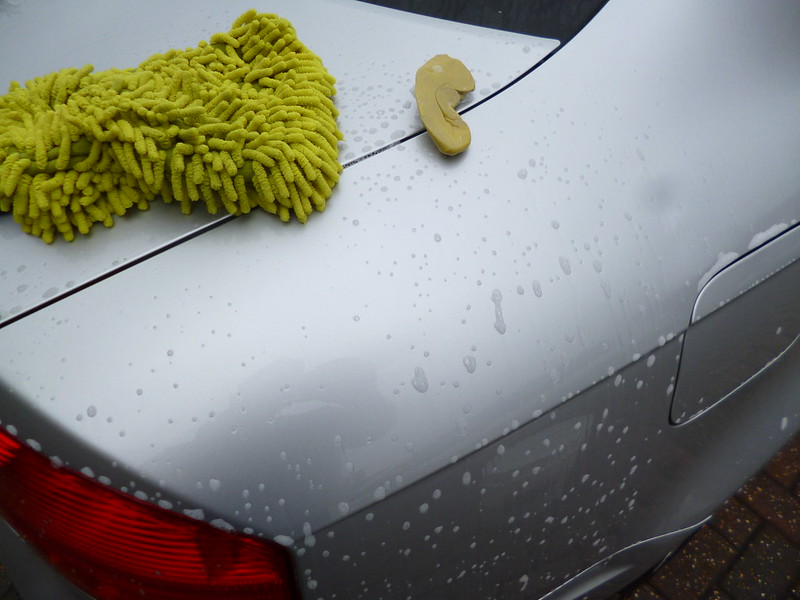 P1060048
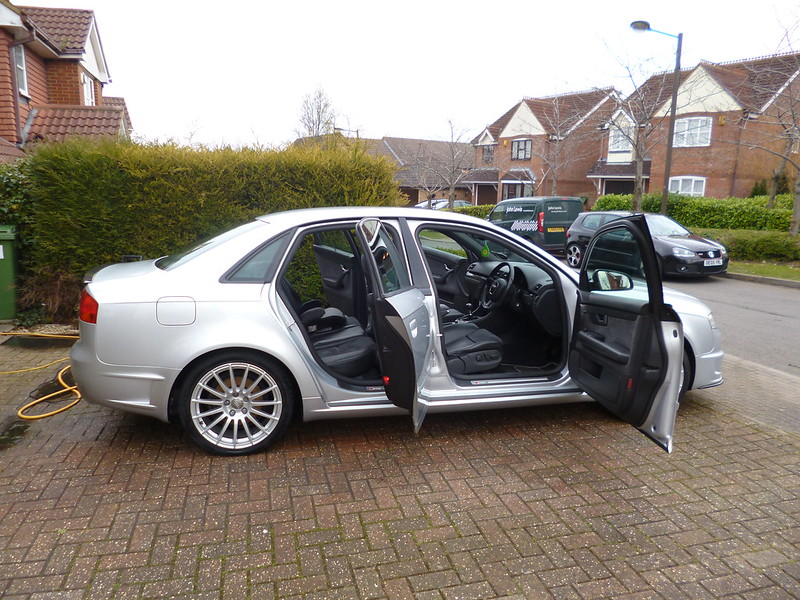 P1060051
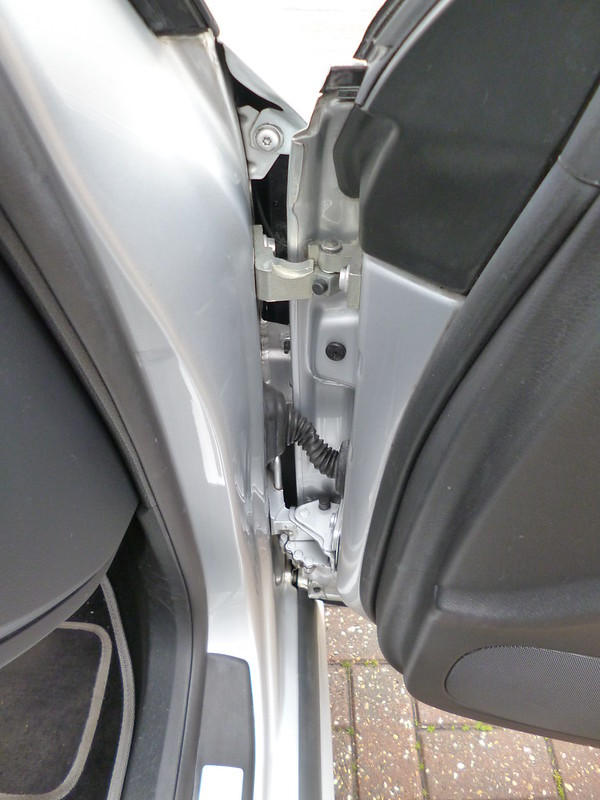 P1060052
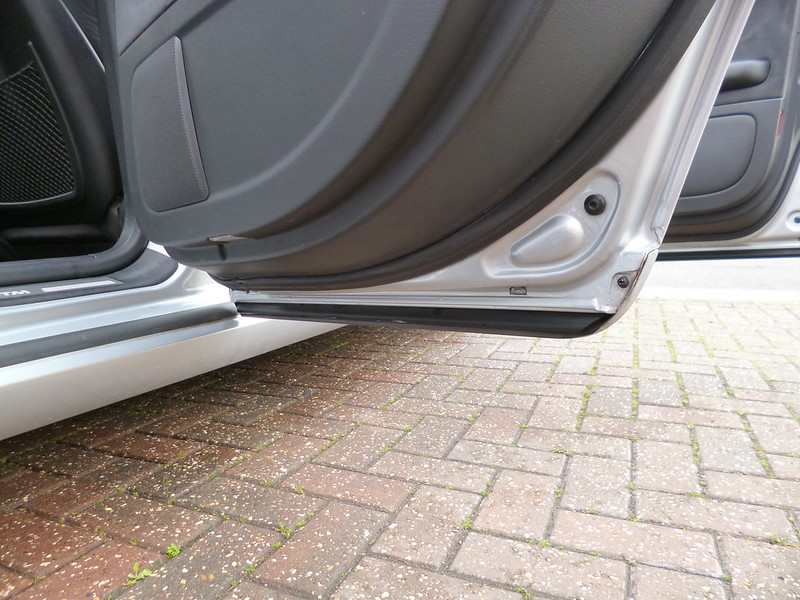 P1060054
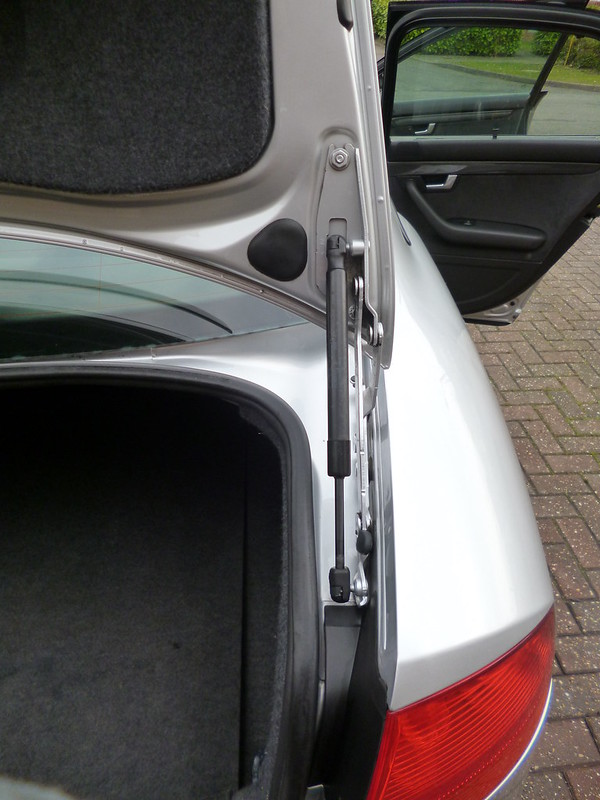 P1060055
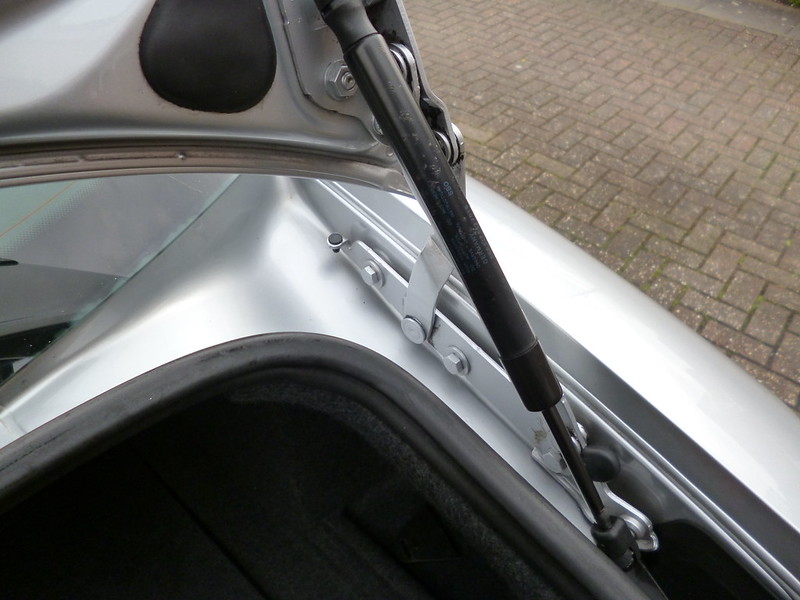 P1060056
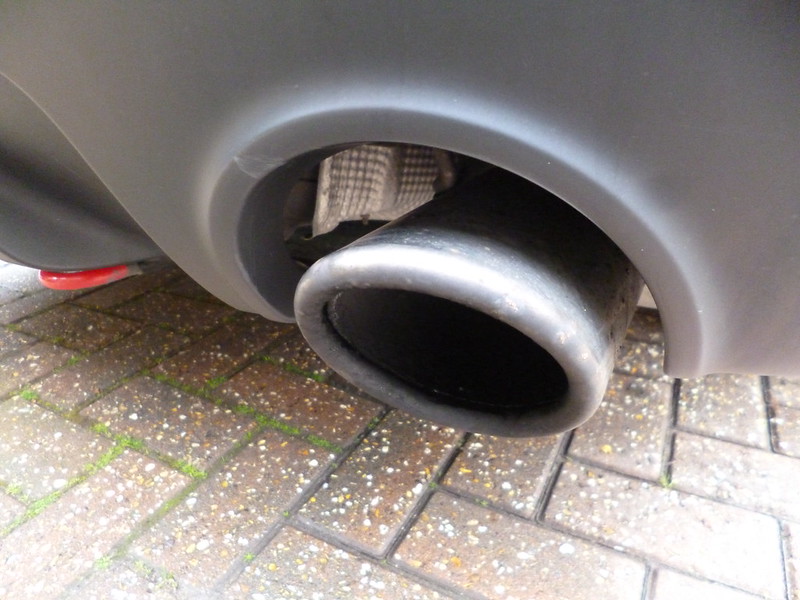 P1060057
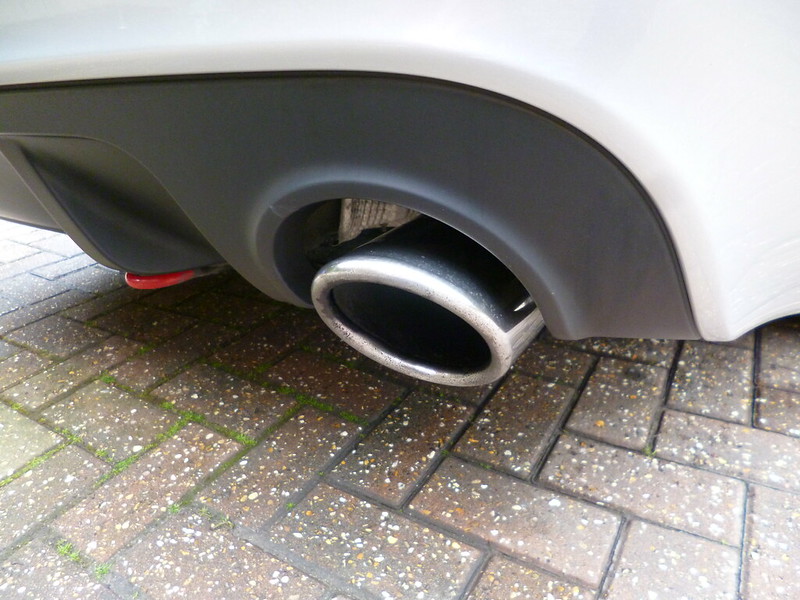 P1060059
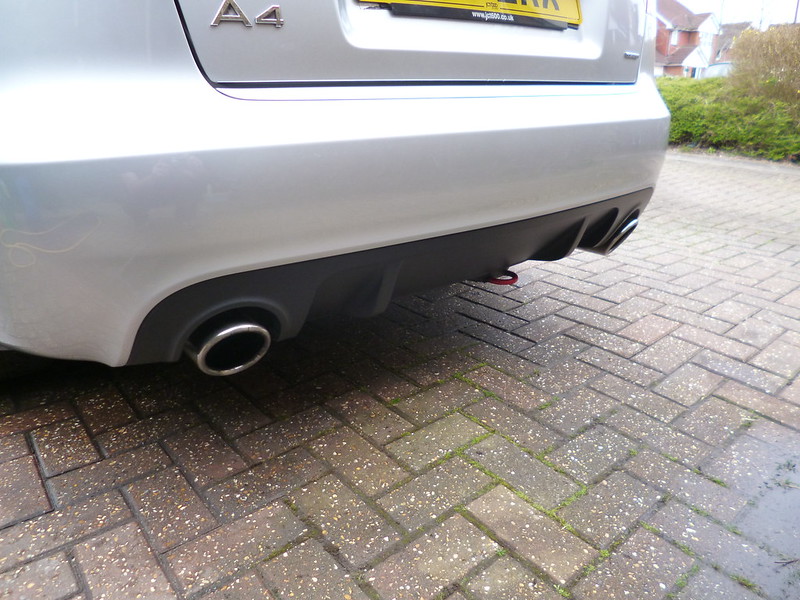 P1060058
 P1060060
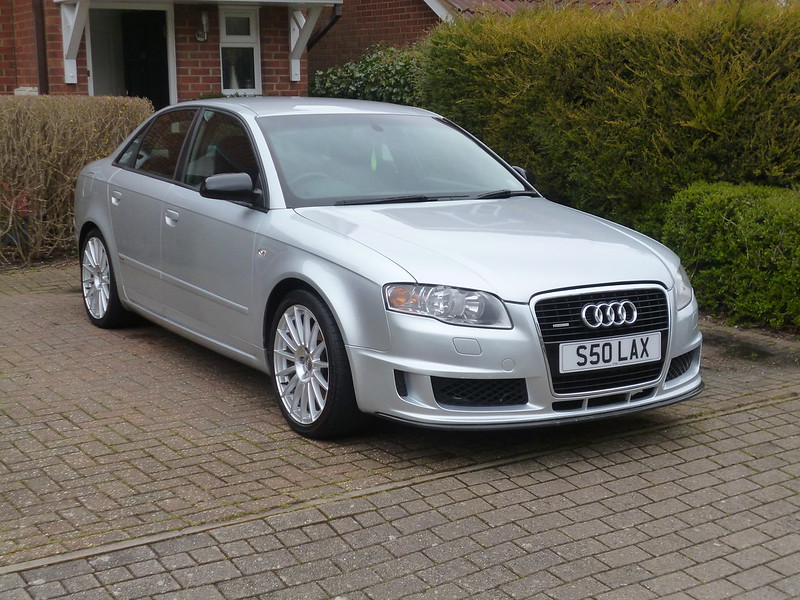 P1060061
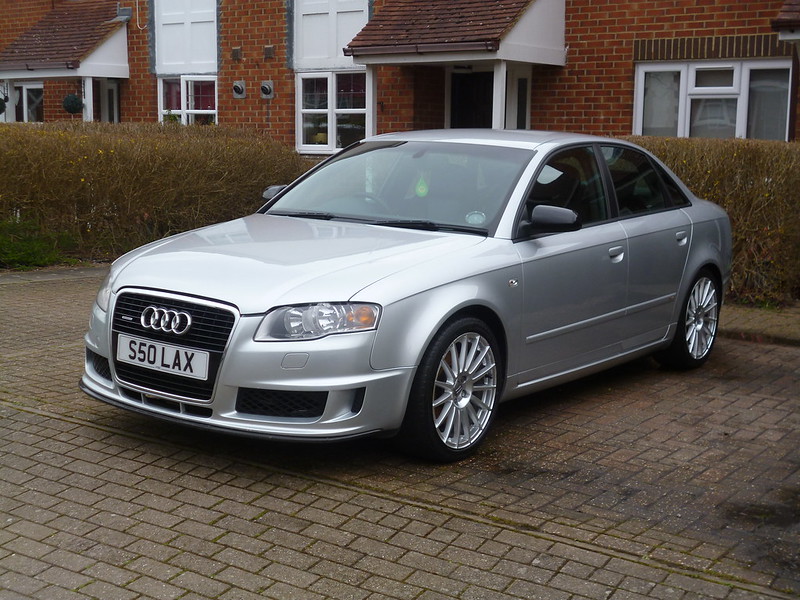 P1060062
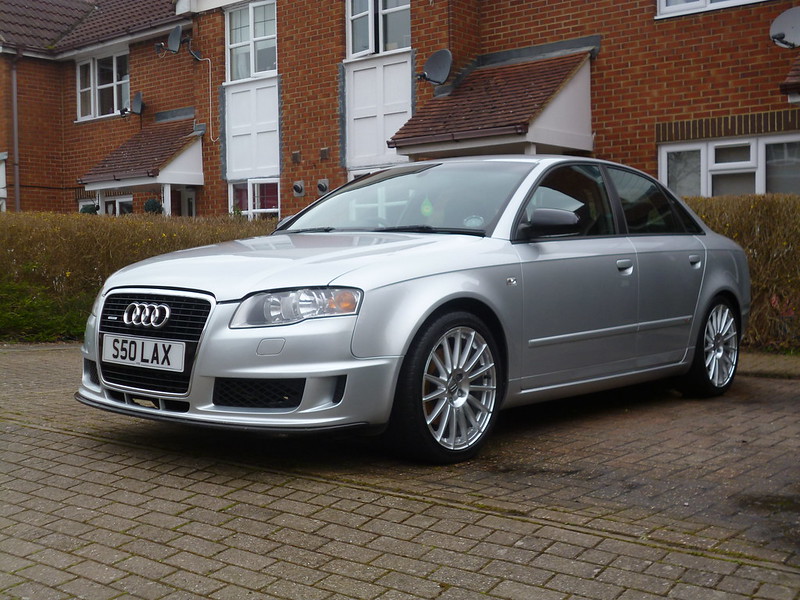 P1060063
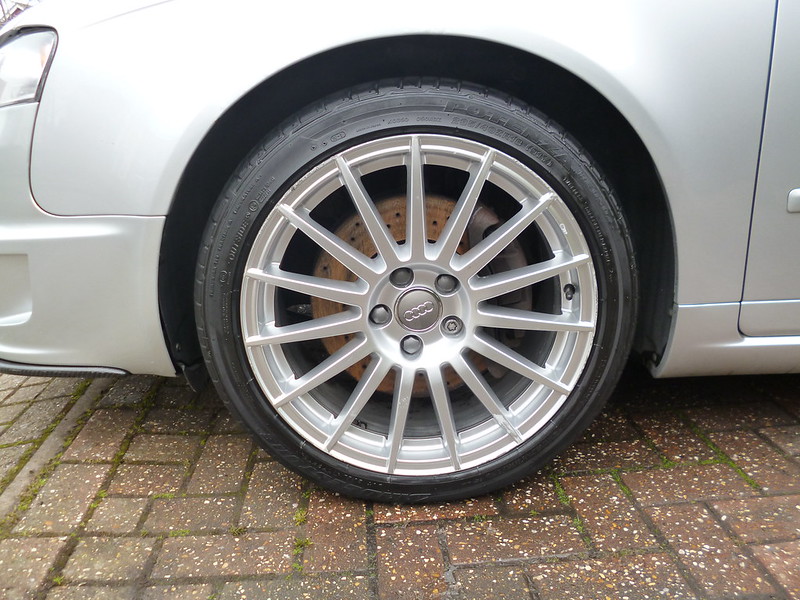 P1060064
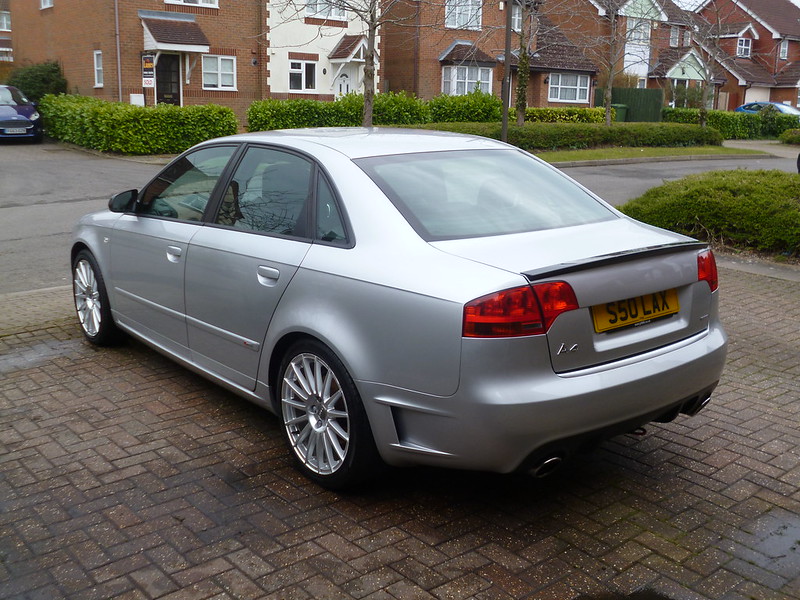 P1060065
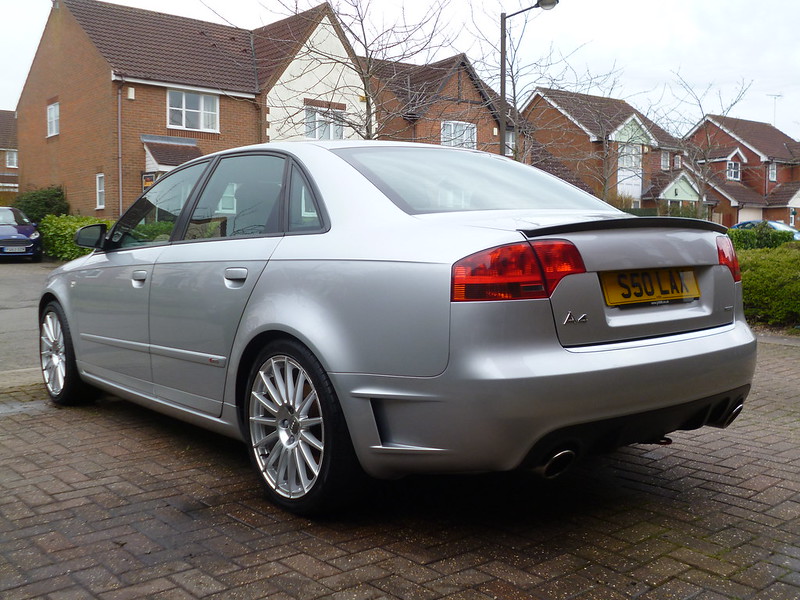 P1060066
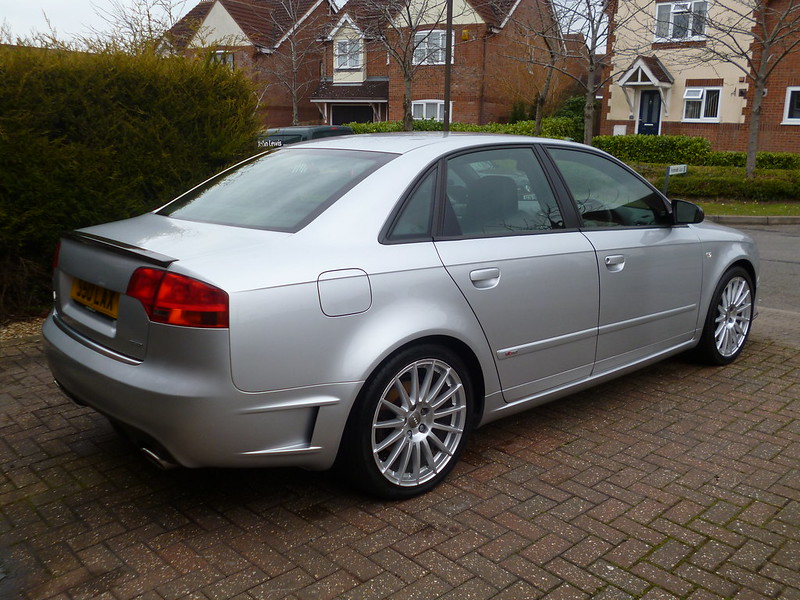 P1060067
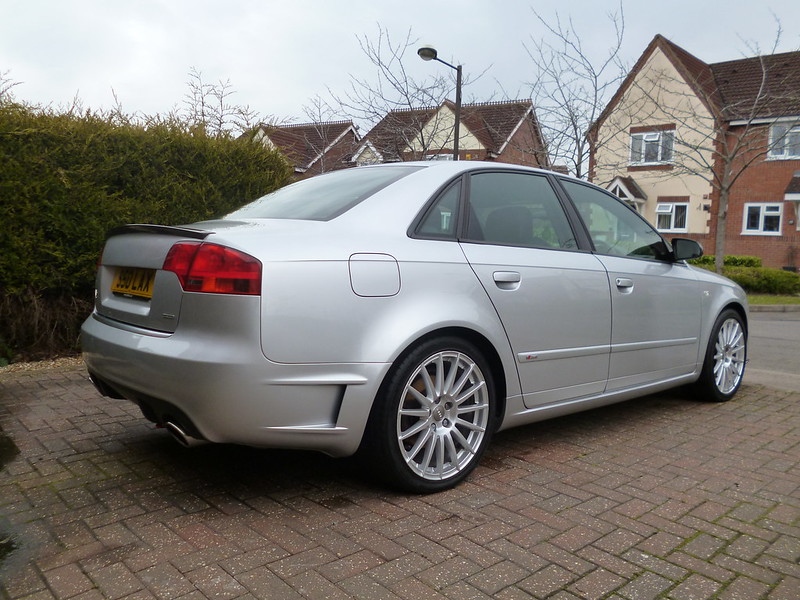 P1060068
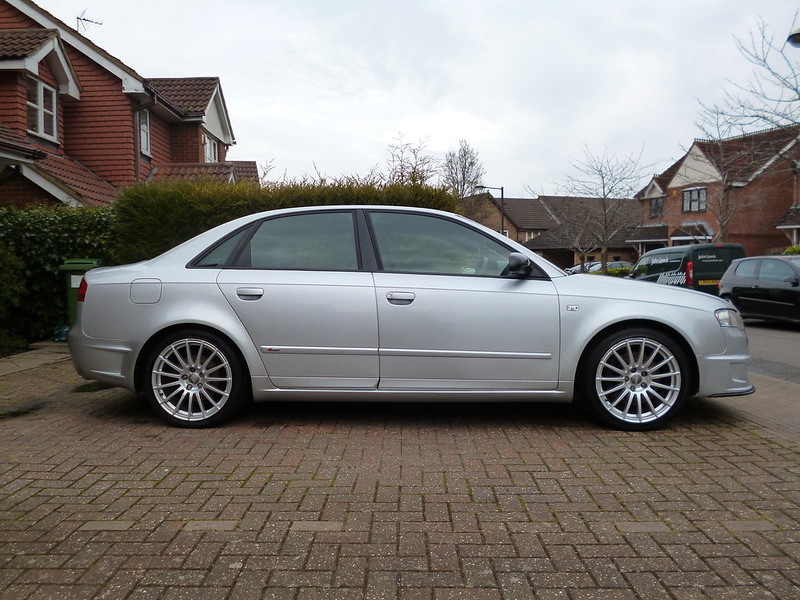 P1060069
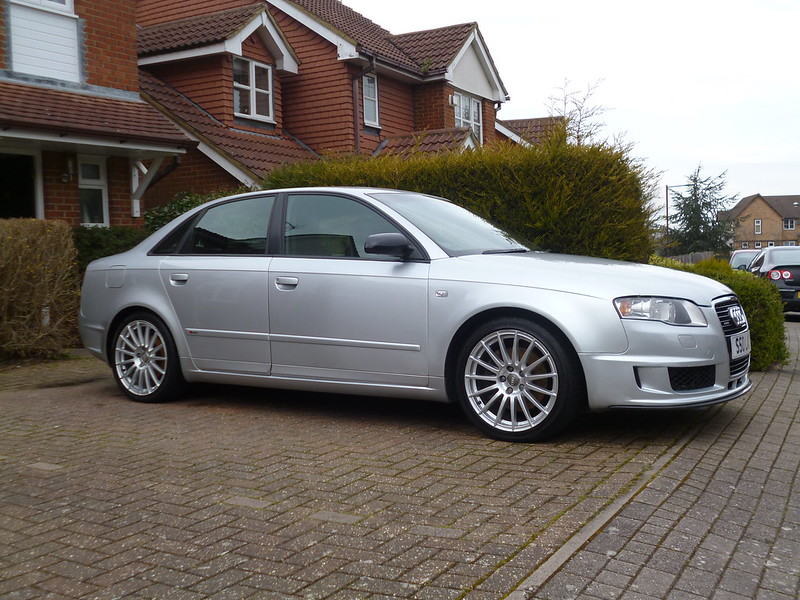 P1060070
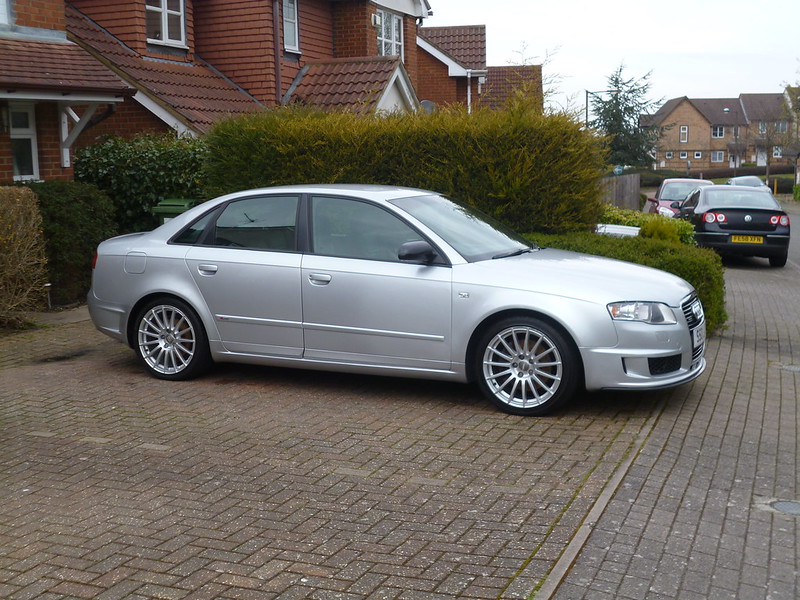 P1060071
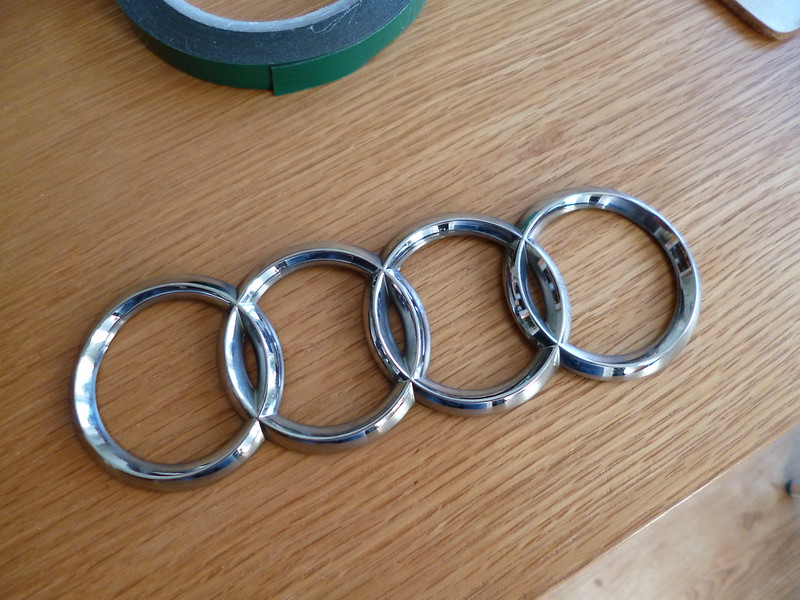 P1060396
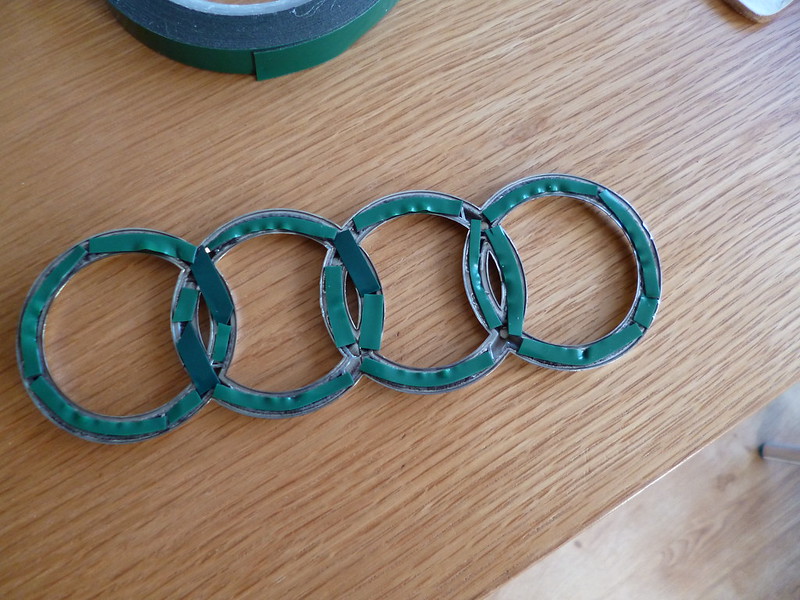 P1060397
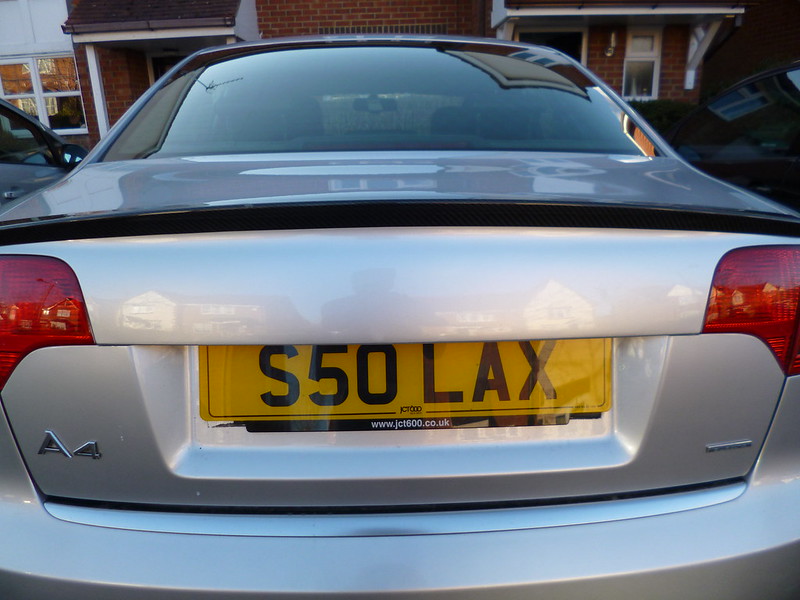 P1060398
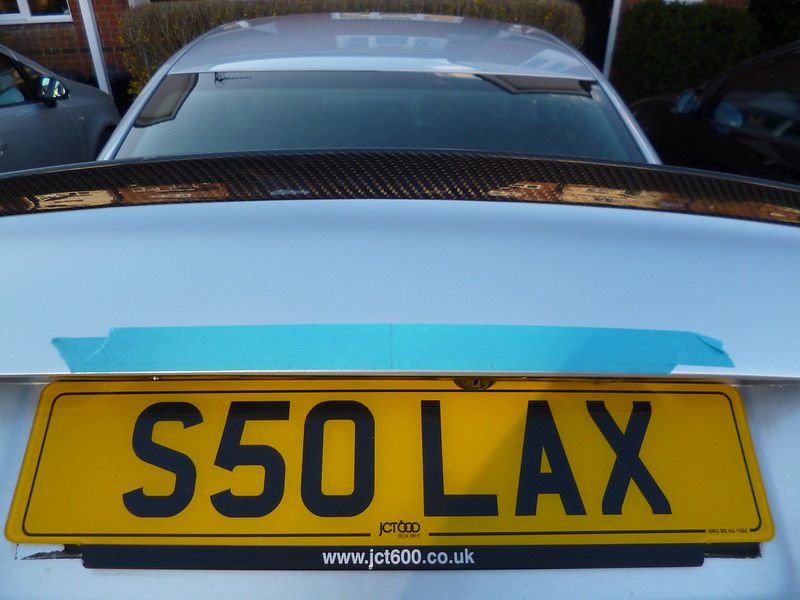 P1060399
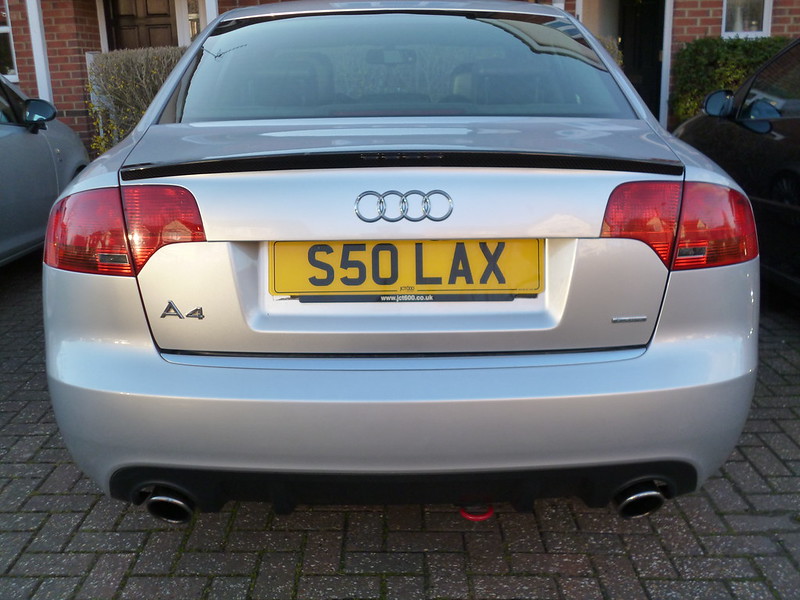 P1060400
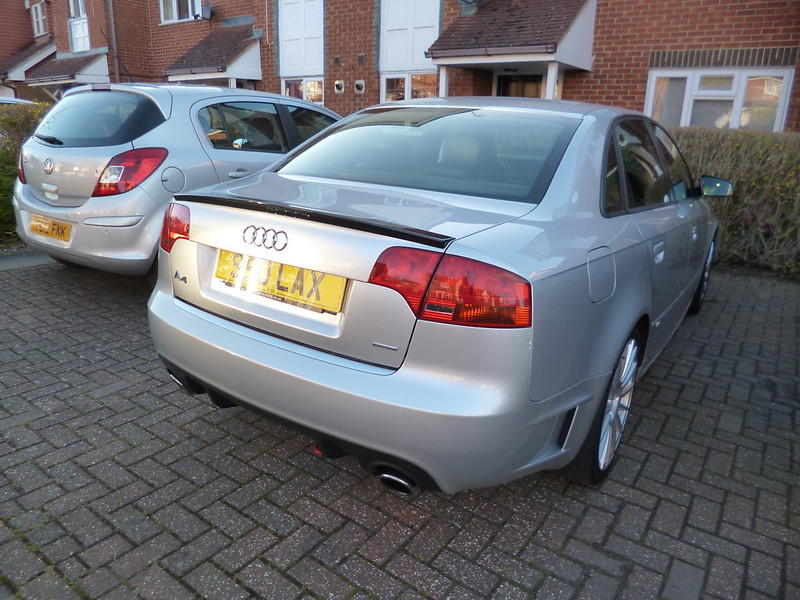 P1060401
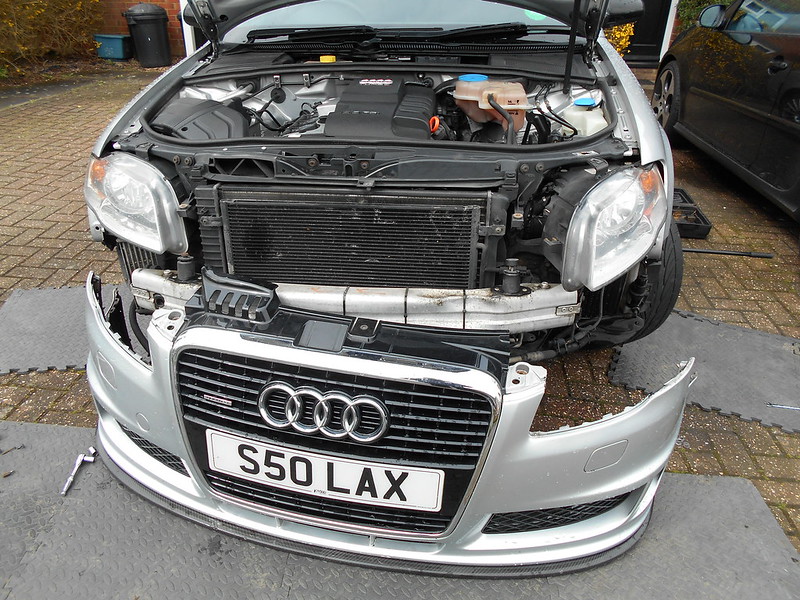
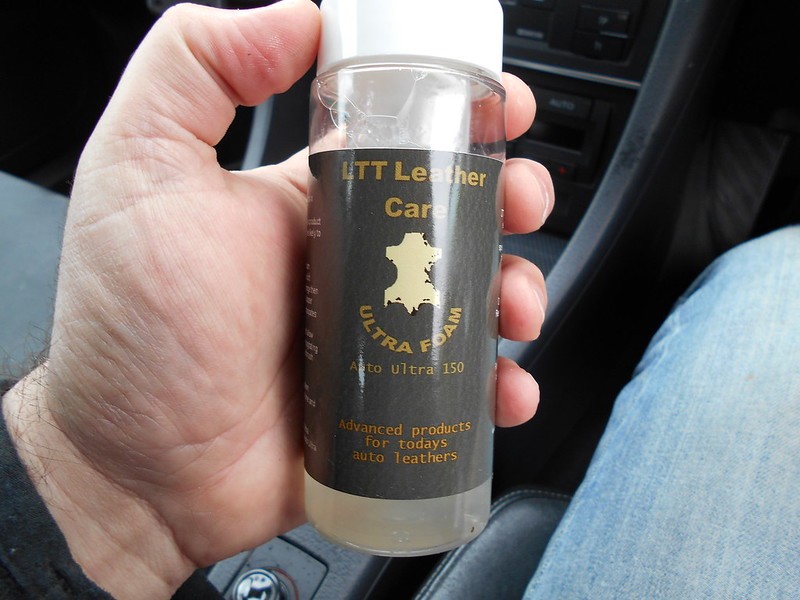
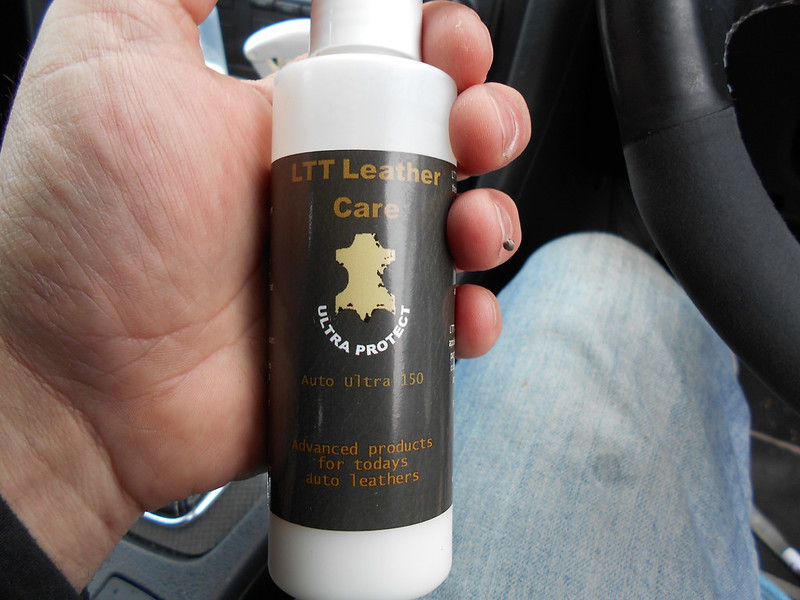
 It's all about the detail!