Jimmeh
Registered User
Mercedes SL600
Having spent two days on an identical (minus the wheels...) SL600 seven months back now, a close friend of the original owner wanted the same treatment on theirs.
Arriving bright and early on the Sunday morning, I put the new camera to the test!
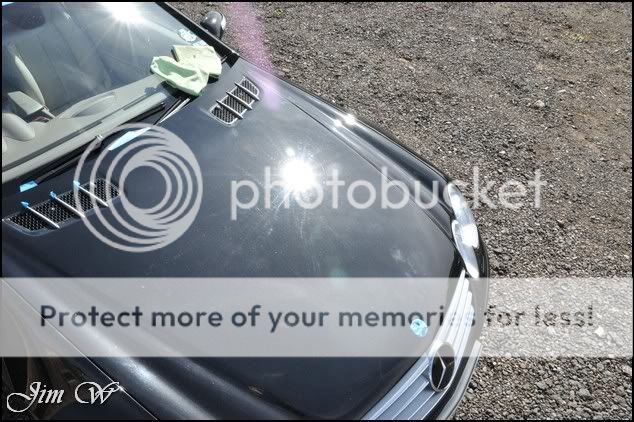
Inspection..


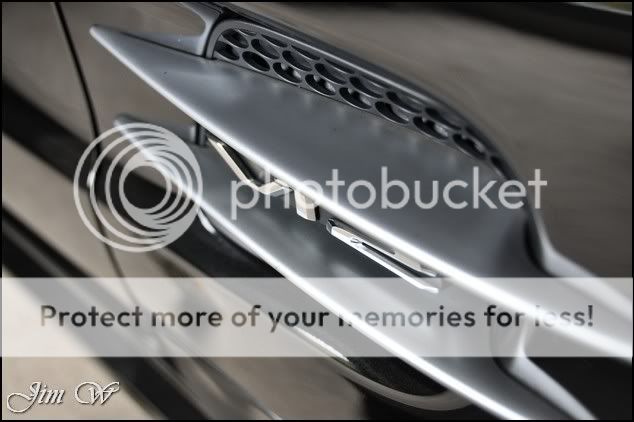
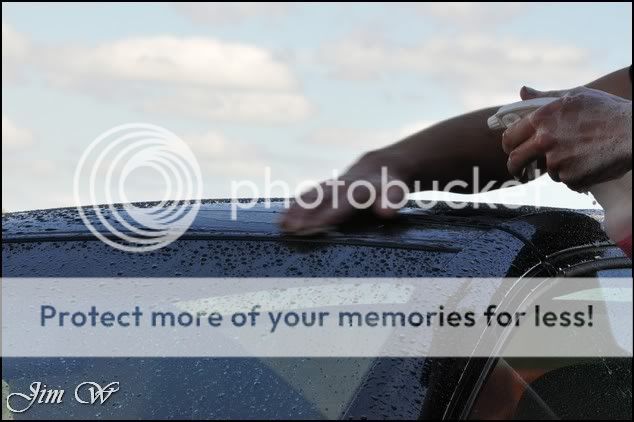
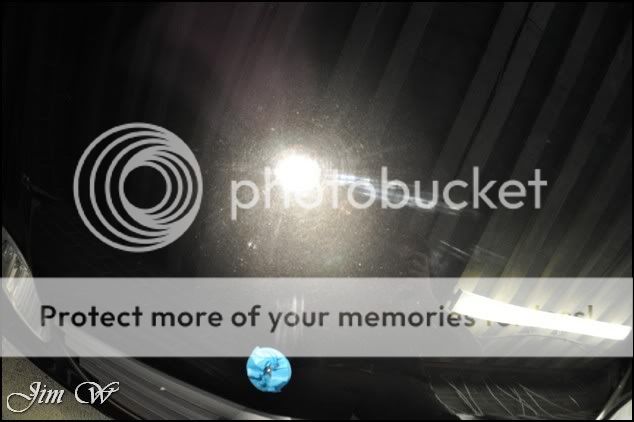
Hows this for tree-sap??


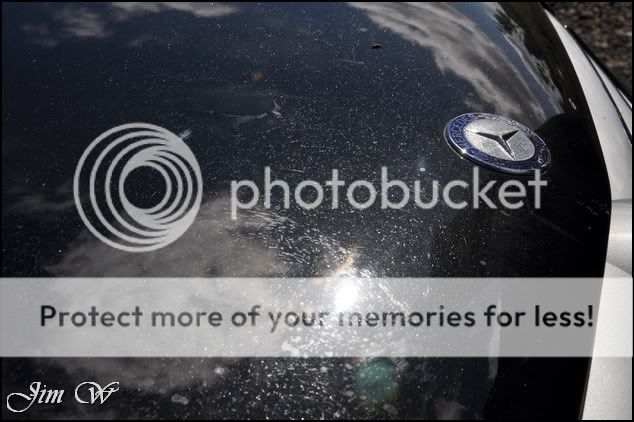


Although regularly garaged, you can see the damage tree-sap and other fall out material can have on your car!
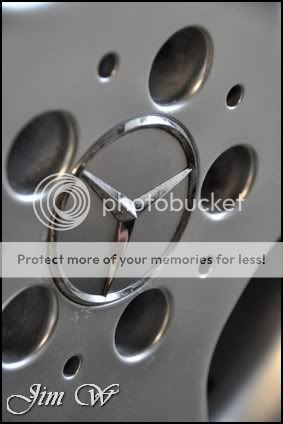
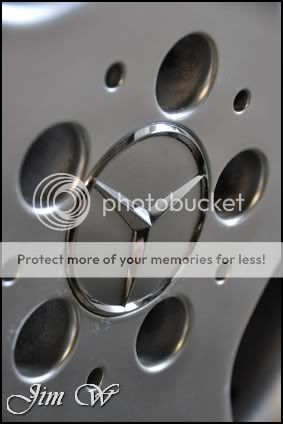
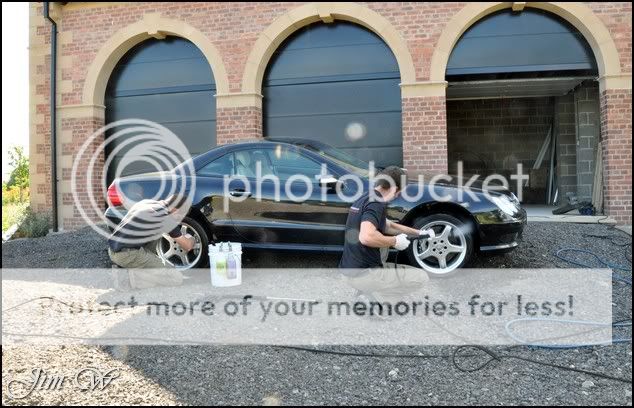
As always, the wheels and shuts were looked at first.
Using a mix of AutoSmart G101, AutoSmart Tardis and Megs Wheel Brightener, alongside various brushes and mitts

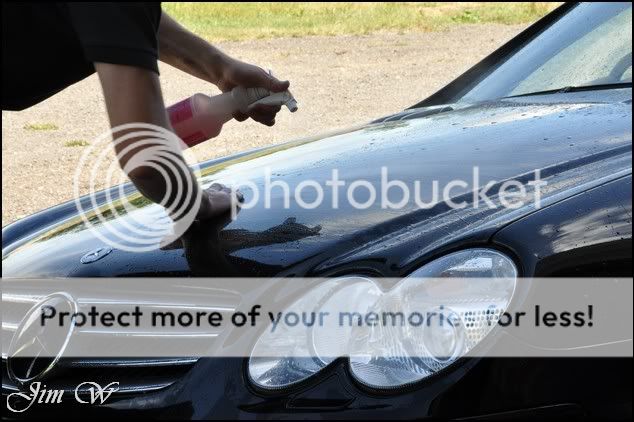
Having travelled up from down South, the front-end had collected an impressive amount of squashed flies. G101 applied and allowed to soften the bugs before a long thorough pressure rinse.

The car was foamed with G101 to help lift all the grime out the window rubbers etc. Then foamed with normal snowfoam and washed with the two-bucket system and Dodo Juice Born To Be Mild.
Meguiars Last Touch then used to aid the Sonus Green claybar in lifting all the surface contaminants. Surprisingly, it wasnt that bad. (Considering the state of the panels in the inspection photos..)

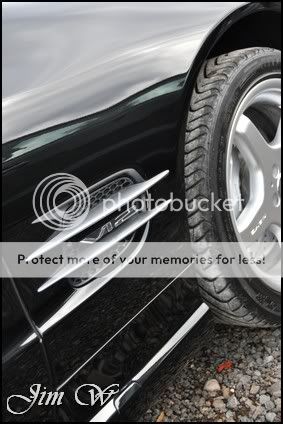
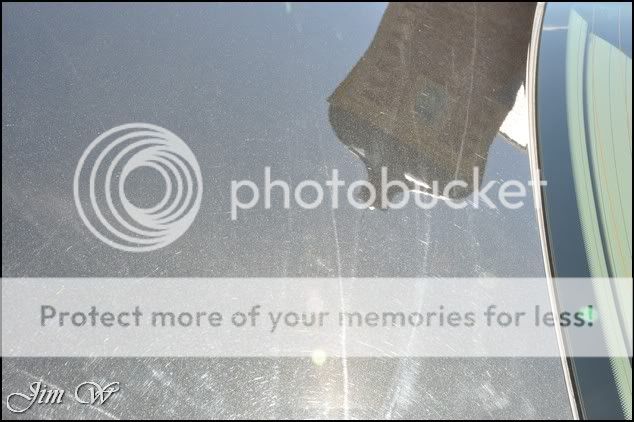
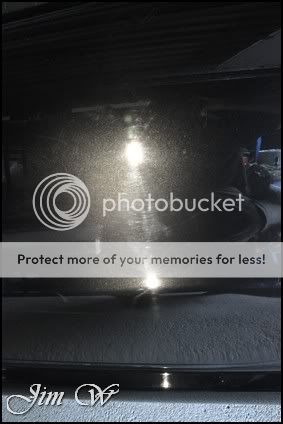
Washed, de-tared, clayed and dry looks good yes?

HA! Wrong


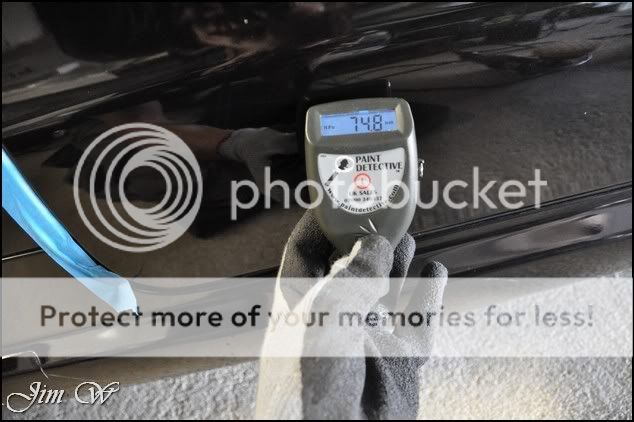
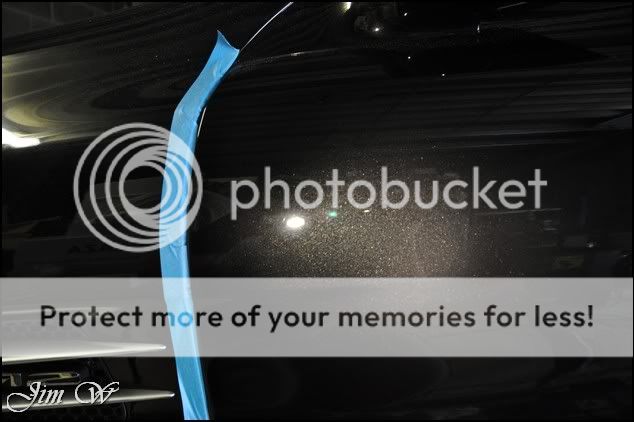
Once inside and bone-dry, any delicate areas were taped up and paint thickness measurements were taken.
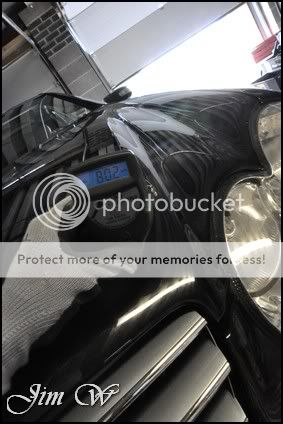


Very similar to the other SL600 I did late in 2009 Fairly low readings throughout!
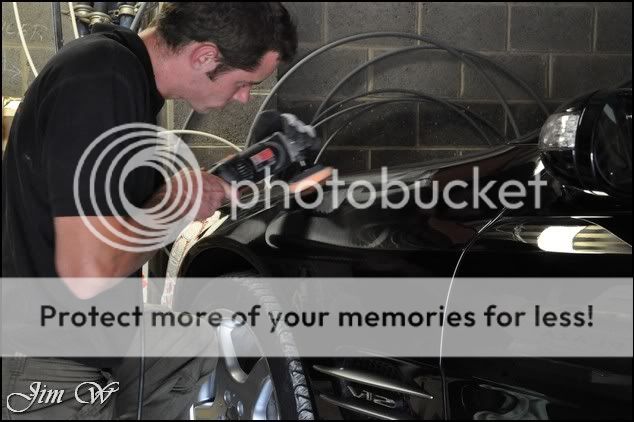
Bonnet defects to tackle:

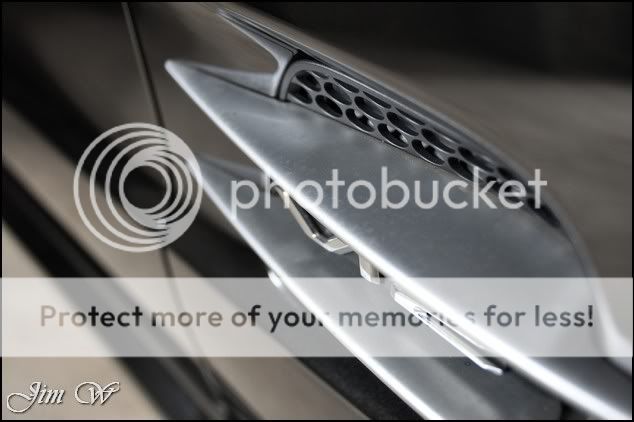
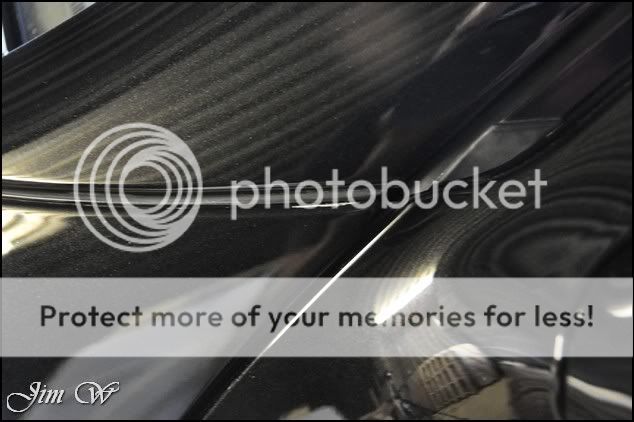
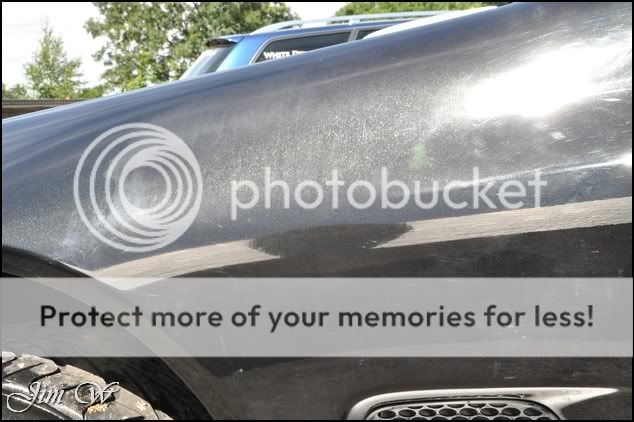
A weird reaction spotted on the N/S front wing (you probably spotted it above in the earlier photos..) At first I put it down to the sap etc, but, upon closer inspection, there were minuscule cracks in the paint and almost drips spotted Makes me wonder if its the doings of a poor bodyshop job and/or respray?

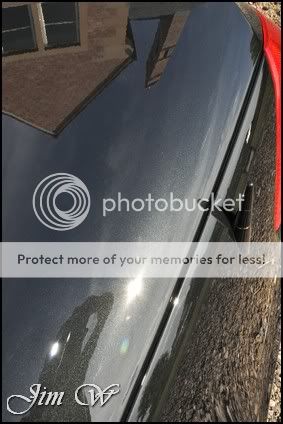
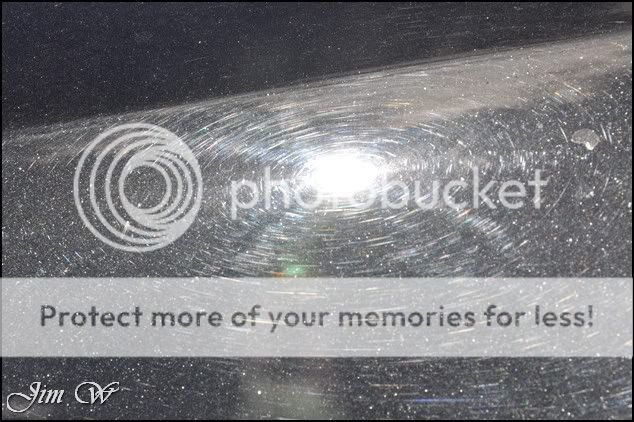
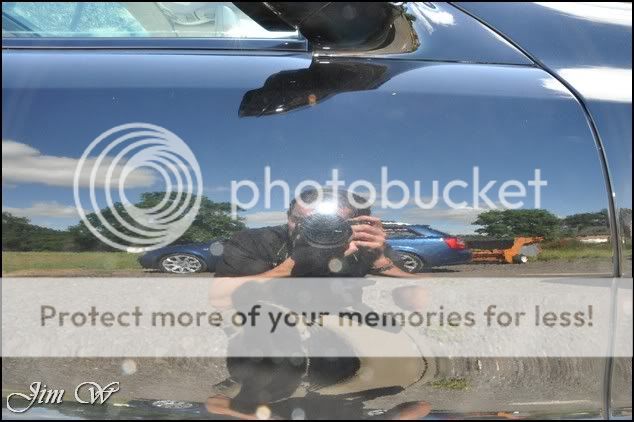
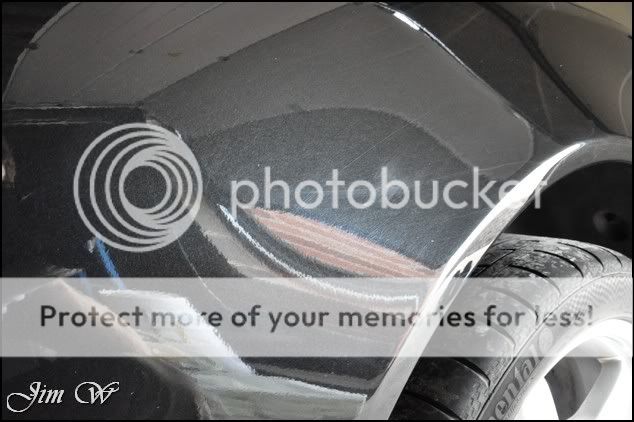
General condition of the paint throughout spotted on the N/S rear quarter in natural light:
Having spent two days on an identical (minus the wheels...) SL600 seven months back now, a close friend of the original owner wanted the same treatment on theirs.
Arriving bright and early on the Sunday morning, I put the new camera to the test!
Inspection..
Hows this for tree-sap??
Although regularly garaged, you can see the damage tree-sap and other fall out material can have on your car!
As always, the wheels and shuts were looked at first.
Using a mix of AutoSmart G101, AutoSmart Tardis and Megs Wheel Brightener, alongside various brushes and mitts
Having travelled up from down South, the front-end had collected an impressive amount of squashed flies. G101 applied and allowed to soften the bugs before a long thorough pressure rinse.
The car was foamed with G101 to help lift all the grime out the window rubbers etc. Then foamed with normal snowfoam and washed with the two-bucket system and Dodo Juice Born To Be Mild.
Meguiars Last Touch then used to aid the Sonus Green claybar in lifting all the surface contaminants. Surprisingly, it wasnt that bad. (Considering the state of the panels in the inspection photos..)
Washed, de-tared, clayed and dry looks good yes?
HA! Wrong
Once inside and bone-dry, any delicate areas were taped up and paint thickness measurements were taken.
Very similar to the other SL600 I did late in 2009 Fairly low readings throughout!
Bonnet defects to tackle:
A weird reaction spotted on the N/S front wing (you probably spotted it above in the earlier photos..) At first I put it down to the sap etc, but, upon closer inspection, there were minuscule cracks in the paint and almost drips spotted Makes me wonder if its the doings of a poor bodyshop job and/or respray?
General condition of the paint throughout spotted on the N/S rear quarter in natural light:


")