

Well, its finally done to the point where it'll do for me.
Took an age, I'm still not happy with the finish but it'll do!. Looks better than before so that'll do me. Anyway, onto the pics....

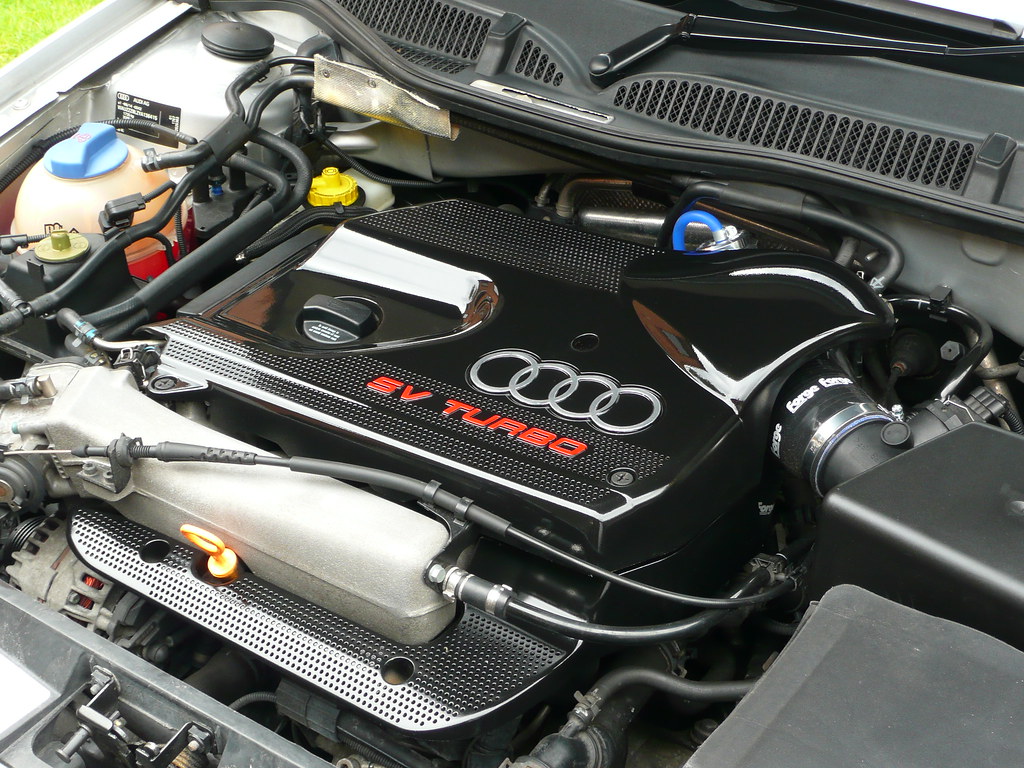
There we have it....bit nicer looking than how it was before anyway...
Tom
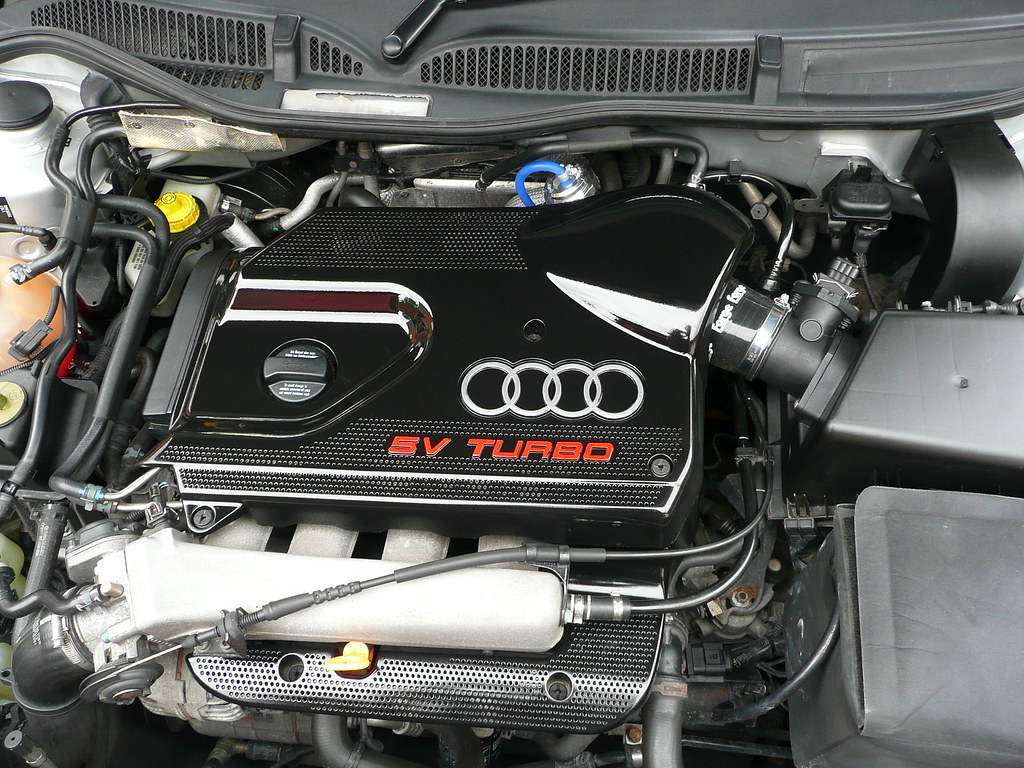
Took an age, I'm still not happy with the finish but it'll do!. Looks better than before so that'll do me. Anyway, onto the pics....
There we have it....bit nicer looking than how it was before anyway...
Tom
")


