- Joined
- Jul 27, 2015
- Messages
- 254
- Reaction score
- 77
- Points
- 28
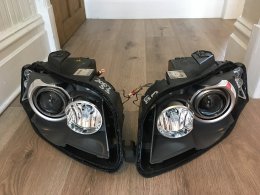
This kit can be purchased from @t8ups.
Required tools:
Long flathead screw driver, Torx screwdriver set, Long nose pliers, Cleaning cloths, Heat gun, Large cardboard box.
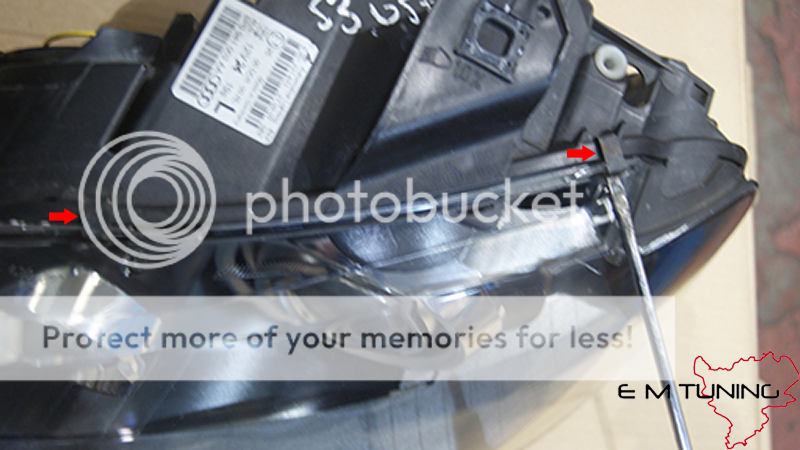
Remove the 2 clips from the top of the headlight
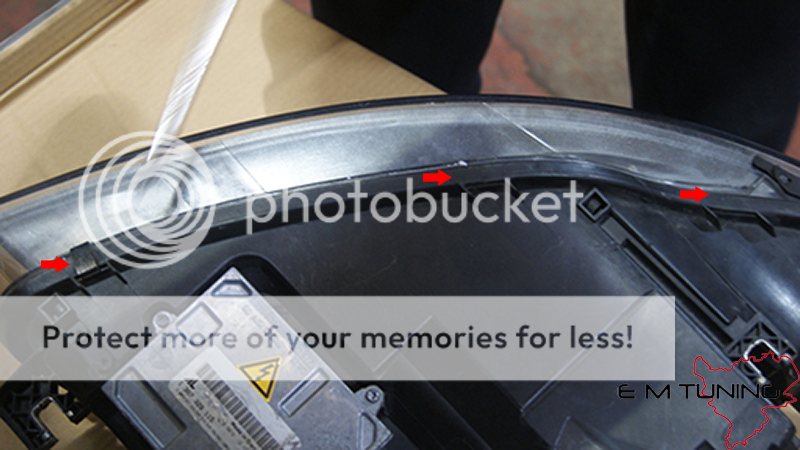
Then remove the 3 clips from the bottom of the headlight.

Unscrew the 3 screws and remove the ballast from the bottom of the headlight then prepare to remove the lens from the lamp.
My preferred method of heating the lamp up is to use a large cardboard box, cut a small hole in it allowing you to put the head of the heat gun in, Then place the headlight in the box and heat it up, So the box essentially becomes an oven.
Common sense is needed here as you don't want any metal touching the cardboard box and do not place the lamp directly in the way that the heat is blowing.

Remove the lens and unscrew the 3 screws and remove the trim.
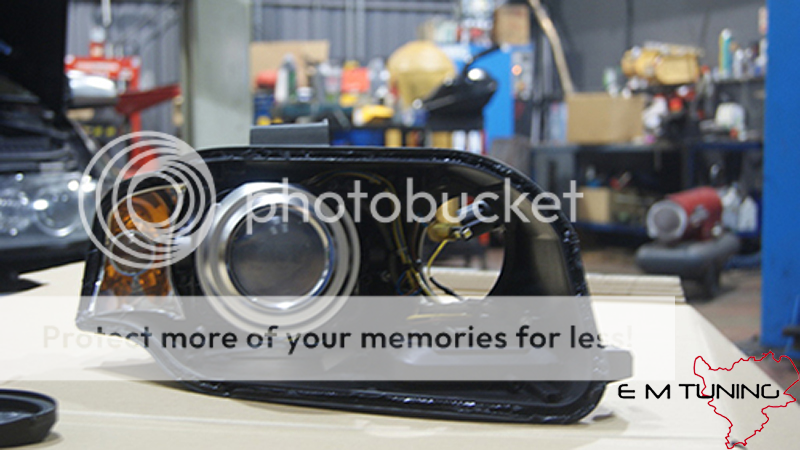
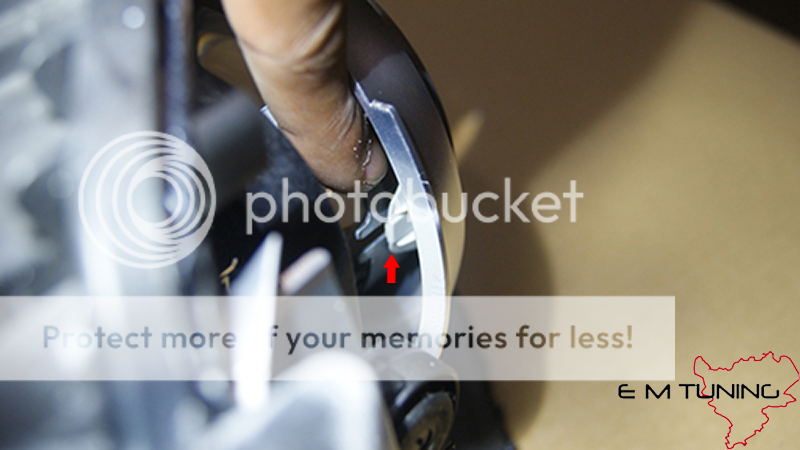
Unclip the 2 clips at 9 o'clock and 3 o'clock looking straight at the headlight and take the projector shroud off.
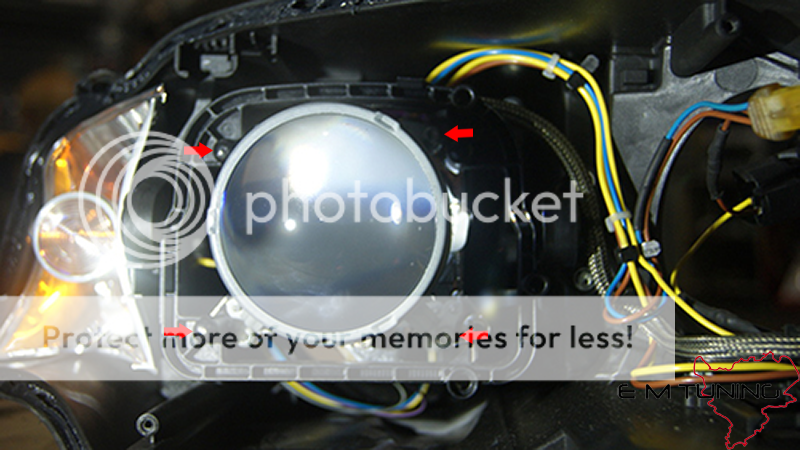
Unscrew the 4 screws and remove the lens holder from the headlight.


Bend all of the clips straight and remove the lens from it's holder.
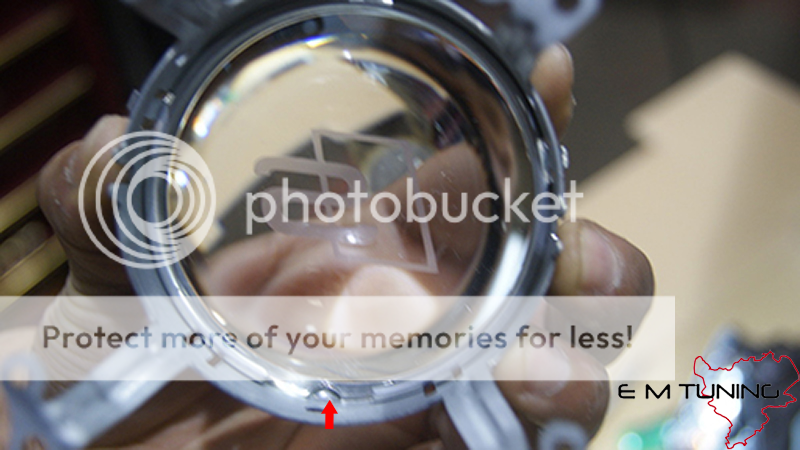
Put the new lens back in making sure that it is aligned to the bottom and bend the clips back over the lens
Using your long nose pliers bend the lens shutter to a 90 degree angle.

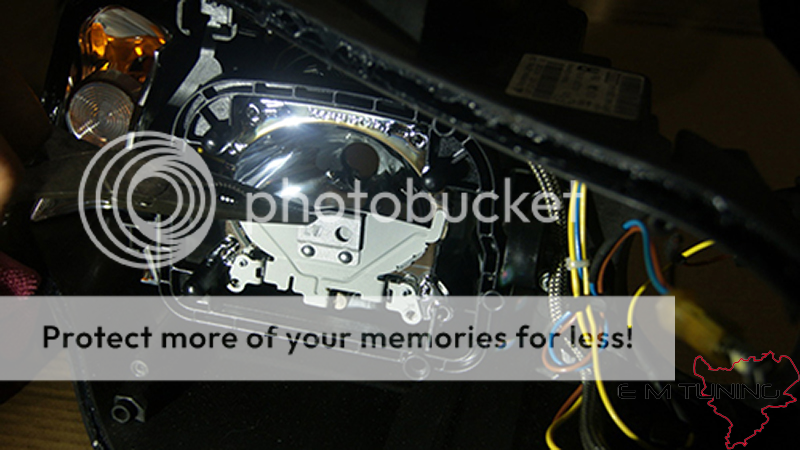
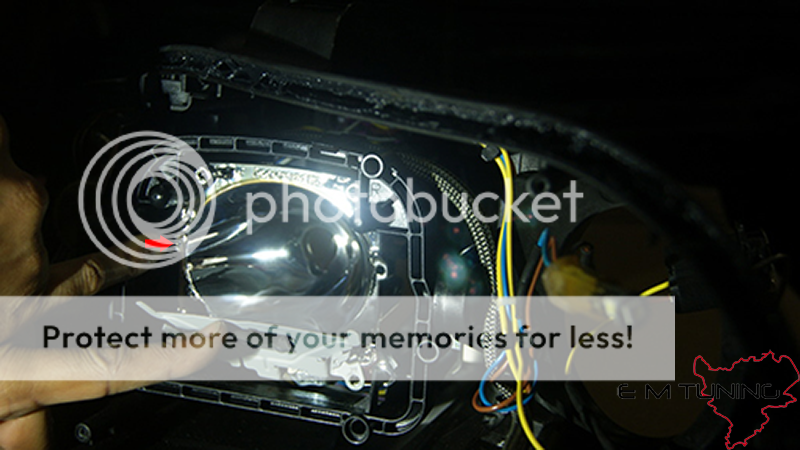
Whilst it is all apart I always clean the projector, When cleaning you don't want to use any window cleaning or chemicals, Use some distilled water and a cotton cloth that is not rough or abrasive, do not scrub hard on the chrome pieces within the light as you can rub it away as it's just a coating.
This is my preferred method and I take no responsibility if you run away the chrome. Be extra careful when cleaning the reflector bowl.
Unscrew this screw from the rear of the headlight until the shutter sits flush.

Reverse the procedure and reassemble the headlight.

Heat the headlight back up and push the lens back into place until fully secured.
Required tools:
Long flathead screw driver, Torx screwdriver set, Long nose pliers, Cleaning cloths, Heat gun, Large cardboard box.
Remove the 2 clips from the top of the headlight
Then remove the 3 clips from the bottom of the headlight.
Unscrew the 3 screws and remove the ballast from the bottom of the headlight then prepare to remove the lens from the lamp.
My preferred method of heating the lamp up is to use a large cardboard box, cut a small hole in it allowing you to put the head of the heat gun in, Then place the headlight in the box and heat it up, So the box essentially becomes an oven.
Common sense is needed here as you don't want any metal touching the cardboard box and do not place the lamp directly in the way that the heat is blowing.
Remove the lens and unscrew the 3 screws and remove the trim.
Unclip the 2 clips at 9 o'clock and 3 o'clock looking straight at the headlight and take the projector shroud off.
Unscrew the 4 screws and remove the lens holder from the headlight.
Bend all of the clips straight and remove the lens from it's holder.
Put the new lens back in making sure that it is aligned to the bottom and bend the clips back over the lens
Using your long nose pliers bend the lens shutter to a 90 degree angle.
Whilst it is all apart I always clean the projector, When cleaning you don't want to use any window cleaning or chemicals, Use some distilled water and a cotton cloth that is not rough or abrasive, do not scrub hard on the chrome pieces within the light as you can rub it away as it's just a coating.
This is my preferred method and I take no responsibility if you run away the chrome. Be extra careful when cleaning the reflector bowl.
Unscrew this screw from the rear of the headlight until the shutter sits flush.
Reverse the procedure and reassemble the headlight.
Heat the headlight back up and push the lens back into place until fully secured.