

Jimmeh
Registered User
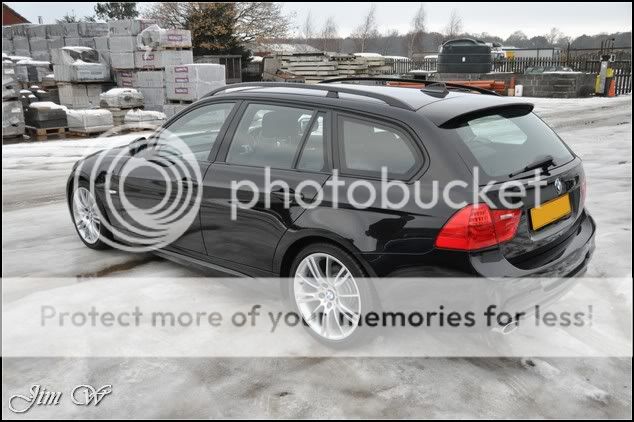
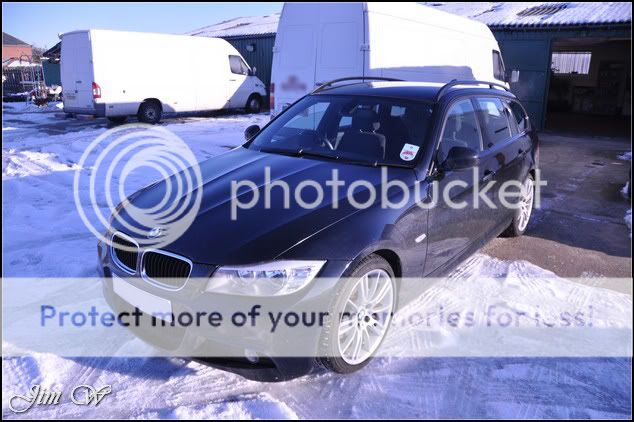
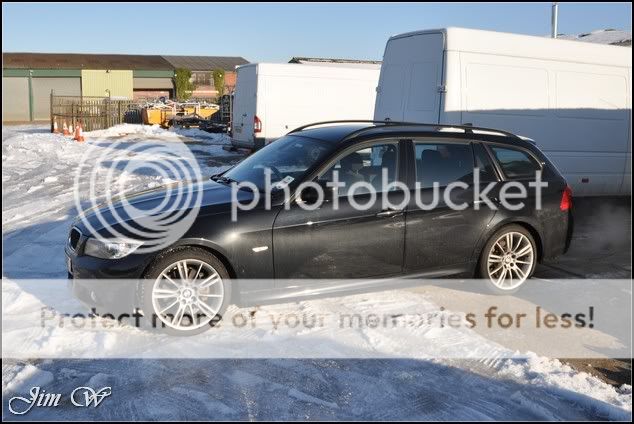
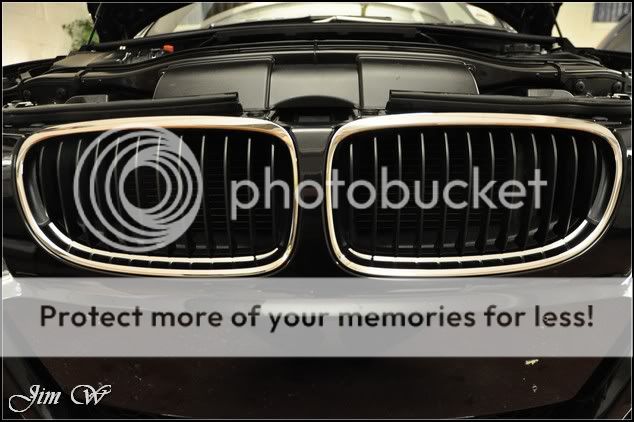
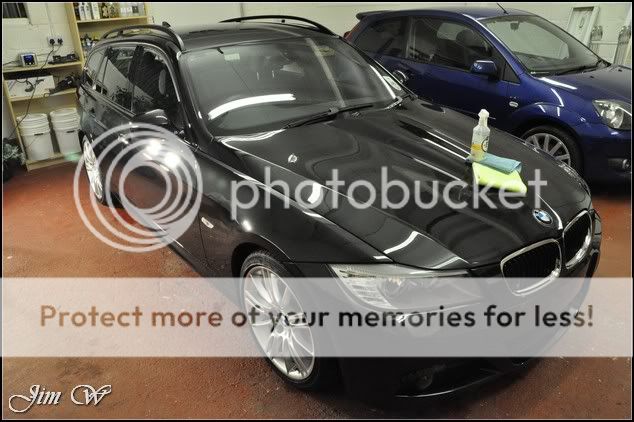
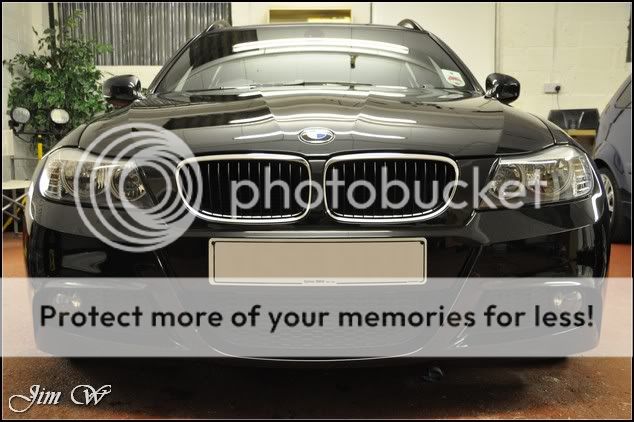
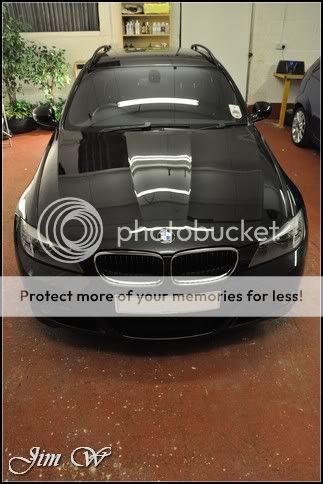
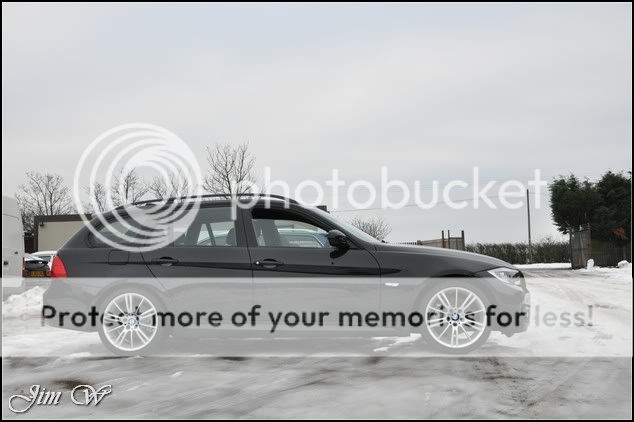
BMW e92 320d M-Sport Tourer
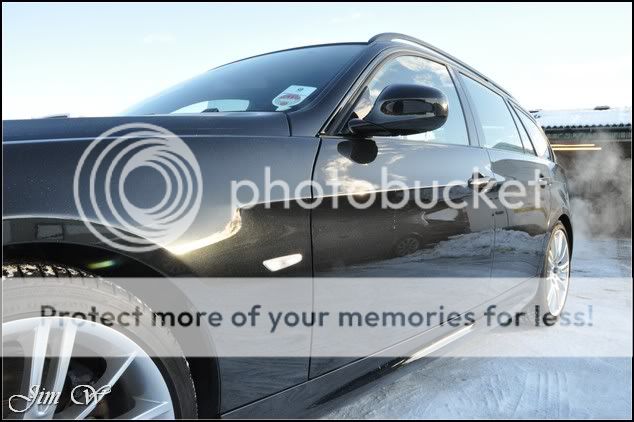
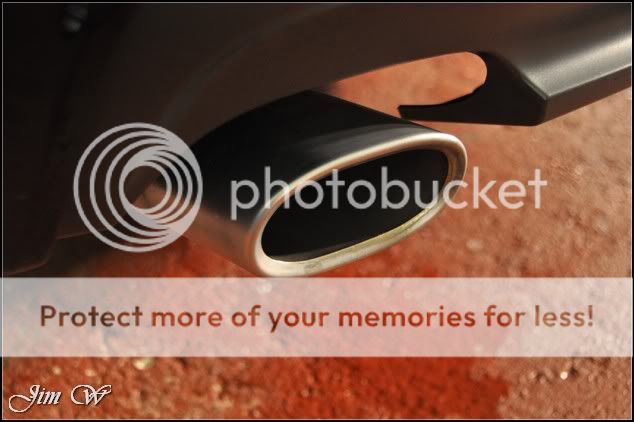
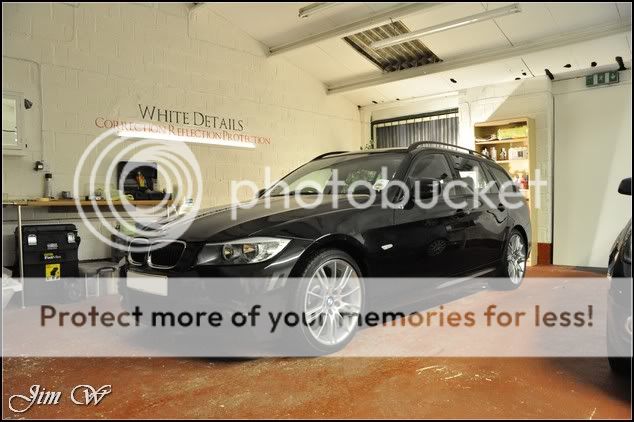
Thursday 2nd December, my customer collects his new car (a 2008 e92 320d M-Sport Tourer with 25k on the clocks) from the BMW dealership.
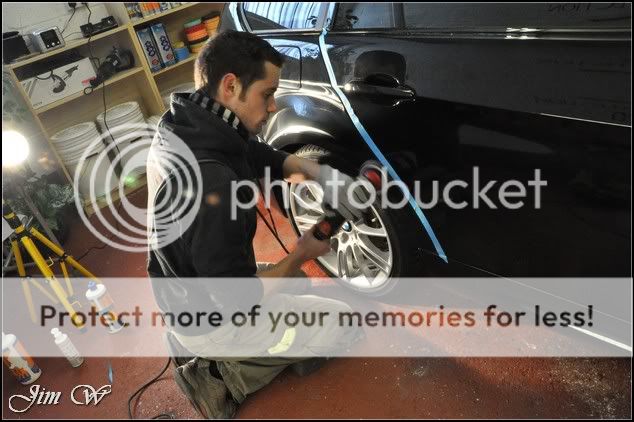
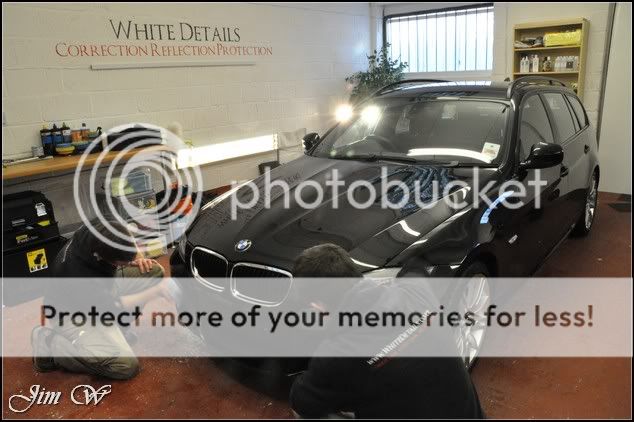
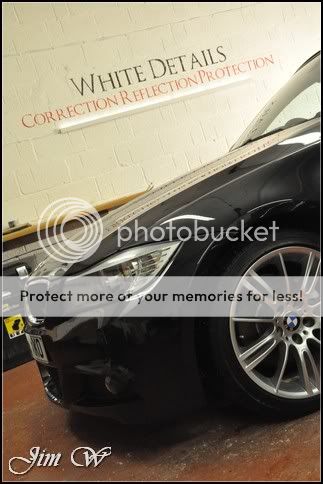
Monday 6th December, the car is handed over to WhiteDetails to give it that like new feeling.
Arrangements were made so that whilst the customer was in Europe on a work visit, the car would be left with me for a week and on their arrival back in the Country Id offer a pick-up service from the airport to take them straight back to the fully prepped car
Its going to be a big report this, some 200 photos; I will try to summarise the job in a handful of images before going on to write the usual in-depth report.
Summary
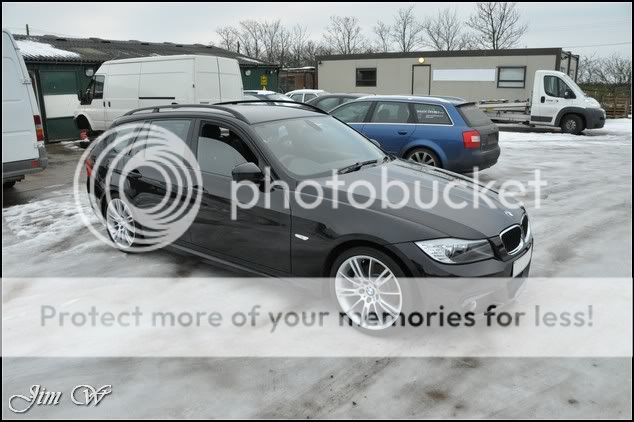
After collection from the BMW dealer, the car was garage until the 5th and then driven direct to WhiteDetails.
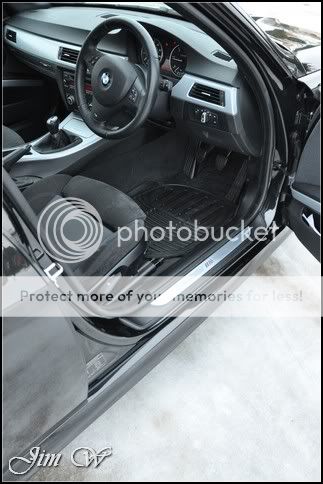
Inspection/Processes/After:


In-depth
Product
3M Glass Cleaner
3M Ultrafina
3M Fast Cut+
AutoGlym Vinyl and Rubber Care
AutoSmart G101
AutoSmart Tardis
Autosol
Brake Cleaner
Belgom ALU
Chemical Guys JetSEAL 109
Dodo Juice Born To Be Mild
Elite Mild Grade Clay Bar
G-Techniq G1 & G2 Glass Sealant
Hammerite Smooth Silver high-temp paint
Iron-X
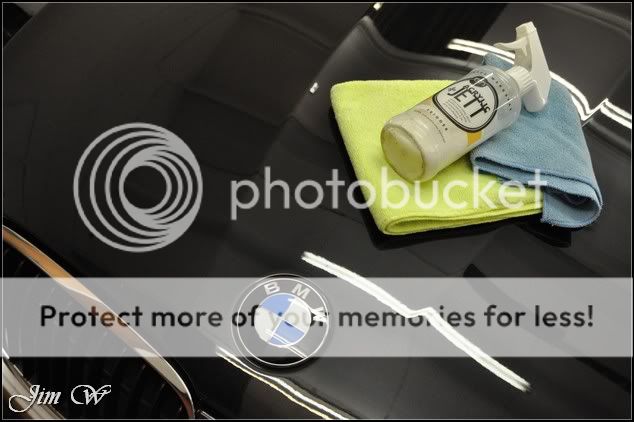
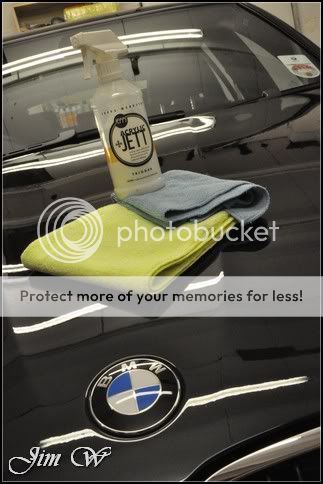
Jeffs Werkstat Jett Trigger
Jeffs Werkstat GLOS
Meguiars Last Touch
Meguiars Super Degreaser
Meguiars All Season Dressing
Menzerna 85 RD 3.02 Power Finish
Menzerna 106FA
Optimum No Rinse
Full inspection:


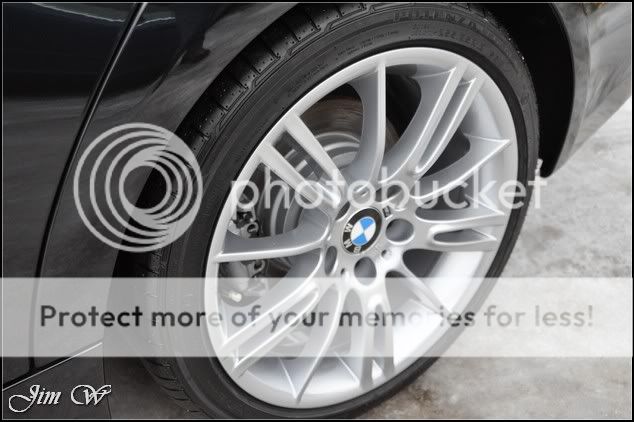
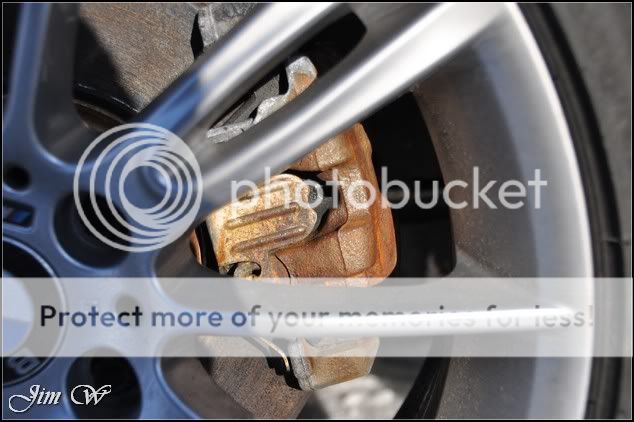
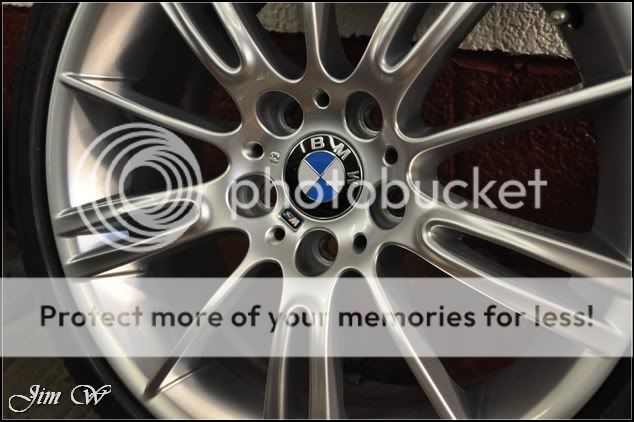
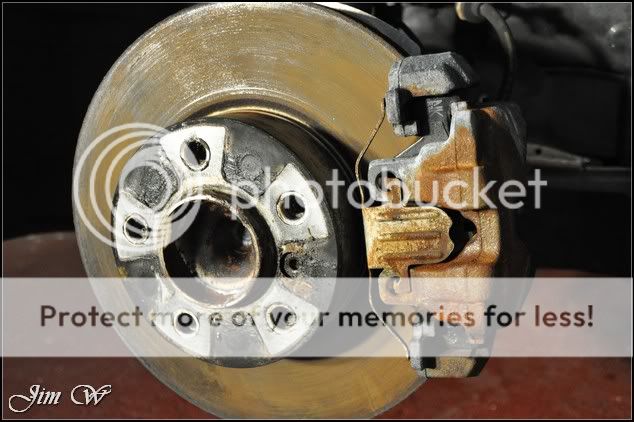
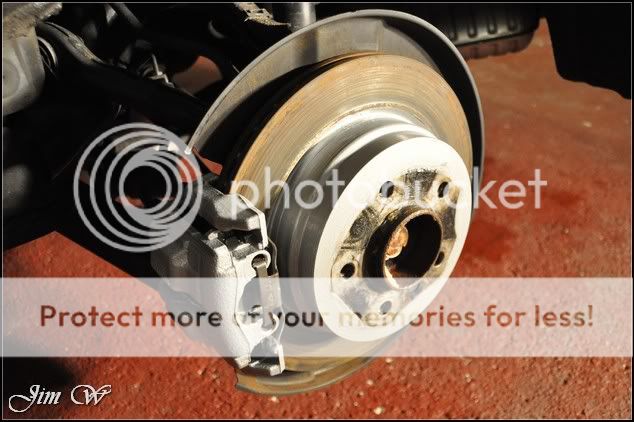
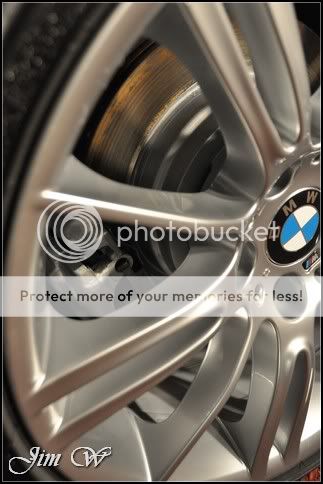
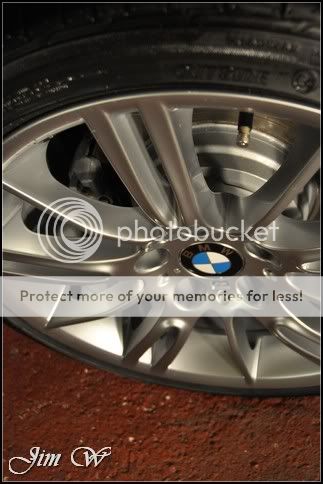
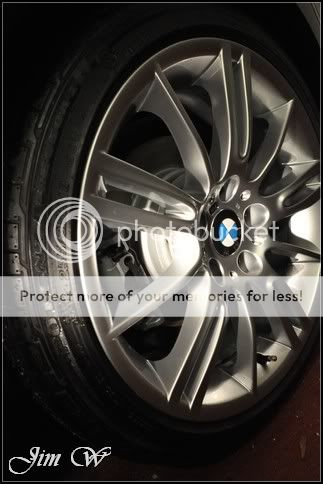
Renowned for their corroded brake assembly, this BMW was no different.


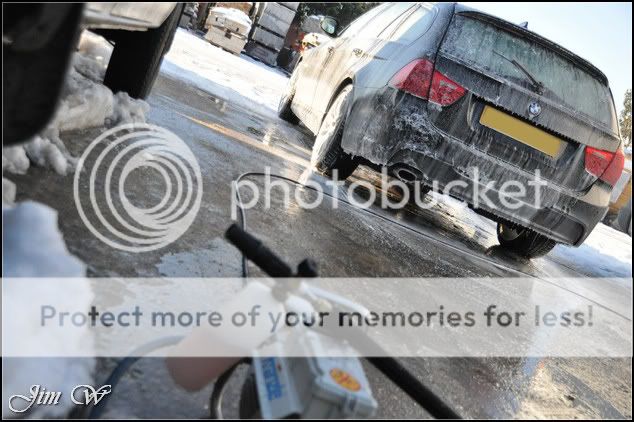
For the wash stages the camera took a back seat; it was well into minus double-figures out there and my fingers could barely operate the pressure washer nevermind a fiddly camera.
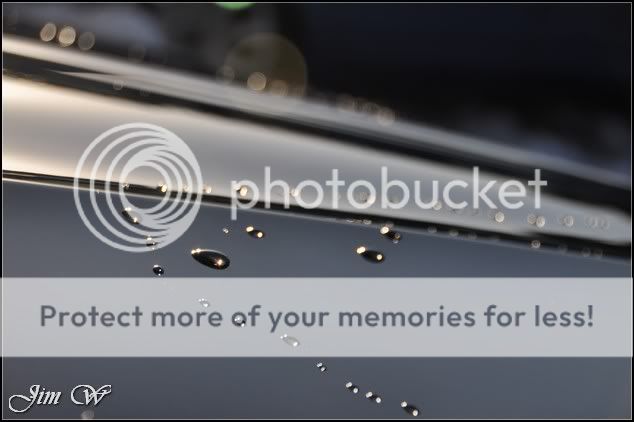
See here, the pre-foam that was delivered to help safely remove any surface dirt froze pretty much straight away!
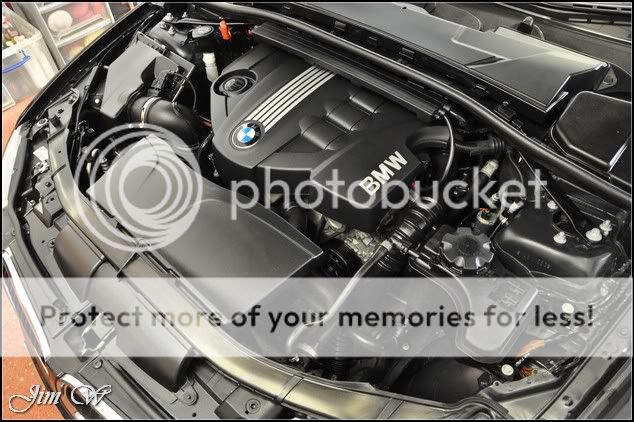
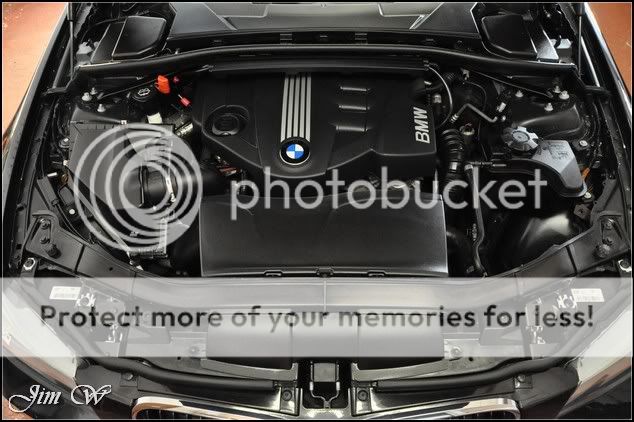
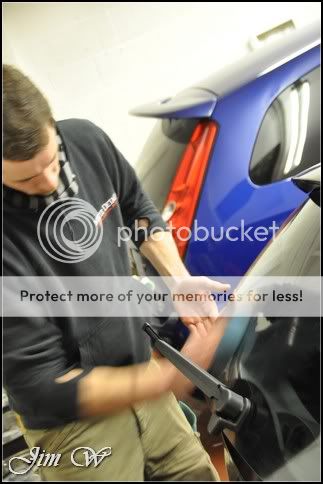
All wheels, arches, the engine-bay and bodywork were washed with the usual safe methods.
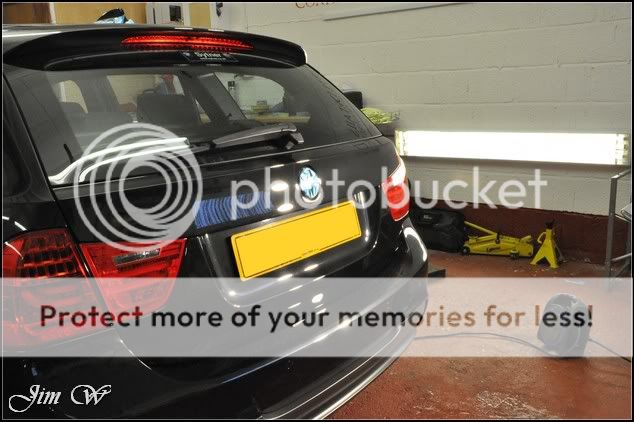
Bringing the car inside to clay, I found there was very little in way of contamination. One or two tough areas on the roof and the rear quarters but overall, a clean car.
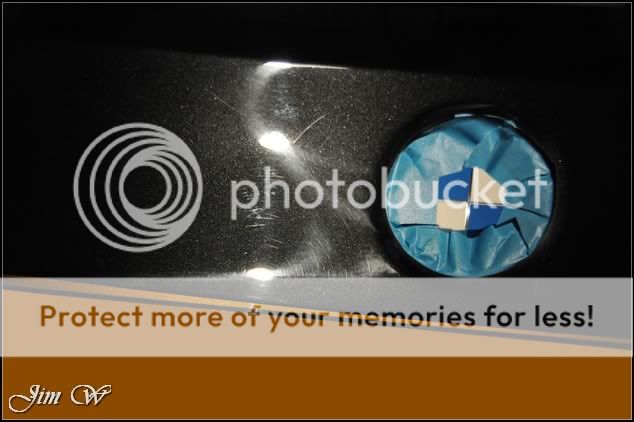
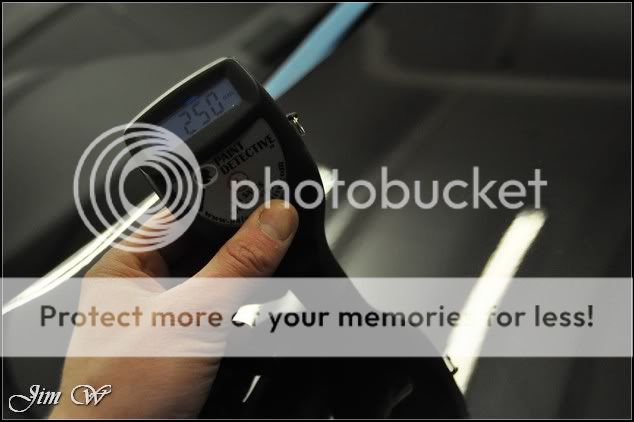
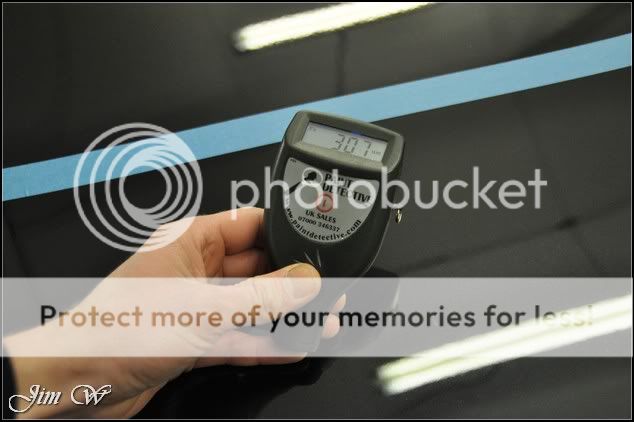
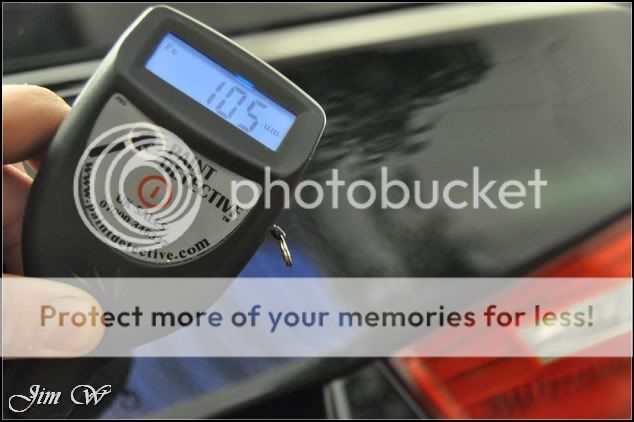
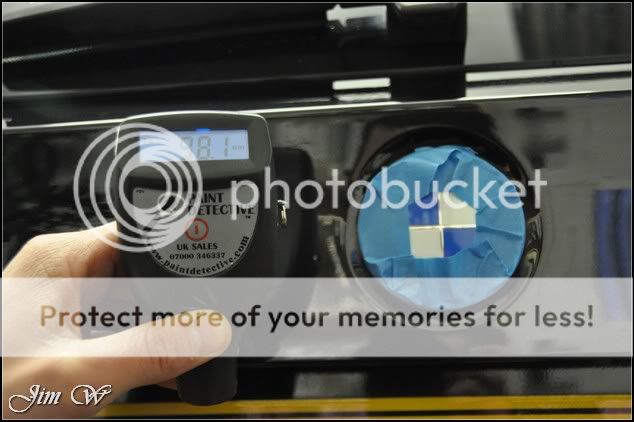
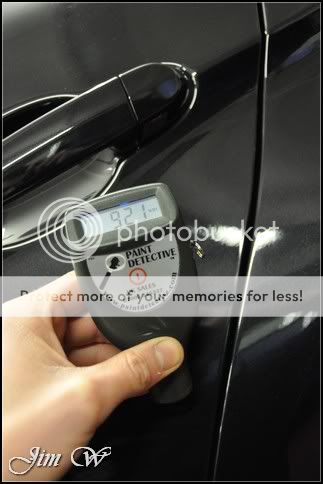
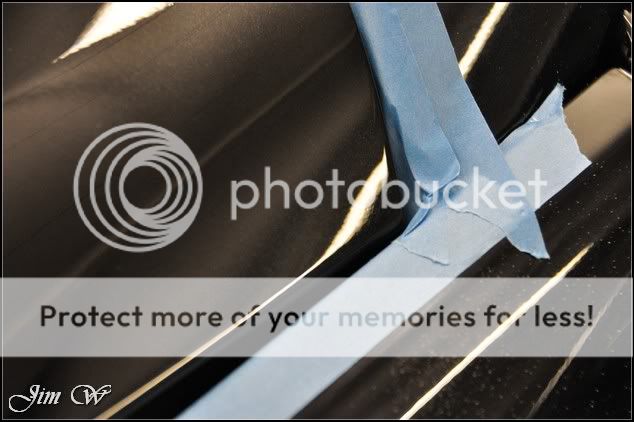
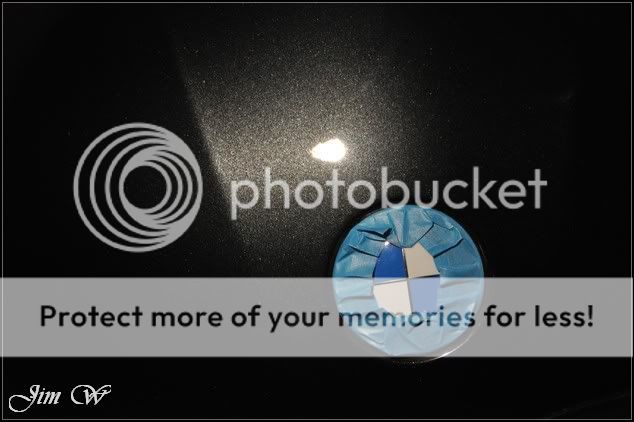
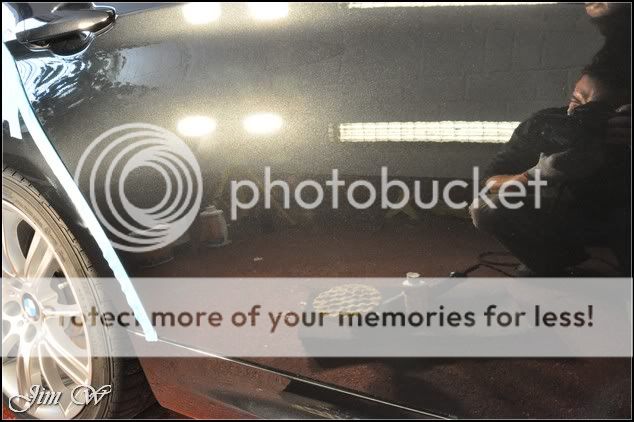
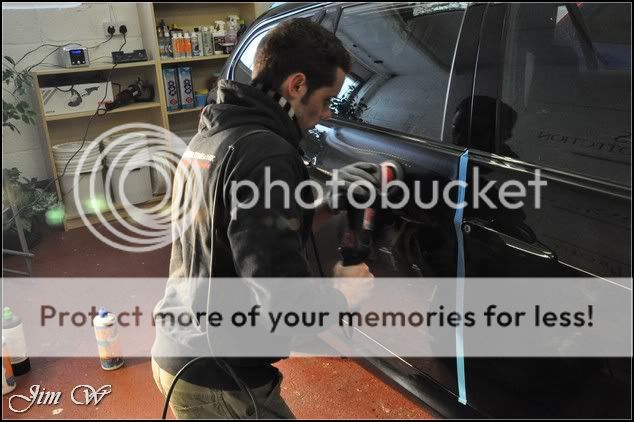
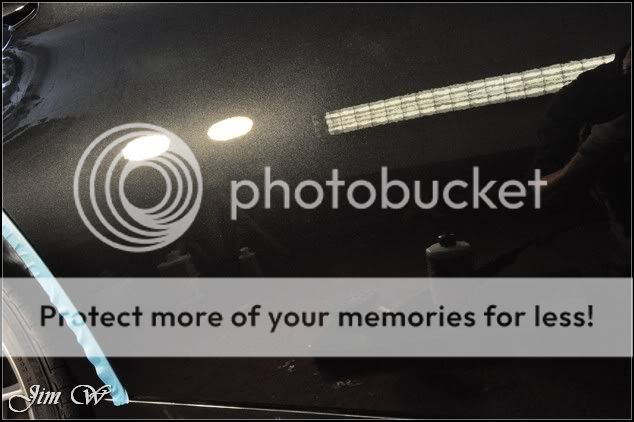
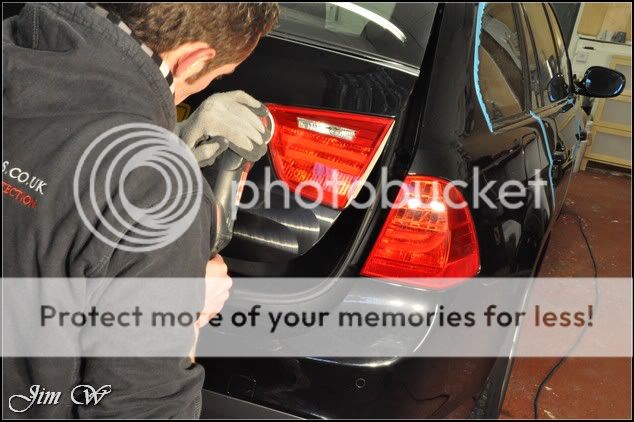
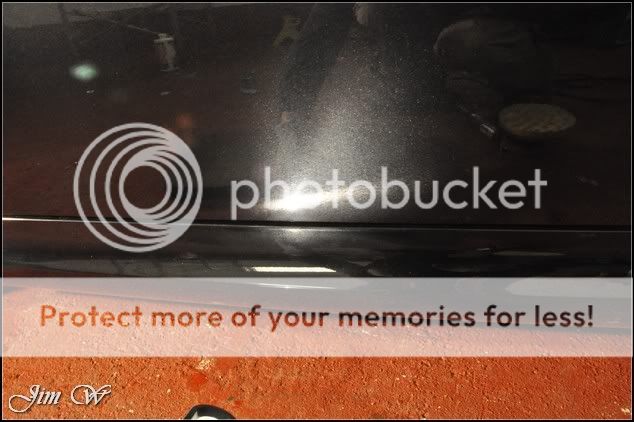
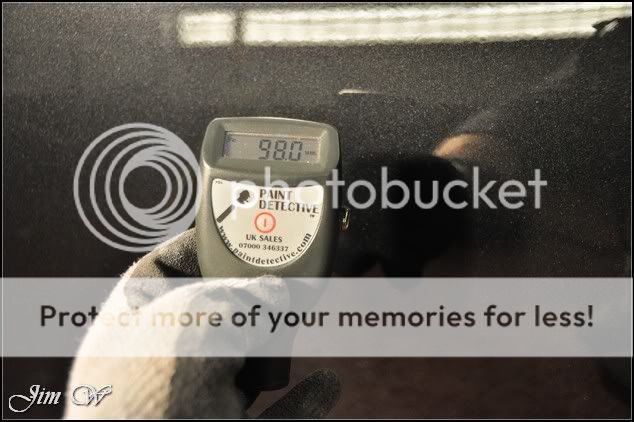
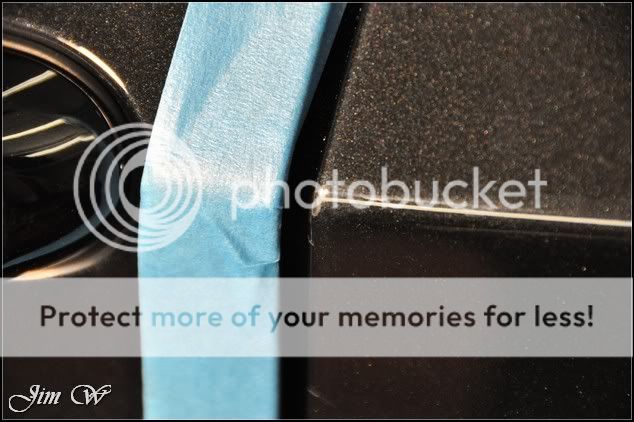
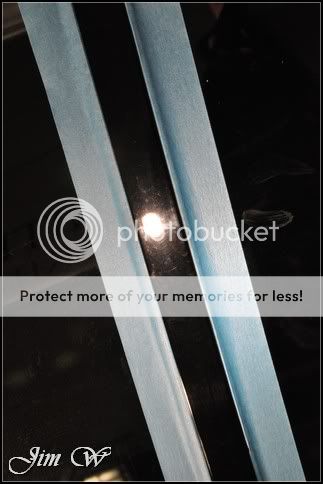
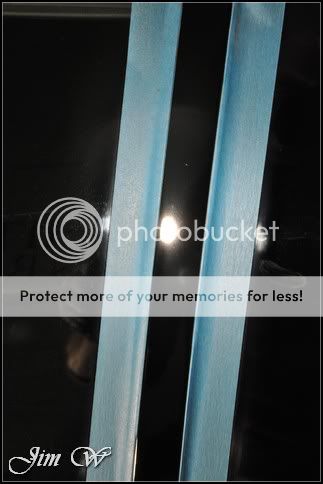
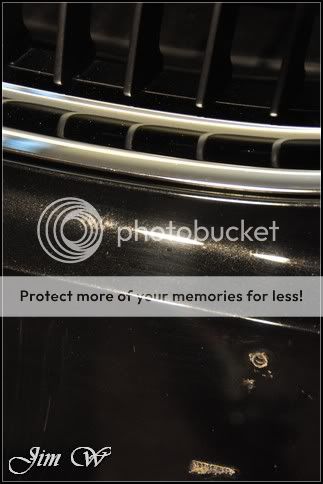
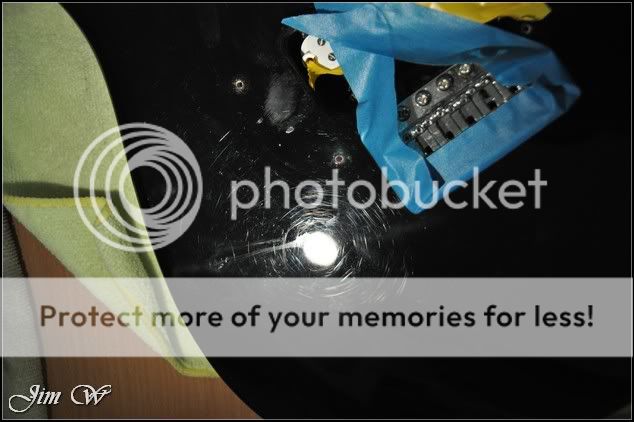
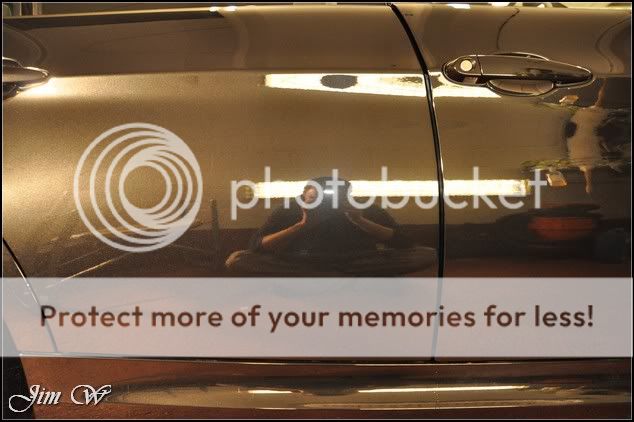
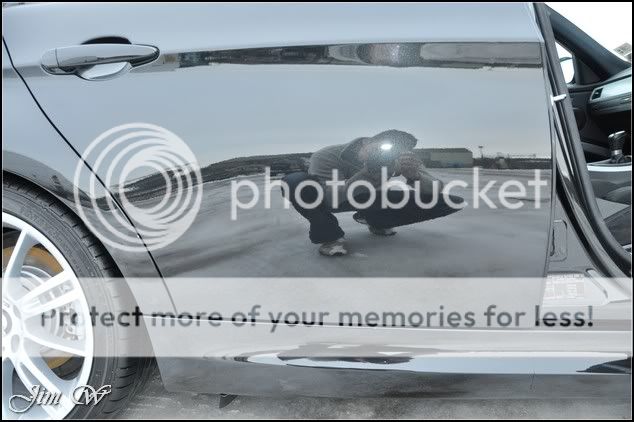
After covering a few pieces of trim to protect them from the rotary pads, it was time to take a better look at the paint condition:

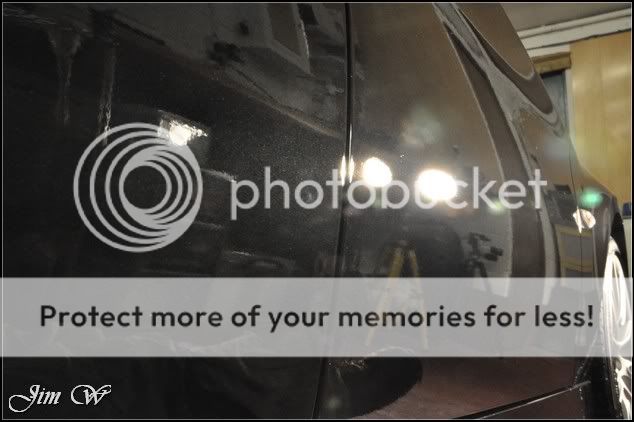
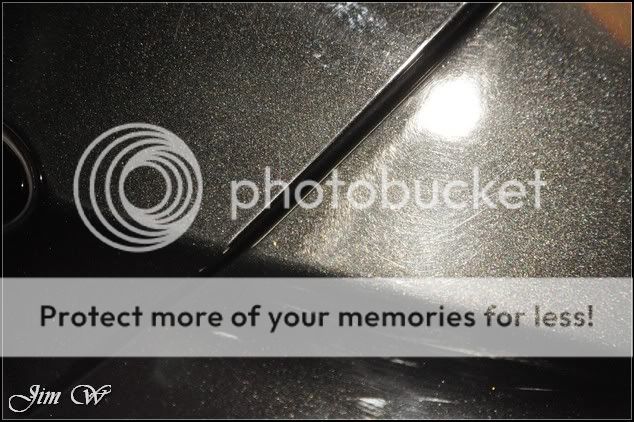
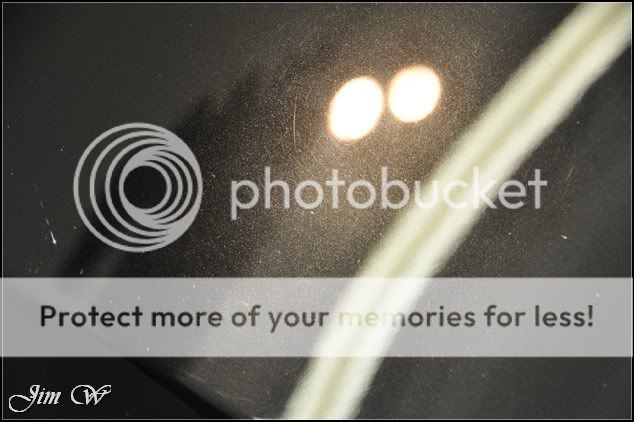
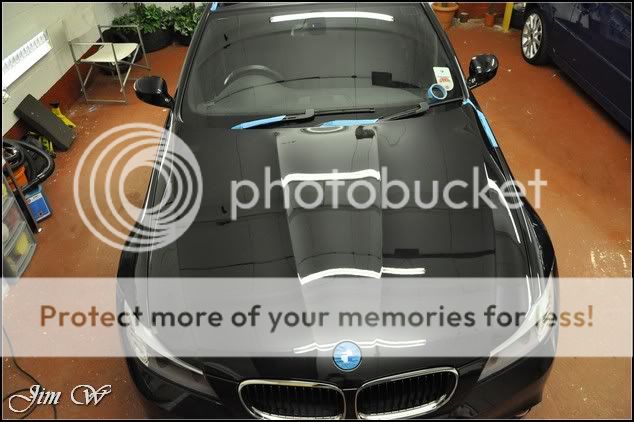
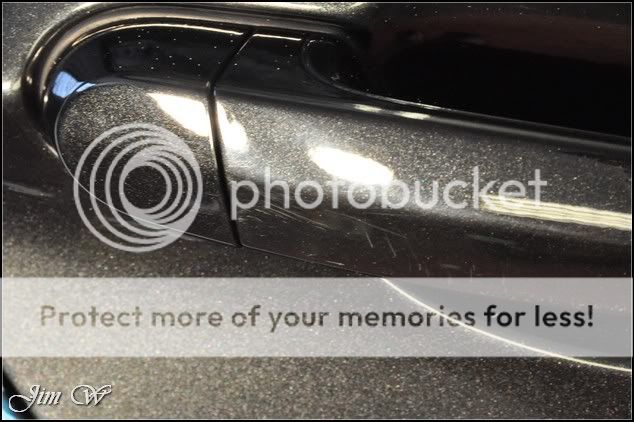
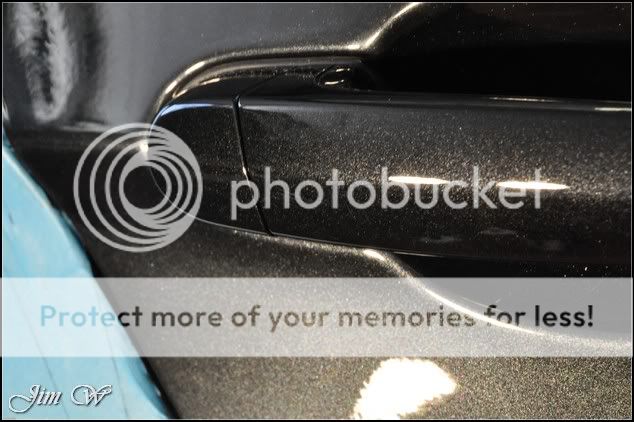
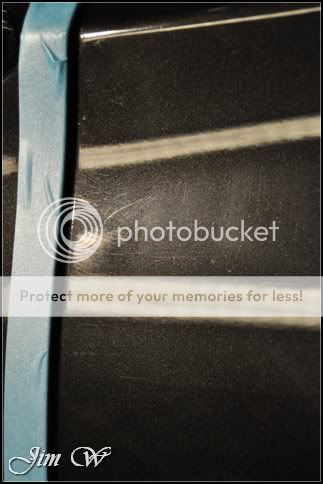
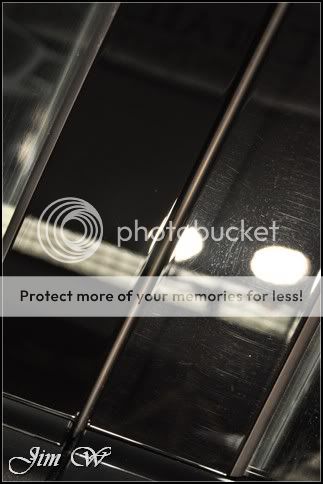
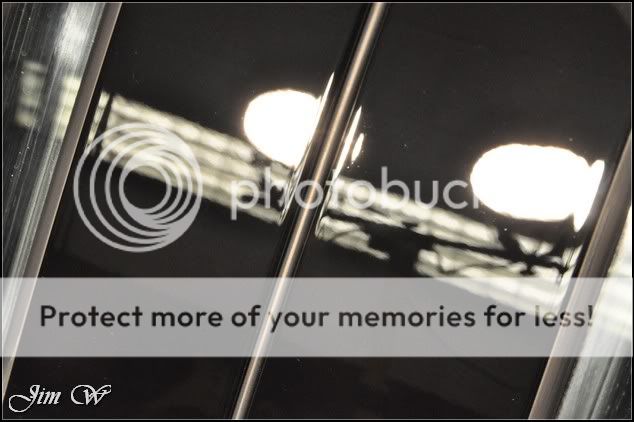
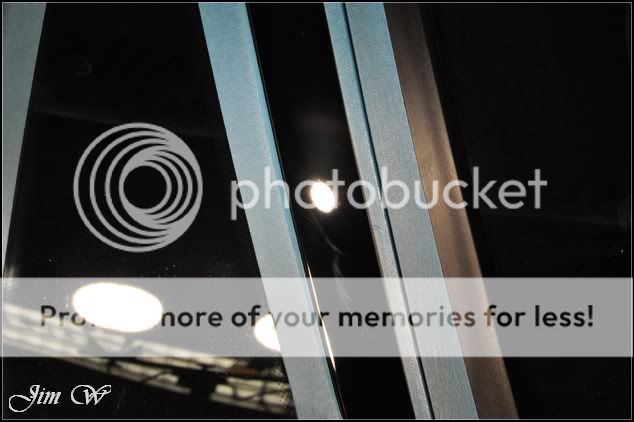
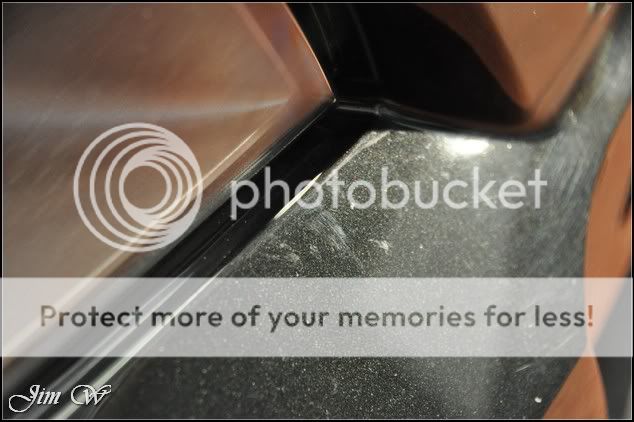
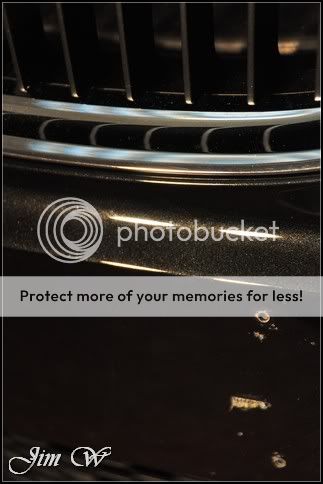
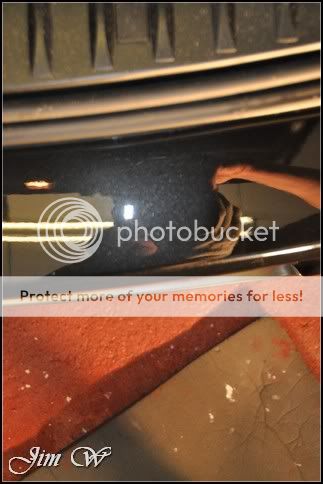
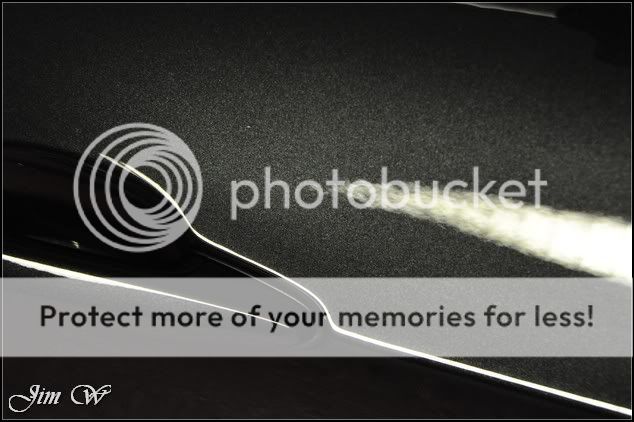
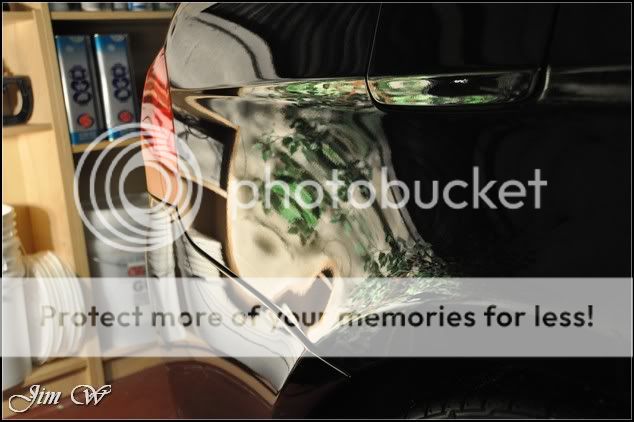
Several areas suffered badly from hazing and micro-marring caused by previous machine polishing/bodyshop work.
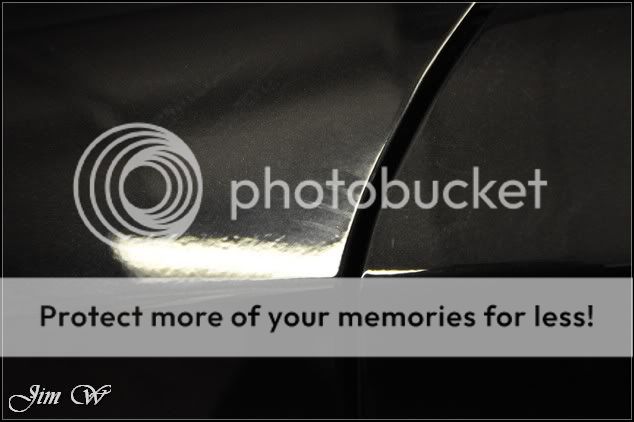
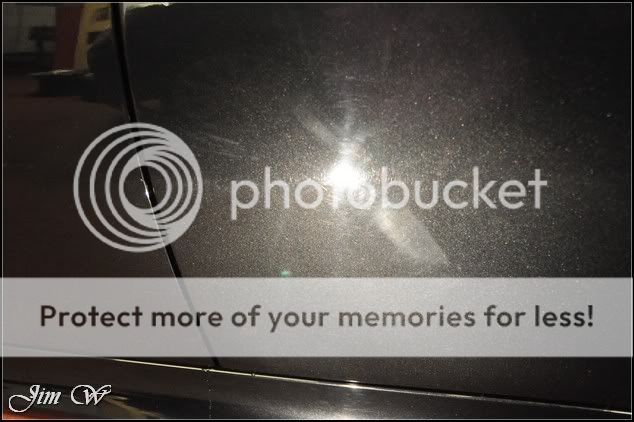
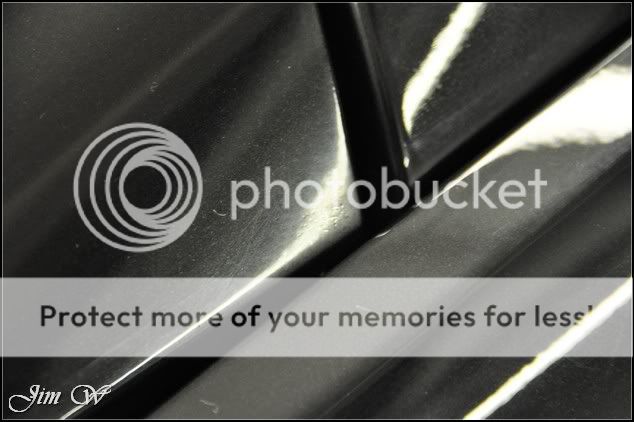
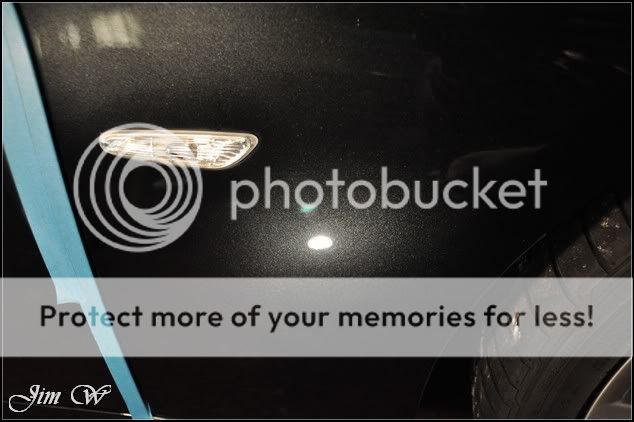
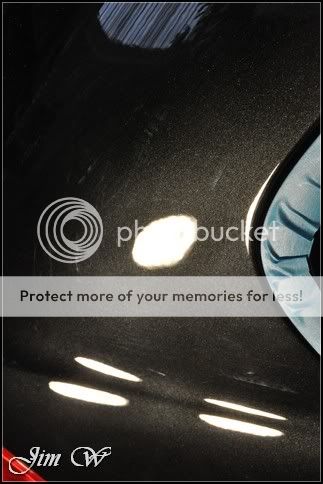
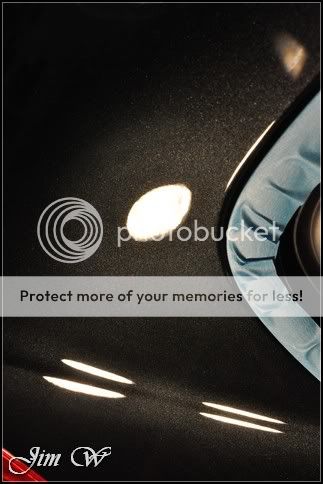
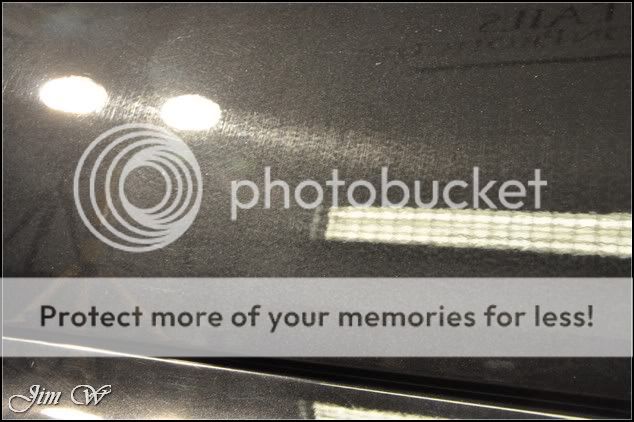
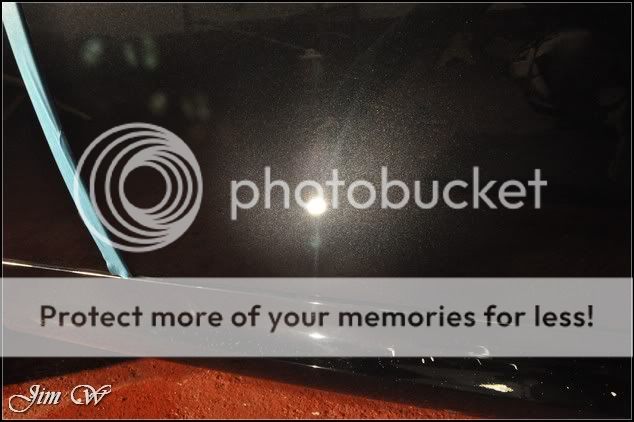
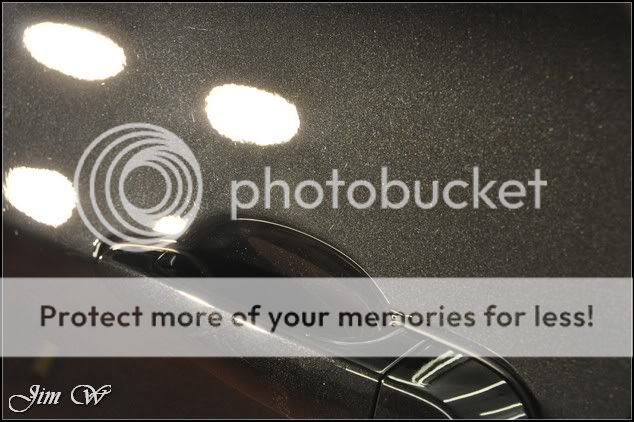
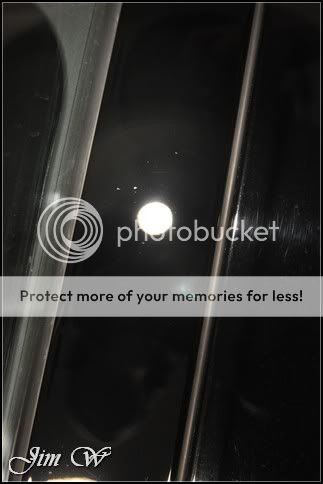
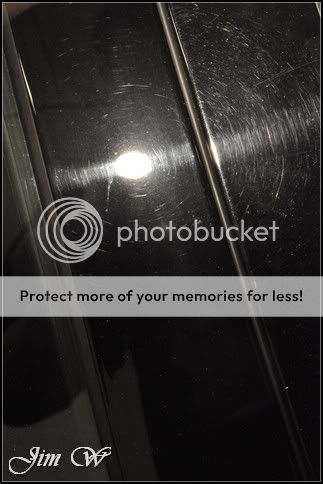
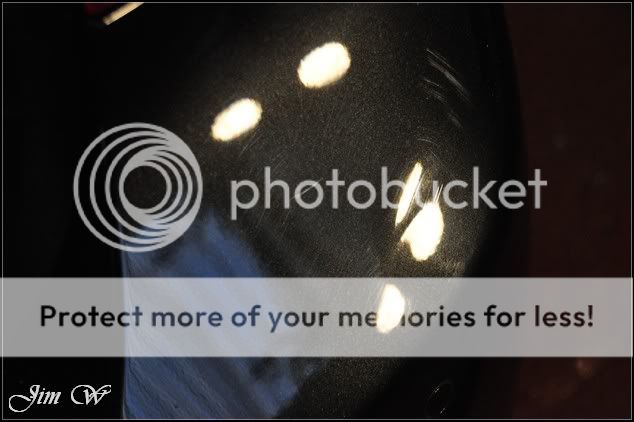
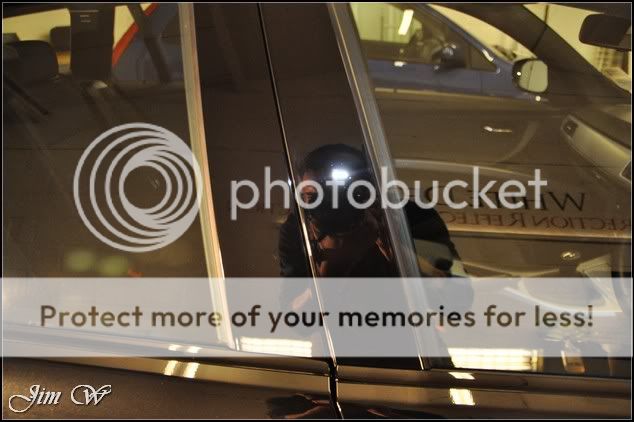
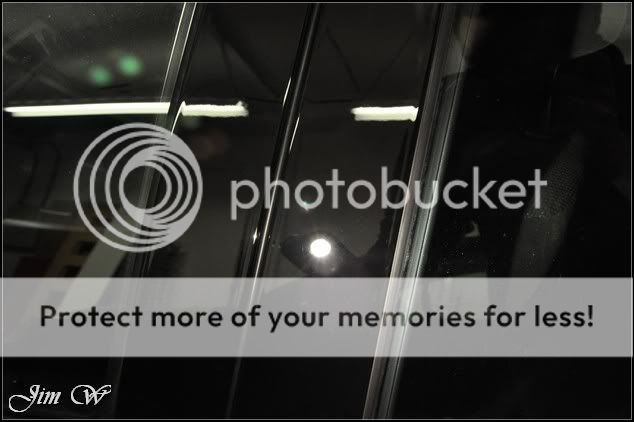
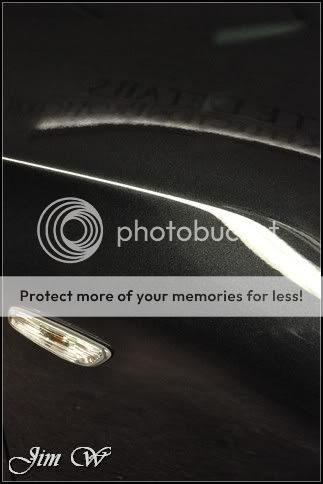
Two strange dull patches just above and below the camera flash:

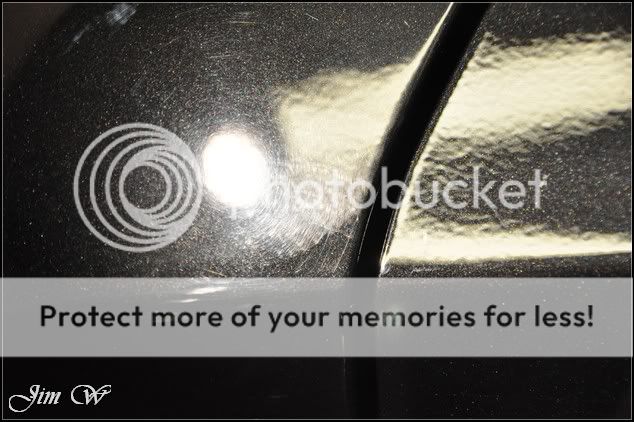
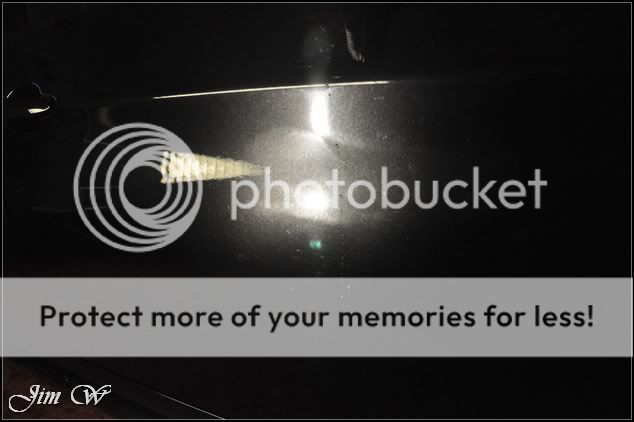
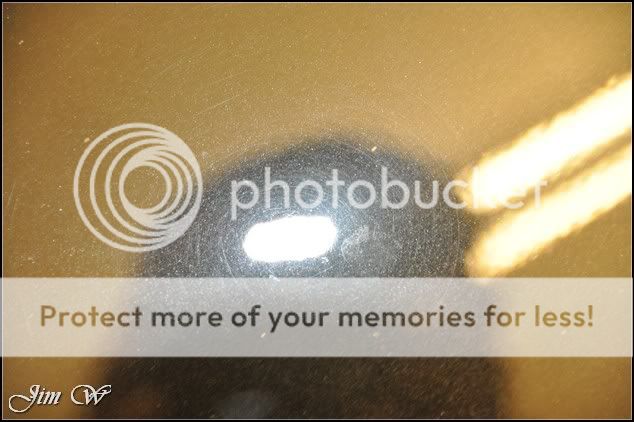
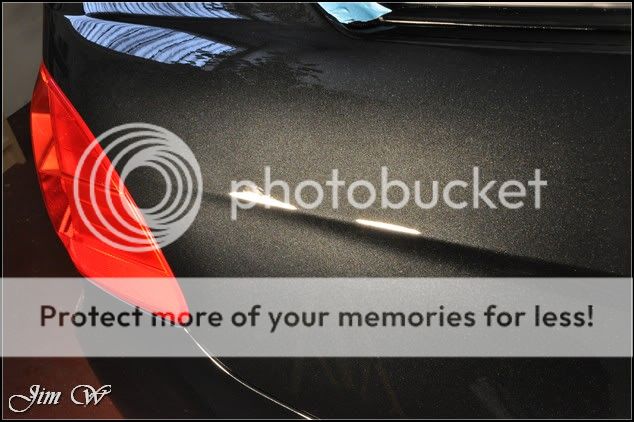
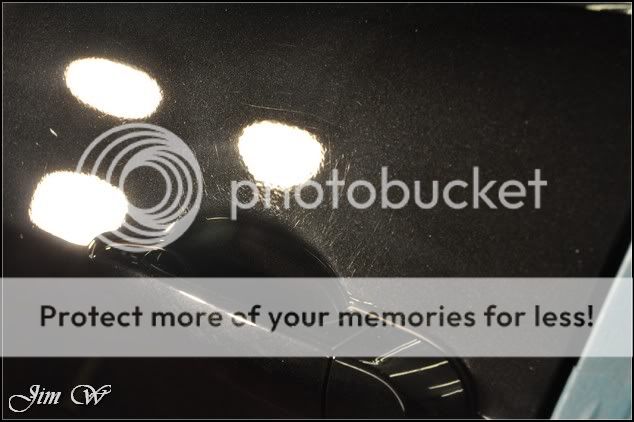
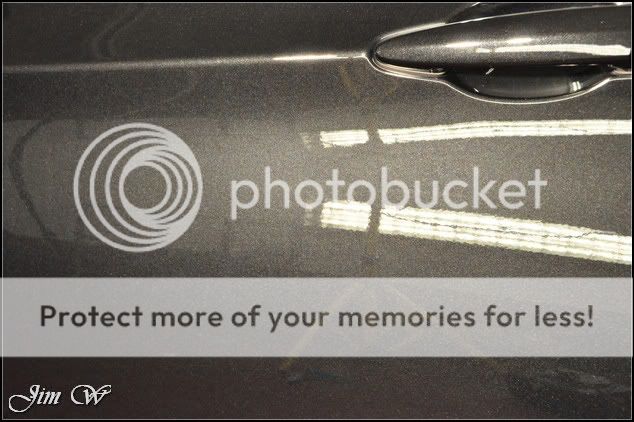
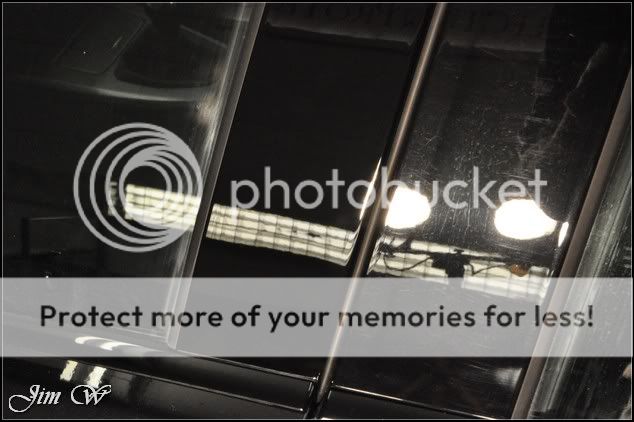
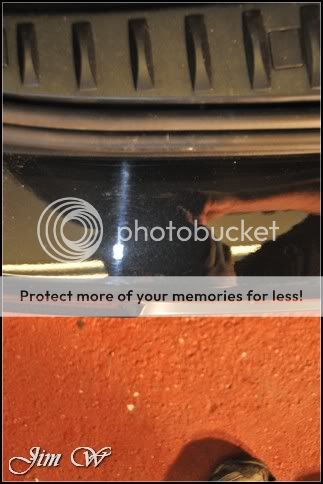
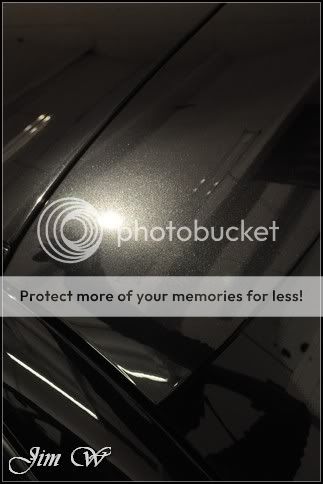
Buffer trails from previous machine polishing:
Thursday 2nd December, my customer collects his new car (a 2008 e92 320d M-Sport Tourer with 25k on the clocks) from the BMW dealership.
Monday 6th December, the car is handed over to WhiteDetails to give it that like new feeling.
Arrangements were made so that whilst the customer was in Europe on a work visit, the car would be left with me for a week and on their arrival back in the Country Id offer a pick-up service from the airport to take them straight back to the fully prepped car
Its going to be a big report this, some 200 photos; I will try to summarise the job in a handful of images before going on to write the usual in-depth report.
Summary
After collection from the BMW dealer, the car was garage until the 5th and then driven direct to WhiteDetails.
Inspection/Processes/After:
In-depth
Product
3M Glass Cleaner
3M Ultrafina
3M Fast Cut+
AutoGlym Vinyl and Rubber Care
AutoSmart G101
AutoSmart Tardis
Autosol
Brake Cleaner
Belgom ALU
Chemical Guys JetSEAL 109
Dodo Juice Born To Be Mild
Elite Mild Grade Clay Bar
G-Techniq G1 & G2 Glass Sealant
Hammerite Smooth Silver high-temp paint
Iron-X
Jeffs Werkstat Jett Trigger
Jeffs Werkstat GLOS
Meguiars Last Touch
Meguiars Super Degreaser
Meguiars All Season Dressing
Menzerna 85 RD 3.02 Power Finish
Menzerna 106FA
Optimum No Rinse
Full inspection:
Renowned for their corroded brake assembly, this BMW was no different.
For the wash stages the camera took a back seat; it was well into minus double-figures out there and my fingers could barely operate the pressure washer nevermind a fiddly camera.
See here, the pre-foam that was delivered to help safely remove any surface dirt froze pretty much straight away!
All wheels, arches, the engine-bay and bodywork were washed with the usual safe methods.
Bringing the car inside to clay, I found there was very little in way of contamination. One or two tough areas on the roof and the rear quarters but overall, a clean car.
After covering a few pieces of trim to protect them from the rotary pads, it was time to take a better look at the paint condition:
Several areas suffered badly from hazing and micro-marring caused by previous machine polishing/bodyshop work.
Two strange dull patches just above and below the camera flash:
Buffer trails from previous machine polishing:


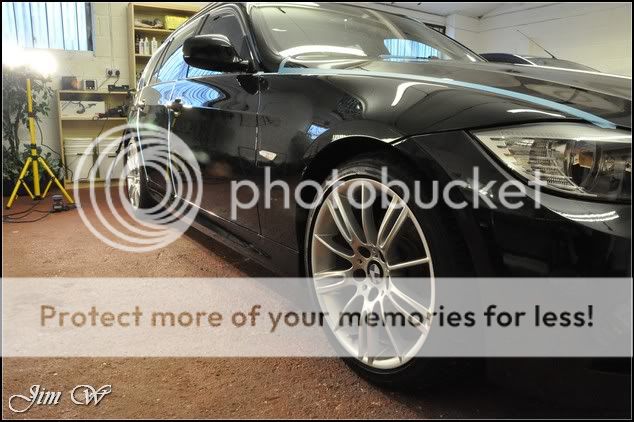


 Very impressed!