

Jimmeh
Registered User
Hi all. Another VAG entry for you!
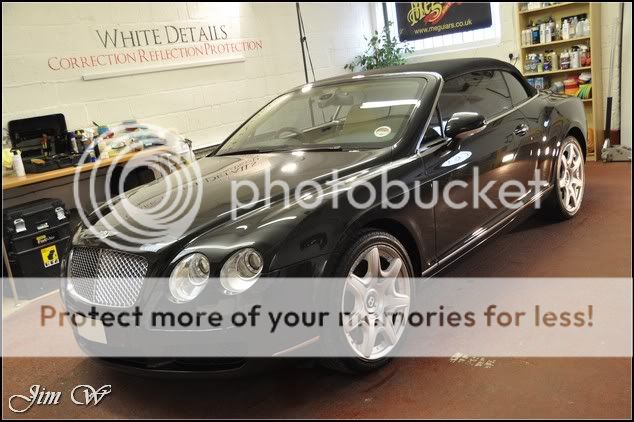
Bentley Continental GTC â Diamond Black. A 30+ hour âWhite Detailâ
Time is money. Because of that, the car in question visits the local handwash station most weeks as itâs too easy. £20, ten minutes⦠Job done! The trouble is, as we all know, both the automated and hand-wash stations do no go for our cars in the long run. If itâs not the array of scratches left on the surface then itâs the strong acidic cleaners that will corrode and damage any britework, trim, polished wheels and other delicate areas.
The Bentley was booked in to be brought back to âbetter than newâ.
Car came to me on recommendation from the previous Diamond Black Continental that Iâd worked on:

Video highlights:
‪Bentley Continental GTC - WhiteDetails‬‏ - YouTube
Product
⢠303 Convertible Cleaner
⢠303 Fabric Guard
⢠3M Glass Cleaner
⢠3M Ultra Fina
⢠AutoGlym Vinyl & Rubber Care
⢠AutoSmart Hazsafe
⢠AutoSmart Reglaze
⢠AutoSmart G101
⢠AutoSmart Tardis
⢠AMDetails mild clay bar
⢠Belgom ALU
⢠Dodo Juice Born To be Mild pH neutral shampoo
⢠IPA (isopropyl alcohol)
⢠Jeffs Werkstat Acrylic Prime
⢠LTT Auto Ultra Foam
⢠LTT Auto Ultra Protect
⢠Meguiars All Season Dressing
⢠Meguiars Super Degreaser
⢠Menzerna 106 FA Final Finish
⢠Menzerna 203 Power Finish
⢠Menzerna 3.02 Intensive Polish
⢠Menzerna S500 Fast Gloss
⢠Raceglaze Black Label Concours Wax
On inspection:


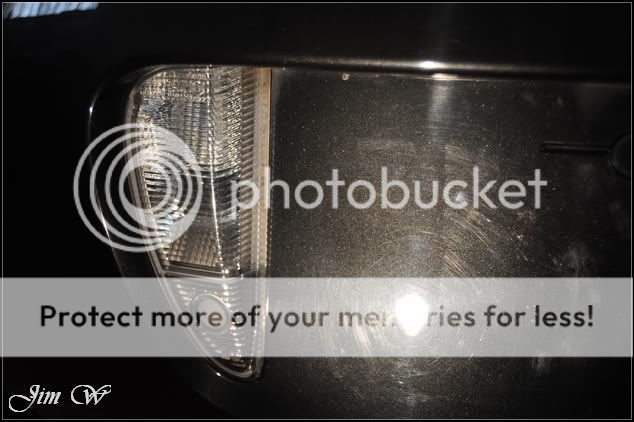
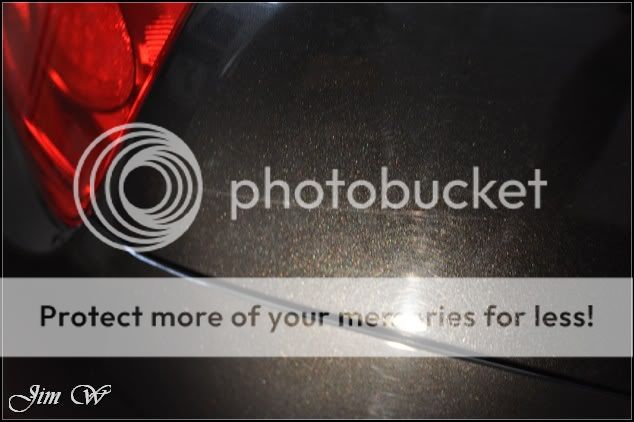
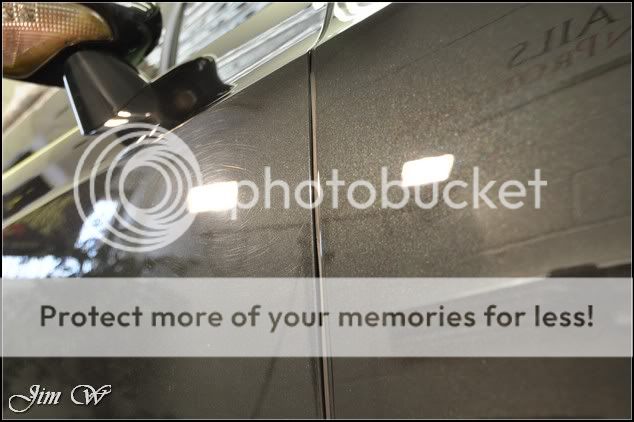
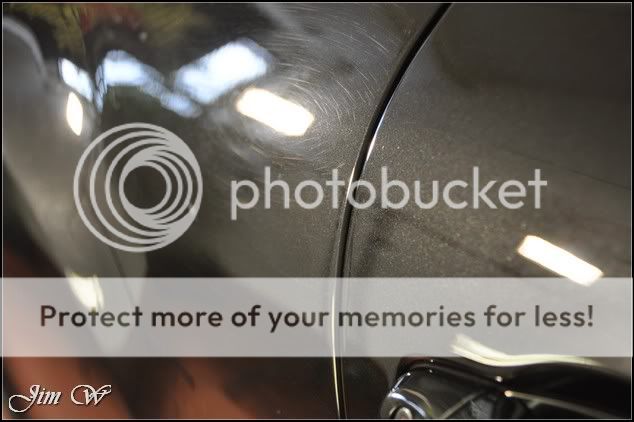
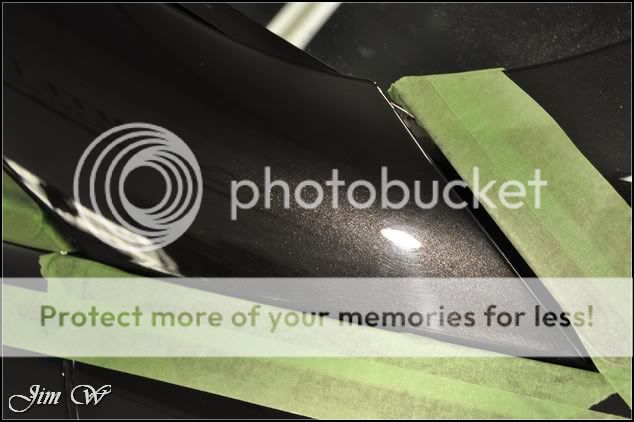
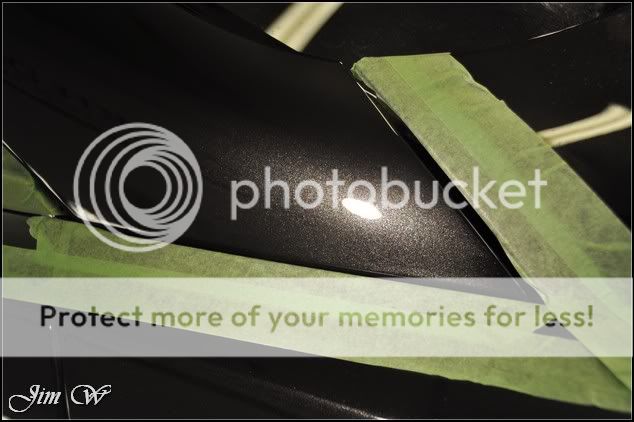
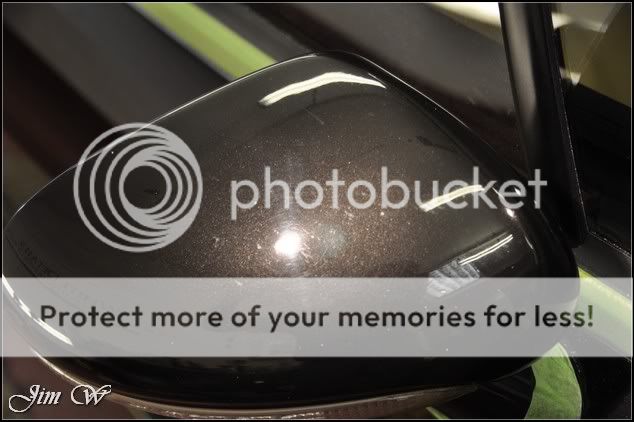
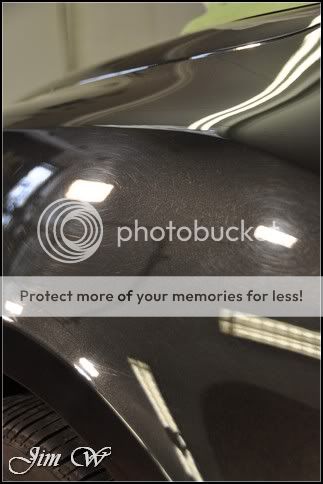
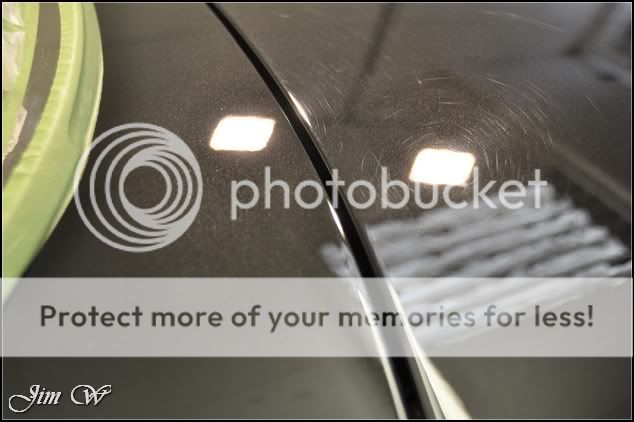
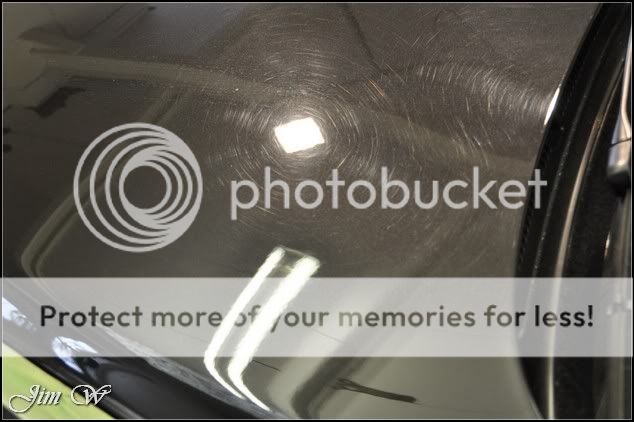
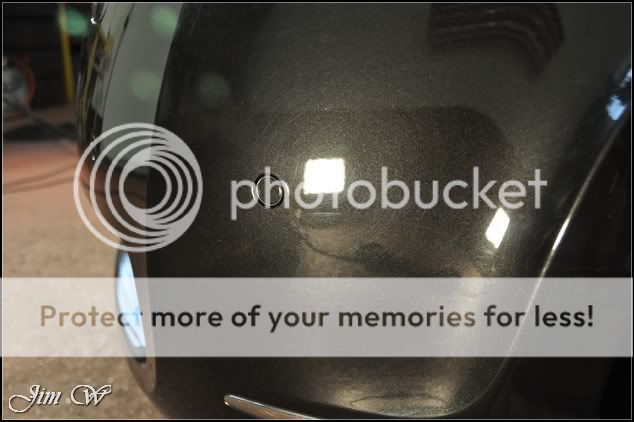
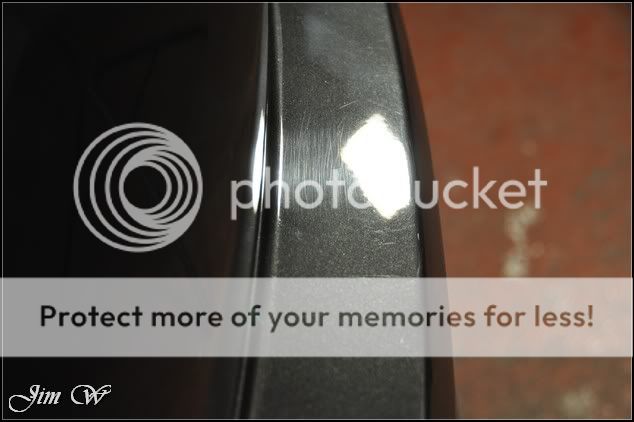
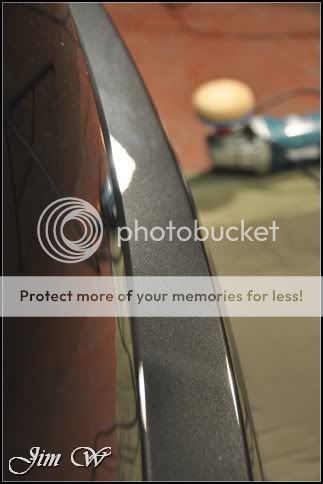
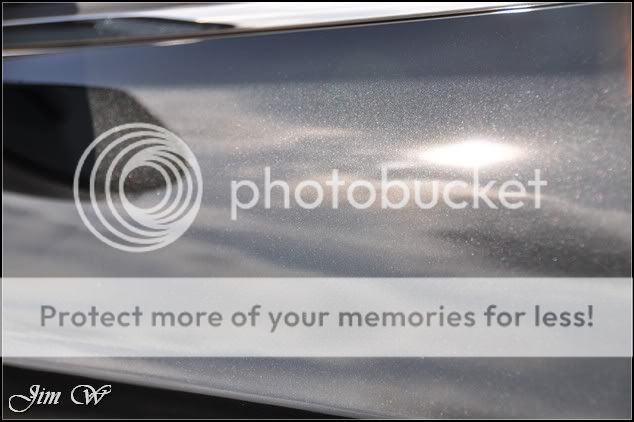
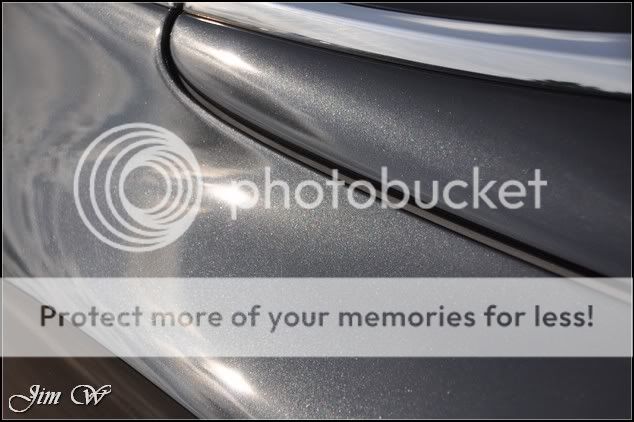
Swirling and random scratches:


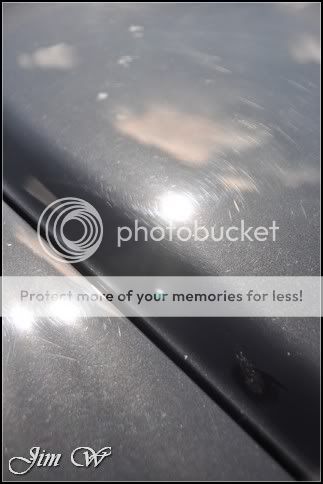

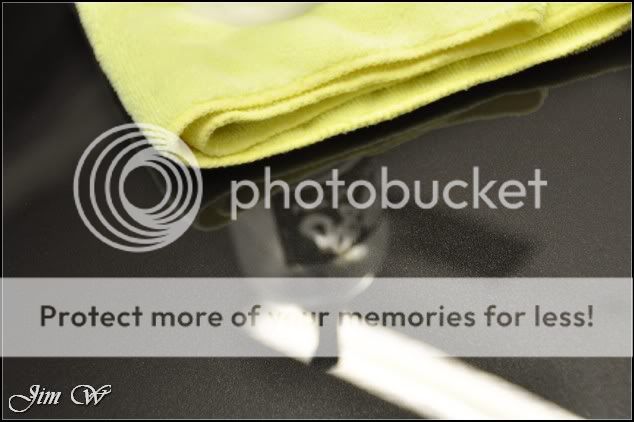
Polish residues from previous sessions:


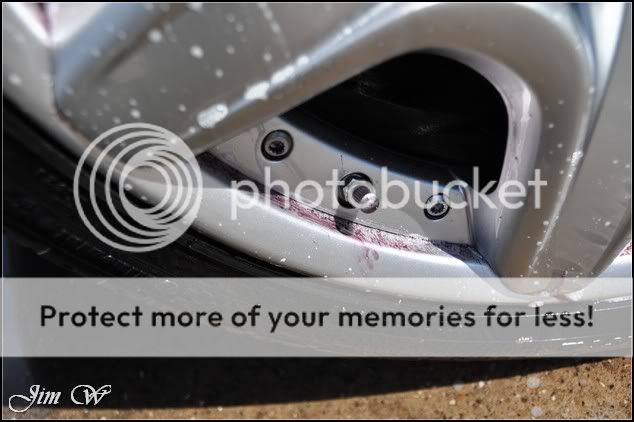
Itâs worth noting that the wheels were being sent for a refurb the following week.
Cleaned with Bilberry safe wheel cleaner, tar deposits treated to AutoSmart Tardis and metal filings lifted with Iron-X:

Tyres soaked and scrubbed to lift engrained dirt and arches flushed with Meguiars Super Degreaser.
Convertible hood wetted, 303âs cleaner applied and agitated with an AutoGlym fabric sponge. Rinsed at low pressure.
Front end, mirror caps and windscreen covered in AutoSmart Hazsafe to soften the bug remains. Rest of the vehicle was foamed to help lift surface dirt before a thorough pressure wash session to remove as much âdamage materialâ off of the bodywork as possible.
Using a merino washmit, Dodo Born To Be Mild and the two bucket approach, the car was washed from top down.

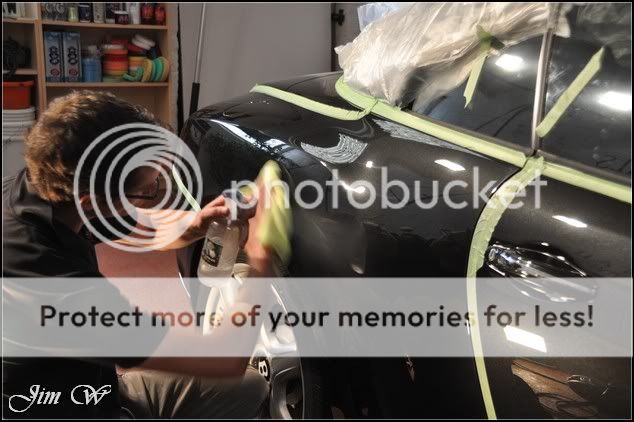
Tar deposits dissolved with AutoSmart Tardis (always tough to spot on a black car!)


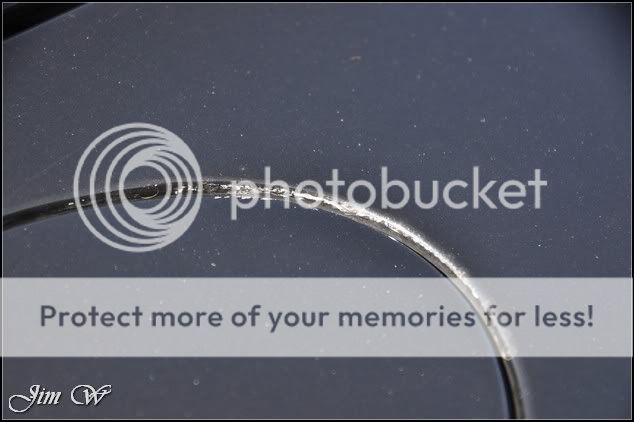
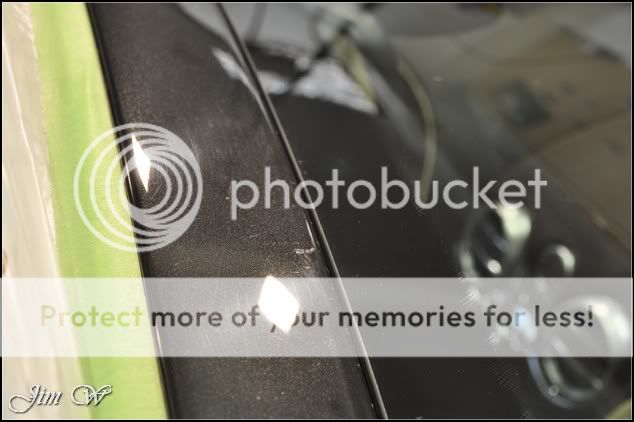
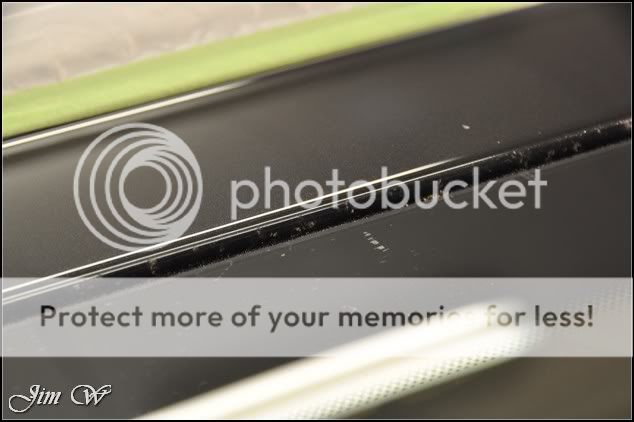
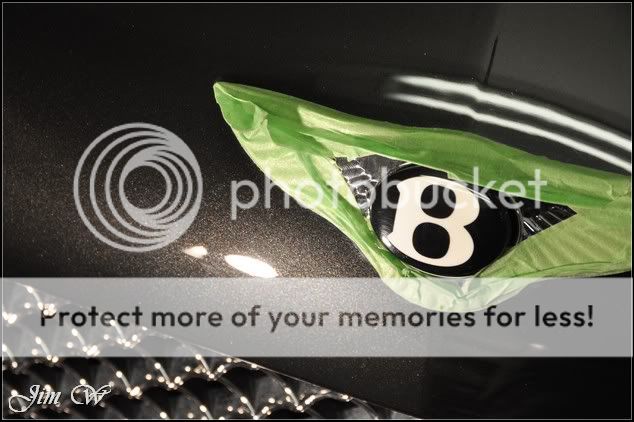
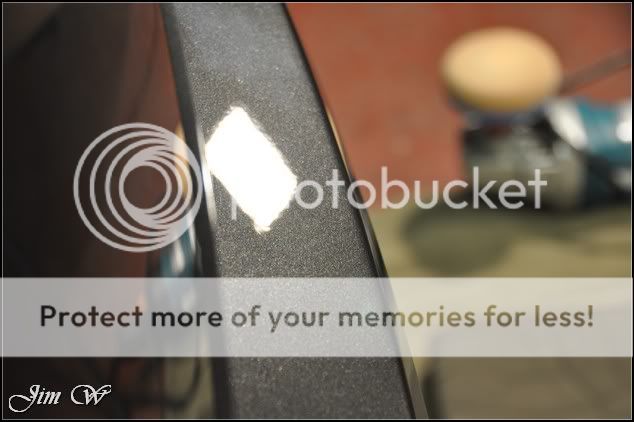
I noticed the lower metal trim pieces were âorangedâ at the top. Lots of inorganic build-up that needed removing⦠20 seconds after applying Iron-X, itâs clear that it was a worthwhile job (product is clear but turns purple/red as it begins to break down any stubborn, baked on particles)


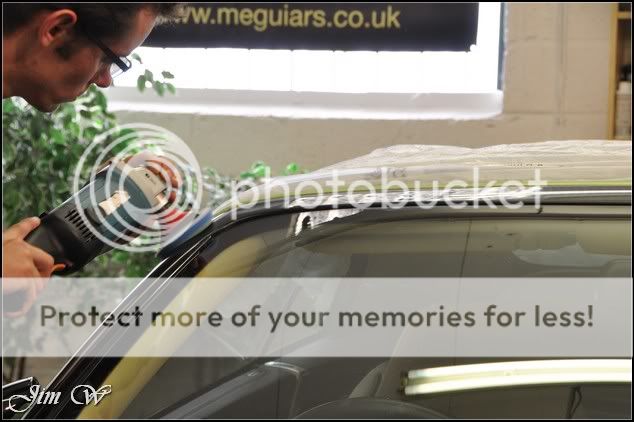
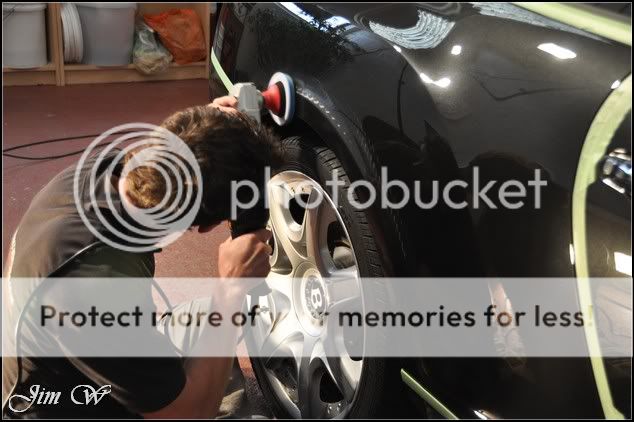
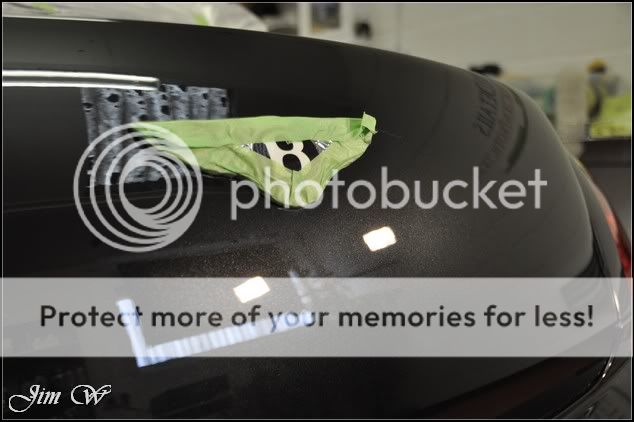
With half of the decontamination process complete, it was time to pull the car indoors for claying â the removal of organic surface contaminants.

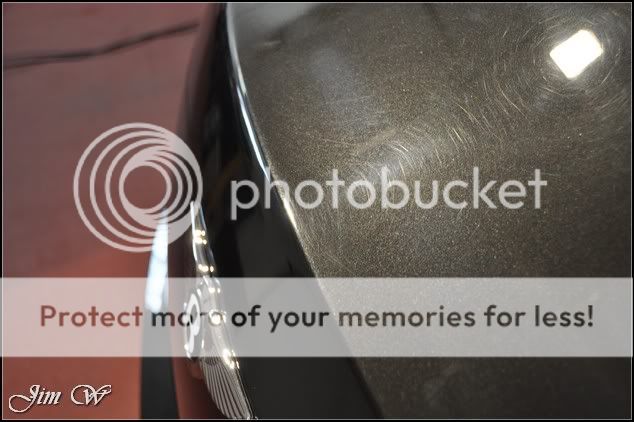
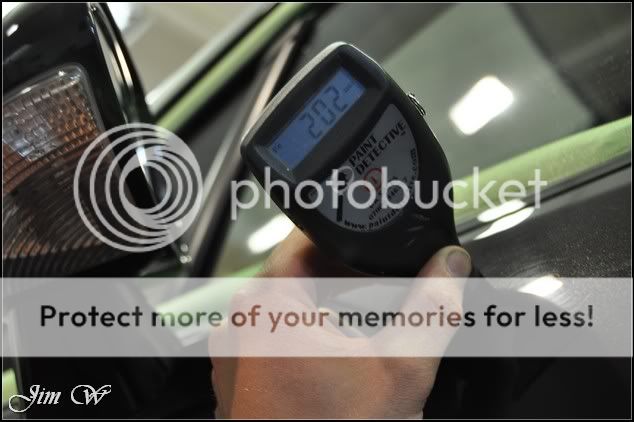
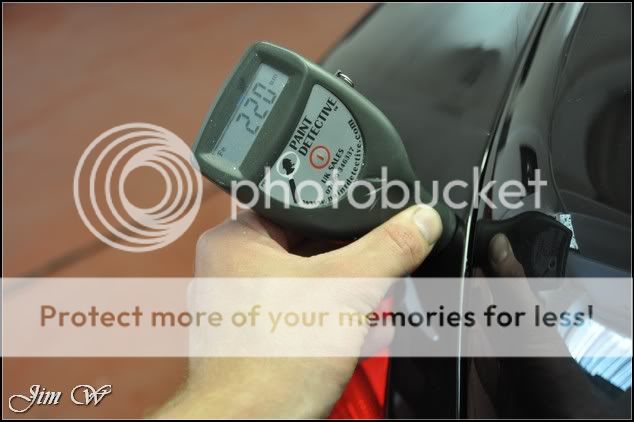
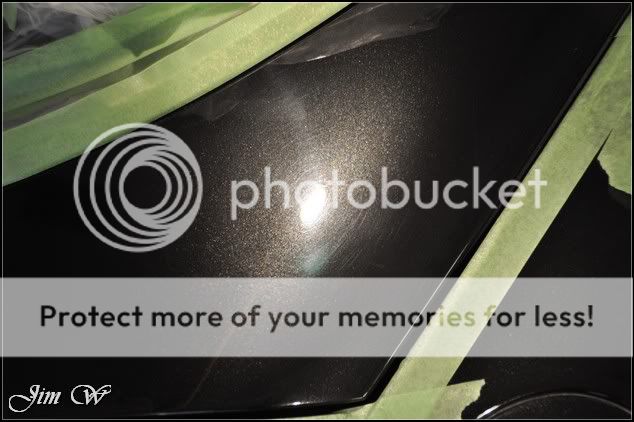
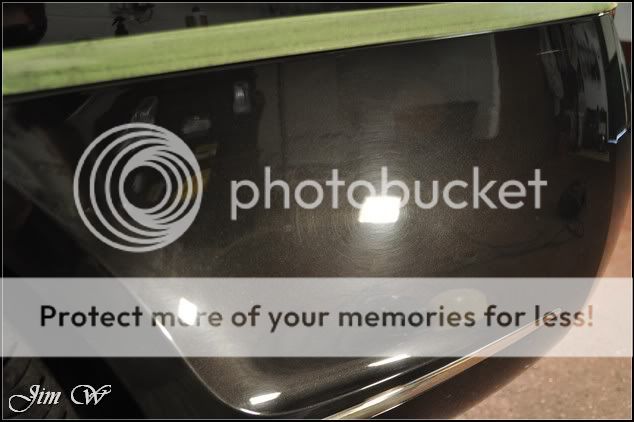
Outside for a glance at the defects in the mid-morning sun:


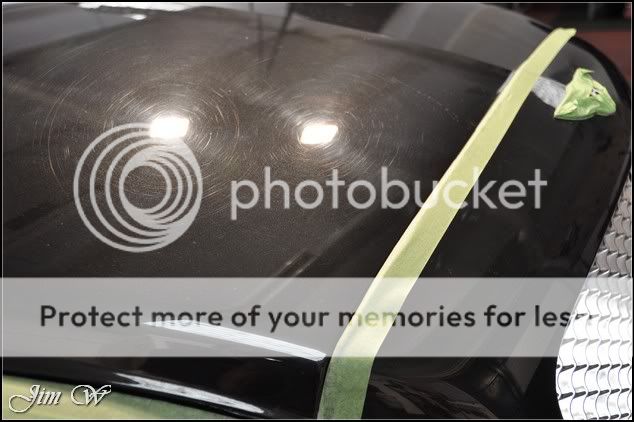
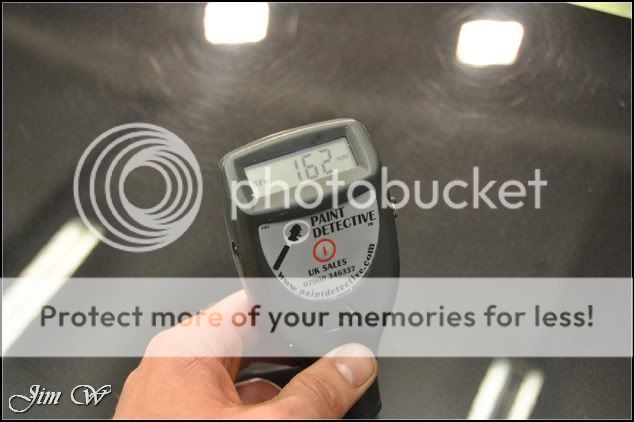
Now under the forced artificial lighting:


Bentley Continental GTC â Diamond Black. A 30+ hour âWhite Detailâ
Time is money. Because of that, the car in question visits the local handwash station most weeks as itâs too easy. £20, ten minutes⦠Job done! The trouble is, as we all know, both the automated and hand-wash stations do no go for our cars in the long run. If itâs not the array of scratches left on the surface then itâs the strong acidic cleaners that will corrode and damage any britework, trim, polished wheels and other delicate areas.
The Bentley was booked in to be brought back to âbetter than newâ.
Car came to me on recommendation from the previous Diamond Black Continental that Iâd worked on:
Video highlights:
‪Bentley Continental GTC - WhiteDetails‬‏ - YouTube
Product
⢠303 Convertible Cleaner
⢠303 Fabric Guard
⢠3M Glass Cleaner
⢠3M Ultra Fina
⢠AutoGlym Vinyl & Rubber Care
⢠AutoSmart Hazsafe
⢠AutoSmart Reglaze
⢠AutoSmart G101
⢠AutoSmart Tardis
⢠AMDetails mild clay bar
⢠Belgom ALU
⢠Dodo Juice Born To be Mild pH neutral shampoo
⢠IPA (isopropyl alcohol)
⢠Jeffs Werkstat Acrylic Prime
⢠LTT Auto Ultra Foam
⢠LTT Auto Ultra Protect
⢠Meguiars All Season Dressing
⢠Meguiars Super Degreaser
⢠Menzerna 106 FA Final Finish
⢠Menzerna 203 Power Finish
⢠Menzerna 3.02 Intensive Polish
⢠Menzerna S500 Fast Gloss
⢠Raceglaze Black Label Concours Wax
On inspection:
Swirling and random scratches:
Polish residues from previous sessions:
Itâs worth noting that the wheels were being sent for a refurb the following week.
Cleaned with Bilberry safe wheel cleaner, tar deposits treated to AutoSmart Tardis and metal filings lifted with Iron-X:
Tyres soaked and scrubbed to lift engrained dirt and arches flushed with Meguiars Super Degreaser.
Convertible hood wetted, 303âs cleaner applied and agitated with an AutoGlym fabric sponge. Rinsed at low pressure.
Front end, mirror caps and windscreen covered in AutoSmart Hazsafe to soften the bug remains. Rest of the vehicle was foamed to help lift surface dirt before a thorough pressure wash session to remove as much âdamage materialâ off of the bodywork as possible.
Using a merino washmit, Dodo Born To Be Mild and the two bucket approach, the car was washed from top down.
Tar deposits dissolved with AutoSmart Tardis (always tough to spot on a black car!)
I noticed the lower metal trim pieces were âorangedâ at the top. Lots of inorganic build-up that needed removing⦠20 seconds after applying Iron-X, itâs clear that it was a worthwhile job (product is clear but turns purple/red as it begins to break down any stubborn, baked on particles)
With half of the decontamination process complete, it was time to pull the car indoors for claying â the removal of organic surface contaminants.
Outside for a glance at the defects in the mid-morning sun:
Now under the forced artificial lighting:


")
