Backdraft Motorsport S3 Endurance Race Car build

I think most of the parts that come off the car will be up for sale but not until we know we definitely dont need them! We are using an OBP pedal box with potentiometer for the drive by wire throttle. Are you needing a std pedal box and other bits Alex?

Pictures of the door swaging:

IMG_0363.jpg


IMG_0362.jpg


By removing the side protection and swages we have saved nearly 20KG on the doors. We still have the polycarbonate windows to go back in though. We have also done quite a few swages on the tail gate area and rear arches, as well as the gear shift platform etc etc. All can be seen on the pictures above.
 
We are using an OBP pedal box with potentiometer for the drive by wire throttle.

Do you use the OBP pedal boxes in your other cars? When I was choosing floor mounted pedal boxes for my project I heard alot of bad things about theirs breaking and what not when used heavily so I went for a tilton one instead.. Thanks
 
Eng4.jpg

Block face machined down to get the perfect finish.


The block has been completly overhauled with a lot of time spent machining to get rid of any rust and defects. It's then painted to look as new. We are able to get a really good finish.


Cylinders have been taken to 0.5mm oversize and are nicley honed.

Cast Iron Block??
 
Very neat, looks like a lot of time and effort has gone into this.
 
This is the first time we have used an OBP box and it was off the back of a recomendation from one of our suppliers. Hopfully it will be man enough for the job. The floor plate we have made is very strong and perhaps we will look at strengthening the box if needs be. The OBP box looks good so we will see how it goes and then cast our judgment!
 
Cast Iron Block??

The block is standard material, and has been finished with black wrinkle paint. A fair amount of work goes into making the surfaces on the block free of corrosion but the paint is not too expensive and can be bought on the bay for about £7-10 a can. It brings the block up like new.
 
As promissed here is some pictures on the cylinder head before and after.
So here we have the cylinder head from the origional engine as it came off the car. As you can see, it's not very pretty but it's only cosmetic.
DSCF0009.jpg


Next step, head overhaul. Exhaust and inlet ports are ported, valve guides are replaced where needed, new valve stem seals fitted, valves seats cut, new Ferrea light weight valves are lapped in and seal checked, Integrated Engineering springs and retainers fitted as well as head skimmed and chemical cleaned.

5.jpg


4.jpg

Intake flaps have been done away with and filled with plastic metal.

2.jpg


1.jpg

ARP head stud kit pulls down the head onto block.
 
  • Like
Reactions: Friendy
Over the past past few weeks we have continued work on the S3, and the parts continue rolling in. Both our race and spare gearbox have had a complete overhaul, including fitting Peloquins ATB front diffs.

IMG_0342.jpg


The spare engine is now in the engine bay for it's first dry fitting. We will be designing a custom front mount intercooler and working out cable lengths etc etc.

IMG_0387.jpg

IMG_0400.jpg

IMG_0399.jpg


We have fitted a complete set of Vibra technics 'race' engine mounts.

IMG_0390.jpg


Rear diff is fitted into the lighter R32 Ali rear subframe.

IMG_0186.jpg


Superpro Alloy arms also arrived recently. The car will be completly polly bushed with Super Pro bushes.

IMG_0402.jpg
 
  • Like
Reactions: cnahamilton
Very nice indeed...funnily enough,mine has just been fitted with the same Superpro TCA/Antilift kit and bushes......love the porthole to the engine bay!
 
Whats the revo logo doing on the front? Is that some kind of revo race thing?
 
You're going to love those arms when they're fitted....Here's a couple we prepared earlier.....
IMAG0332Copy.jpg
 
The latest addition to our S3 race car...

BDM are proud to offer a roller bearing fuel pump drive kit upgrade. This kit is a truly ‘fit and forget’ solution to the high maintenance, problematic OEM fuel pump drive system.

The OEM fuel pump is driven by a flat faced follower running off the cam shaft lobe. The problem with this design is that it’s simply overloaded and causes increased friction which accelerates wear. This causes cam follower, cam shaft and fuel pump failures and in some cases the damage is irreparable.

But now with the roller bearing fuel pump drive kit, the worry of fuel pump follower issues are a thing of the past.

IMG_0442.jpg

Roller bearing follower & reprofiled camshaft lobe

IMG_0451.jpg

On the left is the OEM cover. On the right you can see the modification to accept roller bearing.

IMG_0443.jpg

The inside view of the roller bearing.

IMG_0452.jpg

The OEM camshaft lobe (pictured on the table) is also replaced for a newly profiled lobe.

This upgrade works on K03 & K04 variant motors, early camshafts, late camshaft and schrick aftermarket camshafts.
For more details please contact us.
 
Really neat solution to the fuel pump......is it compatible with uprated internals,and what sort of maximum flow/bhp would it support?
 
Really neat solution to the fuel pump......is it compatible with uprated internals,and what sort of maximum flow/bhp would it support?

It's compatible with std and modified engines and fuel pumps. The modification can also be carried out on schrick cams.
And it's been tested vigorously. The kit will easily support 500 + bhp appliactions.
 
It's compatible with std and modified engines and fuel pumps. The modification can also be carried out on schrick cams. And it's been tested vigorously. The kit will easily support 500 + bhp appliactions.
Thank you!...I now have a couple of choices for when I run mine out of capacity!
 
This looks an awesome development on the feul pump side.

But i have a question.

With the std cam follower, it a pretty simple thing to replace on a periodic basis but with the new design, there is the re-engineering required, and more "moving" parts which i'm not sure how servicable they are?

Can you help me understand how this new system is better than a std cam and cam follower?

Sorry if its a dumb question..........

Hi James.

I understand that a lot of people will be happy to just keep a watchful eye on the OEM follower and replace it when needed as its relativley inexpensive (so long as you dont have problems). But for people that don't want the hassle of checking every 5 - 10 K, this upgrade is fit and forget, so you should never have to worry about it once it's fitted.

For performance applications it's perfect because it has been designed to withstand the extra stress and strain. The reduced friction from the use of the roller bearing will mean that wear any parts is negligible. The OEM set-up would be a real headache to keep an eye on. This is especially beneficial with an endurance car that needs to be going for 24hrs with as little time in the pits as possible ;-)

Hope that helps? And no honest question is a stupid question.
 
Last edited:
Well its been another busy few weeks in the workshop but the BDM race car project is still slowly evolving and progressing. So here are some more pictures for you to cast your eyes on... :drool:

IMG_0476.jpg

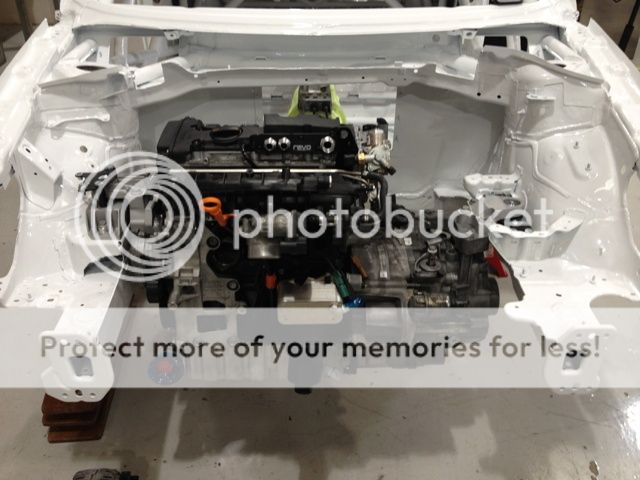
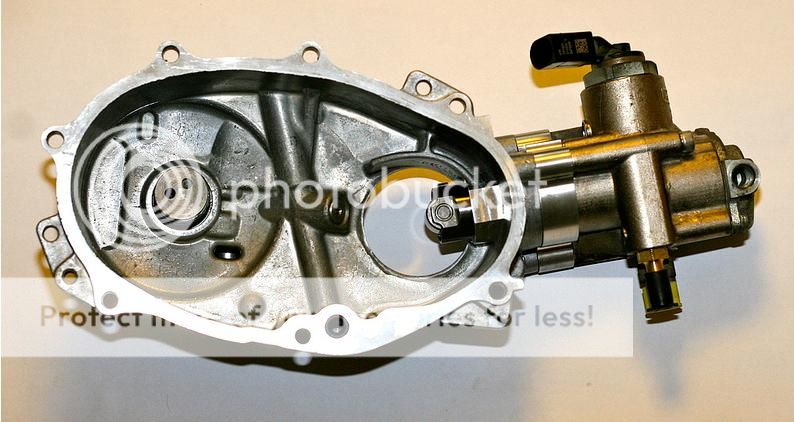
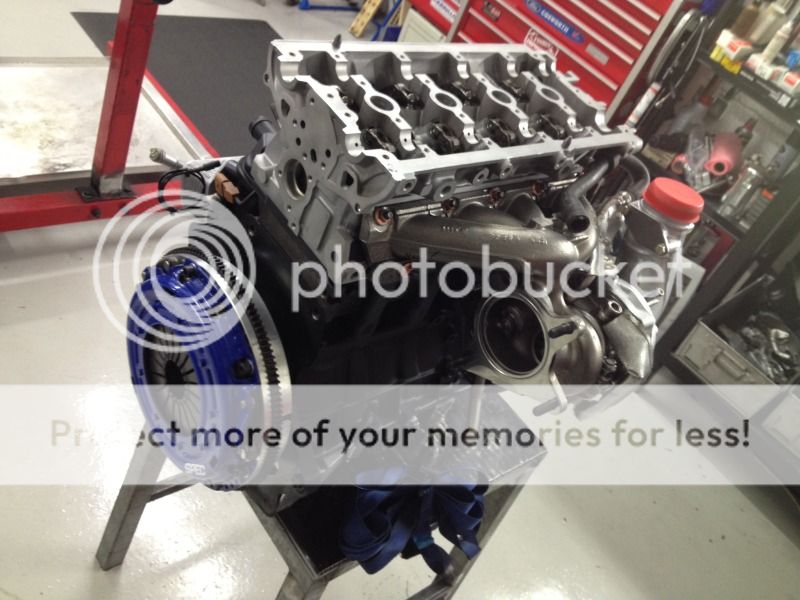
This is the race engine. As you can see, it's quite busy in the engine building room. The latest addition/modifcation is the new oil filter housing.

IMG_0474.jpg

The OEM oil filter housing is completly replaced and gets rid of the plastic housing and OEM heat exchanger. This should be a much more robust design more suitable for a race car. It also gives us the use of a oil cooler that is thermostaticly activated. We plan to be able to sell this a complete conversion kit in the not to distant future.
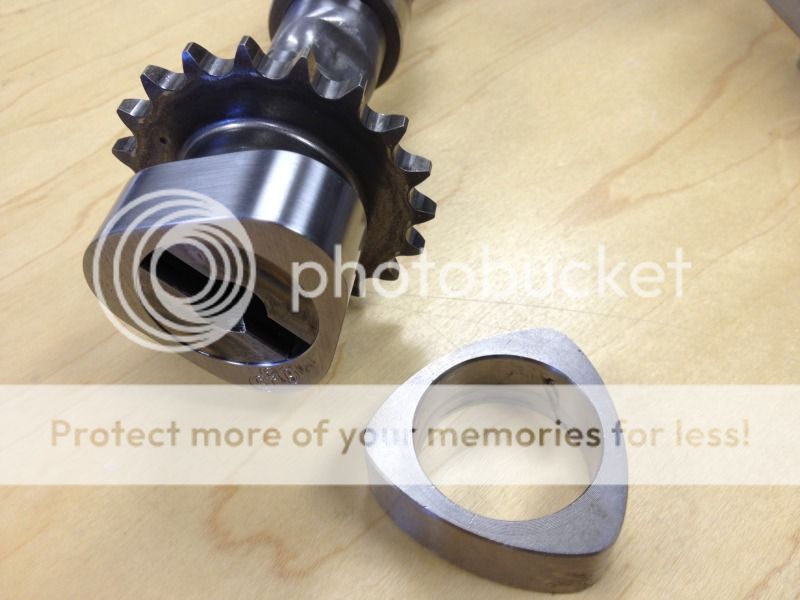
Parts include...
  • 06A > 06F conversion plate.
  • 1.8T 06A oil filer housing, oil filter & gasket.
  • Thermostatic sandwich plate.
  • Machined oil breather cap (which will be made to take dash 8 fitting which will go to an oil catch tank).
  • Mocal oil cooler.
  • Braided oil lines and aeroquip fittings.
IMG_0475.jpg

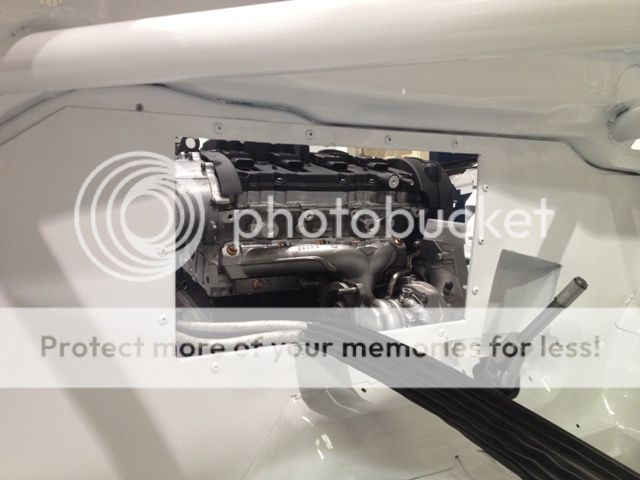
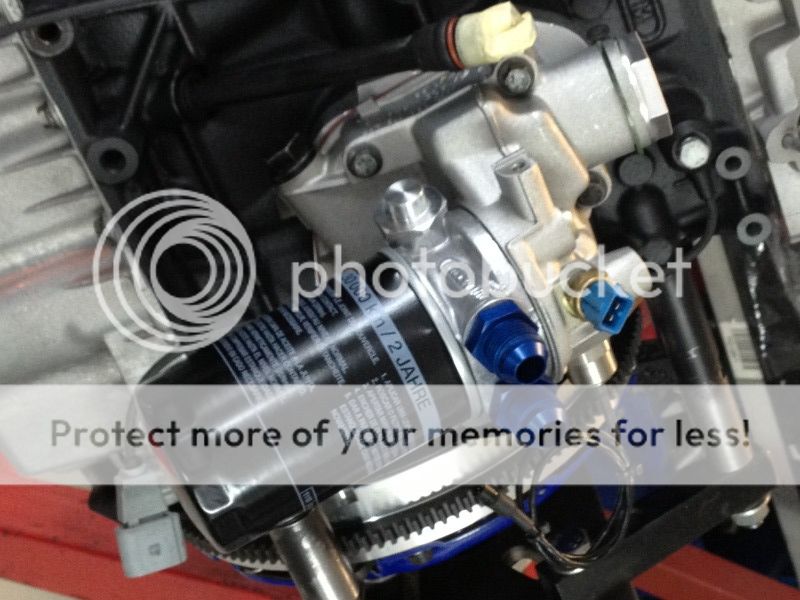
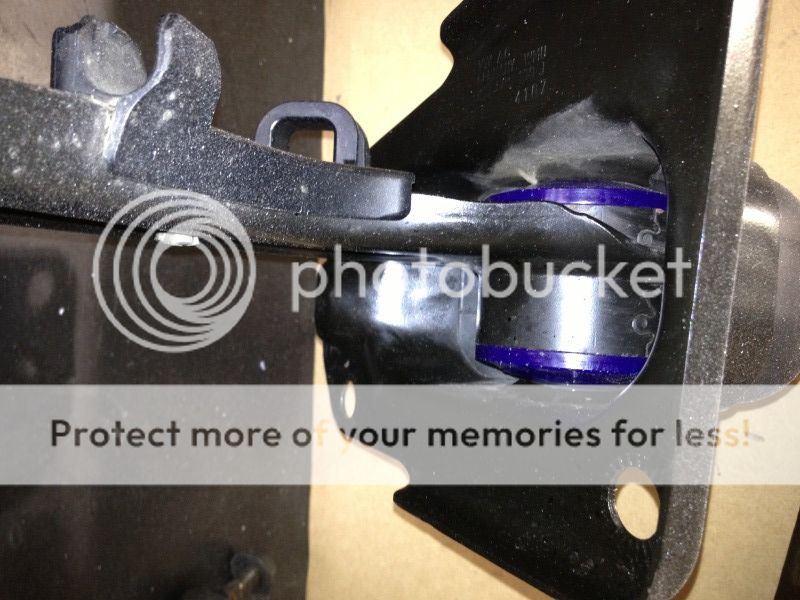
This picture clearly shows the oil temperautre sensor (blue plug) and the oil pressure sensor. Both will be connected to the AIM LCD dash and data logging system where the peramiters can be monitered.

IMG_0325.jpg

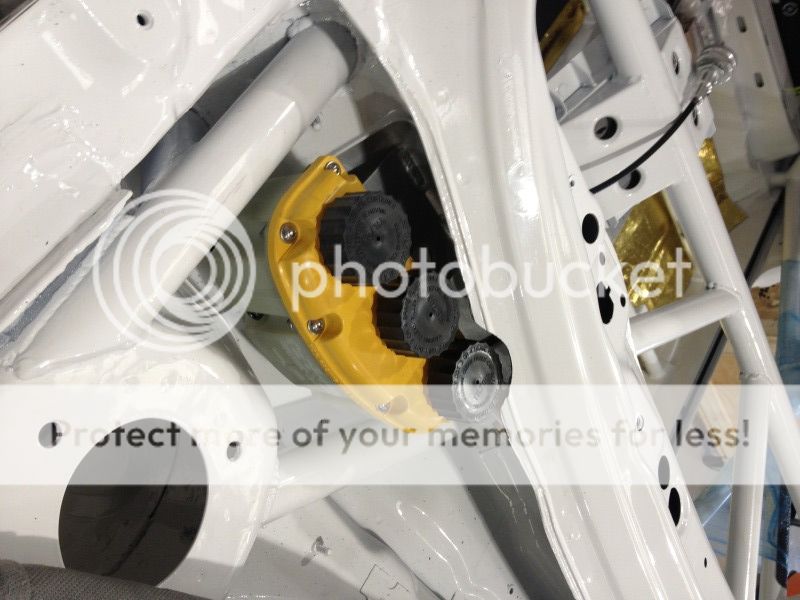
Another part we havent mentioned but should is the clutch. Spec have supplied us with their stage 3 clutch and lightened aluminium flywheel. The cluch will handle 517 lbft torque and the light weight single mass flywheel will help improve acceleration.

IMG_0480.jpg

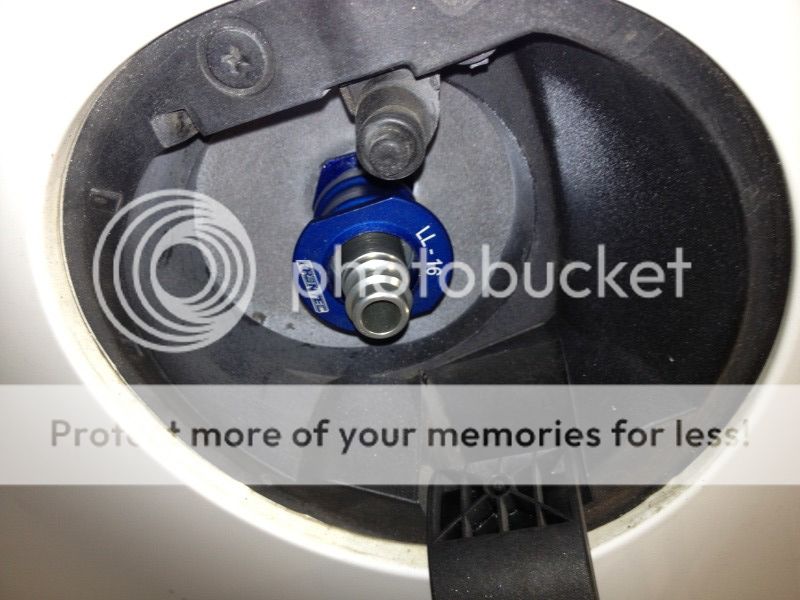
A neat little touch. The air jack air intake fitting is hidden nicley in the fuel cap. Once the air lance is plugged into the fitting the legs shoot down from the car so that all four wheels are off the ground.

IMG_0482.jpg

IMG_0483.jpg

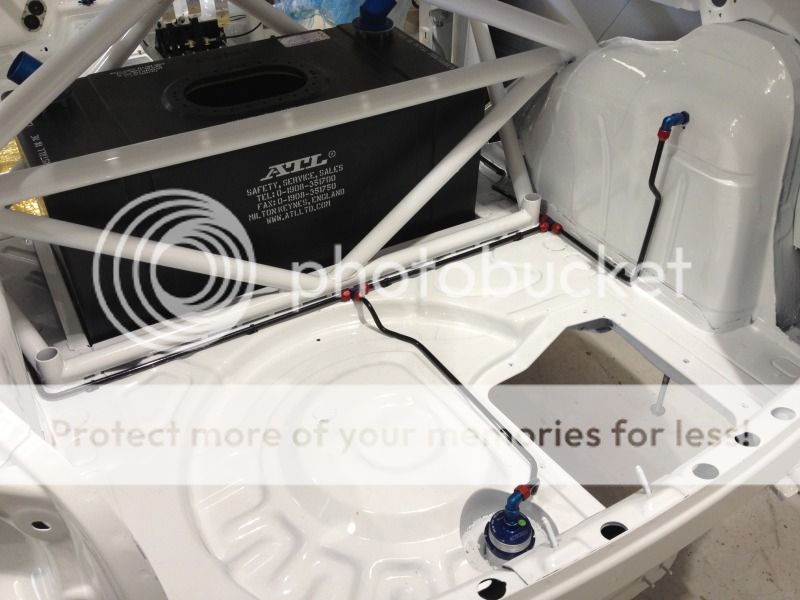
Hard lines to the air jacks have been installed nicley, following the contours of the car where possible.

IMG_0484.jpg

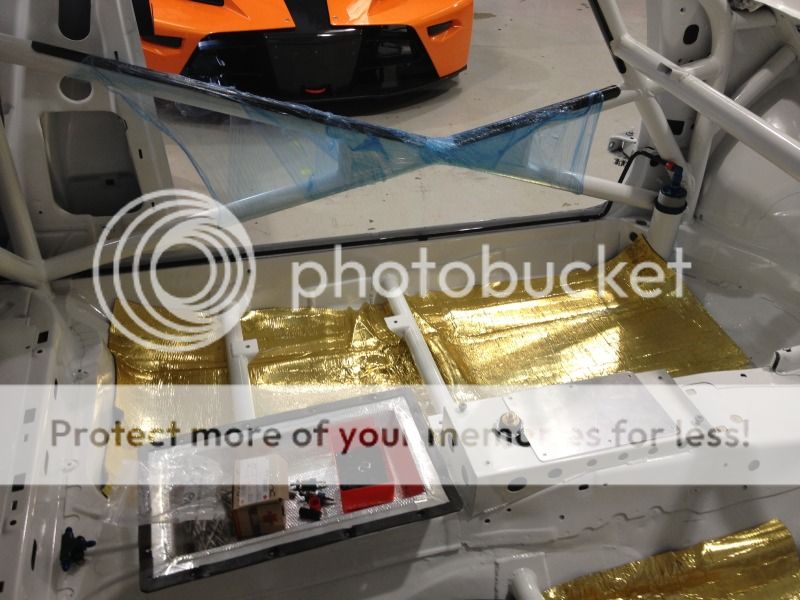
The clutch & brake hydraulic fluid resevoir is fitted under the scuttle.

IMG_0485.jpg

IMG_0486.jpg

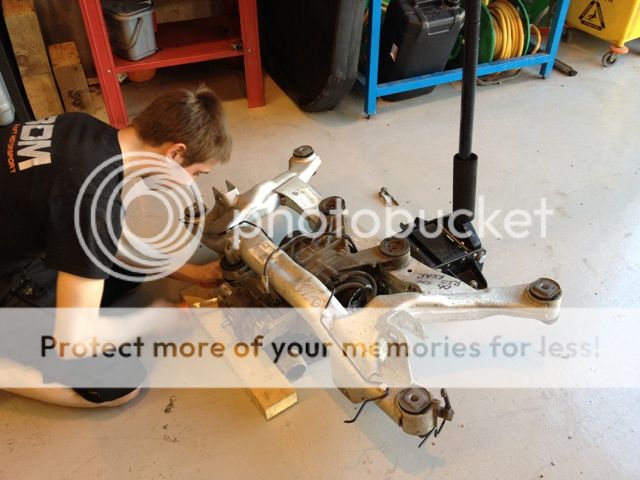
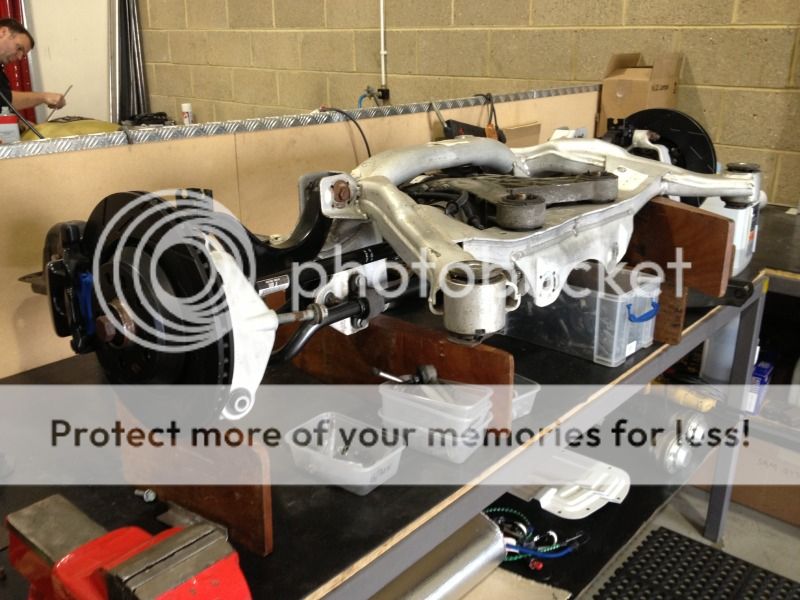
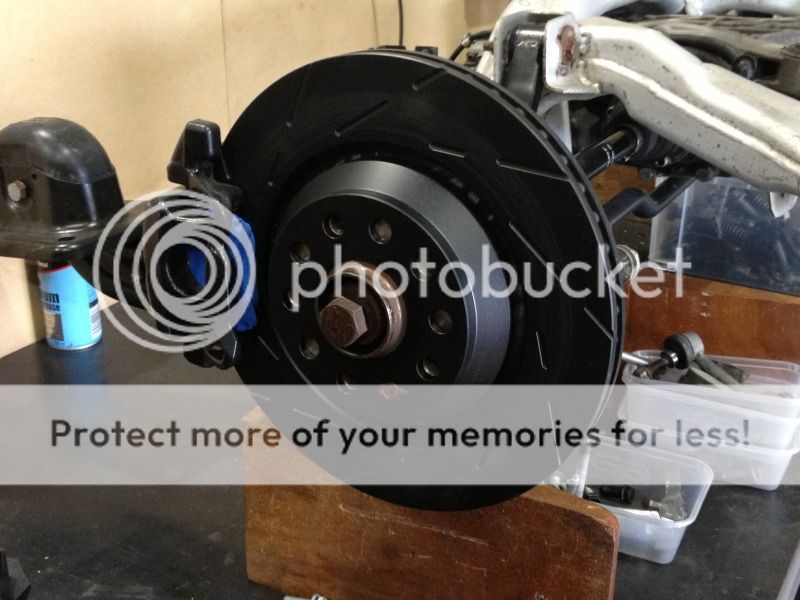
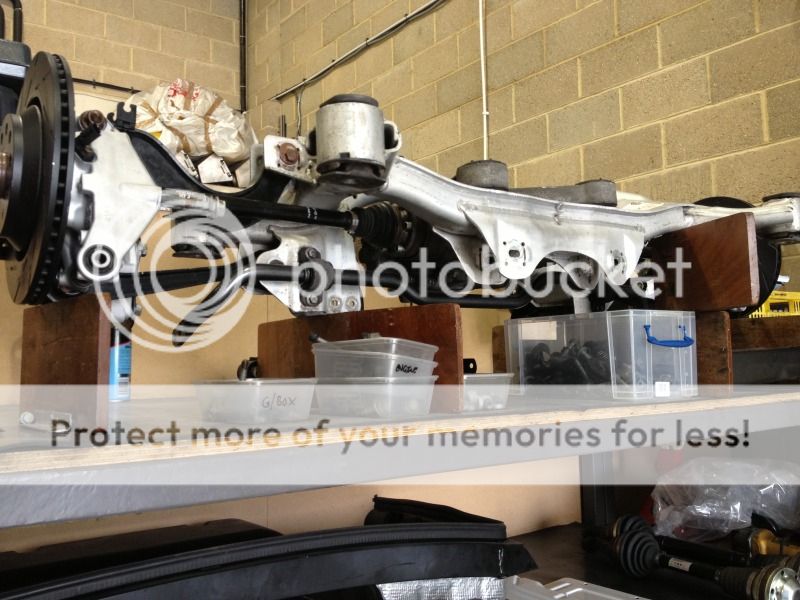
The rear axel is sub assembled on the bench. We will use the std rear calipers to start with. EBC USR discs are fitted as well as Japanese firm, Endless brake pads. I know the name sound a little corney but they really do go for ever and the stopping performance is fantastic! We completed a whole 24hr race on 1 set of the Endless pads in the Gallardo.

IMG_0487.jpg

IMG_0488.jpg

IMG_0489.jpg

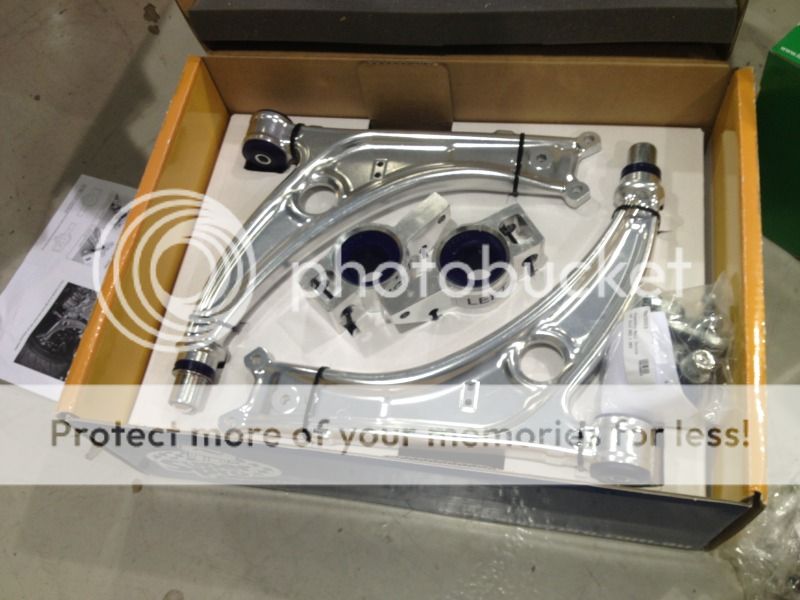
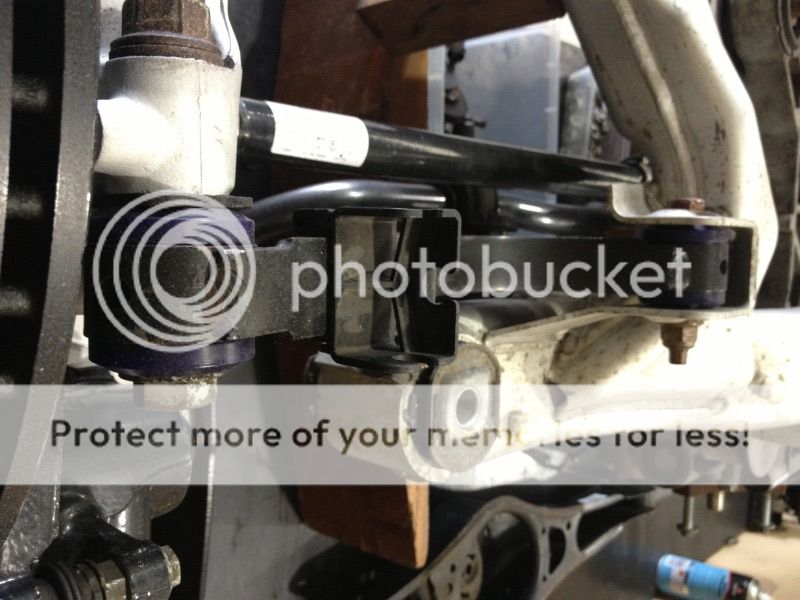
H&R rear anti roll bar is fitted as well as Superpro bushes.

More to come soon :rockwoot:
 
  • Like
Reactions: warren_S5 and poli84
looking really nice mate...

When are you gonna come 'pimp' my ride???!!
 
I have a Spec Stage 3+ on mine...you won't go wrong with the one you've got.
 
Can't wait for you to do more its a really good read
 
I want the air line and legs on mine!! Imagine that! Roll up to kwik fit..shoot the air in and bingo the car is up in the air..."4 Pirelli's please guv". Haha!
 
Just reading this for the first time. Best thread on here, amazing!
Shocking to see the first photo of a lovely looking S3 then an empty shell when you stripped it bare!
The level of skill involved here is next level, very impressive. Following this all the way
:wub:
 
WOW i'M sPEECHLESS.....And I can't believe I'm reading this first time after so many months have past and I didn't notice this thread ... :wtf:
 
Sorry for the dislike, stupid iPhone :(I was seriously turned on reading that last update! The engine looks amazing and so sexy, the work that is being put into this is stunning! Can't wait to see the assembled car
 
Thank you all for your kind words. Im enjoying writing the thread & it is good to look back at the start and see how it is slowly taking shape. So far we are very pleased with what has been completed. I think it shows our high standard of work quite well.

It's going to be great once completed. Looking forward to getting it on track and at few ASN shows & events. Passenger laps anyone?! :racer:
 
What sort of power are you hoping to achieve from this car?

We are going to be using the standard K04 turbo so I think it will probably be around 360/370 bhp. Maybe a bit more. The head work should help imporve the power curve and turbo spool time. Once we have it all together we can find out the numbers. When the time comes we will get the figures posted up.
 
We are going to be using the standard K04 turbo so I think it will probably be around 360/370 bhp. Maybe a bit more. The head work should help imporve the power curve and turbo spool time. Once we have it all together we can find out the numbers. When the time comes we will get the figures posted up.

All this work and your fitting standard K04 turbo?

Is it race regulations that it remains the standard turbo?

I'd be going big with the work you've put into this build, but hey thats just my 2p! :)