Jimmeh
Registered User
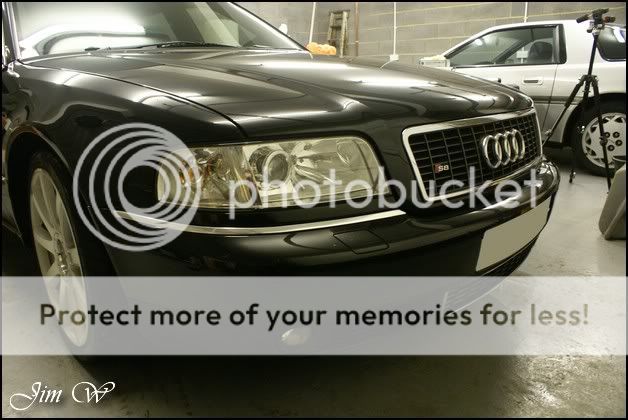
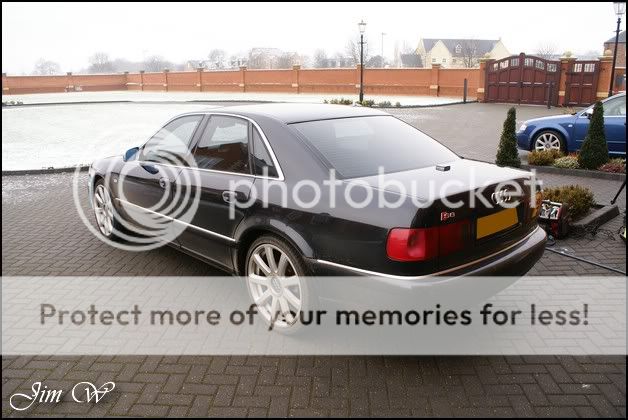
Audi S8 Protection Detail with full interior and LTT Leather care
The S8 was brought for this chaps Father, and, whilst he was away, he hoped I could clean it up a little as a nice surprise for his return.
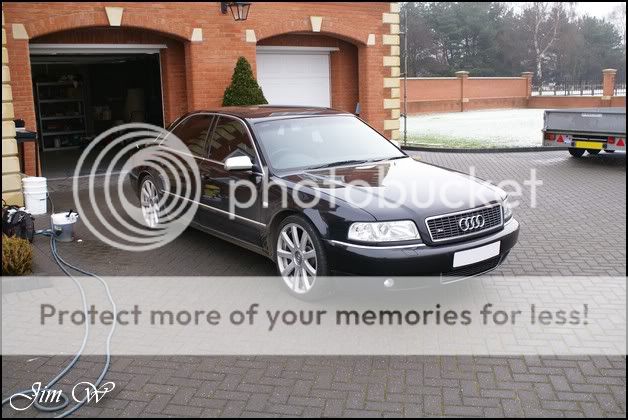
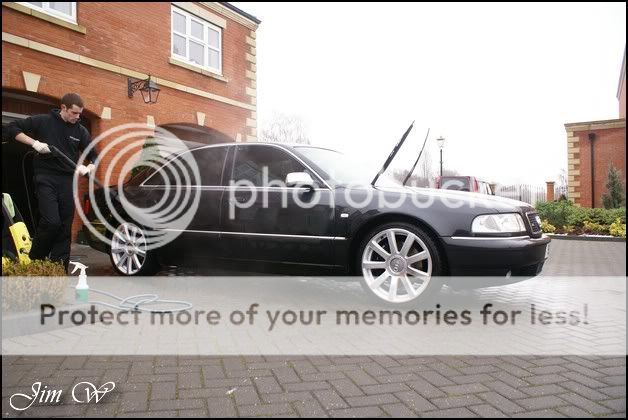
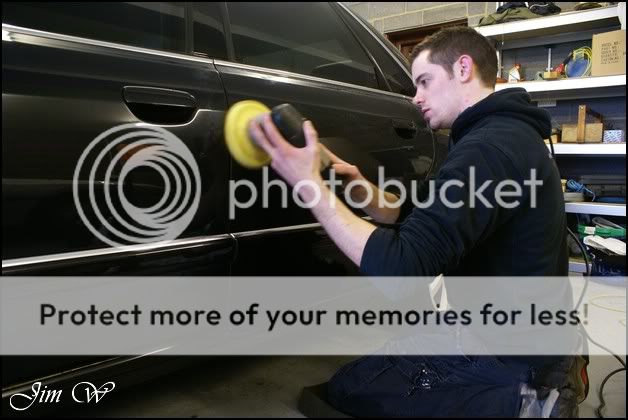
Before:
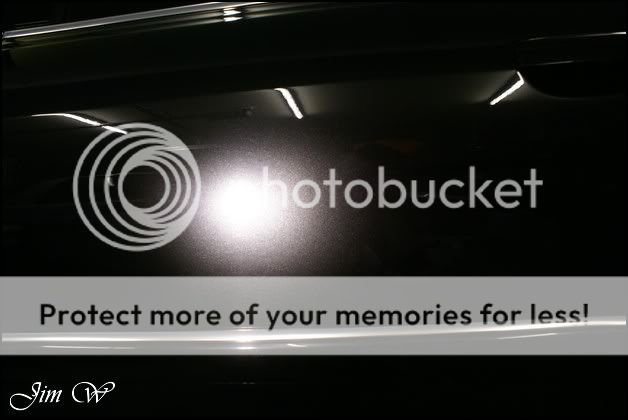
After:
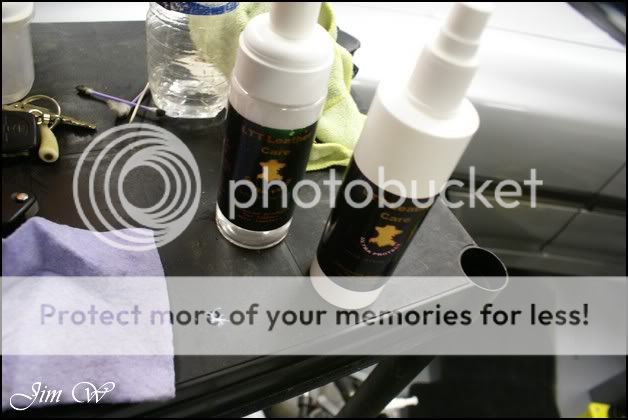
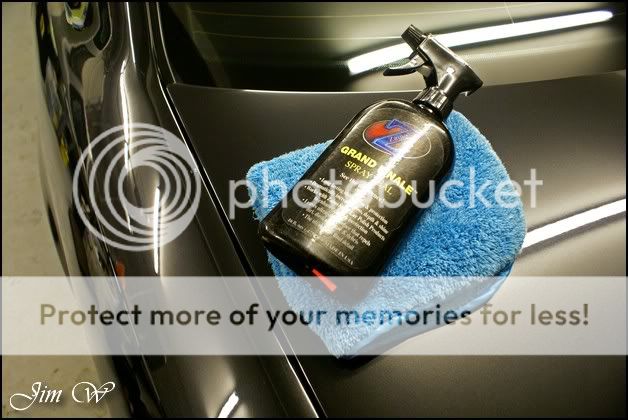
Product
AutoSmart G101
AutoSmart Tardis
AutoGlym Glass Polish
AutoGlym Vinyl Rubber Care
Belgom ALU
Chemical Guys Jet Seal
Dodo Juice Born To Be Mild
Dodo Juice SuperNatural
Lusso Revitalizing Cream
LTT Auto Ultra Foam
LTT Auto Ultra Protect
Meguiars APC
Meguiars Super-Degreaser
Meguiars Last Touch
Meguiars Endurance Tyre Gel
Sonus Green Mild Clay
Zaino Z8 Grand Finale
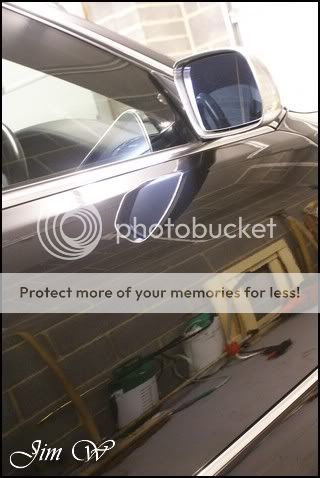
Inspection:

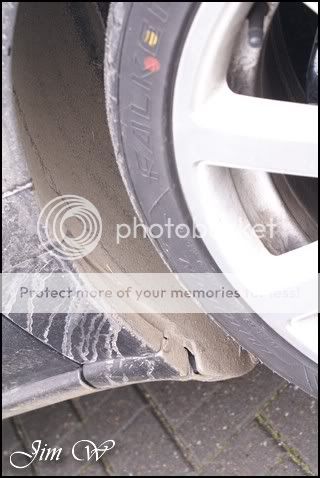


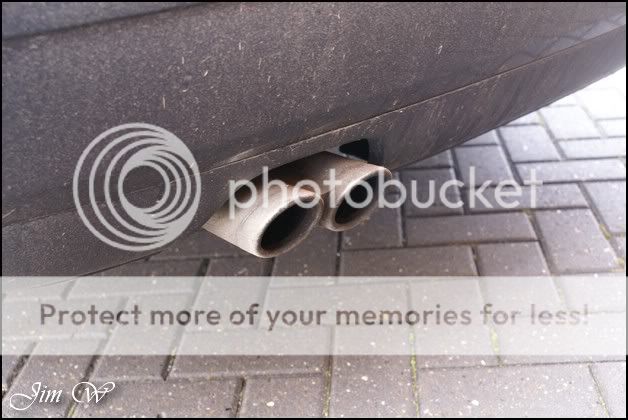
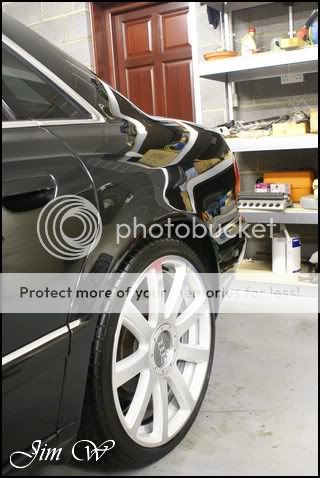
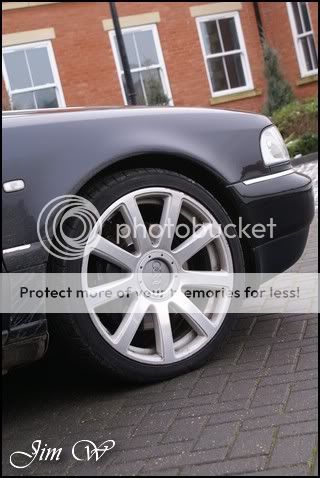
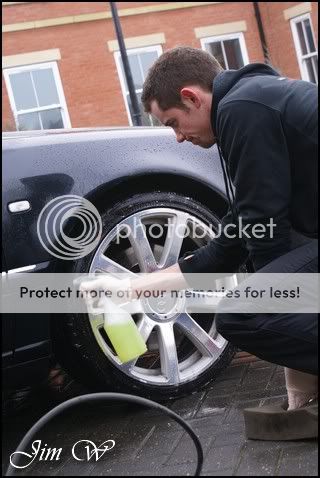
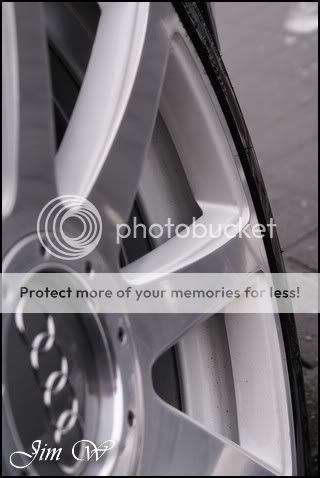
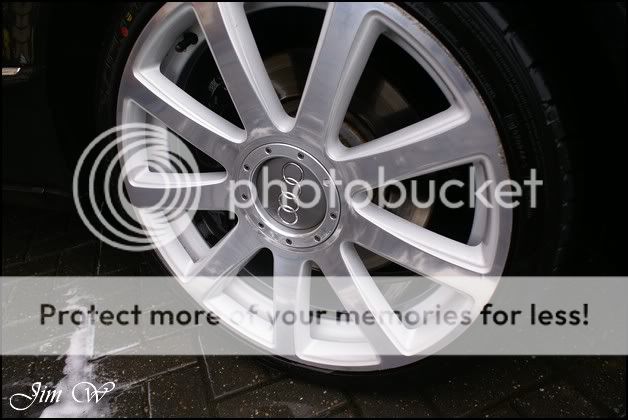
A few of the alloys had seen better days; owner considering putting them through a full refurb. However, as theyre partly polished on the front facing, it boosts the cost up quite considerably! I was able to shift the most of but unfortunately some light pitting remained in the inner-groove and deeper into the rim. This would be a full wheel off jobbie to correct this..
Wheels cleaned with AutoSmart G101 (because of the polished surface (Acid is no good here!!)), Super-Degreaser sprayed up and into the arches as well as dousing the tyres before scrubbing..


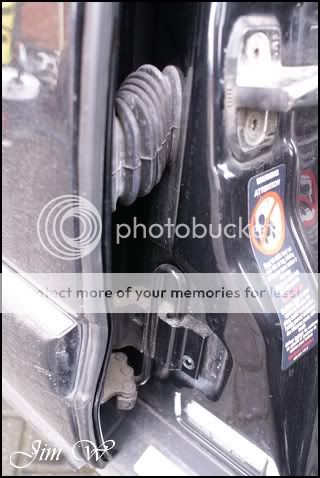
Door shuts and sills after this.. Again, G101 weapon of choice here with a mix of De-greaser and AutoSmart Tardis to shift stubborn grease deposits.

Today I had the luxury of working with hot water bonus.
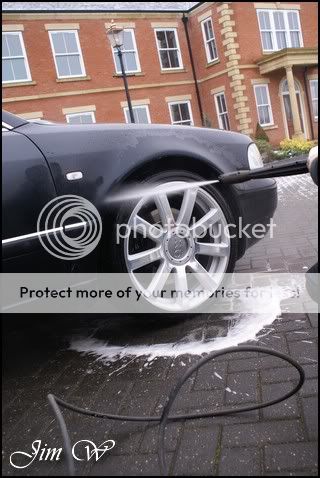
Car given a thorough blast down with the pressure washer..
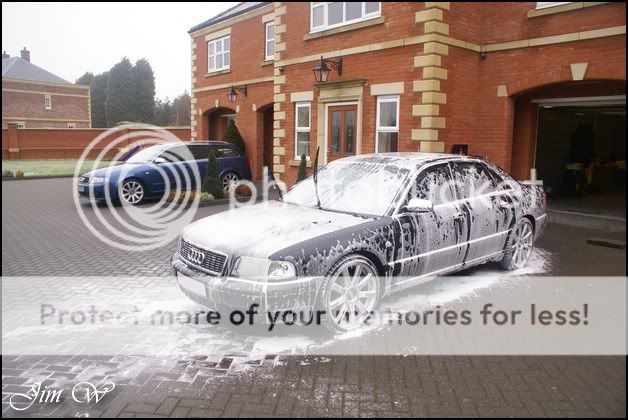
And then given the first of two snowfoams:

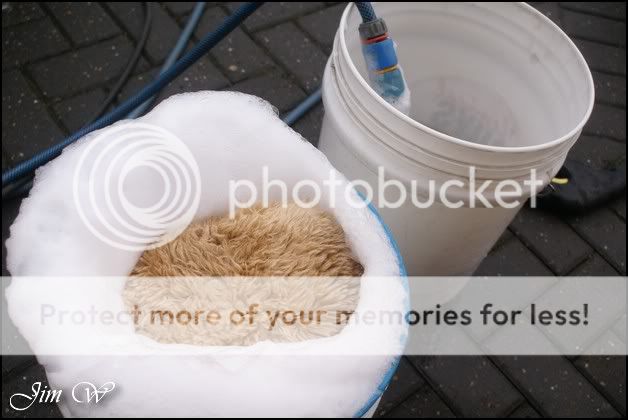
Allowed to dwell whilst I A) filled up wash buckets with Dodos Born To Be Mild, B) attacked small areas (petrol filler-cap etc) with a few brushes and C) had a sandwich!
Car then re-foamed to give an extra slick wash with the Born To Be Mild.

Solution > Wash > Rinse > Solution > Wash > rinse and so on..
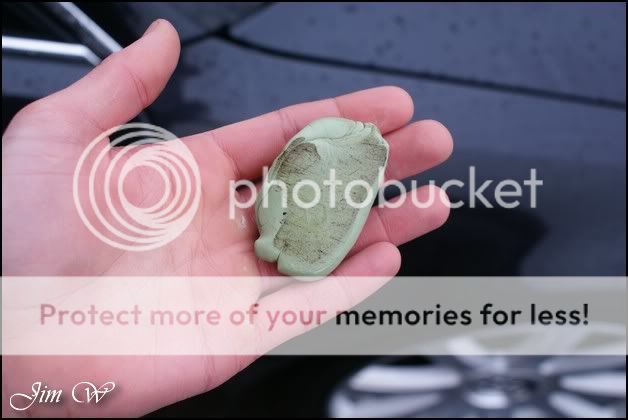
Meguiars Last Touch was used to aid the claying stages; lubricating the surface allowing the Sonus Green Clay to glide without drag:

At this point it starts to rain. A final pass with the pressure washer was made to release clay-lube residues and then a quick sheeting of water with an open-hose to remove remaining standing water.
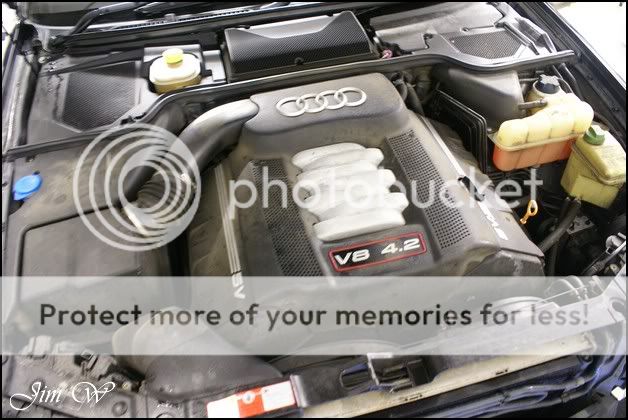
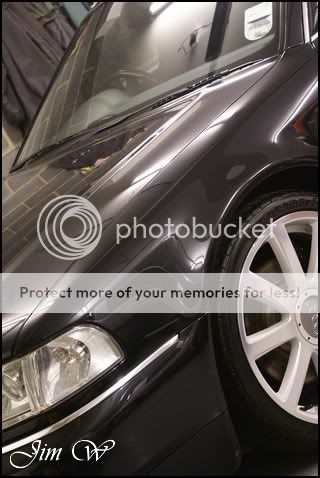
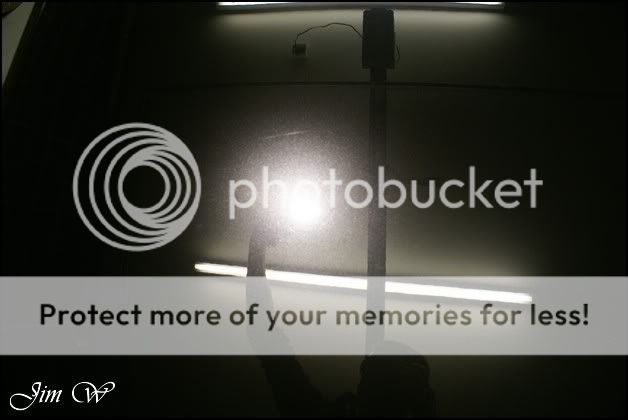
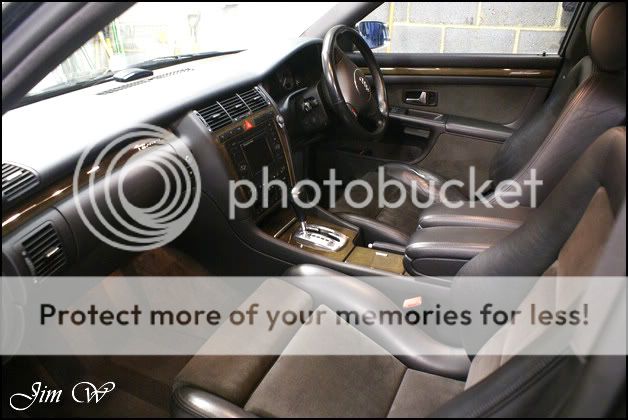
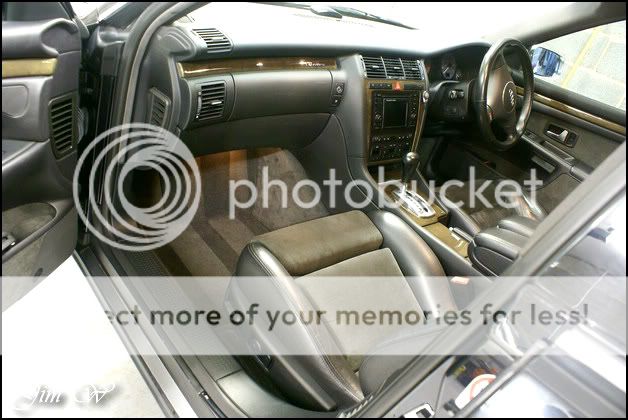
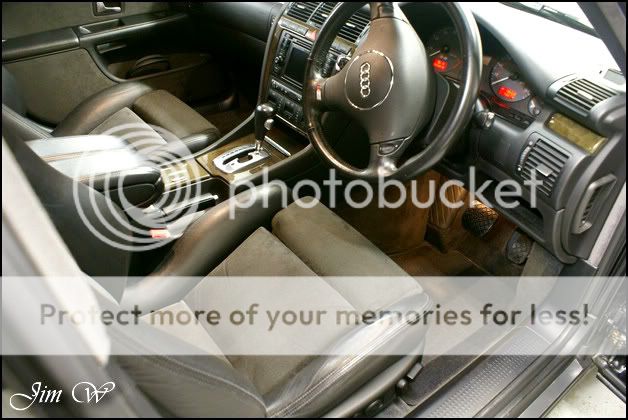
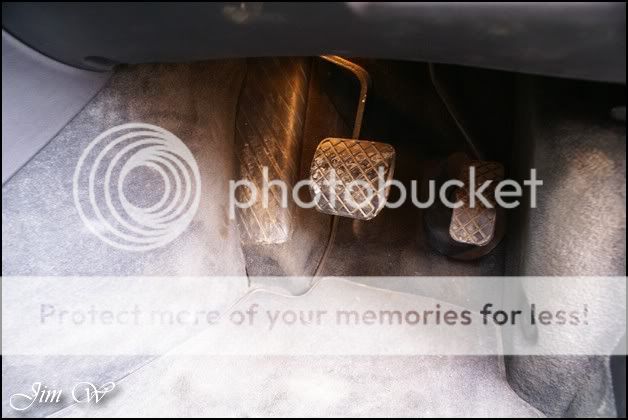
Once inside and dry, its time to take a look at the paintwork.

Hmm. Shame its not a correction detail!
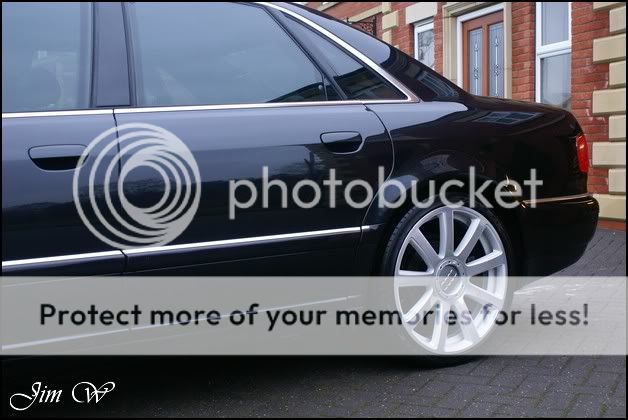
The S8 was brought for this chaps Father, and, whilst he was away, he hoped I could clean it up a little as a nice surprise for his return.
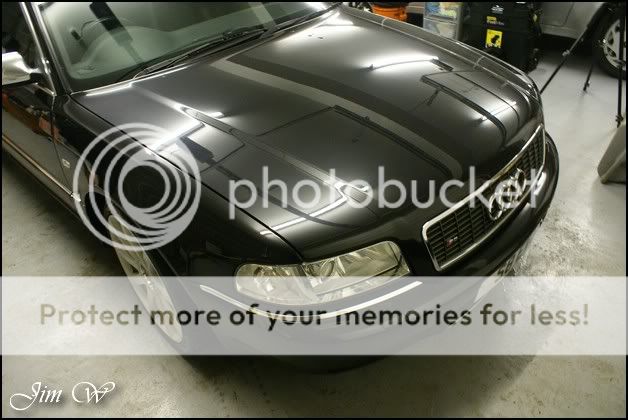
Before:
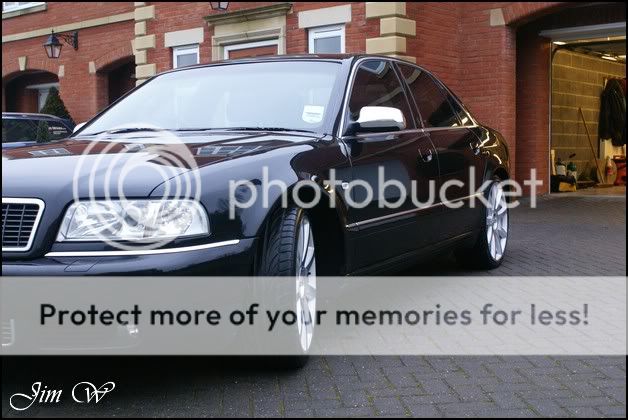
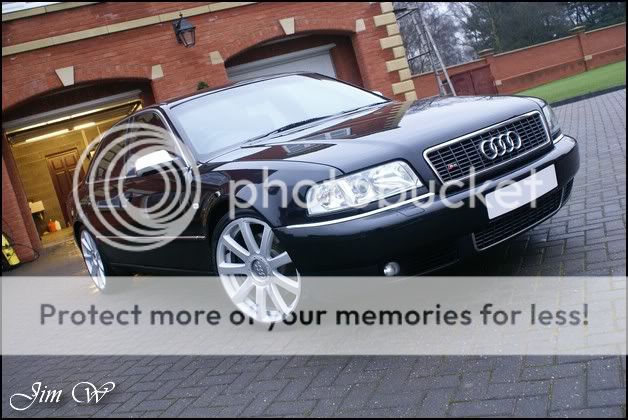
After:
Product
AutoSmart G101
AutoSmart Tardis
AutoGlym Glass Polish
AutoGlym Vinyl Rubber Care
Belgom ALU
Chemical Guys Jet Seal
Dodo Juice Born To Be Mild
Dodo Juice SuperNatural
Lusso Revitalizing Cream
LTT Auto Ultra Foam
LTT Auto Ultra Protect
Meguiars APC
Meguiars Super-Degreaser
Meguiars Last Touch
Meguiars Endurance Tyre Gel
Sonus Green Mild Clay
Zaino Z8 Grand Finale
Inspection:
A few of the alloys had seen better days; owner considering putting them through a full refurb. However, as theyre partly polished on the front facing, it boosts the cost up quite considerably! I was able to shift the most of but unfortunately some light pitting remained in the inner-groove and deeper into the rim. This would be a full wheel off jobbie to correct this..
Wheels cleaned with AutoSmart G101 (because of the polished surface (Acid is no good here!!)), Super-Degreaser sprayed up and into the arches as well as dousing the tyres before scrubbing..
Door shuts and sills after this.. Again, G101 weapon of choice here with a mix of De-greaser and AutoSmart Tardis to shift stubborn grease deposits.
Today I had the luxury of working with hot water bonus.
Car given a thorough blast down with the pressure washer..
And then given the first of two snowfoams:
Allowed to dwell whilst I A) filled up wash buckets with Dodos Born To Be Mild, B) attacked small areas (petrol filler-cap etc) with a few brushes and C) had a sandwich!
Car then re-foamed to give an extra slick wash with the Born To Be Mild.
Solution > Wash > Rinse > Solution > Wash > rinse and so on..
Meguiars Last Touch was used to aid the claying stages; lubricating the surface allowing the Sonus Green Clay to glide without drag:
At this point it starts to rain. A final pass with the pressure washer was made to release clay-lube residues and then a quick sheeting of water with an open-hose to remove remaining standing water.
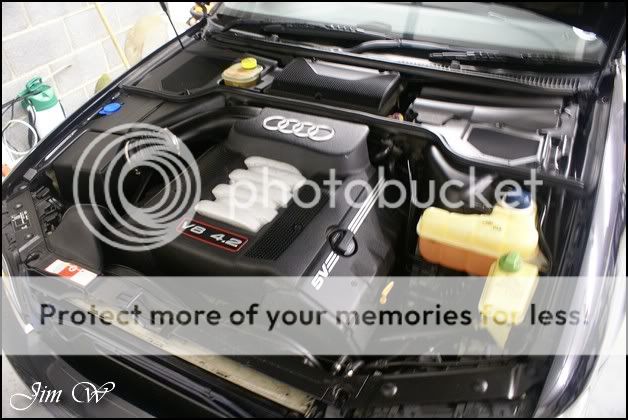
Once inside and dry, its time to take a look at the paintwork.
Hmm. Shame its not a correction detail!
Last edited:


")