Jimmeh
Registered User
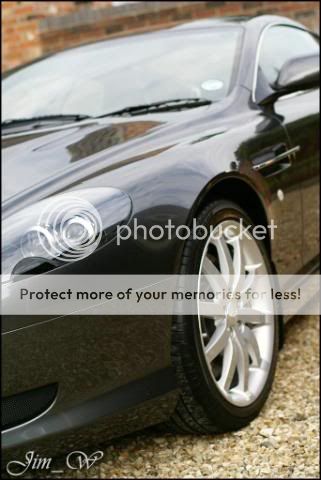
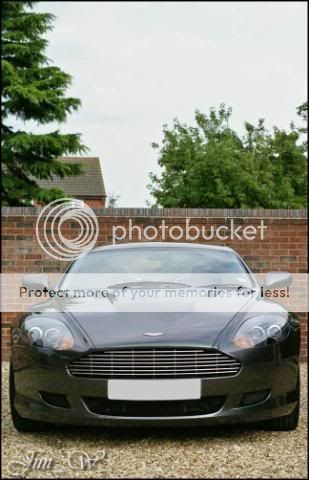
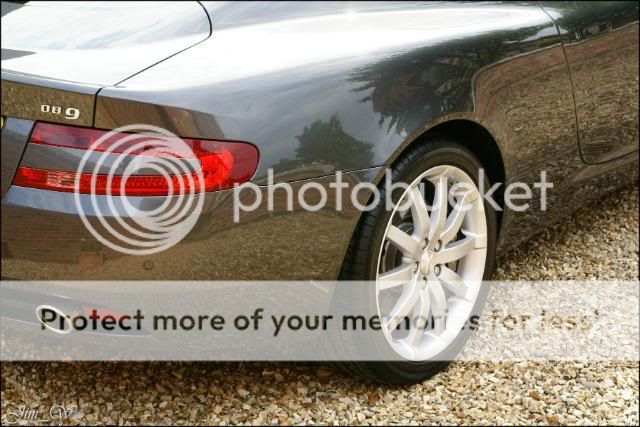
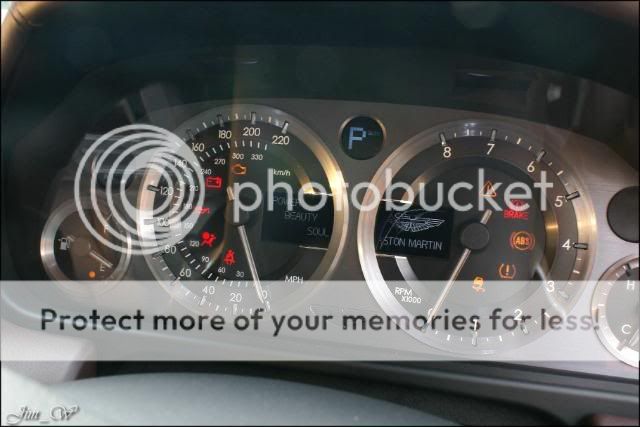
Aston Martin DB9 Enhance and Protect
2006, ~4k miles (I think..) Owned from new.
The owner had seen this report and asked for similar treatment. The main concern being Protection. It never did have the Dealership Lifeshine/Supaguard back in 06 and hasnt had any pampering since.
*Process*
Wheels/Tyres & Arches cleaned
Sills/shuts flushed
Pre-wash/Rinse
Two-Bucket Wash/Rinse
De-tar/clay-bar session
Water sheeted to aid drying/dried
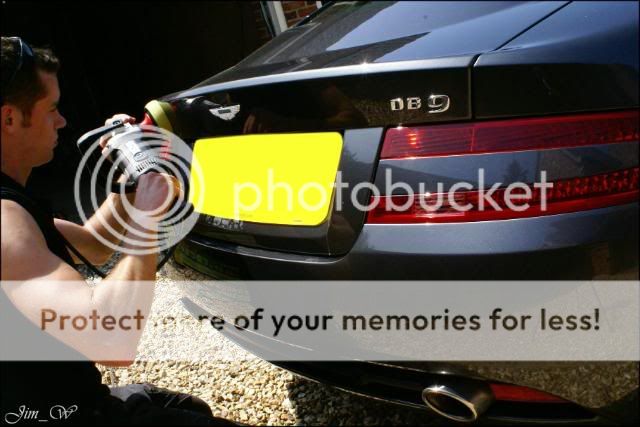
Single-stage with the rotary; polishing
Lay down some protection
Seal wheels / Dress tyres / Dress trim / Treat britework
Light hoover / Leather cleaned and fed / Dash cleaned
Engine Bay wiped and dressed accordingly
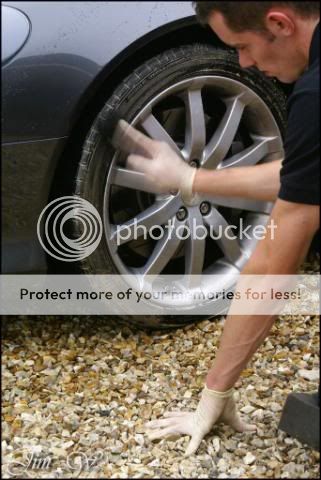
Wheels/Tyres and Arches
- Rinsed
- Megs Super-degreaser onto tyres and scrubbed
- G101 onto alloy facing and into dish additional Degreaser onto Callipers
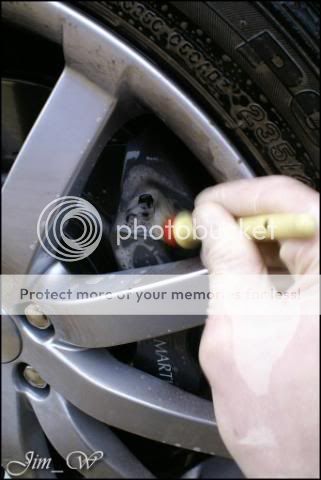
- Callipers and nut-housings cleaned with a fine detailing brush
- Inner rim of the alloy cleaned with an EZ Detail Brush
- Spoke behinds were cleaned with a wheel mitt, as were the rest of the flat faces
- Arches flooded with G101 and agitated with a Vikan Brush rinsed
Pre-wash / Wash stages
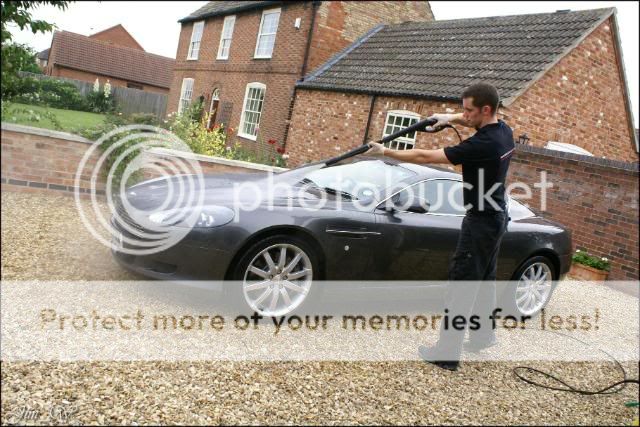
- Body rinsed with mist from pressure washer
- Snow-foamed and left to dwell for 6 minutes
> intricate/detail areas worked in the meantime with fine brushes
- Foam blasted off the vehicle, taking loose debris and grit off with it
- Re-foamed with Valet PRO ph neutral and buckets filled
> Two-Bucket wash: One rinse bucket. One solution (DoDo Supernatural) bucket
- A panel washed at a time wash mitt returned to rinse bucket often (remove lifted particles)
- Shampoo solution rinsed and vehicle prepped for de-tar/clay bar session
Decontamination
- Tardis sprayed liberally on lower quarters and softened tar deposits. Residue wiped away with clean microfibre
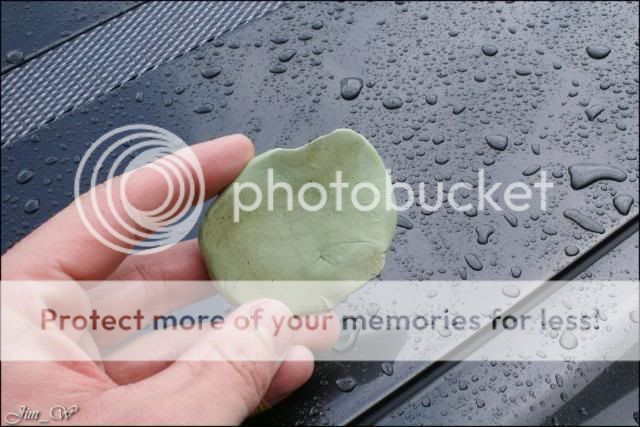
- A Mild clay-bar helped lift bonded contaminants overall, the Aston wasnt too bad
- Water sheeted over body panels to aid drying
- Dried with mega plush Miracle Dryer and using pat technique
Cleansing
- DoDo Juice LimePrime used to A) Cleanse. B) Polish. C) Nourish.
- Blue 3M Polishing pad switched to a firmer, yellow, pad. Removed all light surface defects
Protection
- First thin coat of DoDo Juice Supernatural was layed down. A second coat to follow..
- Chemical Guys Wheel Guard used to seal the wheels
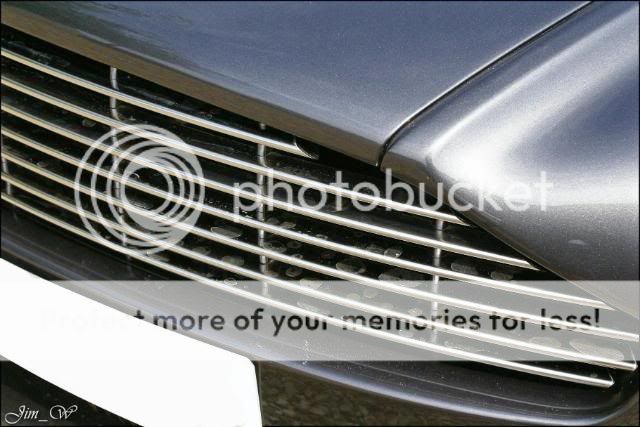
- Belgom ALU used to clean/protect the britework
Dressings
- Tyres took two applications of CG New Look Trim Gel
- Exterior trim (mudflaps..) also received some New Look Gel
Interior
- Light debris hoovered
- Leather Cleaned with G101 wipeover
- Leather conditioned with Liquid Leather
- Dash/door-cards had a G101 wipeover leather dressed as applicable
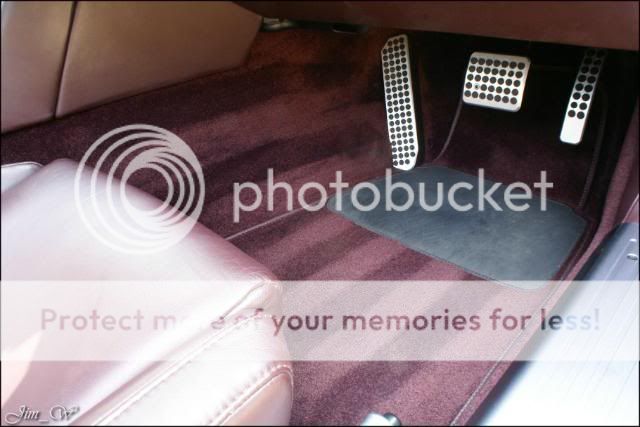
- Pedals cleaned with a fine detailing brush and G101
Pictures
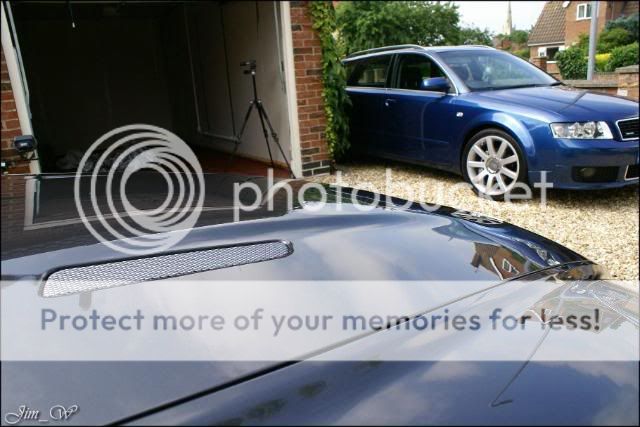
Upon inspection..


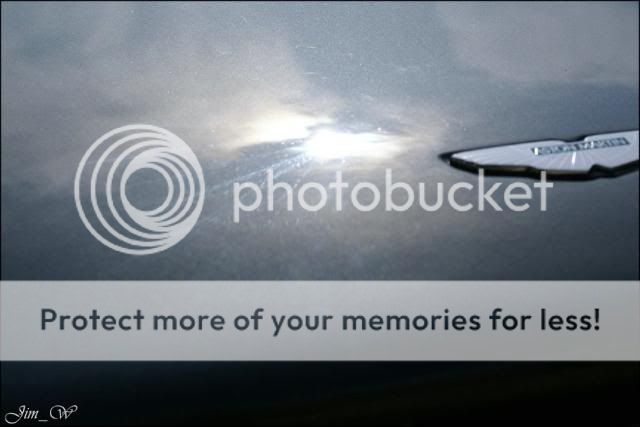
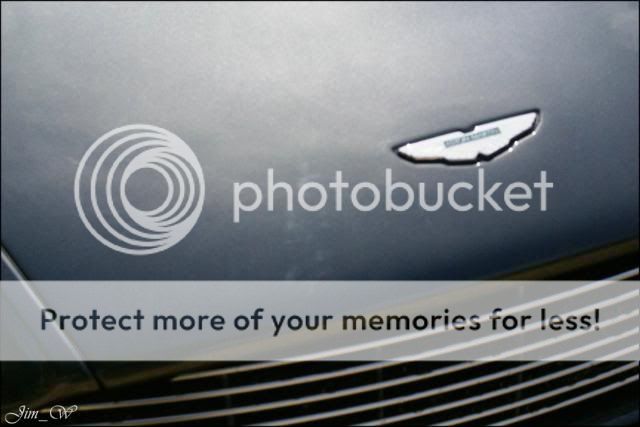
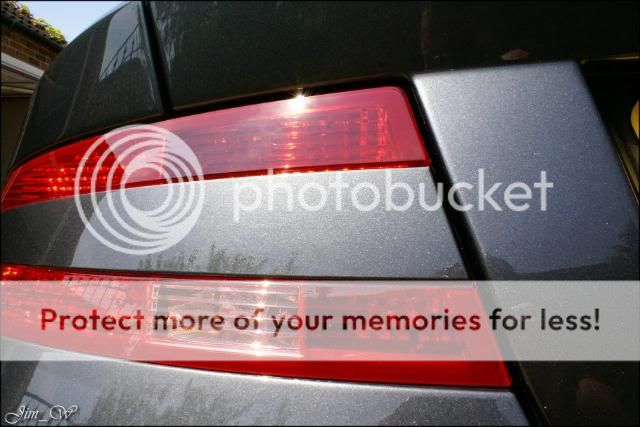
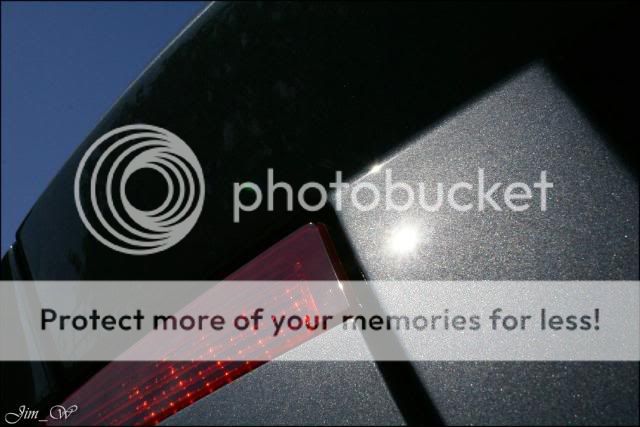
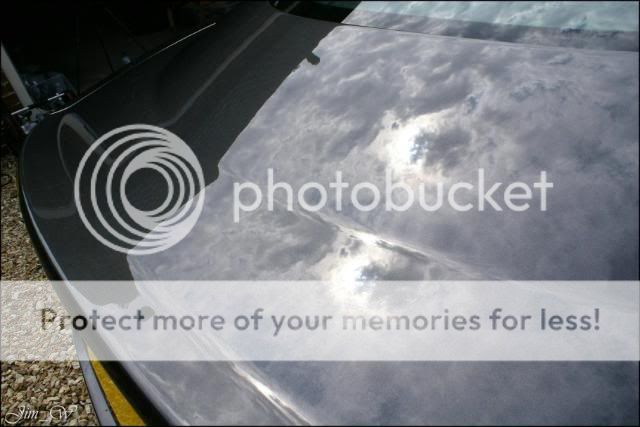
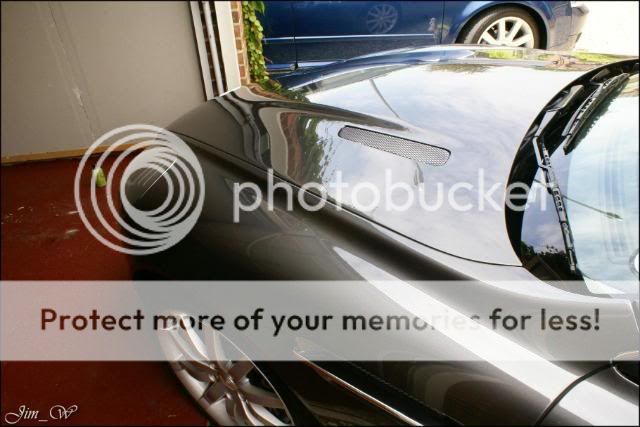
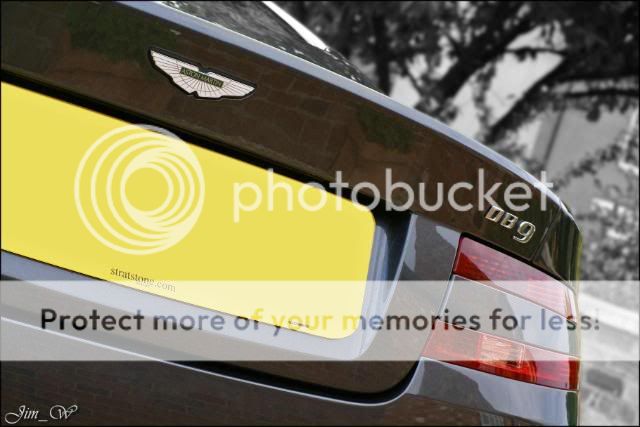
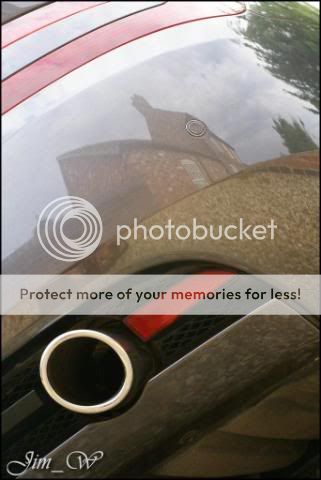
Now, I popped round to view this car several days prior to a date in the diary.. Upon inspection (whilst garaged), a fine strip on the tailgate caught my attention. Pig-tailing (sanding marks caused from DA) could be seen across the width of the panel. Shocking. This vehicles been owned from new.. Never had any third party work done.. WHY its had work, no one knows, but, they could of at least removed the sanding marks properly!
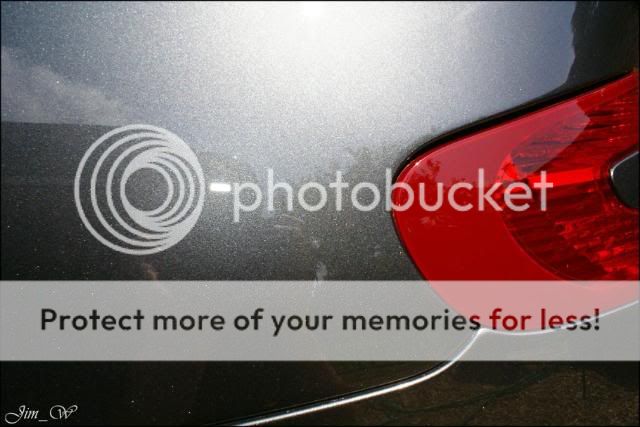
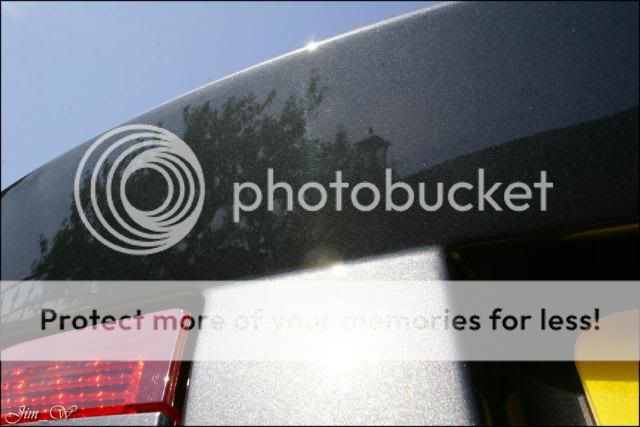
Haze caused by the pig-tailing can just be seen here:

Stretching across the whole panel:

*more on this later *
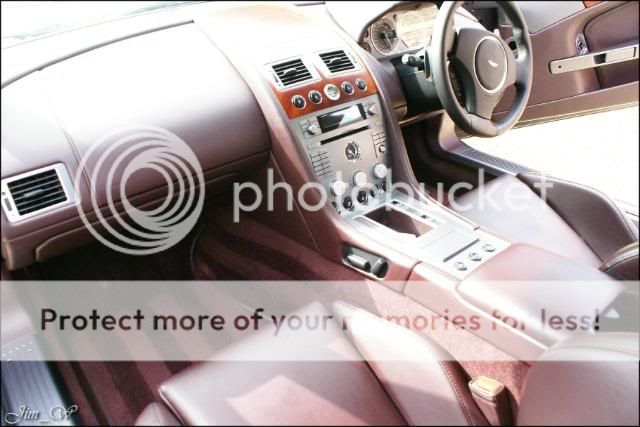
General interior inspection..

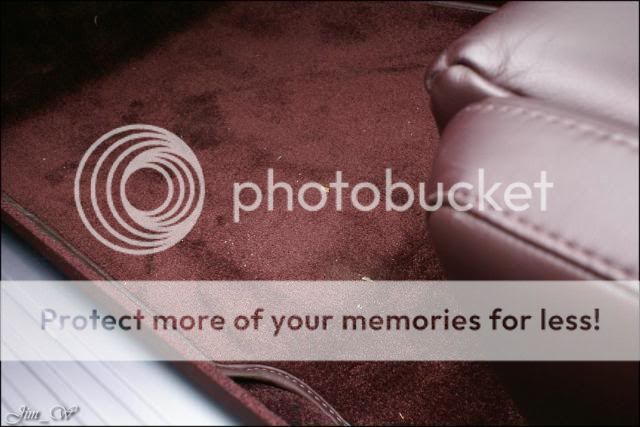

A few scuffs, some light debris and pedals needed a good clean easy enough")
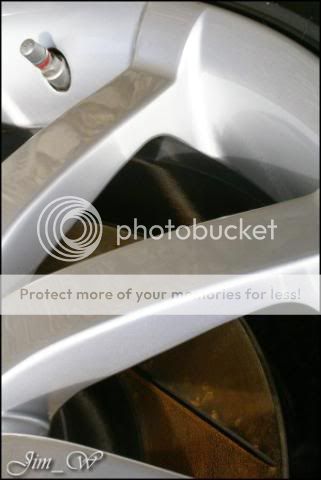
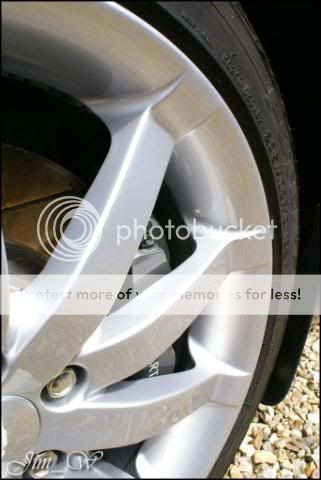
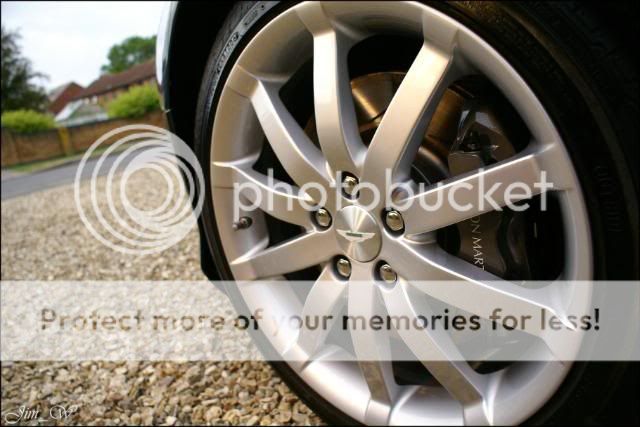
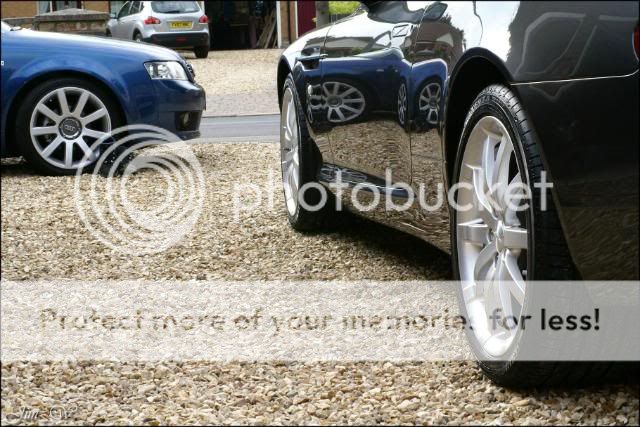
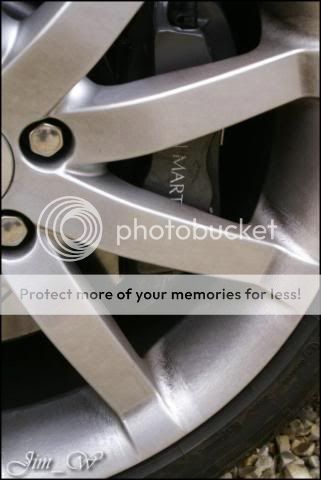
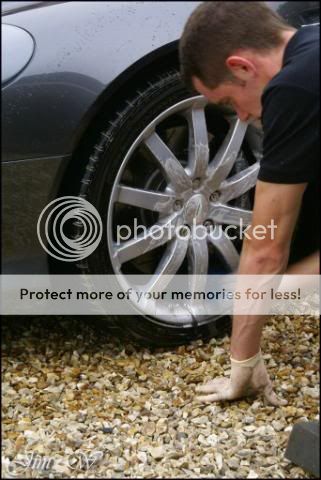
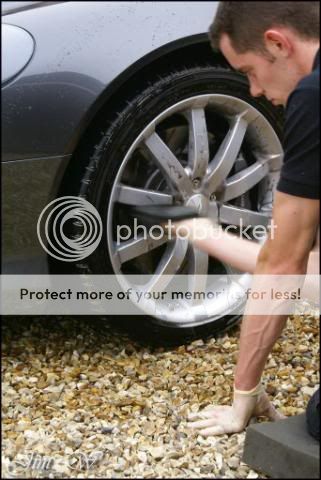
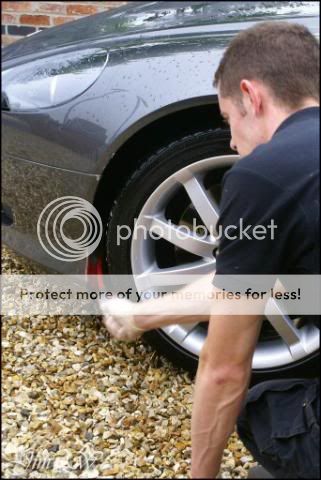
As per, the wheels were up first. Tyres Alloys Arches..


Some tar deposits broken down and removed. Pitting remained.

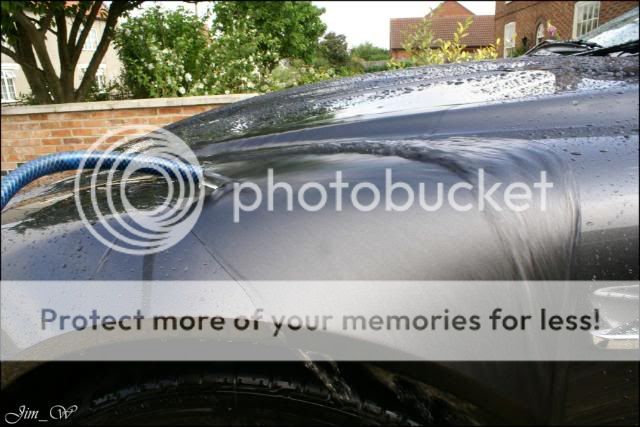
Rinse Snowfoam Rinse Re-foam Wash Rinse


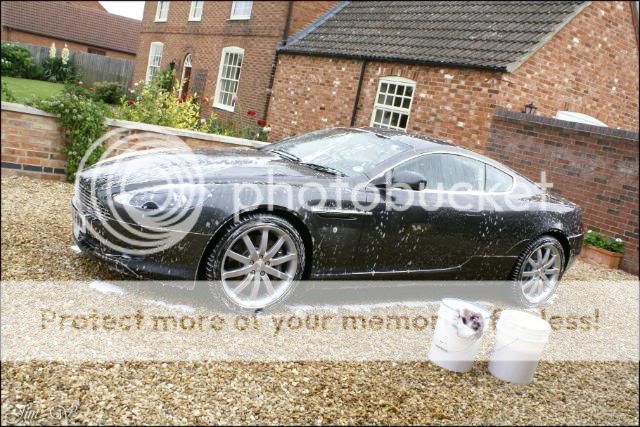
This combo, with the added benefit of DoDos new Supernatural shampoo, made the washing an absolute dream. I cant begin to imagine how easy washing it will be NOW after its had the protection down.. Very slick combination..
It has no protection
aye, youre not wrong!

This is the most I could lift with the clay-bar. Generally, the car was clean.
A small tar deposit being broken down..
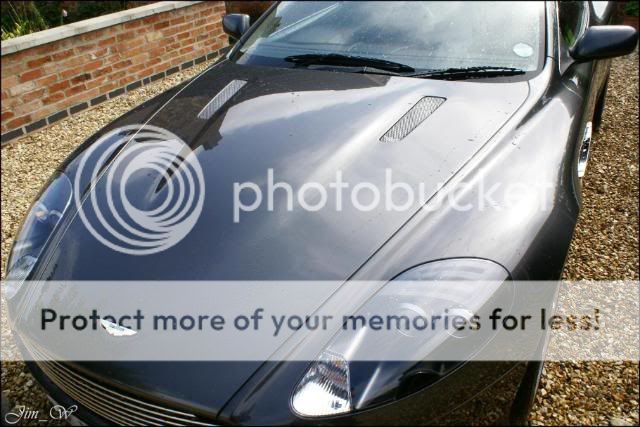
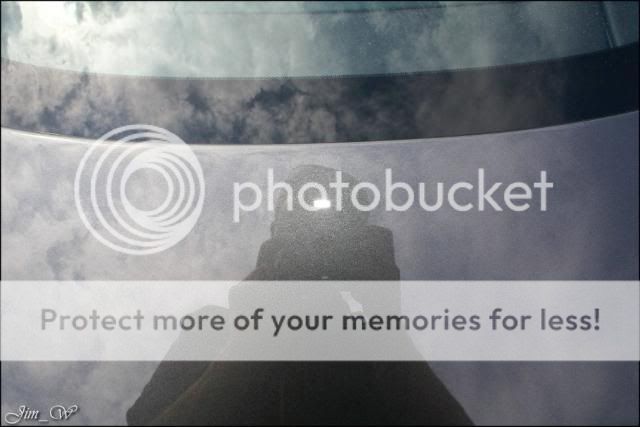
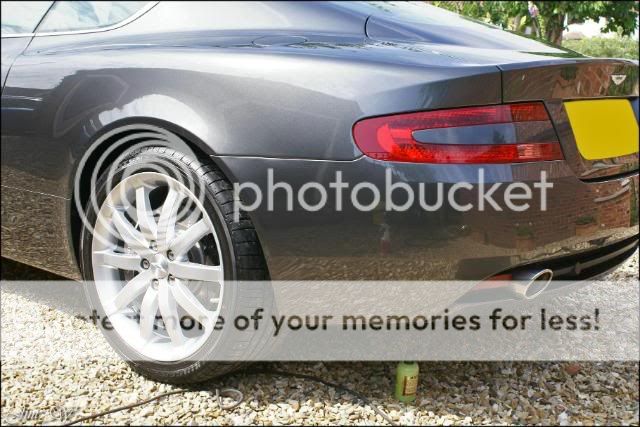
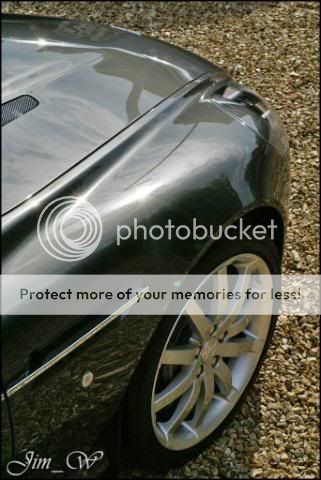
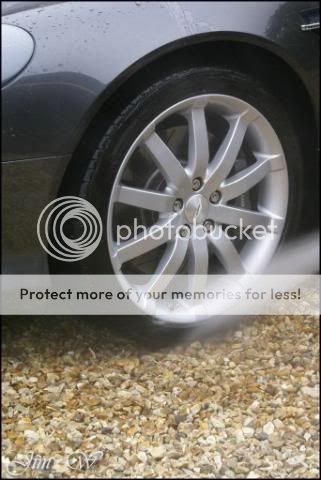
Some nice beading taking place now the QuikDetailers been out:
2006, ~4k miles (I think..) Owned from new.
The owner had seen this report and asked for similar treatment. The main concern being Protection. It never did have the Dealership Lifeshine/Supaguard back in 06 and hasnt had any pampering since.
*Process*
Wheels/Tyres & Arches cleaned
Sills/shuts flushed
Pre-wash/Rinse
Two-Bucket Wash/Rinse
De-tar/clay-bar session
Water sheeted to aid drying/dried
Single-stage with the rotary; polishing
Lay down some protection
Seal wheels / Dress tyres / Dress trim / Treat britework
Light hoover / Leather cleaned and fed / Dash cleaned
Engine Bay wiped and dressed accordingly
Wheels/Tyres and Arches
- Rinsed
- Megs Super-degreaser onto tyres and scrubbed
- G101 onto alloy facing and into dish additional Degreaser onto Callipers
- Callipers and nut-housings cleaned with a fine detailing brush
- Inner rim of the alloy cleaned with an EZ Detail Brush
- Spoke behinds were cleaned with a wheel mitt, as were the rest of the flat faces
- Arches flooded with G101 and agitated with a Vikan Brush rinsed
Pre-wash / Wash stages
- Body rinsed with mist from pressure washer
- Snow-foamed and left to dwell for 6 minutes
> intricate/detail areas worked in the meantime with fine brushes
- Foam blasted off the vehicle, taking loose debris and grit off with it
- Re-foamed with Valet PRO ph neutral and buckets filled
> Two-Bucket wash: One rinse bucket. One solution (DoDo Supernatural) bucket
- A panel washed at a time wash mitt returned to rinse bucket often (remove lifted particles)
- Shampoo solution rinsed and vehicle prepped for de-tar/clay bar session
Decontamination
- Tardis sprayed liberally on lower quarters and softened tar deposits. Residue wiped away with clean microfibre
- A Mild clay-bar helped lift bonded contaminants overall, the Aston wasnt too bad
- Water sheeted over body panels to aid drying
- Dried with mega plush Miracle Dryer and using pat technique
Cleansing
- DoDo Juice LimePrime used to A) Cleanse. B) Polish. C) Nourish.
- Blue 3M Polishing pad switched to a firmer, yellow, pad. Removed all light surface defects
Protection
- First thin coat of DoDo Juice Supernatural was layed down. A second coat to follow..
- Chemical Guys Wheel Guard used to seal the wheels
- Belgom ALU used to clean/protect the britework
Dressings
- Tyres took two applications of CG New Look Trim Gel
- Exterior trim (mudflaps..) also received some New Look Gel
Interior
- Light debris hoovered
- Leather Cleaned with G101 wipeover
- Leather conditioned with Liquid Leather
- Dash/door-cards had a G101 wipeover leather dressed as applicable
- Pedals cleaned with a fine detailing brush and G101
Pictures
Upon inspection..
Now, I popped round to view this car several days prior to a date in the diary.. Upon inspection (whilst garaged), a fine strip on the tailgate caught my attention. Pig-tailing (sanding marks caused from DA) could be seen across the width of the panel. Shocking. This vehicles been owned from new.. Never had any third party work done.. WHY its had work, no one knows, but, they could of at least removed the sanding marks properly!
Haze caused by the pig-tailing can just be seen here:
Stretching across the whole panel:
General interior inspection..
A few scuffs, some light debris and pedals needed a good clean easy enough
As per, the wheels were up first. Tyres Alloys Arches..
Some tar deposits broken down and removed. Pitting remained.
Rinse Snowfoam Rinse Re-foam Wash Rinse
This combo, with the added benefit of DoDos new Supernatural shampoo, made the washing an absolute dream. I cant begin to imagine how easy washing it will be NOW after its had the protection down.. Very slick combination..
It has no protection
aye, youre not wrong!
This is the most I could lift with the clay-bar. Generally, the car was clean.
A small tar deposit being broken down..
Some nice beading taking place now the QuikDetailers been out: