Hi
, one day my rear wiper stopped out of the blue
... it can also go nuts if washer fluid is leaking internally in motor (had that before as well) ...
So here is my refurb info
... besides general tools a wiper arm puller is very handy, about a £5 from ebay ...
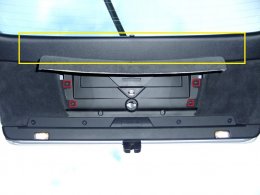
So first the removal of lower trim... first I removed the emerg.triangle in compartment in tailgate trim... then the inner tail light covers...
Hold on to these as once screws undone they fall quite easily...
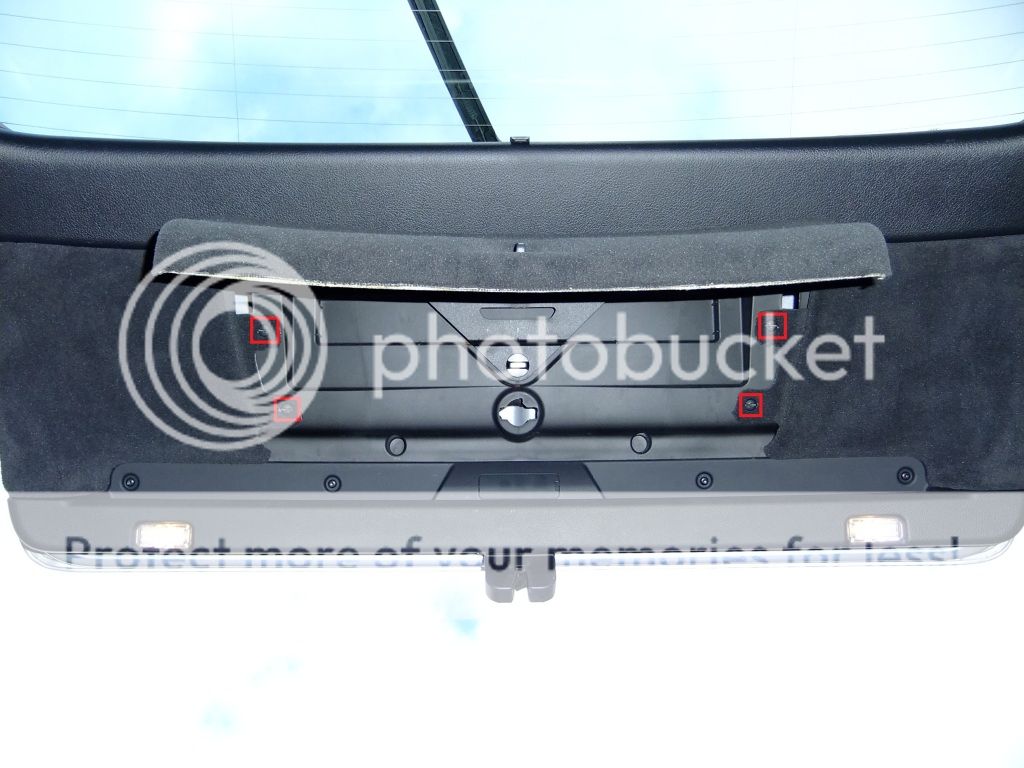
Next undo four torx screws on lower section of trim and two either side of emerg.triangle holder...
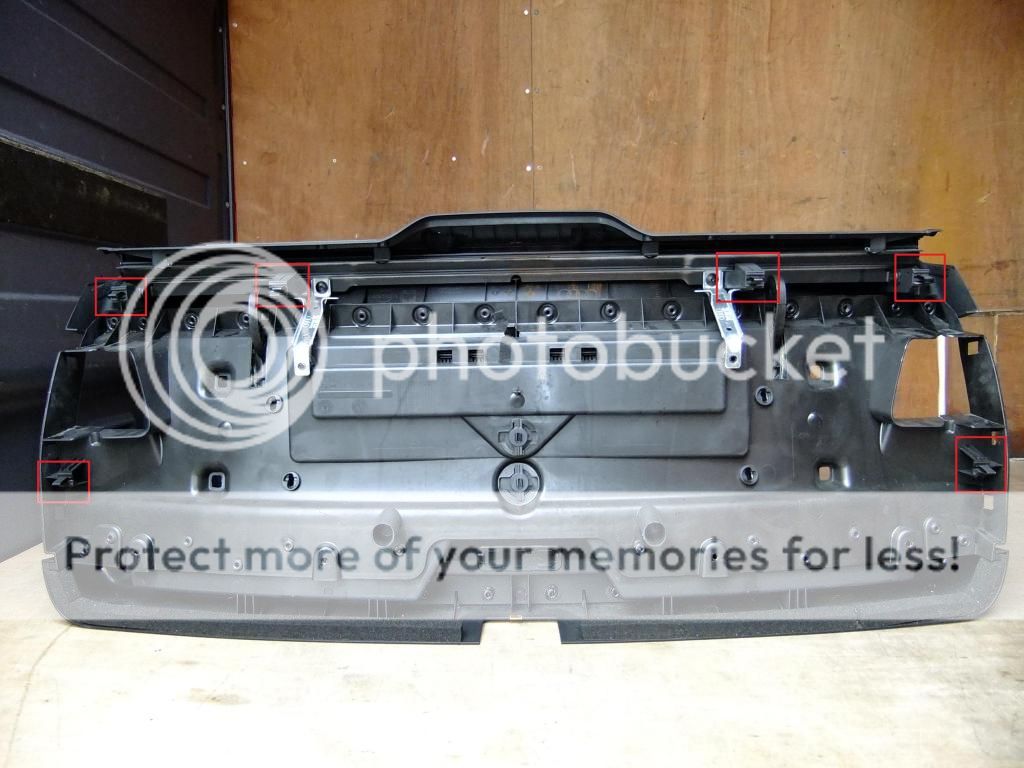
Checked clearance of elec.harness to inner tail light... the red line highlight where issue could occur when removing trim IMO...
Then unplug the lights in lower trim... place flat head in notch and lever out & unplug...
The lower trim is held on by six trim clips....
A wedge helped but considerable force is required to remove trim...
you may need someone else to give a hand as trim falls when unclipped and if not careful could hit car and cause damage...
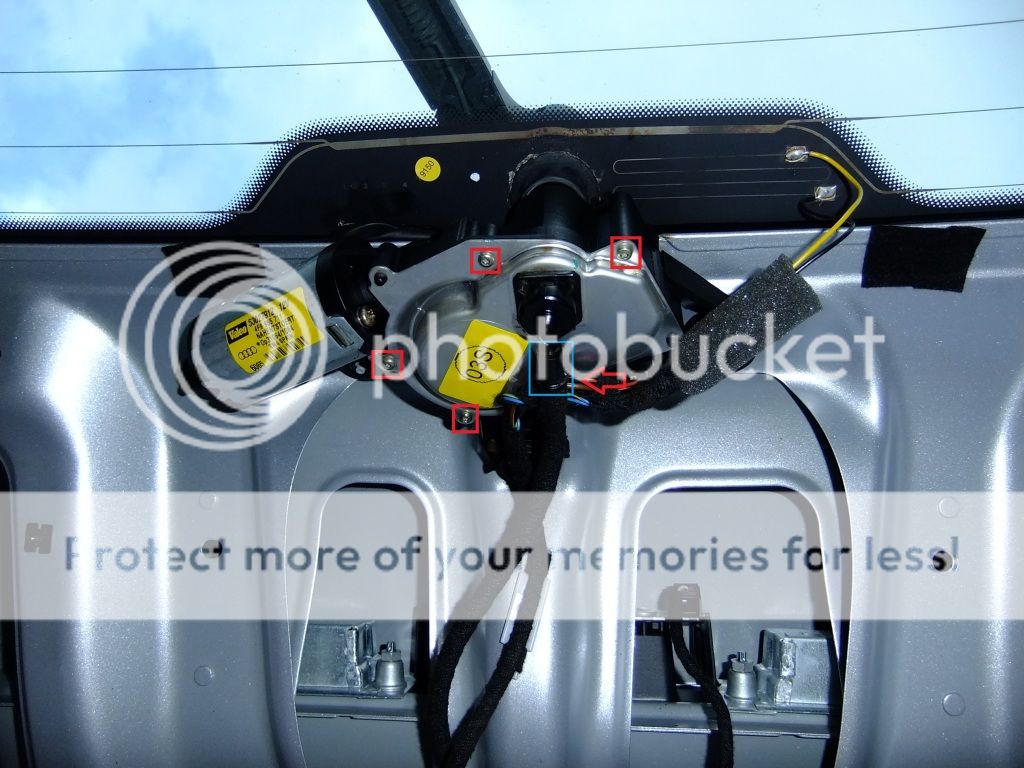
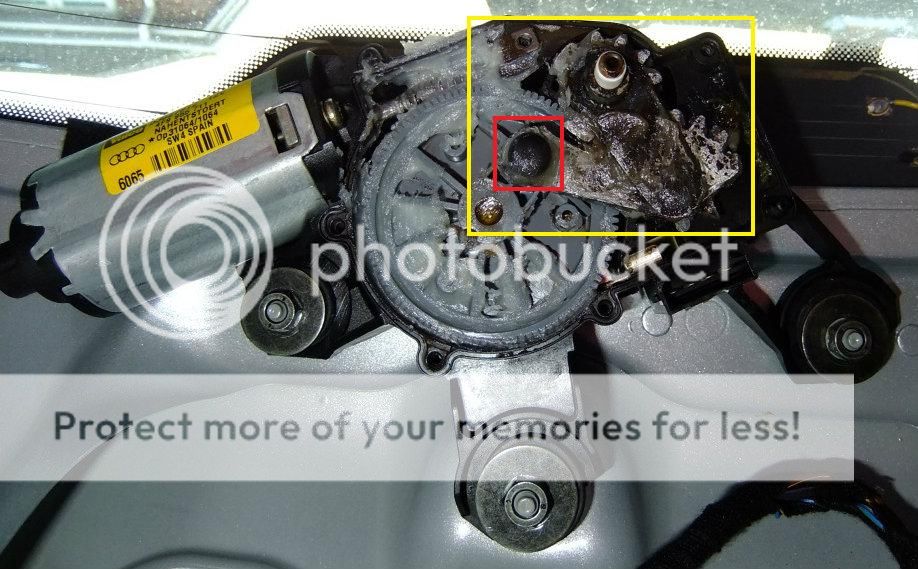
Once removed you will see the motor...
I unplugged washer hose marked by blue box, undid 5 torx screws on motor (one out of view on photo, denoted by red arrow)....
I left the elec.cable plugged in to see when rear wiper engaged what happen... nothing moved so as I had once before solved an issue with internal leak of washer fluid in motor I thought why not take apart and try my own refurb...
When you remove cover you will see this... do not lose the item in red box...
(
guys I missed the original nasty shot when cover came off, above is the refurb'd photo, you will get an idea of how bad internals were from the photos below
)
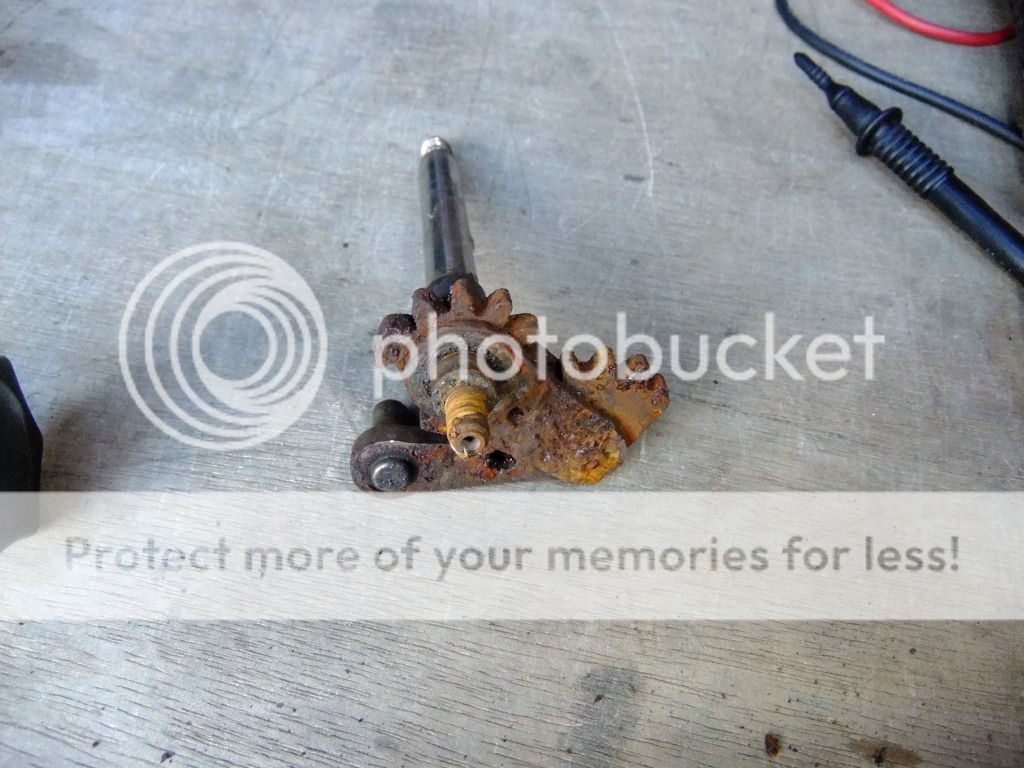
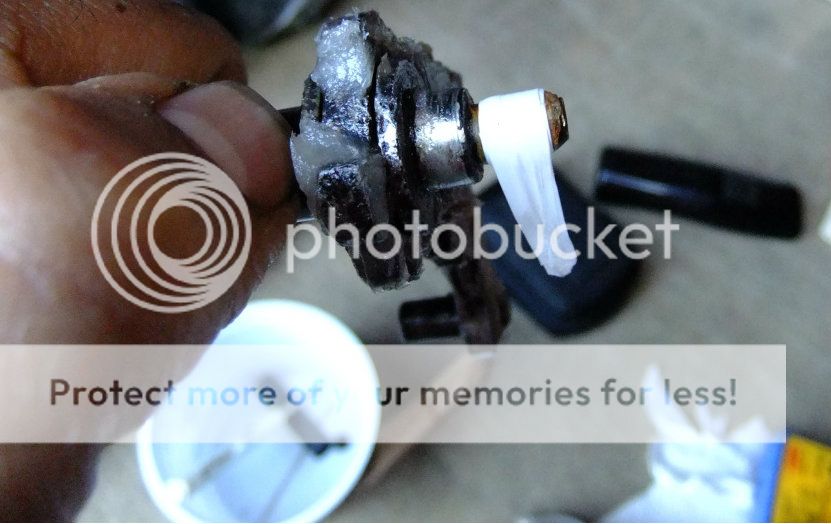
Next was wiper arm removal, I removed the wiper arm nut cover... then the washer nozzle... then undid nut only to in line with inner nozzle... placed a flat metal object in between nozzle/nut and
wiper arm removal tool... the metal object will help not to damage face of inner nozzle when removing arm ...
I pushed inner nozzle from out side... I had closed tailgate so item would fall into boot space and not damage bumper...
Look at that rust build up
... I could not move that with both hands what chance did the motor have
You can see the PFTE tape used to seal internal point of nozzle with cover on my original repair of motor/leaks ...
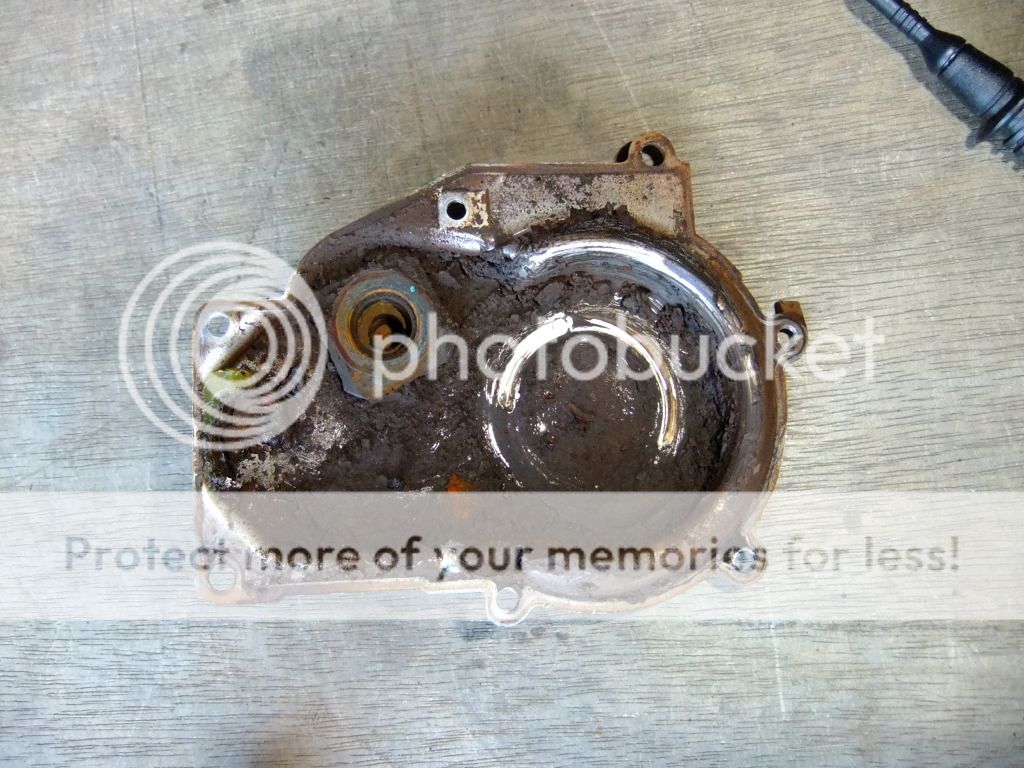
Inside of the motor cover
... the black square is where washer nozzle shaft seat internally...
So I soaked nozzle/arm in WD40, then used needle files to remove rust from faces/teeth, gave blasts of WD40 to clean and repeated filing... then movement returned...
Then cleaned up cover and nozzle/arm... and applied grease to both... the cover require grease due to the black item (red box item in earlier photo) on arm making contact with it...
Then cut about 2 inch length of PFTE tape, fold in half along length, wound tight around end of nozzle/arm which meet cover...
This was necessary on mine as due to wear (I think) on the washer hose attachment on metal cover not sealing properly on my motor...
I do not believe nozzle/arm had seized/rusted due to another leak as all was dry inside wiper arm motor casing...
I think on previous repair I missed opportunity of cleaning internals and greasing properly
which was a year ago...
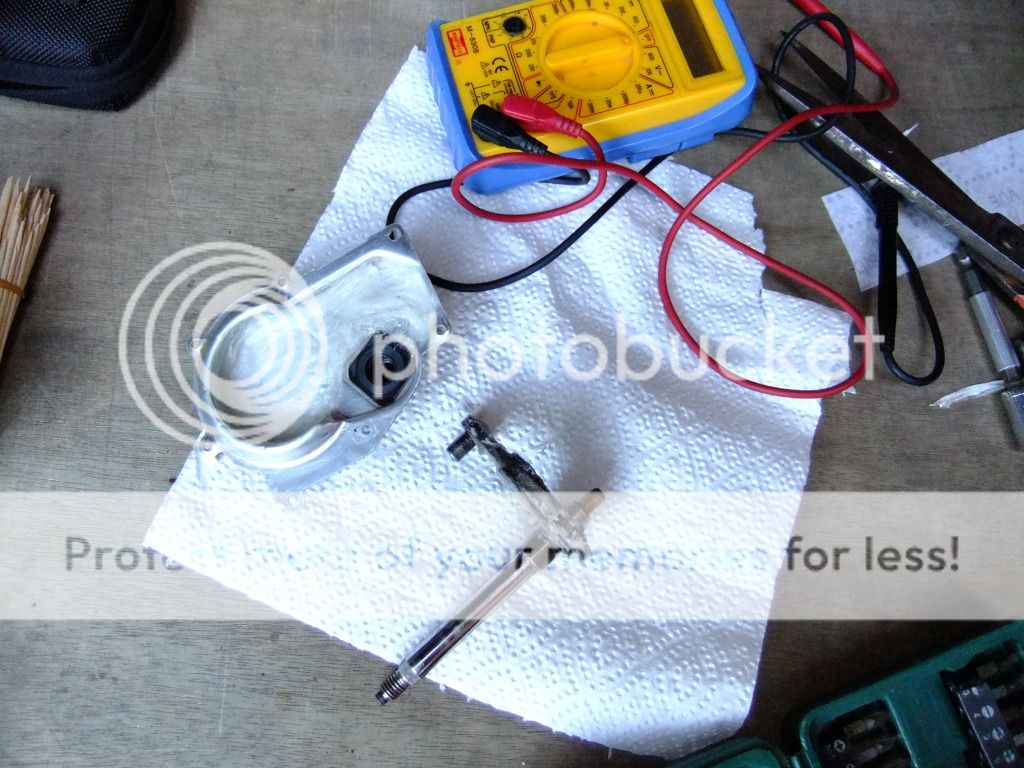
Next I checked the elec.motor (this was not the issue with mine... it was the seized arm)... this was removed my undoing the two screws on housing and slowly twisting and lifting the grey cog up to allow motor to slide out... I cleaned and greased area under the grey cog...
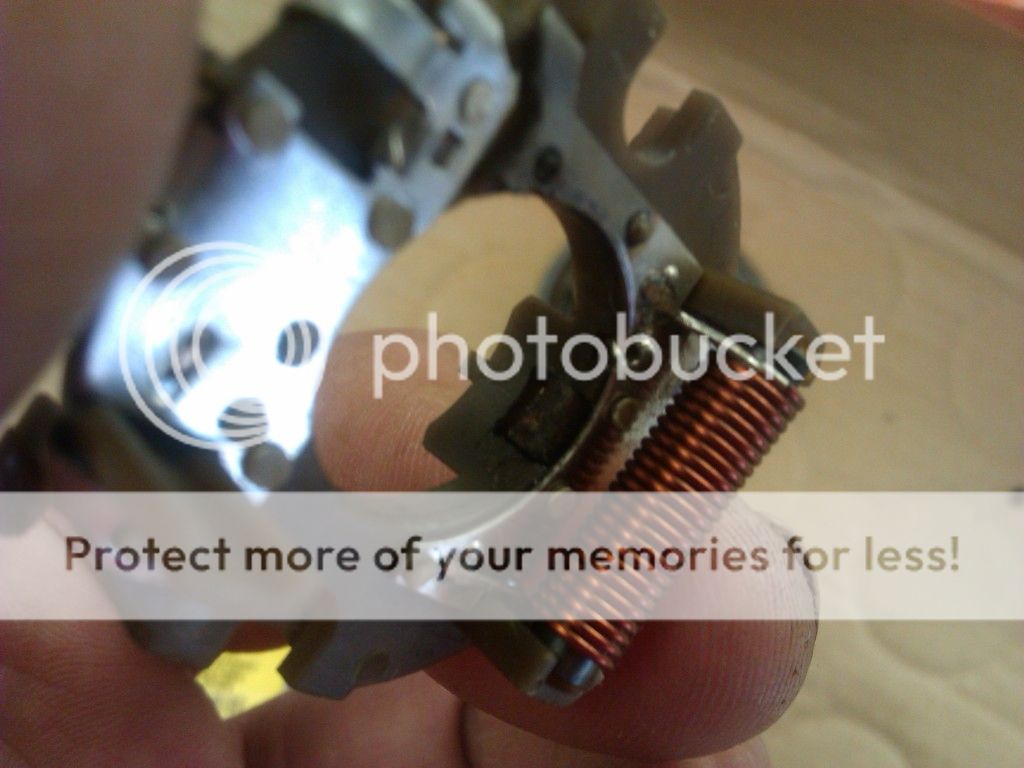
Below is what I call the bush housing/elec section for motor...
These where the bushes for the motor...
Surprisingly the broken bushes still worked in motor when I refitted them... it was a case of locating them in the elec.section then using a sleeve to keep them in place as I put the motor shaft in place... the pressure of the spring mounts for the bushes kept them in place
...
The refurb'd parts fitted and tested before cover go back on...
It is best to run motor without wiper arm on first, so shaft/motor rotate to appropriate positions of start/stop...
I placed my finger on grey cog as from movement/lack of cover the wiper arm shaft and grey cog move outwards when motor initiate if no pressure applied...
Some maybe wondering why bother... well my view if you know method fix is probably an hours work and sorting seized arm pretty easy... the elec.motor section was me just meddling around
The motor range from £80-£100 plus fitting if you not do yourself... so in my view worth the effort...
So what I've learnt from meddling twice with rear wiper motor:-
i) if water leaking inside motor small application of PFTE tape on washer shaft
ii) if wiper arm not rotating check to see if inner arm mechanism seized
iii) lack of water or pressure check pipework running from reservoir to washer motor, cap secure on reservoir
iv) check nozzle jets clear which on wiper arm


 ...
... ...
...
 ...
...