Prawn and BigAls A3 Track Car

Congratulations to both yourself and Victoria. The best thing you have ever created, and will cost you more money and give you grief than the car ever did but well worth it. Bet Grandad Al is chuffed.
Now whats the smallest size crash helmet they make ?
 
Boom, babytime. As I've said in person mate, super happy for you guys and can't wait to meet the little dude!
Has BBGD (Big Bad GranDad) paid you a visit since arrival?

6lbs, is he an early arrival?
No, he's just at race weight.

(Yes, but only by a few days)
 
  • Like
Reactions: Prawn
...
 

Attachments

  • prawn_costume.JPG
    prawn_costume.JPG
    18.4 KB · Views: 138
  • Like
Reactions: Prawn and Lavis89
BBGD is VERY proud. We were both up there within two days. Nicholas should post the pic with Oliver in his 'Ring' gear.
 
  • Like
Reactions: Prawn and Rainbird
Congratulations, I have a couple of grandkids now - you have your work cut out - he looks like a trouble maker :)
 
  • Like
Reactions: Prawn
Congratulations Nick!

I'm surprised the A3 isn't on ebay as it has no provisions for a baby seat!
 
  • Like
Reactions: Prawn
Nicholas should post the pic with Oliver in his 'Ring' gear.

This one :racer:


Congratulations Nick!

I'm surprised the A3 isn't on ebay as it has no provisions for a baby seat!

Well, technically it does still have Isofix :racer:

Currently though, he seems to enjoy his time in the e39 :)

 
  • Like
Reactions: S3 Hilife, Pedrosousa, A19quattro and 2 others
Reality

:sign unfair:

2 weeks has passed, and I'm back at work. This is not fun.

To take my mind off things, i thought I'd add a few bits in here to catch up on what's been going on in the background recently. 90% of this happened before Oliver was born, and the car is currently in pieces still as I've not had the time or desire to go out and finish it off.

Having identified an issue with the brake plumbing, I needed to try and get access to the pipes to swap them round to fix the issue. I looked from above but it seemed impossible, so I turned my attention to below.

I'd noticed some nasty oil residue appearing on top of the splitter, which needed investigation too.

First note, my wear blocks are now well and truly worn, these need replacing, but they're done well for 3 years!


The sacrificial captive mounting blocks have also seen better days and are now in need of replacement too:


Splitter off and the extent of the oil spread was a little worrying. No pools of it, but a fine film of oil, over just about everything!

It seemed to be originating from around the DV area. Being MAFless I run my DV to atmosphere, and in the recent assembly, we installed the DV facing downwards for space reasons.

The DV venting oil vapour suggested one thing - there was oil in the charge pipes.

So off they came:

Number 1:


Oh Crap.

Number 2:


Same story!

Discharge pipe from the turbo:


Yup. you get the picture.

Very first thoughts at this point turn towards turbo seals, but this seemed unlikely as the current core has done less than 1000 miles from new.

Further strip down and I discovered a small amount of oil dripping from the end of the air filter too. Eek!

Oil in the charge pipes post turbo could well be caused by turbo seals, but oil in the air filter PRE turbo could only get there via my catch can system, which returns to the TIP just after the filter.

Now, here's the embarassing bit.

Since i hooked my catch can up to the TIP and PCV return, it appeared to be self cleaning.

it has a little tap on the low point drain, which I open monthly with a cup under it, and I've never got anything out.

For this reason, I assumed the system was self maintaining, and that nothing ever actually stopped in the can. So I've never actually removed the can.

I unbolted the can, and removed the tap entirely to see what would come out.


Oh.


Oh again.

:sign wow: the second picture is a second glass, not just a different angle!

Oh feck I'm thinking at this point.

Then it dawned on me. This wasn't typical catch can brownly watery sludge crap. This was pure engine oil.

I''d actually NEVER removed and properly emptied the can. Not even on the old engine, I'd only ever opened the tap, which I've now discovered has such a tiny hole through the middle that even the slightest emulsified sludge blocks it entirely.

D'oh!

I also thought back to conversations with Bill and others about oil level and baffled sumps. Whenever I've filled my oil to max, it's always found it's own level, neared half way very quickly, then stabilised and not dropped any further. This is thought to be the quantity of oil that sits ABOVE the front baffle under braking, which is able to go up and out of the filter housing and fill the breather system. I'd forgotten this in my absence from trackdays, and been filling the oil level to max.

The can was actually SO full, the the oil level was AT the height of the TIP breather return, meaning that any positive pressure into the can, or negative pressure at the tip return was drawing in pure oil at the turbo inlet!

How long as it been like this? I honestly don't know. Was it drawing oil through even when on the dyno at Bills? I'm unsure.

Either way, it feels like a pretty schoolboy error to make!

Many systems similar to mine incorporate a sump return drain, but I had genuinely thought my system didn't need it.

I'm now looking at the easiest way to add a drain in.

This is the current arrangement, minus the TIP and return pipe:


And this is what I'm currently considering. Running a simple drain pipe from the low point, back into the oil filter housing breather line:


In an ideal world, you'd drain directly to the sump, but my thinking is, that during normal running, pressure is normalised anyway, as they both go to the same point, then during points where the engine isn't breathing heavily, or when parked up, oil will drain back down into the sump.

With the system being plumbed in full time I see no huge issue with doing it this way, as the quantities of oil draining back will be so tiny, given how long it takes to build up.

In an ideal world I'd drop the sump and add a fitting, but time is not on my side for that currently, so I'll look at that option this winter.

Can anyone suggest any good reason why I shouldn't T a return line in as per my picture above?
 
  • Like
Reactions: Golfyste
my catch can returns to sump (same as the leon supercopas did - figured good enough for seat sport good enough for badgerwagen.)
so long as your return drips into the breather pipe, it should drain back.. Overfilling being the route cause problem for you I think, masked by as non draining drain duping you into thinking alls happy.. doh! cars eh!

exactly half way on my hatched section on the dipstick is my max mark else it juust pukes it out of the front breather under heavy braking.
 
  • Like
Reactions: Prawn
Just watch out for condensation I guess. I remember every time I emptied mine on my old 205, it was mostly brown oily water. The last thing I'd want in my oil...
 
frequent oil changes should help with that.
Mine every 2 races oil changed on badgerwagen. 2 x 15 laps at best twice on 1.84 mile circuit.. = shag all miles (110 mile oil changes - hmmm)
 
Cheers guys.
It was trawling through old posts of yours that initially got me thinking Bill.

I'm going to order up a plastic T piece and tap the drain into the lower breather line and make sure the whole things runs down hill to the housing so nome settles.


With regards the brown gunk Sam, if you think about how much is likely produced at each cold start (condensation being the main cause IMO) I reckon that so long as the engine is warmed up fully each time it'll all be burnt off.

Thanks for the input guys :)

Can't wait to find some time and get it back together.

I've got 2 weeks to do this, as I be be en asked to attend the Spring Action day again for Mission Motorsport to give charity rides again :racer:
 
  • Like
Reactions: Golfyste
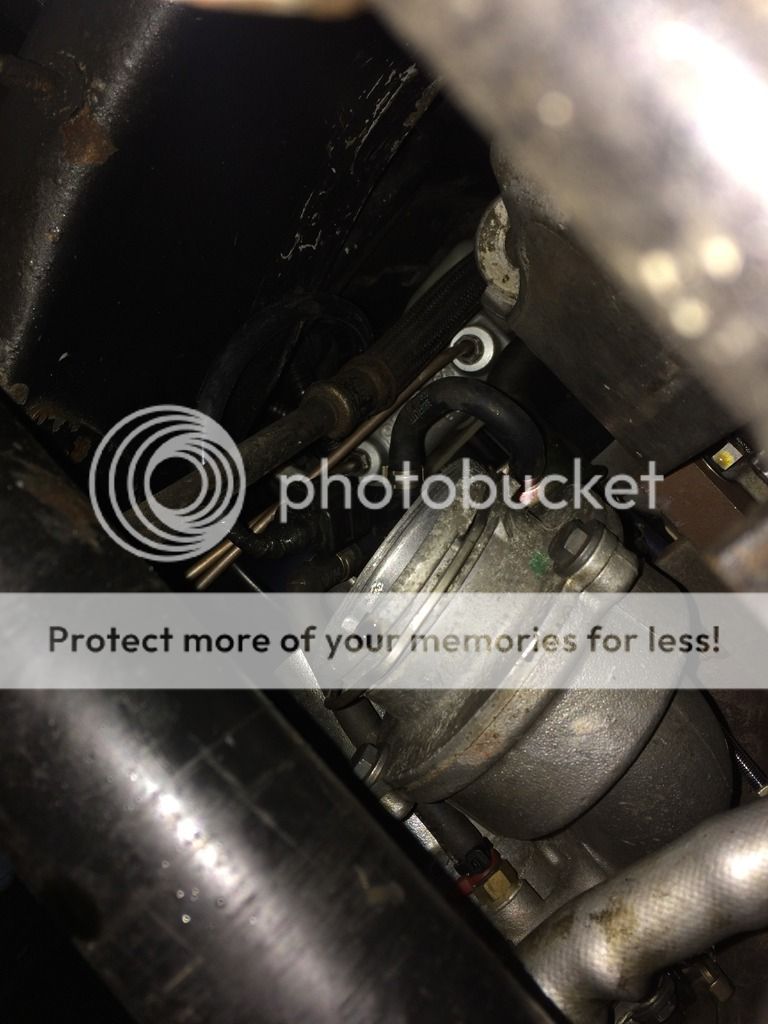
So, with the catch can and oil escaping issues put to bed (one hopes at least!) I turned my attention back to the job I started with; swapping the brake pipes.

With the charge pipe removed, this was the access I had from below:


I could see them, but that was really about all I could do. I could get a finger to them, but absolutely zero room to move a spanner from any direction.

Argh.

From above:


I looked from above, and it was similarly impossible to get any access. So I decided, the best plan of action was to try and remove the MC entirely, giving me access from above to bend and move the pipe work, then try and refit the MC.

After much struggling, success eventually came in the form of a sacrificed Lidl 11mm spanner.

With a cranked end, and another spanner looped through the top, I was able to get both ports undone from above:


Before getting angry with any pipes, I took this photo to show the current location of each pipe, an used this as a reference when manipulating them to be the other way round:#


After some very careful tweaking, this is what I ended up with:


One long pipe looped back, and one short pipe pulled out and extended. Not the prettiest, but no kinks, and none of the pipes are rubbing on each other at all, so I think we're pretty good.

It certainly wasn't the most enjoyable area to be working in:


But eventually, I got where I needed to be. Ports swapped front to rear, everything tightened up, and the master cylinder back in :)


Just need to bleed them up and fit new pads all round now!
 
  • Like
Reactions: Sam_, Sandra and Golfyste
I also found the time to pick these up whilst I was on leave :racer:


Freshly coated and wrapped in some fresh 235/40 NS2R's :)
 
  • Like
Reactions: sparrow, A19quattro, mazza6668 and 2 others
You're not the first to be fooled in to thinking the catch can was empty.
Mine even has a helpful clear tube up the side. Pity it never has any oil in it, no matter what's in the actual catch tank.
 
  • Like
Reactions: Prawn
I'll be very interested to see of its any different when I get it up and running again Alex.

I'm almost ashamed to say how much gunk and crab was sat in the intercooler when i cleaned it out last night. To think the engine was breathing in that mess it's a wonder it ran as well as it did at all!

In other news, after years of talking about it, I finally fitted some studs:


And threw one of the refurbished wheels on to see how they would sit. Shown here with a 10mm spacer for giggles:


Rusty arch aside, I think they sit pretty nicely. With the 10mm spacers they should match the wide tracked front end :racer:
 
So,

Following on from a test fit of the rear wheel, I found another few hours in the garage in between working and cuddling this little one:


Since having Oliver I've gotten into the bad habbit of taking selfies, mainly with him in, to share to Mum and Dad, but here's one with my other baby :laugh:


When I'd fitted the rear studs, they'd screwed straight in through the discs, and bottomed out on the shank when they reached the hub. Exactly as you'd like them to. This was because the stud holes in the rear discs were 16mm for a 14mm stud, and the shoulder on the studs was 15mm. No issues there.

My front bells, made by Bill, were rightly so, a much tighter fit on the studs at the front, I believe they were a purposefully close fit at 14.05mm.

This did mean that the shoulders on the studs wouldn't pass straight through, so the studs would have to be fitted first, and the disc slid over them.

Clash seen here:


Of course, once wound into the hub, there would still be the thickness of the shoulder proud of the hub face, which would stop the bell from sitting flush.

One countersink bit later:


This is the stud dropped through from behind, showing that the entire shoulder is not housed in the bell countersink, thus proving that the bell is free to sit flush on the hub again:


I wire brushed up the hub faces and applied copper slip before fitting the studs:


Old pads out and it was pretty clear to see they were near the end of their life:


Swapping pads left to right before Bedford had certainly extended their life, and the tapered wear was down to a minimum.

I'd bought these a while ago, ready for a full change:


On with the studs and disc:


And in with the new pads:


Other side off, and knowing the required depth it was much quicker to open out the back of the bell this time:


Having stripped it all down I carefully cleaned out the calipers and slide plates with a wire brush, as well as cleaning around all of the pistons before retracting them. if you leave debris built up on the pistons this can cause damage to the seals when you push them back in.

I installed the studs (now out of locktite @bigal 1 ! please find more of that stuff!) and disc again, then refitted the pads to help push the pistons back in.


I always use an old pad or backing to retract the pistons, to make sure they push back squarely.

New pads in that side too:


And the wheel back on. I'm liking the studs! (not tightened here)


Soon I'll be able to push it out of the garage and see what it looks like!

 
Last edited:
  • Like
Reactions: superkarl, craigt1985 and Golfyste
Cheers Craig. Will we be seeing you next weekend?

Got another smaller update to add after lunch :)

Then another one shortly when some shiney bits arrive!
 
I forgot to take many 'during' pictures on Thursday, as I was in a hurry to get things done, but I lifted up the back of the car and got stuck in changing the rear pads:


Hows this for a comparison:

Front pads, 2 track days, and around 1000 road miles:


And then rear pads:

Old vs new. Fitted early 2015


Whilst you would always expect rear pads to wear slowly, I think less than 0.5mm in 2 years hints at just how little my rear brakes have been doing!

With everything cleaned up and refitted it was finally time to roll it out of the garage and see what it's going to look like on the silver OZs


It needed a clean, but I didn't have time, so I used Instagram to make it shiney instead :laugh:


Roll on Castle Combe next weekend!

Anyone else going?

:racer:
 
  • Like
Reactions: Golfyste
As I said on WA, great to see the car coming back together again mate. Are you finding it tricky splitting your time between your 2 babies? :p

Hoping to get across to Combe next weekend - if there are any passenger laps left I may throw some dollah in the charity pot and see how things feel from the cockpit.
 
  • Like
Reactions: Golfyste
Brakes bled. Splitter back on.

Been for a drive. Feels awesome!


Needs a clean still!

I've also added a sump return to the catch can.


This bleeds back down into the crank case breather line, and is on a constant Downward fall from the catch cab right to the oil filter housing.


I'm well aware it's unlikely to drain down whilst the engine is running and breathing, but it's not like it'll ever fill the can in a single use, it's more about the small quantities of vapour that condense in the can finding their way back down to the sump slowly during engine off time.

Ill keep a close eye on it and see how it works out. If it doesn't work, I'll drop the sump at the next oil change and add a proper fitting.

For now, the car is safely tucked away back in the garage


  • Like
Reactions: Golfyste
The first rule of Action Day is we don't talk about Action Day...
 
  • Like
Reactions: Prawn, Golfyste, craigt1985 and 1 other person
So much for " expert engine builders" in the Midlands.
 
Last edited:

Similar threads

Replies
26
Views
8K
Replies
6
Views
4K
Replies
10
Views
4K
Replies
166
Views
20K
Replies
40
Views
4K