Hi all, my name is Marek and how aome of you could expect I'm polish (but I m speaking also italian and a bit of english, sorry if is bad ") )
)
Anyway I'm new here so hello to everyone.
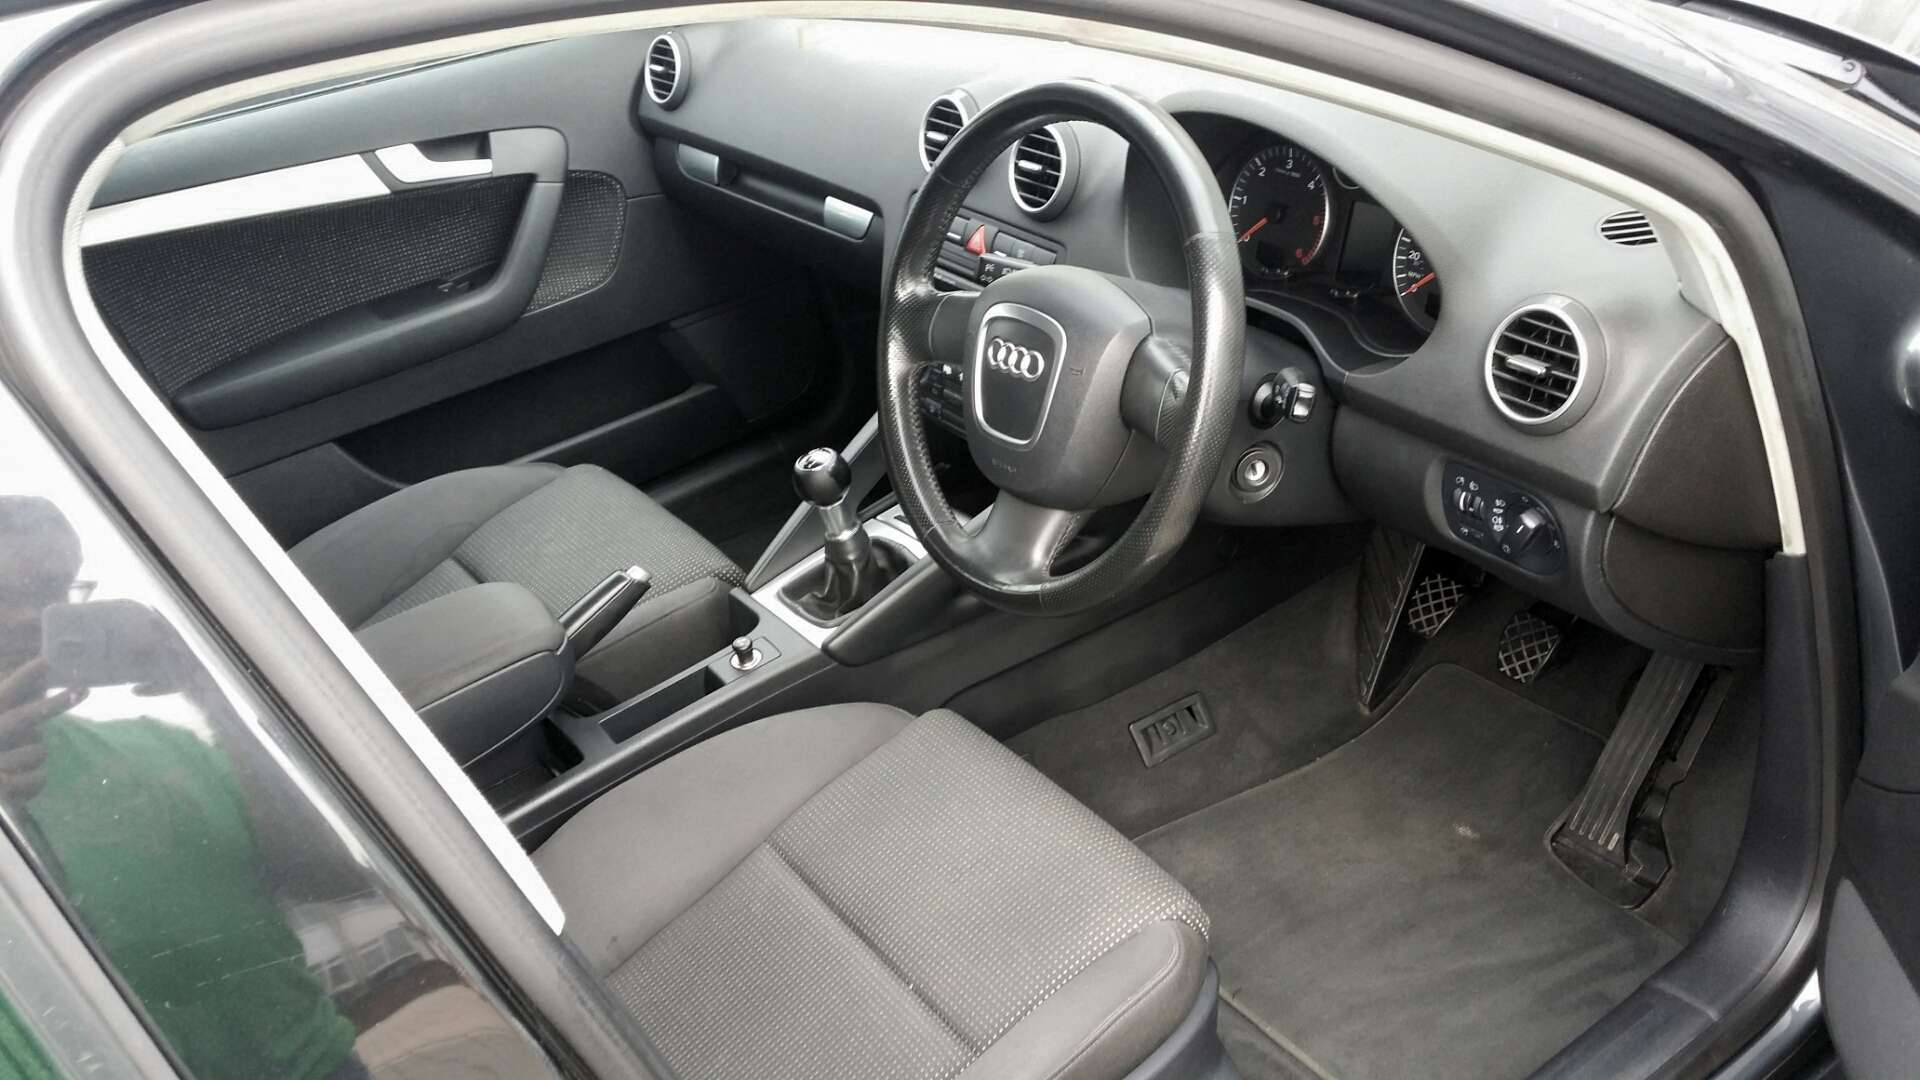
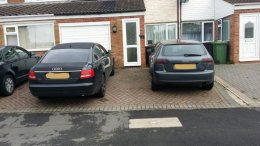
About my car. I'm from october an owner of Audi a3 sportback (2005 2.0 tdi bkd)
That I bought as spares and repairs (clutch gone).
Until now I've done some work but unhappily the car isn't in the condition as should be (description hiden most imperfections) but anyway I loved it.
So a list of thinks done:
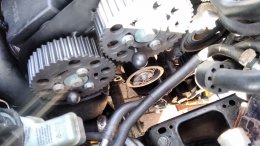
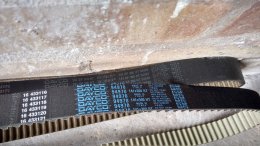
Service (glow plugs, oil-air-fuel filters, oil 5w30)
Clutch (complete kit and pedal with master cylinder) sachs xtended
Undertray engine (was missing)
Full waleting
Add the usb reader to car radio
Plus some minor things.
And few things that I'm opting to do:
Change colour to black with orange pearl
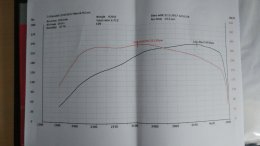
Chip tuning
Maybe new rings
Privacy windows
New radio (compatible with original equipment or audi's one or my own setup of headunit connected to actual radio)
Add cruise control and multifunction steering wheel
Add xenons (original with levellers)
Maybe also changing rear lights
And changing windscreen as is cracked (but still legal).
)Anyway I'm new here so hello to everyone.
About my car. I'm from october an owner of Audi a3 sportback (2005 2.0 tdi bkd)
That I bought as spares and repairs (clutch gone).
Until now I've done some work but unhappily the car isn't in the condition as should be (description hiden most imperfections) but anyway I loved it.
So a list of thinks done:
Service (glow plugs, oil-air-fuel filters, oil 5w30)
Clutch (complete kit and pedal with master cylinder) sachs xtended
Undertray engine (was missing)
Full waleting
Add the usb reader to car radio
Plus some minor things.
And few things that I'm opting to do:
Change colour to black with orange pearl
Chip tuning
Maybe new rings
Privacy windows
New radio (compatible with original equipment or audi's one or my own setup of headunit connected to actual radio)
Add cruise control and multifunction steering wheel
Add xenons (original with levellers)
Maybe also changing rear lights
And changing windscreen as is cracked (but still legal).