What have you done to your A4 b6 today?

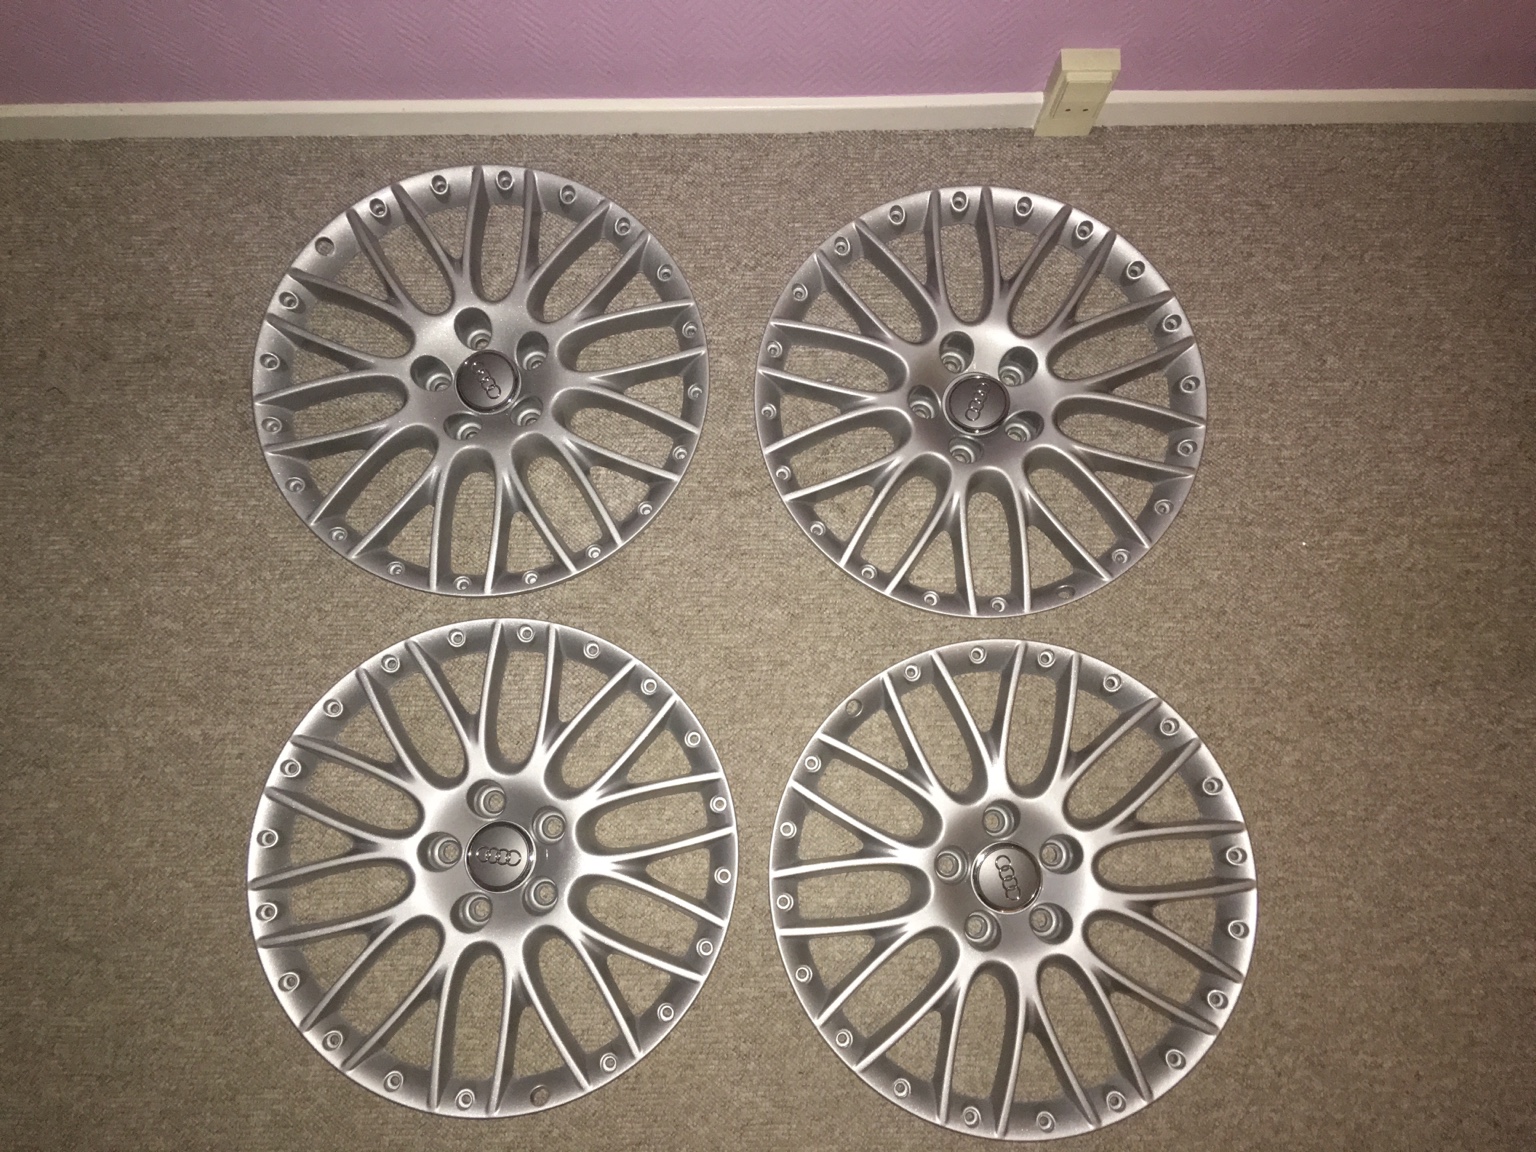
Painted the centerpiece on my BBS RS861.. Pearl grey.
Just need 3 more now, and polish the lip..

But don't know what to do with the inside of the wheel... My first plan was to strip the clear coat and polish to mirror finish, but thinking of it, perhaps it's easier to paint it black.. With all the brake dust etc..

ImageUploadedByTapatalk1458387653539506

ImageUploadedByTapatalk1458387662775110

ImageUploadedByTapatalk1458387684993457
 
  • Like
Reactions: DrStrange and mattmanwrx
I retro fitted cruise control last night, now to go on the motorway and use it!
 
  • Like
Reactions: Ralphthemouth and DrStrange
Done the mr muscle method on the turbo and changed the n75 valve...still going into limp mode and throwing up boost deviation fault.:wtf:
 
I retro fitted cruise control last night, now to go on the motorway and use it!
It's a gift to have. My car came with some aftermarket cruise stalk installed, but it was never fully set up. Damn glad I had it set up. It fluctuates a bit more than I'd like, but it's not too bad.
 
I see you also had the mist in the rear lights.. Is it because they are aftermarket? Really can't take my eyes off it every time I walk up to my car..
 
I see you also had the mist in the rear lights.. Is it because they are aftermarket? Really can't take my eyes off it every time I walk up to my car..

No mist - just the photo. They are the original units and were as clear as day.
 
Sometimes you get mist if the seal that sits between the cluster and body isn't sitting right
 
Sometimes you get mist if the seal that sits between the cluster and body isn't sitting right
The seal is there so the plastic isn't scratching the body?
I think my aftermarket ones are cracked somewhere..
The mist isn't inside where the bulb sits, but between the two layers of the light housing
 
Had a little wash over the weekend..
Build thread coming in the next couple of weeks to show what ive been up to.
 

Attachments

  • IMG_1696.JPG
    IMG_1696.JPG
    727.6 KB · Views: 347
  • Like
Reactions: Teh
The seal is there so the plastic isn't scratching the body?
I think my aftermarket ones are cracked somewhere..
The mist isn't inside where the bulb sits, but between the two layers of the light housing
Sometimes aftermarket units are not moulded as Well as factory units and on the seems they can leak
 
I get misting in my o/s one, two new clusters being ordered tomorrow.
 
  • Like
Reactions: Wahlstrom
Tried the baking soda toothpaste on my headlight route over the weekend too.

This is a super quick and easy method of removing *minor* haze. But It will leave the headlight dull after. You must buff the Sh*t out of it to restore lustre.
 
Tried the baking soda toothpaste on my headlight route over the weekend too.

This is a super quick and easy method of removing *minor* haze. But It will leave the headlight dull after. You must buff the Sh*t out of it to restore lustre.

Wet sanding 2000/3000 and some clear coat?
Should do the trick
 
Popped the hood to change a few over due vac lines.

Changed the ones under the intake vacuum actuator (I think that's what it's called) haven't changed the ones going into the two actuators yet, as I ran out of tubing .


Had to reroute the three lines which go into a Tee shape connector (broken so replaced with a new blue one) and bring them towards the front.

I could not figure out how to slot the line which goes through the small gap under the passenger side coil bank so ran it over the bay for now once I figure out a neater method.

I used a 3 metre long, 4mm internal diameter 8mm outer silicone hose, which I snipped as I went replacing each hose, till I ran out lol haha

4mm internal diameter Tee hose connector, bought all of eBay.

See below, before and after.
Uploadfromtaptalk1458659365547


Uploadfromtaptalk1458659390923

Uploadfromtaptalk1458659554598

Uploadfromtaptalk1458659624905

Uploadfromtaptalk1458659607722


Think it looks a lot better, I'll reroute everything properly once I get more tubing and red cable ties to match

Total spent thus far £5.68
 
  • Like
Reactions: neil ratcliffe
I put some new shoes on my A4 a few days ago. They suit it a lot better than the old 17s in my opinion.

lR14d6gh.jpg
 
  • Like
Reactions: Greeny233, THQuattro, Dubbers1 and 1 other person
Yes mate,

Much better than the 17's. The S4 B6 Wheels have grown on me a lot.
 
  • Like
Reactions: Greeny233
The seal is there so the plastic isn't scratching the body?
I think my aftermarket ones are cracked somewhere..
The mist isn't inside where the bulb sits, but between the two layers of the light housing


Wanna get rid of mist? Cover light with masking tape, leave on for heat to build up and it evaporates!
 
  • Like
Reactions: DrStrange
Tried the baking soda toothpaste on my headlight route over the weekend too.

This is a super quick and easy method of removing *minor* haze. But It will leave the headlight dull after. You must buff the Sh*t out of it to restore lustre.


Don't bother with that , buy some 600 and 1500 grit wet and dry. Wet sand the hell out of them, then aerosol laquer over that. Like new, I do it do a living, takes 30 mins to do both!
 
  • Like
Reactions: DrStrange
Yes indeed.

Any recommendations of a clear coat?


I use promatic laquer, in a blue can. Think halfords may sell it. It's uv protective and nearly as good as 2k. I use it professionally to do that job!
 
  • Like
Reactions: DrStrange
As I couldn't find anything that made me want to change her over the weekend I booked it in for a front end respray, machine polish and wheel refurb on return.
 
  • Like
Reactions: Ralphthemouth, Welshquattro and Wahlstrom
changed my expansion tank changed a few vacum lines. found myself a disc changer for the glove box. and changed the inner onto my spare black frame. and got all my painted parts back from the body shop. and got my replacment driverside wing in primer.
 

Attachments

  • Picture 1635.jpg
    Picture 1635.jpg
    81.8 KB · Views: 224
  • Picture 1636.jpg
    Picture 1636.jpg
    71.9 KB · Views: 220
  • Picture 1634.jpg
    Picture 1634.jpg
    52.9 KB · Views: 241
  • Picture 1631.jpg
    Picture 1631.jpg
    95.9 KB · Views: 224
  • Picture 1639.jpg
    Picture 1639.jpg
    70.9 KB · Views: 220
  • Picture 1628.jpg
    Picture 1628.jpg
    85.4 KB · Views: 237
  • Picture 1630.jpg
    Picture 1630.jpg
    89.7 KB · Views: 243
  • Picture 1629.jpg
    Picture 1629.jpg
    97.6 KB · Views: 242
  • Picture 1645.jpg
    Picture 1645.jpg
    67.9 KB · Views: 231
  • Picture 1646.jpg
    Picture 1646.jpg
    73.8 KB · Views: 234
  • Picture 1647.jpg
    Picture 1647.jpg
    47.2 KB · Views: 209
  • Like
Reactions: DrStrange and Hasa3
Just given mine a once over with, 'mr sheen multi purpose'!

Why I hear you ask? It's the only thing I ever used that makes cars look the bomb!
 
  • Like
Reactions: DrStrange
What do you think pre wax cleaner is? 80 grit sand paper won't help yer paint, but this stuff is the bomb. I use it on every dark colour I detail prior to wax, and I got every sexy *** expensive polish there is.

Just cause it's a quid and housewives use it, don't mean it's crap.
 
Did the last three centerpieces.. And took the rims to a shop so they can be stripped from clearcoat.. Bathed in acid
Looking forward to polish the h*** out of them.. And get them fitted before summer is over
0c7b8e15321656815cd448ad2814e0d4.jpg
 
  • Like
Reactions: DrStrange, Welshquattro and sumo
put mine in for its mot yesterday passed bitch i was chuffed with but advised to replace lower arms soon as showing a bit of play in ball joint so ordered them last night along with few other bits i want to change :)
 
Did the last three centerpieces.. And took the rims to a shop so they can be stripped from clearcoat.. Bathed in acid
Looking forward to polish the h*** out of them.. And get them fitted before summer is over
0c7b8e15321656815cd448ad2814e0d4.jpg

Did you have any trouble splitting them down, or did they come apart easy enough?
 
Easy.. Tapped two of them softly with some wood and they came off..
But been searching for torque when putting back together and if some compound is needed, as there are some leftovers still sticking to it
 
Tried to listen to where the rattling noise is coming from in the exhaust system. I think it's coming from the catalytic 
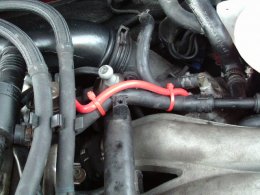
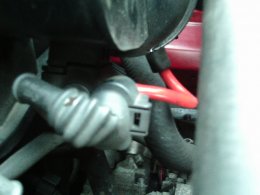
. Sounds like something metal/like coins rattling when accelerator pushed down.

Also got code

Address 01: Engine Labels: 06C-909-559-ASN.lbl
Part No SW: 8E0 909 559 H HW: 8E0 909 059
Component: 3.0L V6/5V G 0003
Coding: 0011711
Shop #: WSC 63351 000 00000
VCID: 3A7BD46A76FF94CE9A7-517A

1 Fault Found:
16815 - Warm Up Catalyst; Bank 2
P0431 - 001 - Efficiency Below Threshold - MIL ON
Readiness: 0000 0000
I guess that's the cat, don't know if plan for milltek/BCS is ruined yet

Oh and this arrived a few days ago
549c3d7c017fe15b04d76ef3f30ab629.jpg


S line rear for avant b6, with black decal sticker

Thinking of painting it my self, but I may paint the door blades and skirts first to see how 'good' I can DIY paint
 
  • Like
Reactions: DrStrange
Easy.. Tapped two of them softly with some wood and they came off..
But been searching for torque when putting back together and if some compound is needed, as there are some leftovers still sticking to it

Did you have any trouble with seized bolts?