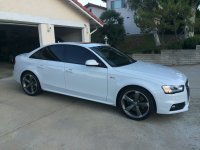
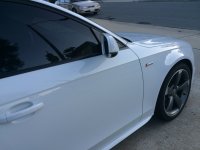
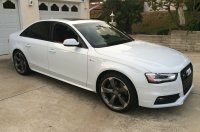
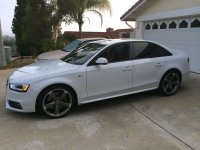
Capturing "Operation S4 - Detail and Protect" from Start to Finish

ThatOneDude

Registered User
Joined
Mar 20, 2015
Messages
165
Reaction score
129
Points
43
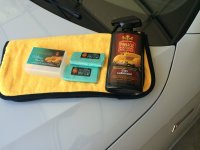
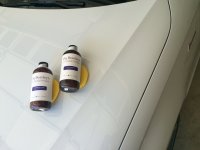
Alright folks. I have ordered all necessary items shown below.

Total Cost including shipping: $347


The 10 Step Plan

Step1


Step2


Step3


Step4


Step5


Step6


Step7


Step8


Step9


Step10


Of course, I will capture the process with before and after pics!

:grinning:
 
  • Like
Reactions: Blackwhite
I don't see an edit button for my original post but I have just purchased the CarPro Dlux kit so now it is an 11 step plan!

Step11
 
  • Like
Reactions: Blackwhite
I'll be interested to know how the Nano coating goes.
Remember, plenty pictures of processes and stages. Good luck.
 
@ThatOneDude - I would swap step 4 and 5 around buddy

The CarPro Eraser will strip off the Dr.Beasleys's smoothing polish and finishing glaze

In fact looking at this again, I would leave the smoothing polish and finishing glaze out and apply the Nano resin straight after the Eraser as you will be applying it straight to bare paint so will bond better
 
  • Like
Reactions: Scottyg and ThatOneDude
@ThatOneDude - I would swap step 4 and 5 around buddy

The CarPro Eraser will strip off the Dr.Beasleys's smoothing polish and finishing glaze

In fact looking at this again, I would leave the smoothing polish and finishing glaze out and apply the Nano resin straight after the Eraser as you will be applying it straight to bare paint so will bond better

yah bud that part of the equation is the one part that I am really struggling with. Feedback on this from you guys is really important to see what you think too.

I actually emailed Dr Beasley's and specifically asked if doing a wipedown after the polish/glaze would essentially negate the efforts. They said no it won't be a problem at all and that even after the wipedown, it will still be very polished.

Here is the quote verbatim:
The processes you laid out look really good. The Finishing Glaze will help fill in any tiny remaining scratches the Smoothing Polish may not have removed. The IPA wipe won't undo any of the polishing, it's just to remove any excess oils on the painted surface so the Nano Resin bonds better. Go forth with your plan!

But I'm still confused. Even after posting my steps above and reviewing it, doing the IPA wipedown (well... Eraser) after the polishing seems pointless. I'm already doing the clay bar, then wouldn't the finishing glaze provide a perfectly glossy and totally prepped surface? Not seeing how there could be any excess oils that Eraser would help remove. The actual glaze product wipes off and leaves only its effect on the paint that was already there.

Here is the description on Dr Beasley's for the glaze. Seems like the perfect last step before Nano Resin.

Finishing Glaze is the perfect last touch when polishing your car. It contains paintwork gloss enhancers which restore the original luster to your vehicle. Finishing Glaze is a sort of “missing step” in the polishing process. Professional detailers use glaze to enhance paintwork before waxing, and you can achieve the same results they do with this product. Buy Finishing Glaze today to achieve the best gloss possible.

• Leaves behind an incredible shine • Non-abrasive formula perfect for finishing any polishing process • Fills in any remaining scratches for an incredibly smooth surface, ready for waxing

Having it super glossy and polished before locking everything in with the Nano Resin sounds ideal to me, but I want to do this right, because many of these steps are a 1 time only effort.
 
  • Like
Reactions: Bristle Hound
I actually emailed Dr Beasley's and specifically asked if doing a wipedown after the polish/glaze would essentially negate the efforts. They said no it won't be a problem at all and that even after the wipedown, it will still be very polished.
I am surprised by what the manufacturer says @ThatOneDude but all the products are theirs so they should know
I'm just a daft Dawg after all ! lol :laugh::laugh::laugh:
 
  • Like
Reactions: ThatOneDude
Yah I'm surprised too. I don't think I am gonna screw anything up. I'm going to take extreme care in this entire process, of course. But I do wonder if the polish and glaze compound are more for prepping pre-wax and not so much for prepping pre-nano resin. Perhaps these modern semi permanent coatings don't need the polished glaze before applying? I dunno. I am considering testing out the process first on my beat to hell toyota corolla that I recently bought as a temporary DD while I was shopping for the right Audi.
 
Would have to agree with previous posts, a glaze is usually applied directly before the wax or sealant. Using eraser would remove this, glazes usually consist of polymers fillers cleaners.... that help mask defects that are not fully corrected with polishing.

Glazes are usually not used with the coating type sealants as the coating works best when it can bond directly to the paintwork.

I would test an area first, that being said if the manufacturer of the product is giving you these instuctions!!!
 
  • Like
Reactions: ThatOneDude
Thanks @ash-k

I think I might take BH's advice. I have another car to test it on, but I may just skip the polishing/glaze step altogether. I'm sure after using the Pinnacle Clay that the surface will be super smooth and ready. If the Nano Resin really is the kitties titties, then it will probably provide as much gloss factor as anyone needs.

Yesterday I did a quick foam wash and rinse followed by a quick MF mitt bucket wash.

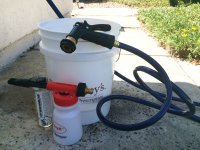
I'll post some before and after pics later. Turned out nice, though I think I needed more citrus wash in the canister or something. The foam was very thin. Not sure what the proper ratio is for adding the wash soap to the foam gun canister but I used like 1/8 of the bottle which seems fairly high since the directions say 1oz mixes with 2 gallons of water. I dunno... :blink:

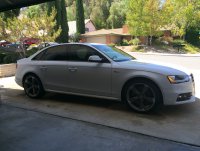
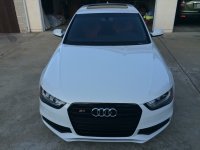
But I do know this... it felt really nice to get into that squeaky clean S4! Glacier White is a really great look on this car. :yes:
 
  • Like
Reactions: Bristle Hound
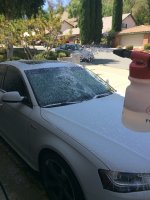
Ok so here a few teaser images. I didn't get much foam. Not sure I used the system correctly as I have never used this particular foam gun or this wash soap. Maybe next time I can get a thicker foam.


DIRTY
1 rear dirty 3000


WASHED
1 rear washed 3000


DIRTY
2 rear quarter dirty 3000


WASHED
2 rear quarter washed 3000


DIRTY
3 front dirty 3000


WASHED
3 front washed 3000


DIRTY
3a side dirty 3000


WASHED
3a side washed 3000


SOAPED UP

4 front soapy 3000

4 side soapy 3000


ALL CLEAN
4 side washed 3000


And no there isn't really that much ground clearance. My driveway is sloped at the entrance so the front is "up high". :)


Anyway... full wash and full exterior detail with Nano Resin coming this weekend!


  • Like
Reactions: Blackwhite, Scottyg, Bristle Hound and 1 other person
Ok so here a few teaser images. I didn't get much foam. Not sure I used the system correctly as I have never used this particular foam gun or this wash soap. Maybe next time I can get a thicker foam.


DIRTY
View attachment 66300


WASHED
View attachment 66301


DIRTY
View attachment 66302


WASHED
View attachment 66303


DIRTY
View attachment 66304


WASHED
View attachment 66306


DIRTY
View attachment 66307


WASHED
View attachment 66308


SOAPED UP

View attachment 66309
View attachment 66310


ALL CLEAN
View attachment 66311

And no there isn't really that much ground clearance. My driveway is sloped at the entrance so the front is "up high". :)


Anyway... full wash and full exterior detail with Nano Resin coming this weekend!


Looking foreword to the next instalment @ThatOneDude :thumbs up:
 
  • Like
Reactions: ThatOneDude
I have received everything now! I've got an empire of car detailing goods over here! haha :rockwoot:

This weekend can't come soon enough.

Dr Beasley's gave me a few free samples too. The only thing I am a little nervous about is the leather coating. I sprung for the CQuartz Coating and most everything I can find about it online is super positive, but I just really really hope the leather retains that luxurious Nappa feel to it.

Dr Beasley's gave me a sample size of Leather Lock and a full size Leather Cream. Reviews on that are really good too but it's a bit of a different direction. With CQuartz, you clean, wipe off any excess cleaner, then coat. No conditioning. No cream. Coating has to bond with the bare leather.

With Dr B Leather Lock, you clean, cream, then lock. And most people report that the leather feels factory new even with the lock coat on. I'm sure both products are very good, but with the leather options I kinda feel like this right now. :huh: Right now every square millimeter of the leather in my S4 is perfect. Looks brand new and feels glorious so I just don't wanna eff it up. :sadlike: First world problems. :weary:
 
Yeah I did matey, just referring to you ticking off the steps on your 11 step detailing plan. Should have perhaps elaborated a bit... Haha I knew what I was meaning:tearsofjoy:
 
Yeah I did matey, just referring to you ticking off the steps on your 11 step detailing plan. Should have perhaps elaborated a bit... Haha I knew what I was meaning:tearsofjoy:

No worries bud. Yah those pics are just from an unplanned quick wash. The real deal begins this weekend.

I think I'm gonna test out the CQuartz leather guard on a few different types of leather surfaces first to see what happens. I'm just worried about making it feel like some other kind of material. well... technically you'd be touching (and in contact with) the coating and no longer the leather. Not sure how I feel about that.
 
The Whole Kit and Caboodle
Operation S4 Detail and Protect


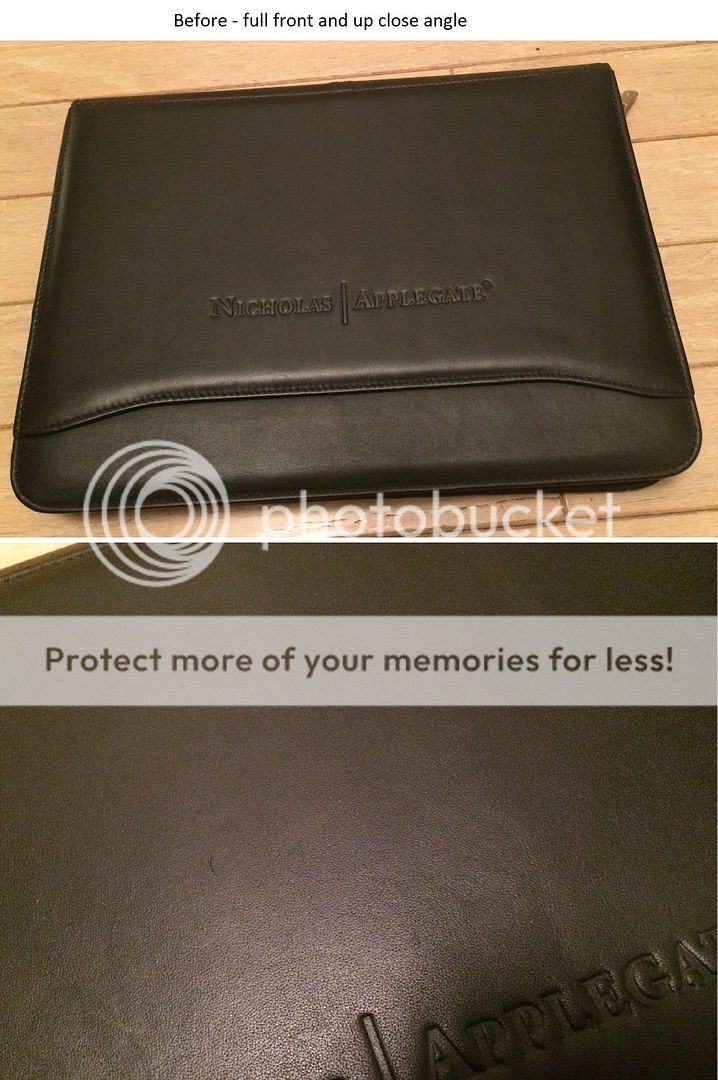
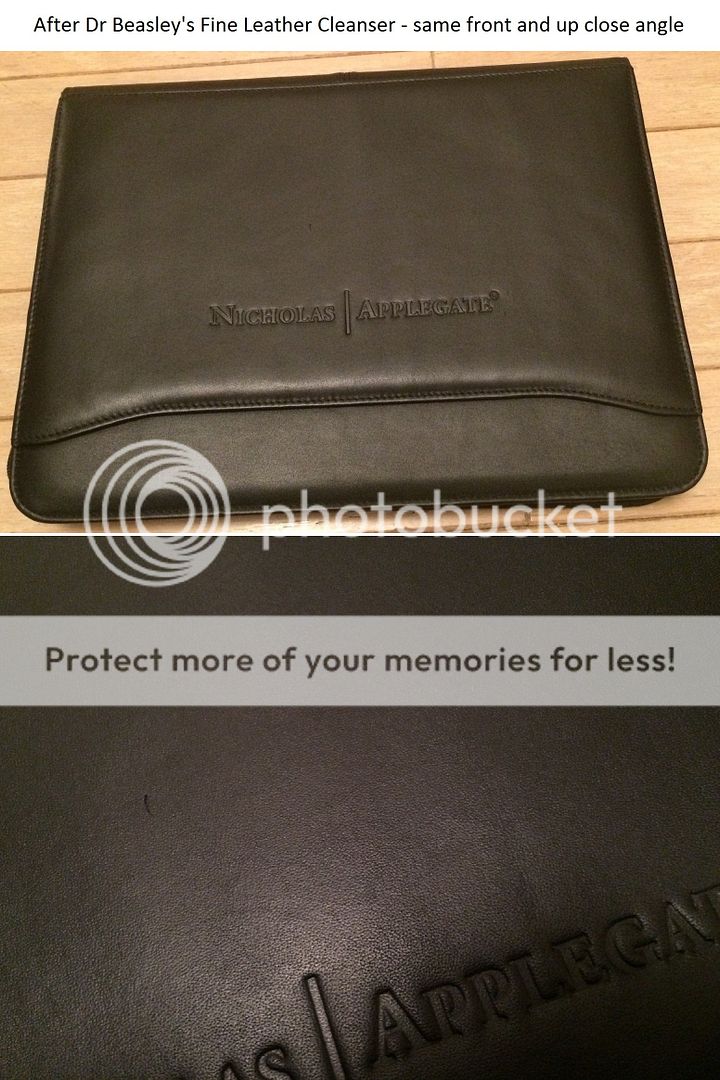
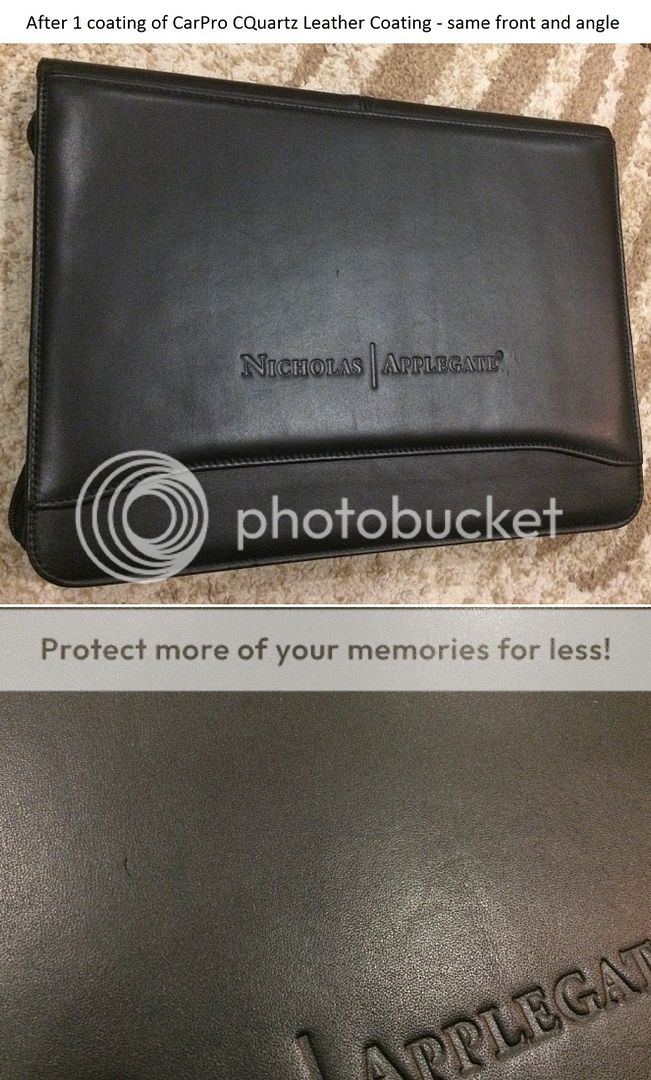
So because I was getting a bit apprehensive about the leather coating, I decided to test out the process on a high grade leather notebook that feels very similar to the S4 seats.

Leather%20Folder%20Before%201_zpskcpnqp4y.jpg


Leather%20Folder%20Clean%201_zpsd8tqdc4r.jpg


Leather%20Folder%20Coated%201_zpsmdbwq1js.jpg


Sorry about the different background in pic 3. The CQuartz coating instructions said to be in a well ventilated area so I took my project into the sunroom.

My thoughts? I think it's all great! I am much more at ease now than before.

The cleanser was very simple. Spray on. Wipe off. Then wipe with damp cloth to remove residue. Easy peasy.

The coating was also very simple, and I am very surprised at how much it did not change the leather at all. It was almost like it soaked right into it and disappeared. Directions say to wipe off excess after 2-3 minutes, but after about 30 seconds, there was basically nothing to wipe. After the coat fully dried, the leather felt the same as before. Very soft and leathery, almost like I didn't do anything, which is why the pics kinda look like I didn't do anything. lol

So there you have it. Now... this was only 1 thin coat of CQuartz, as I did not want to use too much of the precious serum on this notebook. I plan on doing at least 2 coats on the S4 leather.

Overall I'm pleased with Dr Beasley's Cleanser and the CQuartz Leather Coating. :thumbs up:
 
Last edited:
  • Like
Reactions: Bristle Hound
I've had 4-5 cars with leather interiors and never once applied anything other than a damp microfibre to them.
 
  • Like
Reactions: Bristle Hound
I've had 4-5 cars with leather interiors and never once applied anything other than a damp microfibre to them.
TBH its the same for me too

The only thing I've used on my leather interiors (& that was my last Audi) was Dr.Leather's leather cleaning wipes
These are great for getting rid of shiny leather and restoring it back to the nice new matt leather look that you get when your cars delivered. One treatment lasted me 3-4 weeks
http://www.polishedbliss.co.uk/acatalog/dr-leather-cleaning-wipes-cat23.html
 
  • Like
Reactions: Scottyg
I've had 4-5 cars with leather interiors and never once applied anything other than a damp microfibre to them.

Sound very free-ing, but I have a 3 year old with a baby on the way.
I think leather protection might be a good idea for me this time around.

I too have had leather in several cars (Supra, RX8, Acura Legend) and have never done nothing with it.

It seems excessive I'll admit, but I wanna see how it goes :)
 
  • Like
Reactions: Bristle Hound
What a really interesting read. Looking forward to the next write up. :) x
 
  • Like
Reactions: ThatOneDude
Well folks I did it! And I am beat to hell for it too! :crushed:

I began this insane project at 10am this morning. I finished at 930pm.

I only took a 30 min break for dinner so that equates to 11 hours total.

I feel like I ran a marathon, then played 7 games of racquetball, then swam from Los Angeles to Catalina Island.

BUT! The S4 looks FREAKING BONKERS AWESOME!

I have some good pics, but I am tired and going to bed. I'll post em up soon.
Everything went really great! S4 has 2 coats of Nano Resin! :rockwoot:
 
  • Like
Reactions: Bristle Hound
Come on, get the pics sorted! Plus a report on the Nano application. :rockwoot:
 
  • Like
Reactions: ThatOneDude and Spaceman_RS3
Ok so I have 24 pics so I am going to post them as thumbnails to make for a more manageable post.

First I'd like to say that this was a BUTTLOAD of hard work, and I'm not just being a panty wipe either. Just to get to the point where the car was fully prepped for the Nano Resin took about 7 hours.

Overall I used 6 pair of gloves and about 15 microfiber towels.

I will post the pictures in real order, but keep in mind, I was working alone all day. Nobody to help take pics and that means that I simply could not capture everything because I was constantly switching out wet gloves with product all over them. Washing up between every step to take pics is just completely impractical. So what I was able to capture was mostly the "finished" shots of each step.

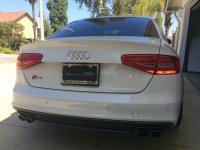
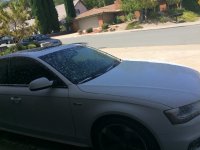
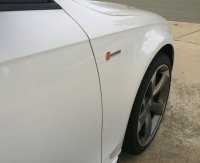
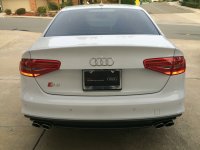
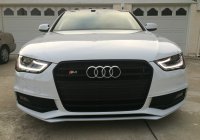
Here she is all dirty. Yes I know it's hard to tell, and actually it's pretty awesome. This Glacier White Metallic paint hides dirt and dust better than any color I've ever seen. But take a close look at the back bumper and you can see lots of grime and dirt caked on.

1 Before 1 1 Before 2 1 Before 3


WASHED AND CLEAN

2 Car Wash 1 2 Car Wash 2 2 Car Wash 3 2 Car Wash 4


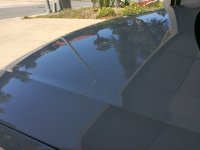
CLAY BAR SYSTEM WITH GLOSSY HOOD PIC AFTER CLAYING

3 Clay Bar 1 3 Clay Bar 2
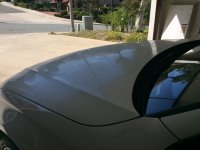
Product Review: The Pinnacle Clay was great. The spray lube smelled very pleasant and wiped off very easily with their microfiber towels. The clay DEFINITELY helped with plenty of little contaminants. I used 1 full bar and have 1 full bar left over. I used the entire bottle of spray and actually barely had enough to finish. More spray would have been welcomed.
Overall: Great product with great results.


POLISH AND GLAZE
4 Polish and Glaze 1 4 Polish and Glaze 2 4 Polish and Glaze 3 4 Polish and Glaze 4 4 Polish and Glaze 5

Product Review: This step will KICK YOUR ***! :hurt:
BY FAR
the most physically taxing step in the whole process. Both the smoothing polish and the finishing glaze took some serious elbow grease to buff off. I think the product is very time consuming and difficult to buff out completely. I was constantly looking into the glare of light to find that I had missed sections when buffing and had to revisit areas far too often. I found myself wanting to shortcut this process like 50 times, but I DIDN'T! I polished and glazed every inch of every panel. :frown: One thing about the smoothing polishing is that it helped tremendously with fine marks and little "dots" that the clay bar just didn't pick up. The polish really "cleaned" the paint better than anything else I did.
Overall: Very time consuming. Very laborious. But the result is eventually rewarding. This step took over 3 hours alone.


FULLY PREPPED WITH CARPRO ERASER WIPEDOWN - READY FOR NANO RESIN BUT LOOSING SUNLIGHT FAST
5 Fully Prepped for Nano Resin 1 5 Fully Prepped for Nano Resin 2 5 Fully Prepped for Nano Resin 3 5 Fully Prepped for Nano Resin 4 5 Fully Prepped for Nano Resin 5

Product Review:
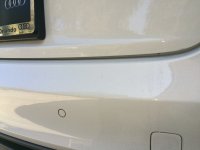
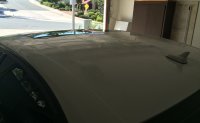
The CarPro Eraser wipedown was sooooooooooooo easy and very pleasant. I was super impressed with how simple and foolproof this was. Spray on. Wipe off with MF towel. It truly was an important last step as it ensured there was no more unbuffed polish spots that I might have missed. All 5 pics above were taken just after the wipedown and as you can see, it was still ultra glossy!
Overall: Excellent product. Extremely simple and effective. Pleasant scent.


MORNING AFTER PICS WITH 2 COATS OF NANO RESIN - BASICALLY USED THE ENTIRE (TINY) BOTTLE. I DID THE FIRST COAT IN MY DRIVEWAY AND THEN IT GOT DARK SO I PULLED IT INTO THE GARAGE AND TURNED ON LIGHTS FOR THE SECOND COAT. THESE PICS WERE TAKEN THIS MORNING.
6 Morning After   2 Coats of Nano Resin 1 6 Morning After   2 Coats of Nano Resin 2 6 Morning After   2 Coats of Nano Resin 3 6 Morning After   2 Coats of Nano Resin 4 6 Morning After   2 Coats of Nano Resin 5

Product Review:
The Nano Resin bottle was suuupppper tiny. Couldn't believe that it was going to coat my S4 twice. It was simple to apply, but because it's crystal clear, it's quite difficult to see it on the car surface, especially with a white car! Also, the applicator suede cloth was tricky to manage because the suede cloth does not stay on the applicator pad so I had to readjust it like 100 times. Sorta annoying. I think there could be a better application method for sure. I applied evenly and let sit a few minutes, then gently wiped off the entire area with a MF towel. Each application took about an hour. Product has no scent at all and feels like some kind of ultra lube but more sticky.
Overall: Excellent product that produced a rich gloss and glorious feel to the touch. Feels like super smooth gloss. Application is a little tricky with that tiny suede cloth.

So there it is! I think overall everything went really well. Each step was essential to produce the end result and now my S4 is protected as well as you can hope for with a DIY process.

:yahoo:

6 Morning After   2 Coats of Nano Resin 1
 
Last edited:
  • Like
Reactions: scotty76, ash-k and Bristle Hound
Stunning mate. Glad the Nano was worth it. That's my next purchase. Will be interesting to see how long the coating lasts!
 
  • Like
Reactions: ThatOneDude
Ok so I have 24 pics so I am going to post them as thumbnails to make for a more manageable post.

First I'd like to say that this was a BUTTLOAD of hard work, and I'm not just being a panty wipe either. Just to get to the point where the car was fully prepped for the Nano Resin took about 7 hours.

Overall I used 6 pair of gloves and about 15 microfiber towels.

I will post the pictures in real order, but keep in mind, I was working alone all day. Nobody to help take pics and that means that I simply could not capture everything because I was constantly switching out wet gloves with product all over them. Washing up between every step to take pics is just completely impractical. So what I was able to capture was mostly the "finished" shots of each step.

Here she is all dirty. Yes I know it's hard to tell, and actually it's pretty awesome. This Glacier White Metallic paint hides dirt and dust better than any color I've ever seen. But take a close look at the back bumper and you can see lots of grime and dirt caked on.

View attachment 66985 View attachment 66986 View attachment 66987


WASHED AND CLEAN

View attachment 66988 View attachment 66989 View attachment 66990 View attachment 66991


CLAY BAR SYSTEM WITH GLOSSY HOOD PIC AFTER CLAYING

View attachment 66992 View attachment 66993
Product Review: The Pinnacle Clay was great. The spray lube smelled very pleasant and wiped off very easily with their microfiber towels. The clay DEFINITELY helped with plenty of little contaminants. I used 1 full bar and have 1 full bar left over. I used the entire bottle of spray and actually barely had enough to finish. More spray would have been welcomed.
Overall: Great product with great results.


POLISH AND GLAZE
View attachment 66994 View attachment 66995 View attachment 66996 View attachment 66997 View attachment 66998

Product Review: This step will KICK YOUR ***! :hurt:
BY FAR
the most physically taxing step in the whole process. Both the smoothing polish and the finishing glaze took some serious elbow grease to buff off. I think the product is very time consuming and difficult to buff out completely. I was constantly looking into the glare of light to find that I had missed sections when buffing and had to revisit areas far too often. I found myself wanting to shortcut this process like 50 times, but I DIDN'T! I polished and glazed every inch of every panel. :frown: One thing about the smoothing polishing is that it helped tremendously with fine marks and little "dots" that the clay bar just didn't pick up. The polish really "cleaned" the paint better than anything else I did.
Overall: Very time consuming. Very laborious. But the result is eventually rewarding. This step took over 3 hours alone.


FULLY PREPPED WITH CARPRO ERASER WIPEDOWN - READY FOR NANO RESIN BUT LOOSING SUNLIGHT FAST
View attachment 66999 View attachment 67000 View attachment 67001 View attachment 67002 View attachment 67003

Product Review:
The CarPro Eraser wipedown was sooooooooooooo easy and very pleasant. I was super impressed with how simple and foolproof this was. Spray on. Wipe off with MF towel. It truly was an important last step as it ensured there was no more unbuffed polish spots that I might have missed. All 5 pics above were taken just after the wipedown and as you can see, it was still ultra glossy!
Overall: Excellent product. Extremely simple and effective. Pleasant scent.


MORNING AFTER PICS WITH 2 COATS OF NANO RESIN - BASICALLY USED THE ENTIRE (TINY) BOTTLE. I DID THE FIRST COAT IN MY DRIVEWAY AND THEN IT GOT DARK SO I PULLED IT INTO THE GARAGE AND TURNED ON LIGHTS FOR THE SECOND COAT. THESE PICS WERE TAKEN THIS MORNING.
View attachment 67004 View attachment 67005 View attachment 67006 View attachment 67007 View attachment 67008

Product Review:
The Nano Resin bottle was suuupppper tiny. Couldn't believe that it was going to coat my S4 twice. It was simple to apply, but because it's crystal clear, it's quite difficult to see it on the car surface, especially with a white car! Also, the applicator suede cloth was tricky to manage because the suede cloth does not stay on the applicator pad so I had to readjust it like 100 times. Sorta annoying. I think there could be a better application method for sure. I applied evenly and let sit a few minutes, then gently wiped off the entire area with a MF towel. Each application took about an hour. Product has no scent at all and feels like some kind of ultra lube but more sticky.
Overall: Excellent product that produced a rich gloss and glorious feel to the touch. Feels like super smooth gloss. Application is a little tricky with that tiny suede cloth.

So there it is! I think overall everything went really well. Each step was essential to produce the end result and now my S4 is protected as well as you can hope for with a DIY process.

:yahoo:

View attachment 67004
@ThatOneDude - Great work and a great write up buddy :thumbs up:

Your S4's looking stunning!
argie.gif


PS I also find CarPro Eraser is a great glass cleaner too. Tried a few glass cleaners and keep coming back to this. Like you say, it does smell rather nice too
 
  • Like
Reactions: ThatOneDude
ok so apparently you should never use chamois like The Absorber (the one I just bought and used) lol.

Good to learn these things sooner rather than later. I had no clue.

 
Been doing this for over 15 years. Always dampen a MF and even better, use it with a QD spray like Megs Last Touch or the one I'm using just now, Simoniz Quick Detailer Wax Spray.
 
Been doing this for over 15 years. Always dampen a MF and even better, use it with a QD spray like Megs Last Touch or the one I'm using just now, Simoniz Quick Detailer Wax Spray.

Is this Speed Wipe from CG the same type of product as Simoniz Quick Detailer Wax Spray?

CG Speed Wipe
 
Last edited:
Sorry for the daft questions, but can the Adam's Detail Spray and others be used in the same way as the product in this video?
i.e. when the car is still wet??

[/QUOTE]
 
  • Like
Reactions: ThatOneDude and Keef
Just placed this order on adamspolishes.com with AUG15 15% off code :thumbs up:

Adamsorder
 
  • Like
Reactions: Keef and Bristle Hound