Blue_Thunder
Registered User
Thought this thread would be of interest on here. I've enjoyed putting it together, and have been updating it over on SRS for a while now (yes, it's one of those seemingly never ending projects! ") ).
).
If you're a member on SRS, then no need to scroll any further, as it's a carbon copy of my thread over there. If not, I hope you enjoy!
So where do I start?
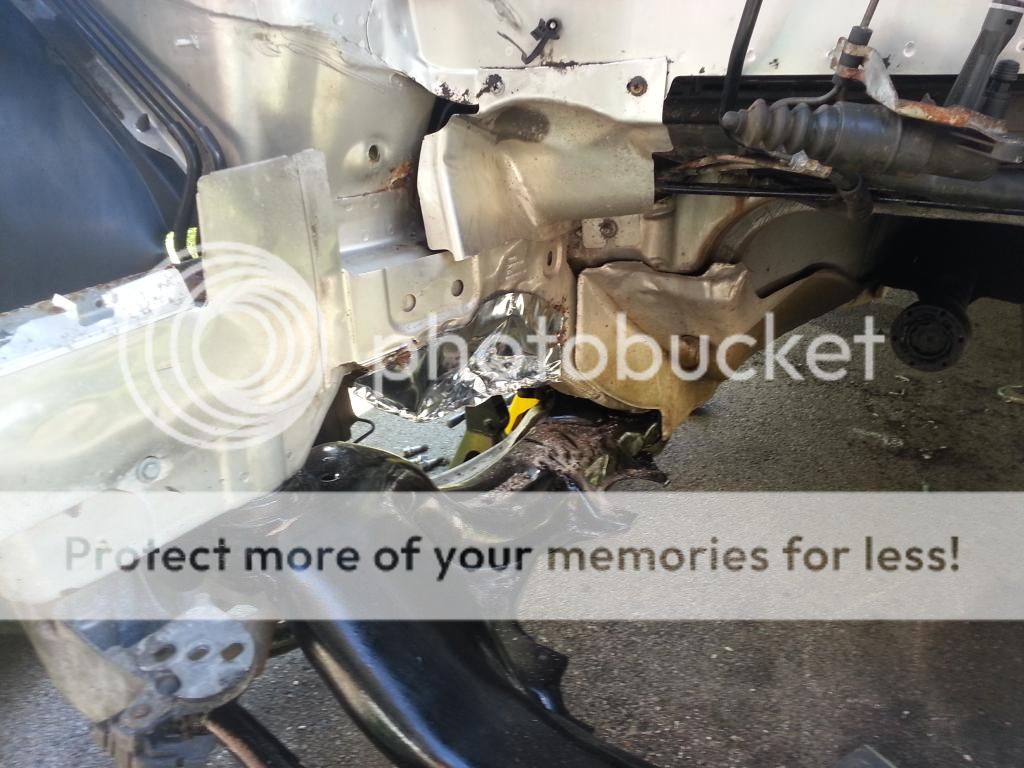
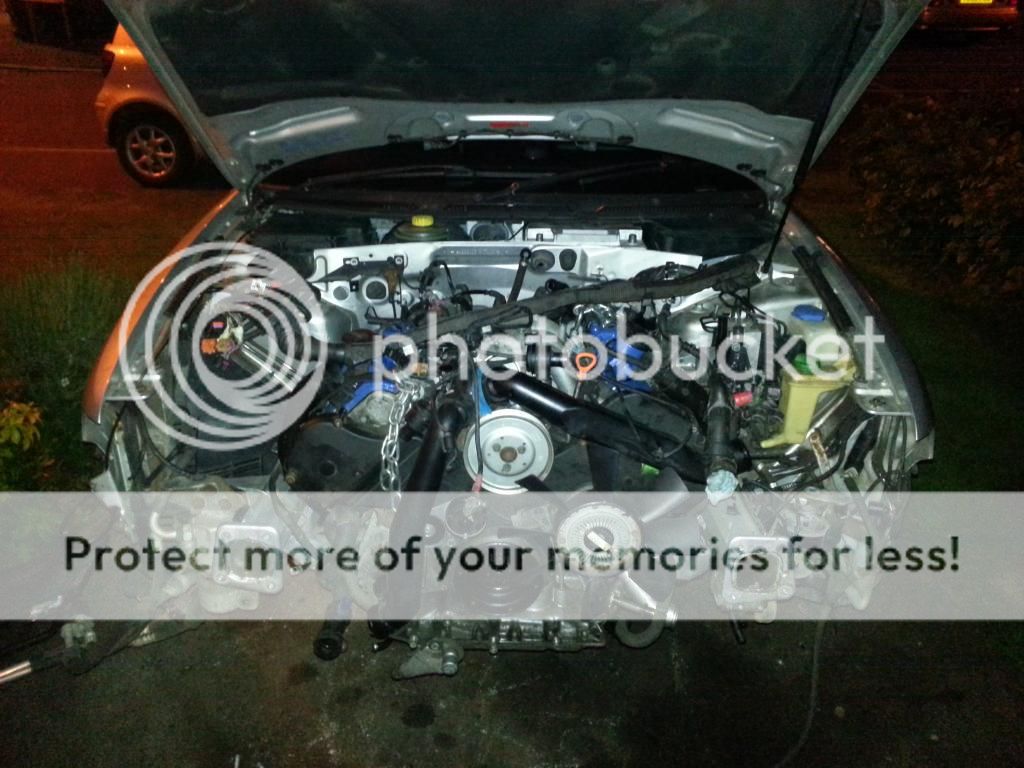
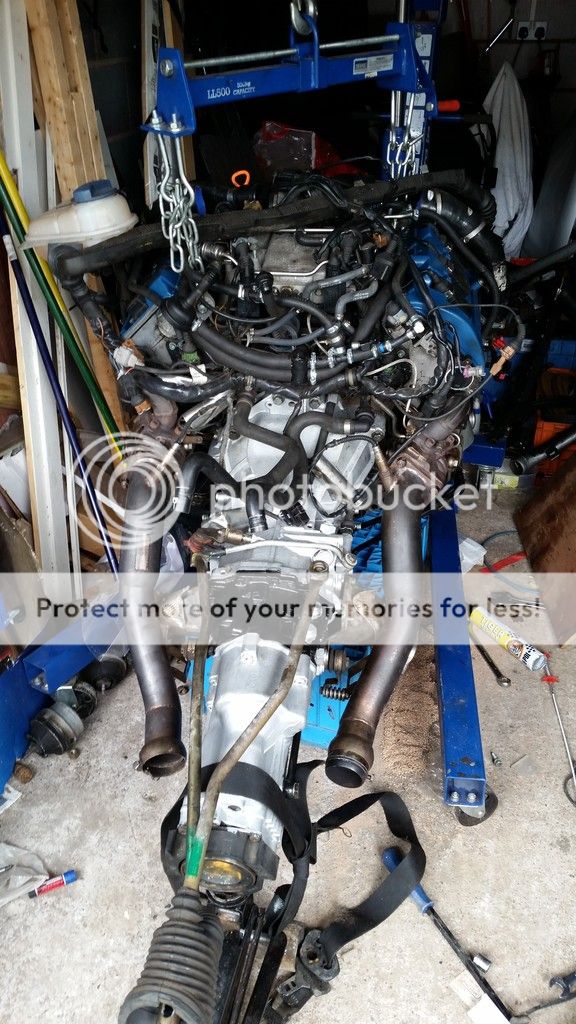
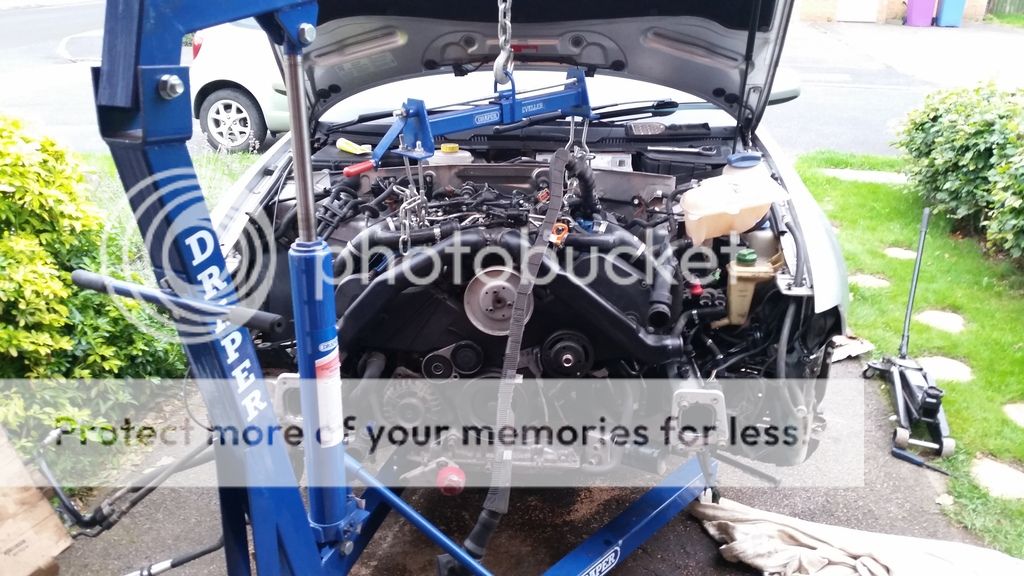
As you may be aware, I have previously done a couple of (mostly) successful engine pulls on my old heavily modified S4 - Blue Thunder (documented here), and the unfortunate decision made to eventually decommission her (), and stripped her for parts.
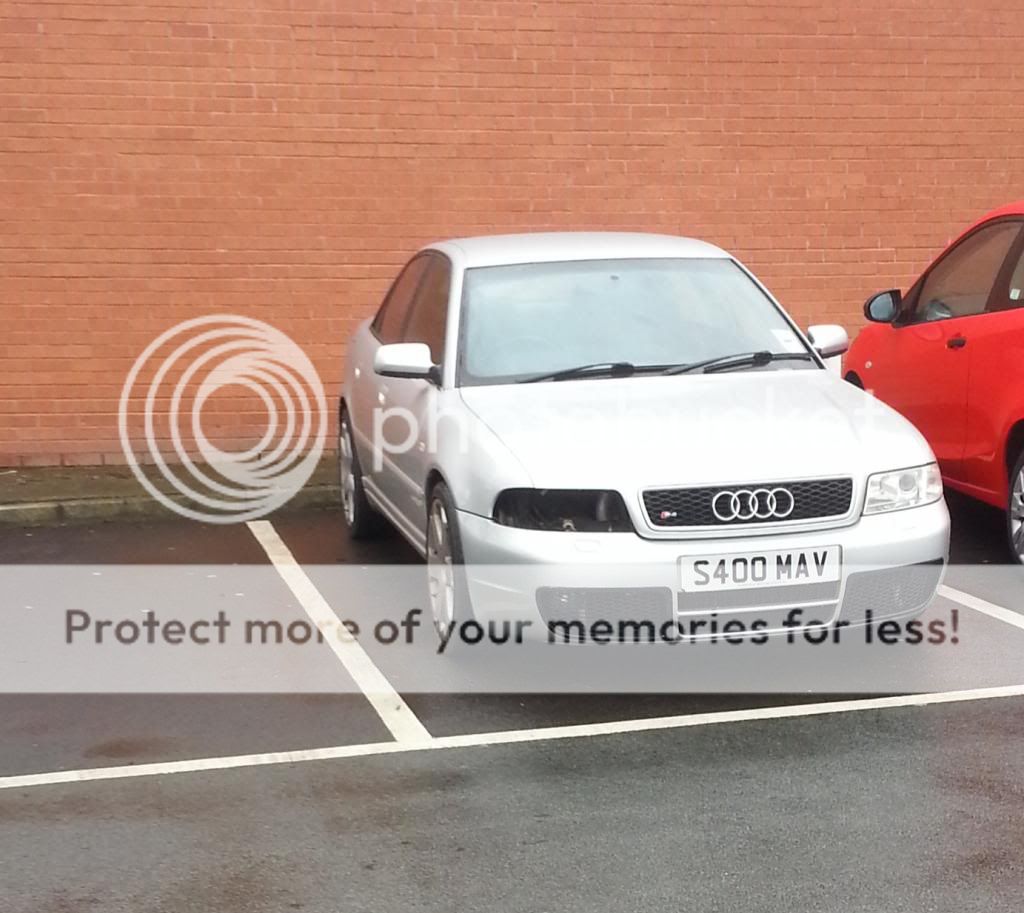
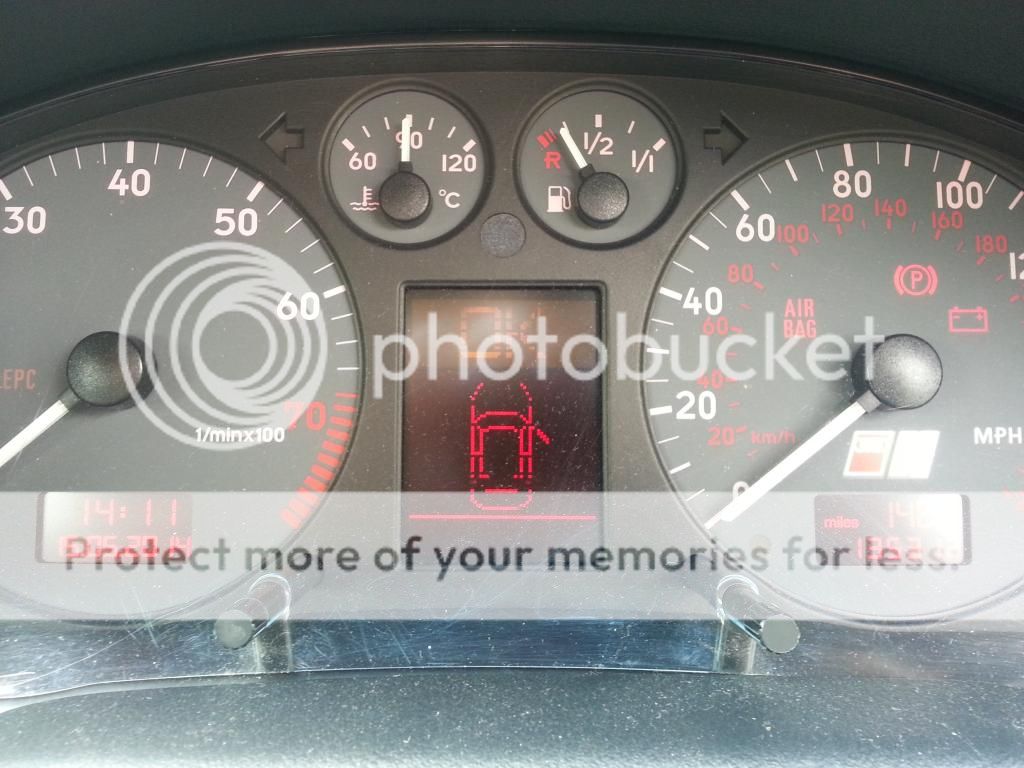
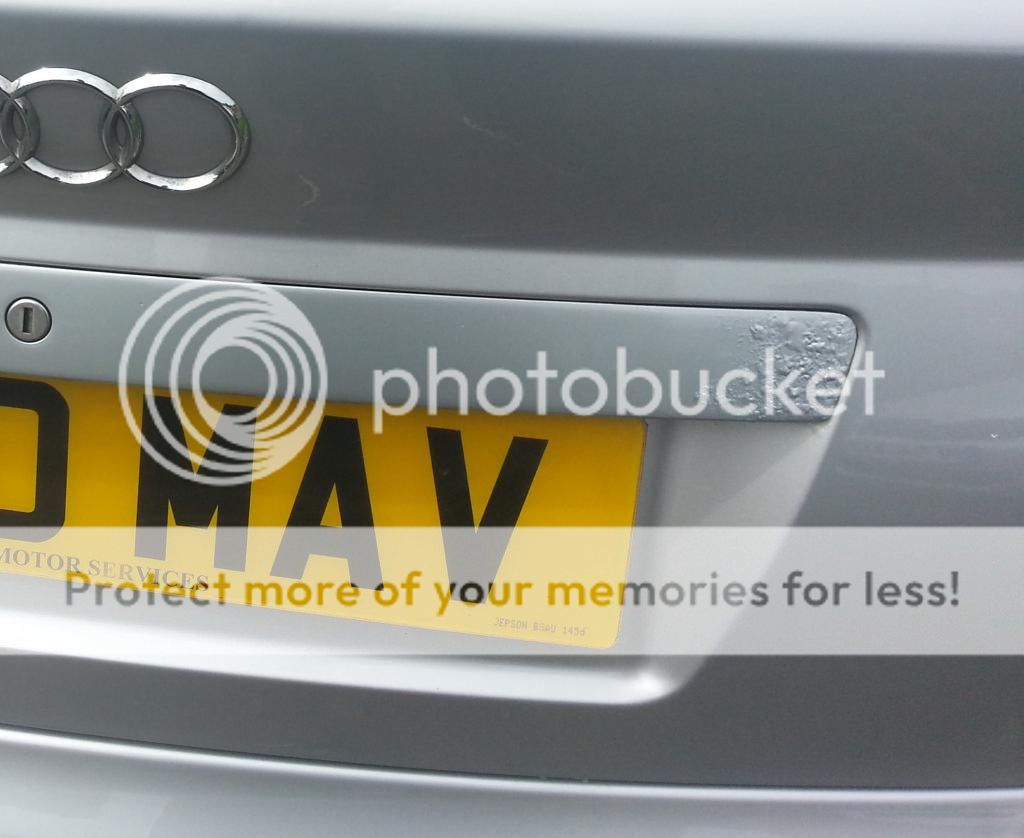
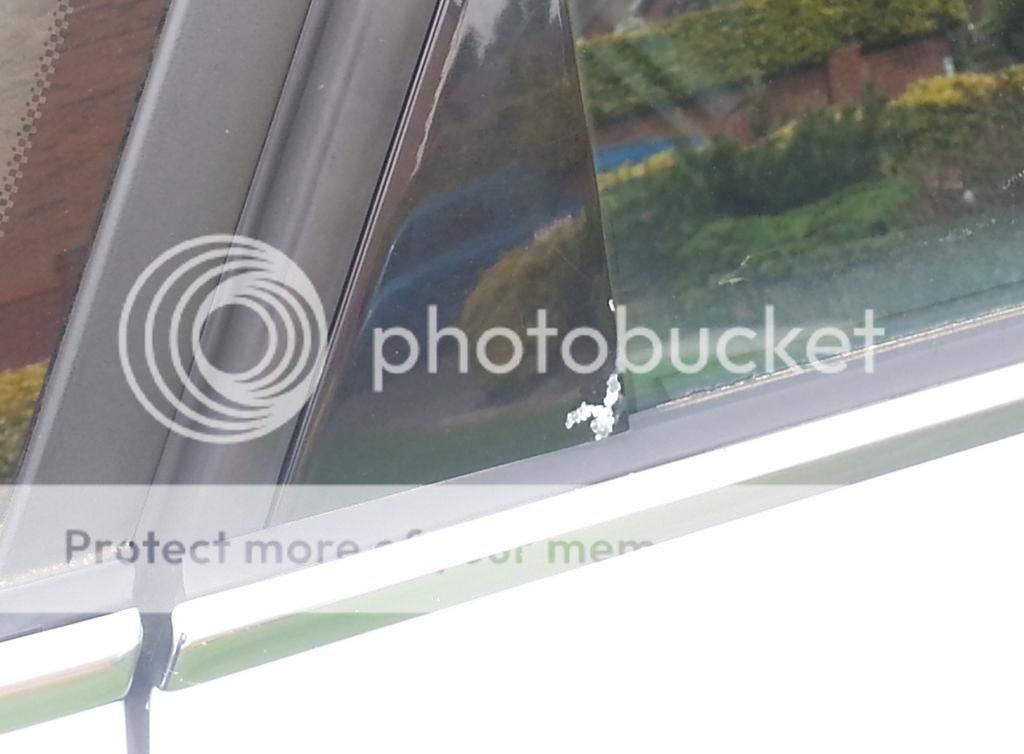
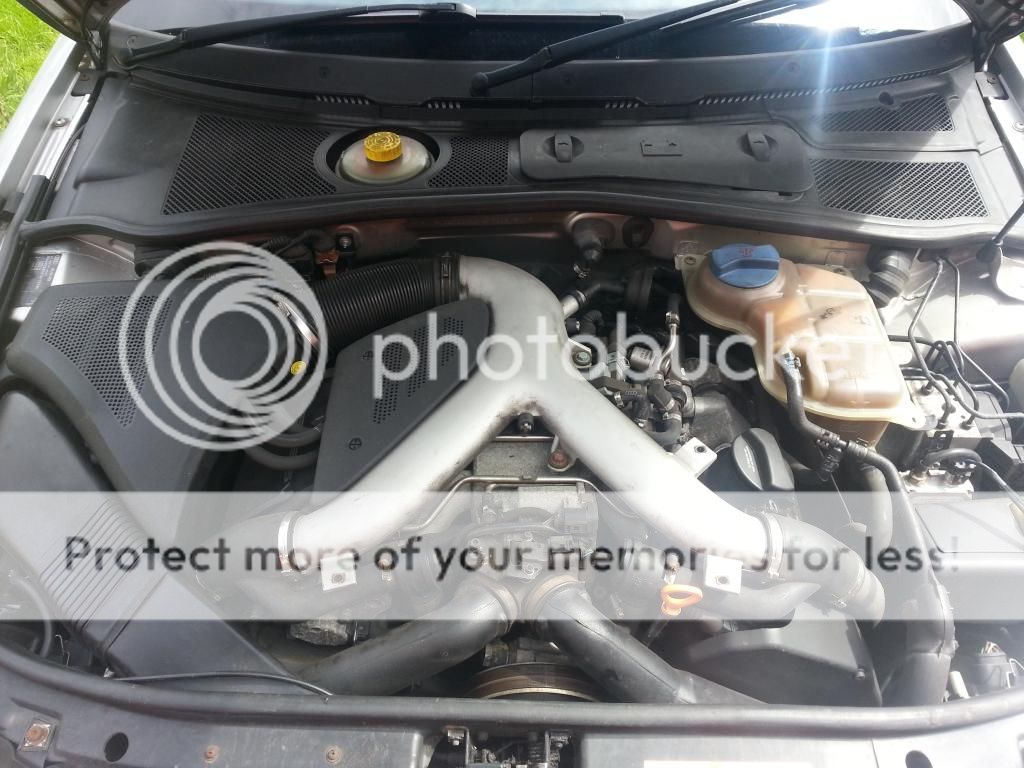
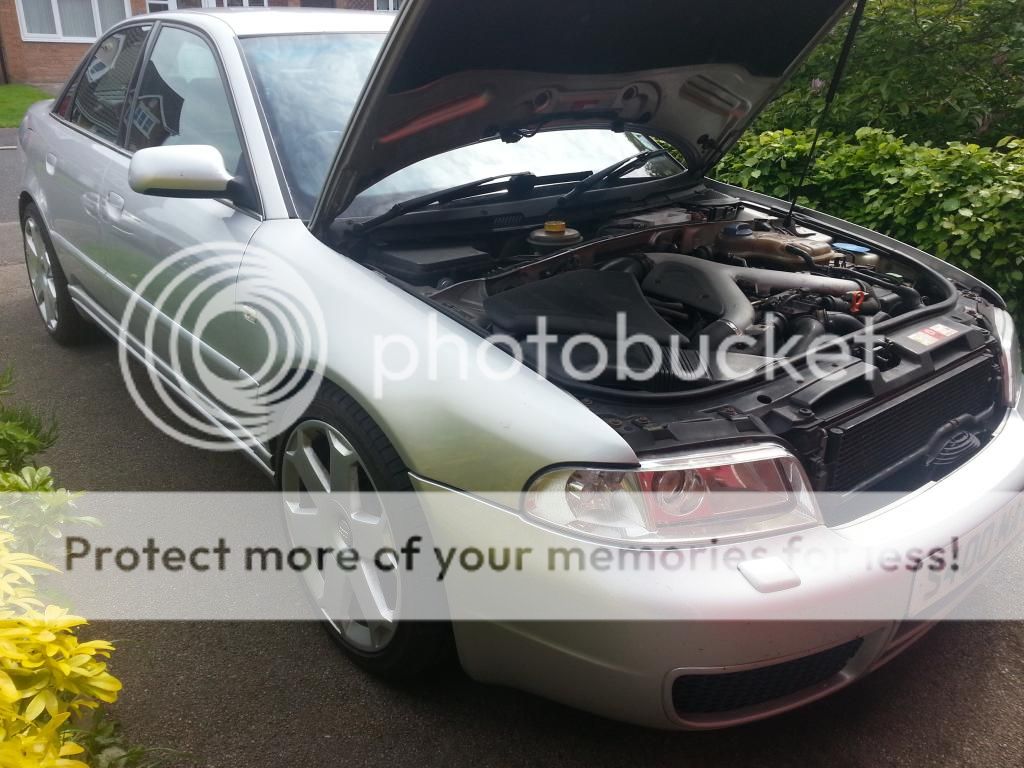
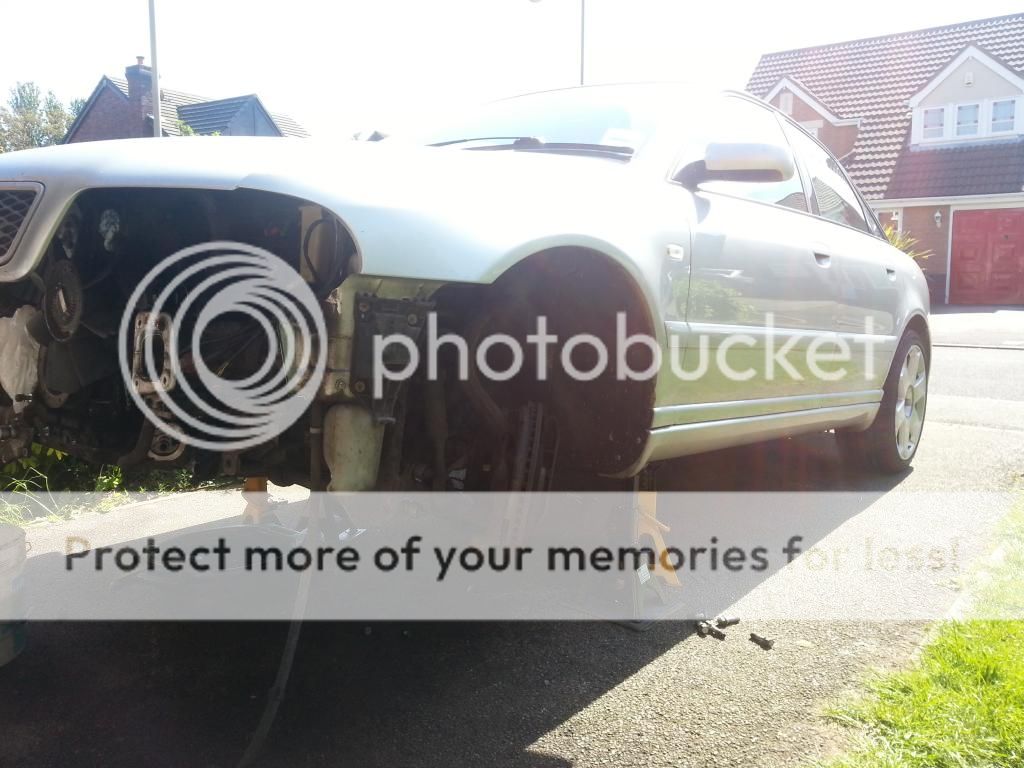
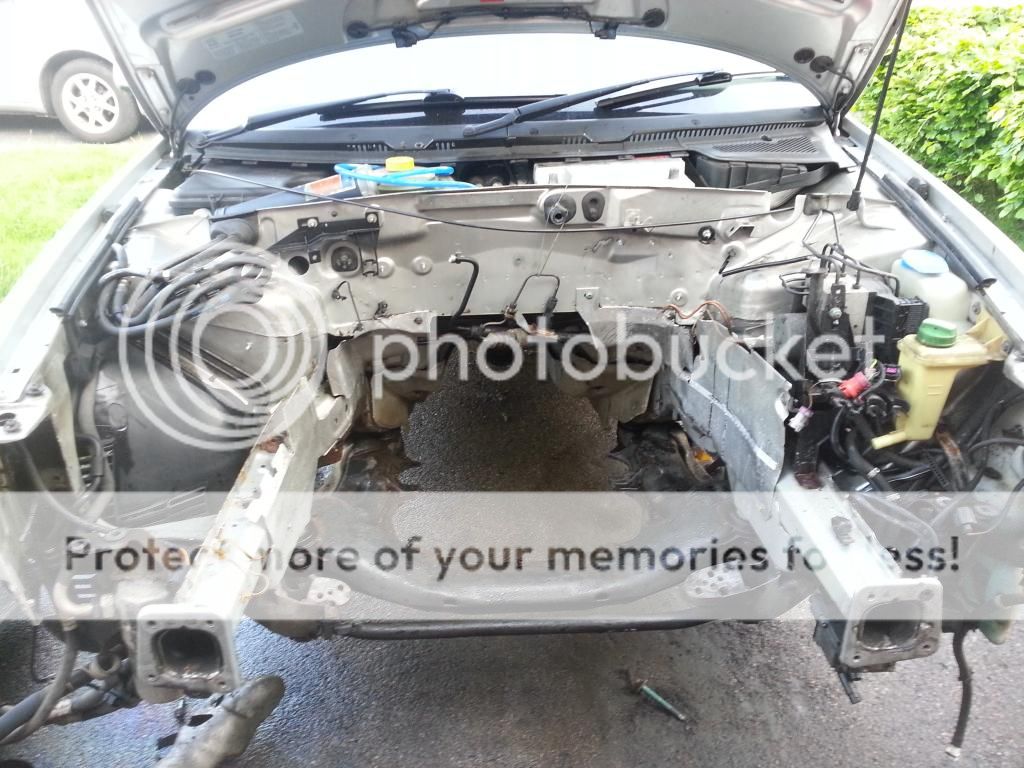
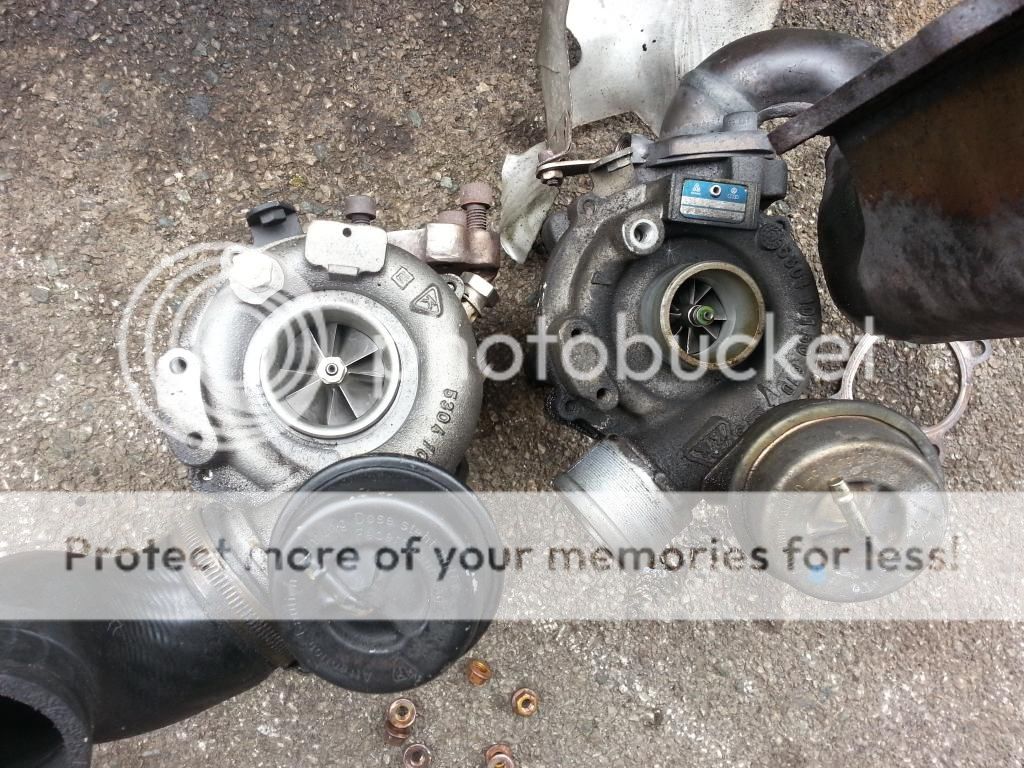
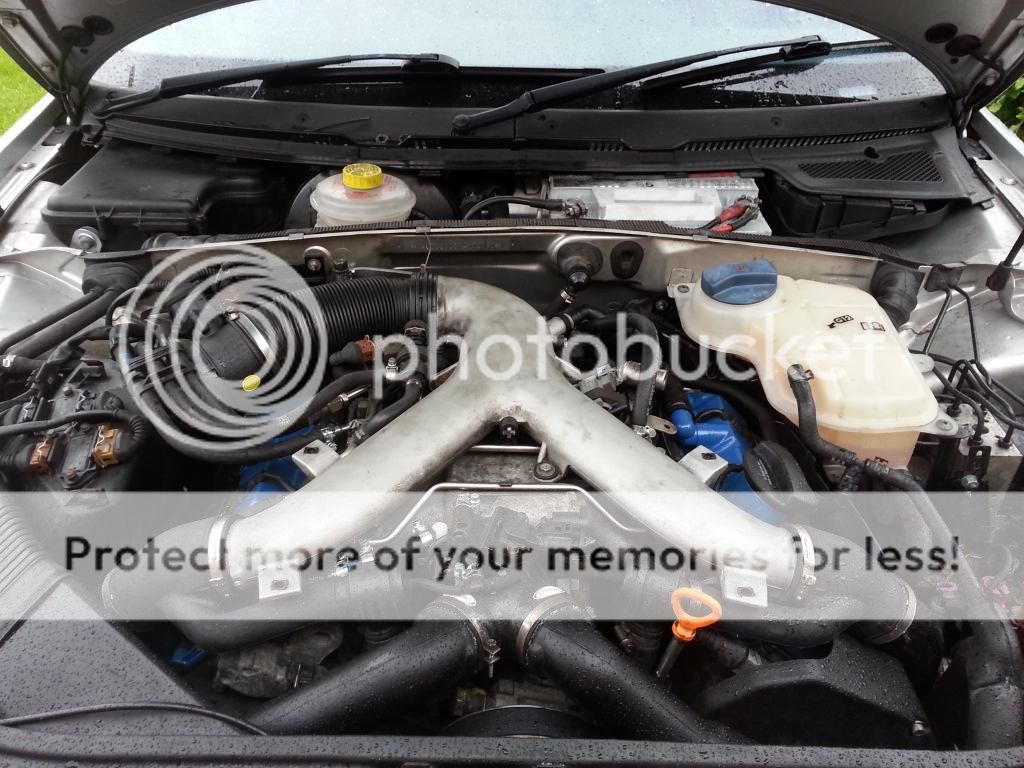
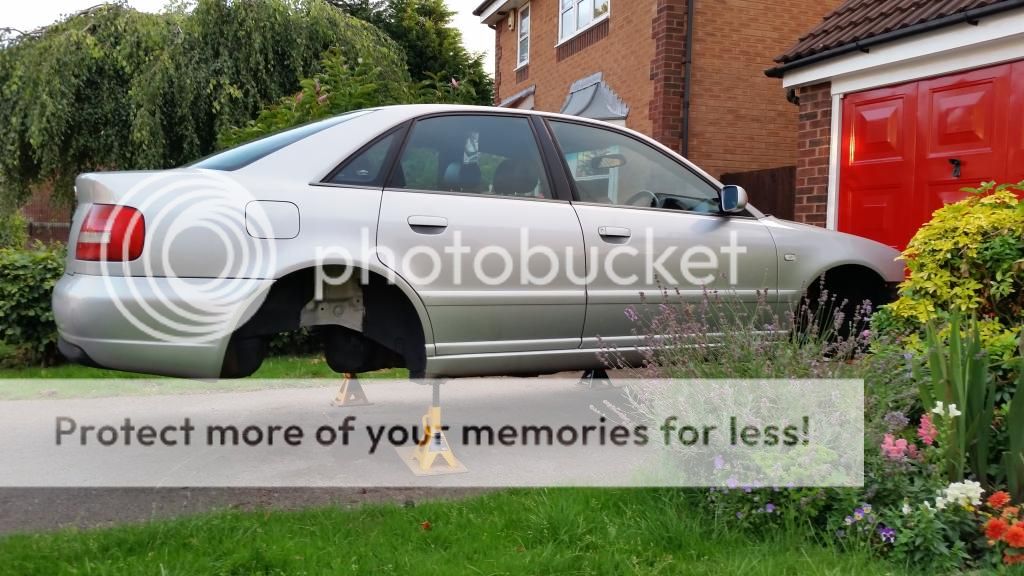
I was sad about the prospect of being without S/RS power in my life, but Mikey-S was selling the S4 he'd bought off Stigter earlier in the year. A silver 2000 saloon. It had a noisy turbo and needed some TLC to bring the cosmetics up to scratch, but it drove beautifully, was a good price and most importantly for me, didn't have some of the faults which soured my love of Blue Thunder, namely the fecking drivetrain shunt which i'd tried everything to get rid of(remember this for later!!). But as a man with K04's and all other supporting ancillaries sitting in a box in my garage, it was ideal for a 'cheap stop gap' car. I had foolishly thought I could fit the K04's and minimum supporting mods to get it over 400bhp, give it a bit of spit and polish, then sell it on for the price of the car + the value of the bits I was putting on it from the old car, with the ultimate aim of breaking even, possibly even making a little money for my efforts. That would show wifey what a "waste of money and time" these cars are! But these cars have a habit of getting under your skin. Then they make you make decisions. Not always the wisest. Then... you're theirs!!!
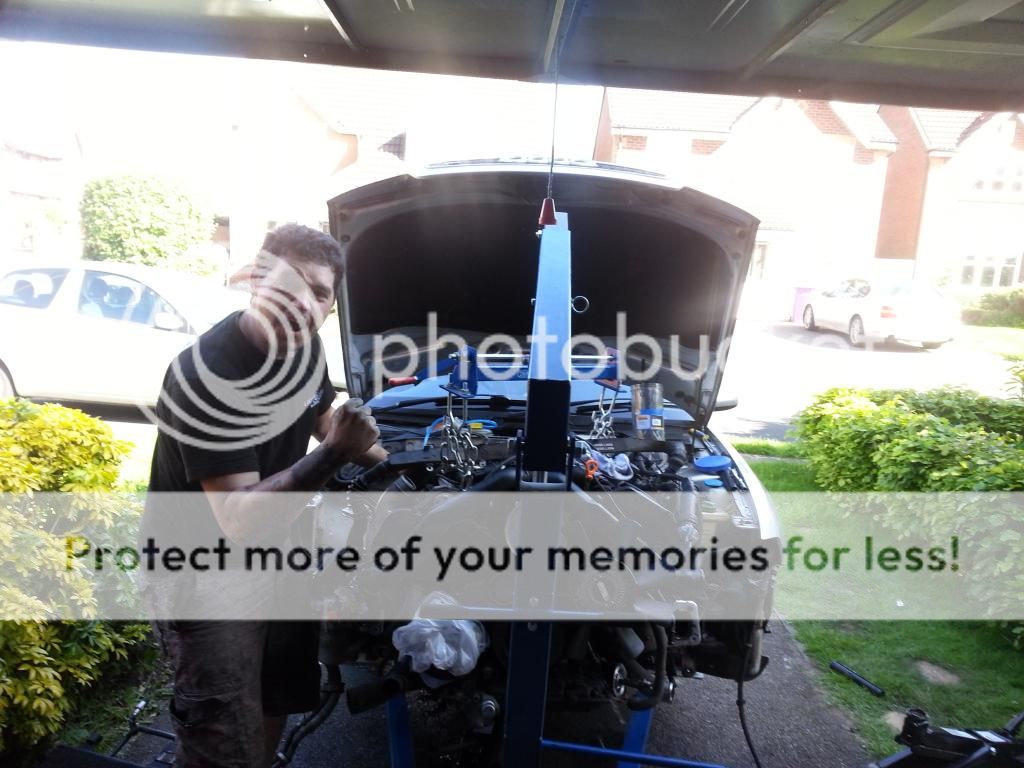
What follows in this thread? A detailed documentation (there are over 500 photos... but I promise I won't subject you to all of them) of New Thunder's journey. The highs, the lows, and all those bits in between which many of you will have seen in random posts,woven together in a joyous rich tapestry of AudiSRS at its best. Disclaimer - This thread will require serious forum stamina. Any willing participants who suffer from repetitive strain injury, ADHD, OCD or an aversion to seeing MacGuyver style techniques being used - this might not be for you.
I hope you enjoy reading this more than i've enjoyed many parts of 'the journey'. :lol:
The title of my thread - "Never Say Never Again". The reason for this shall become apparent as the story progresses....
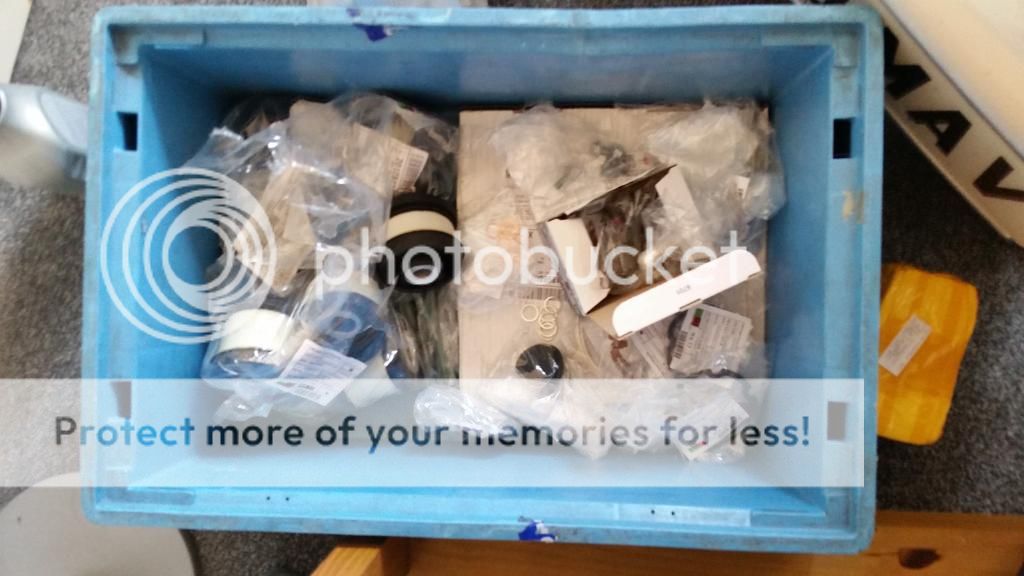
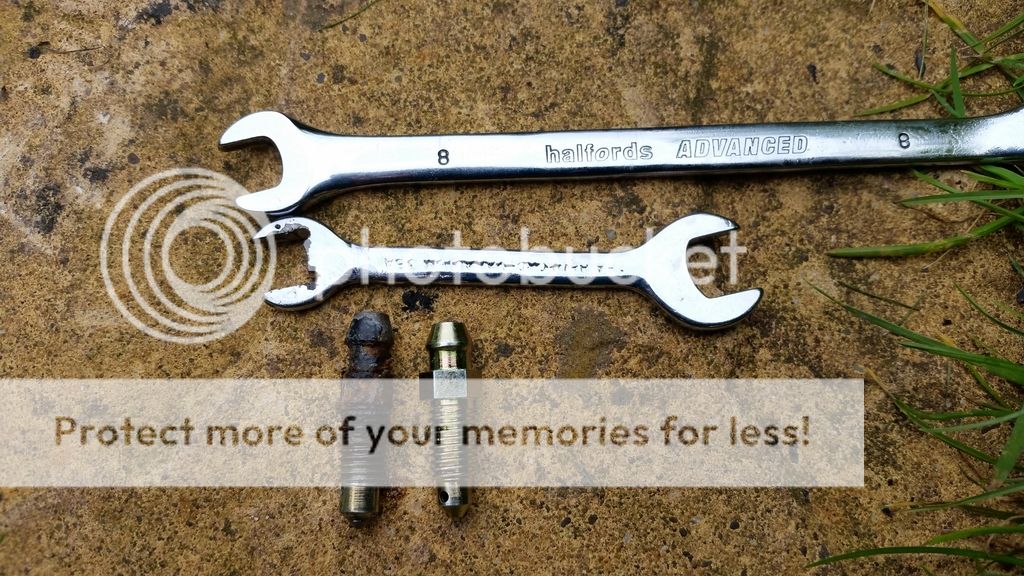
One of the things which I found had seriously hindered my previous engine pulls was myself. More specifically, my inability to organise my tools, eg: a sweary "Where the feck is that 17mm spanner I was only using 5 minutes ago?" was usually followed by 15 minutes of searching for the missing tool. Often found in the first place I'd looked. When dismantling the car, I literally had most of my tools thrown in a big box, which surprisingly helped a little. Just because I didn't know where in the box the tool I wanted would be, there was at least an 85% chance that the tool I was looking for had been put back there. But this was a problem I wanted to eliminate as best I could. So I introduced some Noggy Blue into the equation. Thankfully Halfords were doing this for £100 at the time. Another tenner from eBay for some drawer liner, and I was good to go:

Also bought a new jack, some more tools and some stuff to remove rust - Not far off another £200. A sign of things to come...
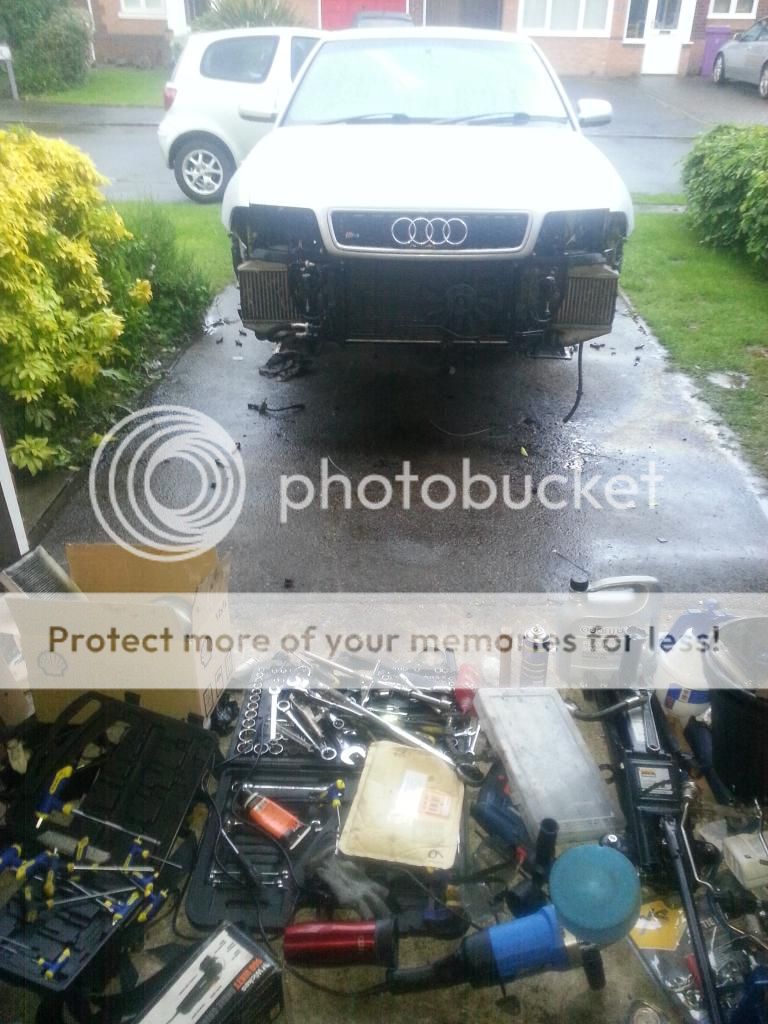
Because my garage was completely full of crap from the dismantling of Blue Thunder, I had the dull task of tidying up a bit. You'd never believe it, but this is it post-tidy!

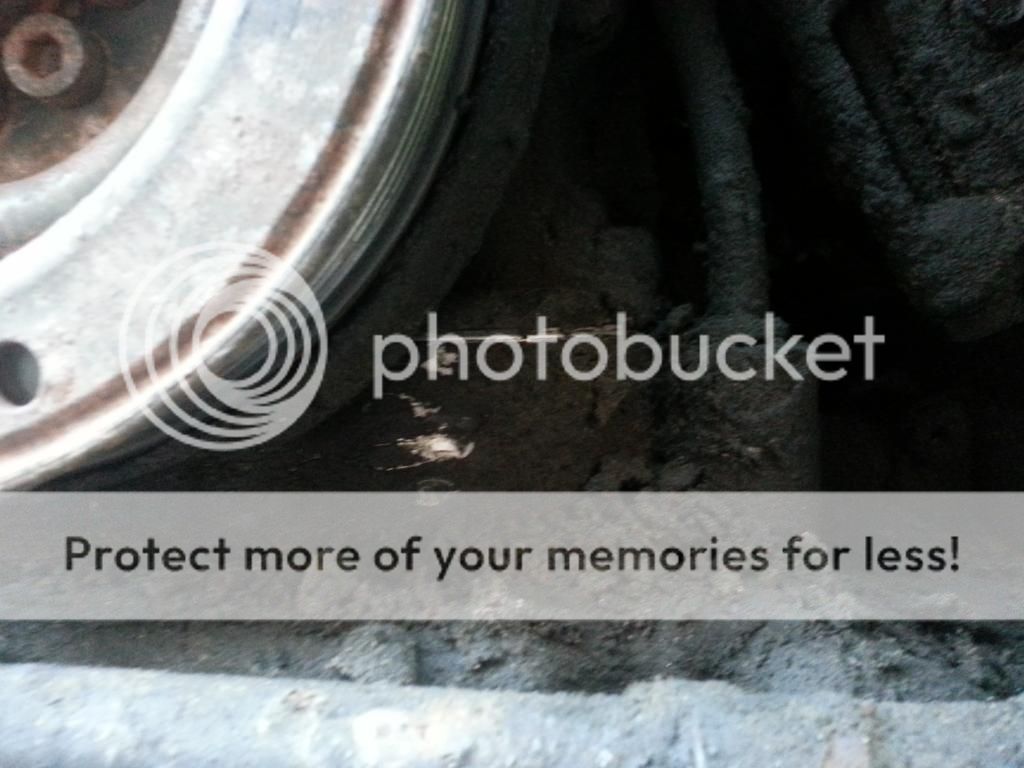
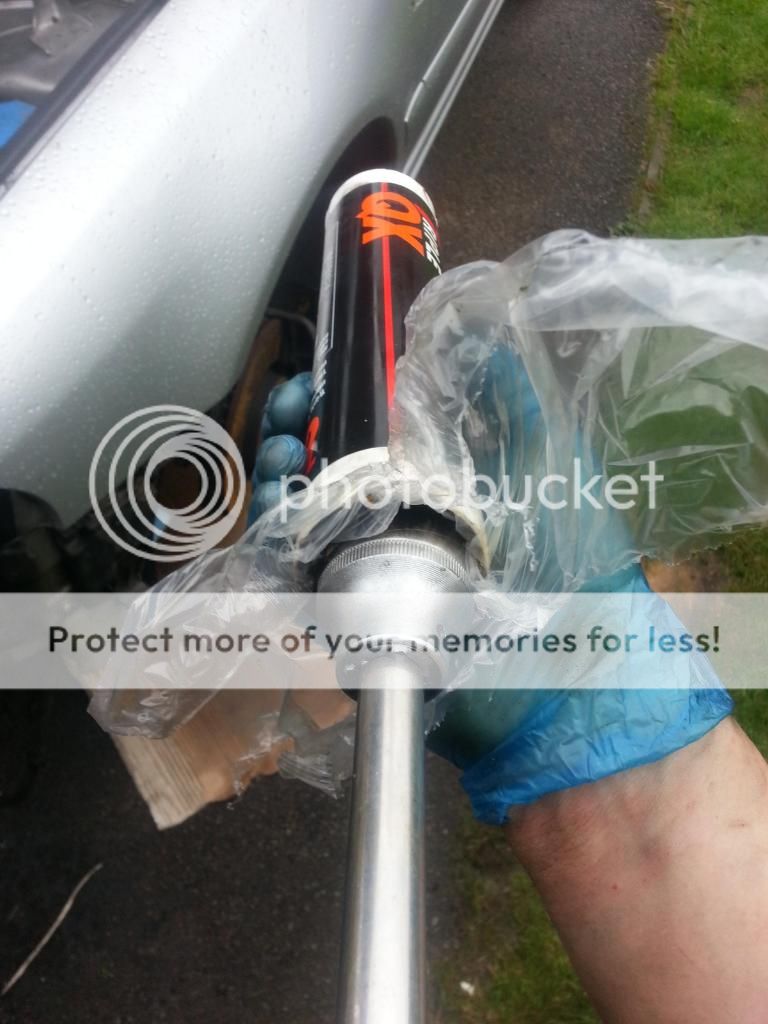
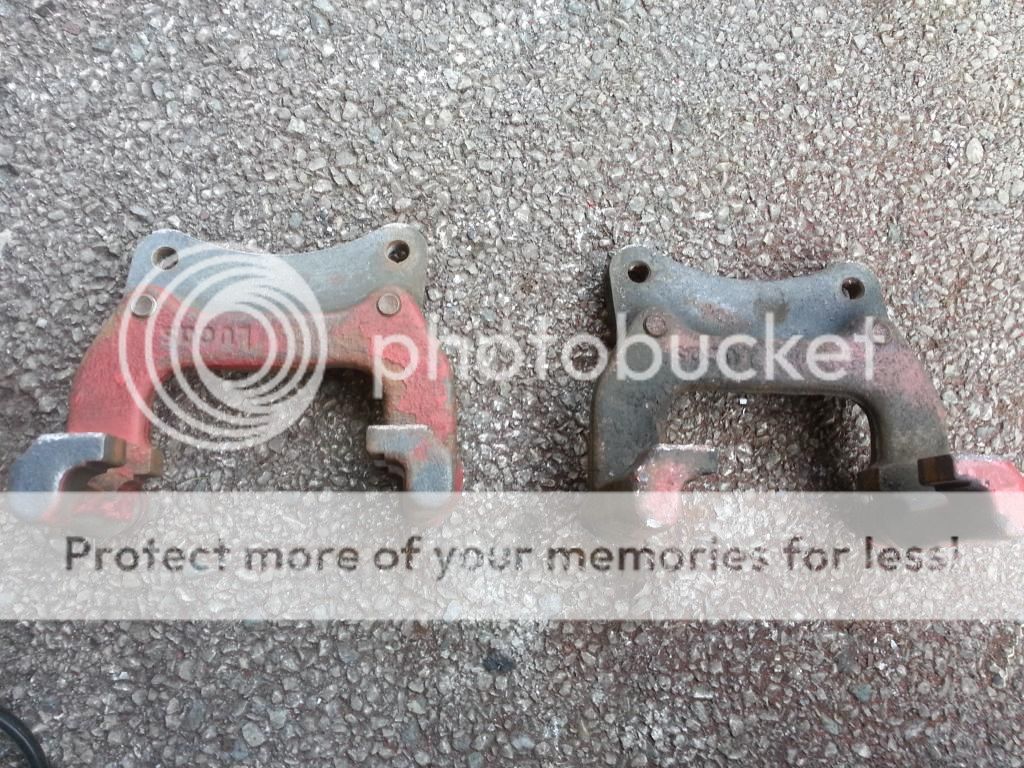
I had some parts from Blue Thunder which I planned to fit, so I got busy with cleaning up some of the parts, and with my recent discovery of Hammerite (truly a gift from the gods), I planned to make bits look pretty as well as having removed any nasty rust. First up, the rear brakes. I had a set of Trig's brackets and B6 discs on the rear. The calipers were looking a bit tired, and I'd also been driving round with red carriers for the last few years after having to swap my RS4 carriers for S4 carriers(thanks DavidT :-D).
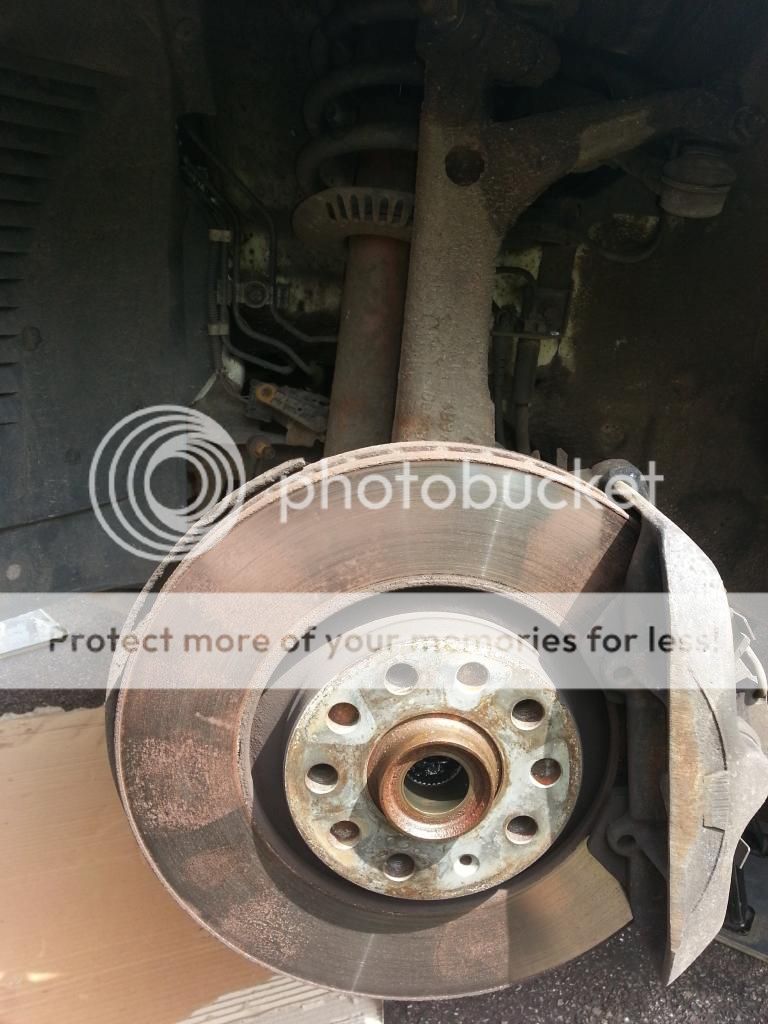
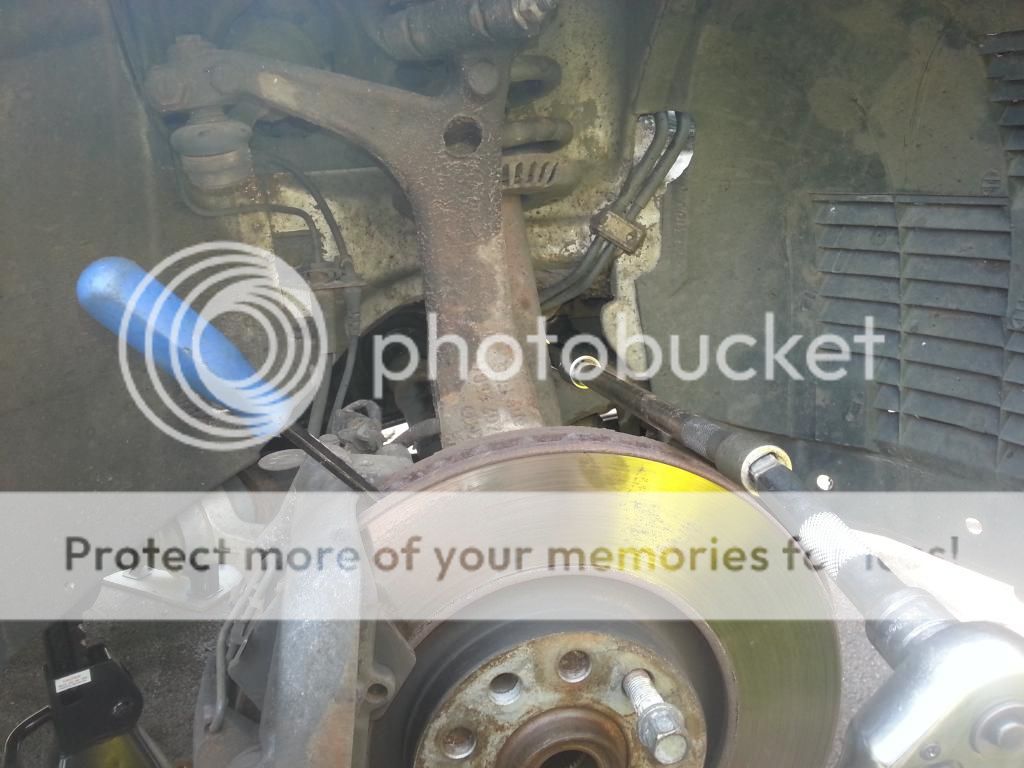
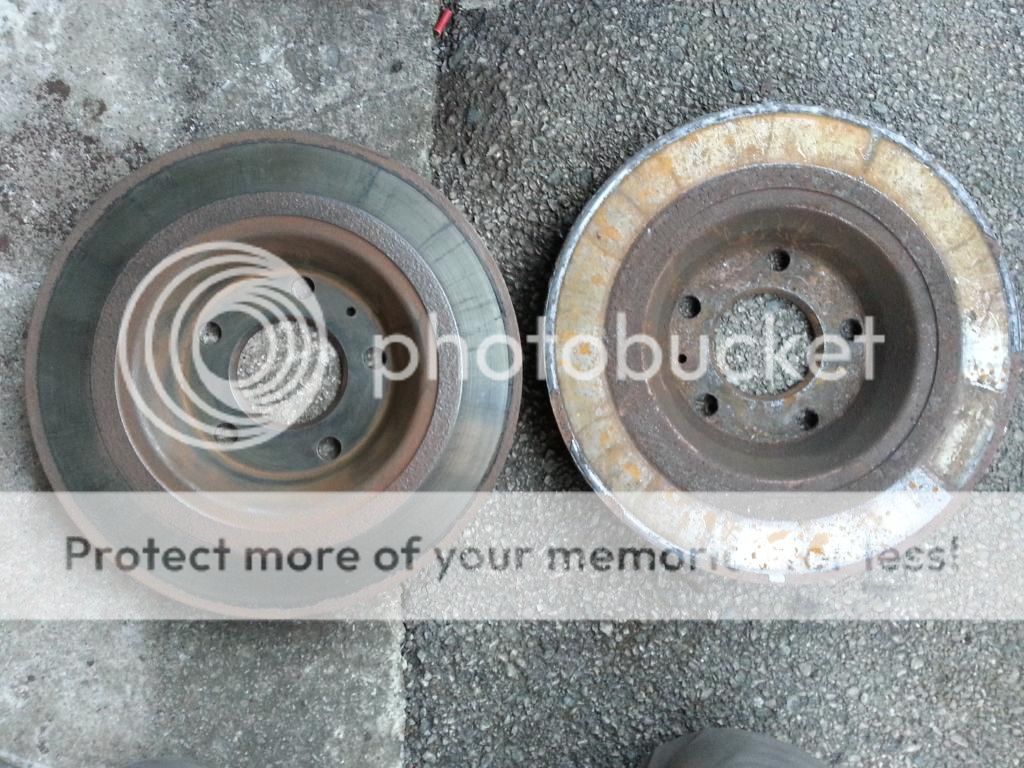
The rear discs hardly had any wear, but both inside faces had a weird lip, which was odd given the front faces were fine. Looks like crap has got trapped, then heated things up. Each of the discs had a 'glazed ring' around the side of what I imagine must be very baked on brake dust. I was able to use a wire wheel to clean up the light surface rust from where these had been standing, and thankfully, these 'beads' could be chipped off fairly easily. You can see what I mean if you look at the 7-8 o'clock position on the right disc here. The left disc had been given a going over. After this pic was taken, I actually used an angle grinder to carefully clean the outer bit to make this flatter. I didn't want the pitted surface destroying the new pads which were due to go on (and I can confirm that a couple of 1000 miles later, they are still nice and clean on the inside now!).
(being a tart, I also gave the front of the middles a lick of... you guessed it)
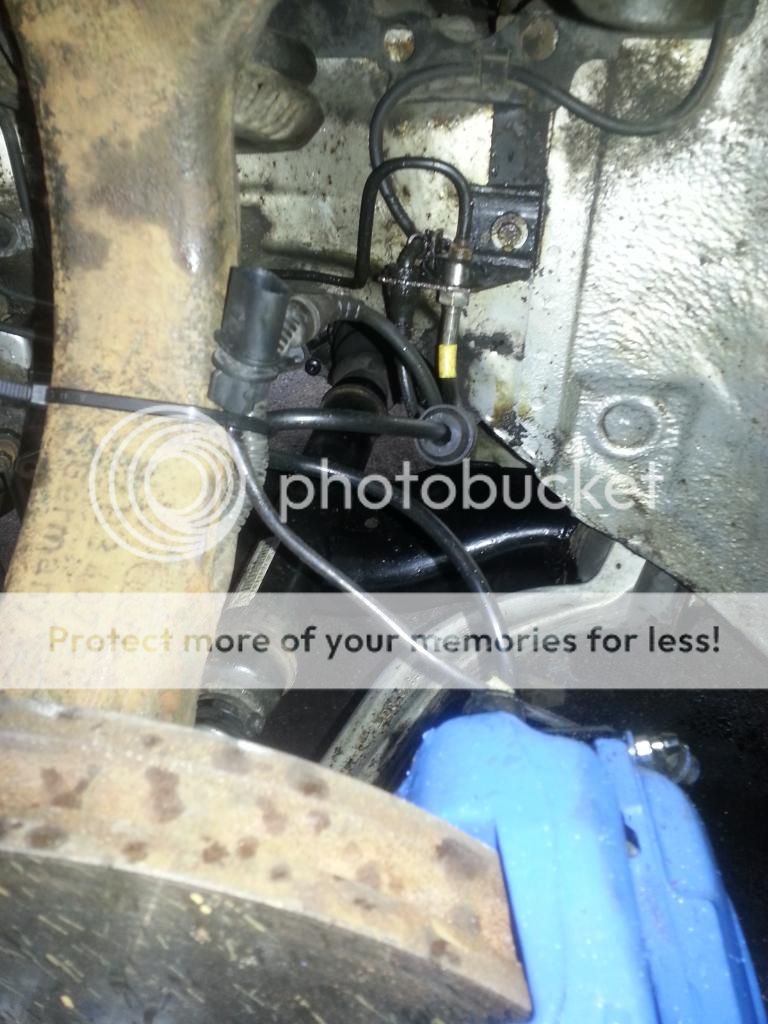
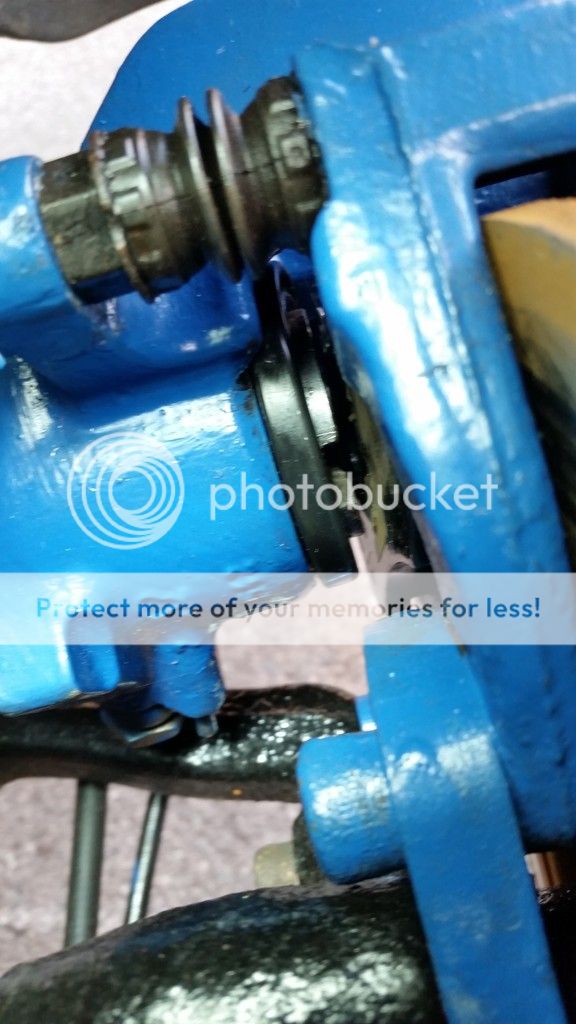
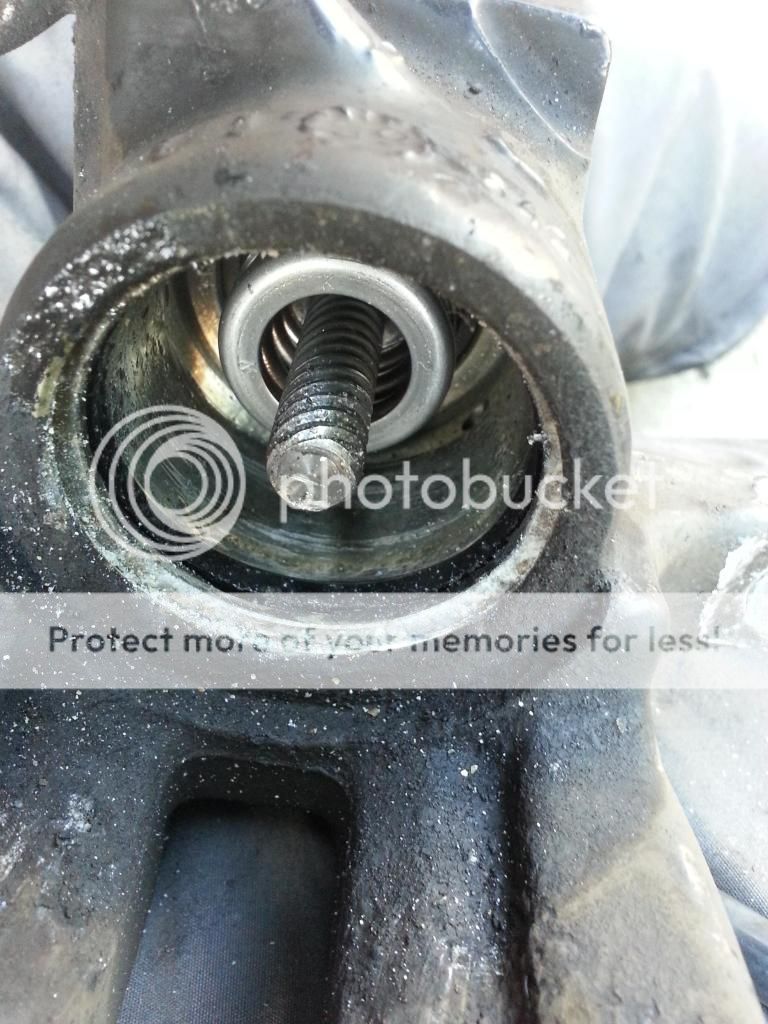
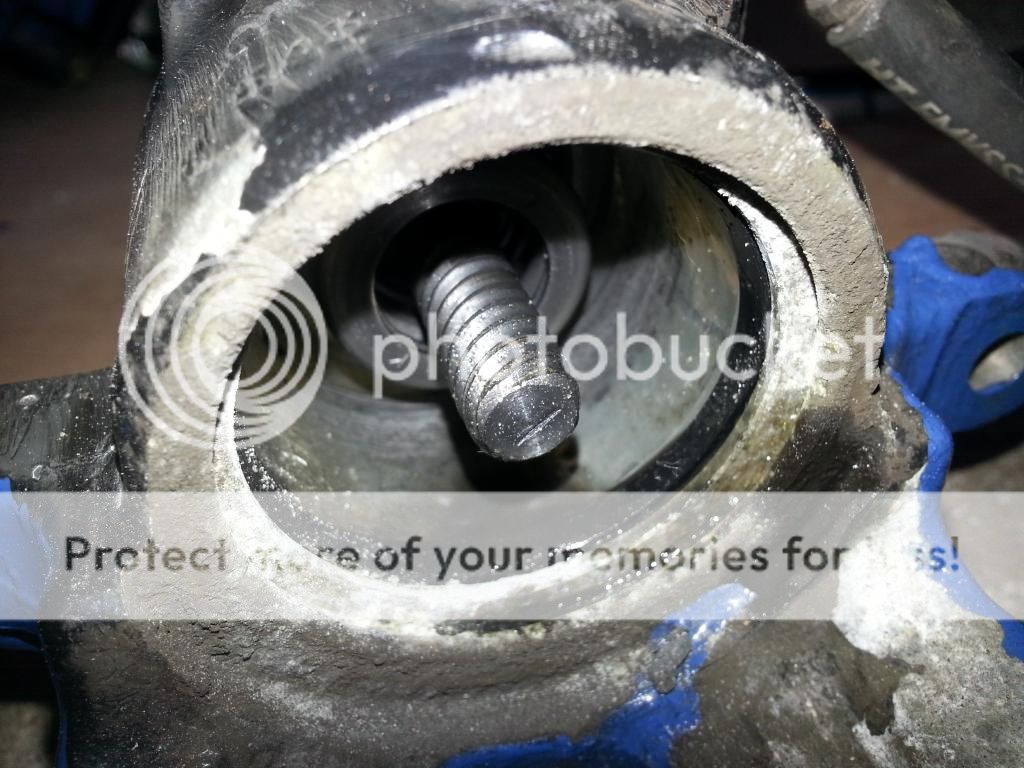
At this point, I noticed the callipers themselves were not as free as I'd like, they were hard work to wind back. So time for a strip down, clean up, rebuild with new seals and a lick of pretty paint.
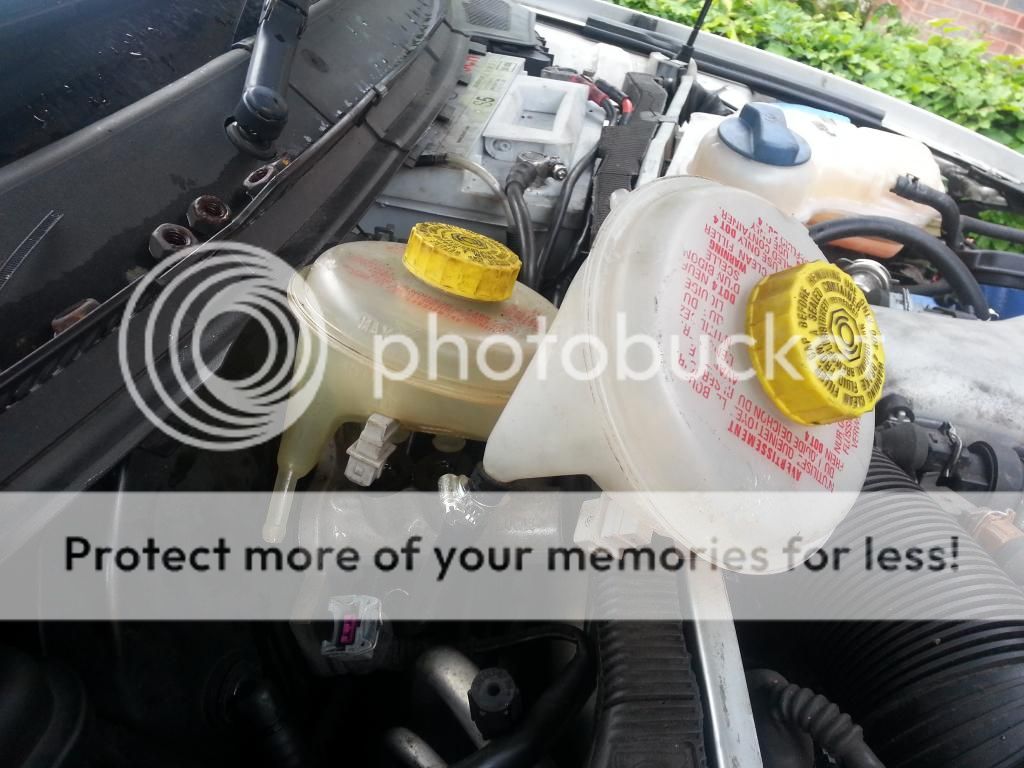
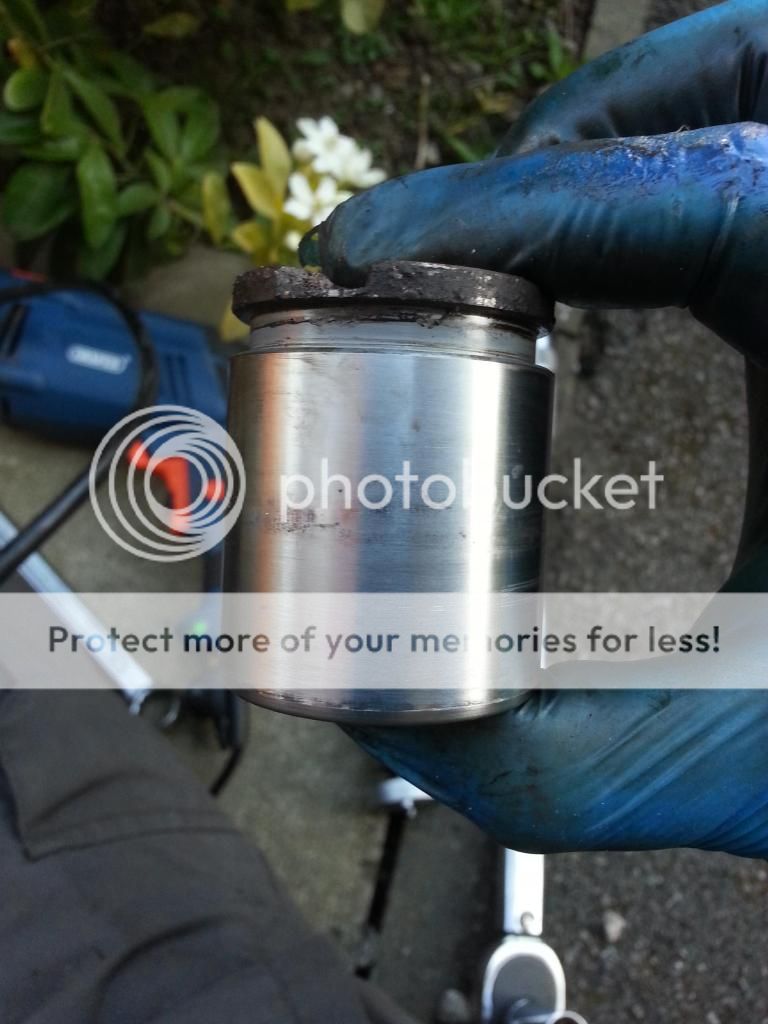
When I stripped them down, I noticed slight grazing to the piston and light scoring of the bores. The fluid has obviously got contaminated at some point.

:shock:
A fair bit of time cleaning them up then polishing the faces up with a Dremmel and they were looking much better.

Ignore the alloy corrosion on the outside (this was all painstakingly scraped off after), this pic shows the bores having most of the big scratches cleaned up.
First coat of paint sorted
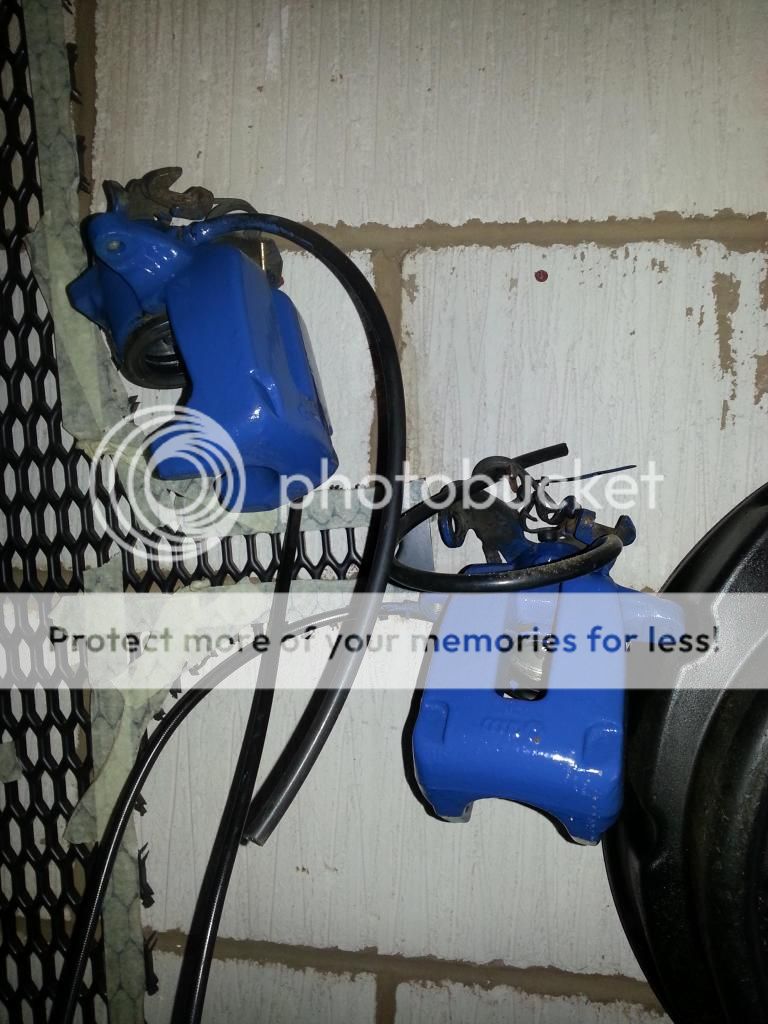
I also managed to Part Ex my old B7 RS4 fronts brakes with Mr.Bison for some newly refurbished B5 RS4 brakes. One less job for me to do! But who wants mismatched brakes? (ignore the previous bit about me driving round with red carriers for the last few years :lol

And finally lacquered with high temp engine lacquer

Refitting the seals and pistons into the rear brakes was a b*****d of a job. It really was. Never want to have to do that again, I don't have the patience. It's a very tight fit! I soaked the seals in brake fluid overnight beforehand. The biggest faff is trying to get the dust boots fitted. If you put them into the caliper housing first, it seems impossible to pull them up the piston (once you've wound it in). So then you putting the boot into the piston groove first... but trying to pull the boot down the length of the piston reminded me of sex education classes and crusty old Mrs.Horne. Gross. Anyway, where was I? Erm... ah yes, squeezing tight rubber into stuff. My specialist subject. Can't even remember how I finally did it, i'm fairly sure it was the first way I mentioned. To reiterate - a b******d of a job!
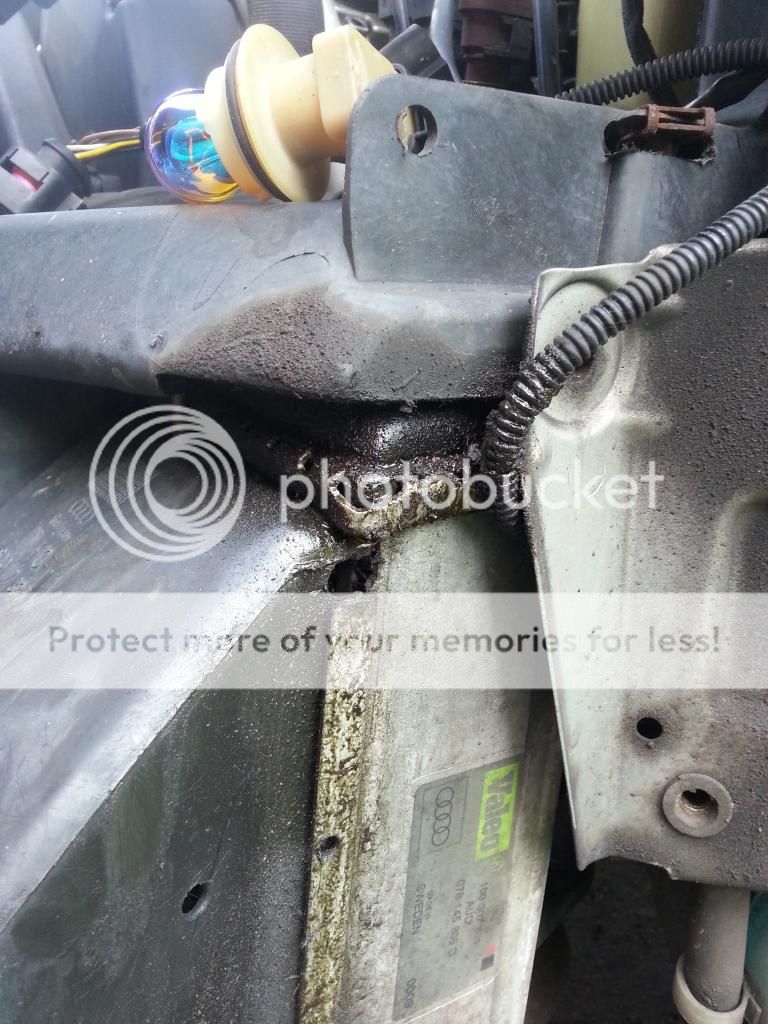
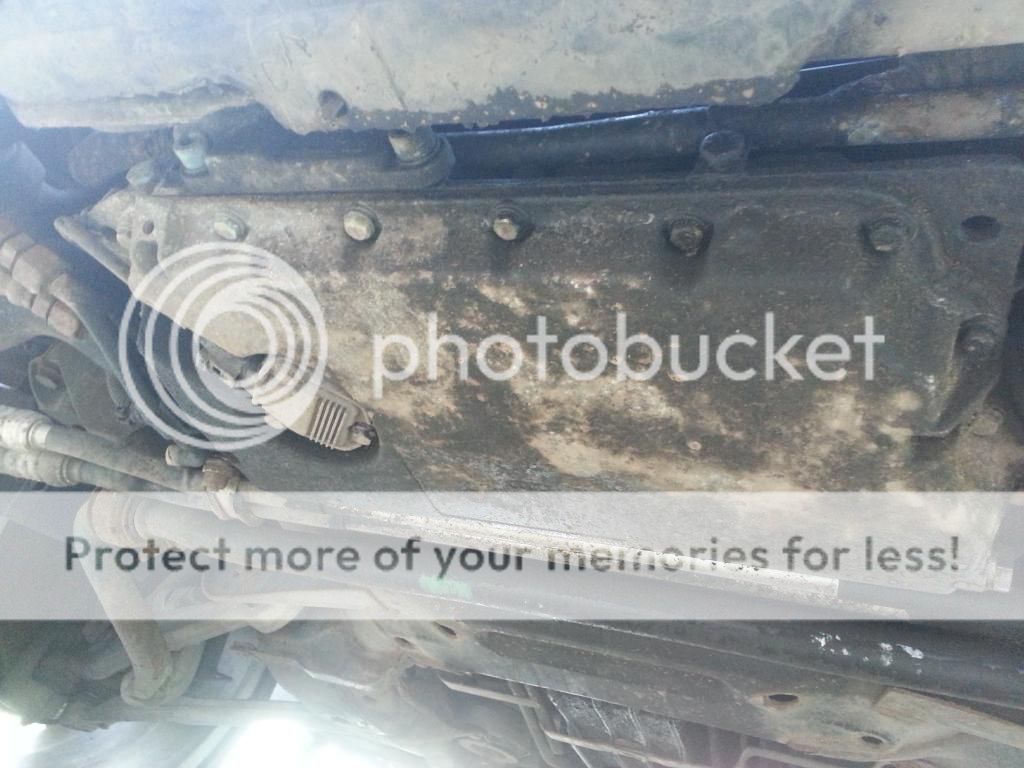
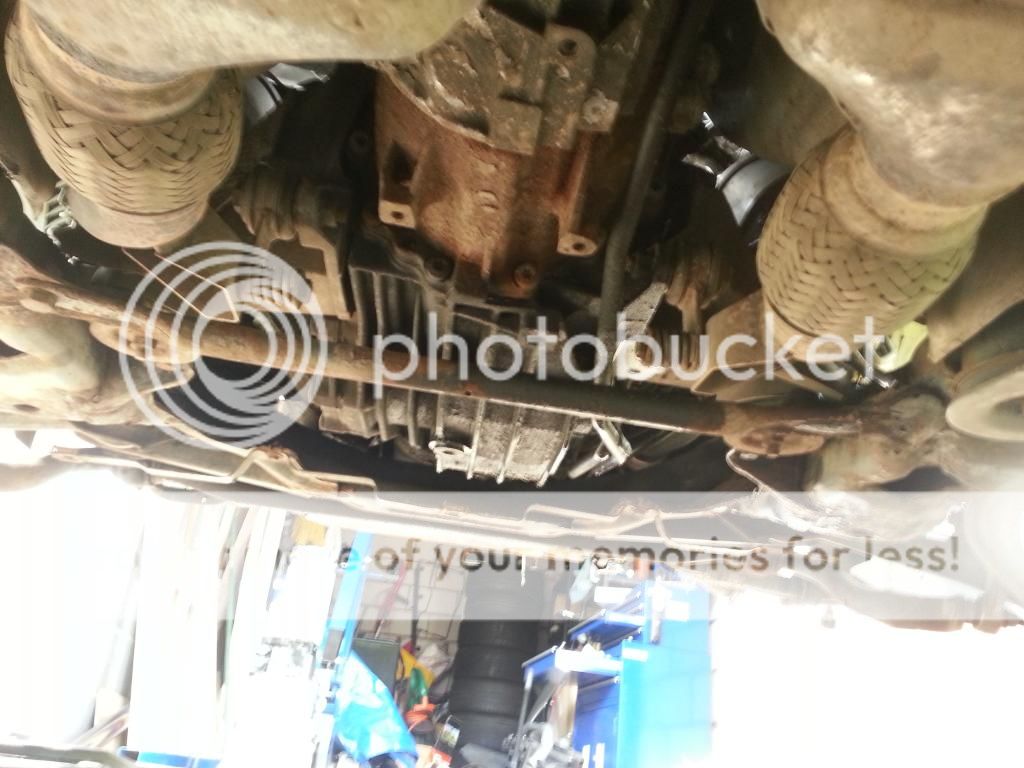
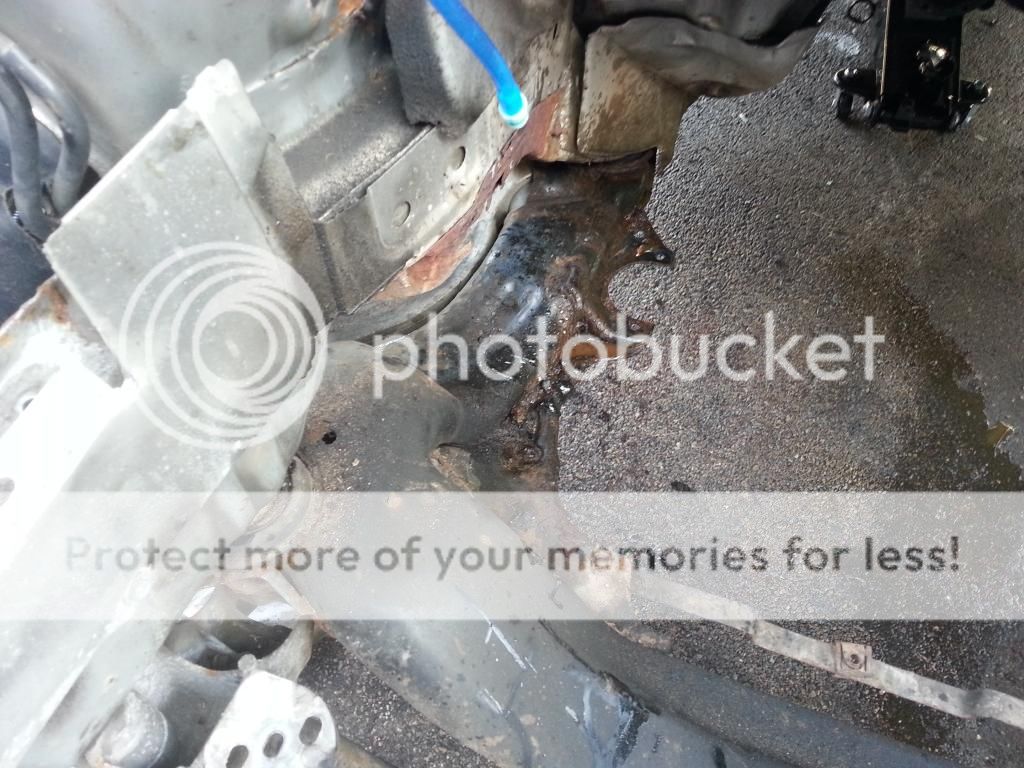
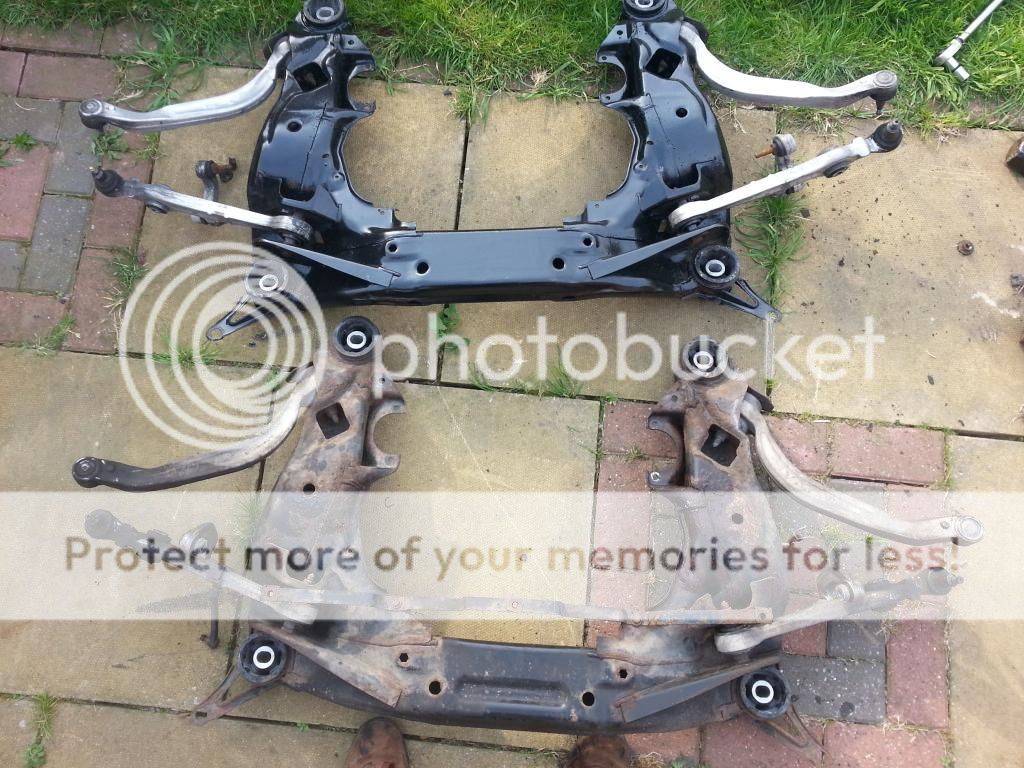
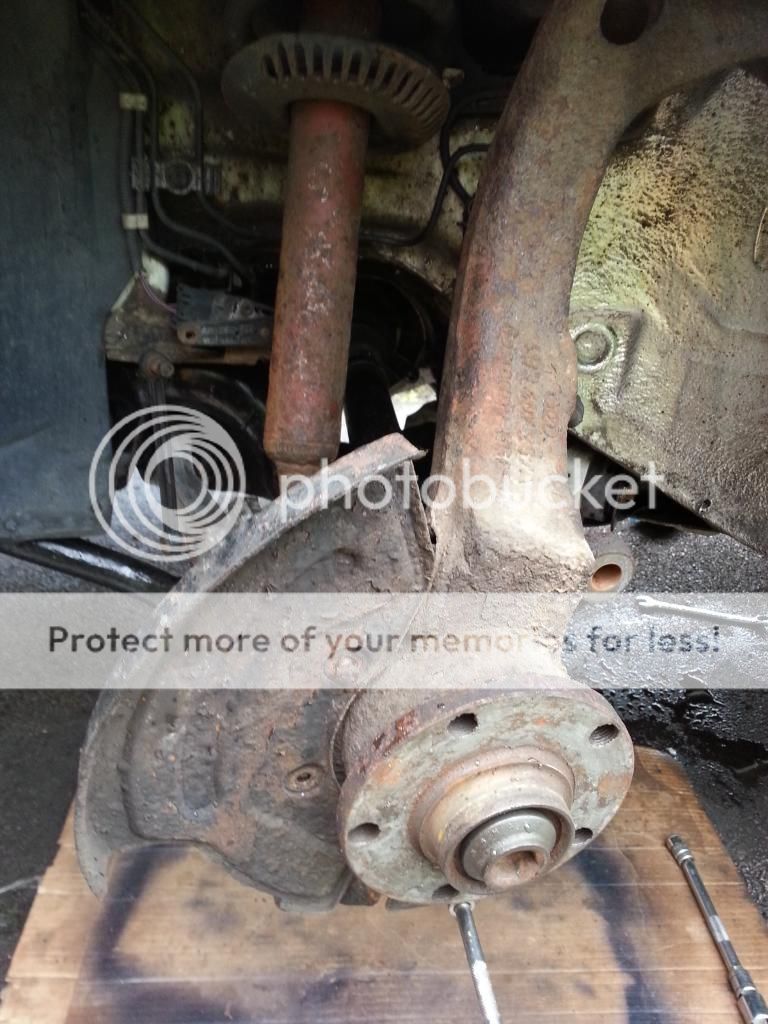
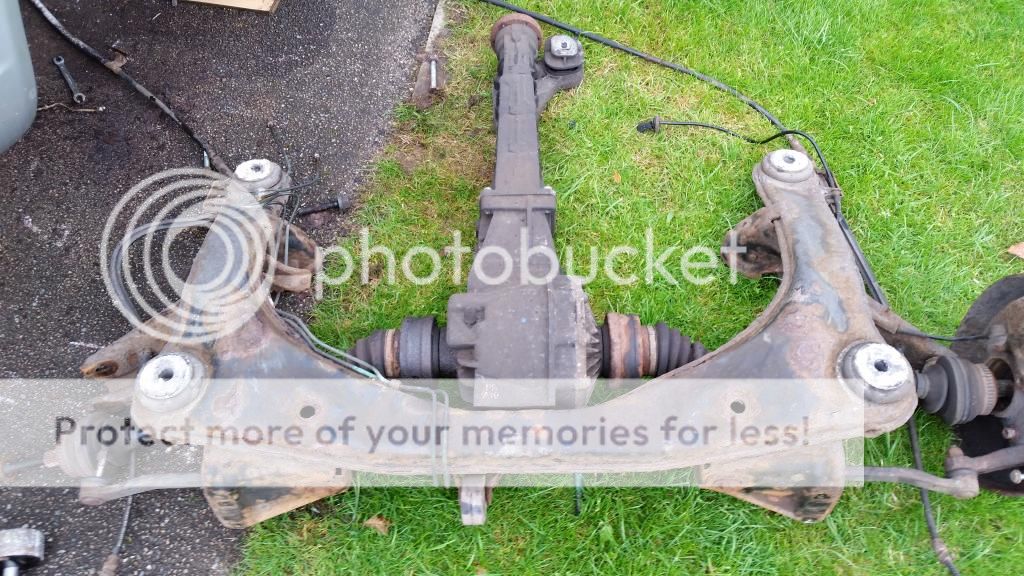
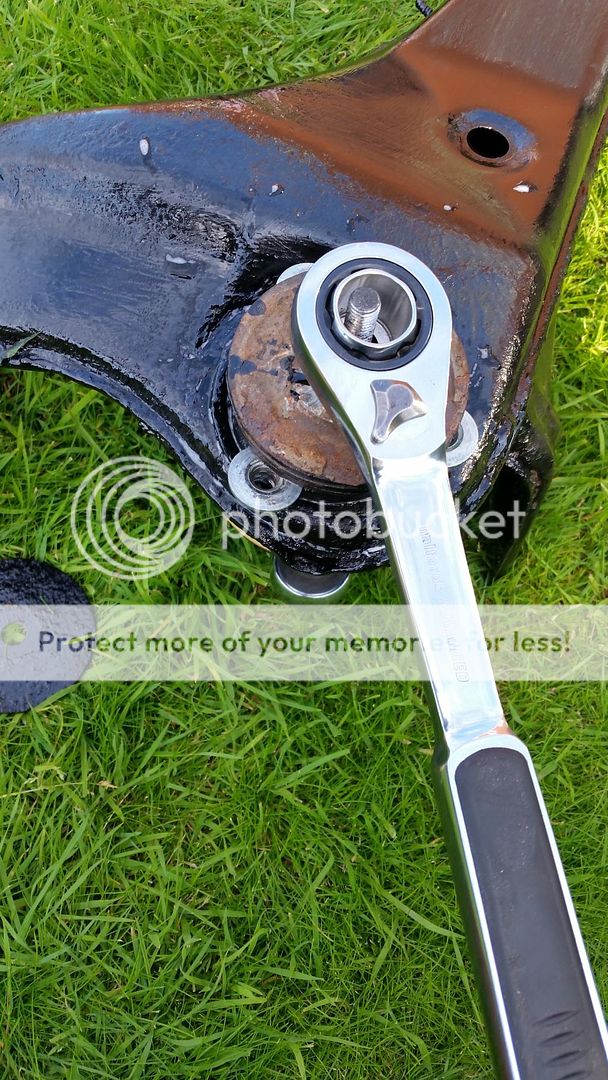
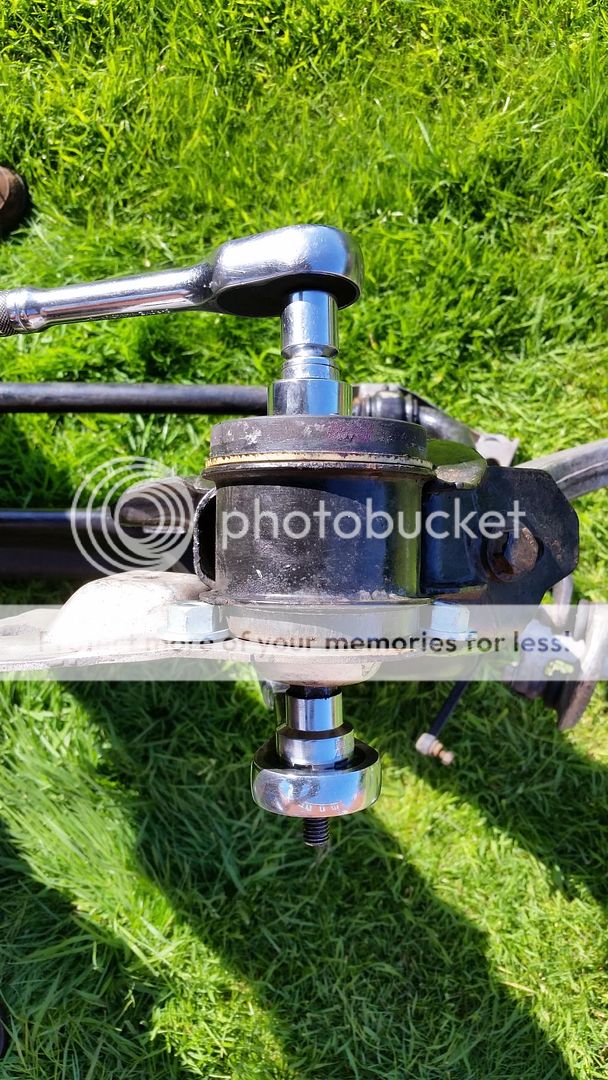
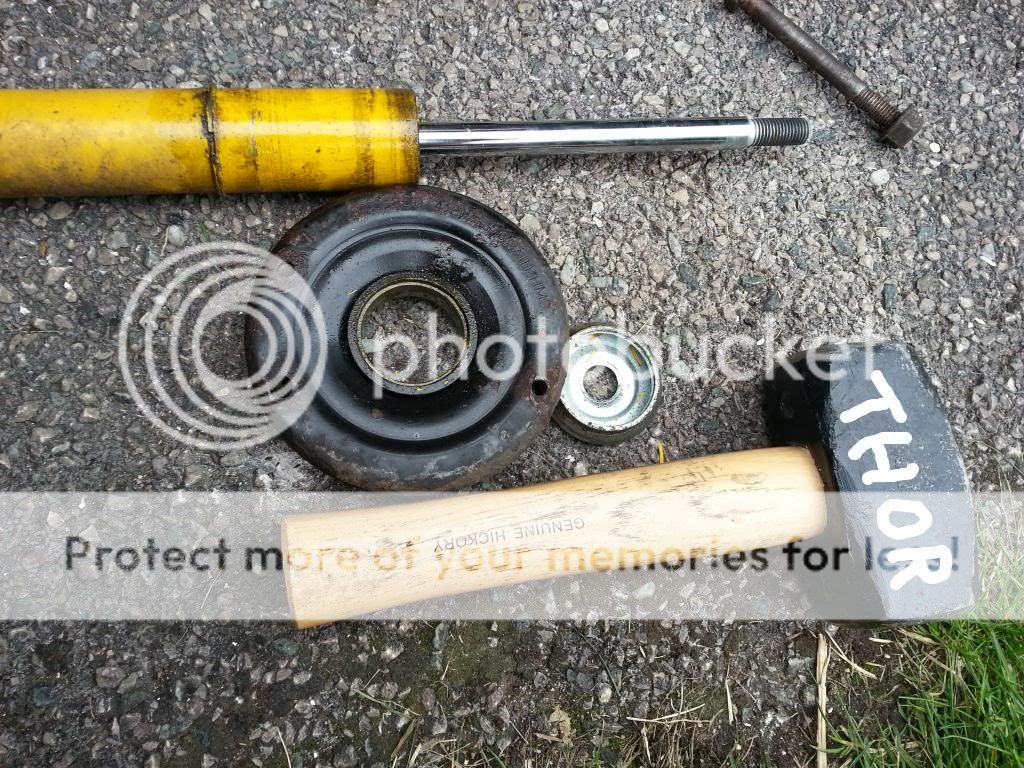
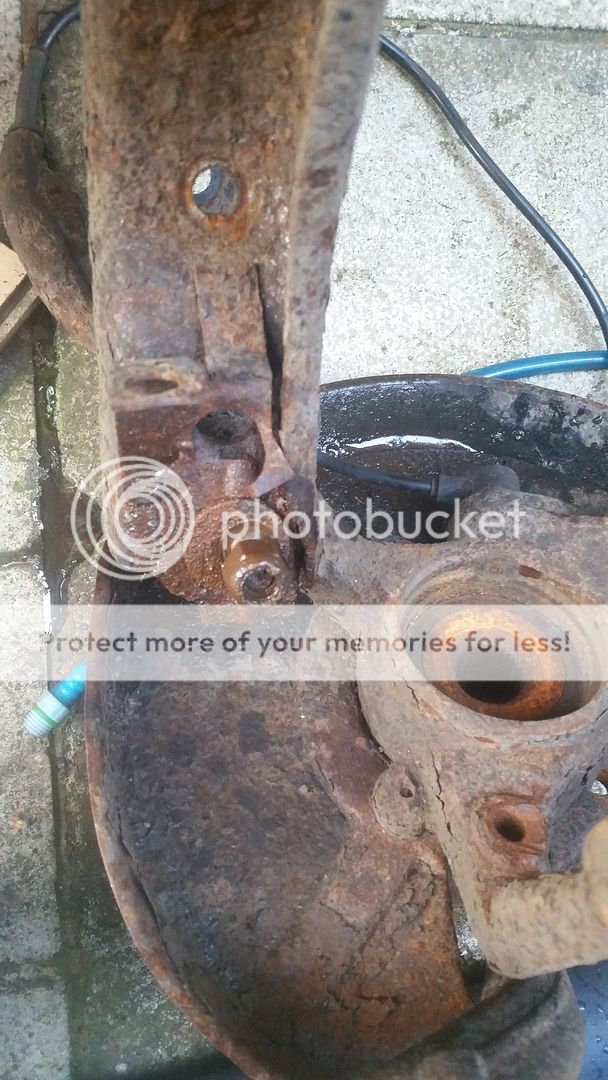
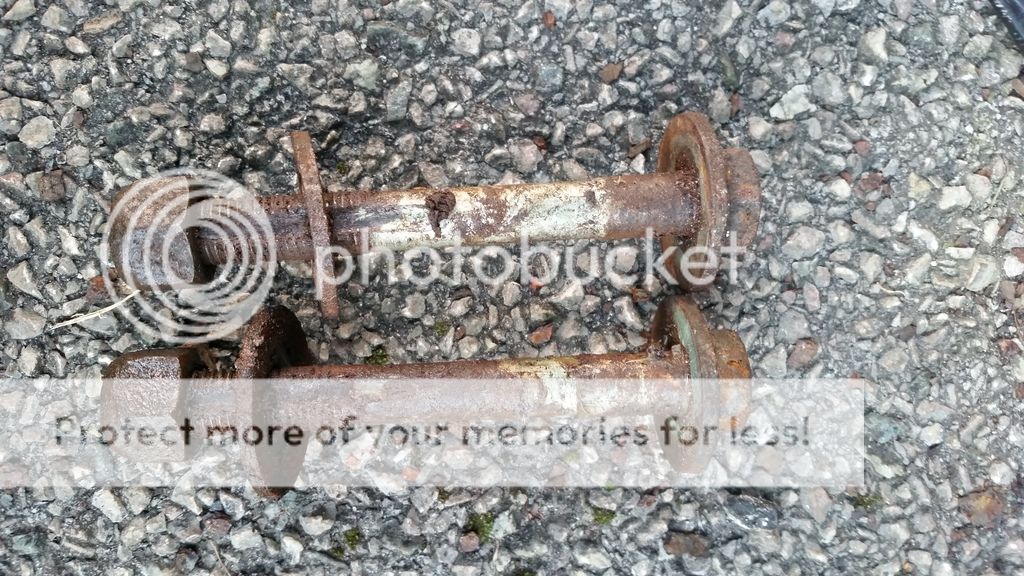
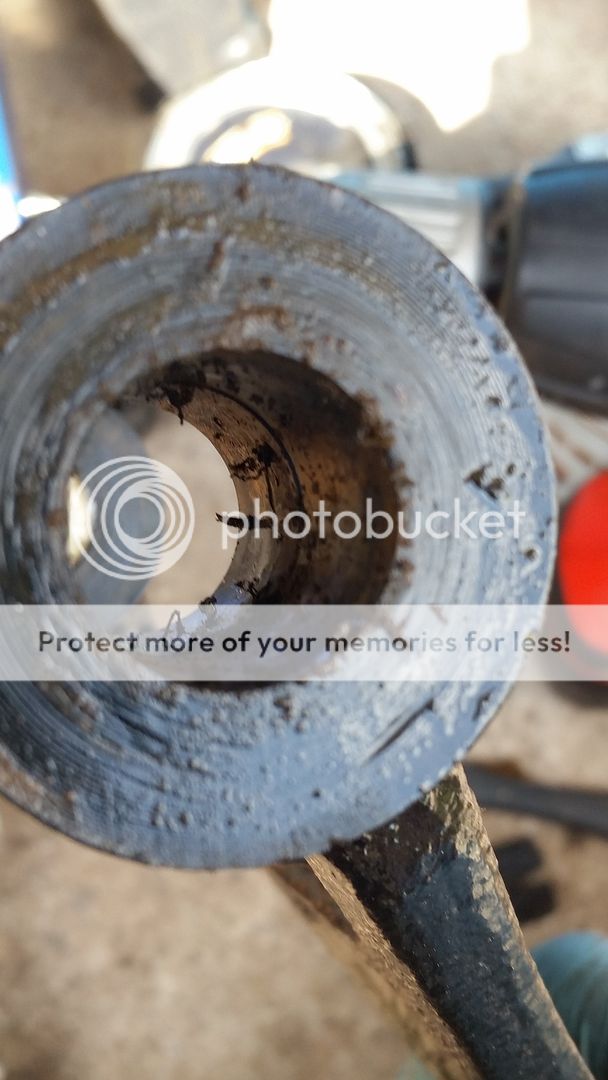
So the brakes were done, and I think they were looking rather good. But I couldn't rest there. I'd only just begun . Next up was my rear end (ooh err!). I'd had all of the rear end rebushed on the old car within the last year. Did plan on selling it all, but seemed more hassle than it was worth to package up and send such bulky items. But what really sold me on the idea of fitting these was the shocking state of the underside of New Thunder. Don't think i'd mentioned that. I'm pretty sure a previous owner must have thought it was a boat and moored it up in a harbour somewhere.
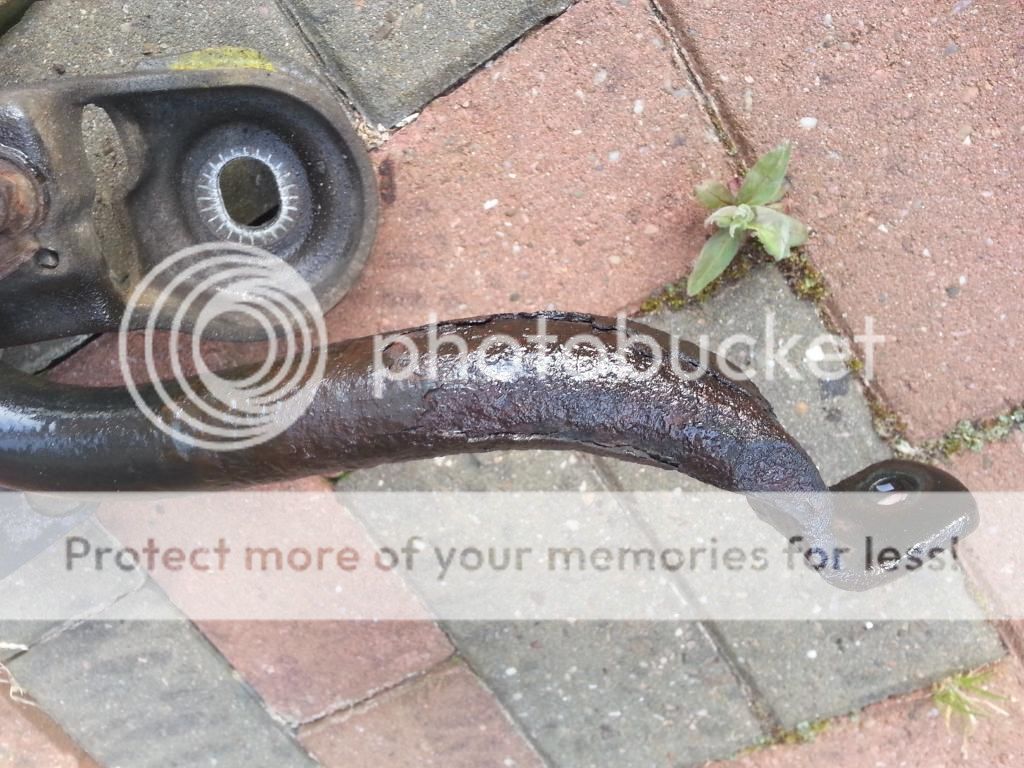
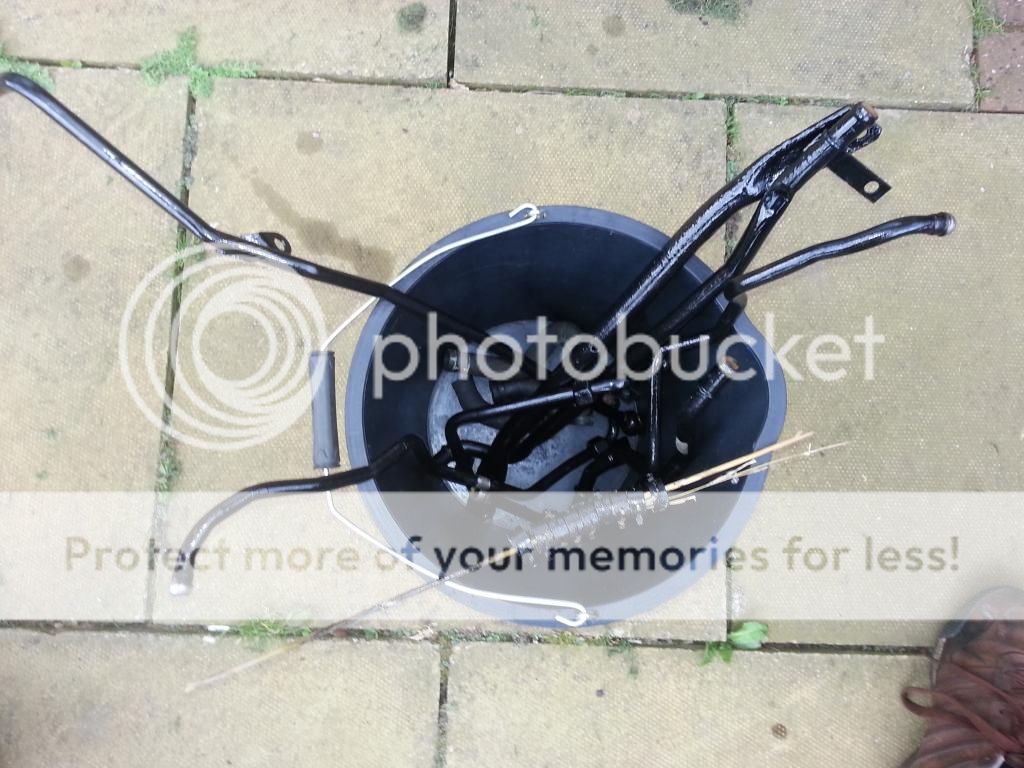
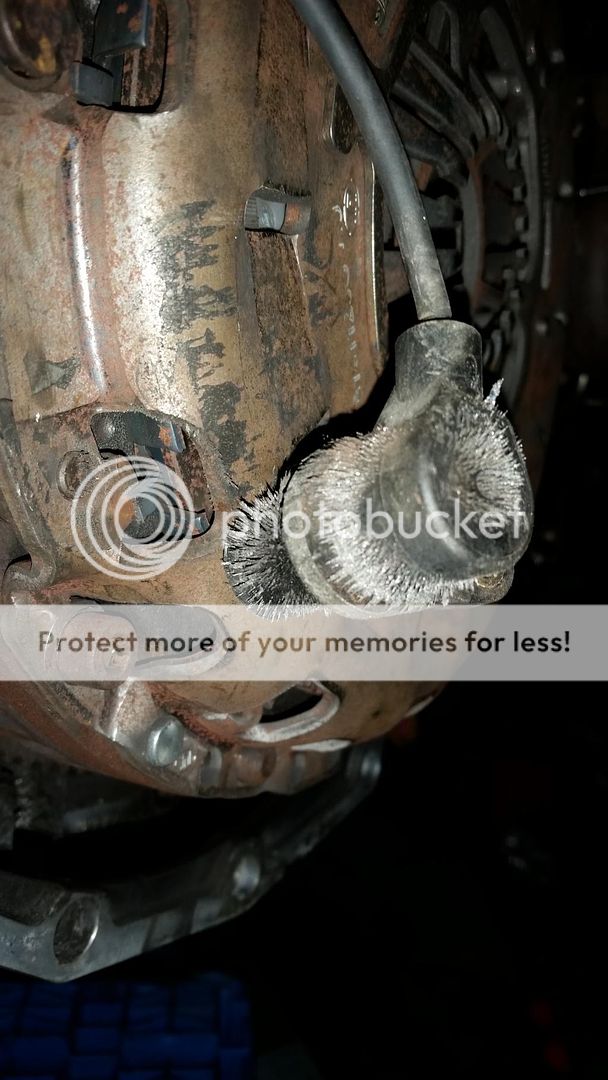
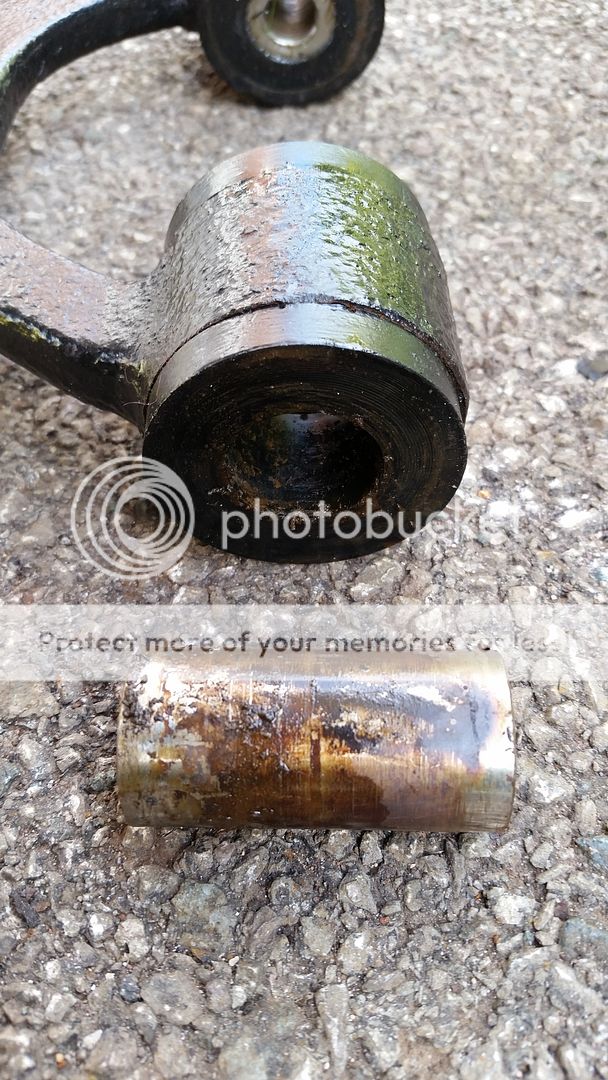
Here's a pic of the 'good' ones from Blue Thunder, after some serious wire brush action to get rid of the nasty stuff.

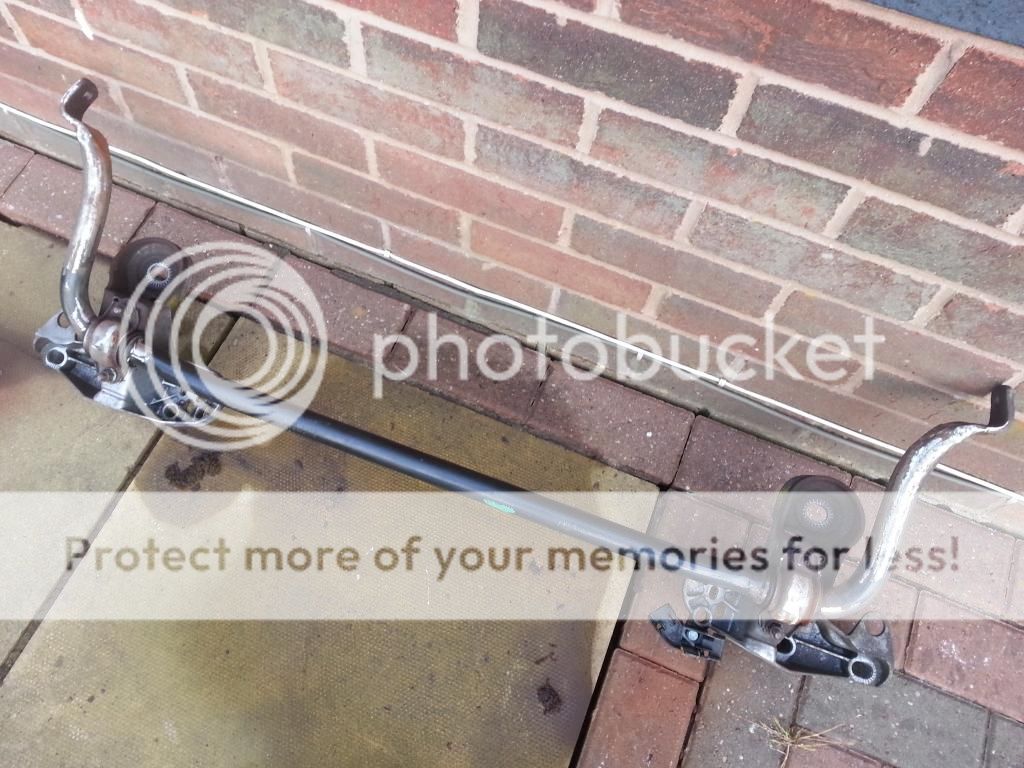
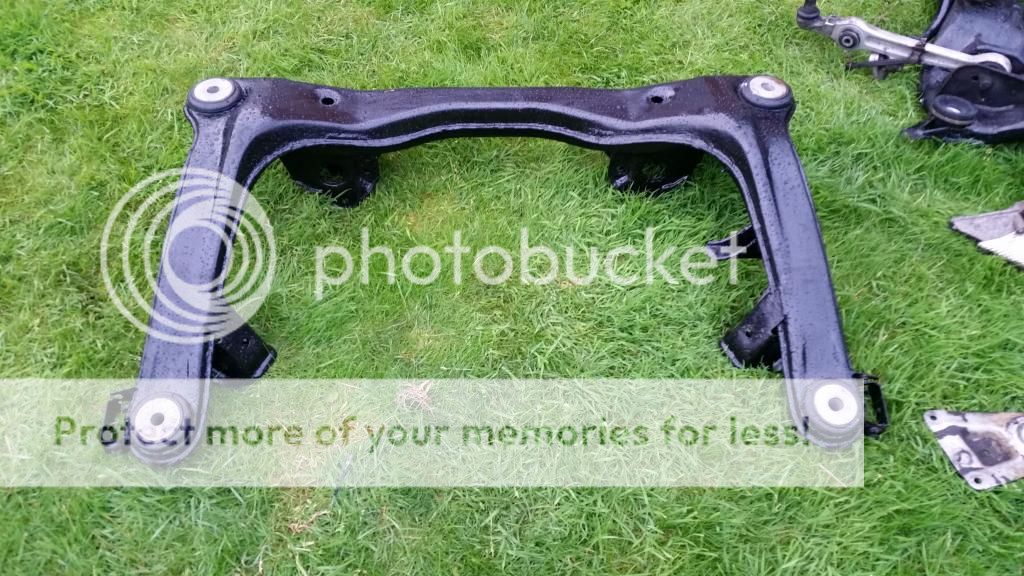
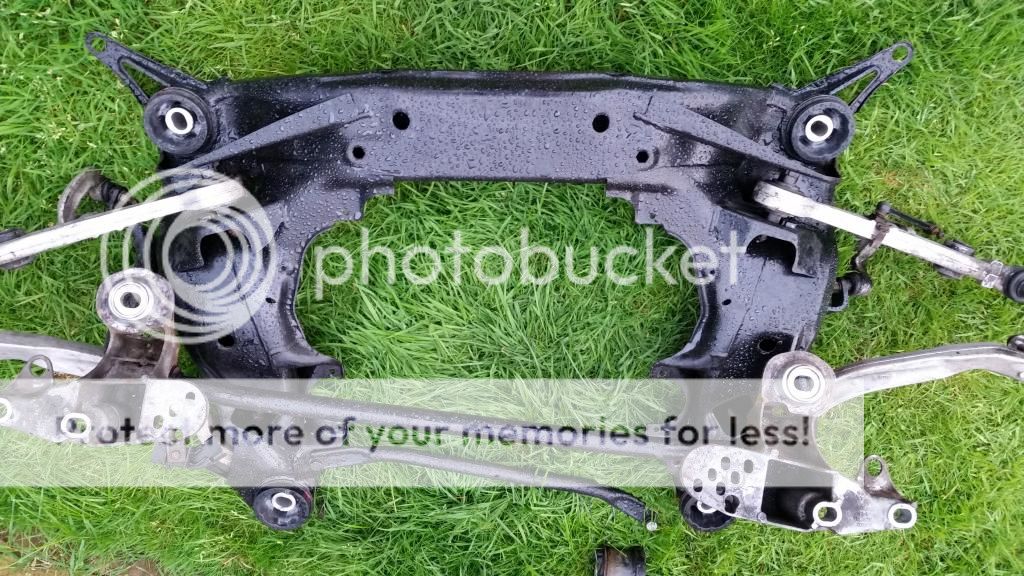
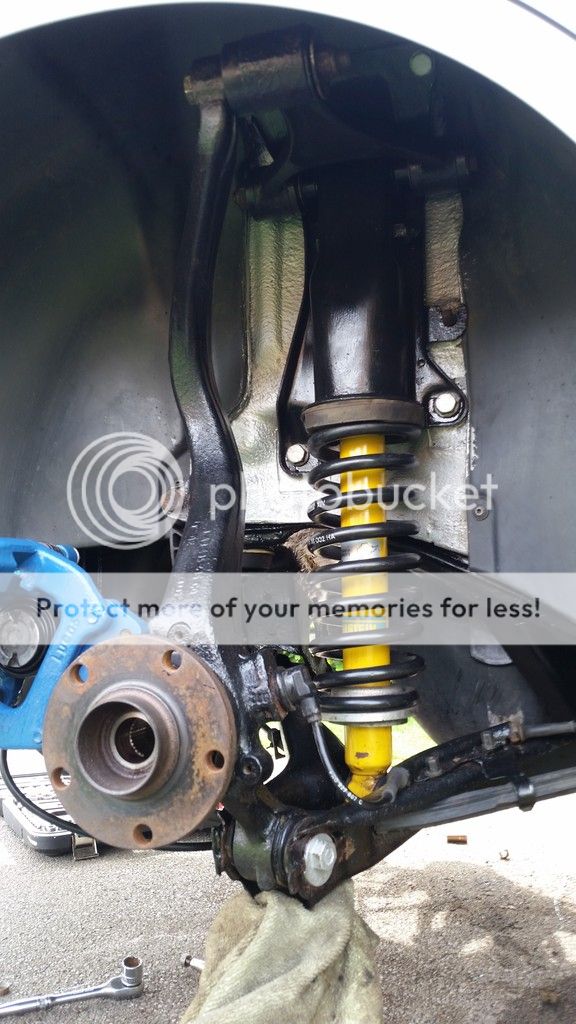
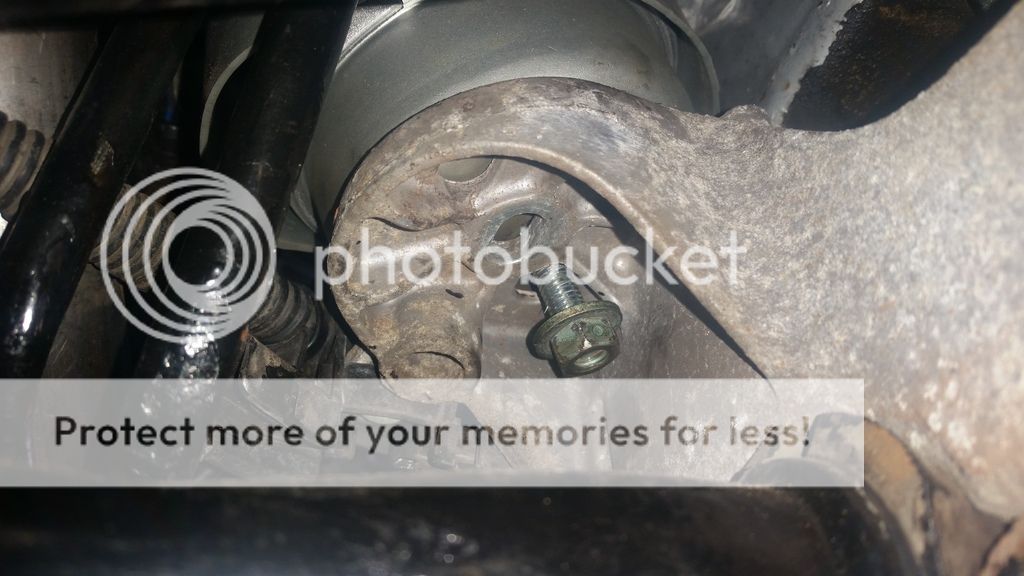
A few coats of the good stuff later...


).If you're a member on SRS, then no need to scroll any further, as it's a carbon copy of my thread over there. If not, I hope you enjoy!
So where do I start?
As you may be aware, I have previously done a couple of (mostly) successful engine pulls on my old heavily modified S4 - Blue Thunder (documented here), and the unfortunate decision made to eventually decommission her (), and stripped her for parts.
I was sad about the prospect of being without S/RS power in my life, but Mikey-S was selling the S4 he'd bought off Stigter earlier in the year. A silver 2000 saloon. It had a noisy turbo and needed some TLC to bring the cosmetics up to scratch, but it drove beautifully, was a good price and most importantly for me, didn't have some of the faults which soured my love of Blue Thunder, namely the fecking drivetrain shunt which i'd tried everything to get rid of(remember this for later!!). But as a man with K04's and all other supporting ancillaries sitting in a box in my garage, it was ideal for a 'cheap stop gap' car. I had foolishly thought I could fit the K04's and minimum supporting mods to get it over 400bhp, give it a bit of spit and polish, then sell it on for the price of the car + the value of the bits I was putting on it from the old car, with the ultimate aim of breaking even, possibly even making a little money for my efforts. That would show wifey what a "waste of money and time" these cars are! But these cars have a habit of getting under your skin. Then they make you make decisions. Not always the wisest. Then... you're theirs!!!
What follows in this thread? A detailed documentation (there are over 500 photos... but I promise I won't subject you to all of them) of New Thunder's journey. The highs, the lows, and all those bits in between which many of you will have seen in random posts,woven together in a joyous rich tapestry of AudiSRS at its best. Disclaimer - This thread will require serious forum stamina. Any willing participants who suffer from repetitive strain injury, ADHD, OCD or an aversion to seeing MacGuyver style techniques being used - this might not be for you.
I hope you enjoy reading this more than i've enjoyed many parts of 'the journey'. :lol:
The title of my thread - "Never Say Never Again". The reason for this shall become apparent as the story progresses....
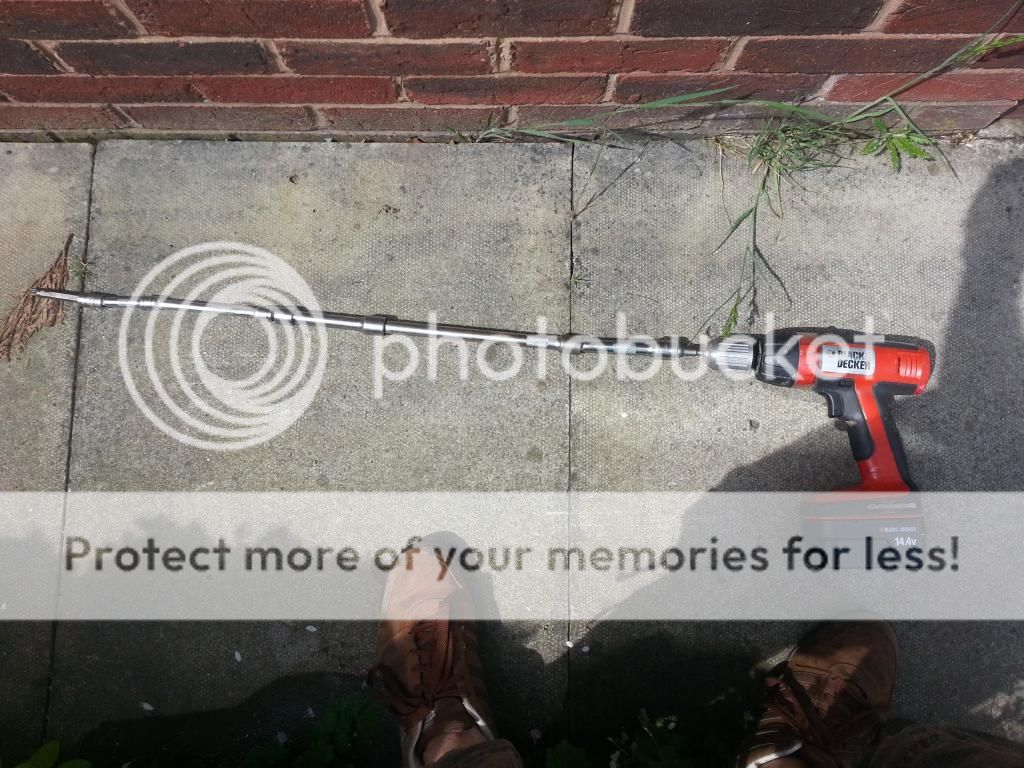
One of the things which I found had seriously hindered my previous engine pulls was myself. More specifically, my inability to organise my tools, eg: a sweary "Where the feck is that 17mm spanner I was only using 5 minutes ago?" was usually followed by 15 minutes of searching for the missing tool. Often found in the first place I'd looked. When dismantling the car, I literally had most of my tools thrown in a big box, which surprisingly helped a little. Just because I didn't know where in the box the tool I wanted would be, there was at least an 85% chance that the tool I was looking for had been put back there. But this was a problem I wanted to eliminate as best I could. So I introduced some Noggy Blue into the equation. Thankfully Halfords were doing this for £100 at the time. Another tenner from eBay for some drawer liner, and I was good to go:
Also bought a new jack, some more tools and some stuff to remove rust - Not far off another £200. A sign of things to come...
Because my garage was completely full of crap from the dismantling of Blue Thunder, I had the dull task of tidying up a bit. You'd never believe it, but this is it post-tidy!
I had some parts from Blue Thunder which I planned to fit, so I got busy with cleaning up some of the parts, and with my recent discovery of Hammerite (truly a gift from the gods), I planned to make bits look pretty as well as having removed any nasty rust. First up, the rear brakes. I had a set of Trig's brackets and B6 discs on the rear. The calipers were looking a bit tired, and I'd also been driving round with red carriers for the last few years after having to swap my RS4 carriers for S4 carriers(thanks DavidT :-D).
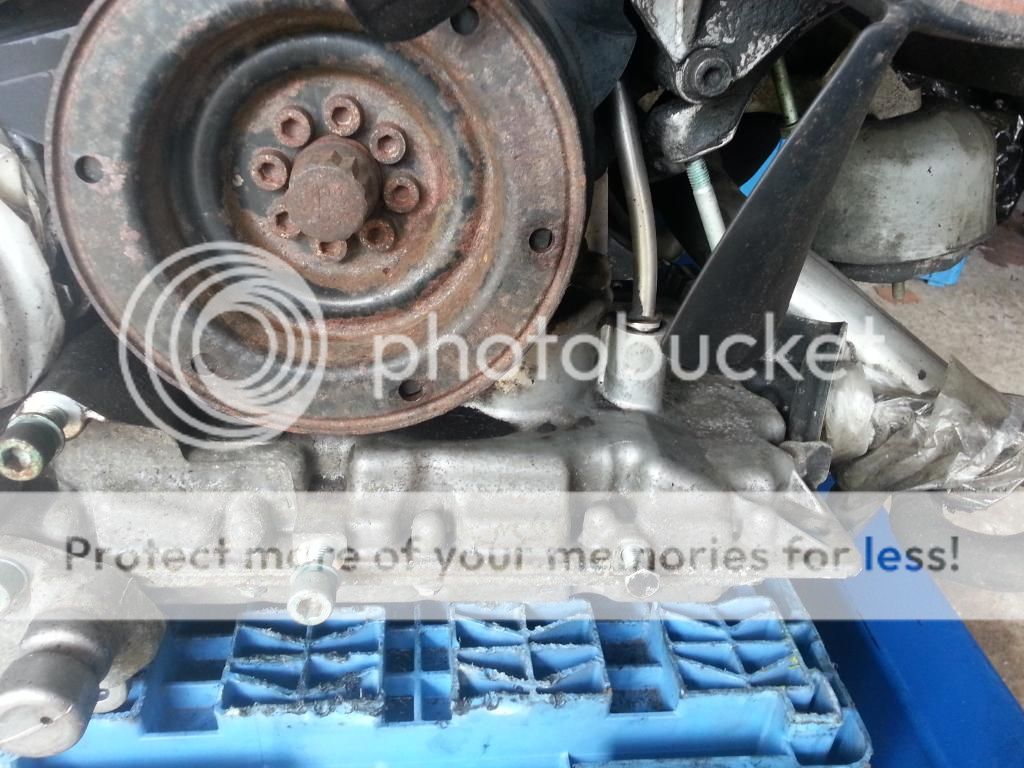
The rear discs hardly had any wear, but both inside faces had a weird lip, which was odd given the front faces were fine. Looks like crap has got trapped, then heated things up. Each of the discs had a 'glazed ring' around the side of what I imagine must be very baked on brake dust. I was able to use a wire wheel to clean up the light surface rust from where these had been standing, and thankfully, these 'beads' could be chipped off fairly easily. You can see what I mean if you look at the 7-8 o'clock position on the right disc here. The left disc had been given a going over. After this pic was taken, I actually used an angle grinder to carefully clean the outer bit to make this flatter. I didn't want the pitted surface destroying the new pads which were due to go on (and I can confirm that a couple of 1000 miles later, they are still nice and clean on the inside now!).
(being a tart, I also gave the front of the middles a lick of... you guessed it)
At this point, I noticed the callipers themselves were not as free as I'd like, they were hard work to wind back. So time for a strip down, clean up, rebuild with new seals and a lick of pretty paint.
When I stripped them down, I noticed slight grazing to the piston and light scoring of the bores. The fluid has obviously got contaminated at some point.
:shock:
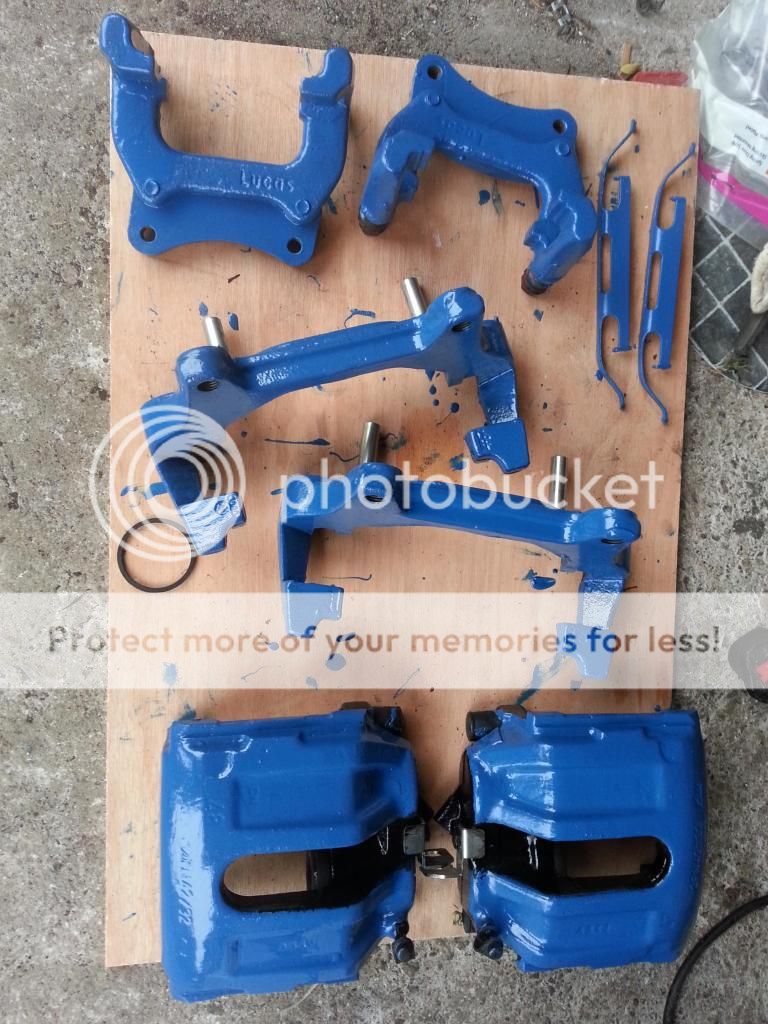
A fair bit of time cleaning them up then polishing the faces up with a Dremmel and they were looking much better.
Ignore the alloy corrosion on the outside (this was all painstakingly scraped off after), this pic shows the bores having most of the big scratches cleaned up.
First coat of paint sorted
I also managed to Part Ex my old B7 RS4 fronts brakes with Mr.Bison for some newly refurbished B5 RS4 brakes. One less job for me to do! But who wants mismatched brakes? (ignore the previous bit about me driving round with red carriers for the last few years :lol
And finally lacquered with high temp engine lacquer
Refitting the seals and pistons into the rear brakes was a b*****d of a job. It really was. Never want to have to do that again, I don't have the patience. It's a very tight fit! I soaked the seals in brake fluid overnight beforehand. The biggest faff is trying to get the dust boots fitted. If you put them into the caliper housing first, it seems impossible to pull them up the piston (once you've wound it in). So then you putting the boot into the piston groove first... but trying to pull the boot down the length of the piston reminded me of sex education classes and crusty old Mrs.Horne. Gross. Anyway, where was I? Erm... ah yes, squeezing tight rubber into stuff. My specialist subject. Can't even remember how I finally did it, i'm fairly sure it was the first way I mentioned. To reiterate - a b******d of a job!
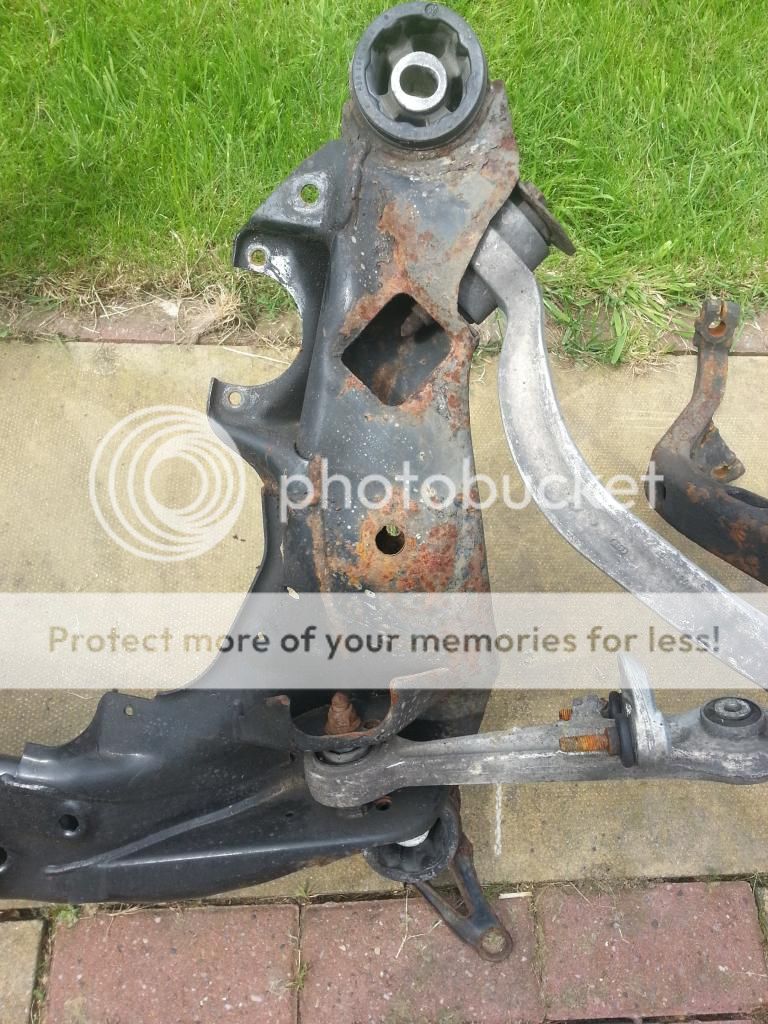
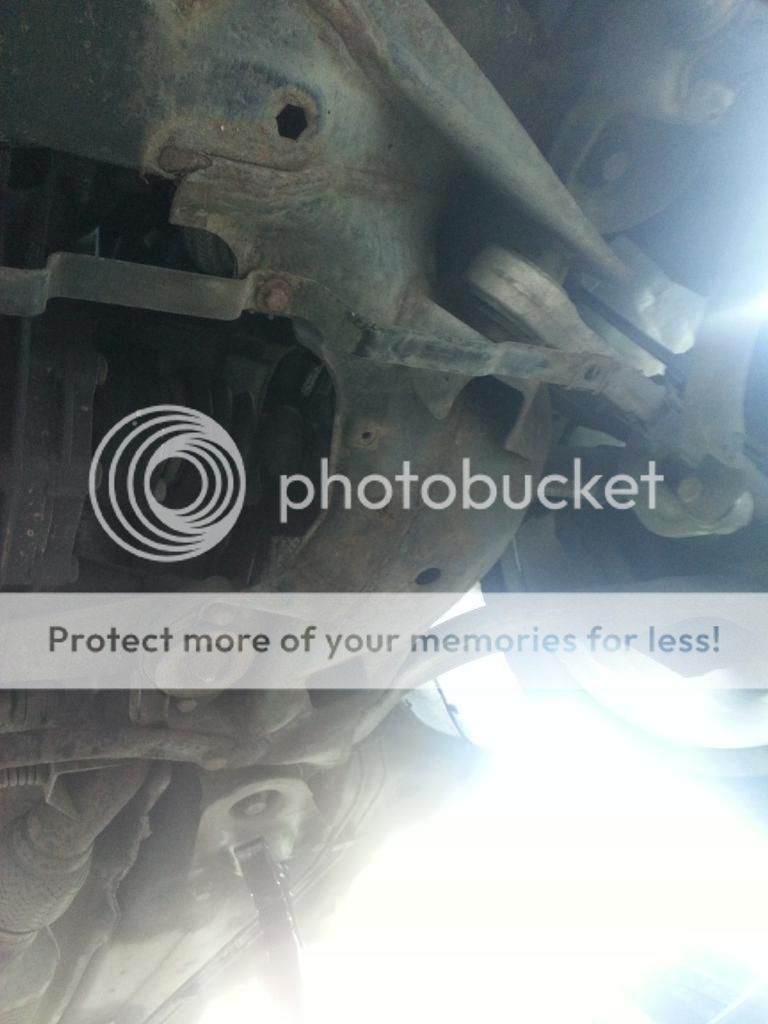
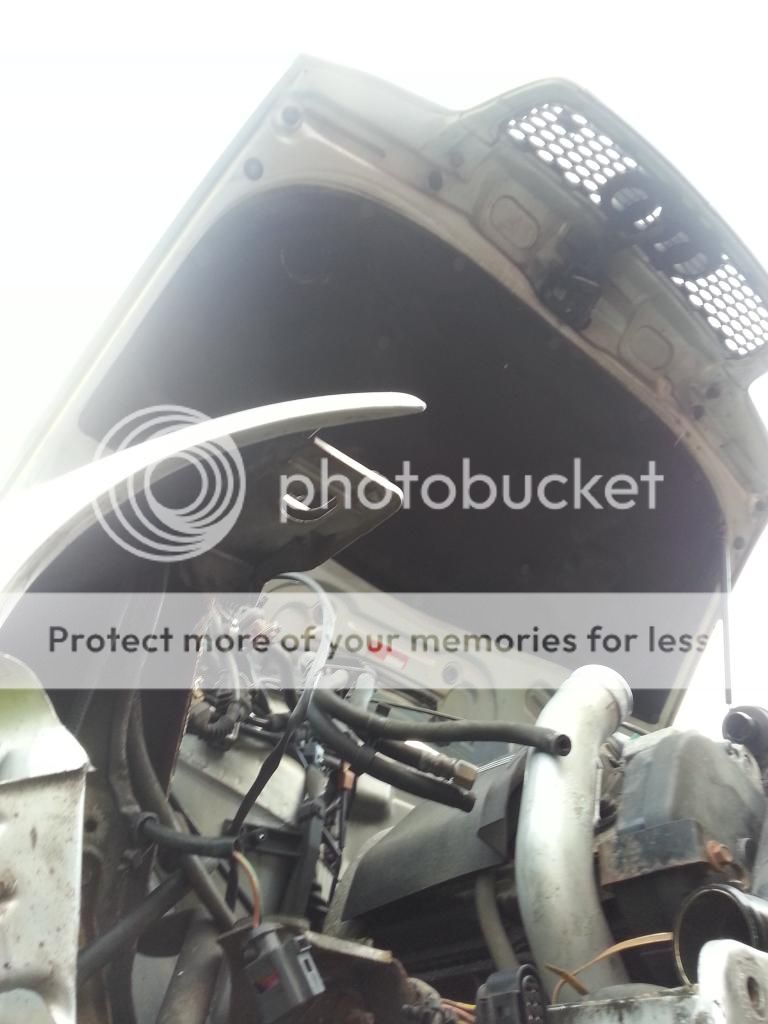
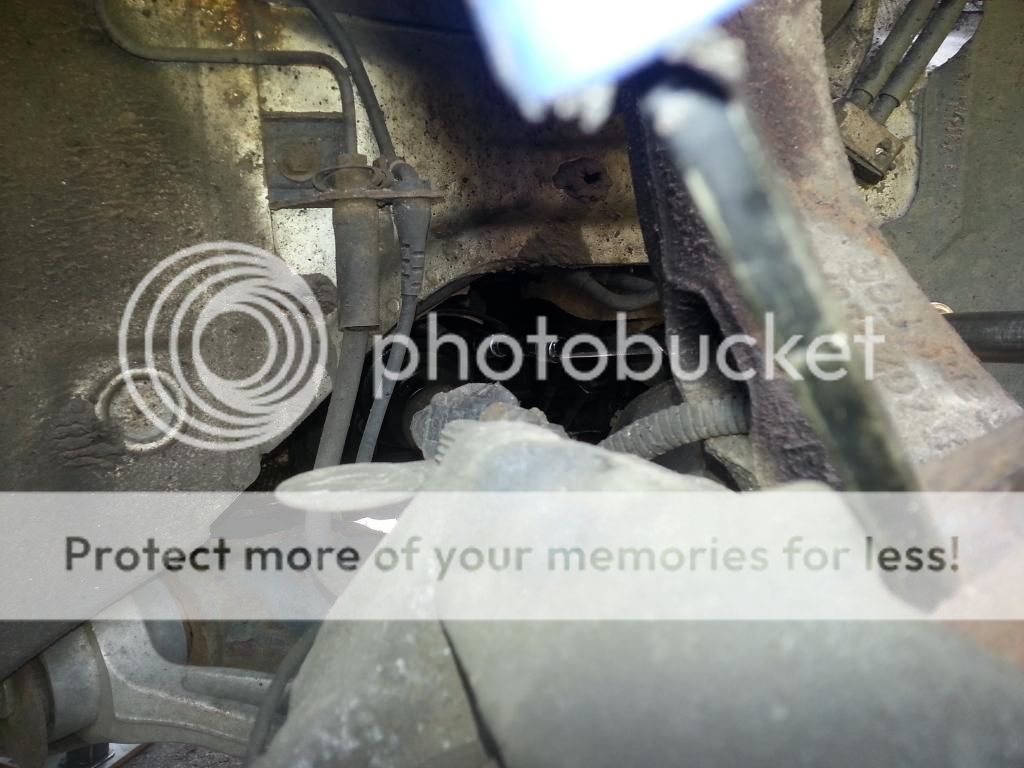
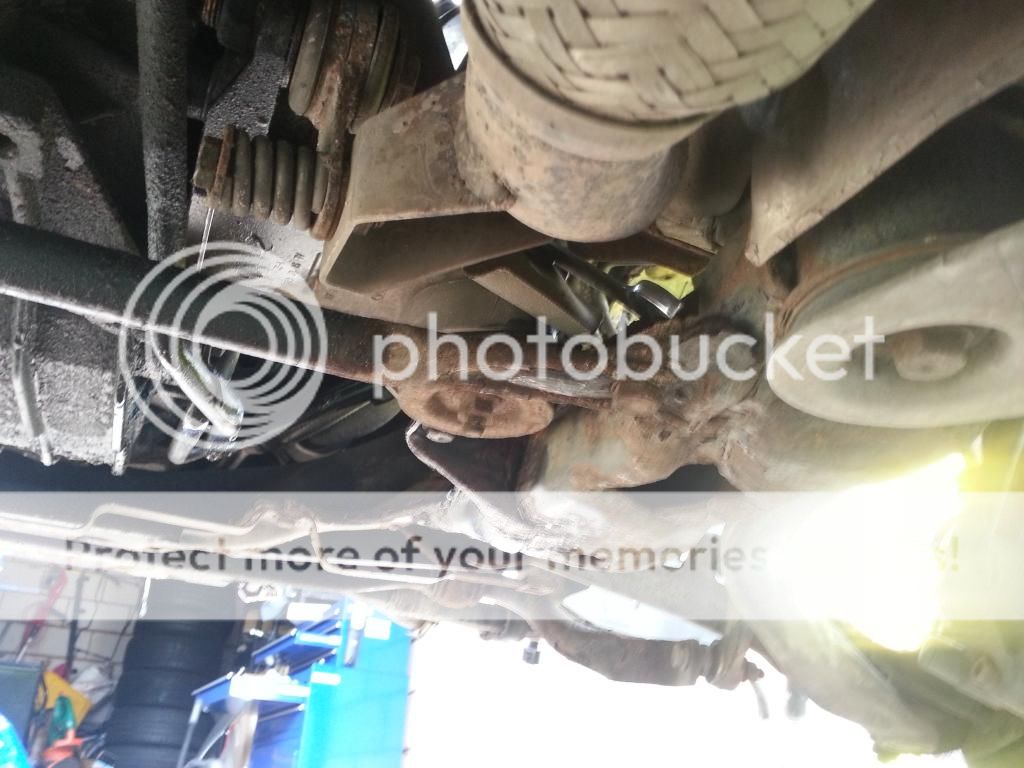
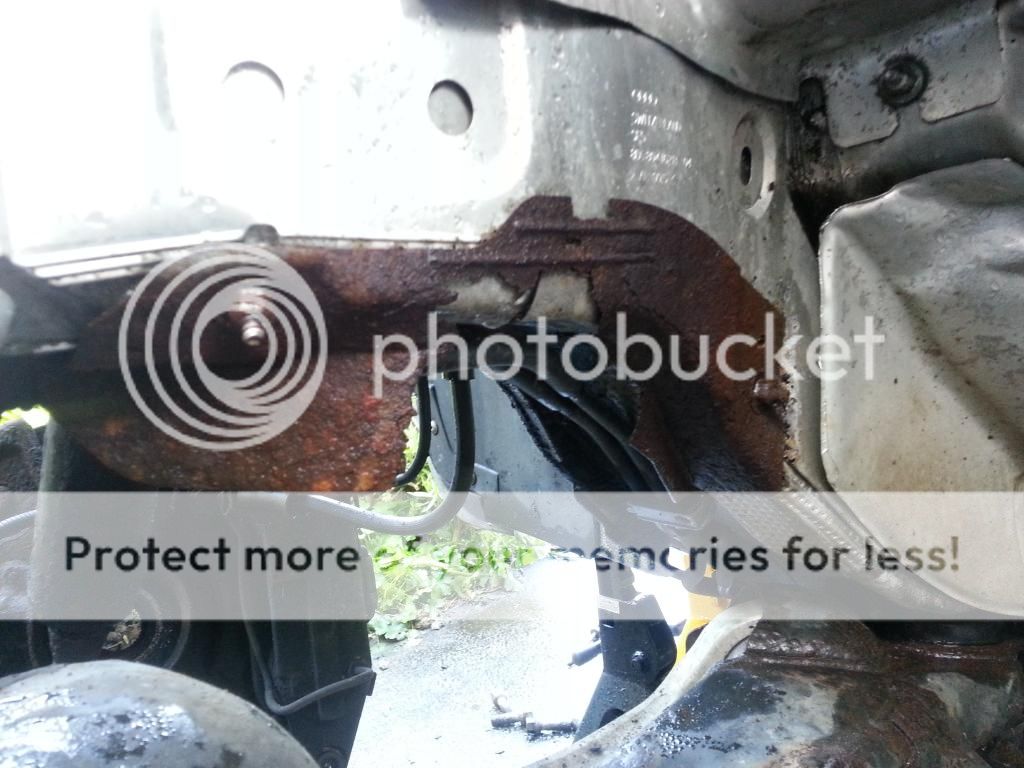
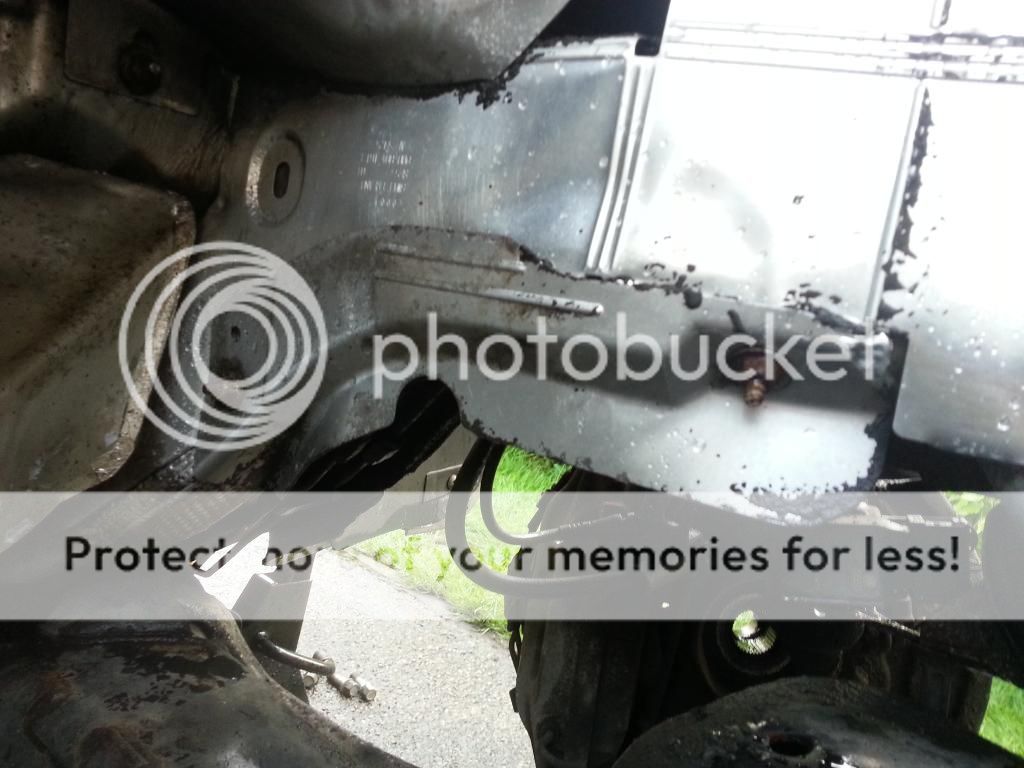
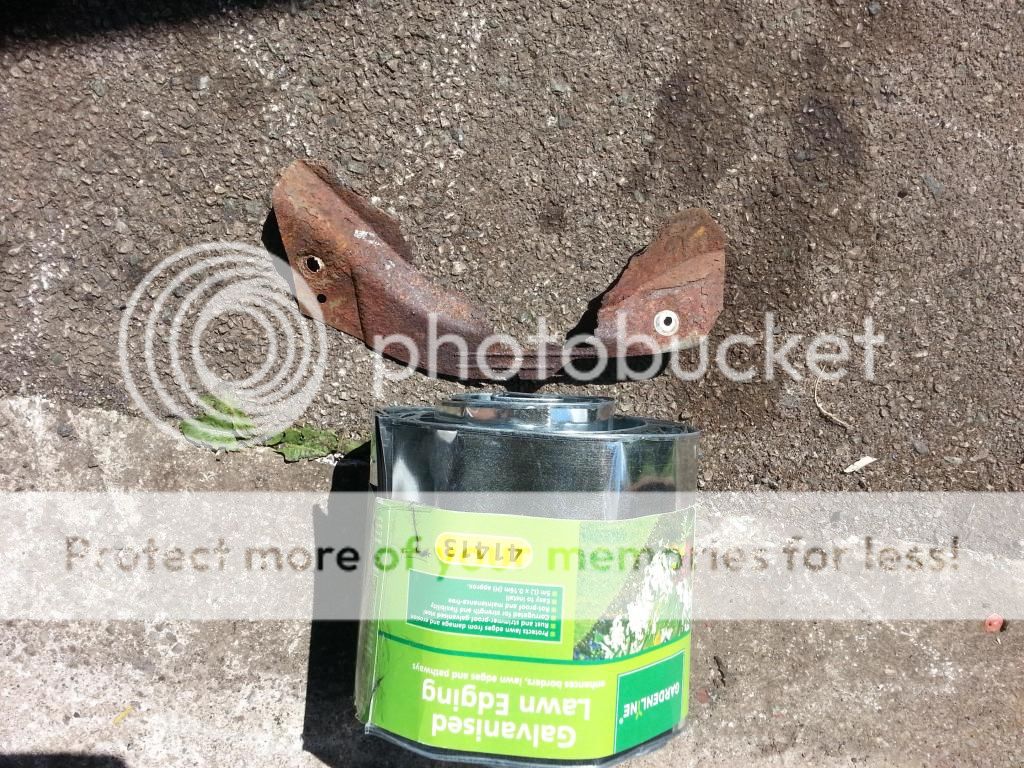
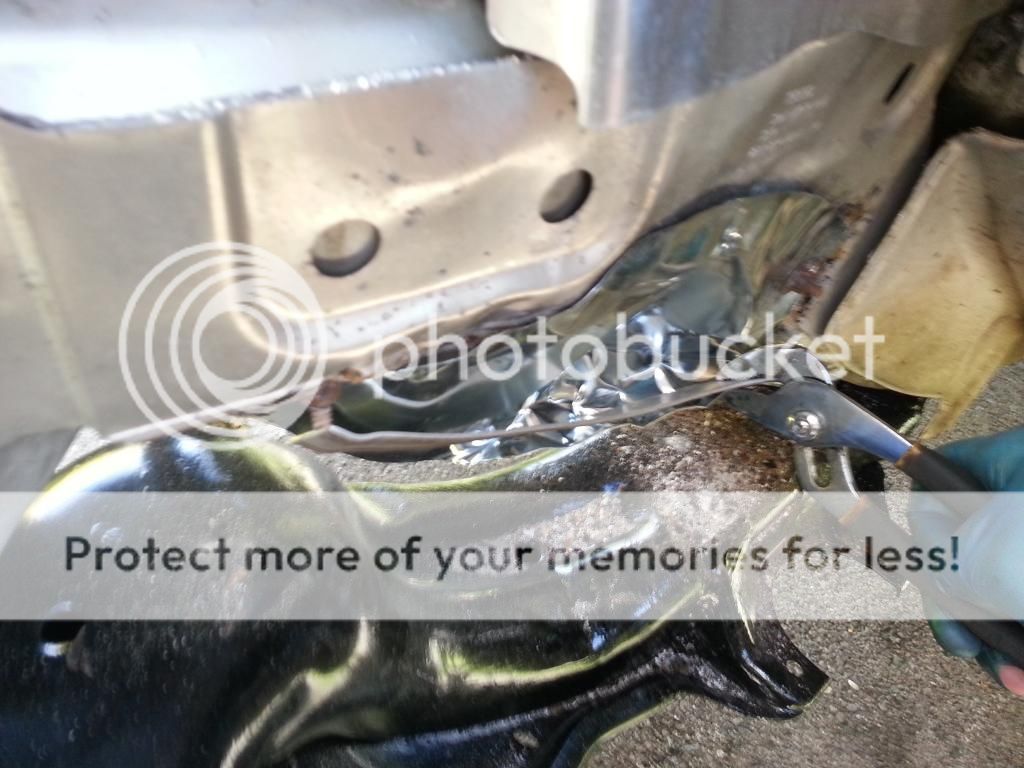
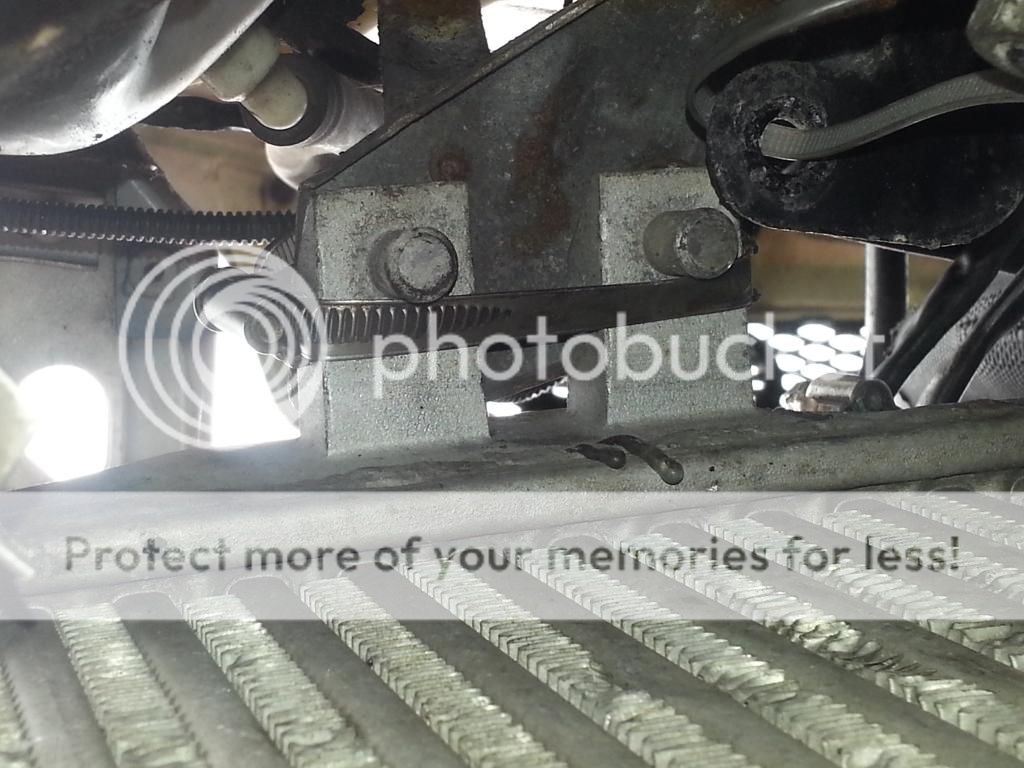
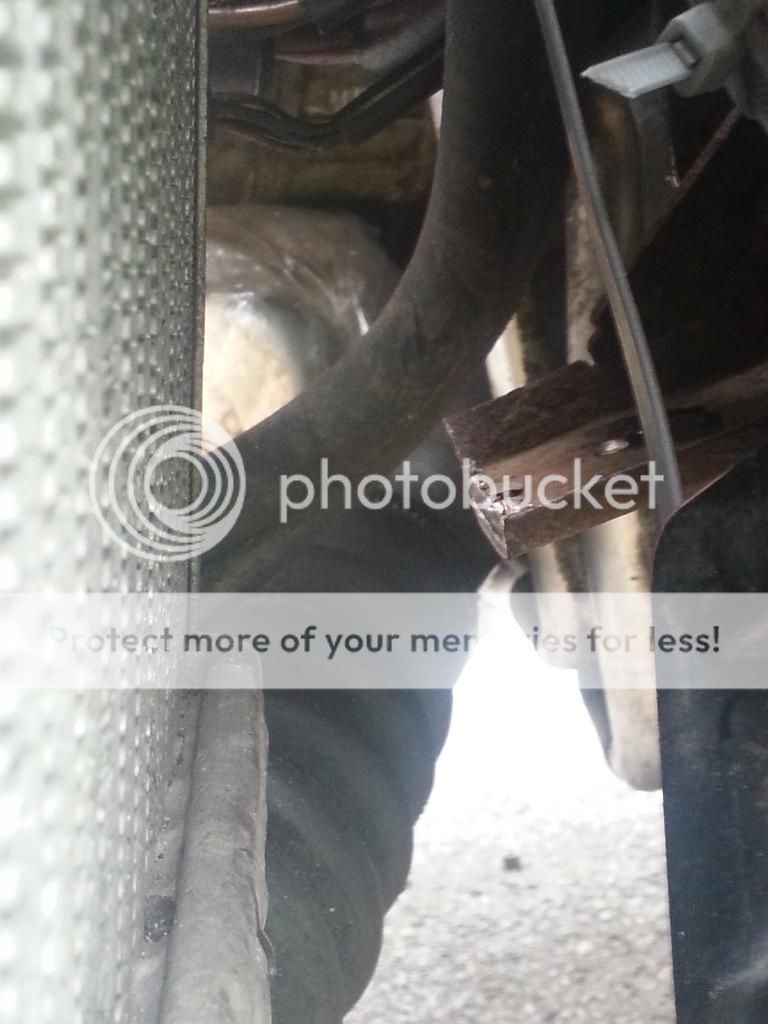
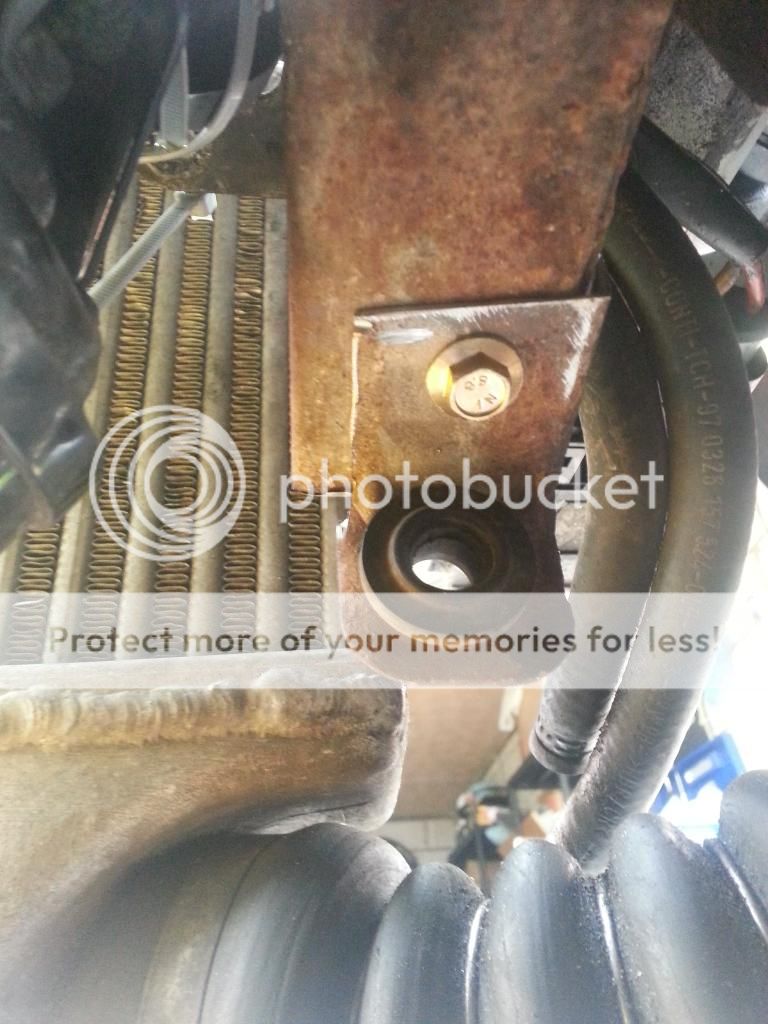
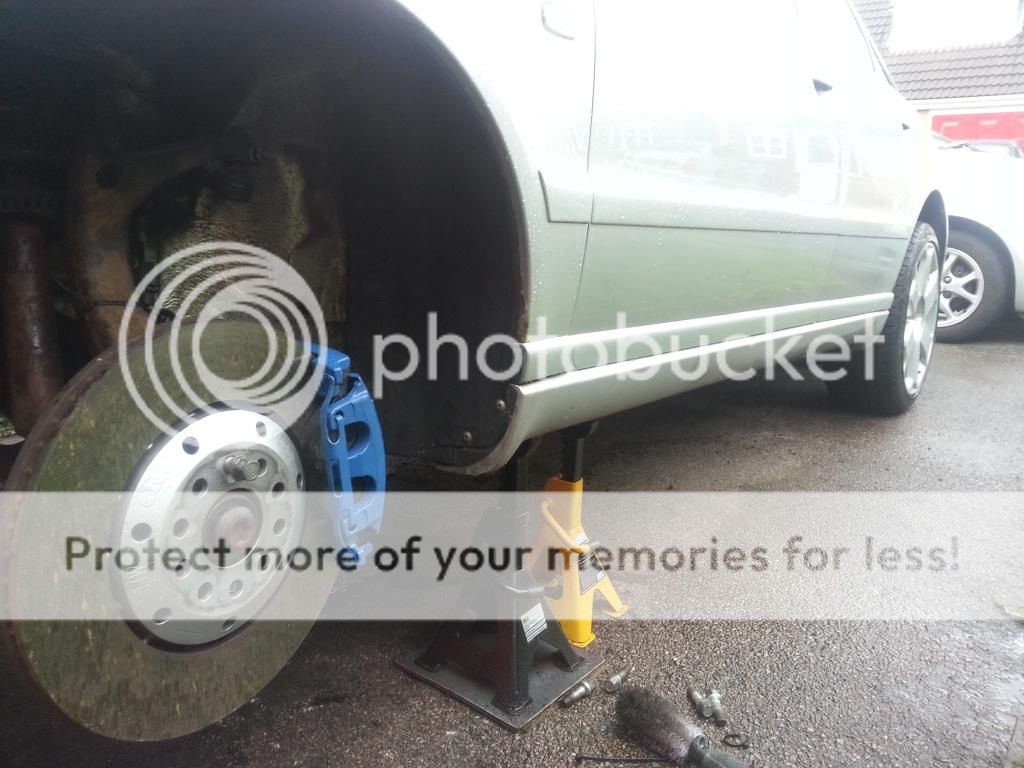
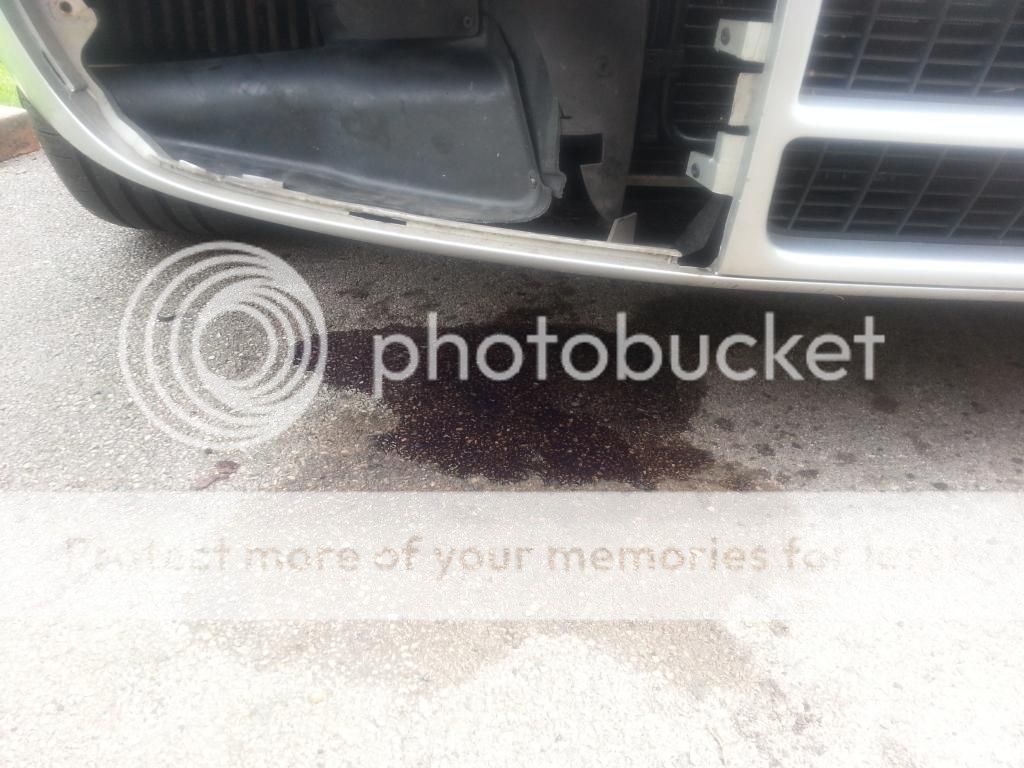
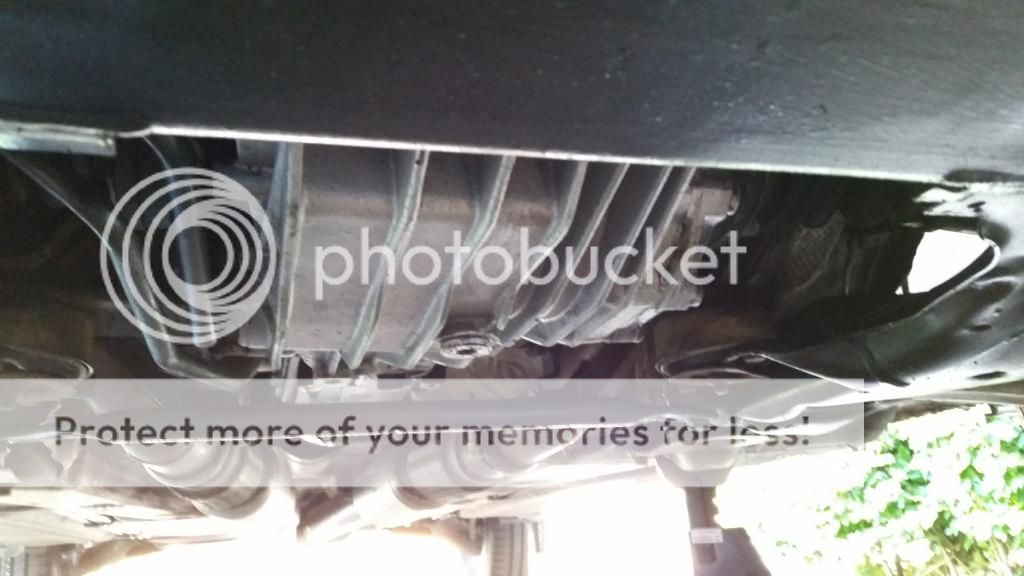
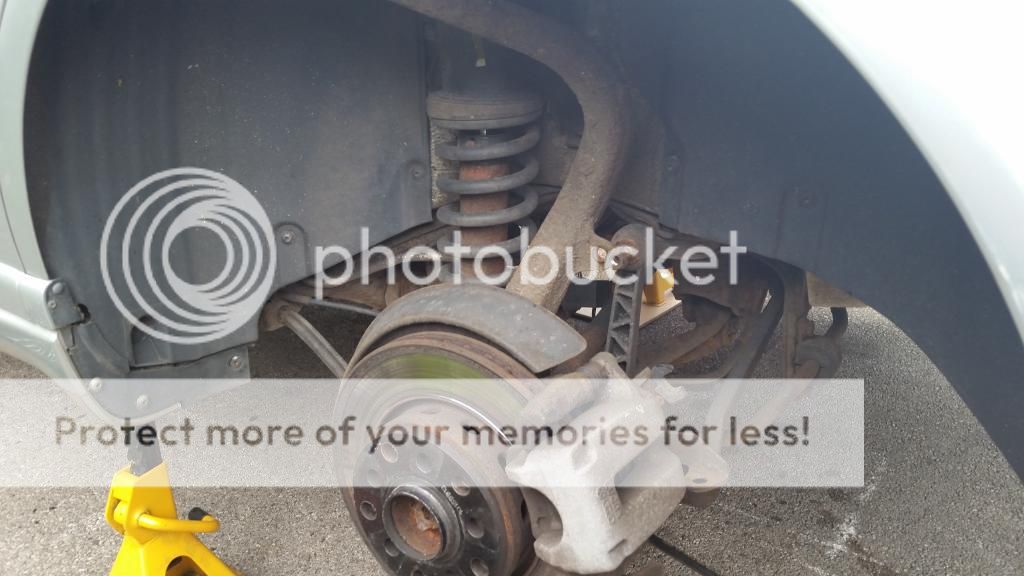
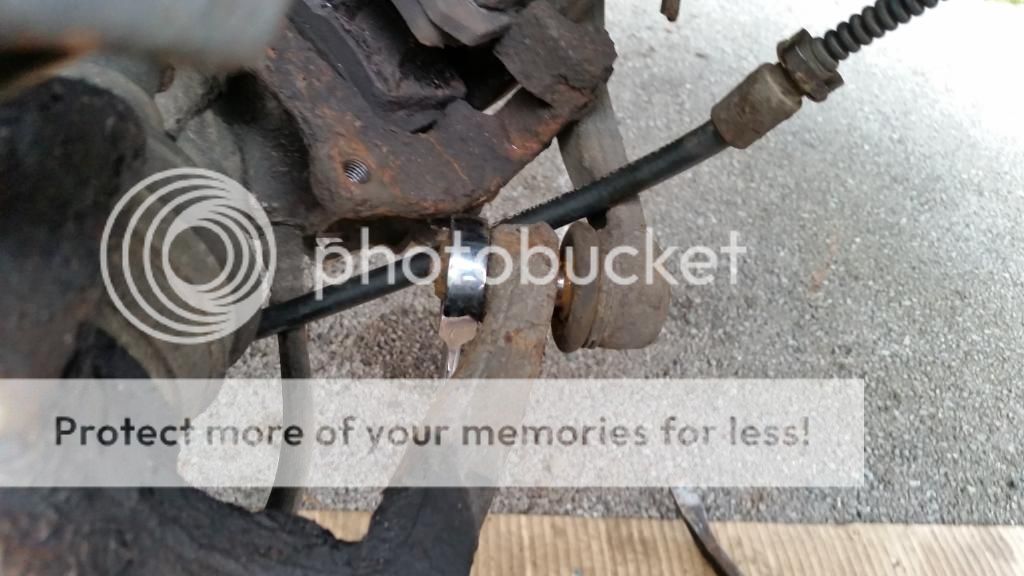
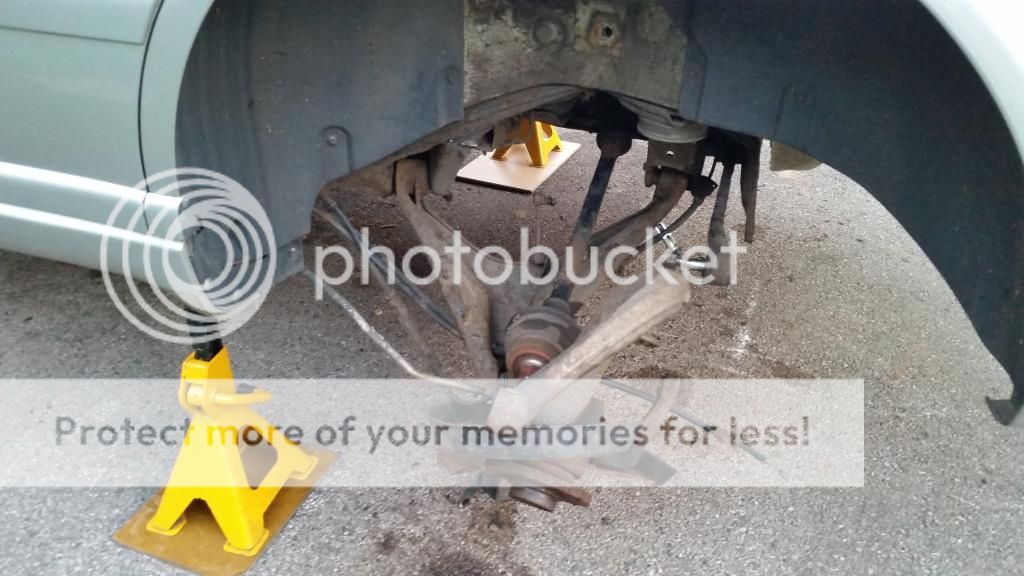
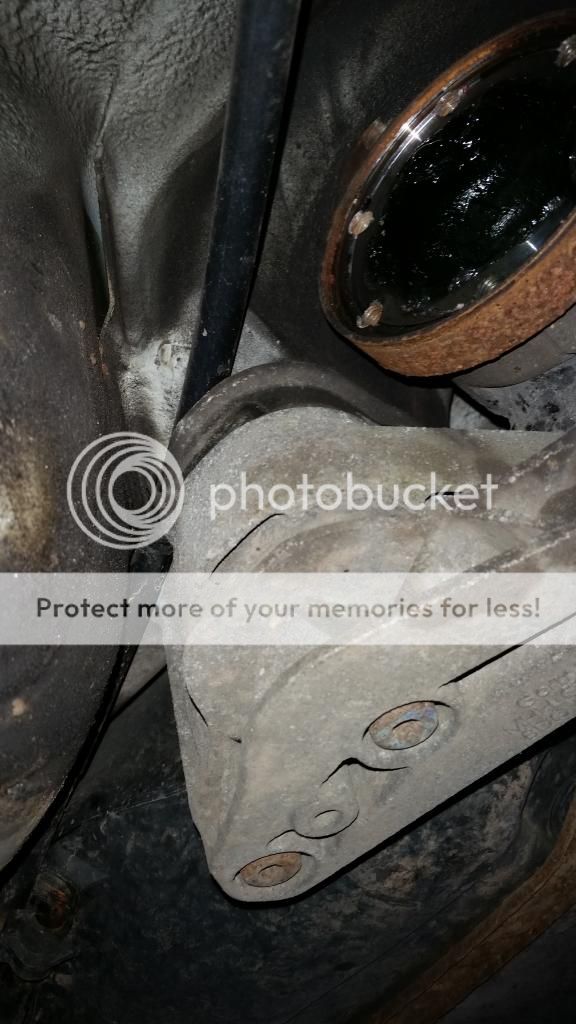
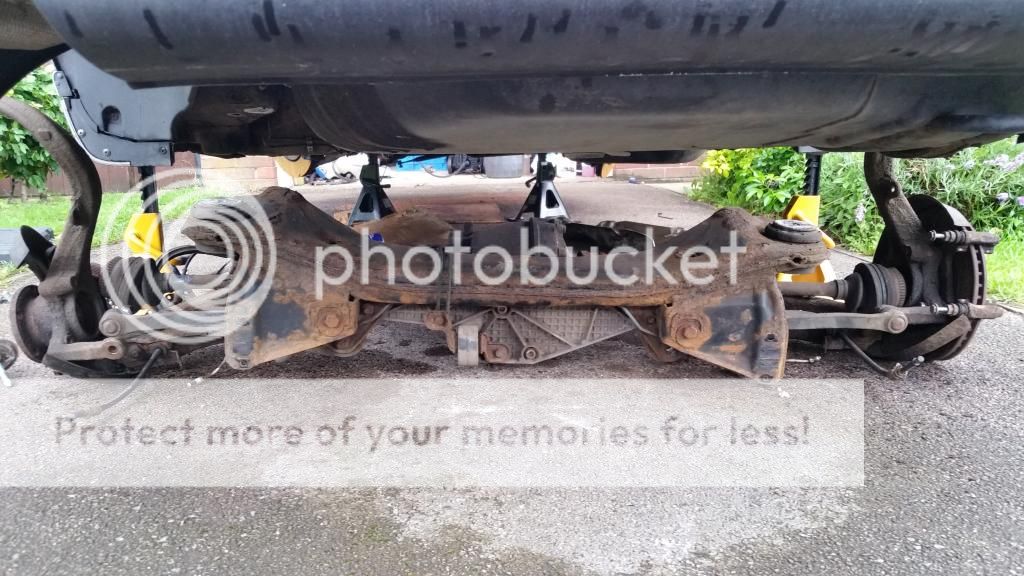
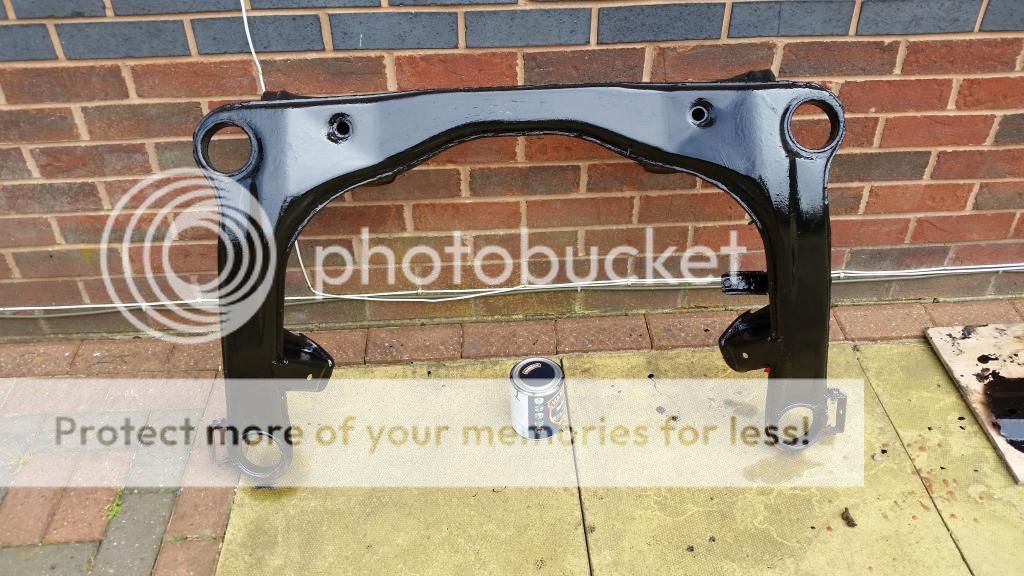
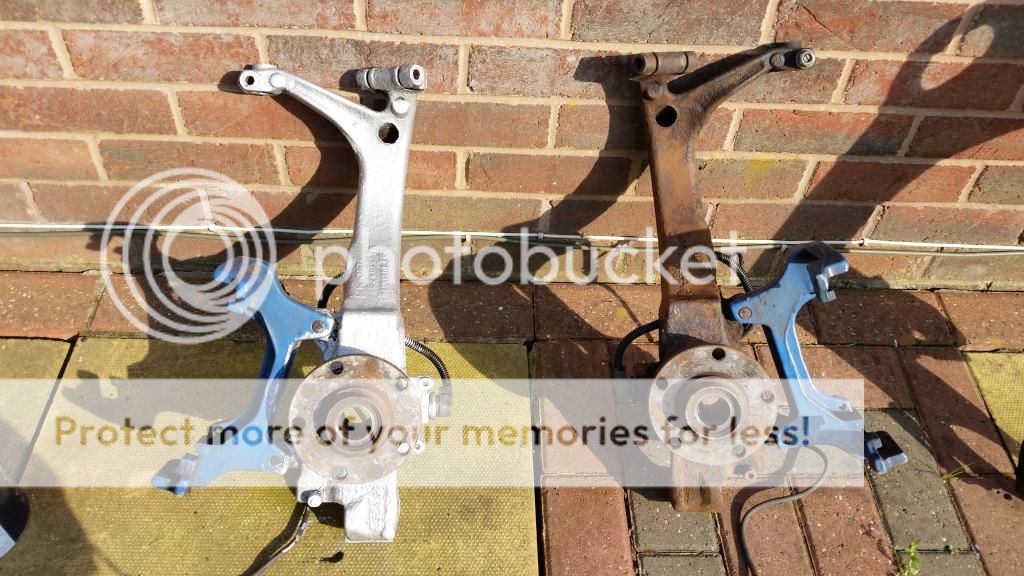
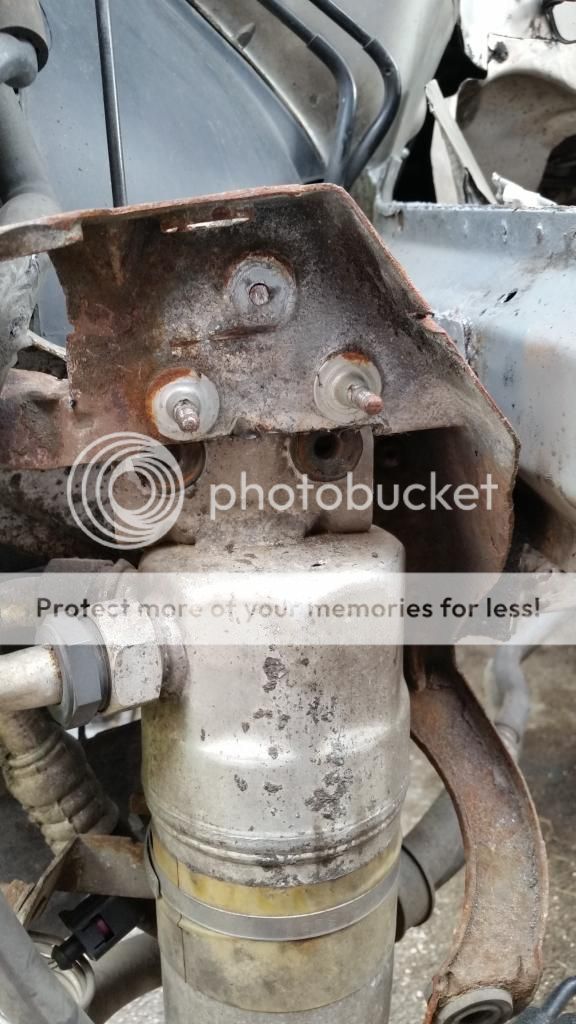
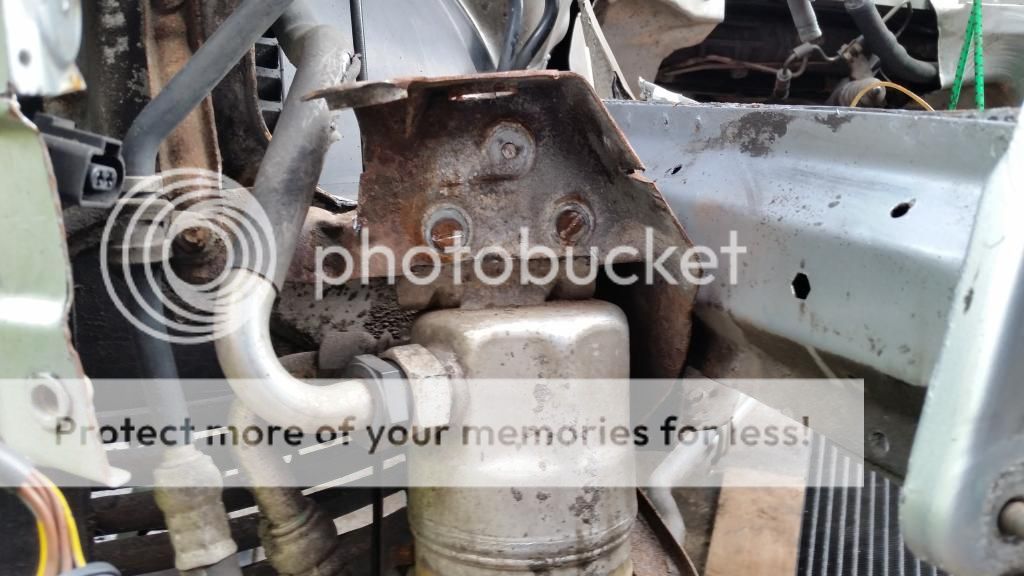
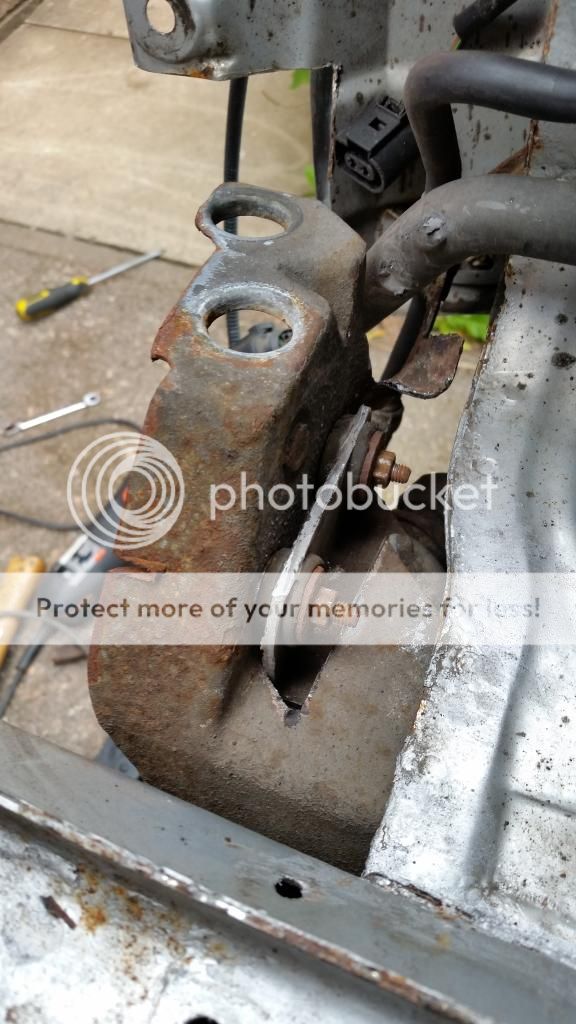
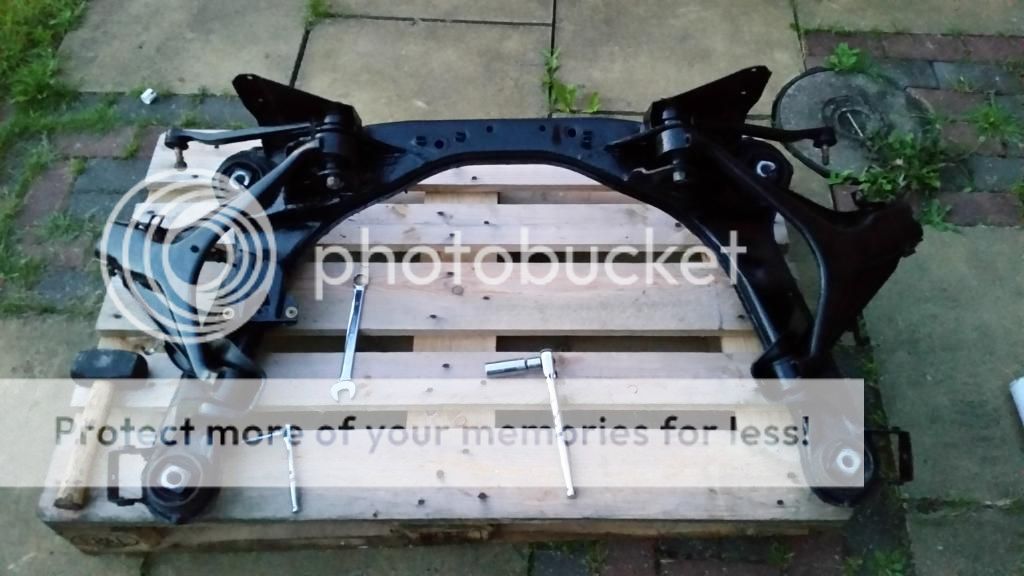
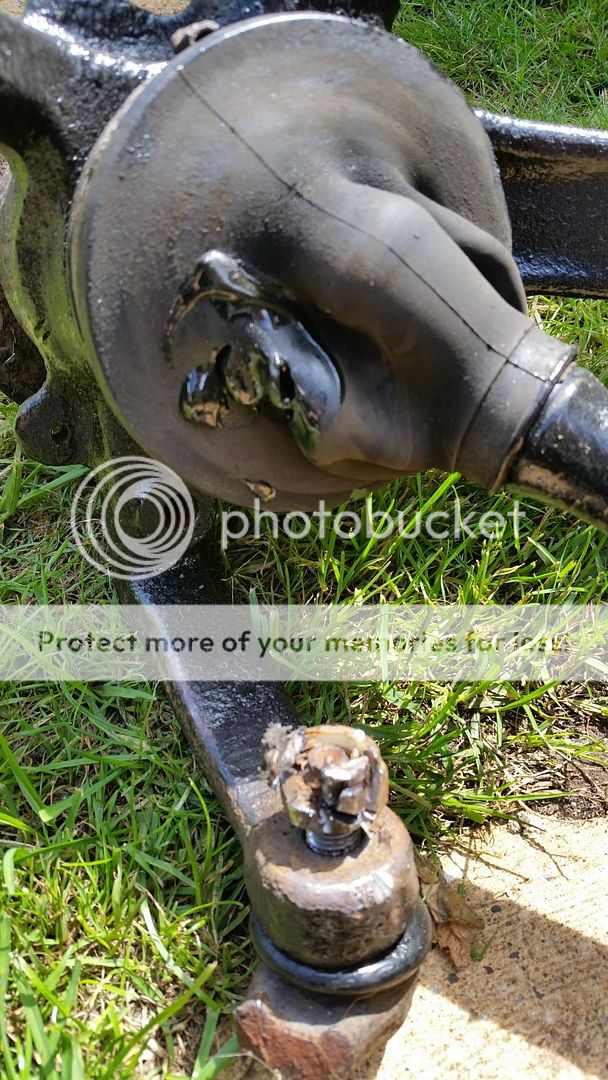
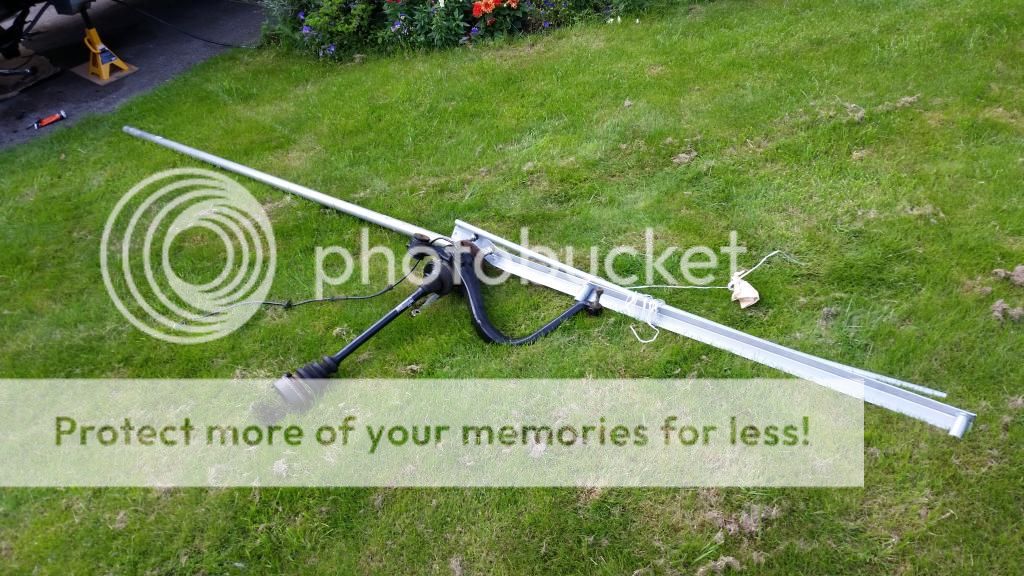
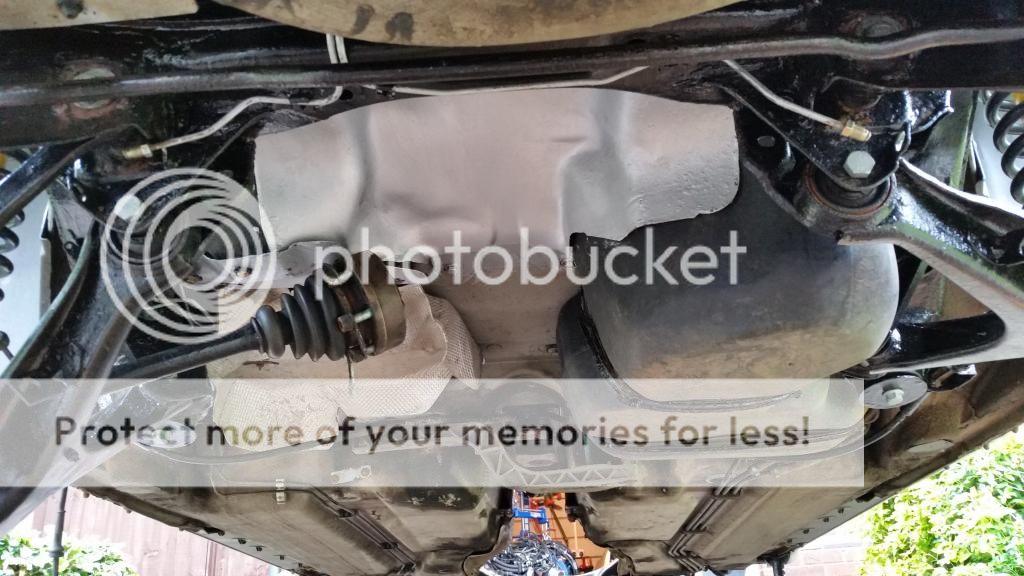
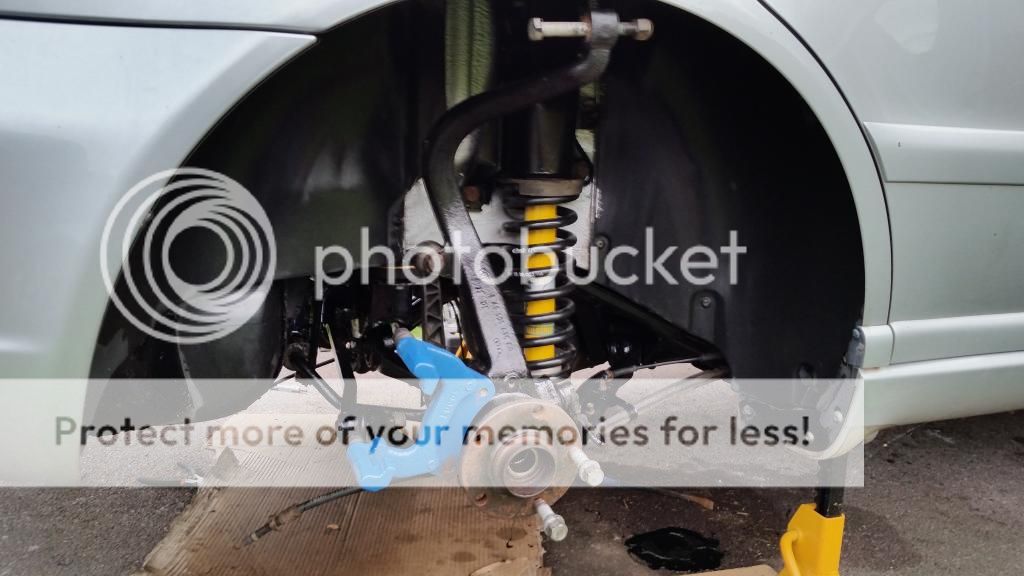
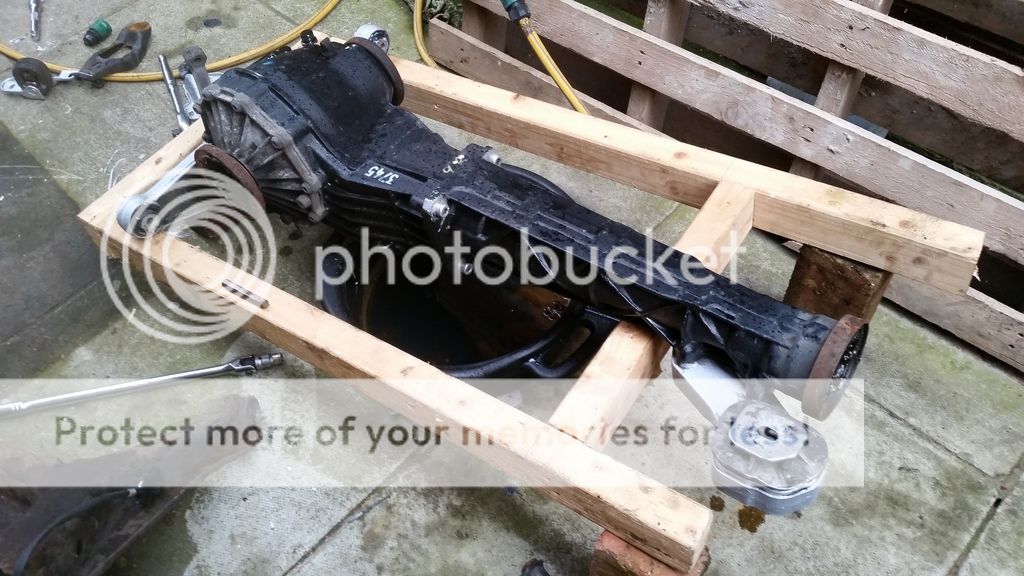
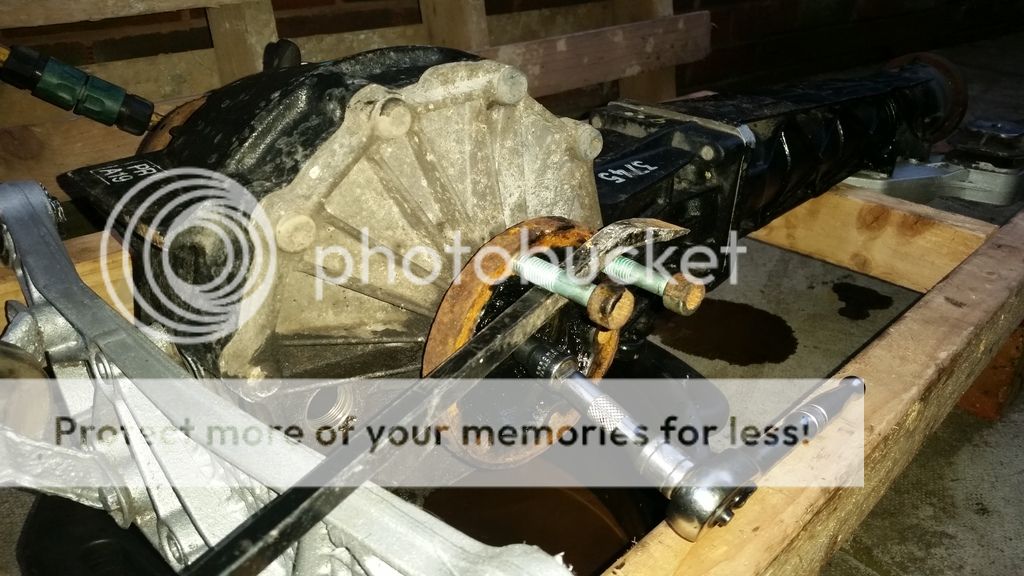
So the brakes were done, and I think they were looking rather good. But I couldn't rest there. I'd only just begun . Next up was my rear end (ooh err!). I'd had all of the rear end rebushed on the old car within the last year. Did plan on selling it all, but seemed more hassle than it was worth to package up and send such bulky items. But what really sold me on the idea of fitting these was the shocking state of the underside of New Thunder. Don't think i'd mentioned that. I'm pretty sure a previous owner must have thought it was a boat and moored it up in a harbour somewhere.
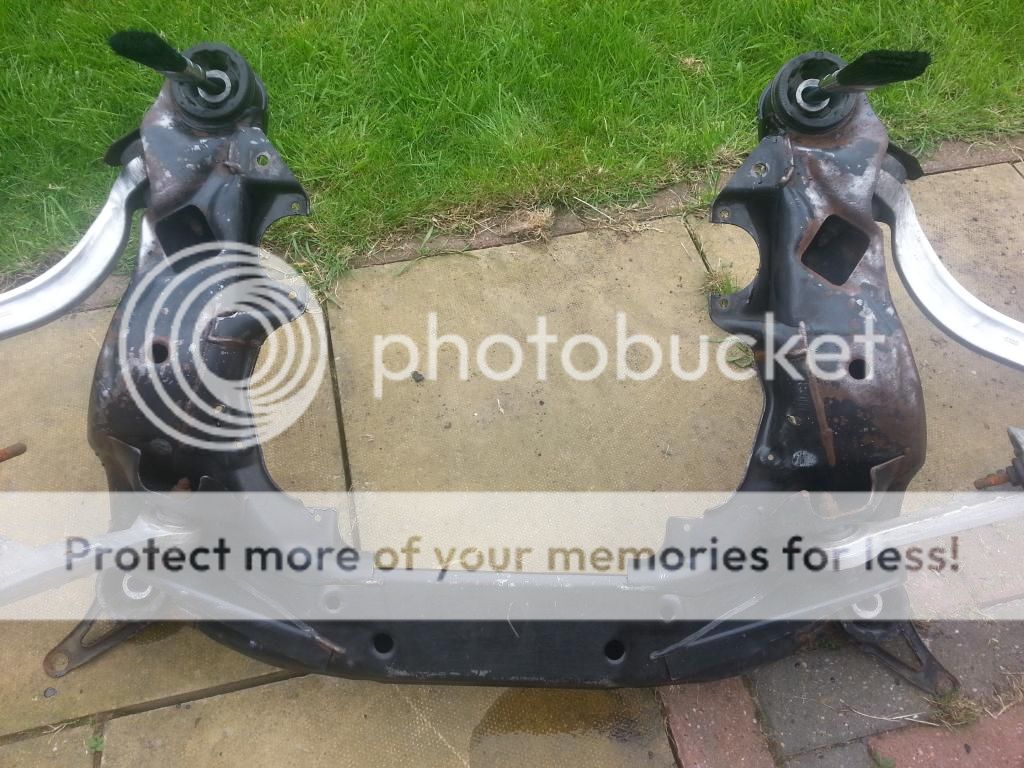
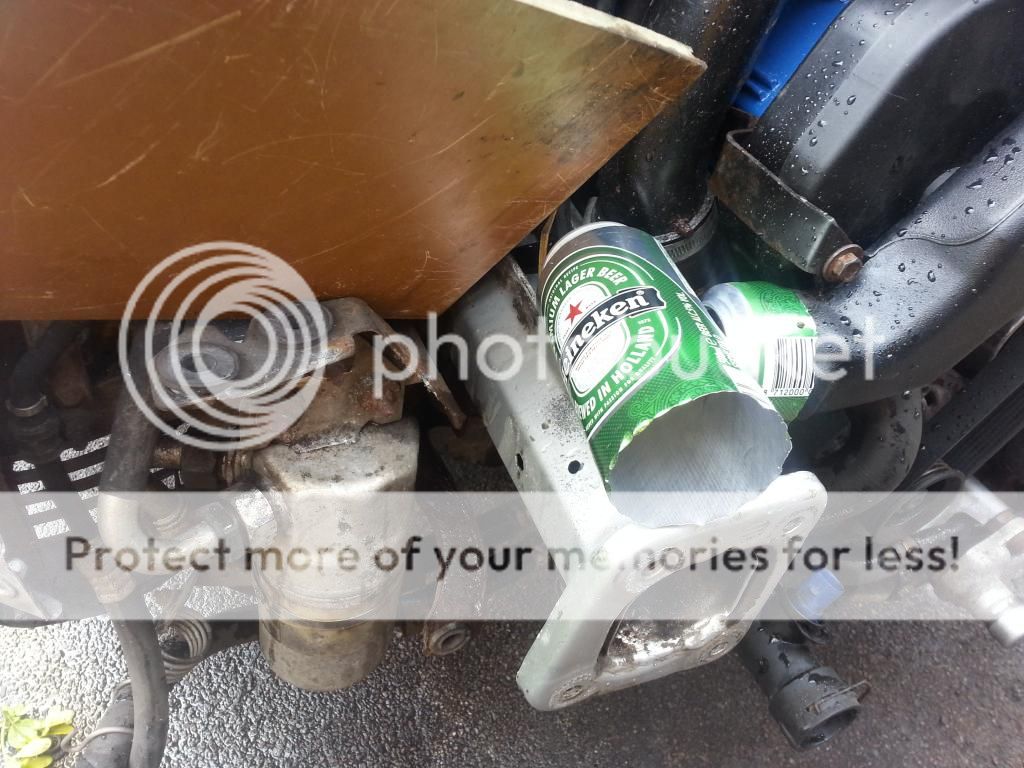
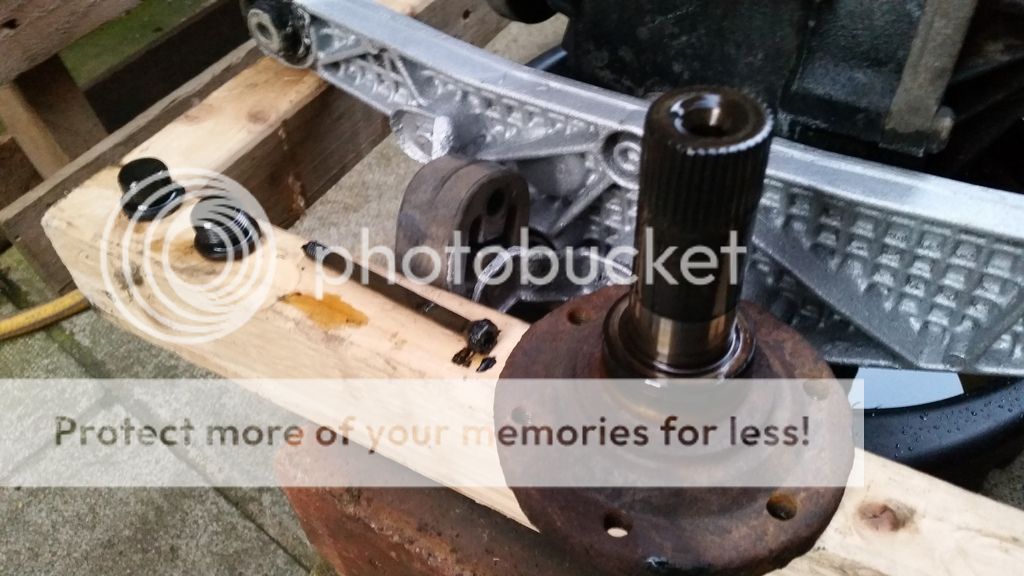
Here's a pic of the 'good' ones from Blue Thunder, after some serious wire brush action to get rid of the nasty stuff.
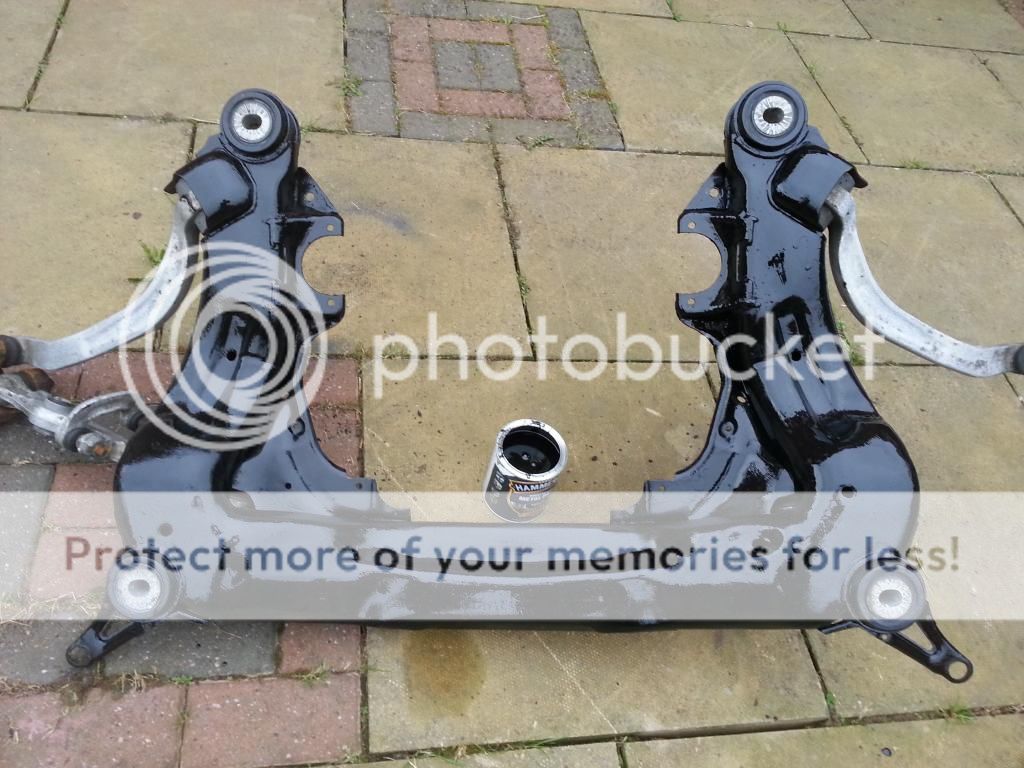
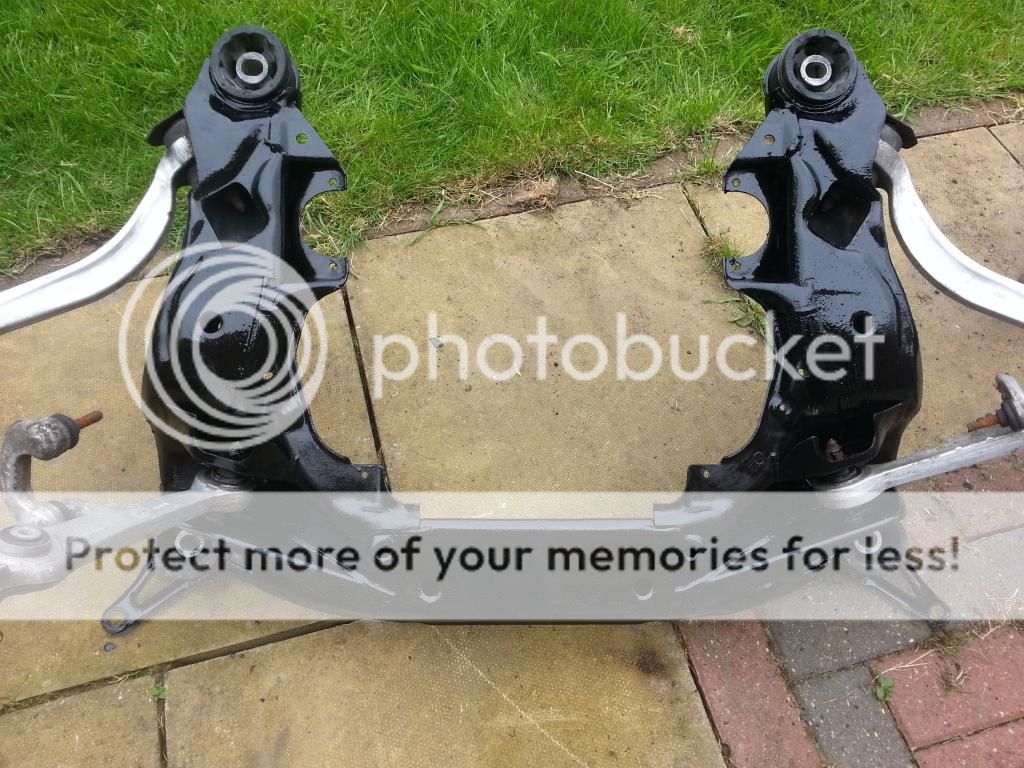
A few coats of the good stuff later...