Hi all,
Have actually had this car since 2013 and been working on her ever since, but as an old mk4 GTI owner done my thread on uk-mkivs till now as I already know everyone.
Thought it was time to brave a new forum and community.
Sorry the long thread to come with over a years of updates

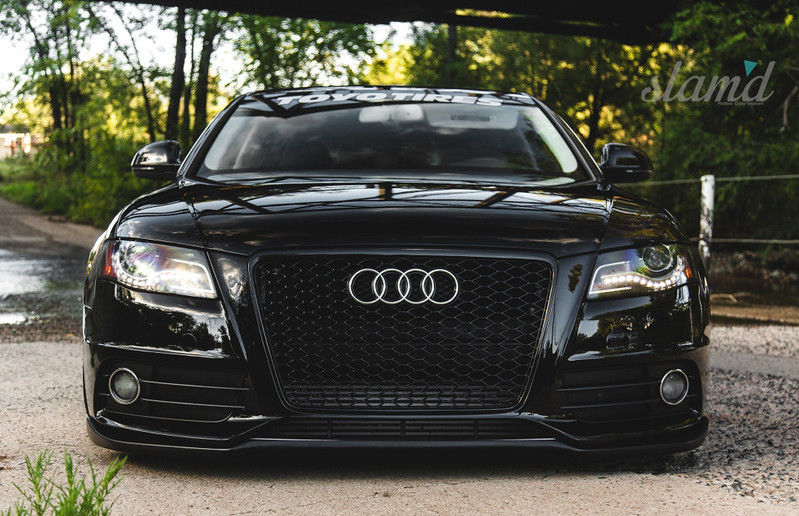
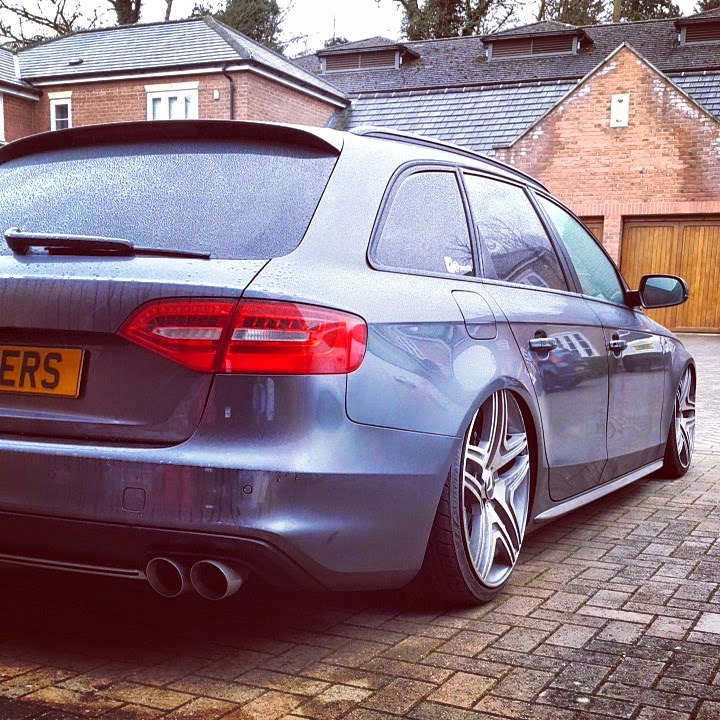
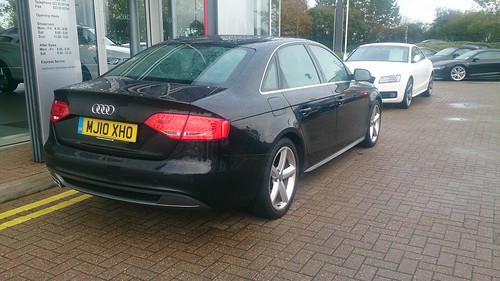
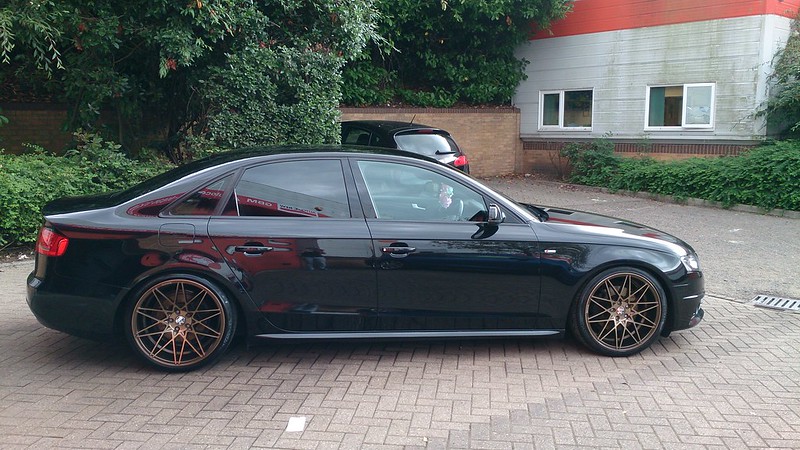
This was her standard when I picked her up November 2013:
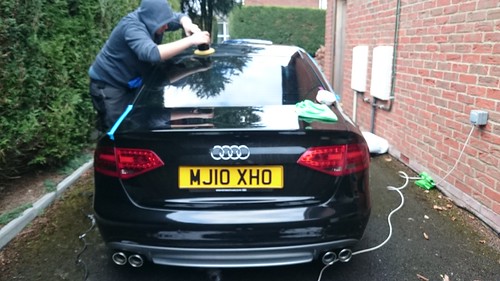
Audi A4 S-line 2.0tdi 170.
Usual extras, Sline styling, part leather S seats, Brushed ali trim, black roof lining, Cruise Control, Auto lights + wipers, LED lighting pack with Day runners and LED rears, few more I cant think of right now.
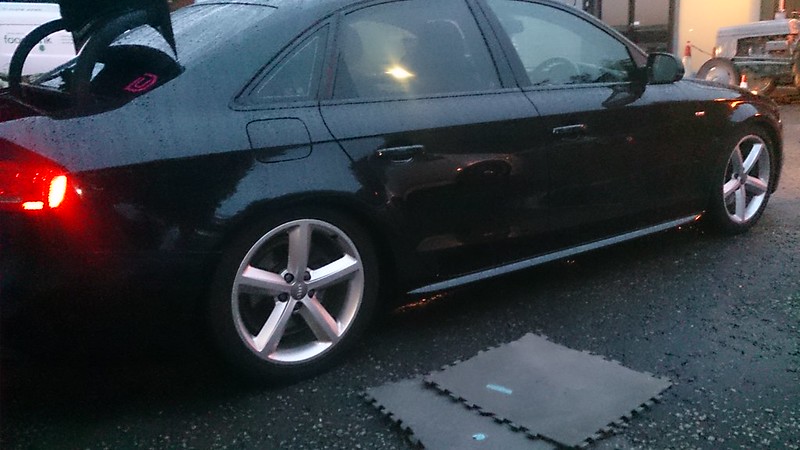
Then I had the Windows tinted and a chrome delete in Gloss black;
I dont have this grille on any more but I had this wrapped too:
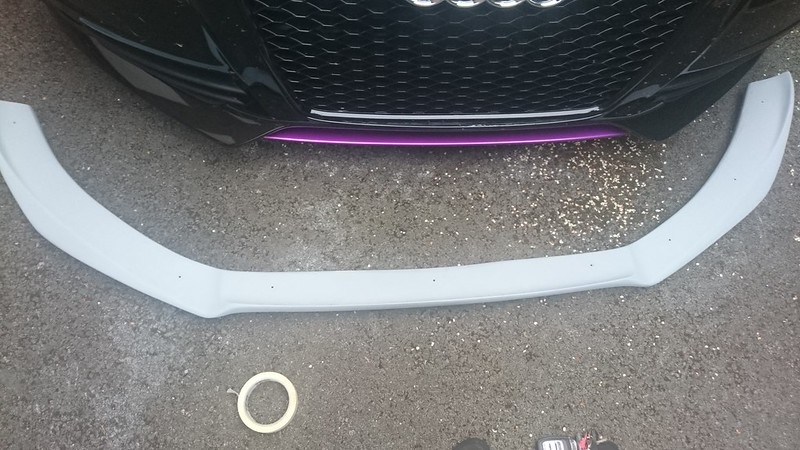
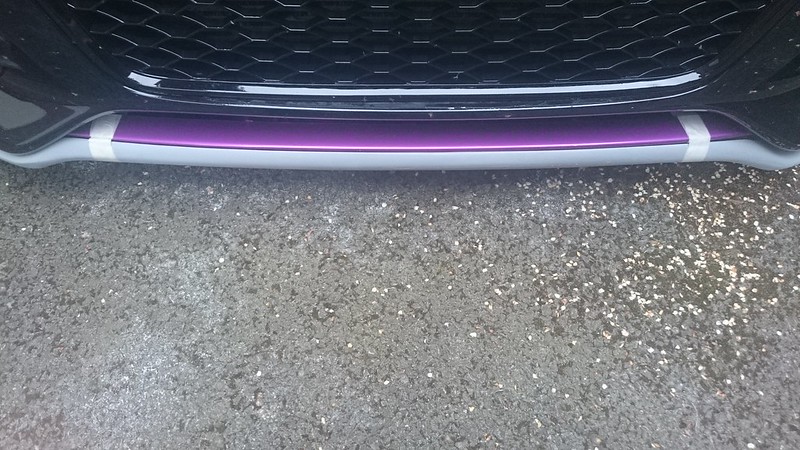
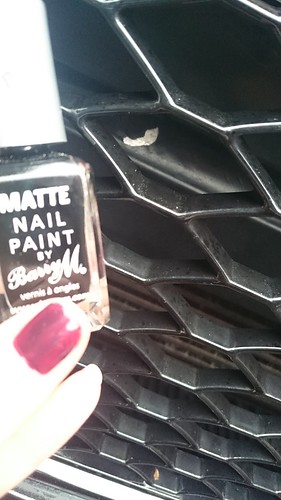
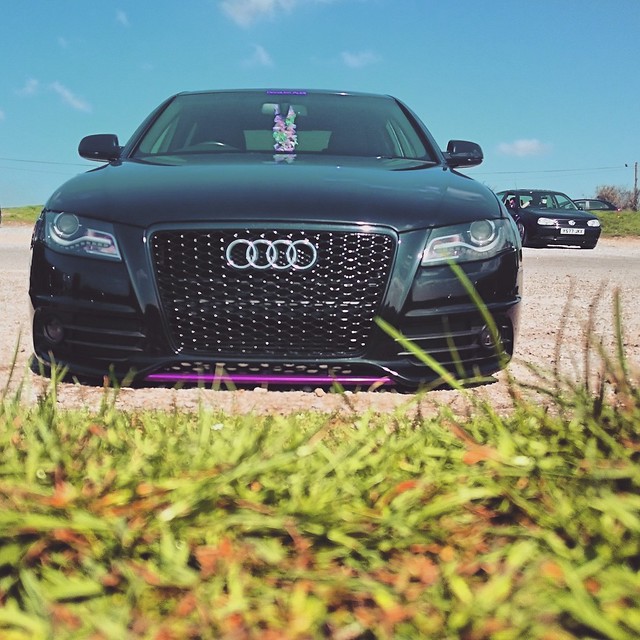
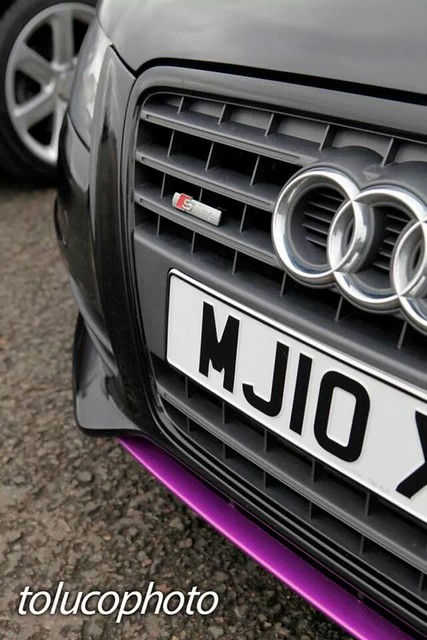
Then Had some purple details on to keep it a little girlie and more individual
Fogs too which you can see in other pictures.
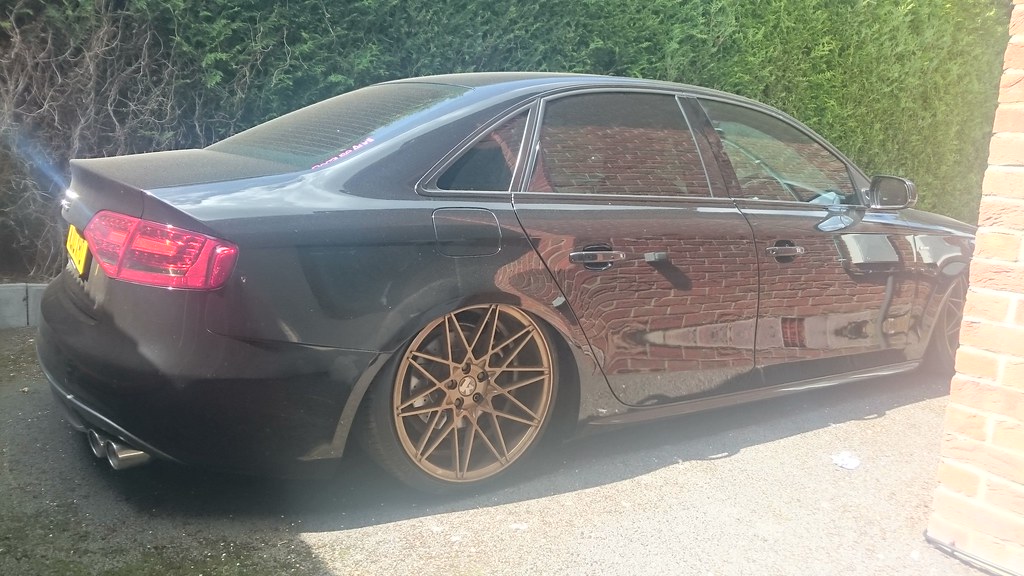
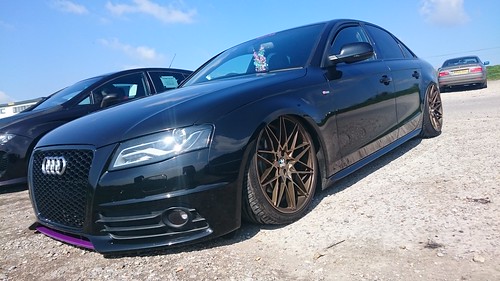
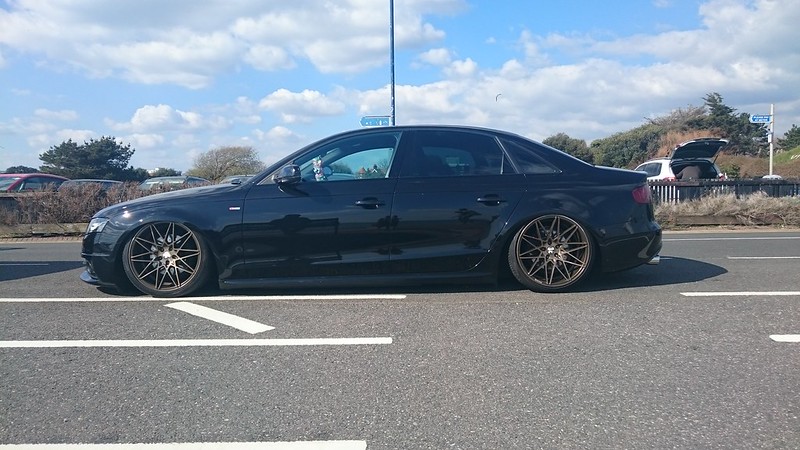
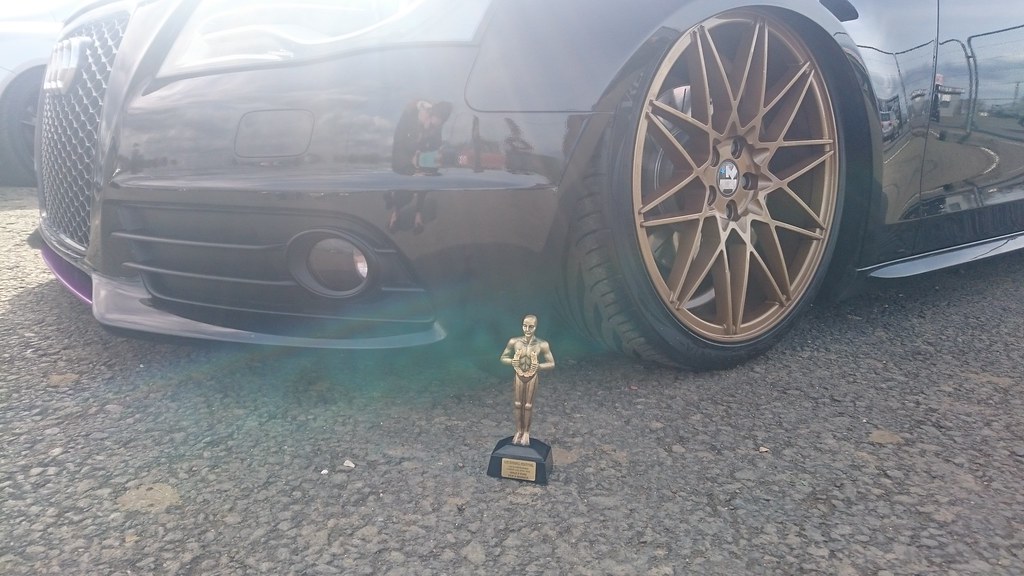
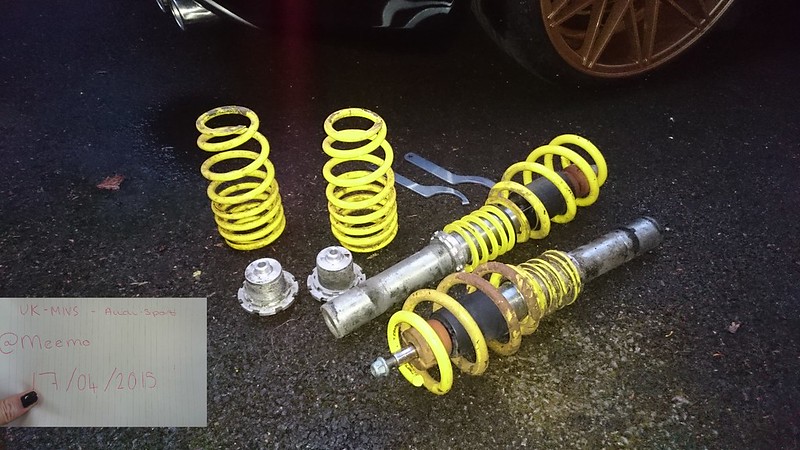
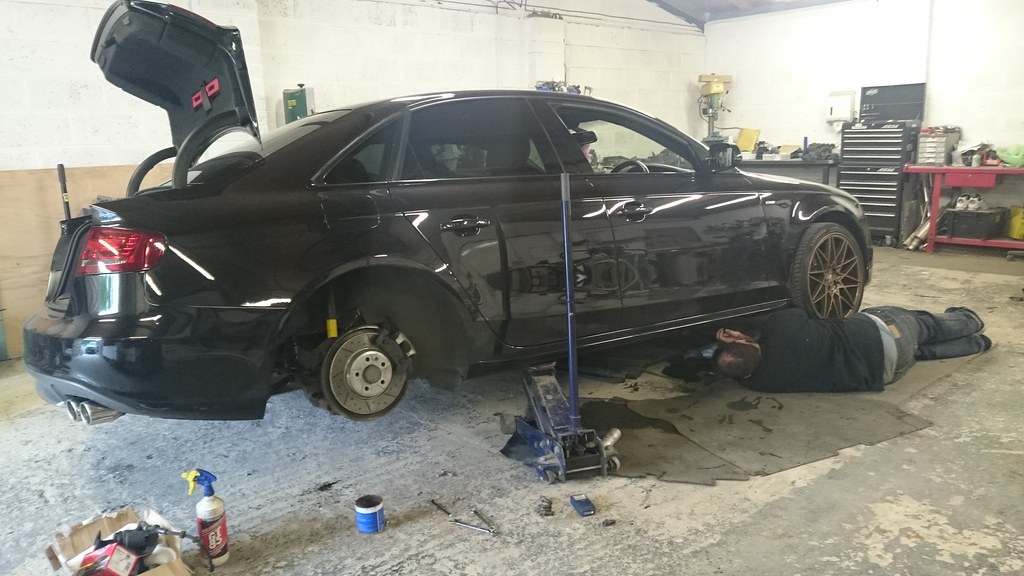
Then had her lowered using FK street coilovers which are now for sale if any one is looking for some, £100 takes them as I have new set up being fitted end of the month. (covered 10k and been fitted 12 months, threads was greased and protected so no seizing)
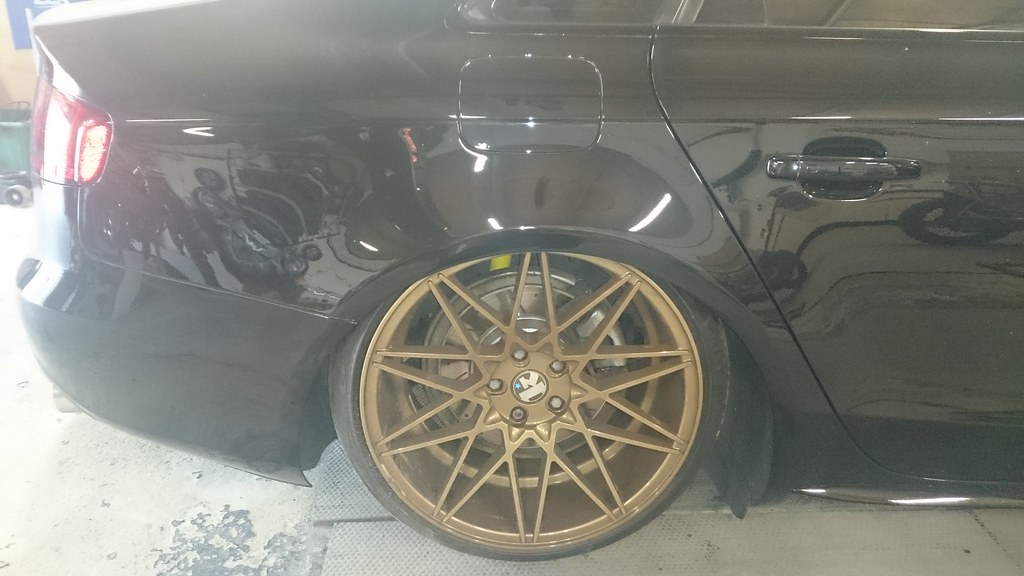
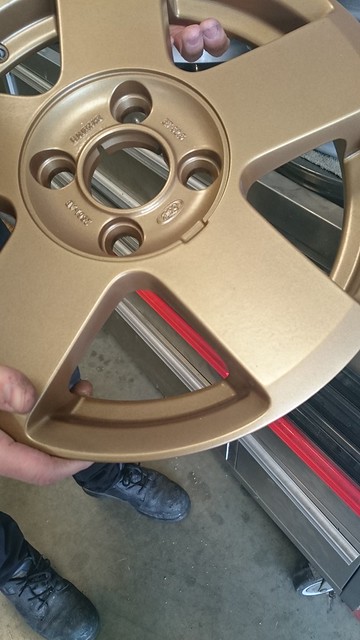
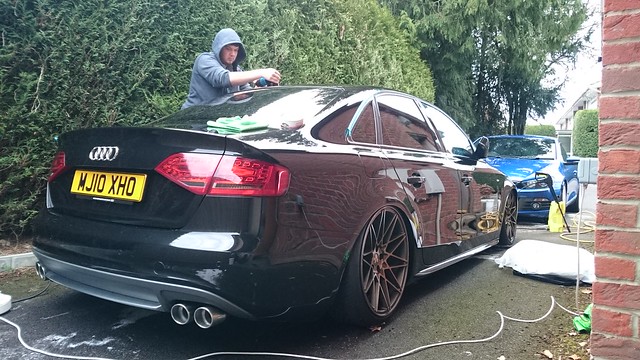
Then got new wheels on, They are Bronze Clutch KM20's, 19", 10J et42 rear and 8.5j et35 front. Tyres are 235/35 all round, vredestan Sesanta's (really recomend)
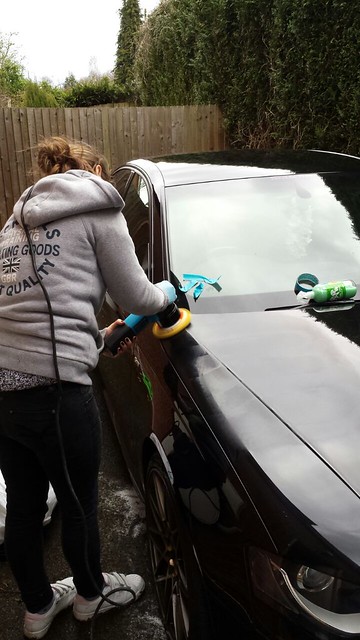
Had a full paint correction above too at Detail My Car in Thatcham.
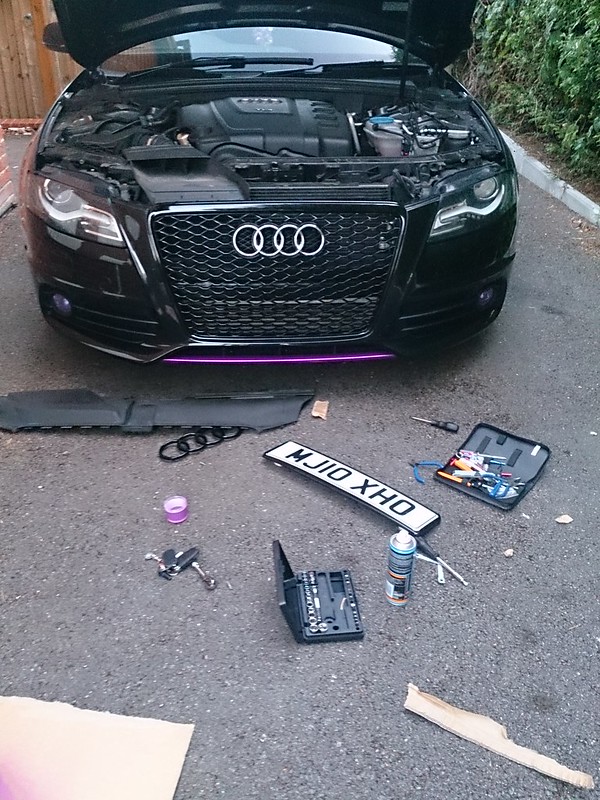
Then got my RS4 grille on, Had black rings for a bit but changed my mind so now Silver.
What an *** ache to change a badge!!
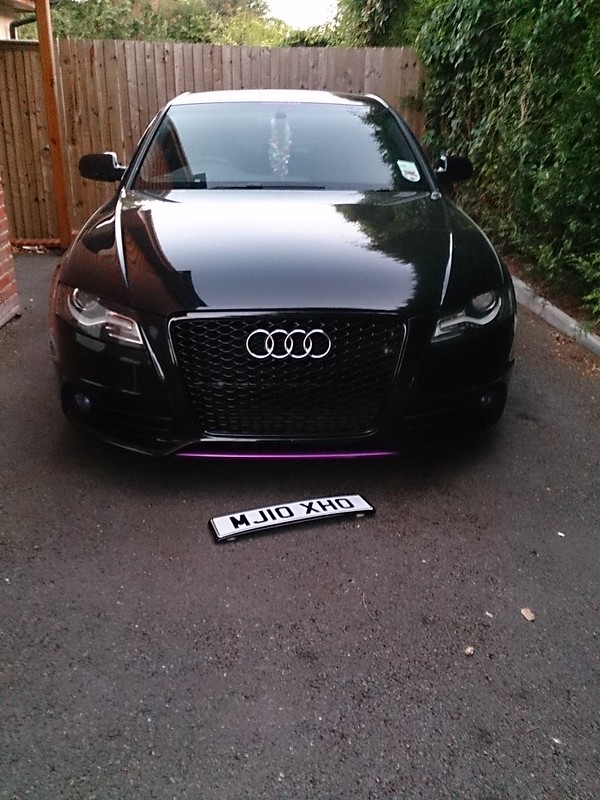
ALso made a removable PLate, pops on and off, my fav mod
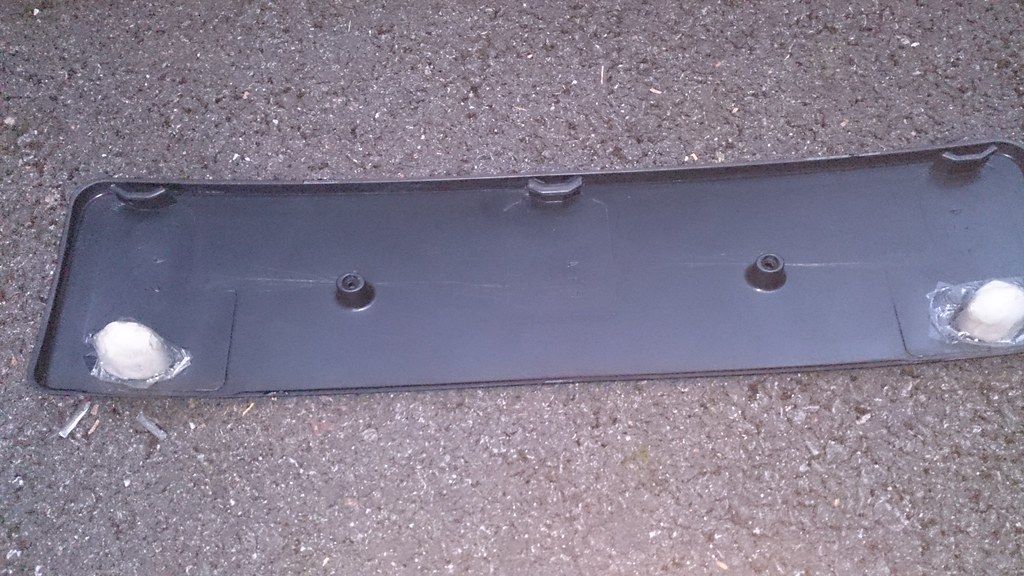
And for anyone interested in my top knotch bodge job removable plate holder... tadah!
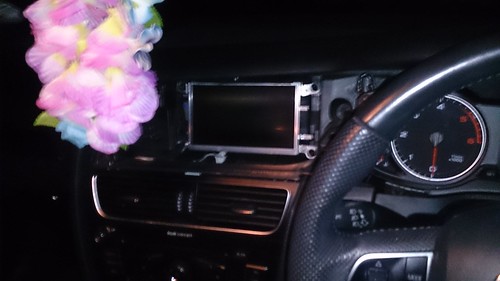
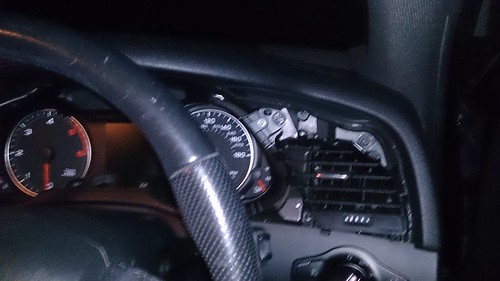
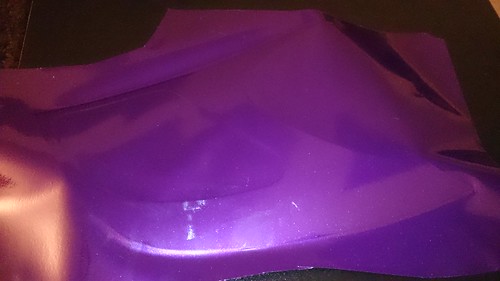
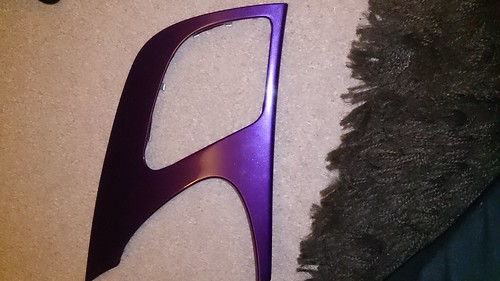
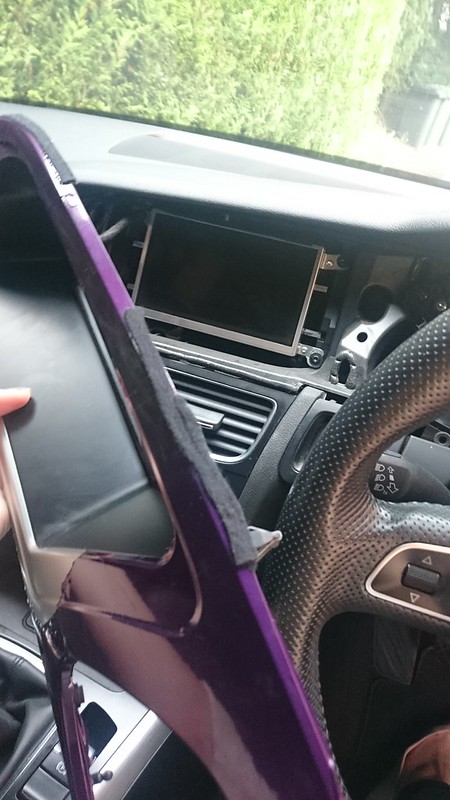
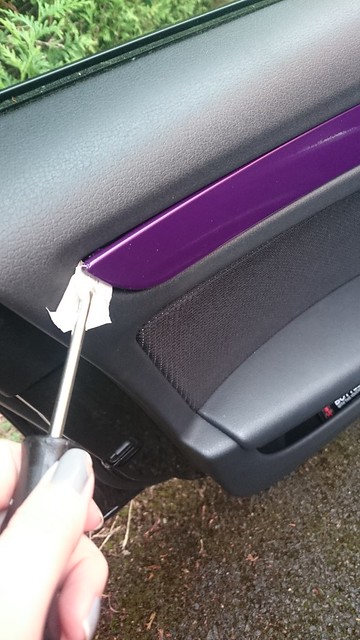
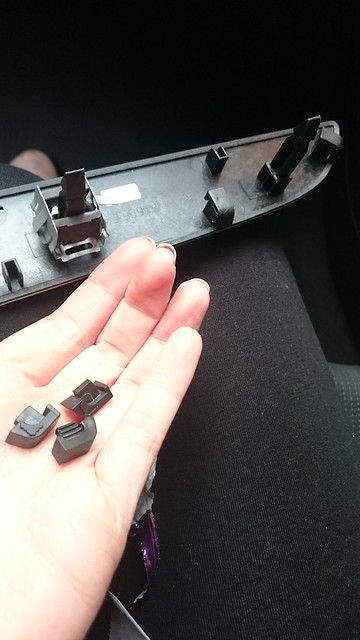
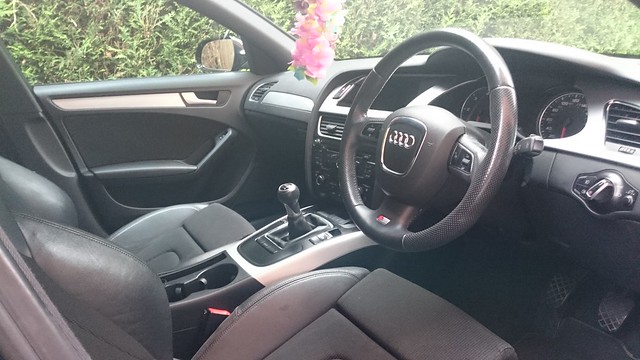
Then moved on to interior, I dont expect it will stay purple for long, was more because I was bored and wanted to stamp it with my theme a bit more:
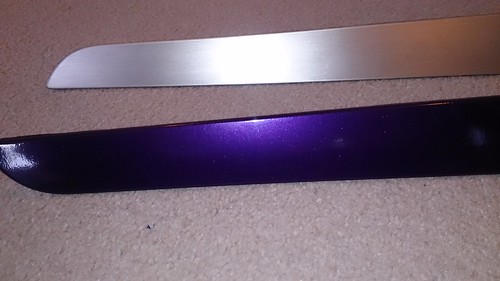
some of the brushed ali was a little bit scruffy (92k on the clock, not surprised!)
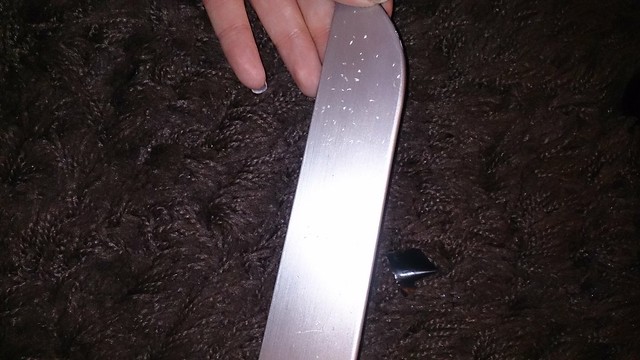
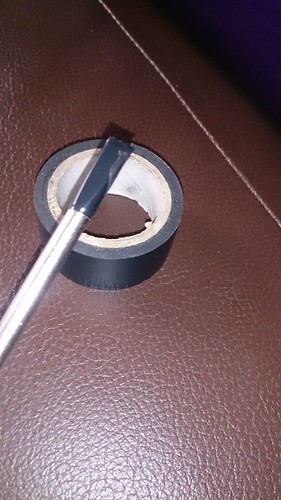
So had a play with my midnight purple wrap
Not finished yet but few bits done now


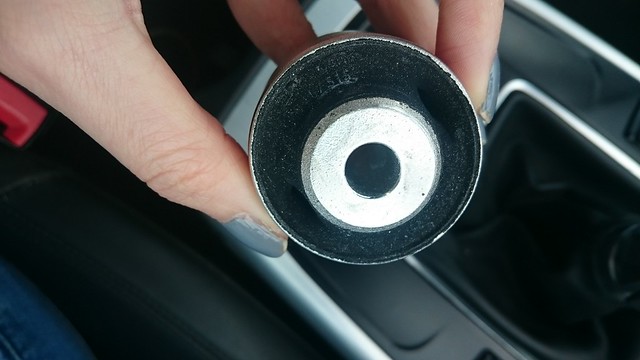

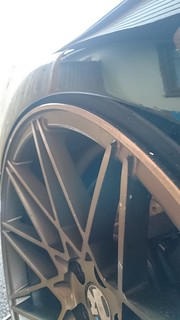
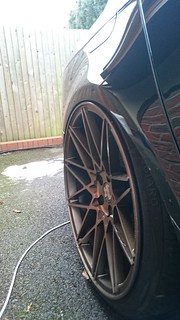


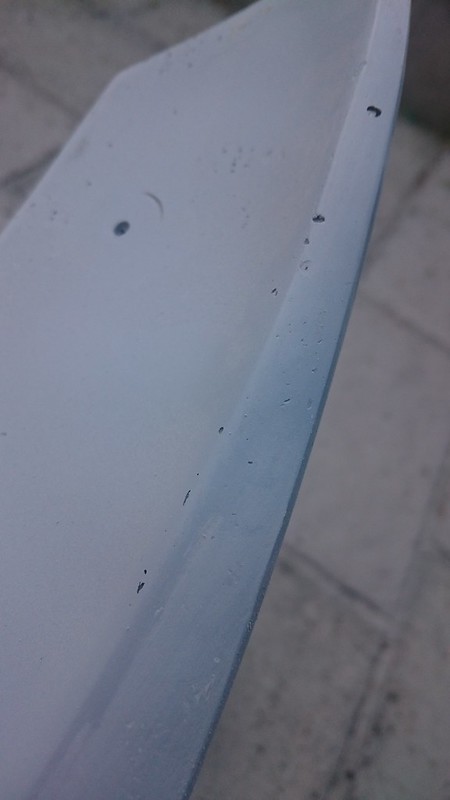
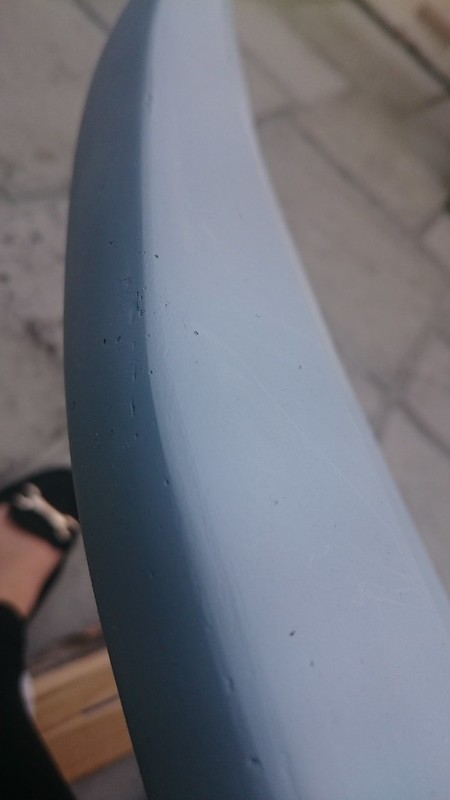
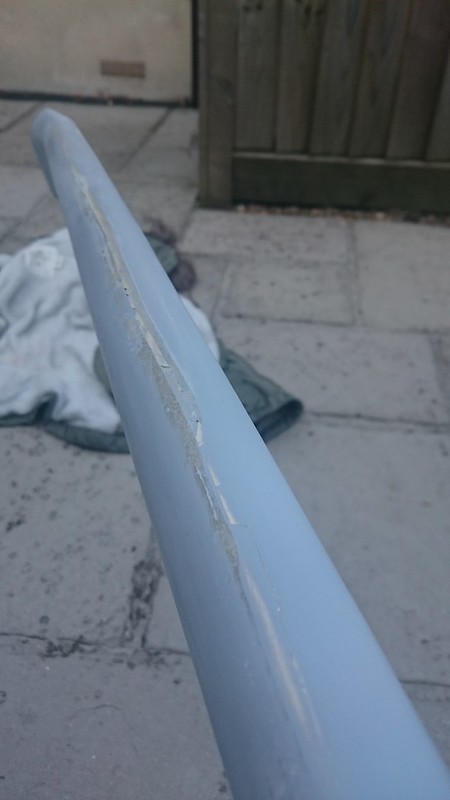
 then you fixed it yourself!! didnt even know you could do that! done the same on all 4 of my 19's not as bad as yours tho he he. Since then got some new tyres with good lips that seem to cover the scratches but may go for your tactic of trying to fix myself.