

I've had my B6 A4 3.0 quattro for about 3 years now and I've been having a twitch for something new. I've got the A4 exactly how i wanted it, looks fantastic, performs well, great spec. Replacing was going to be a hard job! Also as i've spent a fortune on it, always using all genuine parts throughout and solving problems and modifying as i go it is set to last another 100k miles again. heres my work in 3 years
before:
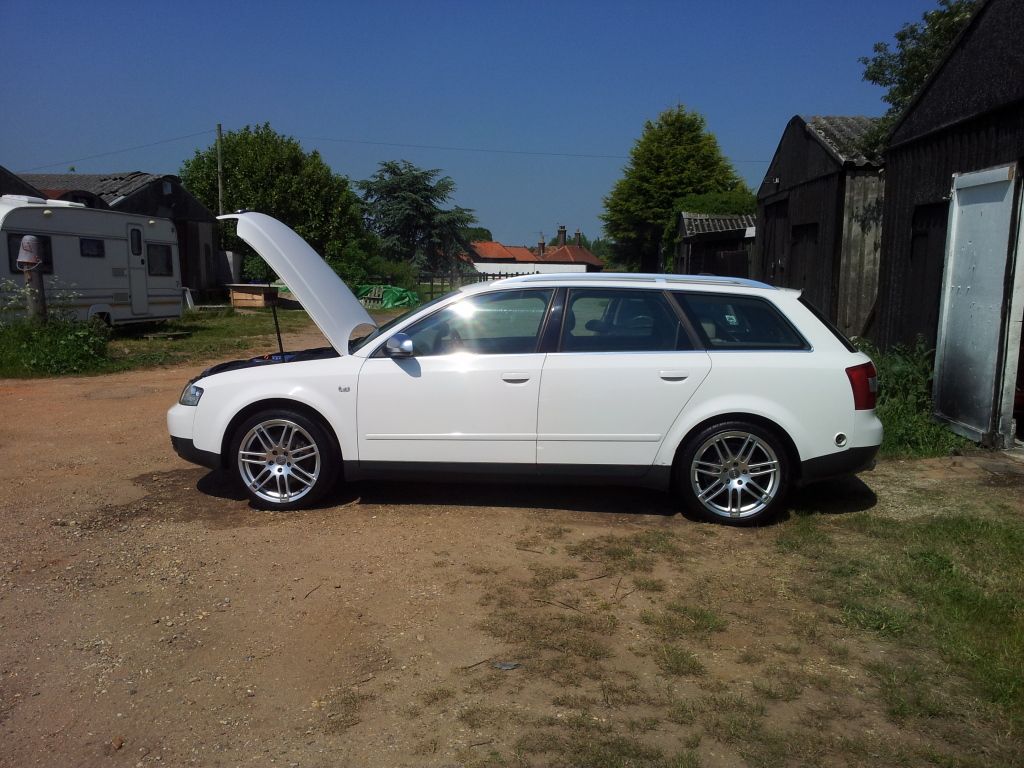
after:

i have always felt that for an estate car the boot was pretty small, the cabin wasn't overly spacious, but that was made up by the almost hatchback styling on the outside that looked very sporty. i wasn't really interested in an A6 as always thought they looked a bit blobby and boulbus... but then a friend of mine put his S6 up for sale so thought i'd go and have a look. Again, never really liked the a6/s6 for its looks and always thought it was blobby compared to the sleek B6, and always thought as the C5 was the last of the old generation and the B6 was the first of the new generation they always looked a bit dated.
But went and saw it anyway! And bought it lol
Anyone thats seen Jordan_Turbos thread already then this is going to be a bit of a repeat, but if not welcome")


before:

after:

i have always felt that for an estate car the boot was pretty small, the cabin wasn't overly spacious, but that was made up by the almost hatchback styling on the outside that looked very sporty. i wasn't really interested in an A6 as always thought they looked a bit blobby and boulbus... but then a friend of mine put his S6 up for sale so thought i'd go and have a look. Again, never really liked the a6/s6 for its looks and always thought it was blobby compared to the sleek B6, and always thought as the C5 was the last of the old generation and the B6 was the first of the new generation they always looked a bit dated.
But went and saw it anyway! And bought it lol
Anyone thats seen Jordan_Turbos thread already then this is going to be a bit of a repeat, but if not welcome


 It'll be fine once its all back together


