Following on from my order and waiting thread I though I would start a new thread now the car is here to document my ownership experience.
http://www.audi-sport.net/xf/threads/sepang-blue-s5-sportback-black-edition-the-wait-begins.220113/
The story so far:
The order for the car was confirmed on 13th June 2014 with the following spec:
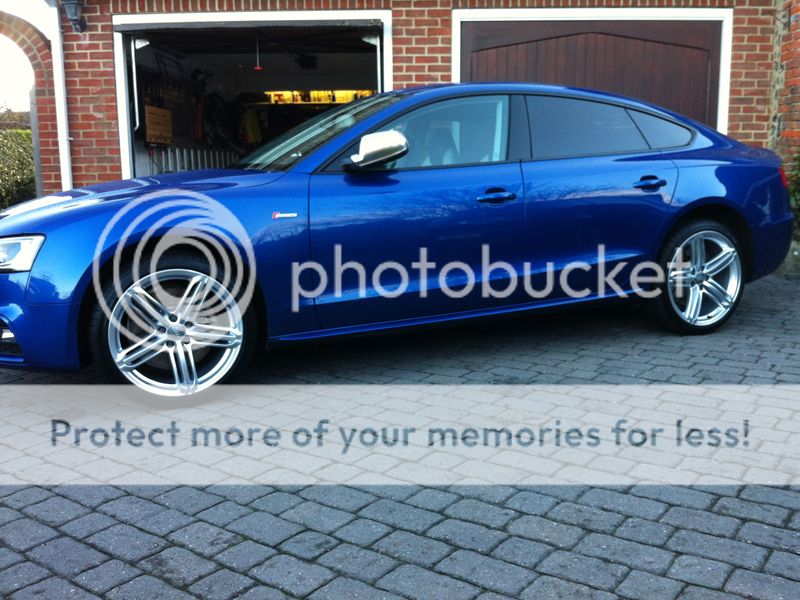
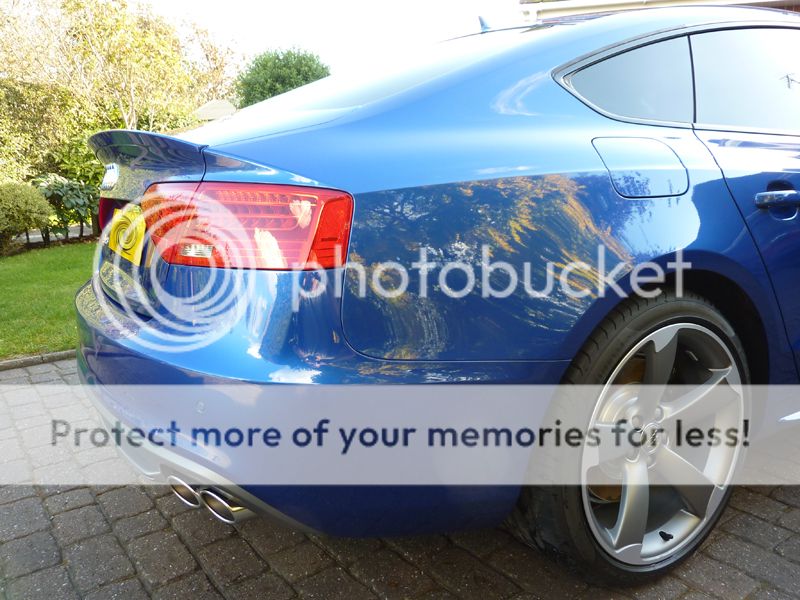
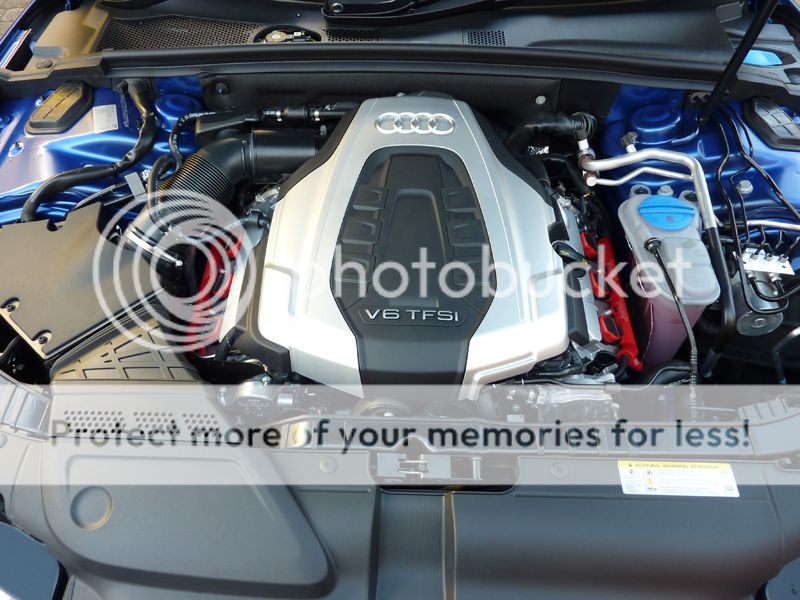
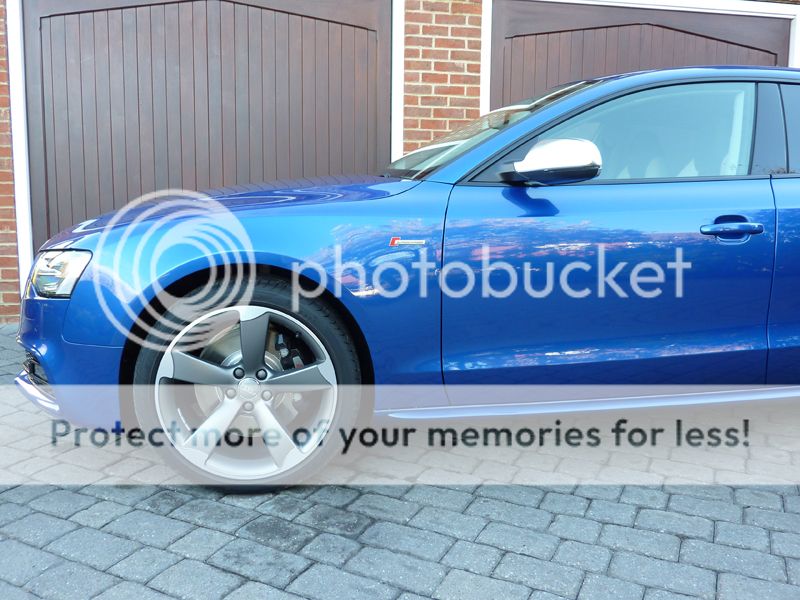
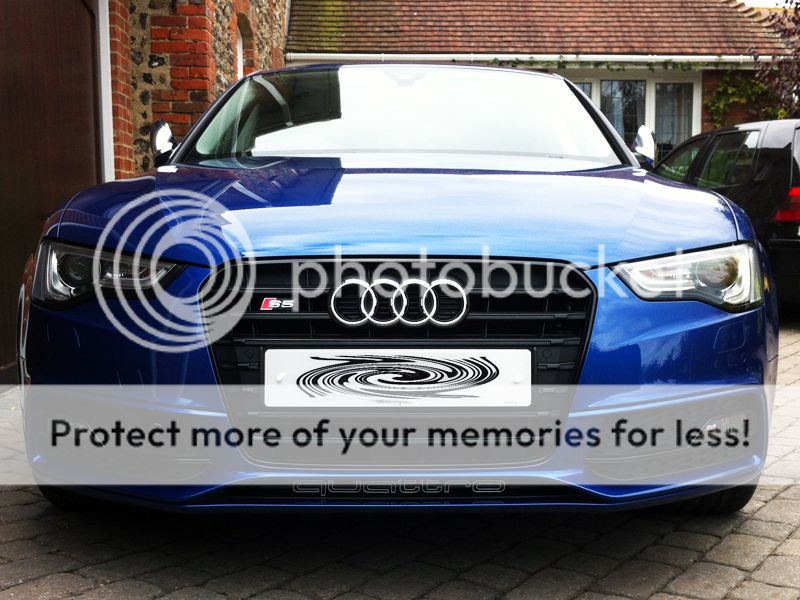
S5 Sportback Black Edition 3.0 TFSI quattro S tronic
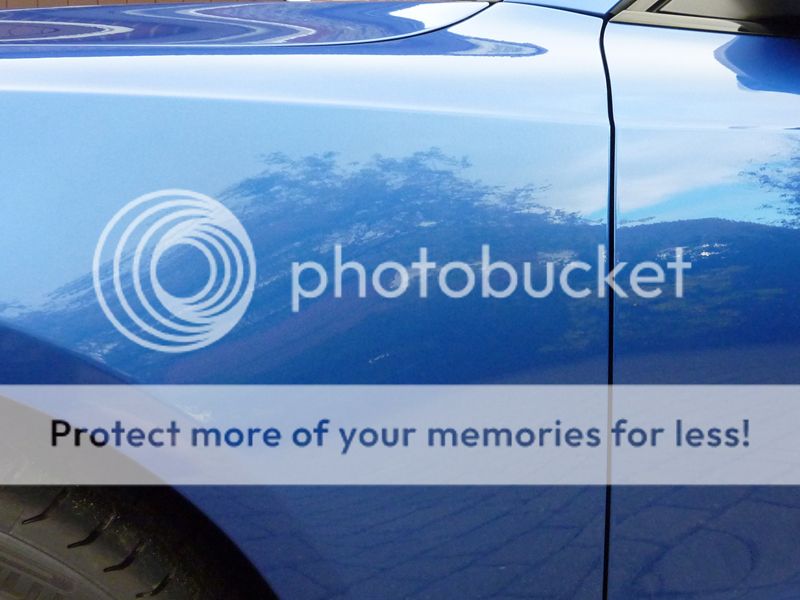
Exterior: E9E9 Sepang Blue, pearl effect
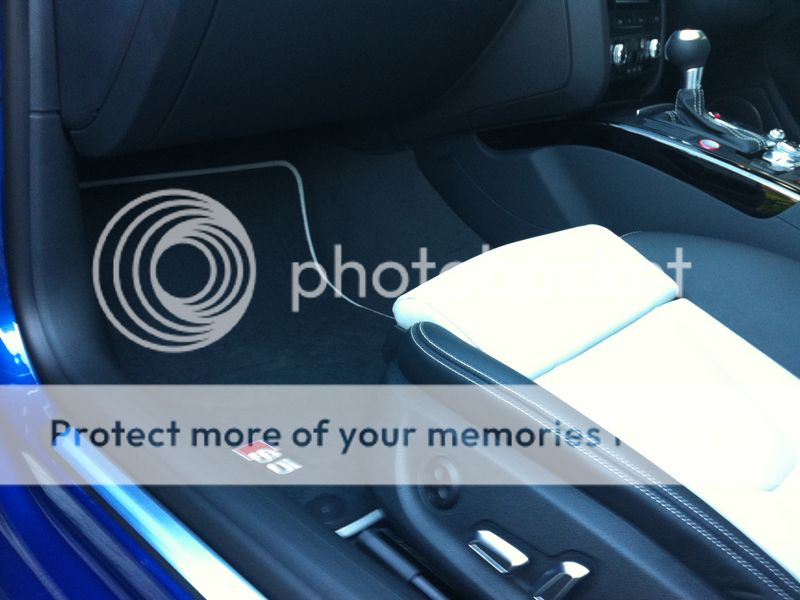
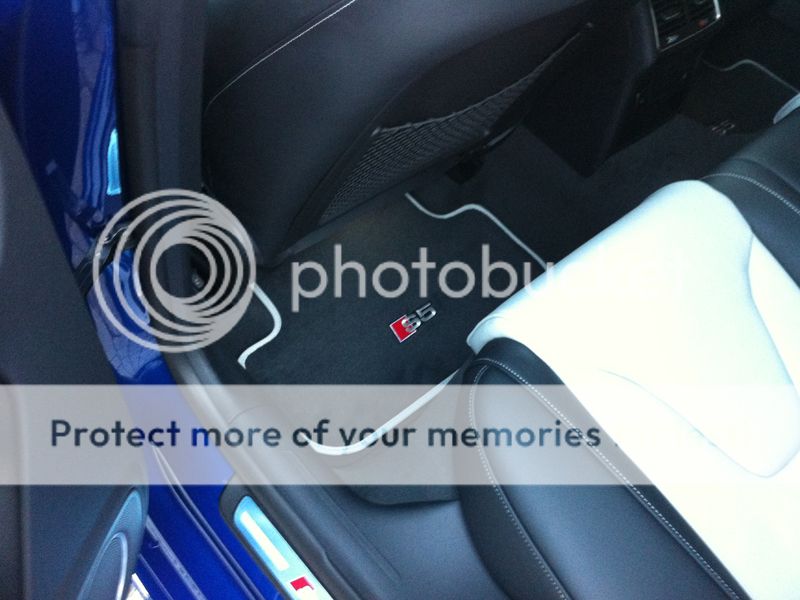
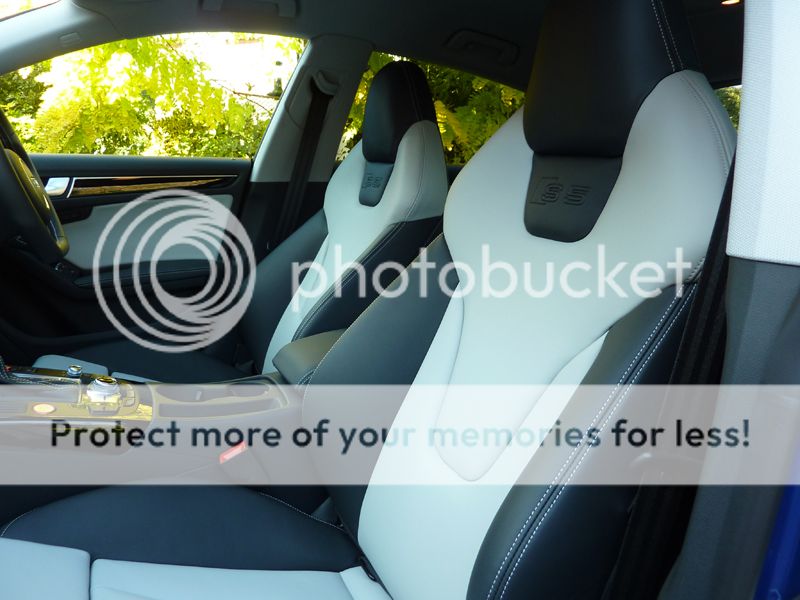
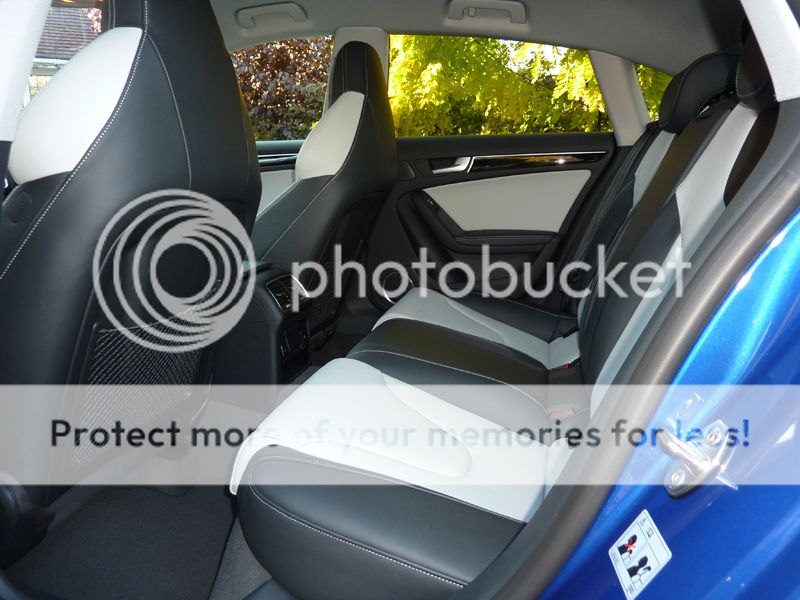
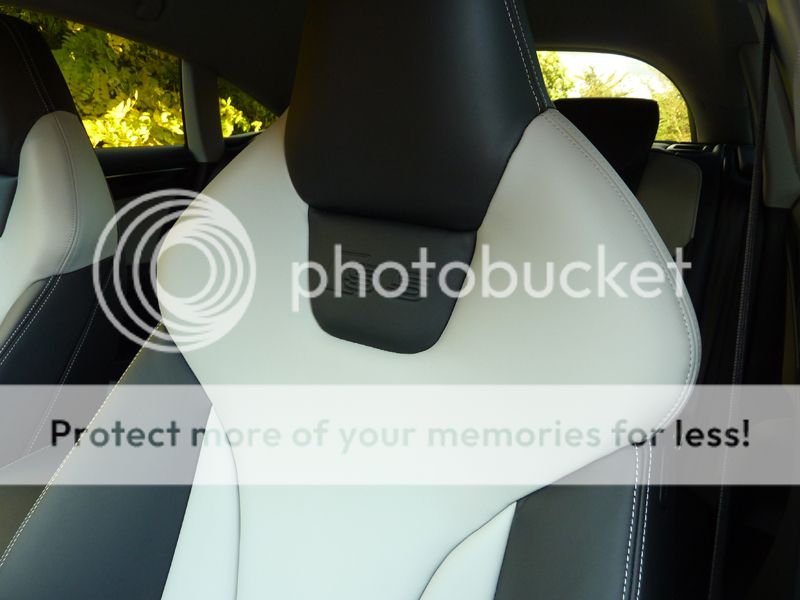
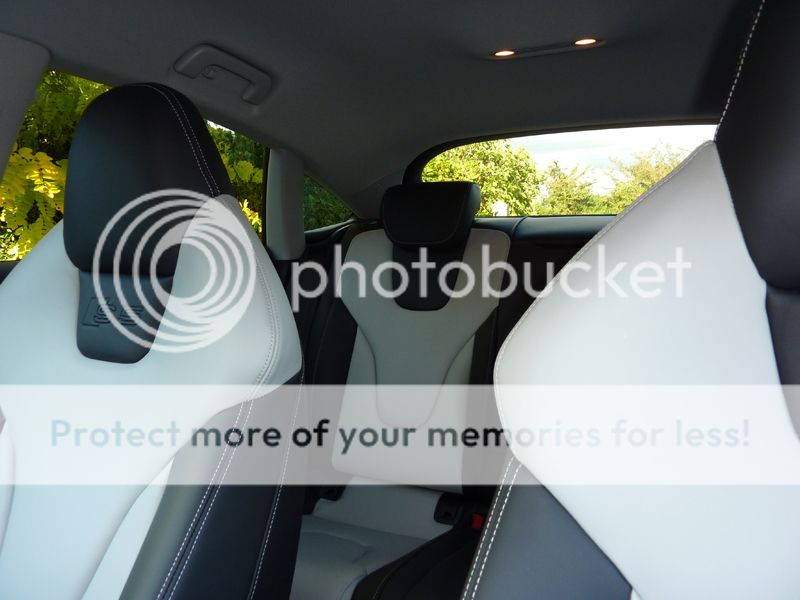
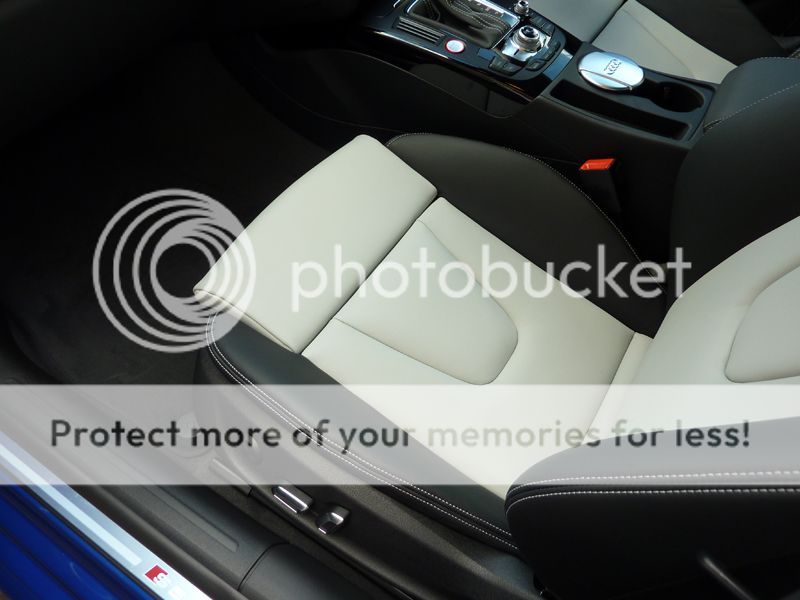
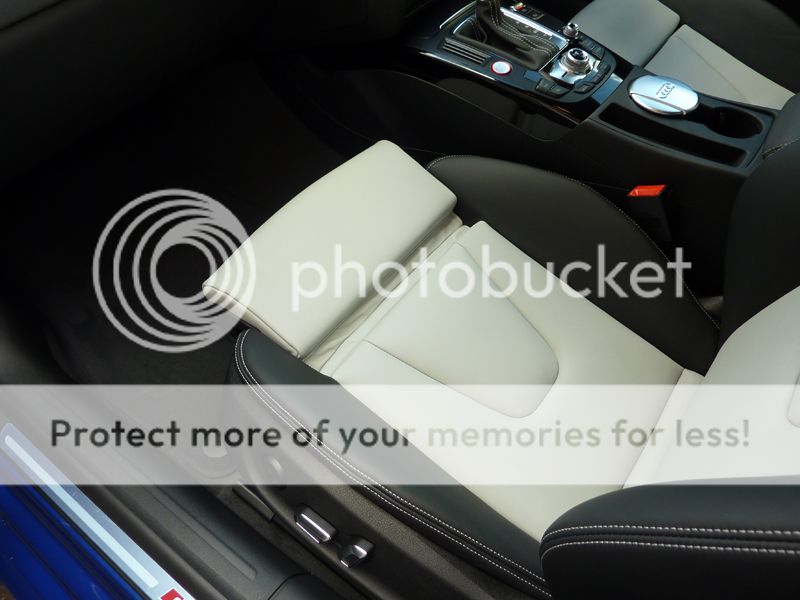
Interior: Fine Nappa leather, Seats: Lunar silver-Black, Dashboard: Black-Black, Carpet: Black, Headliner: Silver
Optional Equipment: Advanced Key, Assistance package - adaptve cruise control with braking guard and lane assist, Audi drive select, Audi hill-hold assist, Audi Parking System Advanced, Audi quattro Sports differential, Convenience package, Damper control, Door mirrors - electrically adjustable, folding, auto-dimming with memory function, Garage door opener (Homelink), Heated front and outer rear seats, High-beam assist, Mobile telephone preparation â High with Audi connect, Dynamic steering, Storage package, Rear side airbags, Reversible load mat, Storage package,Technology package â High
I was allocated to a slot in build week 37 and got confirmation that the car was built on 11th September 2014.
I had to rearrange work to get the day off so delayed collection by a week and picked it up on Thursday 9th October 2014.
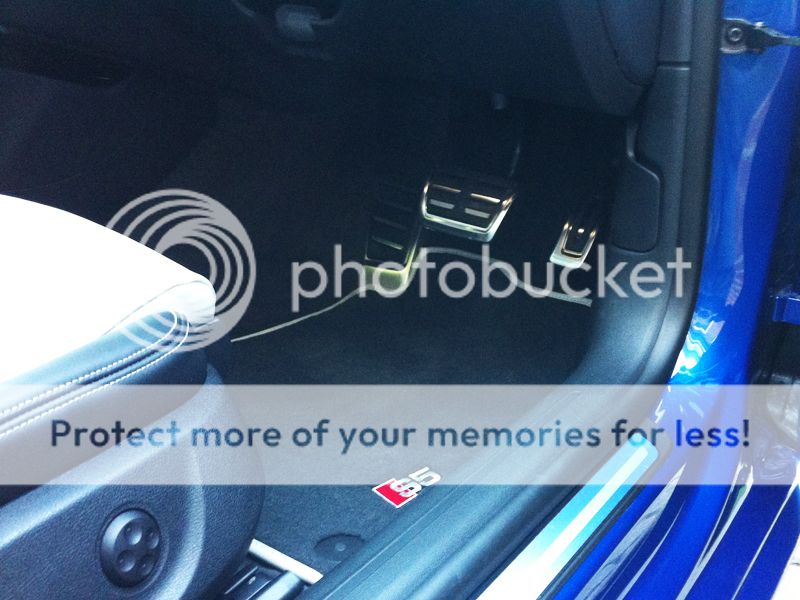
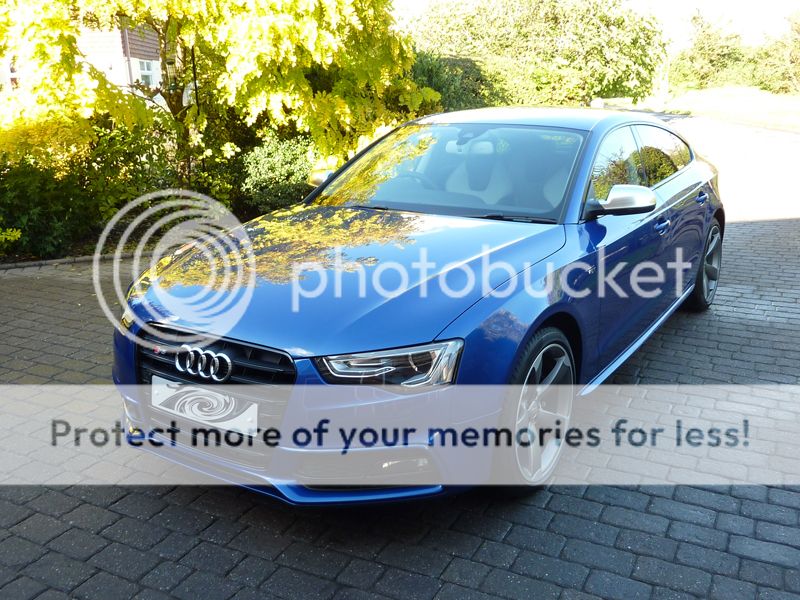
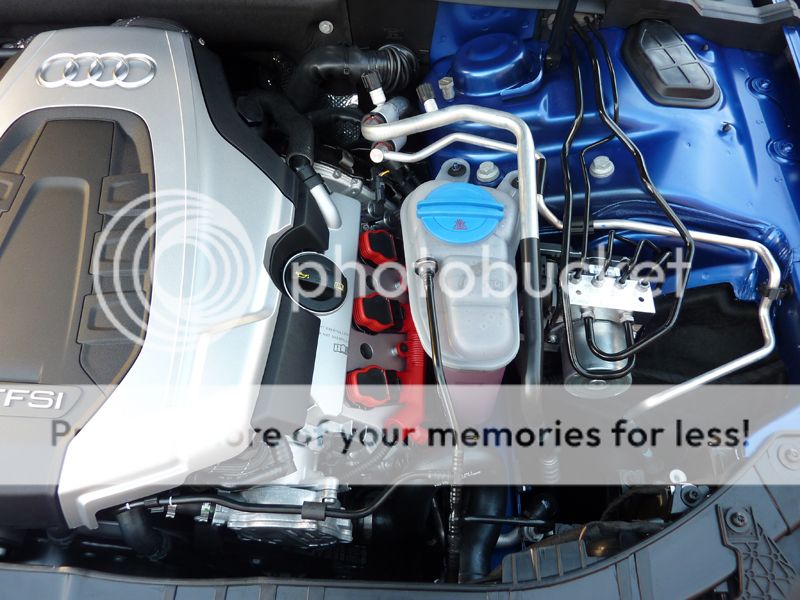
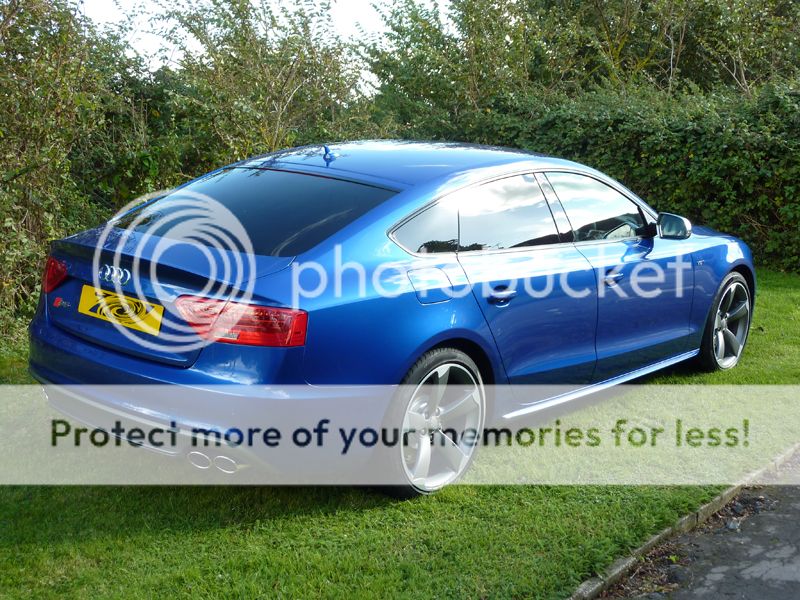
The S5 is mine, all mine:
For the first two days of ownership it did not stop raining, but fortunately it did eventually stop by midday on Saturday so that gave me a chance to give the S5 it's first wash and take a few photos. So let me introduce you:
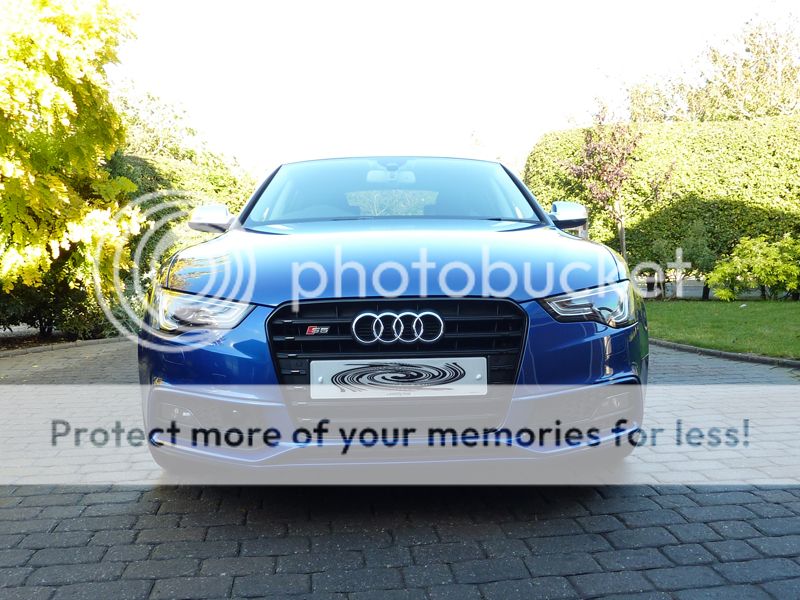
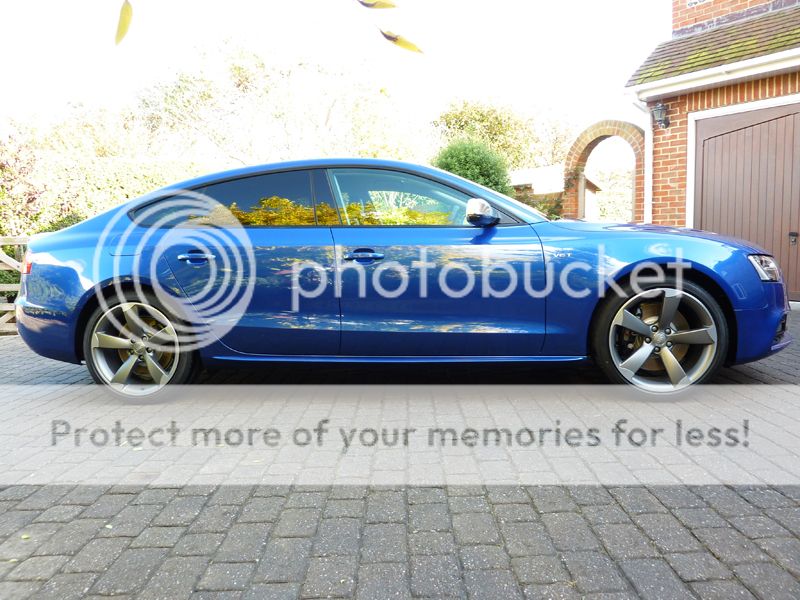
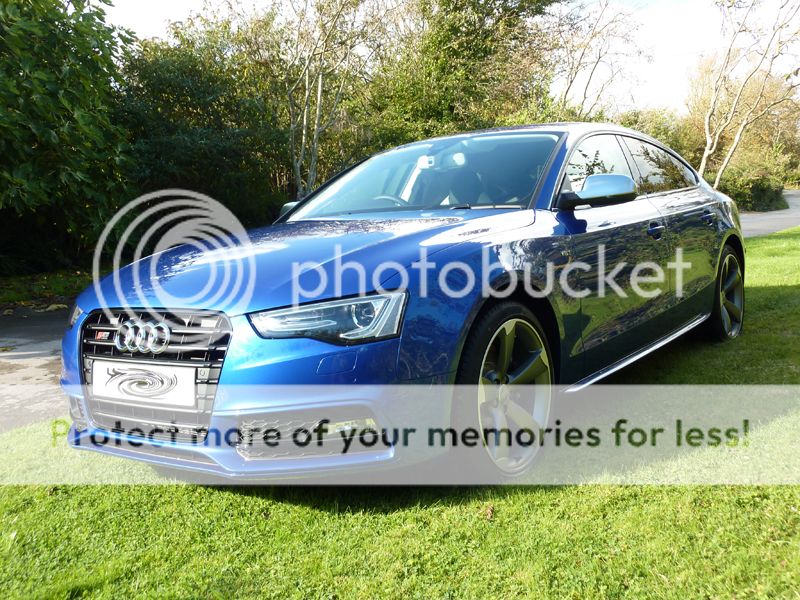
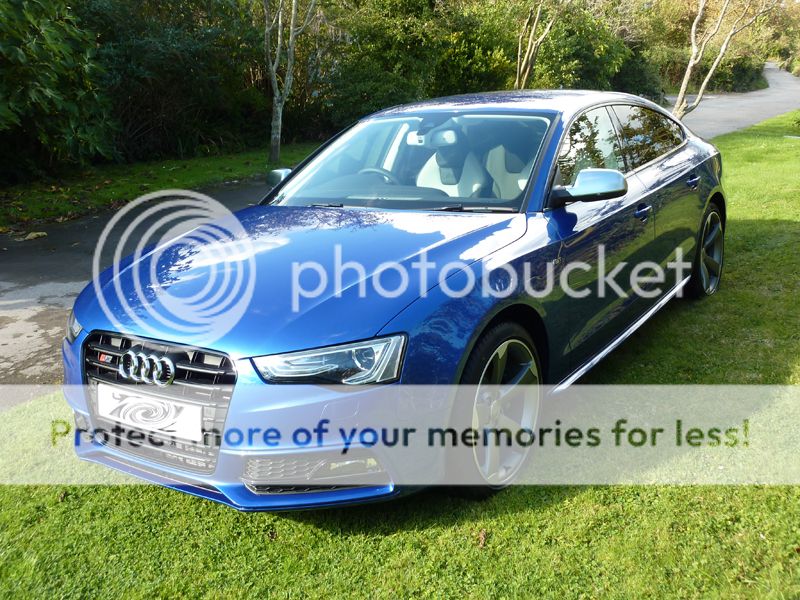
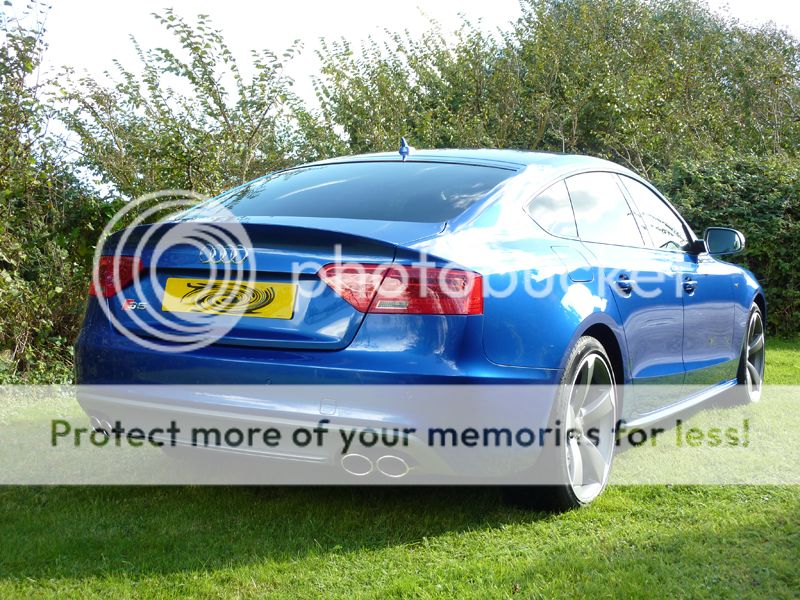
Exterior:


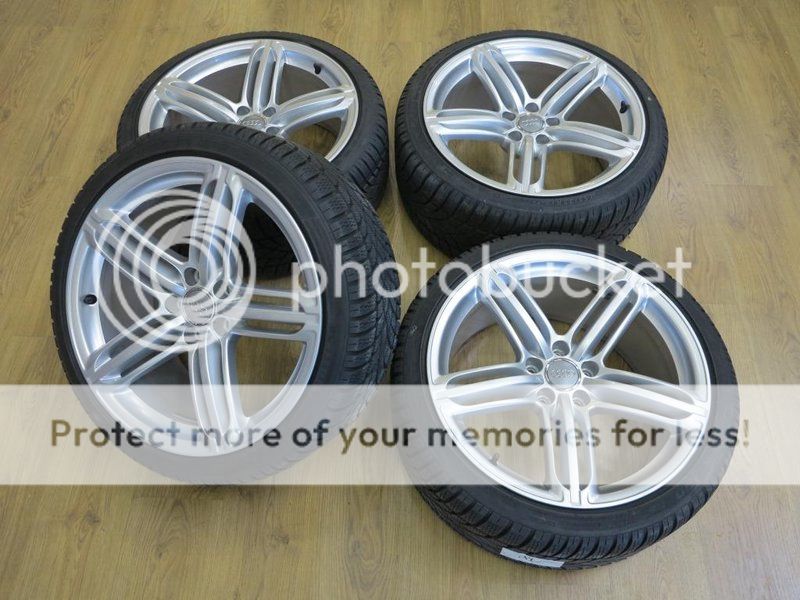
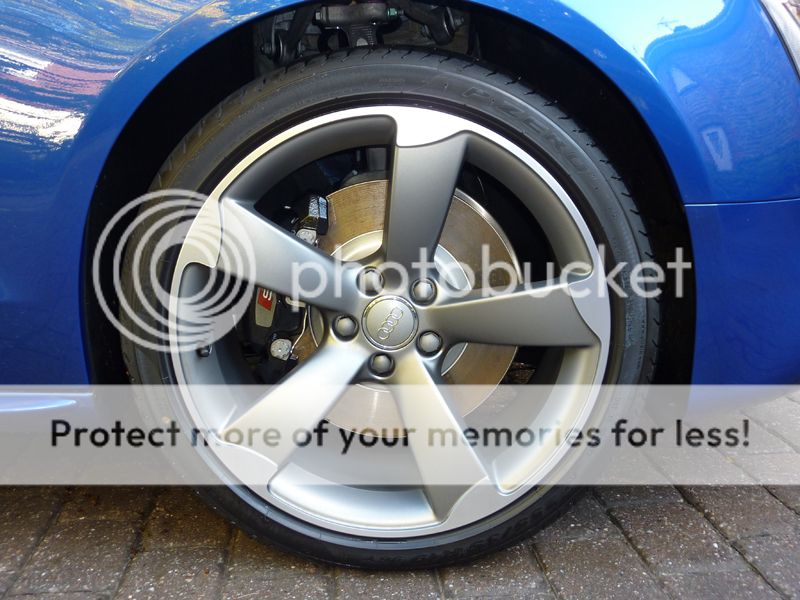
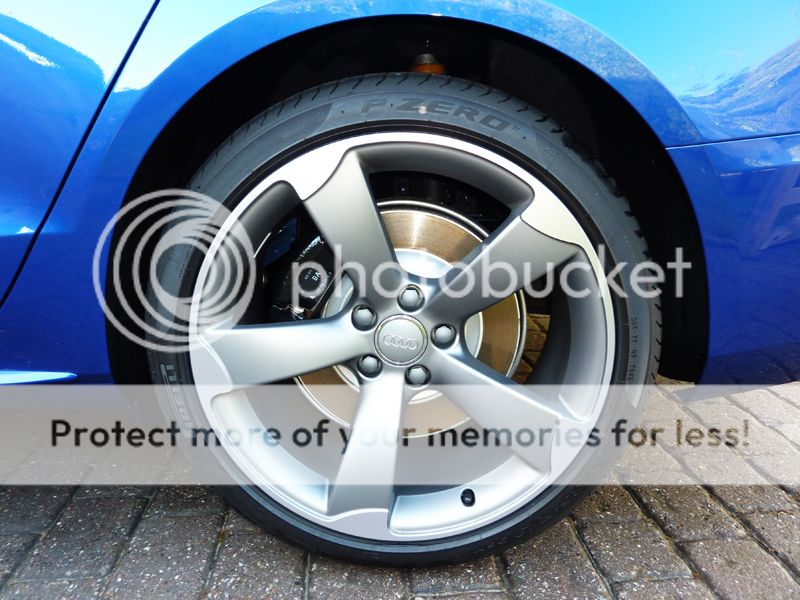
Pirelli P-Zero tyres:
Front:
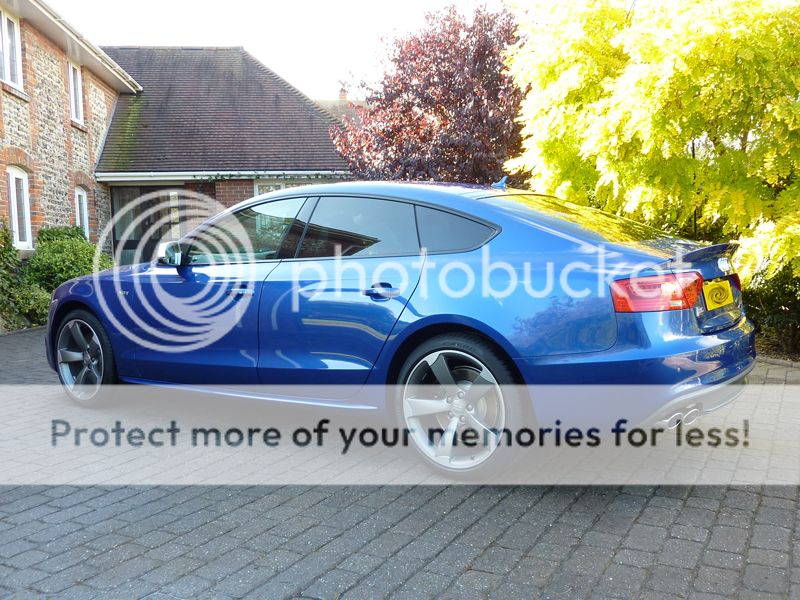
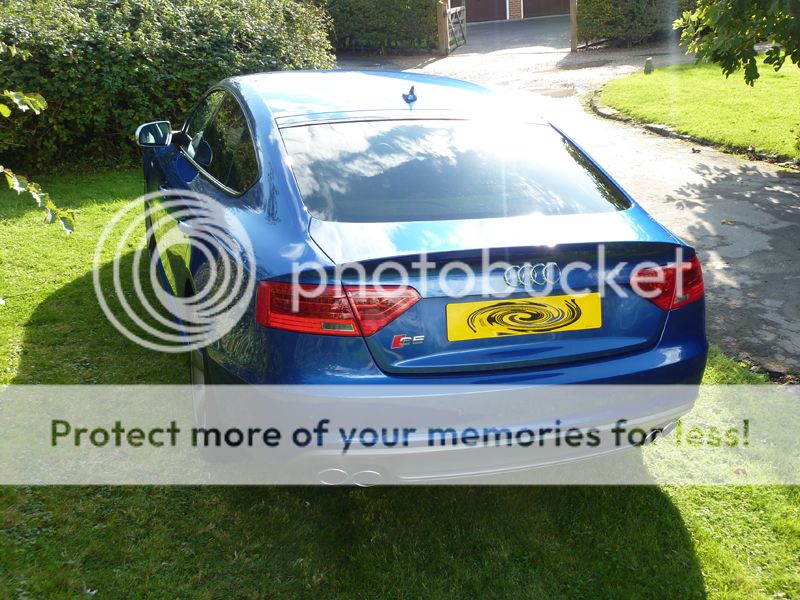
Rear:

http://www.audi-sport.net/xf/threads/sepang-blue-s5-sportback-black-edition-the-wait-begins.220113/
The story so far:
The order for the car was confirmed on 13th June 2014 with the following spec:
S5 Sportback Black Edition 3.0 TFSI quattro S tronic
Exterior: E9E9 Sepang Blue, pearl effect
Interior: Fine Nappa leather, Seats: Lunar silver-Black, Dashboard: Black-Black, Carpet: Black, Headliner: Silver
Optional Equipment: Advanced Key, Assistance package - adaptve cruise control with braking guard and lane assist, Audi drive select, Audi hill-hold assist, Audi Parking System Advanced, Audi quattro Sports differential, Convenience package, Damper control, Door mirrors - electrically adjustable, folding, auto-dimming with memory function, Garage door opener (Homelink), Heated front and outer rear seats, High-beam assist, Mobile telephone preparation â High with Audi connect, Dynamic steering, Storage package, Rear side airbags, Reversible load mat, Storage package,Technology package â High
I was allocated to a slot in build week 37 and got confirmation that the car was built on 11th September 2014.
I had to rearrange work to get the day off so delayed collection by a week and picked it up on Thursday 9th October 2014.
The S5 is mine, all mine:
For the first two days of ownership it did not stop raining, but fortunately it did eventually stop by midday on Saturday so that gave me a chance to give the S5 it's first wash and take a few photos. So let me introduce you:
Exterior:
Pirelli P-Zero tyres:
Front:
Rear:


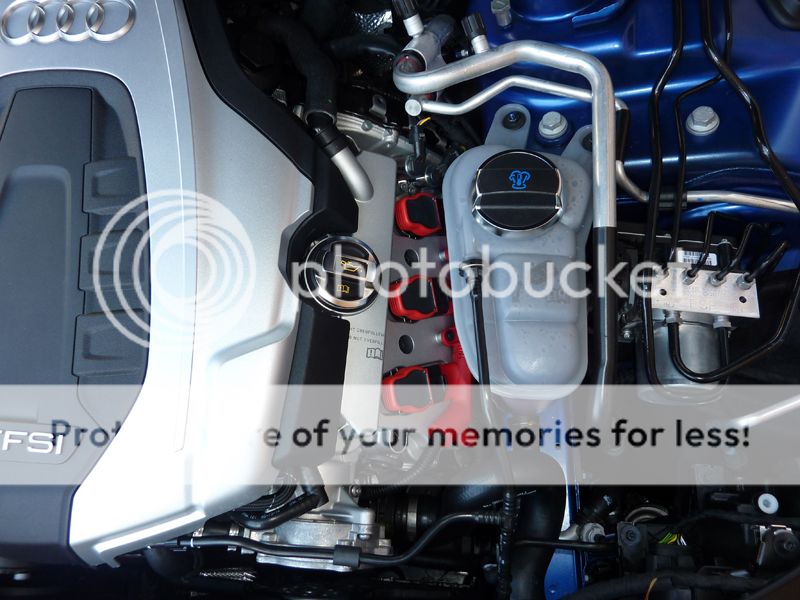


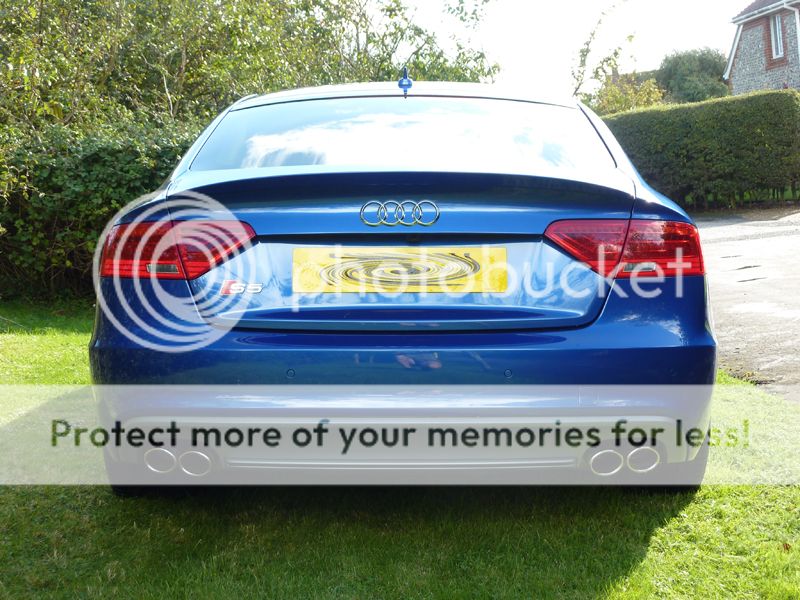


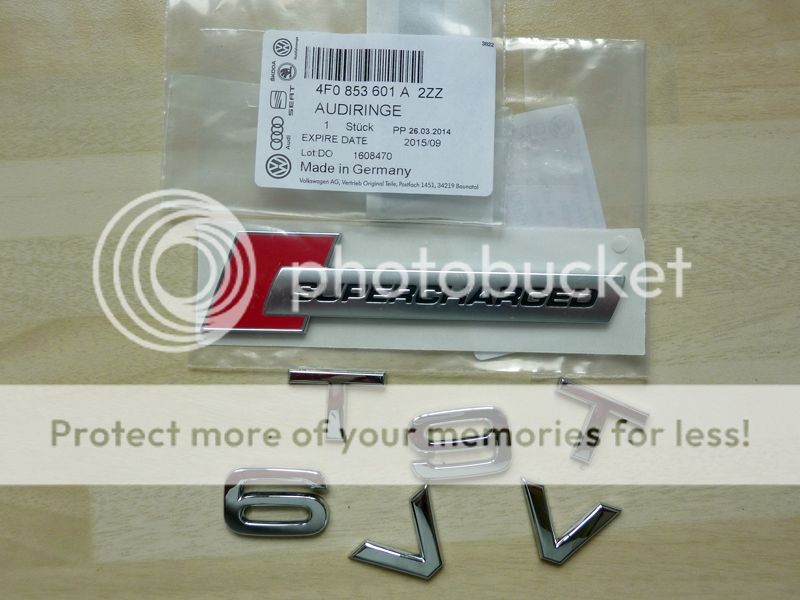


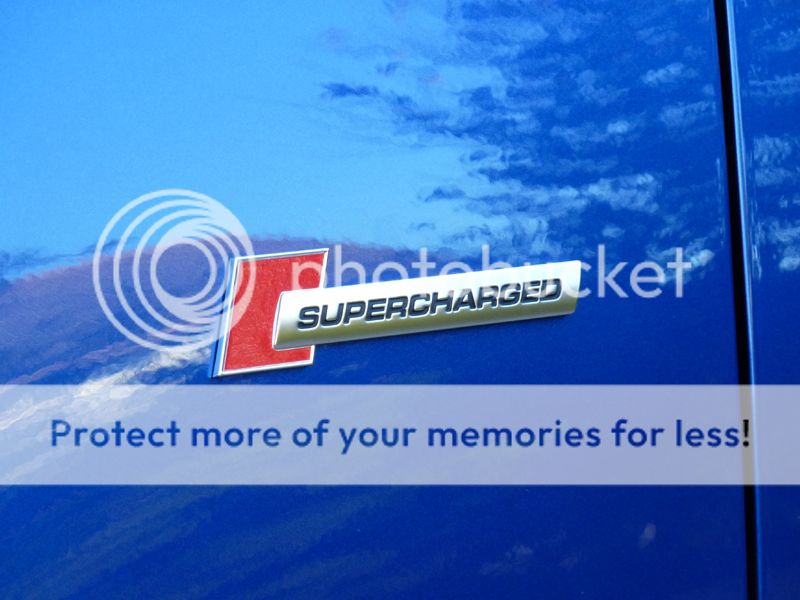

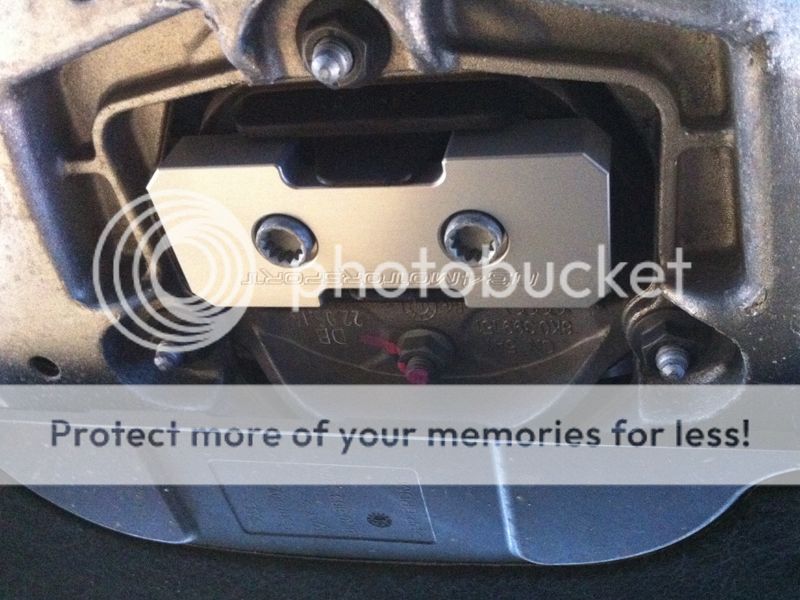
 I like it. Both the badging and Quattro look great!