Looks fantastic Pt!

What thickness are your new discs? I notice they say 332x29 on them, but that seems like an unusual size.

Crazy that they're touching the ball joints too! I might give mine a check to see if there has been any contact on mine at all.
 
TPS dropped off a couple of items this morning :)
IMAG0102.jpg


Found the issue with the brakes... the rotors are a little wider than my previous ones and this set them slightly off centre to the caliper...

Inboard side...
IMAG0105.jpg


Outboard side...
IMAG0106.jpg


So got some stainless washers...
IMAG0107.jpg


...and spaced the caliper bracket back inboard more which centred the caliper to the rotor...
IMAG0110.jpg


All sorted :)

While I was doing this Bill was detailing the Badgerwagon... (apparently I am a bad influence!)
IMAG0112.jpg


That done I cracked on with modding the button... out came the dremel :)
IMAG0113.jpg


IMAG0114.jpg


However.... bit of a gap... ******...
IMAG0115.jpg


The cover needs to sit over a bit on the switch...
IMAG0116.jpg


...sooooo... filed a bit out of the cover so it would sit on the switch in the right position...
IMAG0118.jpg


Fits better...
IMAG0119.jpg


Will hot glue the cover on once I have sorted the wiring from the switch..

Seeing as Bill was busy detailing the Badgerwagon I just had to give the S3 a wipe over (he is such a bad influence!! LOL)
IMAG0120.jpg


Sadly despite the car nearly being ready I won't be at AITP tomorrow... hope the rain holds off for everyone but the plan is to have her ready for ADI which of course was the original plan when I first started my BT build LOL

<tuffty/>

Which year ?
 
  • Like
Reactions: <tuffty/> and Sandra
Looks fantastic Pt!

What thickness are your new discs? I notice they say 332x29 on them, but that seems like an unusual size.

Crazy that they're touching the ball joints too! I might give mine a check to see if there has been any contact on mine at all.

They are 332x29... sold as 30mm replacements as they get a very light skim iirc..

It was the caliper that caught the rotor... wider rotor moved inboard surface too close to the inside of the caliper where the pad slides... this was catching it

<tuffty/>
 
Car is looking great mate as always, hopefully it will be at bills when i get there for mapping, would be good to see it all in one piece.
Currently on the FMIC upgrade mission.
 
  • Like
Reactions: <tuffty/>
Had a play with the switch on Sunday...

Didn't have a plug for it so cut off the surrounding plastic...
IMAG0123.jpg


...and soldered on some wires...
IMAG0130.jpg


...using a wiring diagram for the ESP switch to double check I had the right terminals buzzed out :)
IMAG0126-1.jpg


Thats as far as I have got so far although I have since hot glued the cap on and fitted the switch in place... I just need to sort the rest of the wiring so it just sends the appropriate signal to the ECU and not switch the brake lights :)

...oh... and these turned up today :)
IMAG0135.jpg


<tuffty/>
 
  • Like
Reactions: S3Alex, jojo and Adam P
keen to see how the esp switch works out for you

It works but flashes the brake lights when pressed... I just need to wire it in a bit more strategically and use a diode to stop the brake lights from coming on... without this its going to look a little odd driving along changing maps and as I don't know the load across the brake switch potentially could fry the contacts on the ESP switch as its just a low current switch...

Will get back on it when I have a spare 5 mins... and better weather lol

<tuffty/>
 
Seems to be a bit of a trend to do a throw back Thursday (yes I know its Friday but I prepped this Thursday and forgot to post it!!) so thought I'd give it a go with the S3...

When I first bought her back in 2008...
IMG_3325.jpg


IMG_3326.jpg


IMG_3329.jpg


IMG_3328.jpg


Her first ever dyno...
S3_rollers_01.jpg


New wheels....
20100806_IMG_6884.jpg


20100301_IMG_4011.jpg


The first big turbo conversion...
IMAG0384.jpg


224372_161525230651321_1771508880_n.jpg


CRW_4589.jpg


The second big turbo conversion LOL....
20140317_201146.jpg


20140323_111518.jpg


...and how she is now...
IMAG0120.jpg


20130720_160854-1.jpg


I guess the pics show visually very little change over the years but my thread of course will show thats not quite the case lol

There are a couple of other subtle changes I want to do... RNS-E is one (ironically the car had a double DIN setup before I changed to single... DOH!!) and I still have the ARBs and bushes to fit... power wise I may fit cams depending how mapping goes but that won't be this year.

<tuffty/>
 
  • Like
Reactions: Sam_ and S3Alex
Car looks like it's just come from the showroom.

As to the bushes,you'll really notice the difference.....I had a load of those plus the ALK fitted to mine,and after the rest of the suspension mods,those just sharpen things up nicely.
 
  • Like
Reactions: <tuffty/>
Love it PT.

one of THE most extensively and comprehensively modified S3's around, yet visually it still looks almost 10% standard!

Something gives it away though, I can't say what, or why, but you somehow just know when you look at it that it's a bit more serious than first impressions would suggest!
 
  • Like
Reactions: <tuffty/>
Car looks like it's just come from the showroom.

As to the bushes,you'll really notice the difference.....I had a load of those plus the ALK fitted to mine,and after the rest of the suspension mods,those just sharpen things up nicely.

She looks a little less perfect in the flesh tbh... if I had my way (and one day I will LOL!!) she would get a full respray... but she scrubs up ok all things considered :)

I am not looking for the ultimate handling car just something that feels a little more solid and hopefully all this should sort that out... I was going to get a set of camber plates like Prawns Siliver Project ones but I'll see how she feels after this little lot goes on first

Love it PT.

one of THE most extensively and comprehensively modified S3's around, yet visually it still looks almost 10% standard!

Something gives it away though, I can't say what, or why, but you somehow just know when you look at it that it's a bit more serious than first impressions would suggest!

10% std cheeky ******!! lol (sure you didn't mean 90%? ;P)

I have been critiqued in the past for my quest for the OE look... there is a post several pages back from Westy and I quote...

Tuffty, do yo think that your mission to keep the engine bay looking as OEM as possible may have hindered your end goal of 400+bhp? The new mods you're planning will obviously change the look of the bay but hopefully get you the power you want.

...I'll leave it up to you to decide...
IMG_3329.jpg


20140317_201146.jpg


It was a challenge with the GT35 but very pleased with the results and I plan to repaint the inlet, cam cover and charge pipe which should dull it down a bit (very sparkly at the moment) plus plan to paint the DV black again to 'hide' it...

Definitely a double take engine bay ;P

<tuffty/>
 
  • Like
Reactions: kwistof
haha, my 10% was a typo, I meant 100% :laugh:

This might sound daft, but I really think you should try and get one of the black / yellow warning stickers that go on the OE charge pipe, just to add authenticity!
 
haha, my 10% was a typo, I meant 100% :laugh:

This might sound daft, but I really think you should try and get one of the black / yellow warning stickers that go on the OE charge pipe, just to add authenticity!

I have been wanting one since I first decided to paint the charge pipe... not really sure how to go about it as its painted on the factory pipe... I guess it would require a few computer cut templates to allow me to spray the required symbols in the right colours... I don't have the kit to do that sadly... suggestions on a post card though lol

<tuffty/>
 
Seriously.....you've got the OEM+++ look down perfectly.

Looks pretty much stock on the outside,but must go very well.....and that engine bay.....lovely.
 
  • Like
Reactions: <tuffty/>
Seriously.....you've got the OEM+++ look down perfectly.

Looks pretty much stock on the outside,but must go very well.....and that engine bay.....lovely.

Thanks dude... she does go rather well but of course mapping is not complete yet... there will be more to come thats fo sho!... :D

<tuffty/>
 
  • Like
Reactions: S3Alex
Was getting a little antsy about detailing the car especially seeing loads of facebookists posting pics of their clean cars... sooooo...

IMAG0170.jpg


IMAG0171.jpg


IMAG0167.jpg


IMAG0173.jpg


IMAG0174.jpg


IMAG0176.jpg


IMAG0178.jpg


IMAG0179.jpg


IMAG0177.jpg


IMAG0180.jpg


Happier now... although not completed yet... leather needs feeding and wheels need to be removed and cleaned along with under the arches of course lol :D

<tuffty/>
 
This is ridiculously clean, love it! Hopefully its at bills when i come up, any idea on his waiting time for custom stage 2 mapping?
 
looking good dude, although my car is broken and crap i still have you on the expansion tank!-)
 
looking good dude, although my car is broken and **** i still have you on the expansion tank!-)

Ironically it was new only a couple of years ago... May get a new one for ADI :D

Hmmmmm.... Wonder where Paul got his inspiration to clean his from.......

Lol... Make a well known phrase or saying from the following words Mark... Sod off! :p

<tuffty/>
 
As a long time lurker, and an avid fan, I have a couple of questions.

I see you used a manual cambelt tensioner kit, where did you get this from, and how much was it?

Secondly, I vaguely recall you saying you VVT chain tensioner was from GSF...do you know which part number it was? I have tried a couple of 2nd hand ones, but they eventually rattle, I want to try a new one, but don't want to get one of the "genuine" ones from ebay, and don't really want to shell out £400 for one from the dealers.

Which tensioner do you mean mate? I used this setup up originally...
IMAG0134.jpg


...and now trying this setup...
20140716_202616.jpg


Arnold at Pag Parts supplied me the latter after a chat with him over tensioners... thought I would give it a go... no real reason other than why the hell not lol.. my old setup is available by the way (shameless plug)

GSF tensioner...
http://www.gsfcarparts.com/023vg0140

<tuffty/>
 
Either or really. I originally meant the second one. Are there any details for the kit? I presume that VVT tension has been fault free?
 
Either or really. I originally meant the second one. Are there any details for the kit? I presume that VVT tension has been fault free?

If you are interested in the original manual tensioner kit then PM me mate and we can discuss... if you want the Pag Parts one then get in touch with Arnold is prob the best bet... that one was $175 plus shipping

The GSF VVT has been fine so far... I don't do many miles in the car but so far so good... a few people have reported receiving OE audi branded ones from GSF before

<tuffty/>
 
I am still convinced you have 2 silver S3's, one its big turbo and the other has been kept in a climate controlled room since the day it left the show and you break it out for a photo shoot once in a while.
 
  • Like
Reactions: MIGGZ, StaceyS3 and <tuffty/>
I am still convinced you have 2 silver S3's, one its big turbo and the other has been kept in a climate controlled room since the day it left the show and you break it out for a photo shoot once in a while.
Can not agree with this more!!!! The S really looks like it's never left audi
 
  • Like
Reactions: <tuffty/>
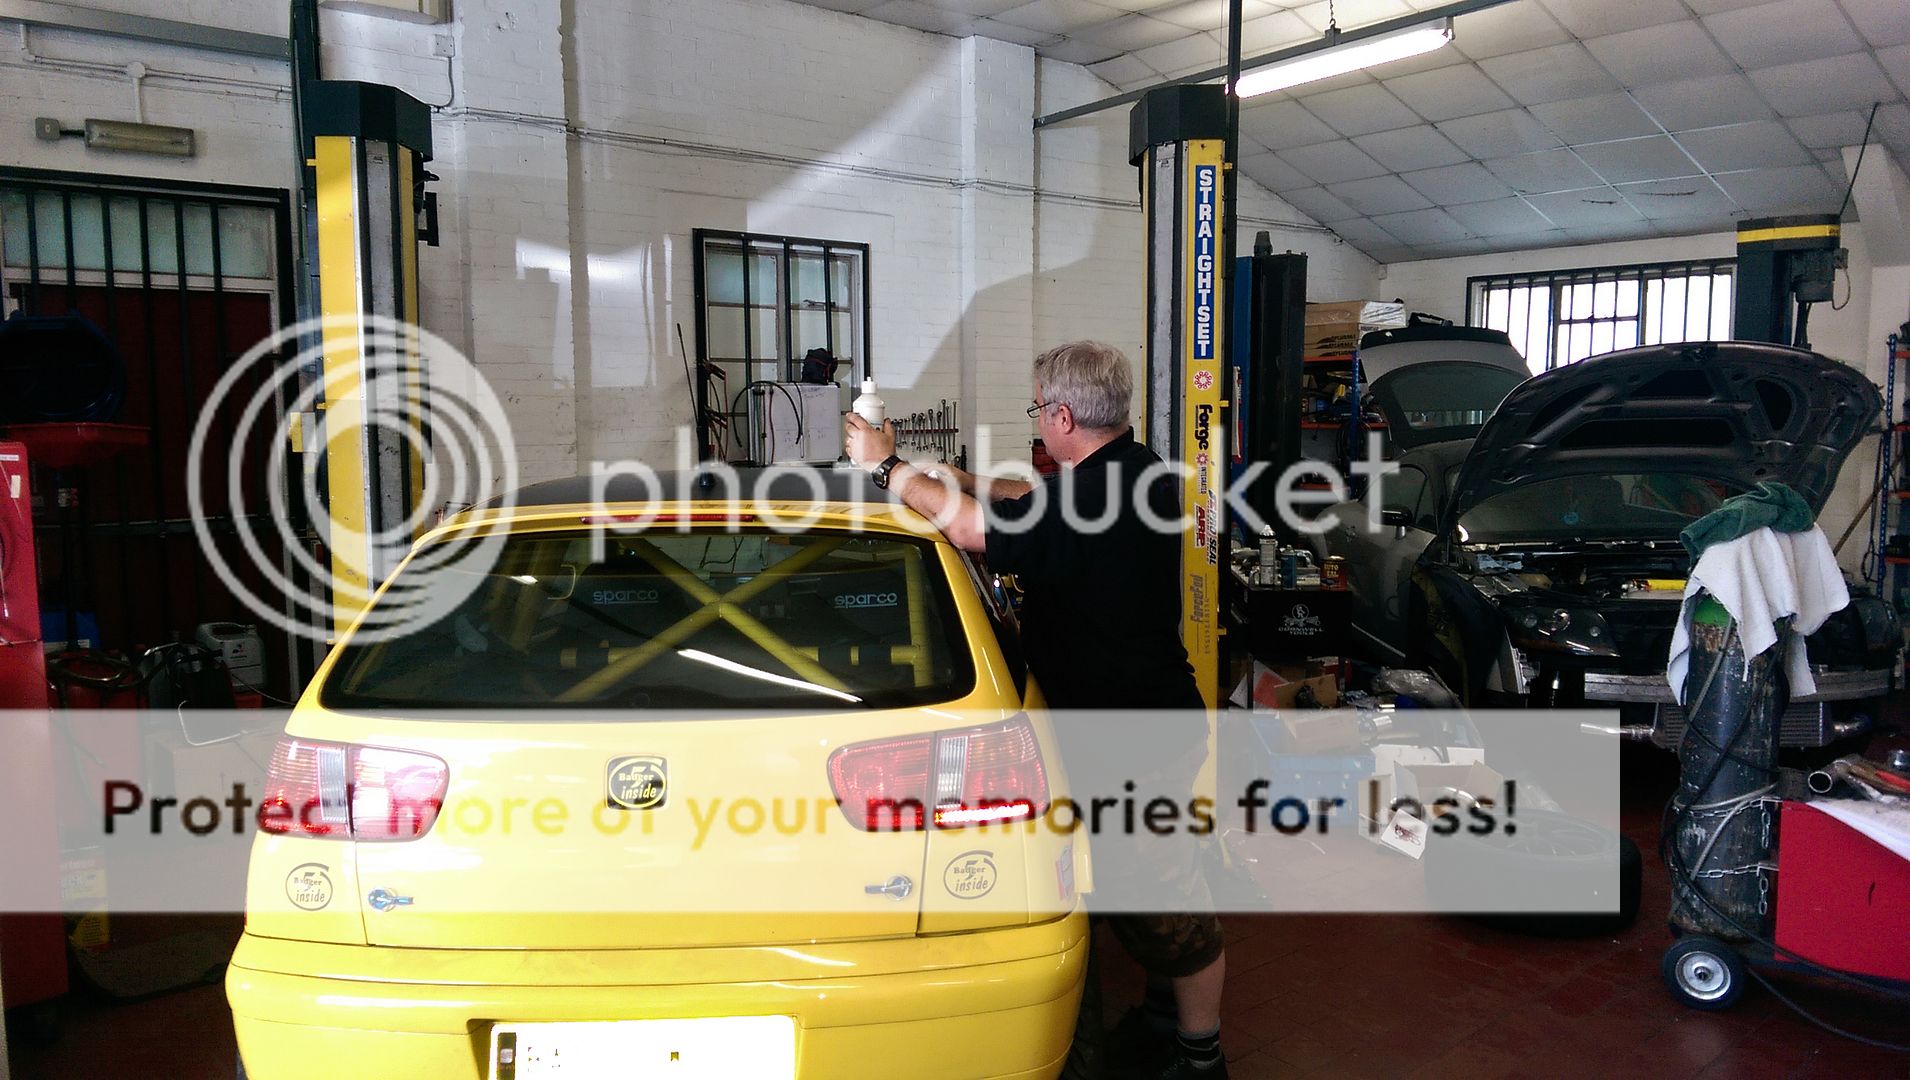
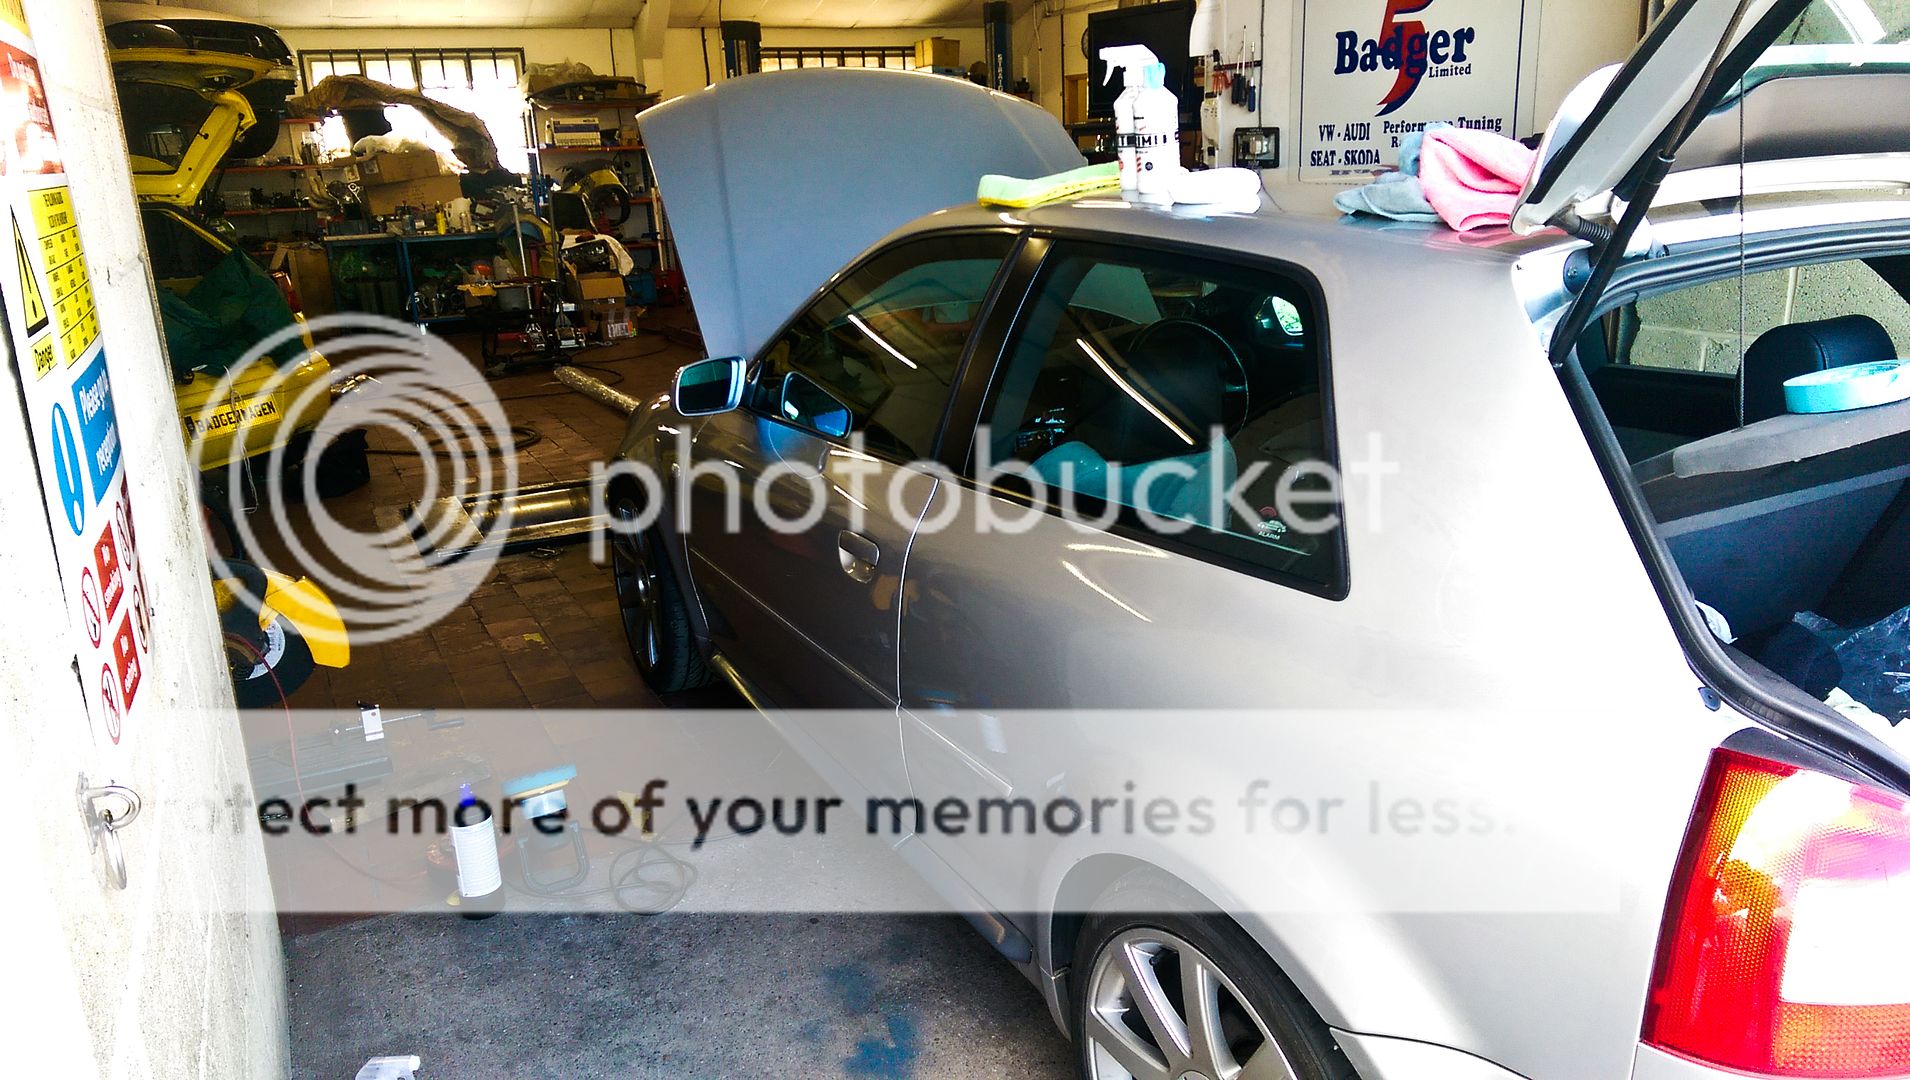
Managed to grab a ramp today so cracked on with this lot..

IMAG0190.jpg


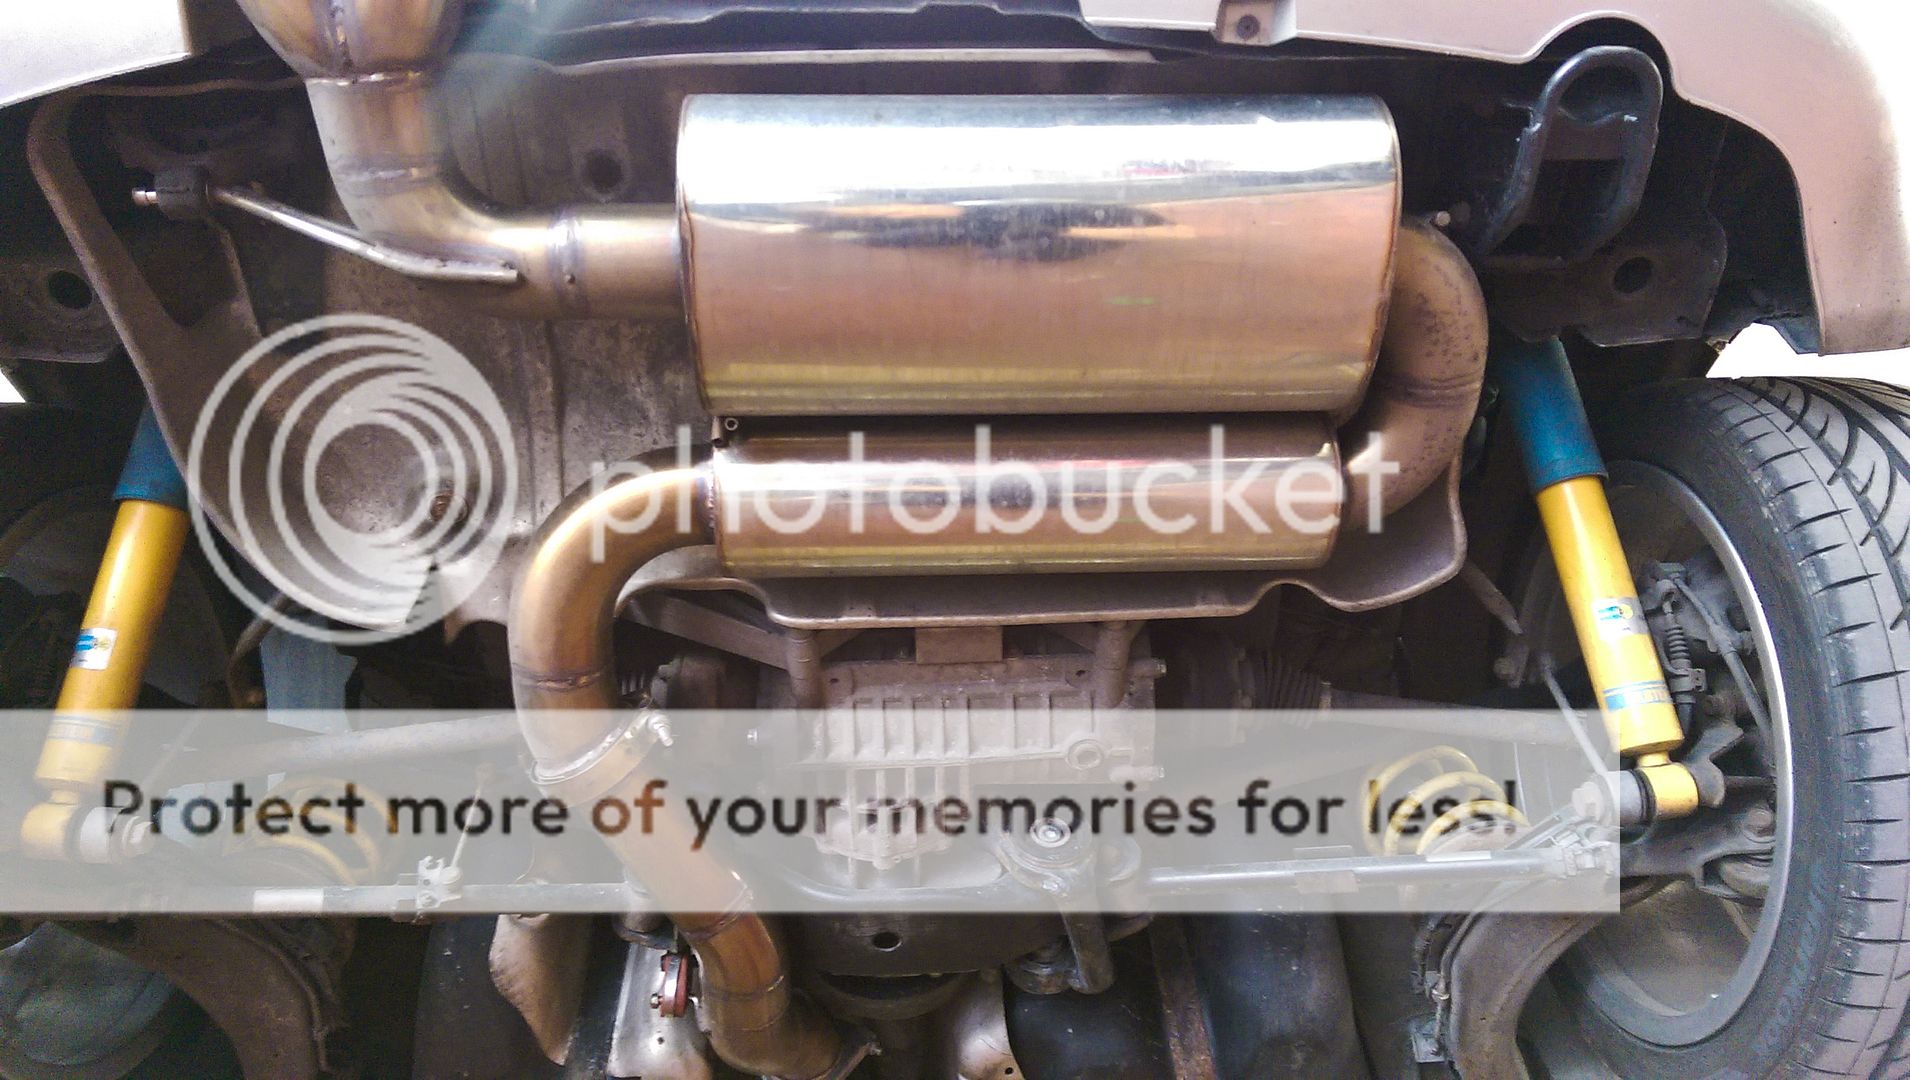
Started with the rear ARB so removed the back box and heatshield
IMAG0191.jpg


IMAG0192.jpg


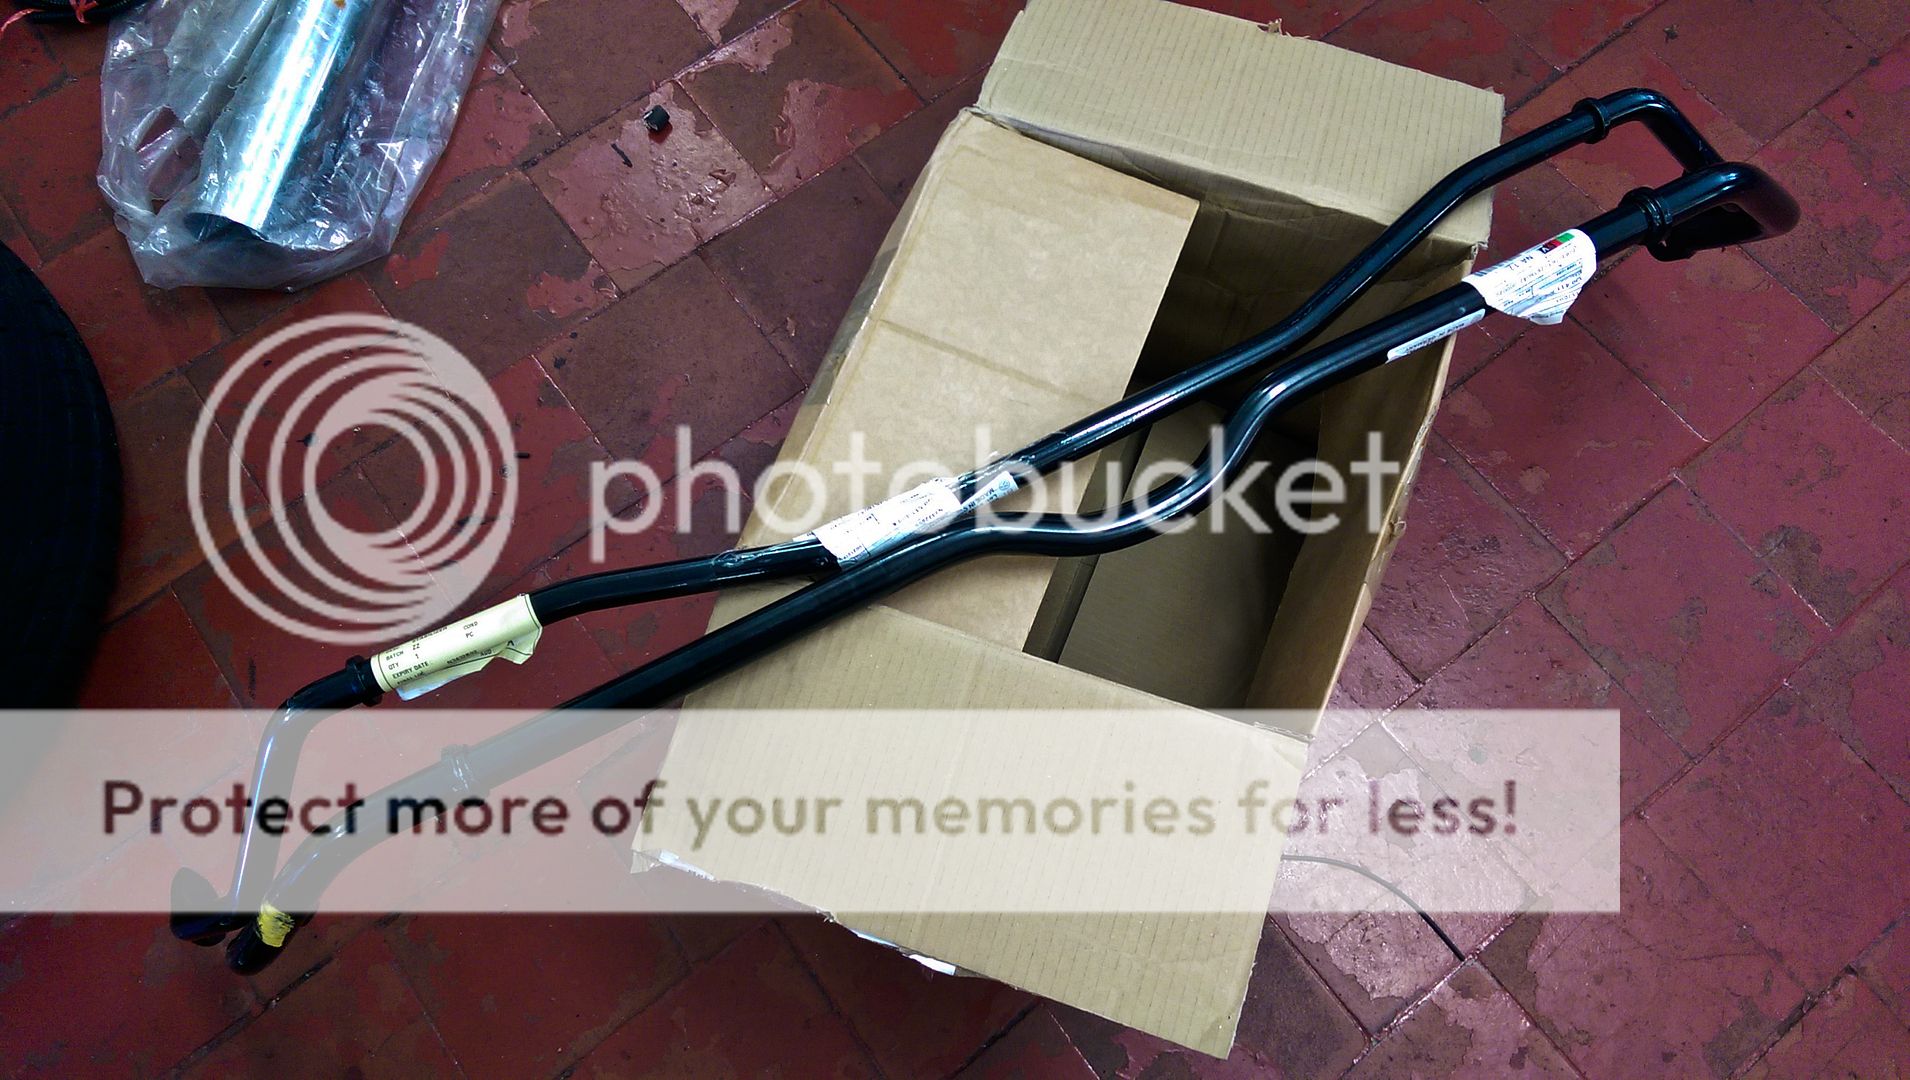
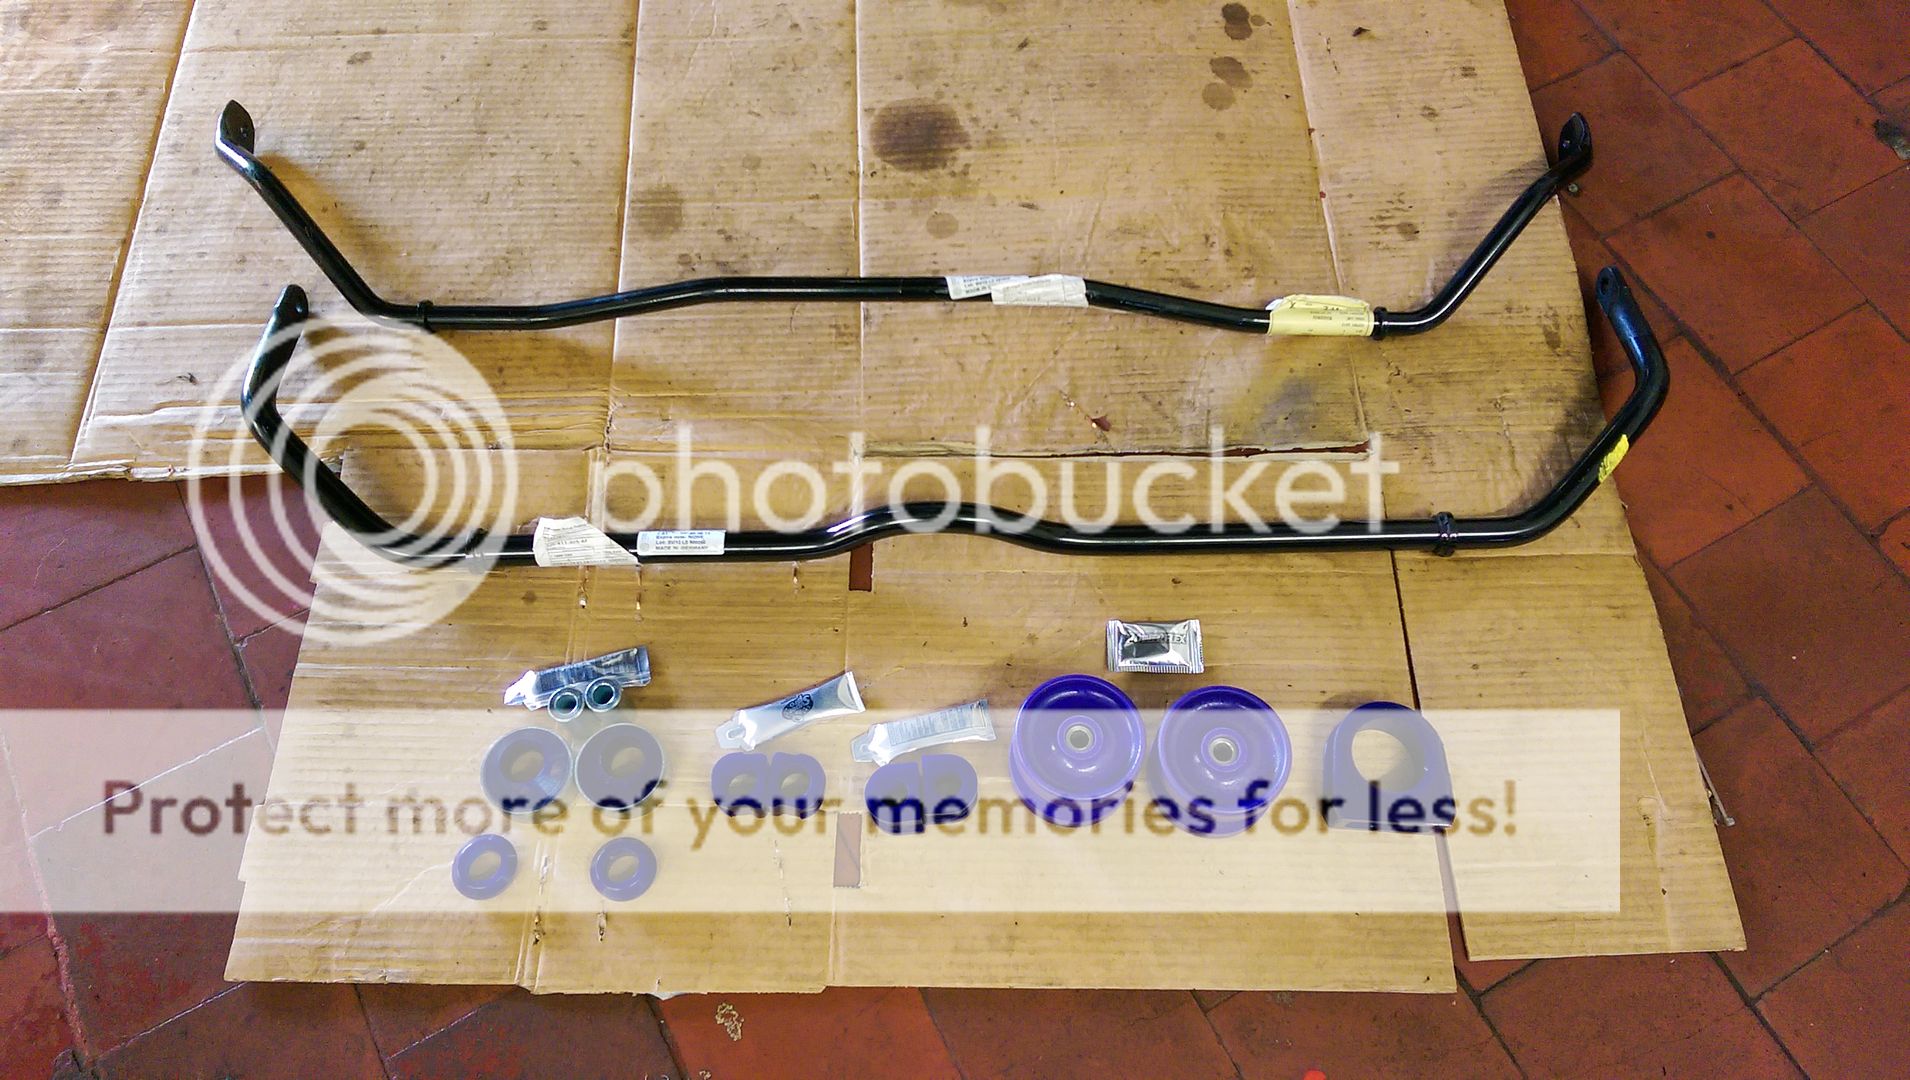
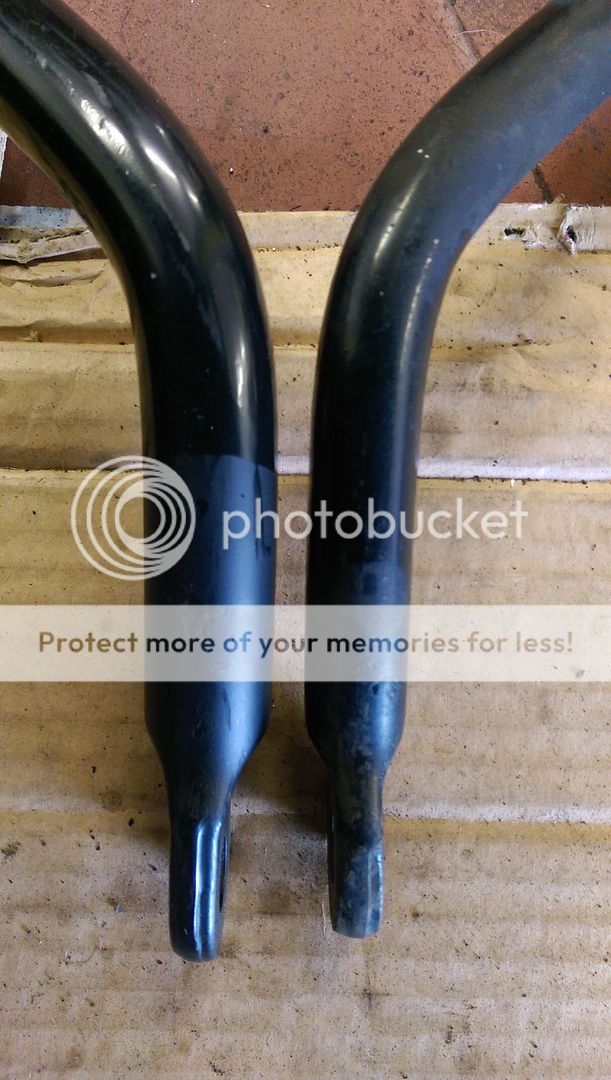
Old 15mm ARB next to new 19mm ARB...
IMAG0194.jpg


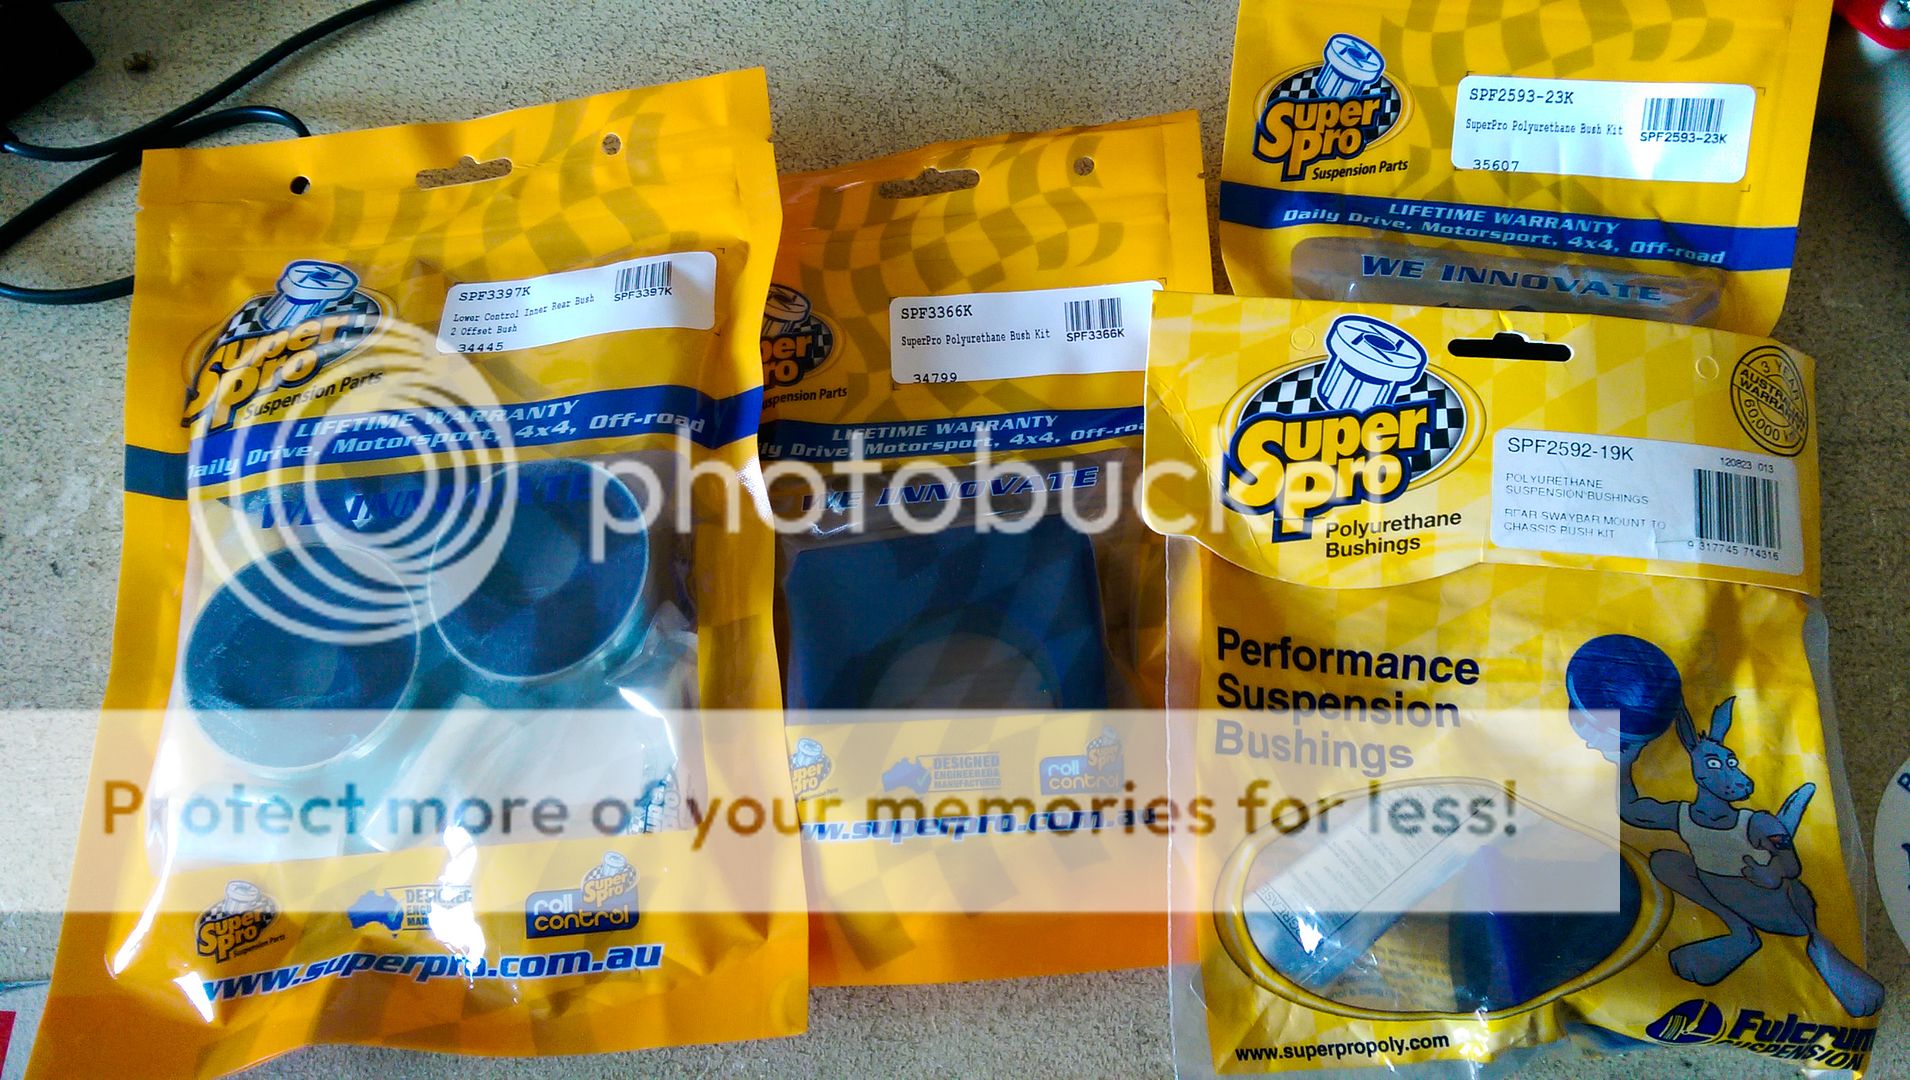
New poly bushes and painted the bush clips too...
IMAG0205.jpg


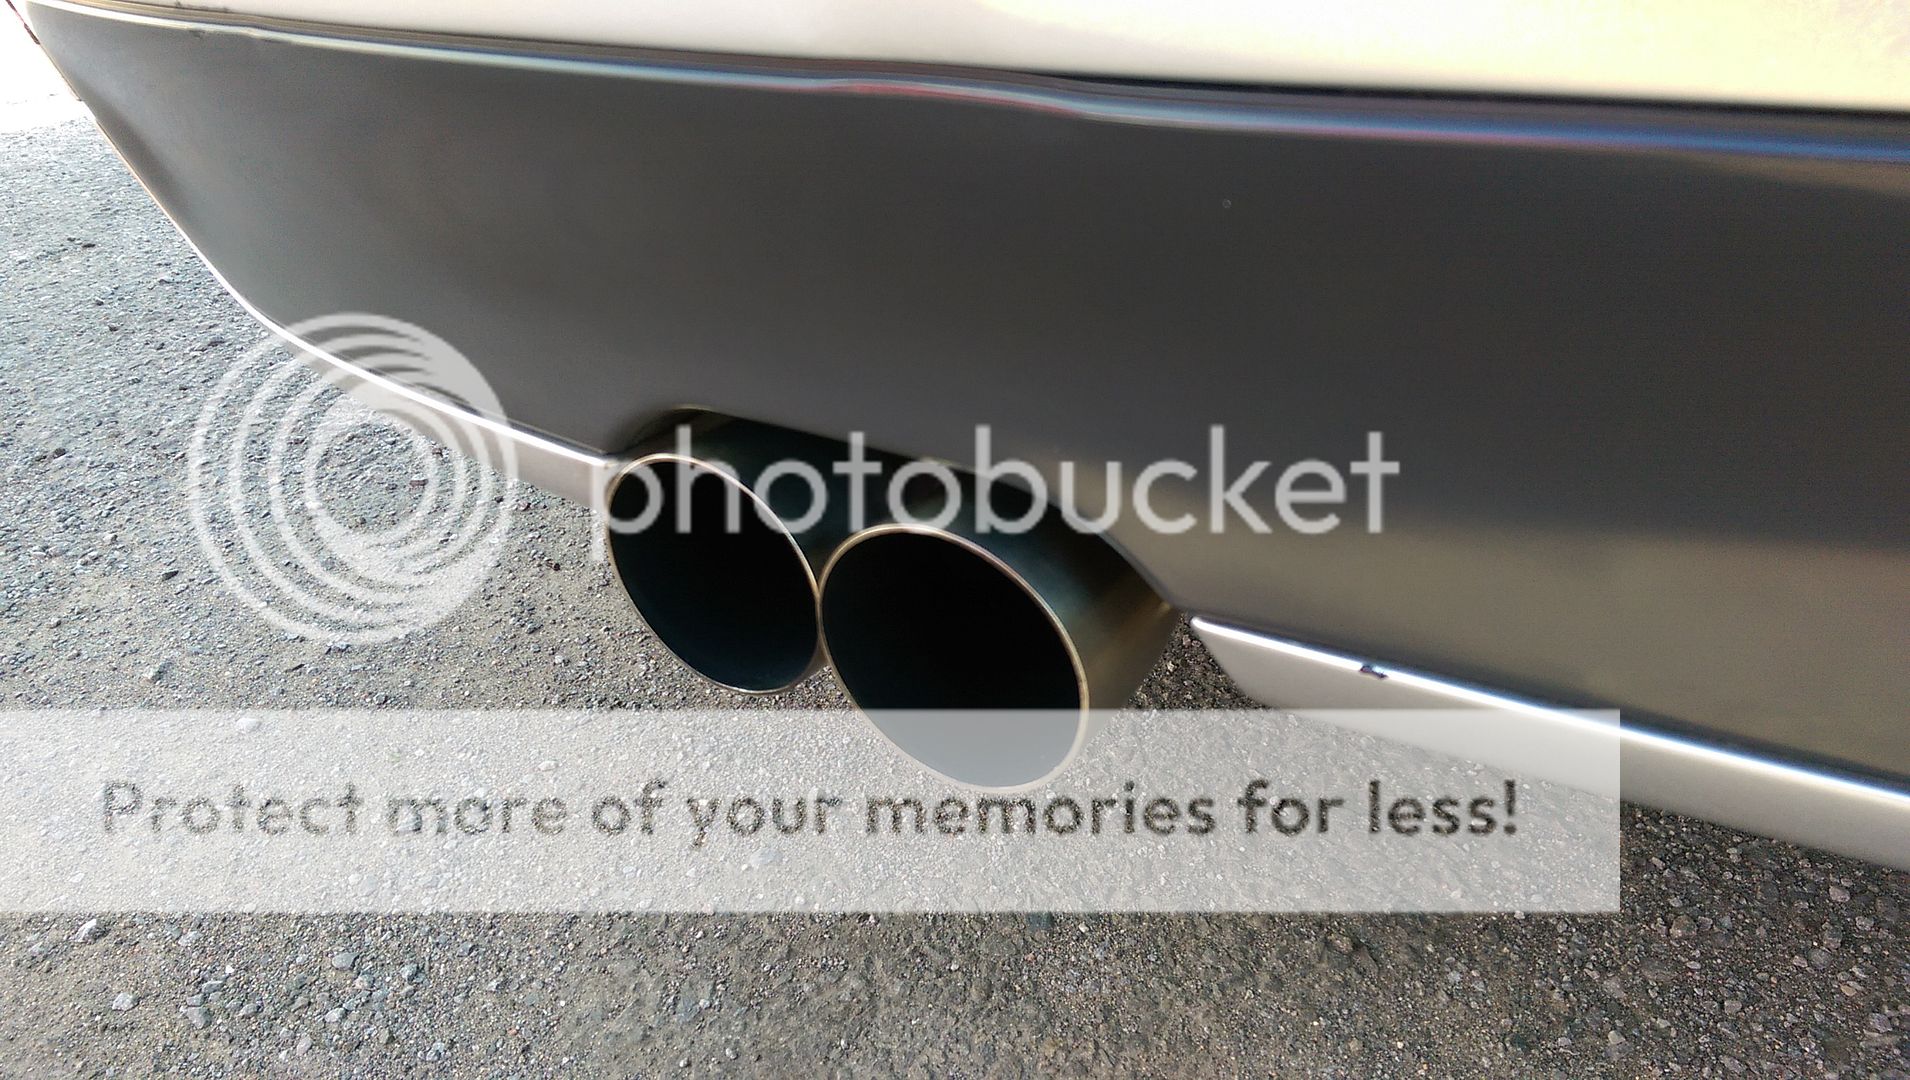
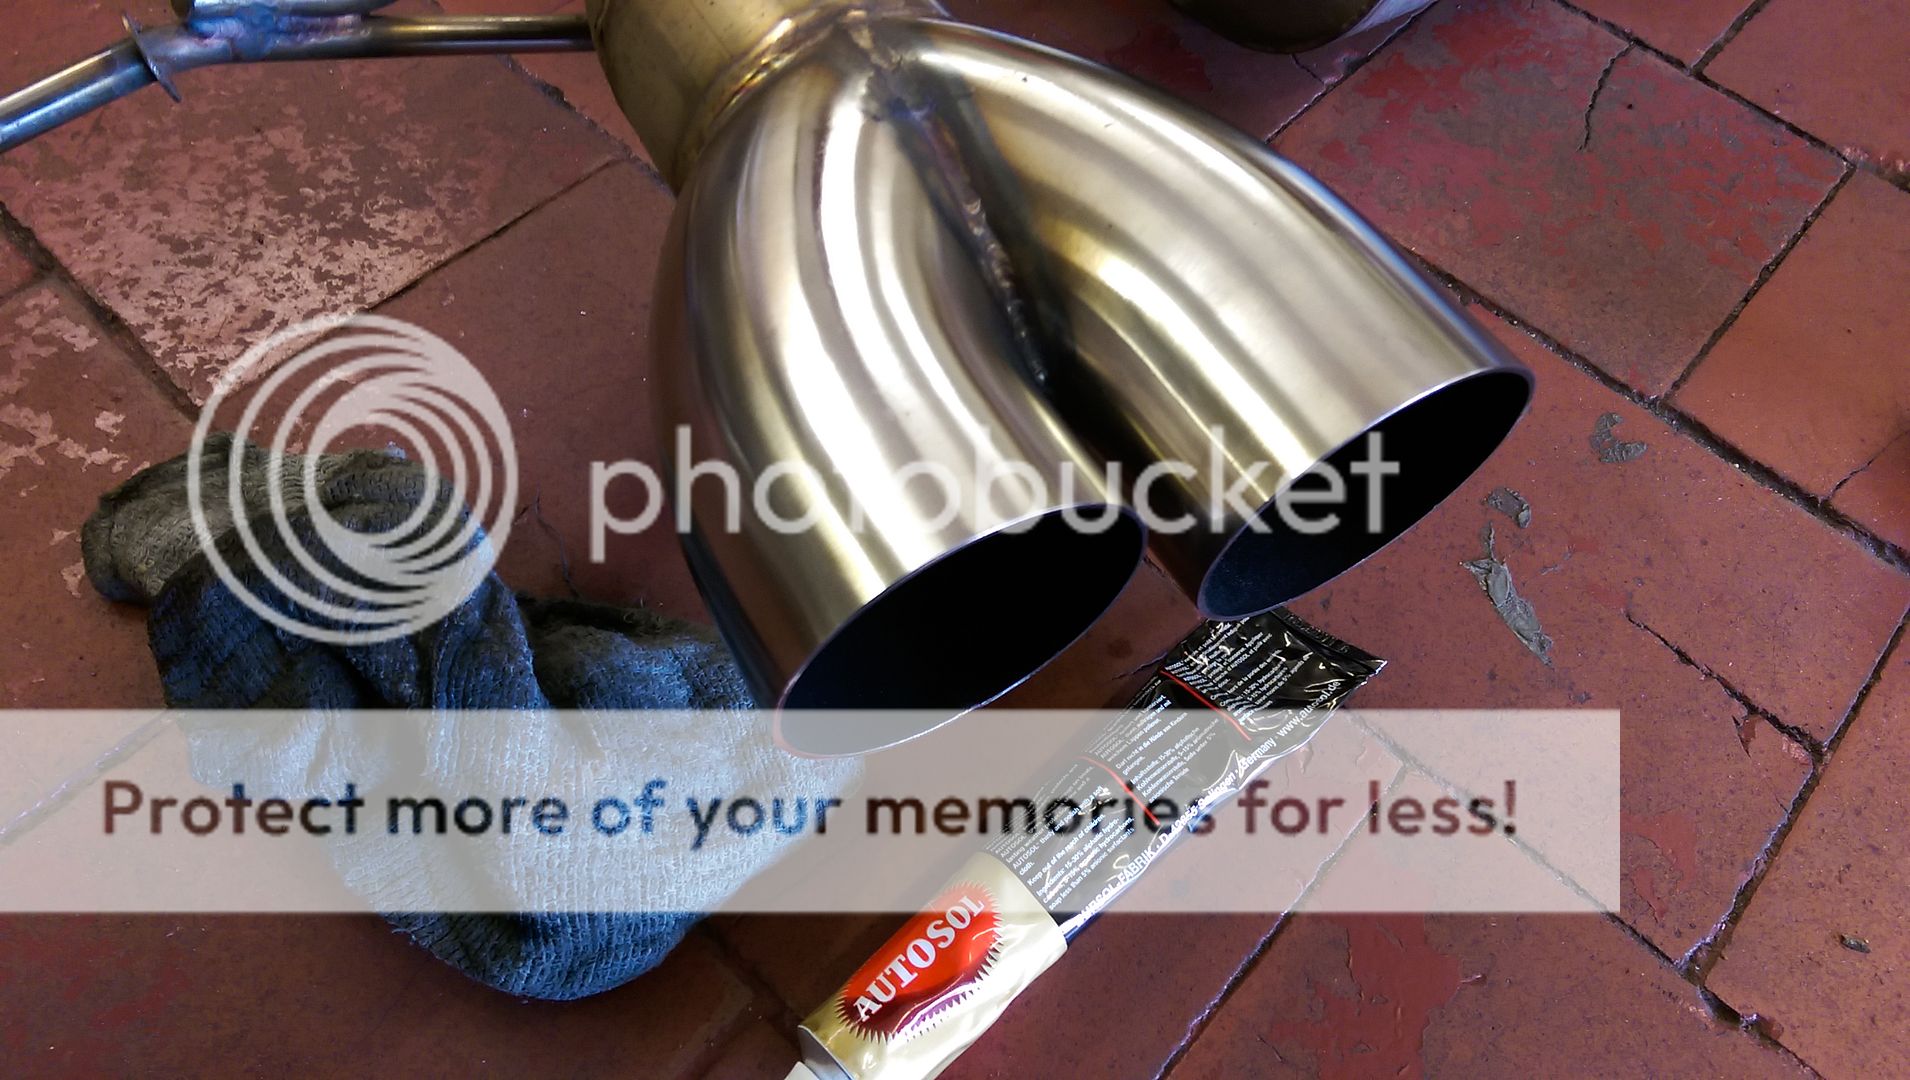
Polished the tail pipe of course before refitting lol ;P
IMAG0206.jpg


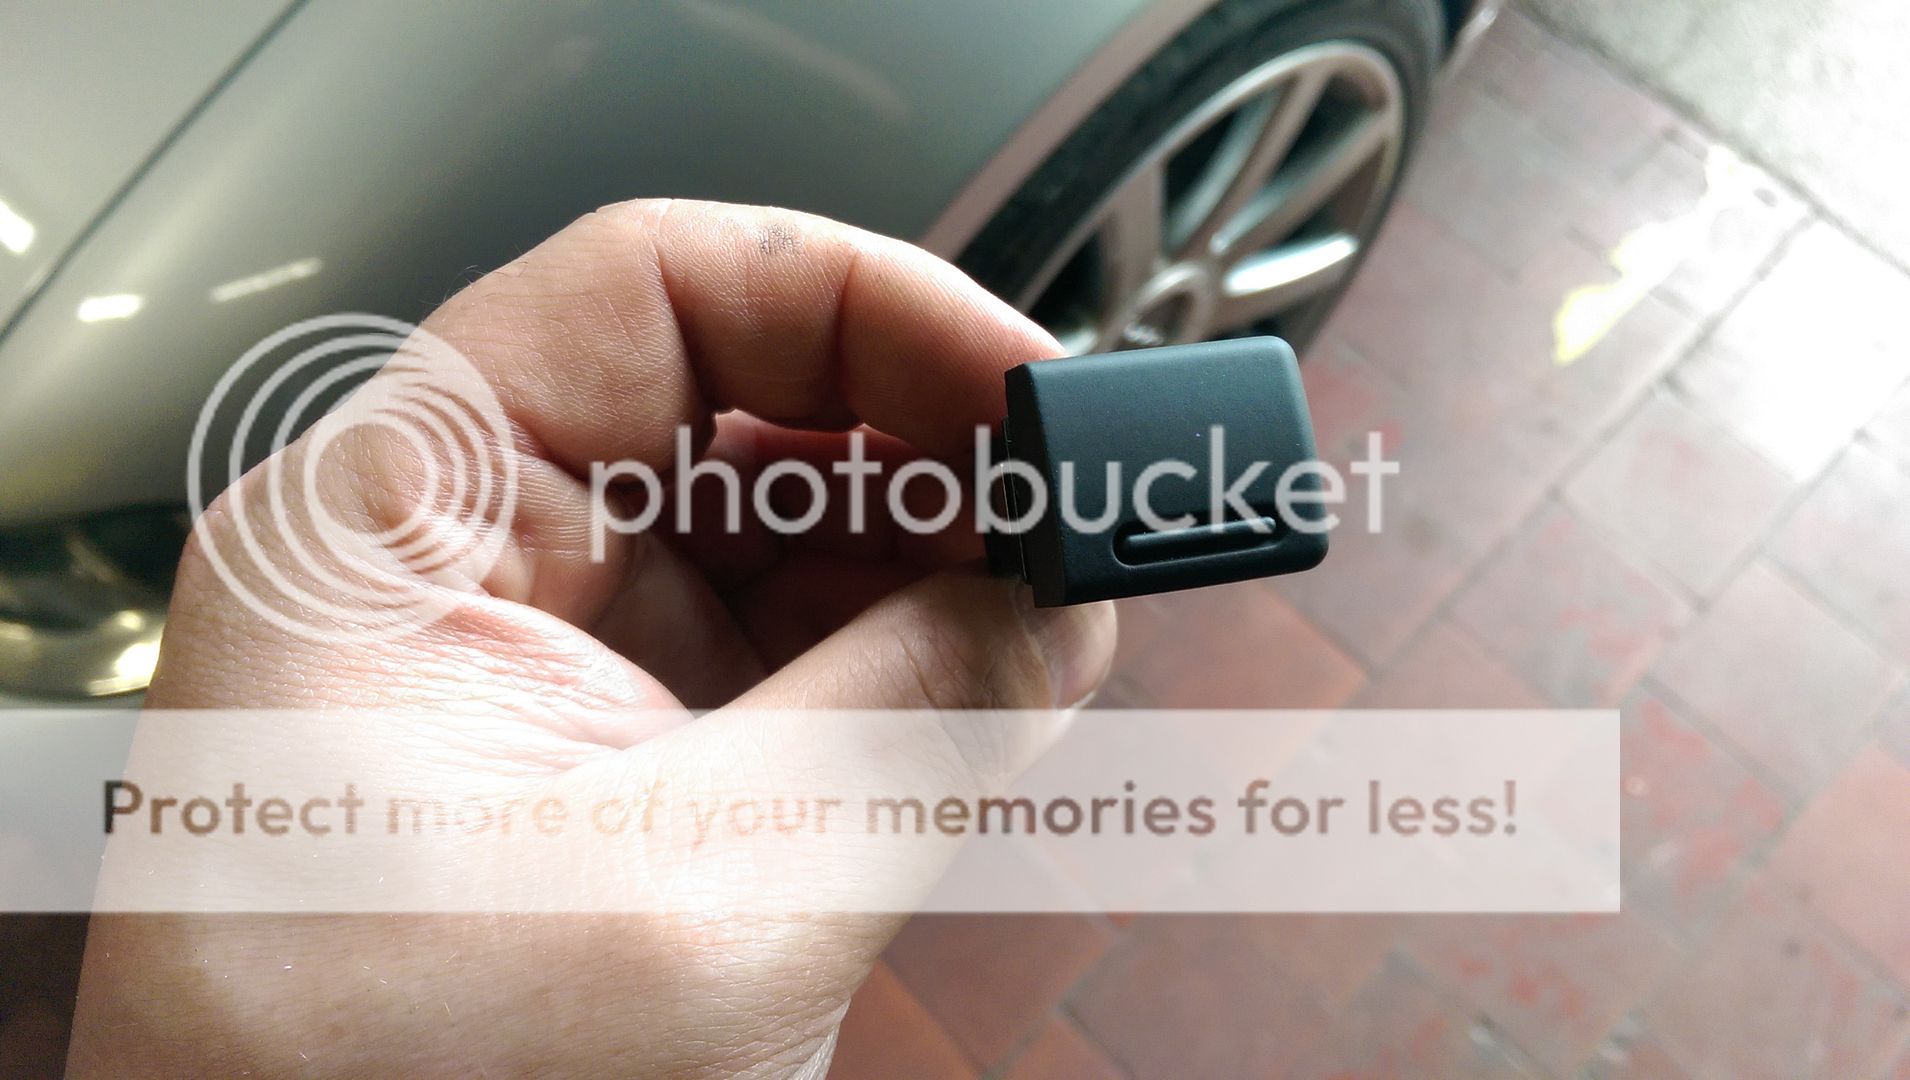
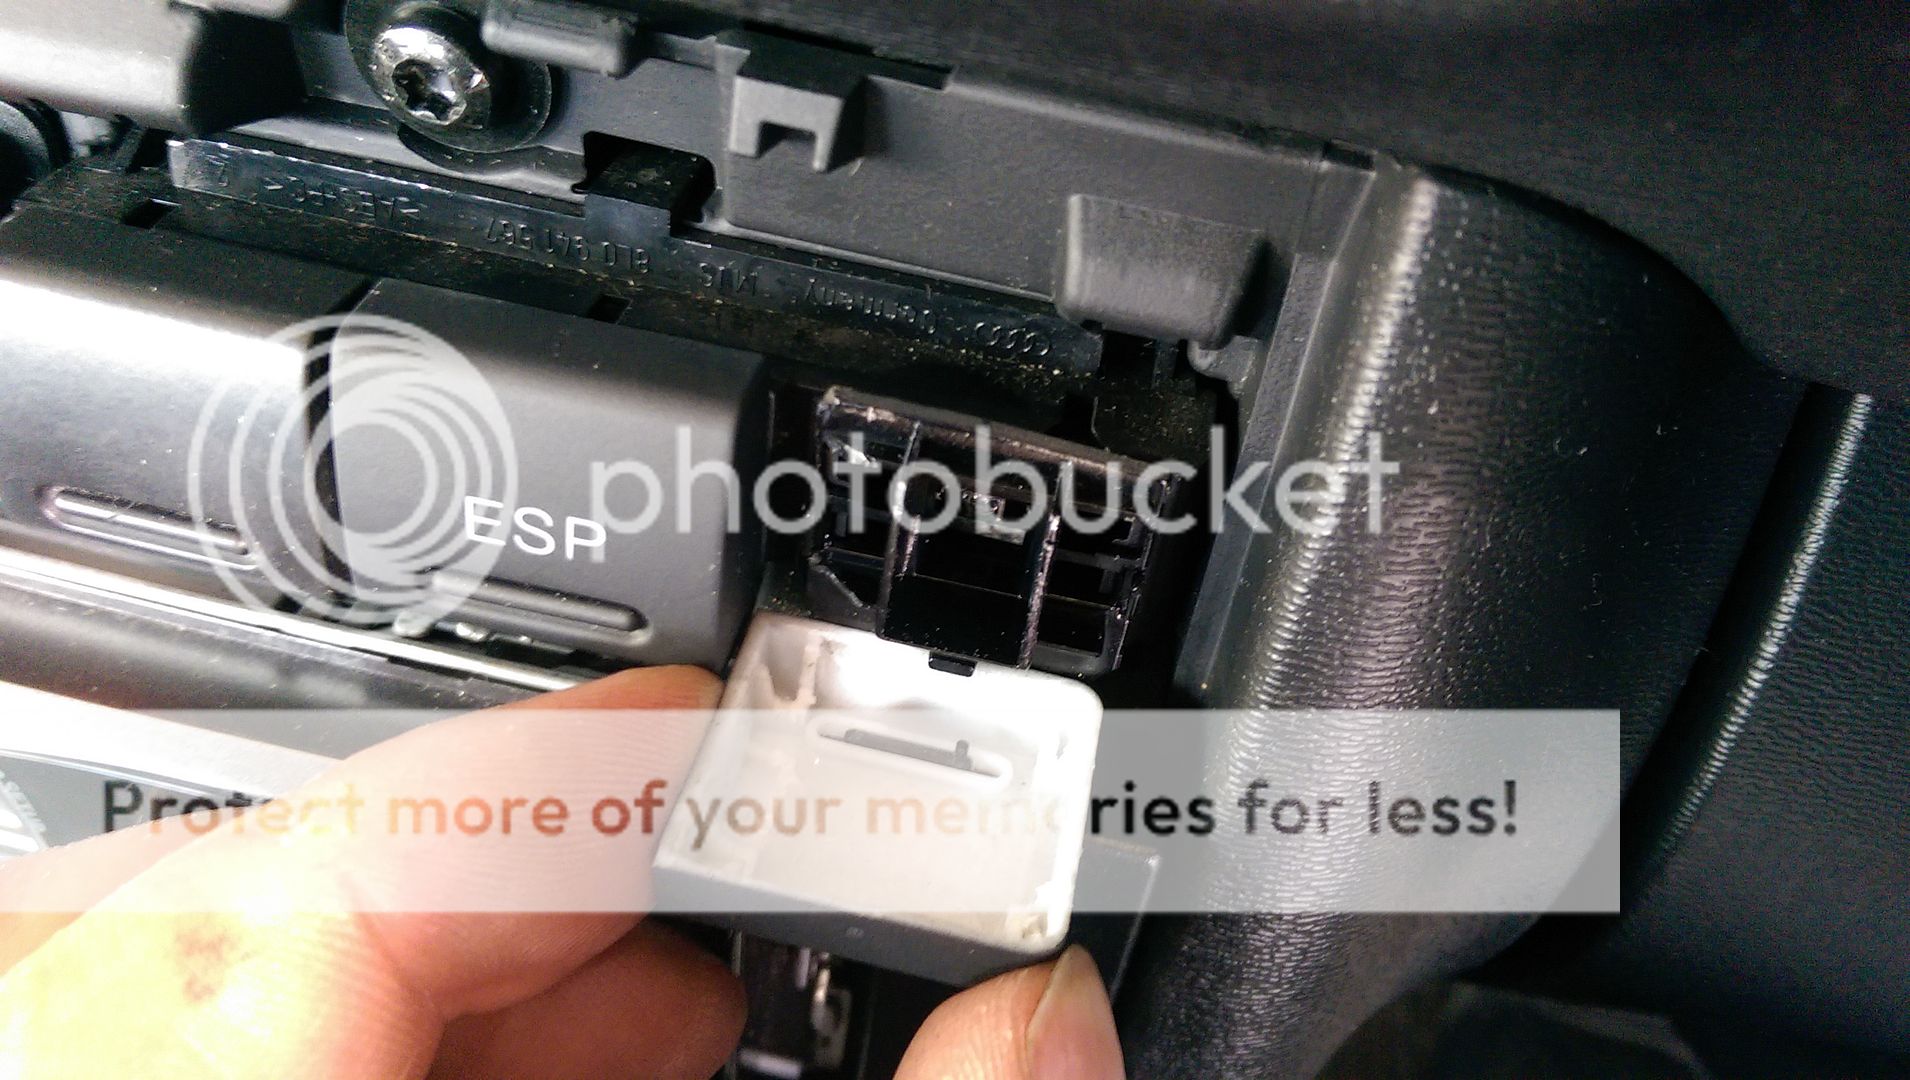
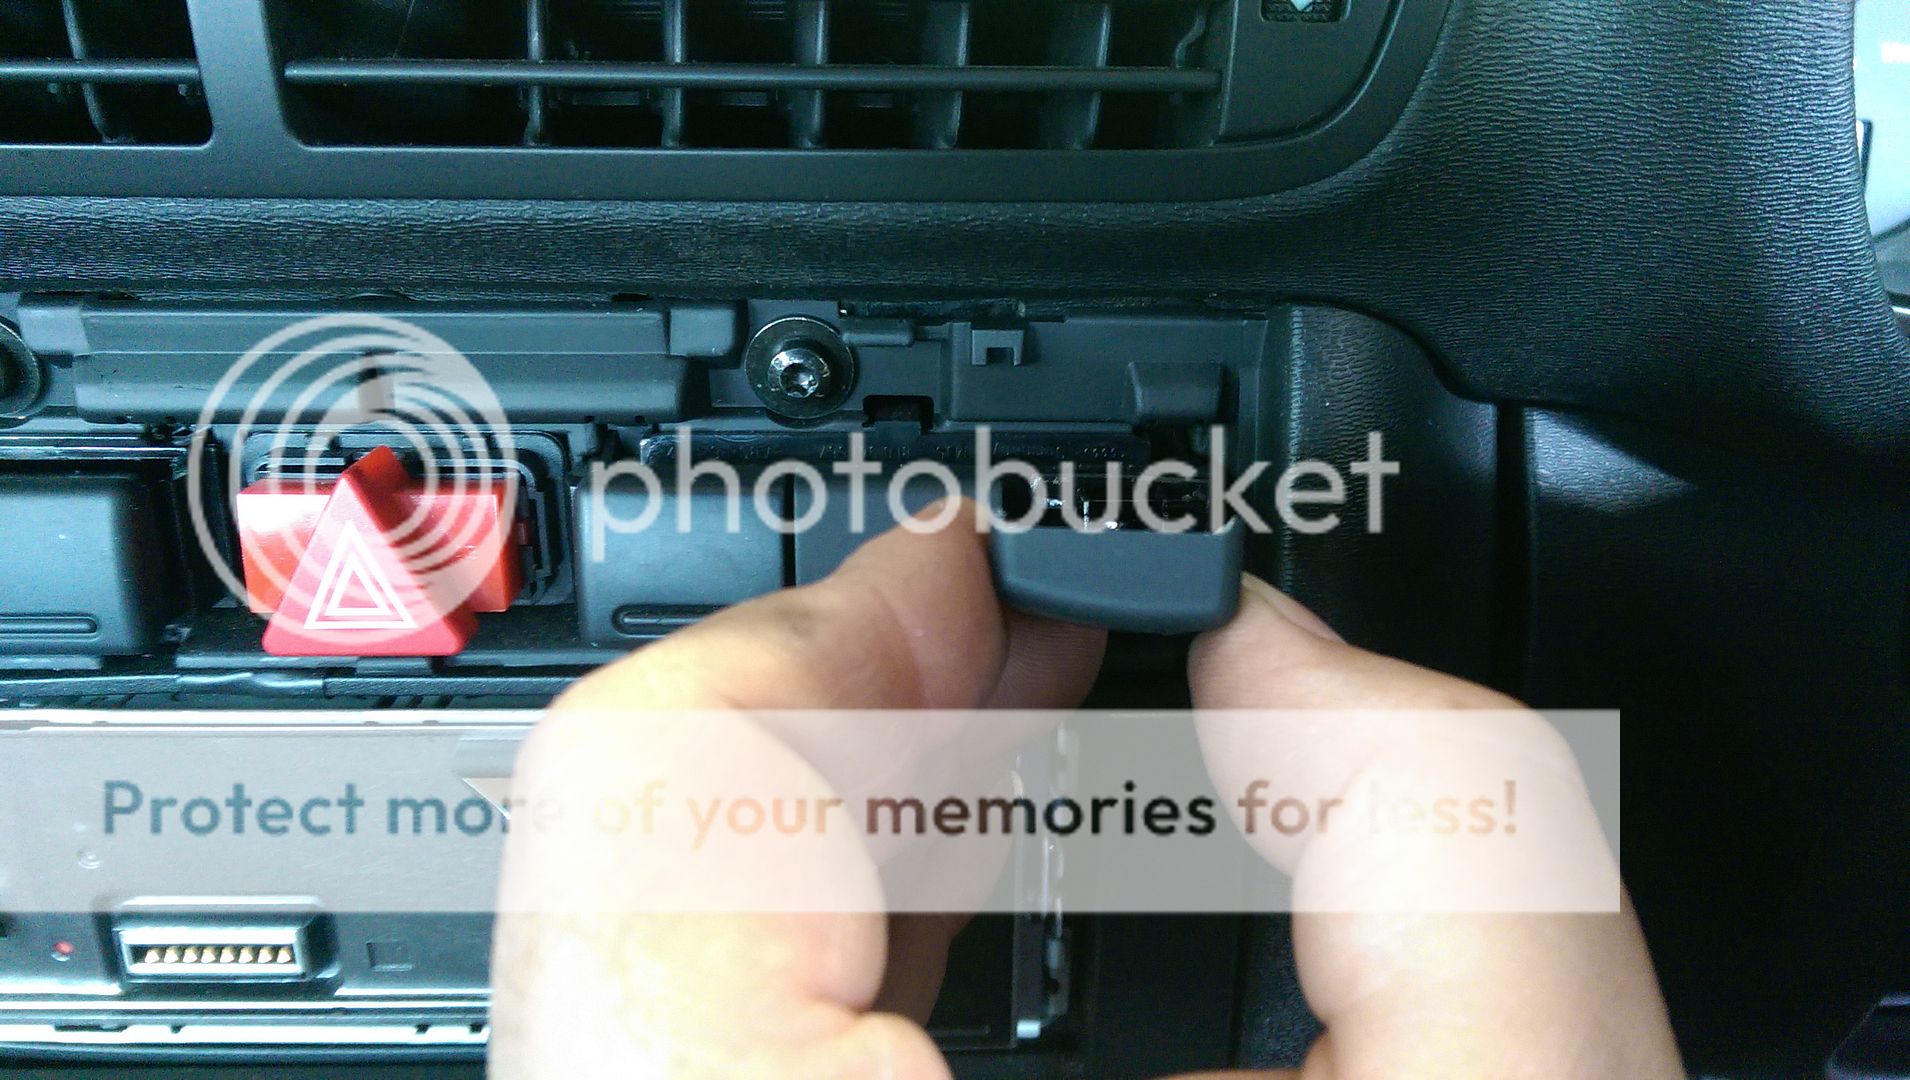
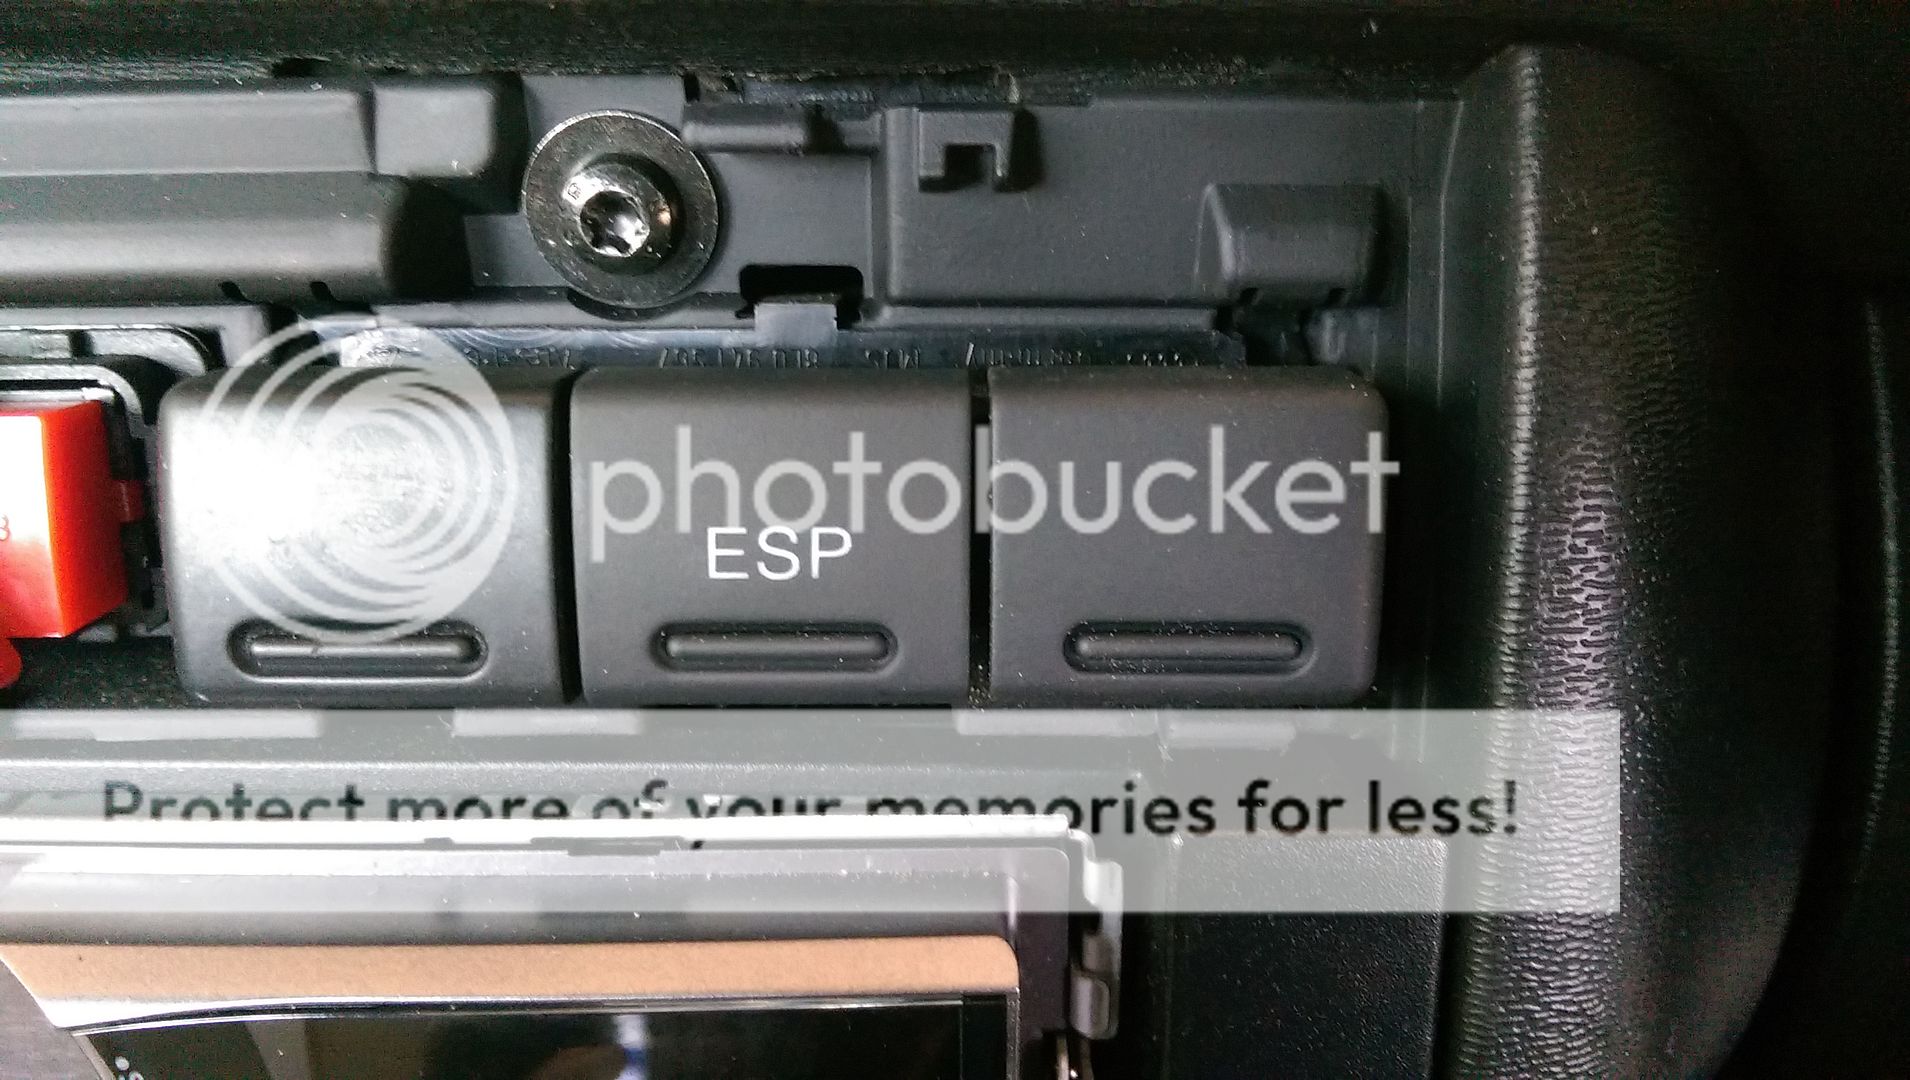
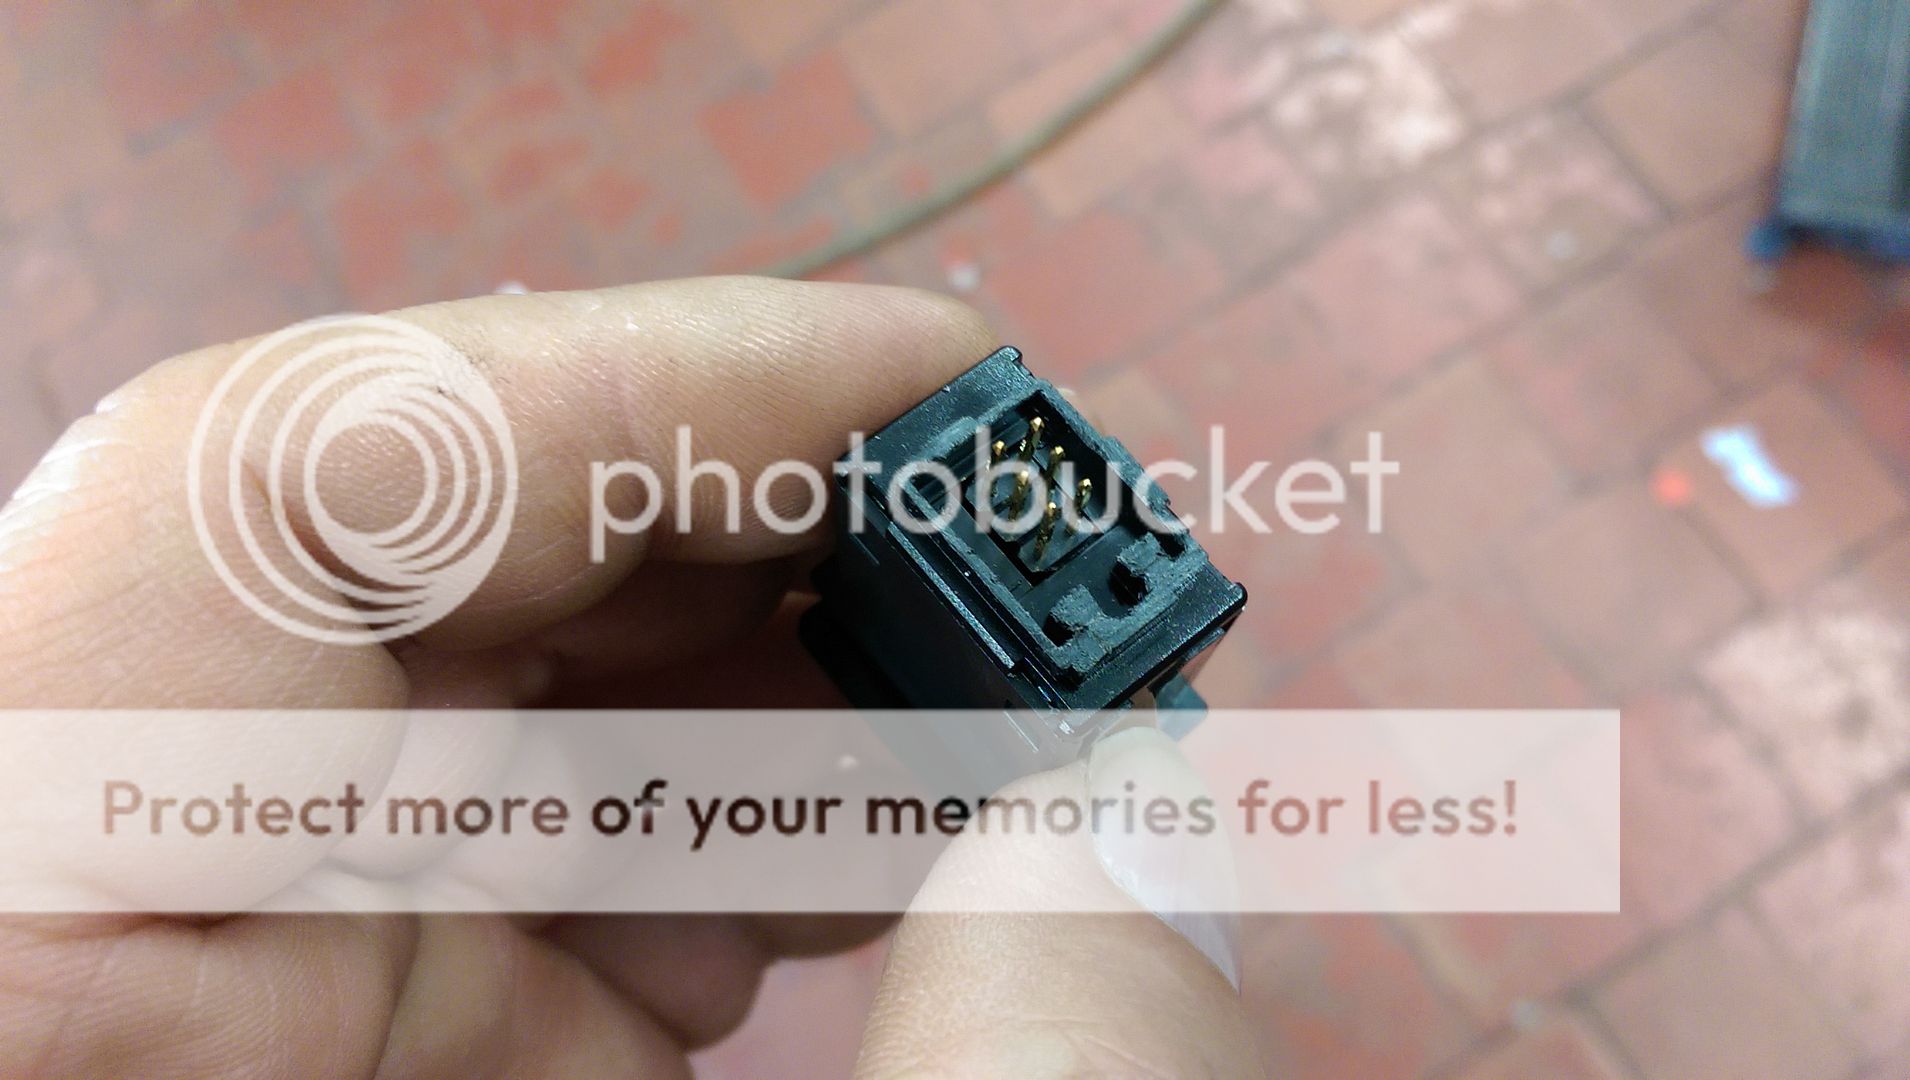
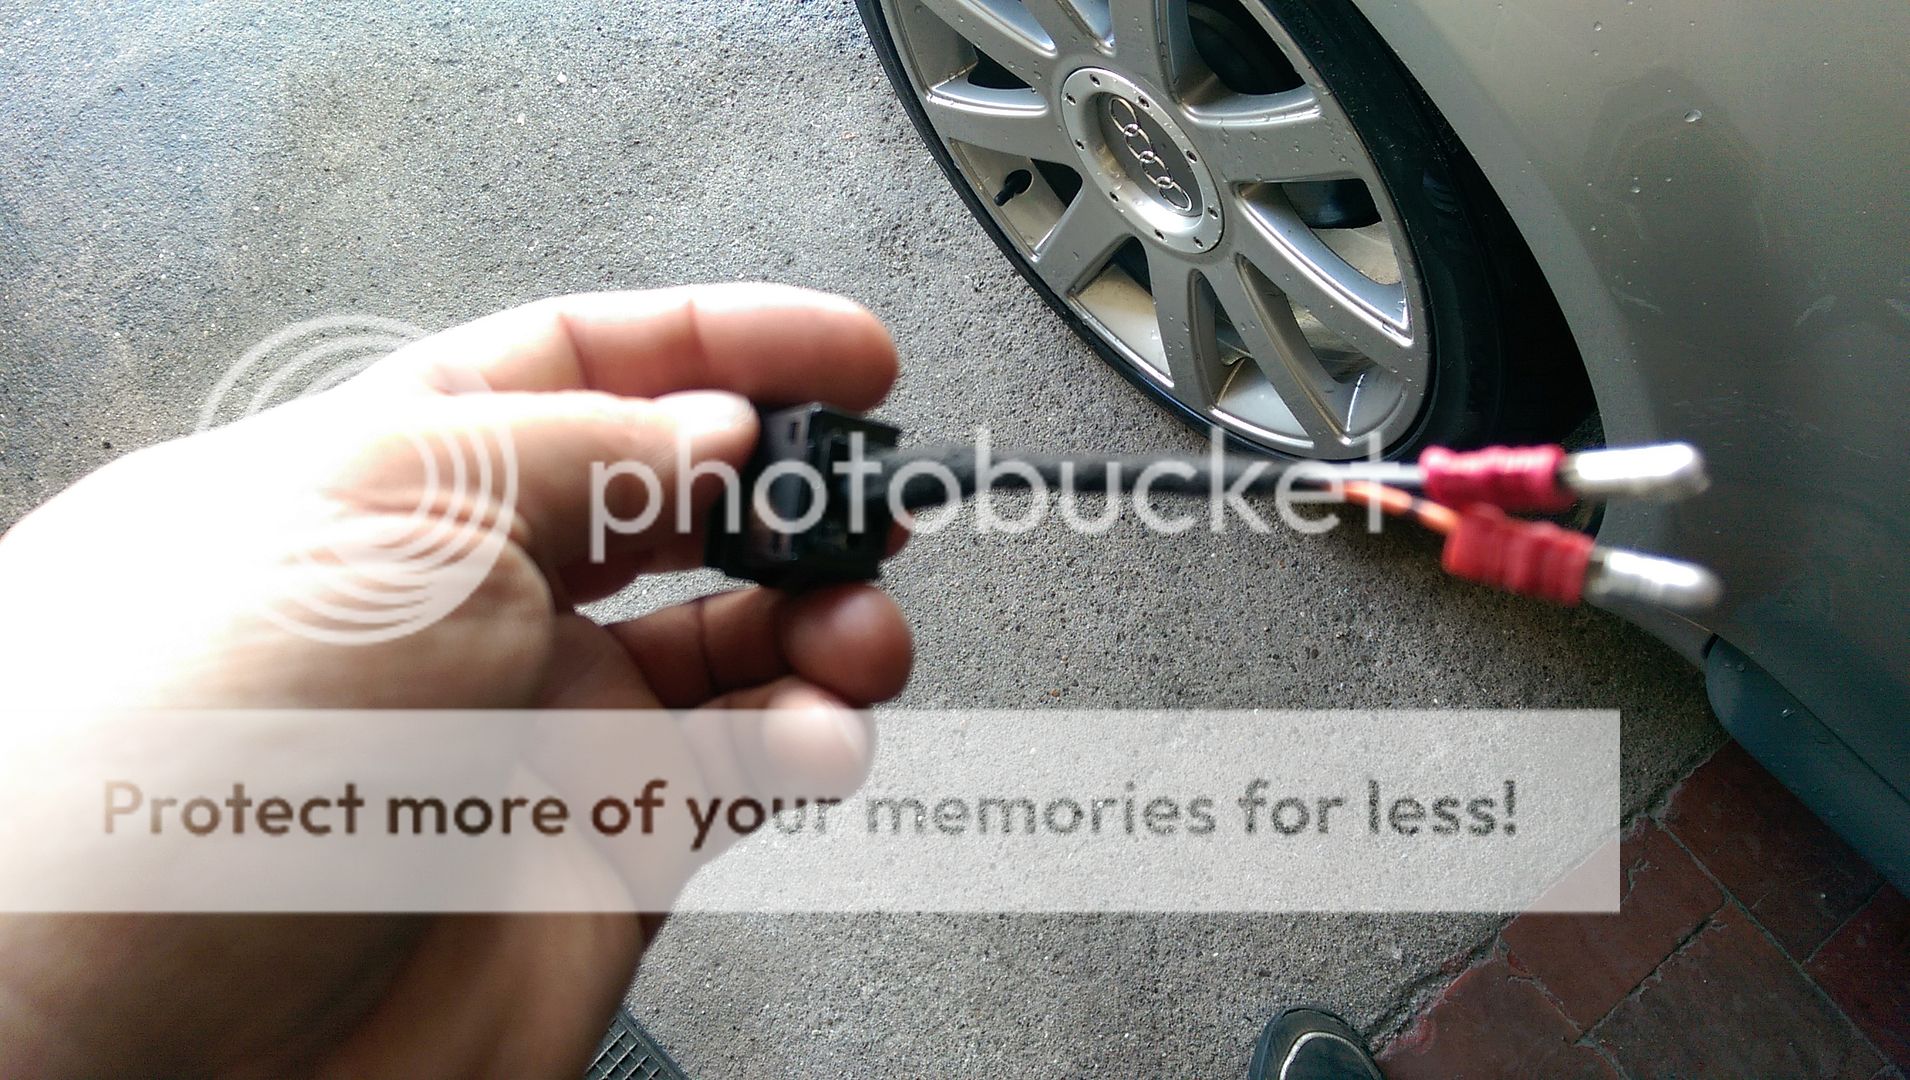
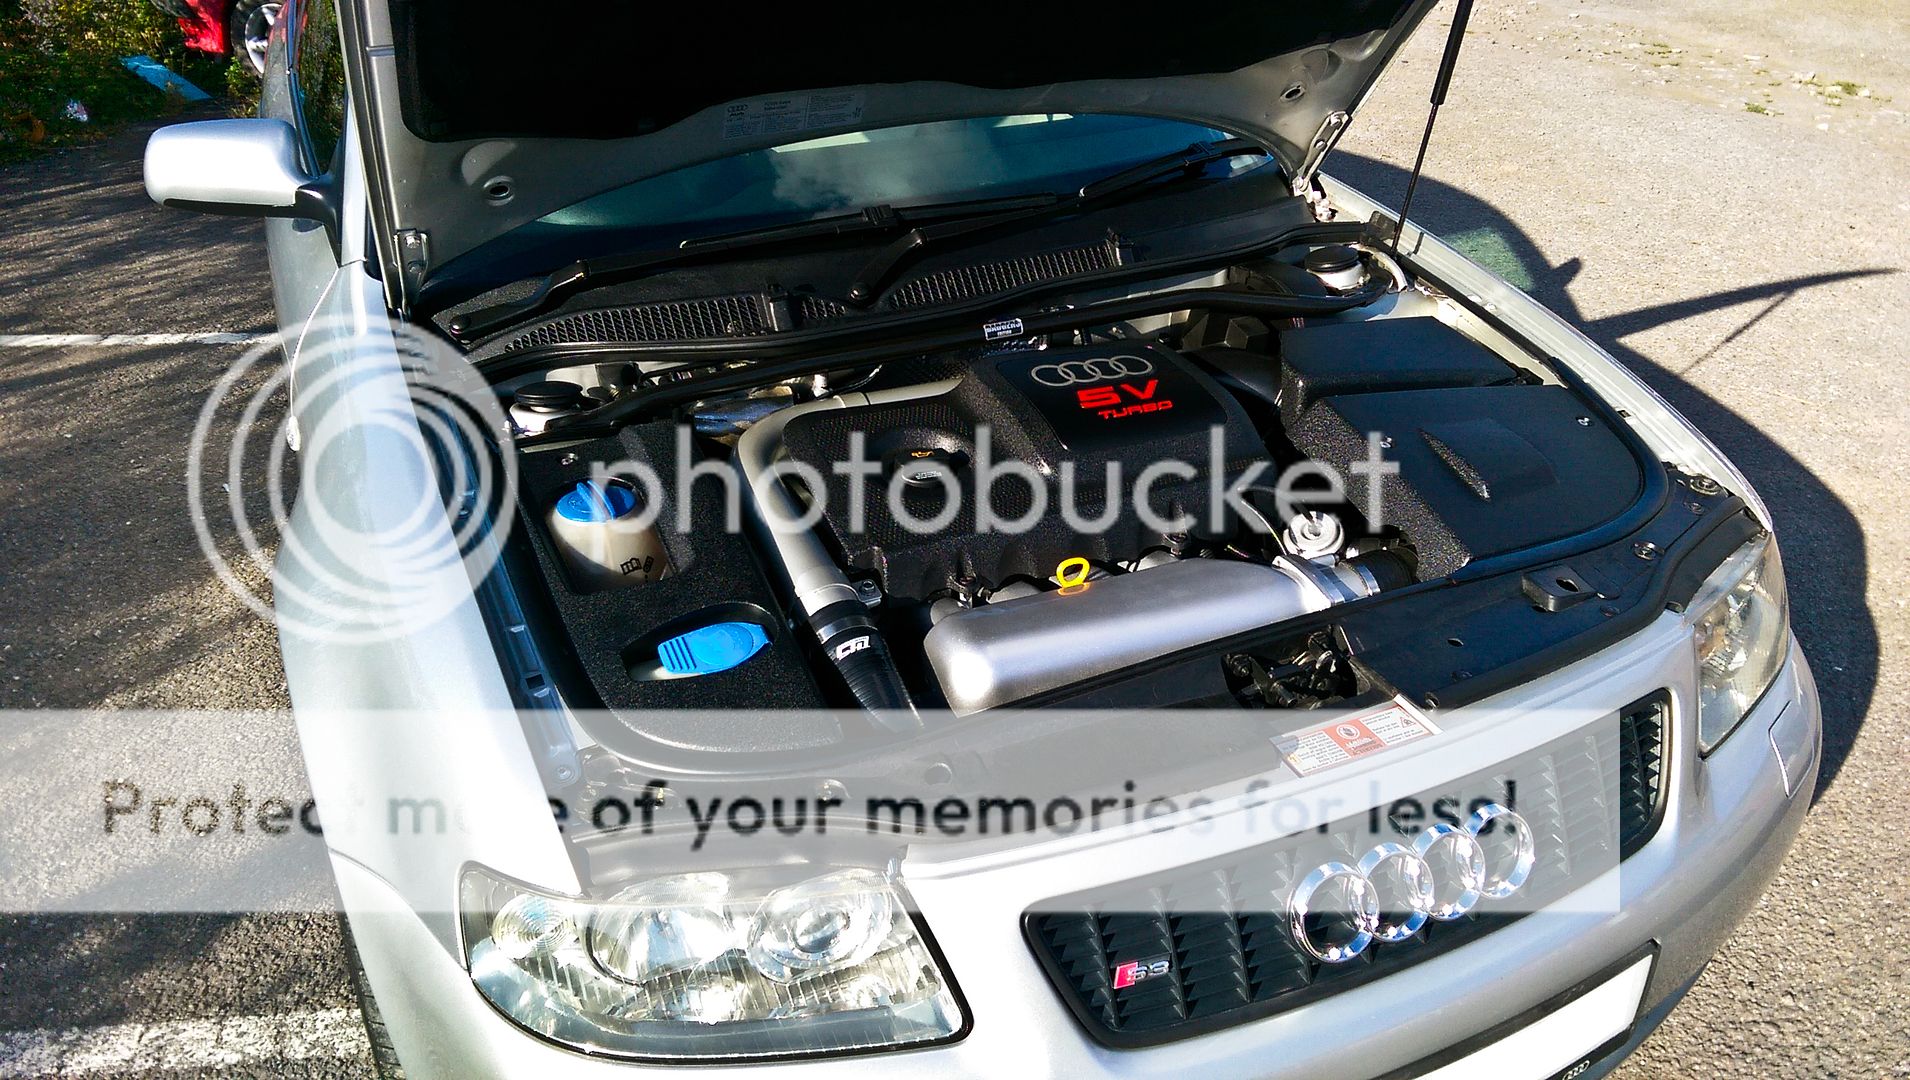
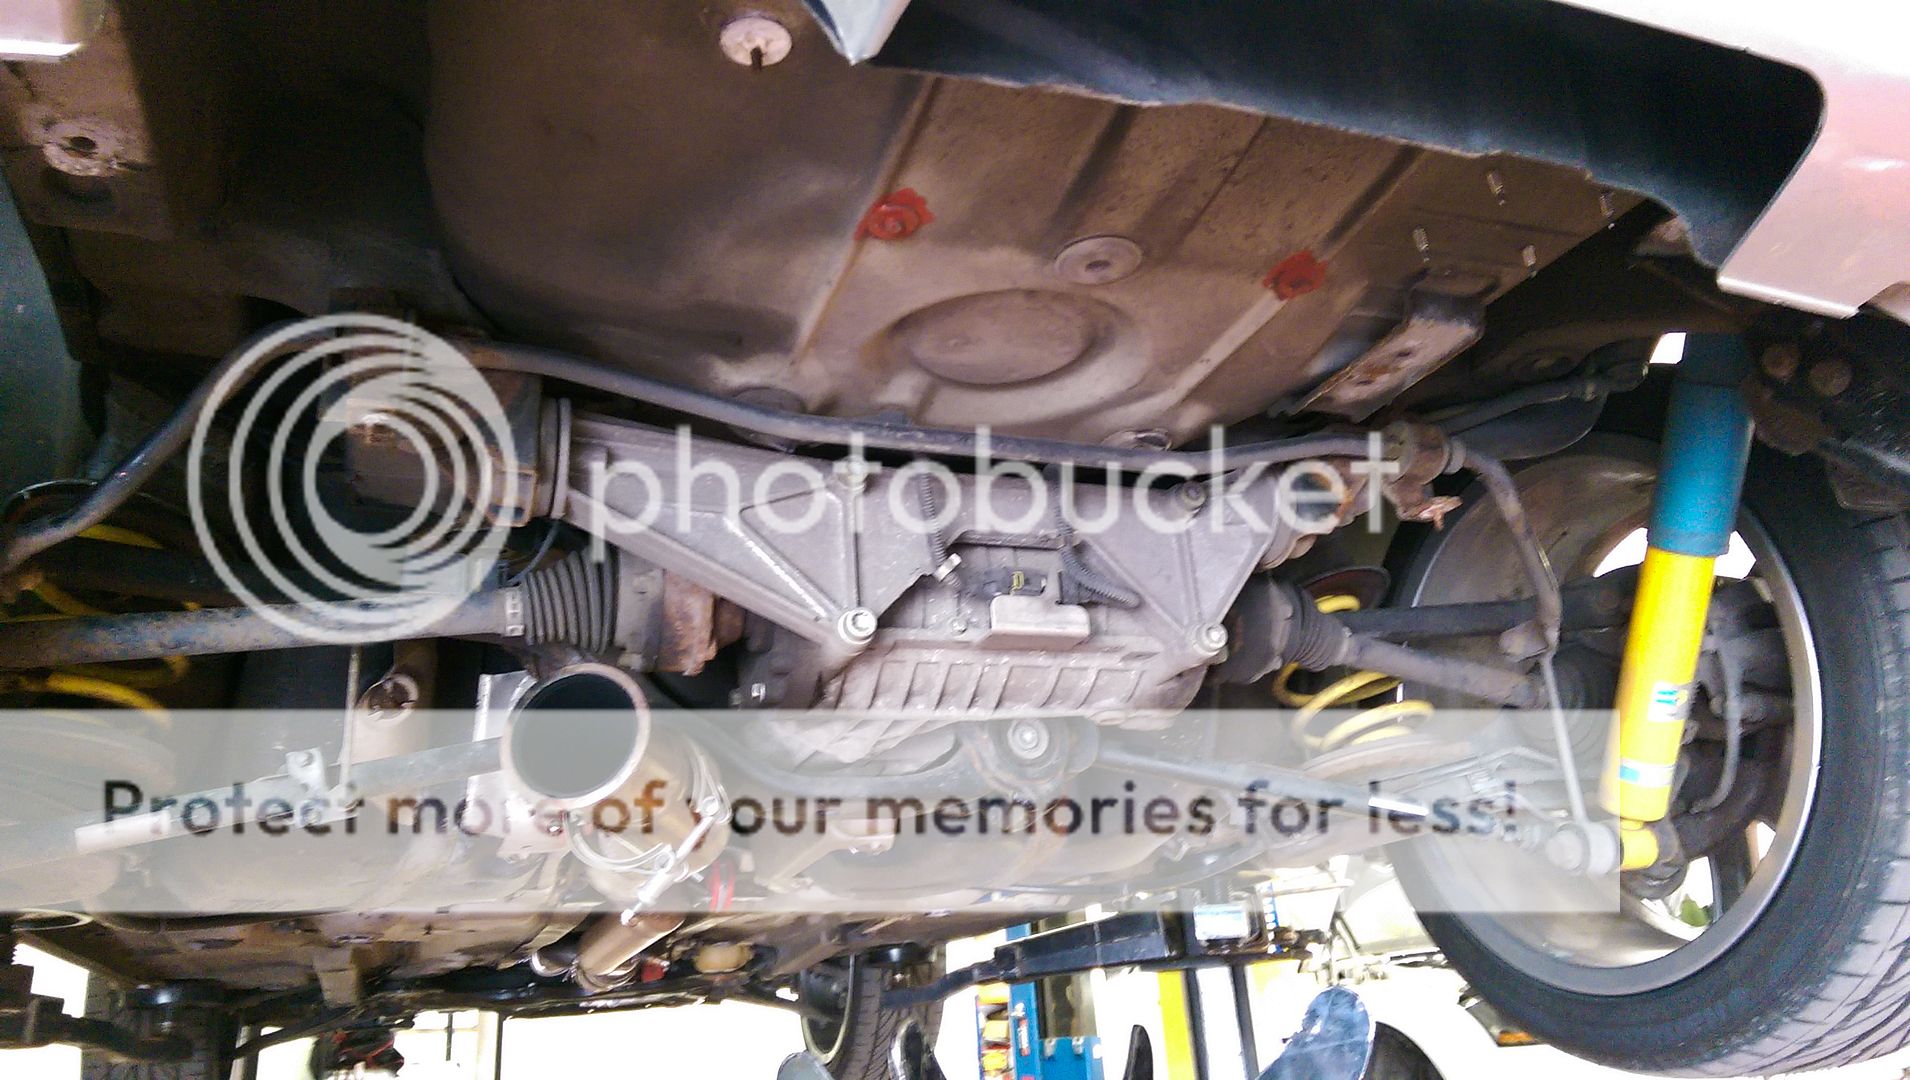
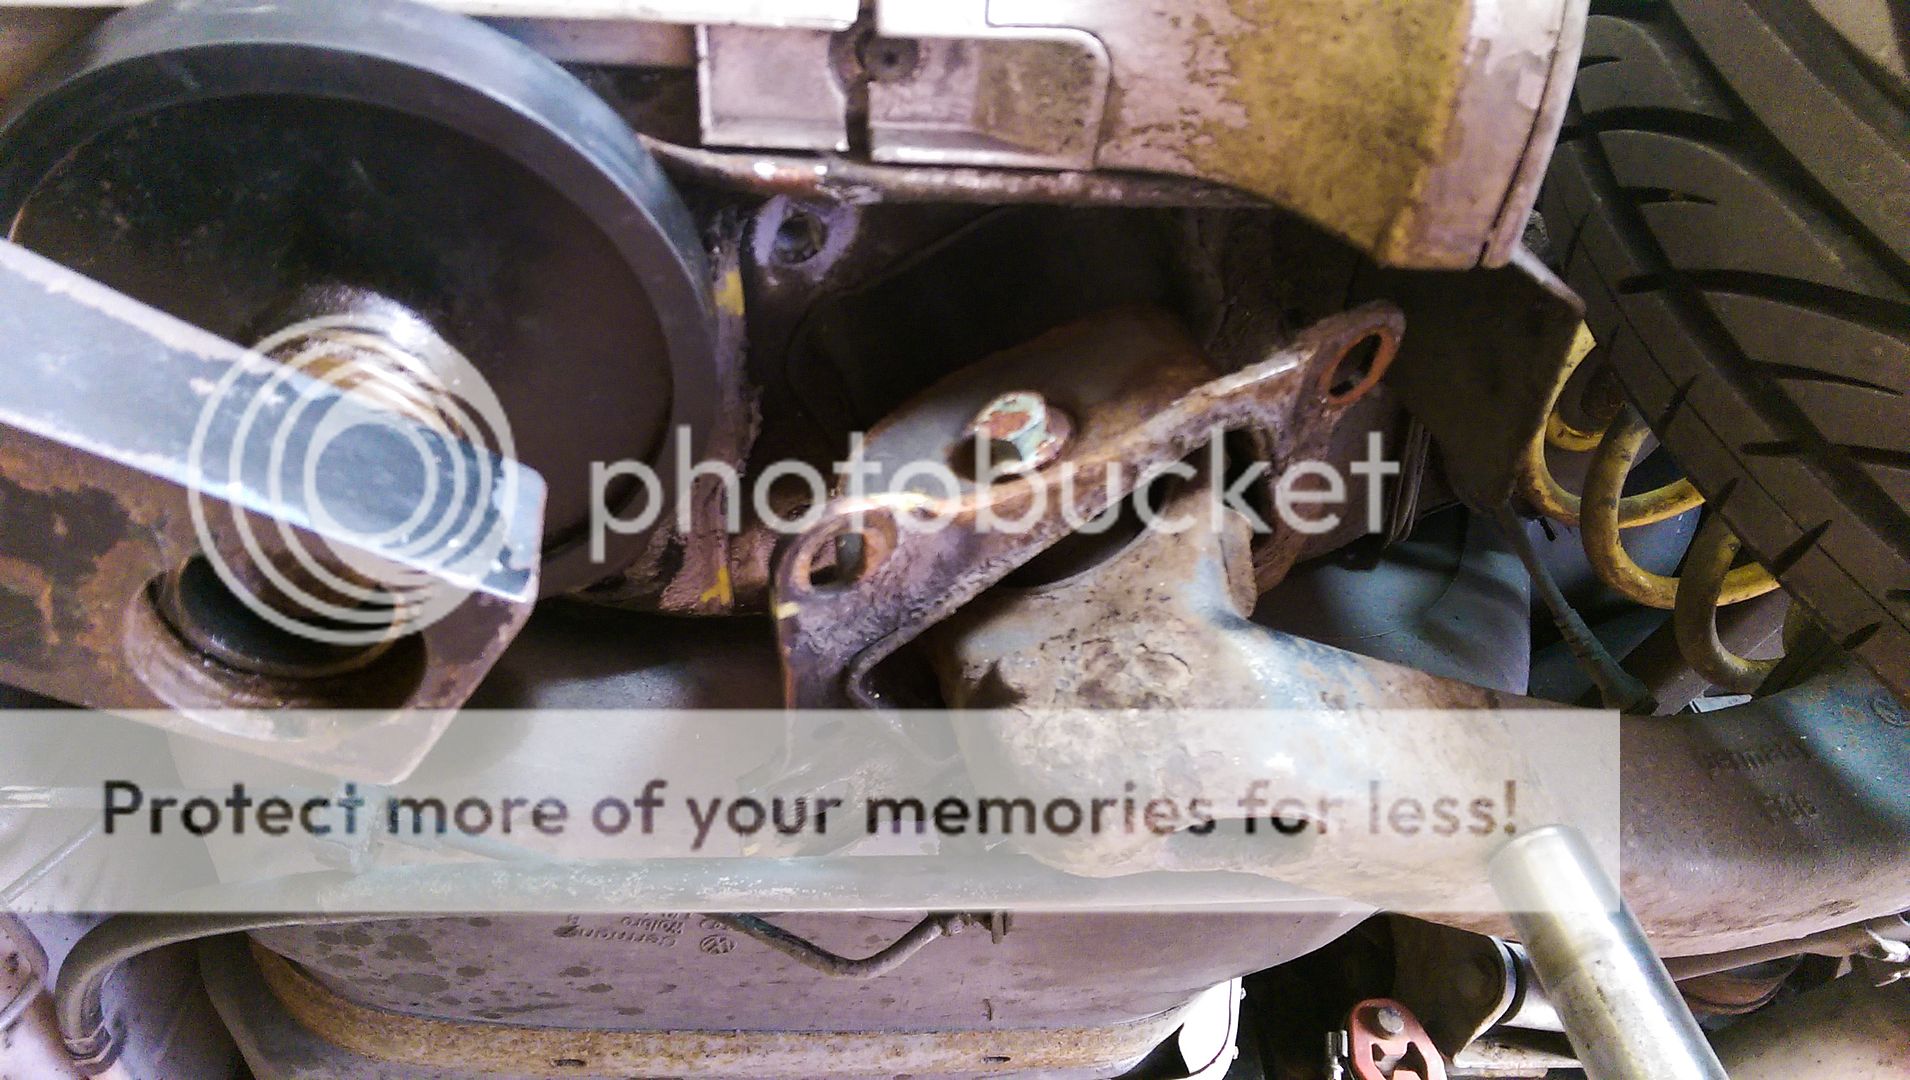
Then on to the front... which requires the subframe to be dropped... don't forget to do the Xenon level sensor...
IMAG0195.jpg


...and we are done :)
IMAG0198.jpg


Old 20mm ARB next to the 23mm ARB...
IMAG0199.jpg


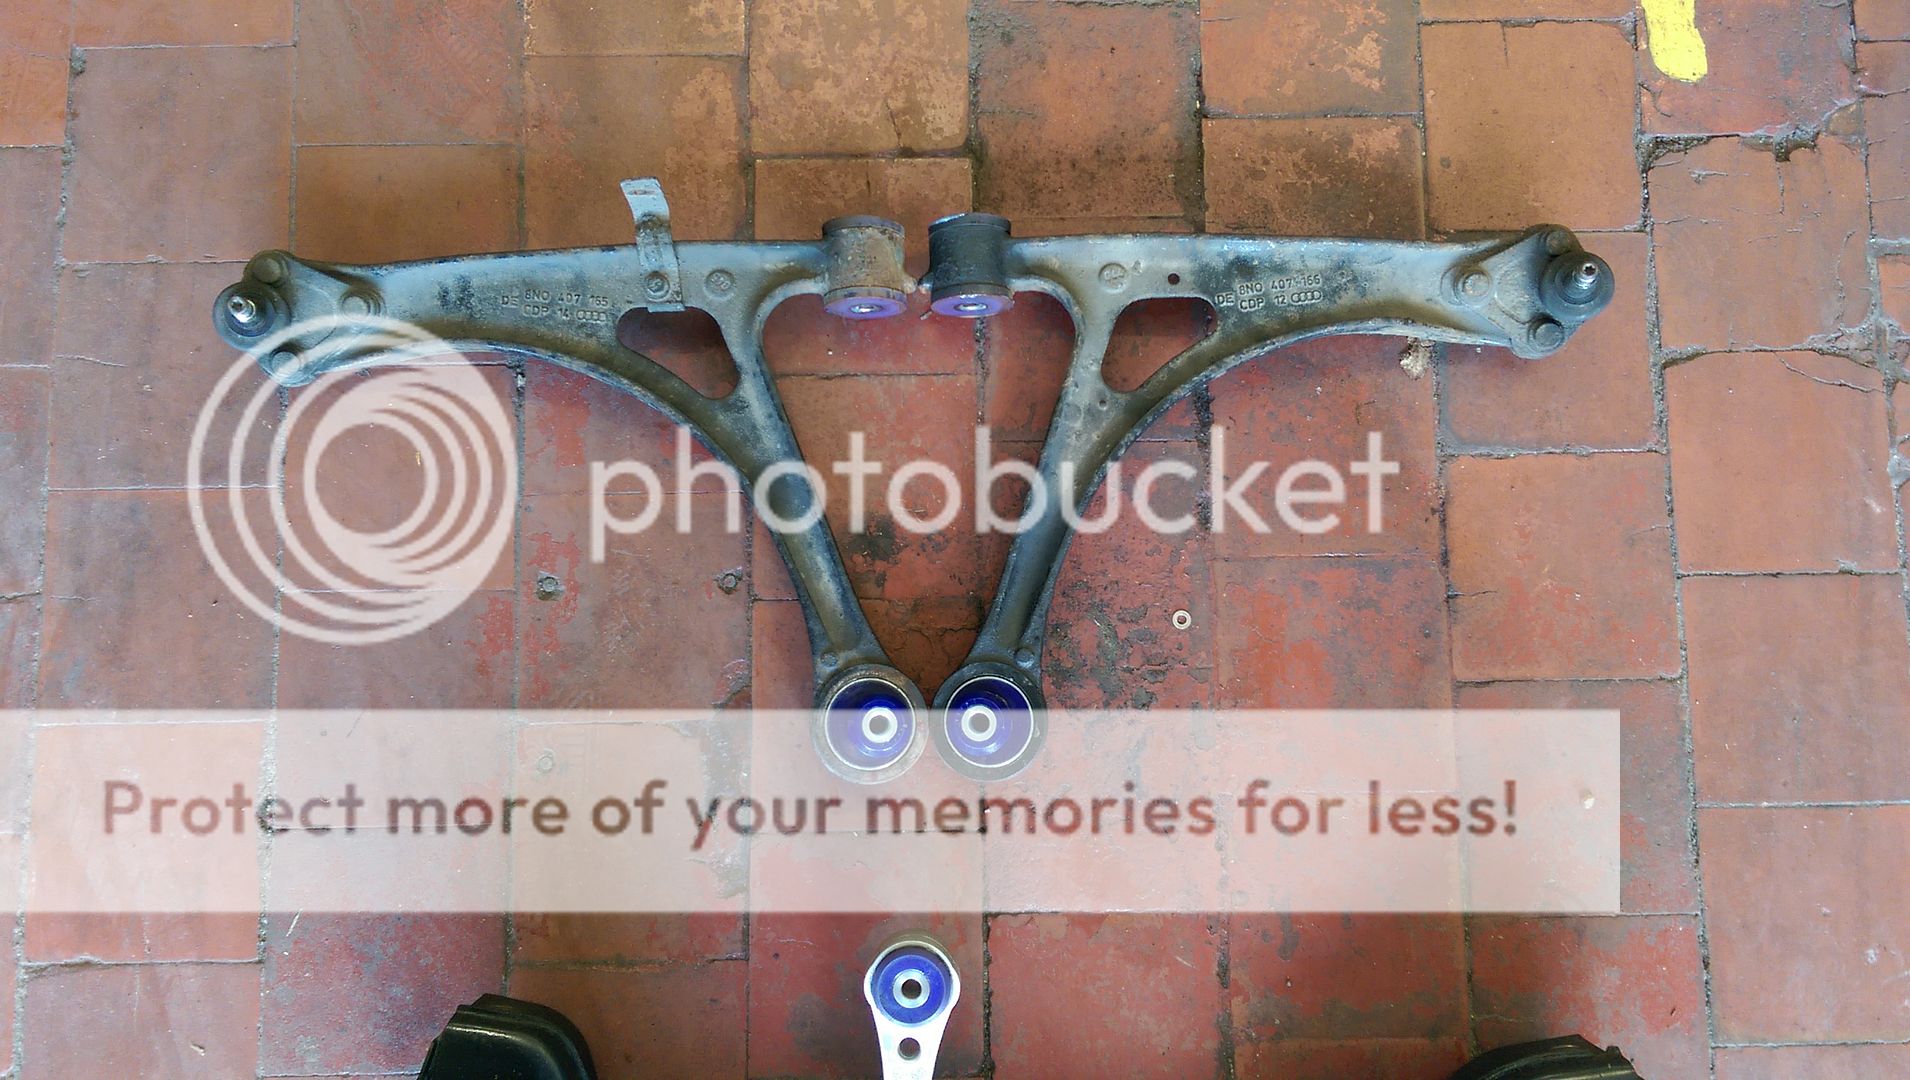
Gave the subframe a little clean...
IMAG0200.jpg


Using Prawns build thread as a reference (Prawn and BigAls A3 Track Car - Post 3233)... I fitted the caster bushes...
IMAG0203.jpg


...then fitted them to the subframe as well as the new ARB...
IMAG0208.jpg


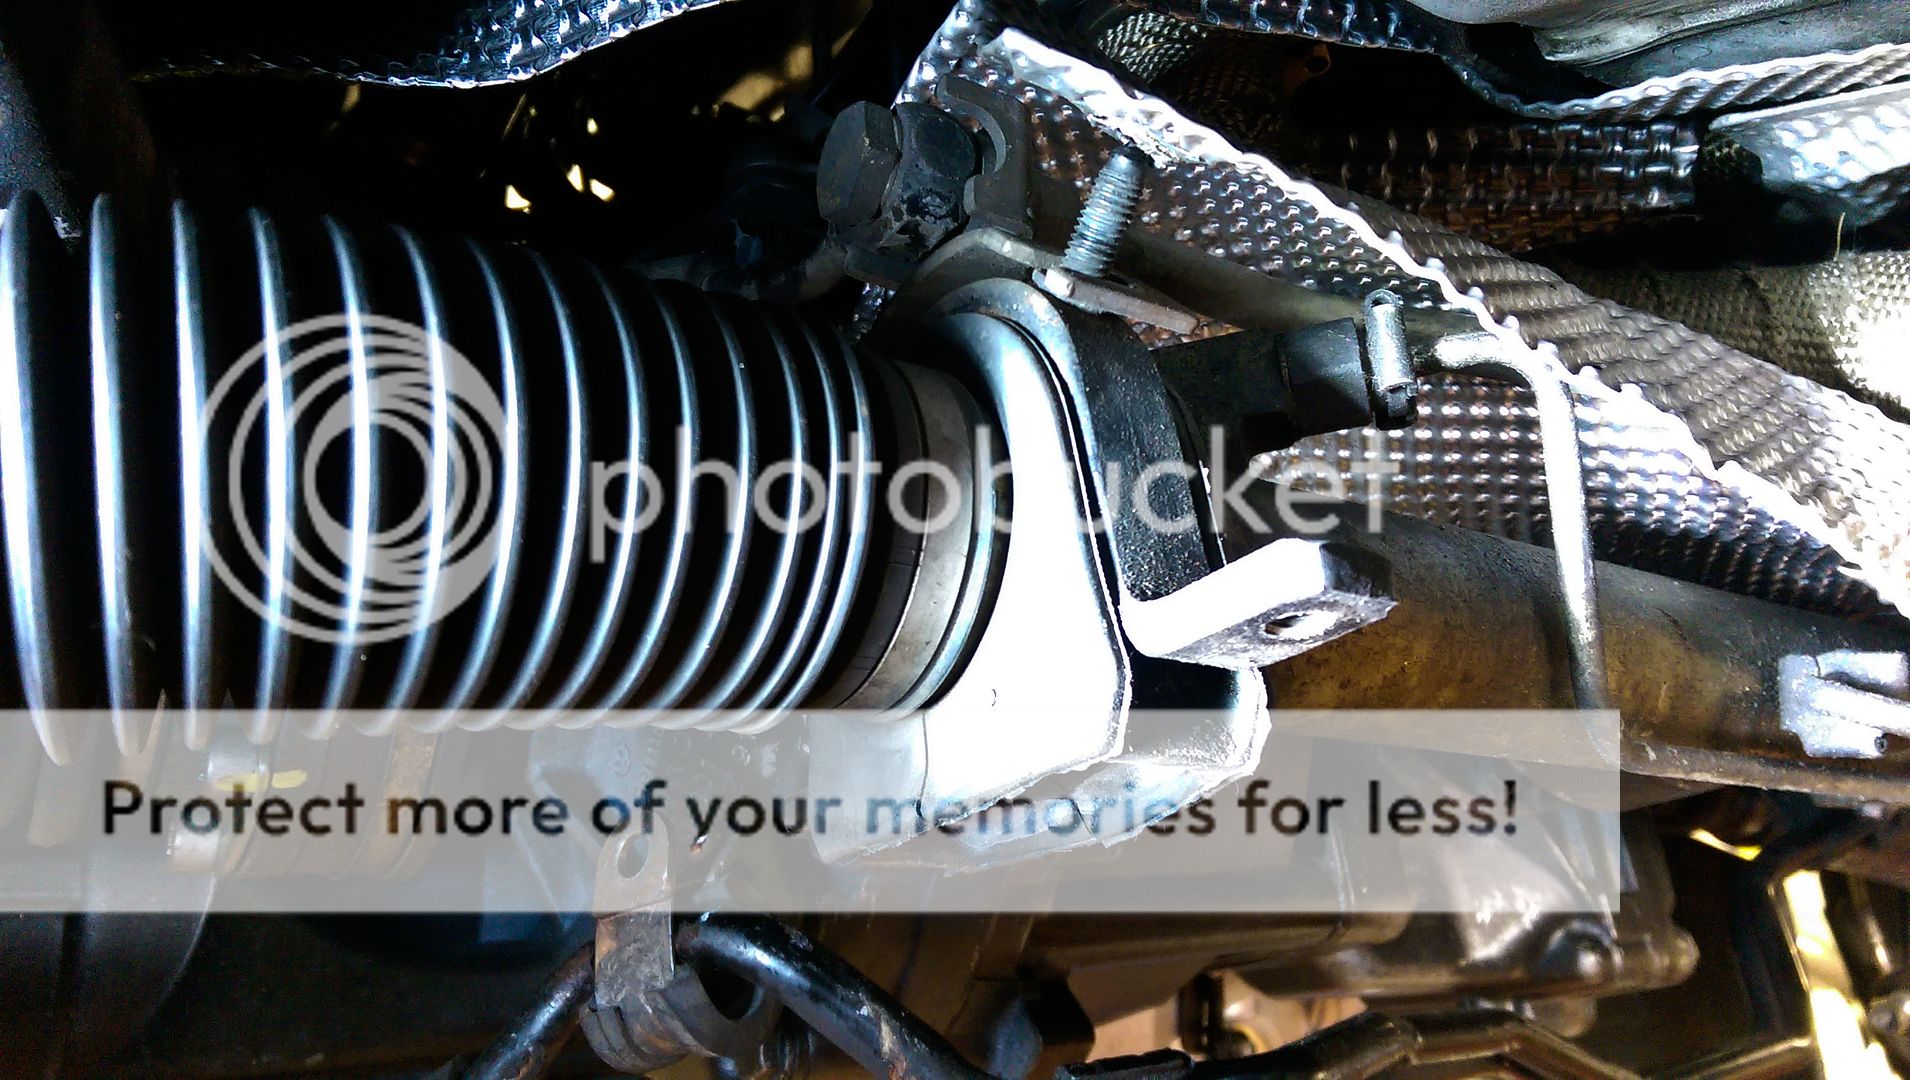
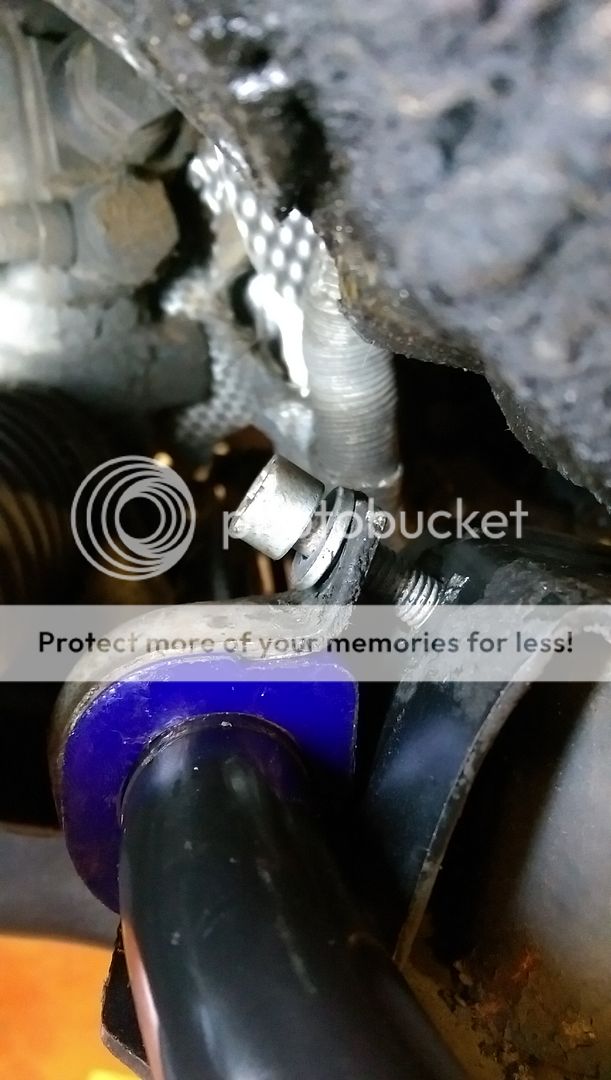
Next job was to swap the steering rack bush... which was an absolute ball ache to do... and not really that convinced its required but it was inexpensive and worth a punt...
IMAG0207.jpg


IMAG0209.jpg


One thing I had forgotten about the last time I fitted R32 ARB's to an S3 was that its next to impossible to get the rack to sit under the ARB while its in place...
IMAG0211.jpg


So had to undo the bush clamp so the ARB could be lifted out the way... :(
IMAG0212.jpg


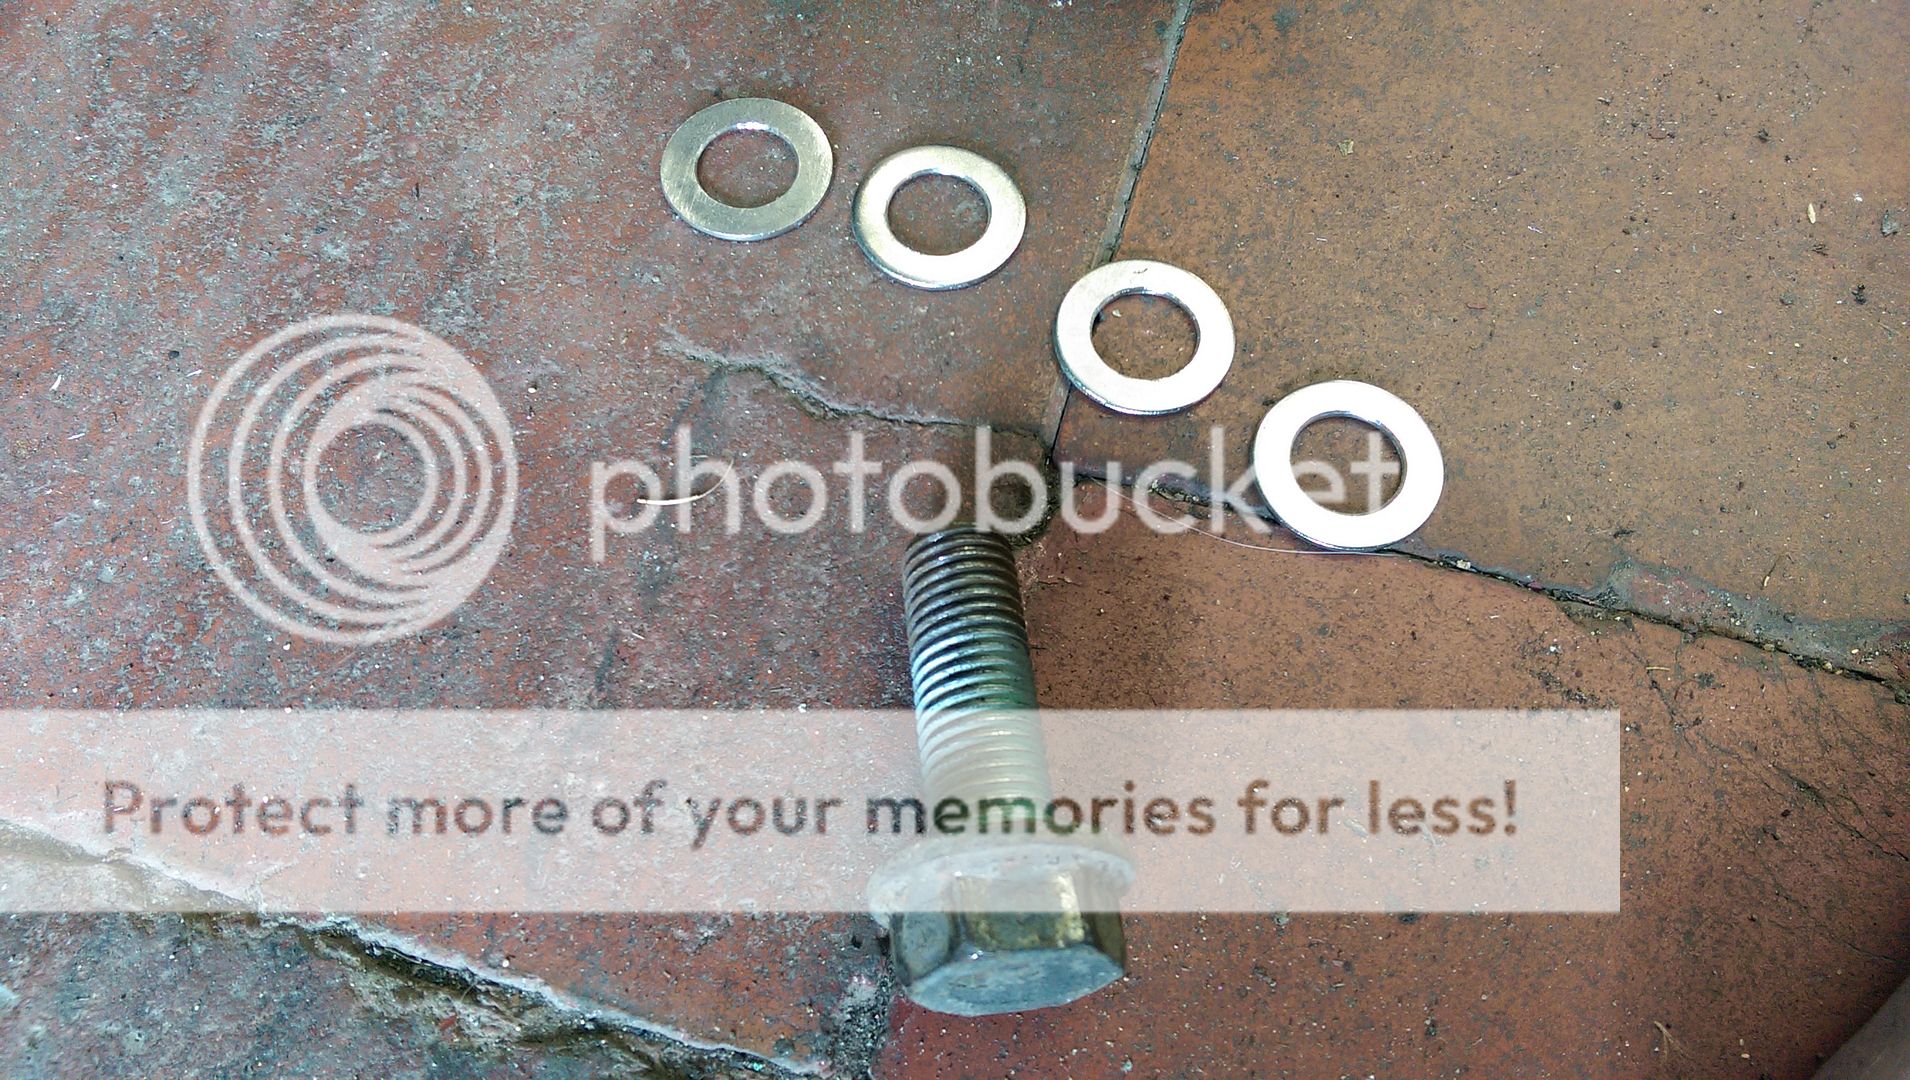
...which made refitting the rather short bolt pretty much impossible... so fitted a longer one instead...
IMAG0214.jpg


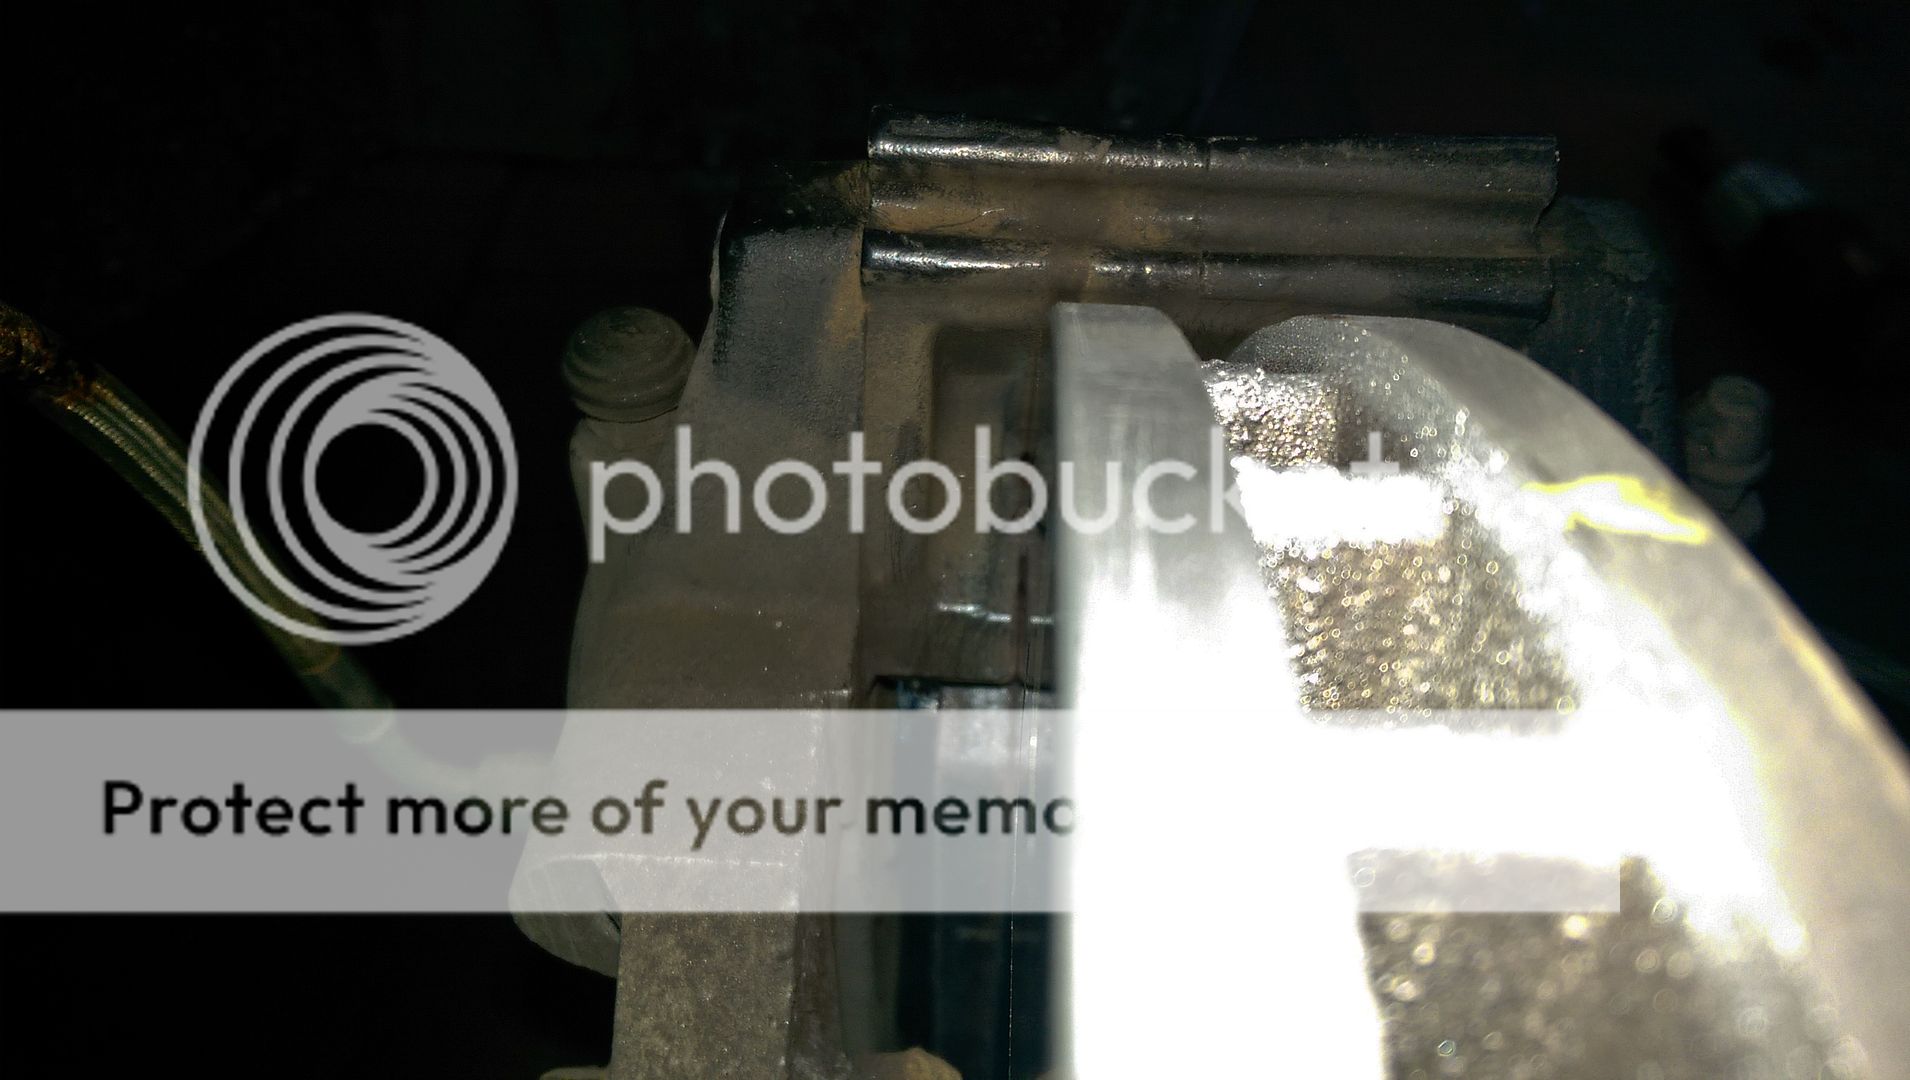
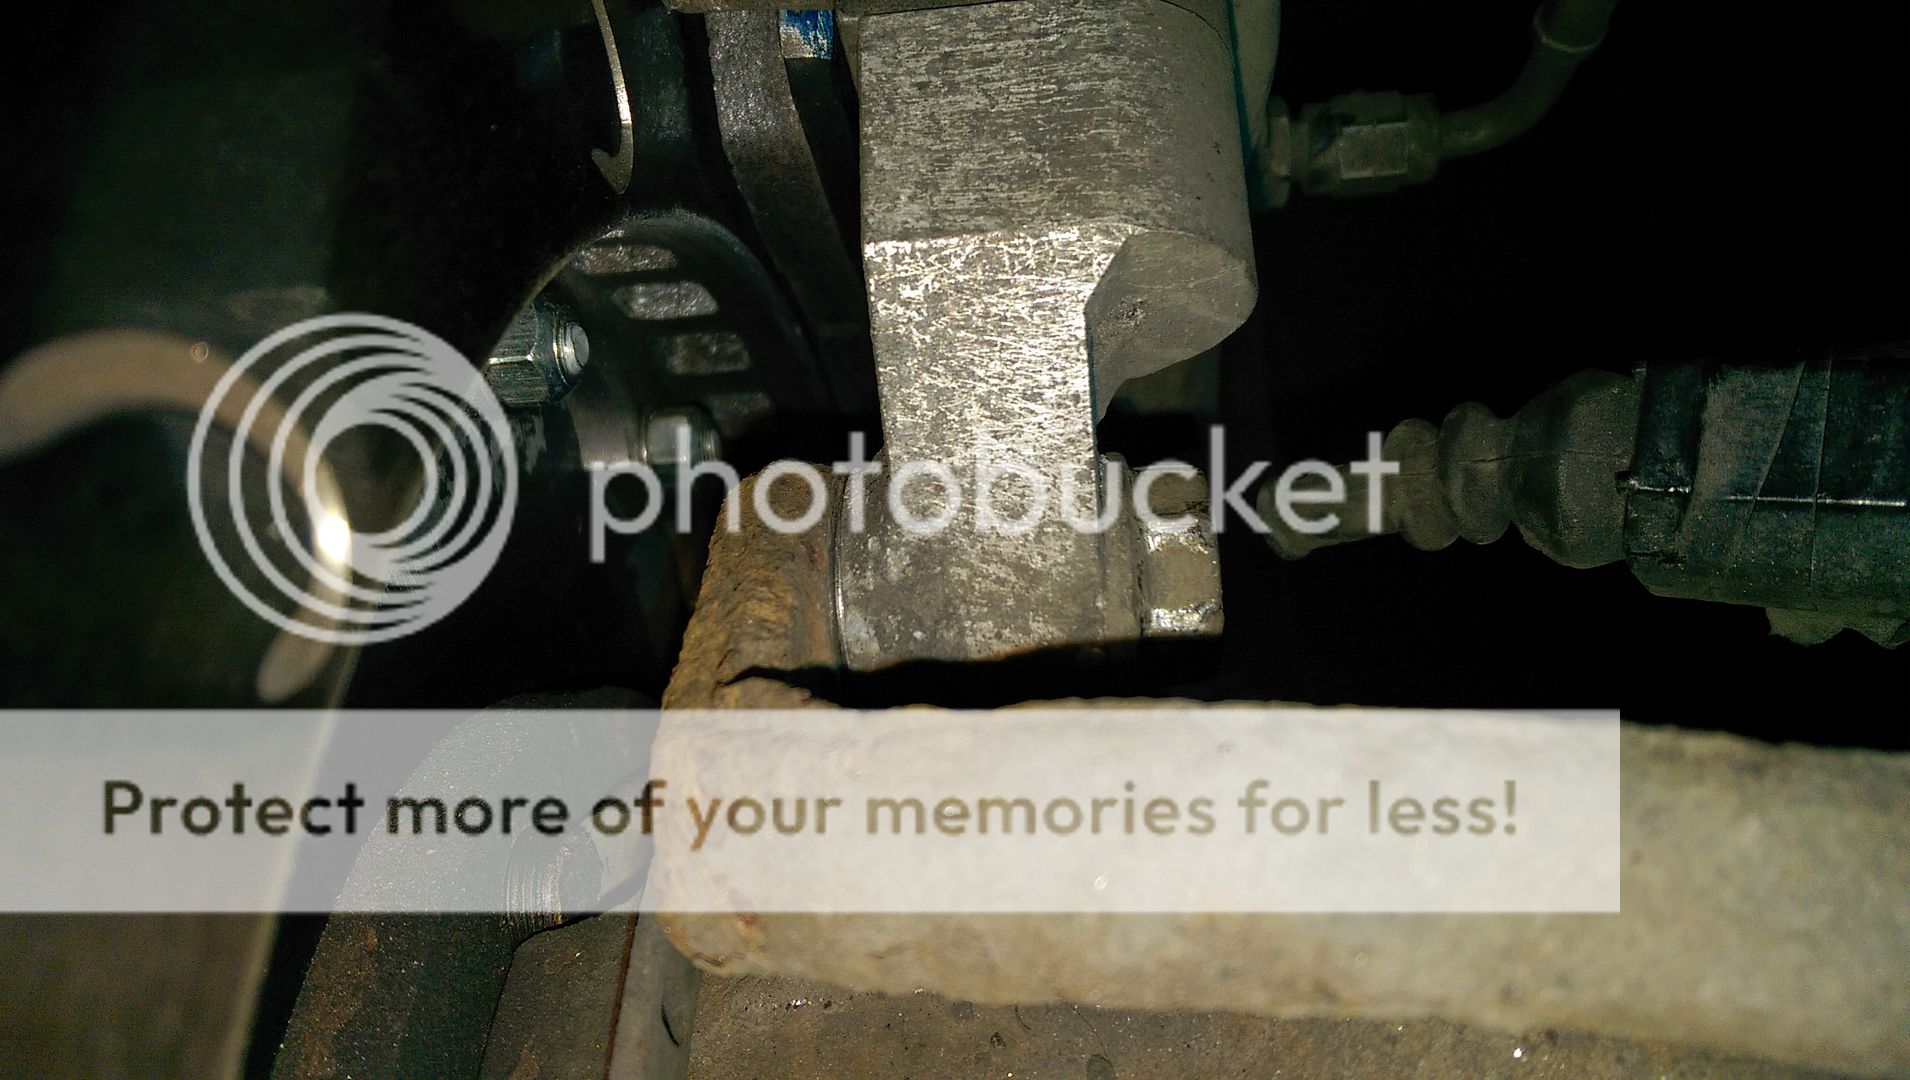
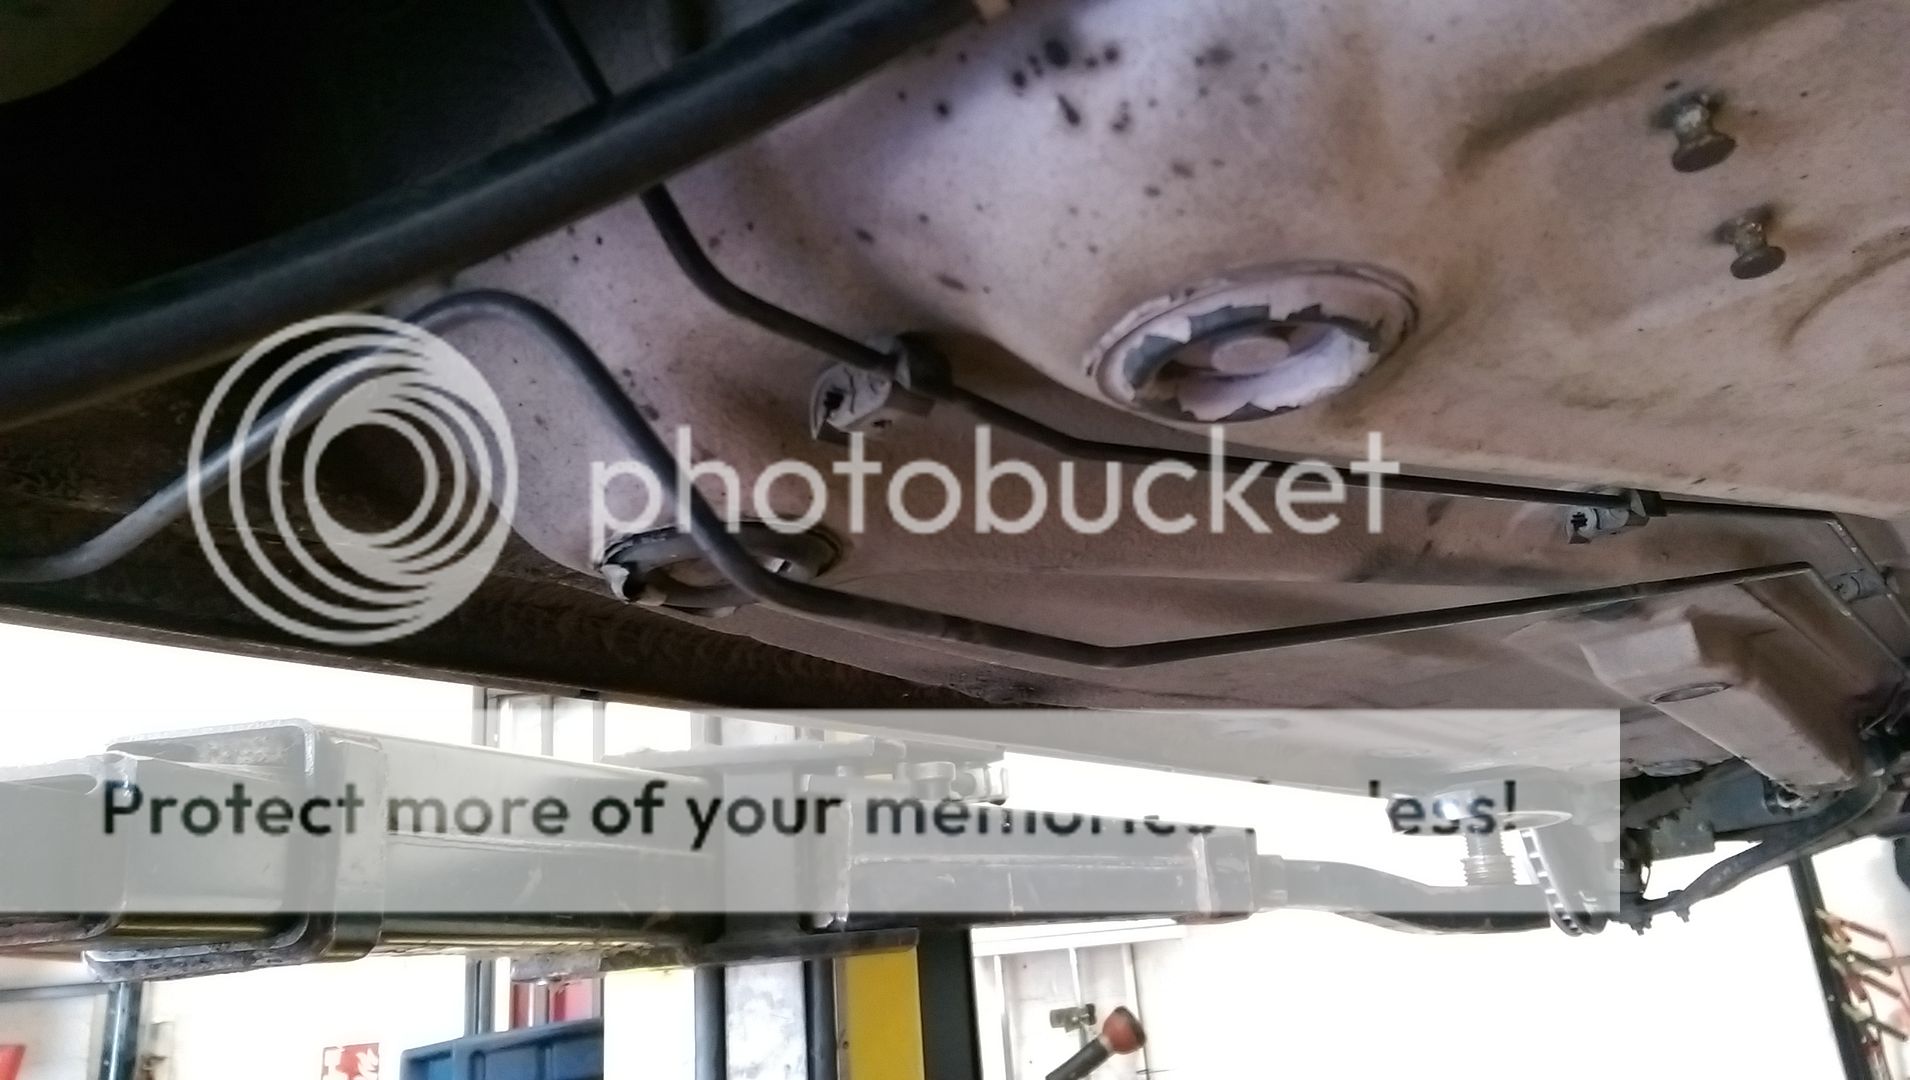
Time was getting on but thought I would have a look at the rear arm bushes... marked up the carriers position then unbolted it...
IMAG0216.jpg


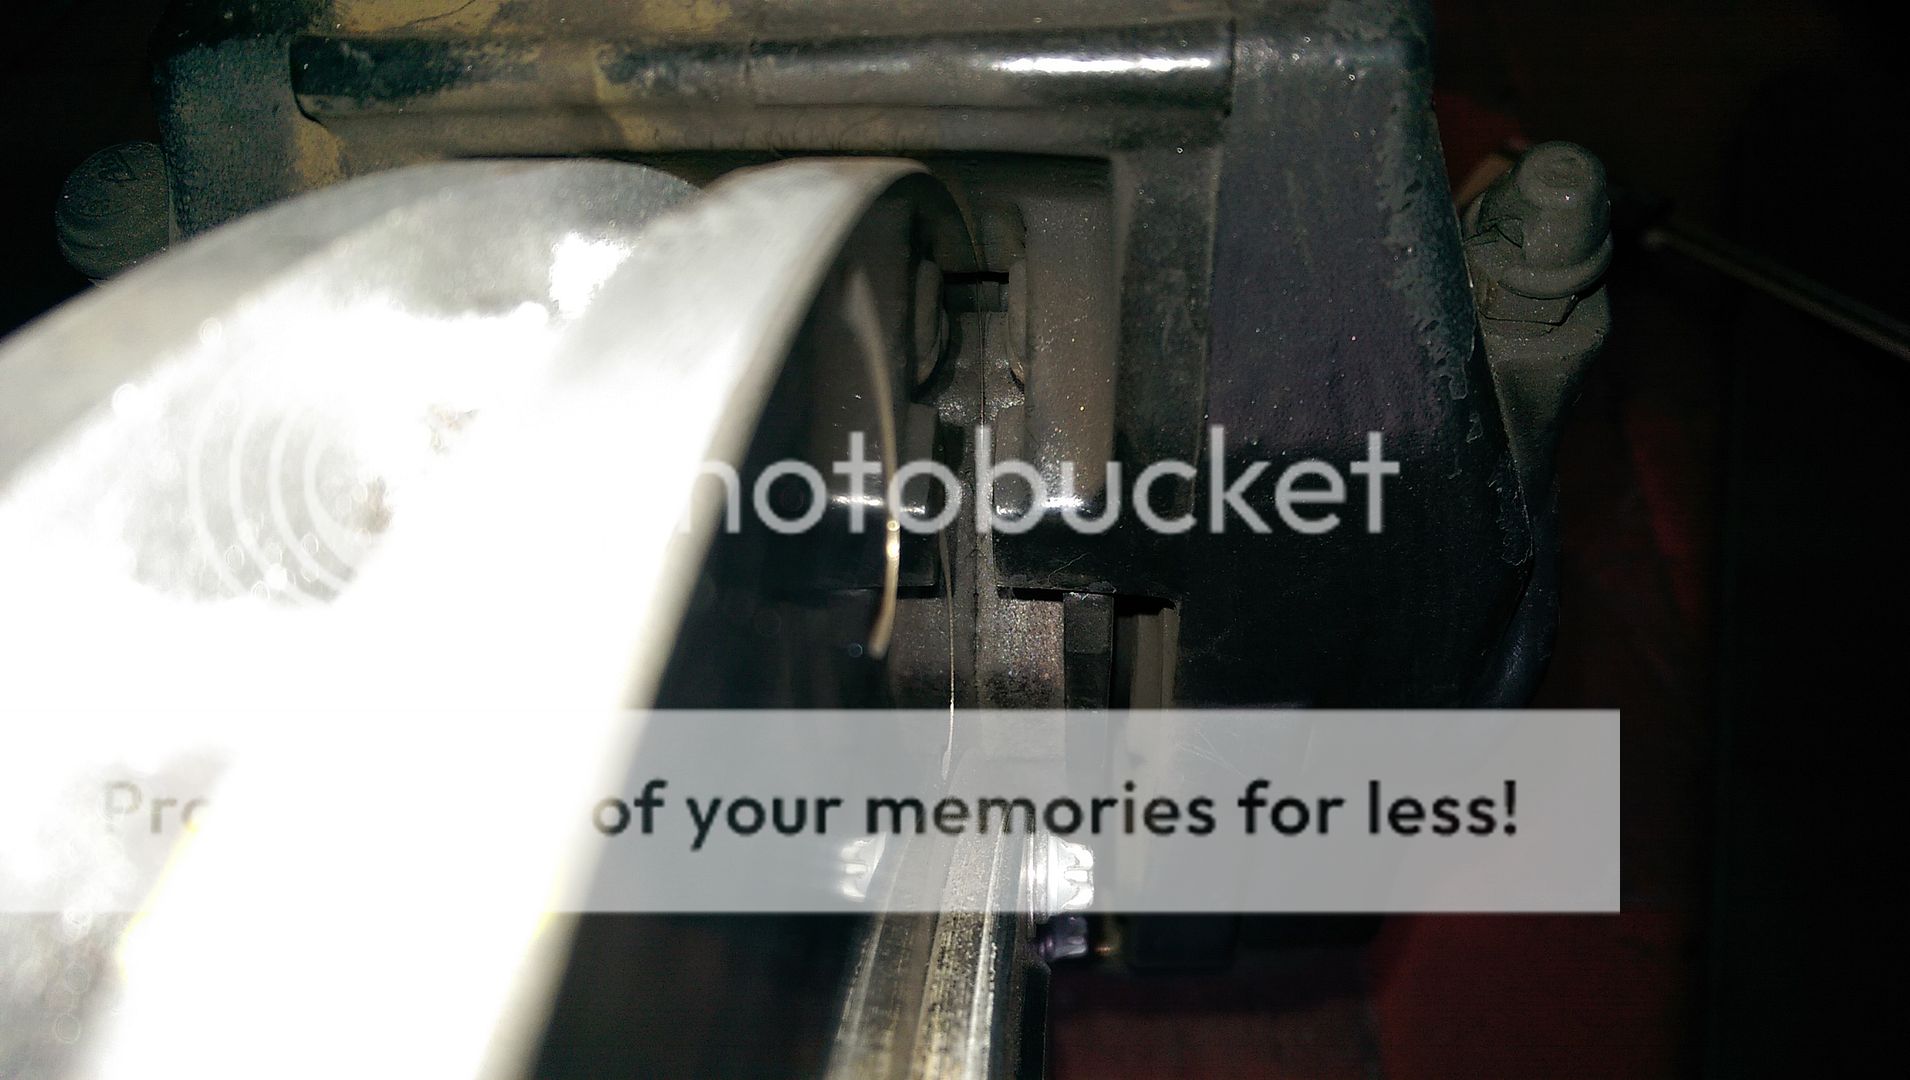
...needed to move the brake pipes out the way by unclipping them carefully
IMAG0217.jpg


Looks like the OE bush is in a traditional plastic carrier but tbh it was getting a little late and this was a major pain in the *** getting this far and didn't fancy trying to get a 12 year old bush out that late in the day so put it all back together (which was just as much fun!) and put the rest of the car back together...

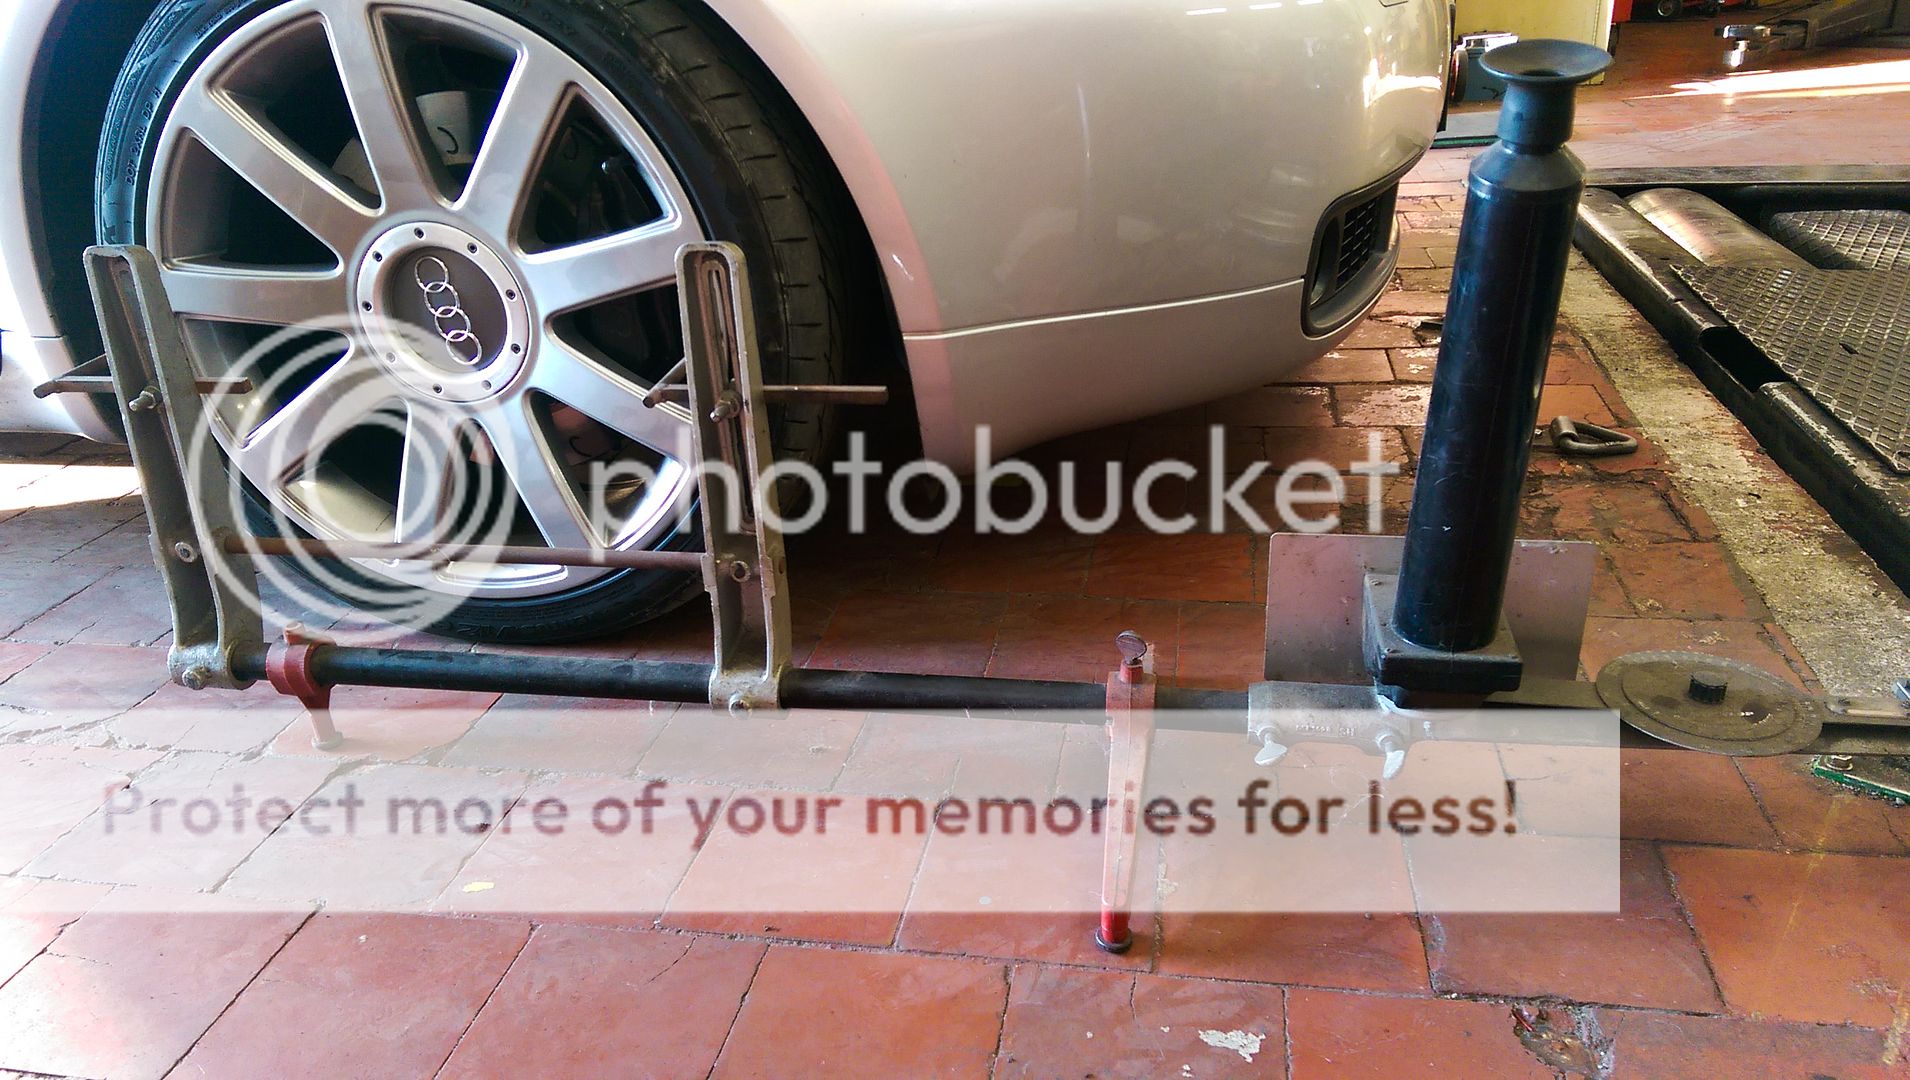
Finished off with a quick check of the tracking...
IMAG0220.jpg


Discovered that the tie rod lock nuts are pretty tight but managed to get enough adjustment to get the tracking half about for now... will need to get some new locking nuts and persuade the old ones off before I go for a full alignment...

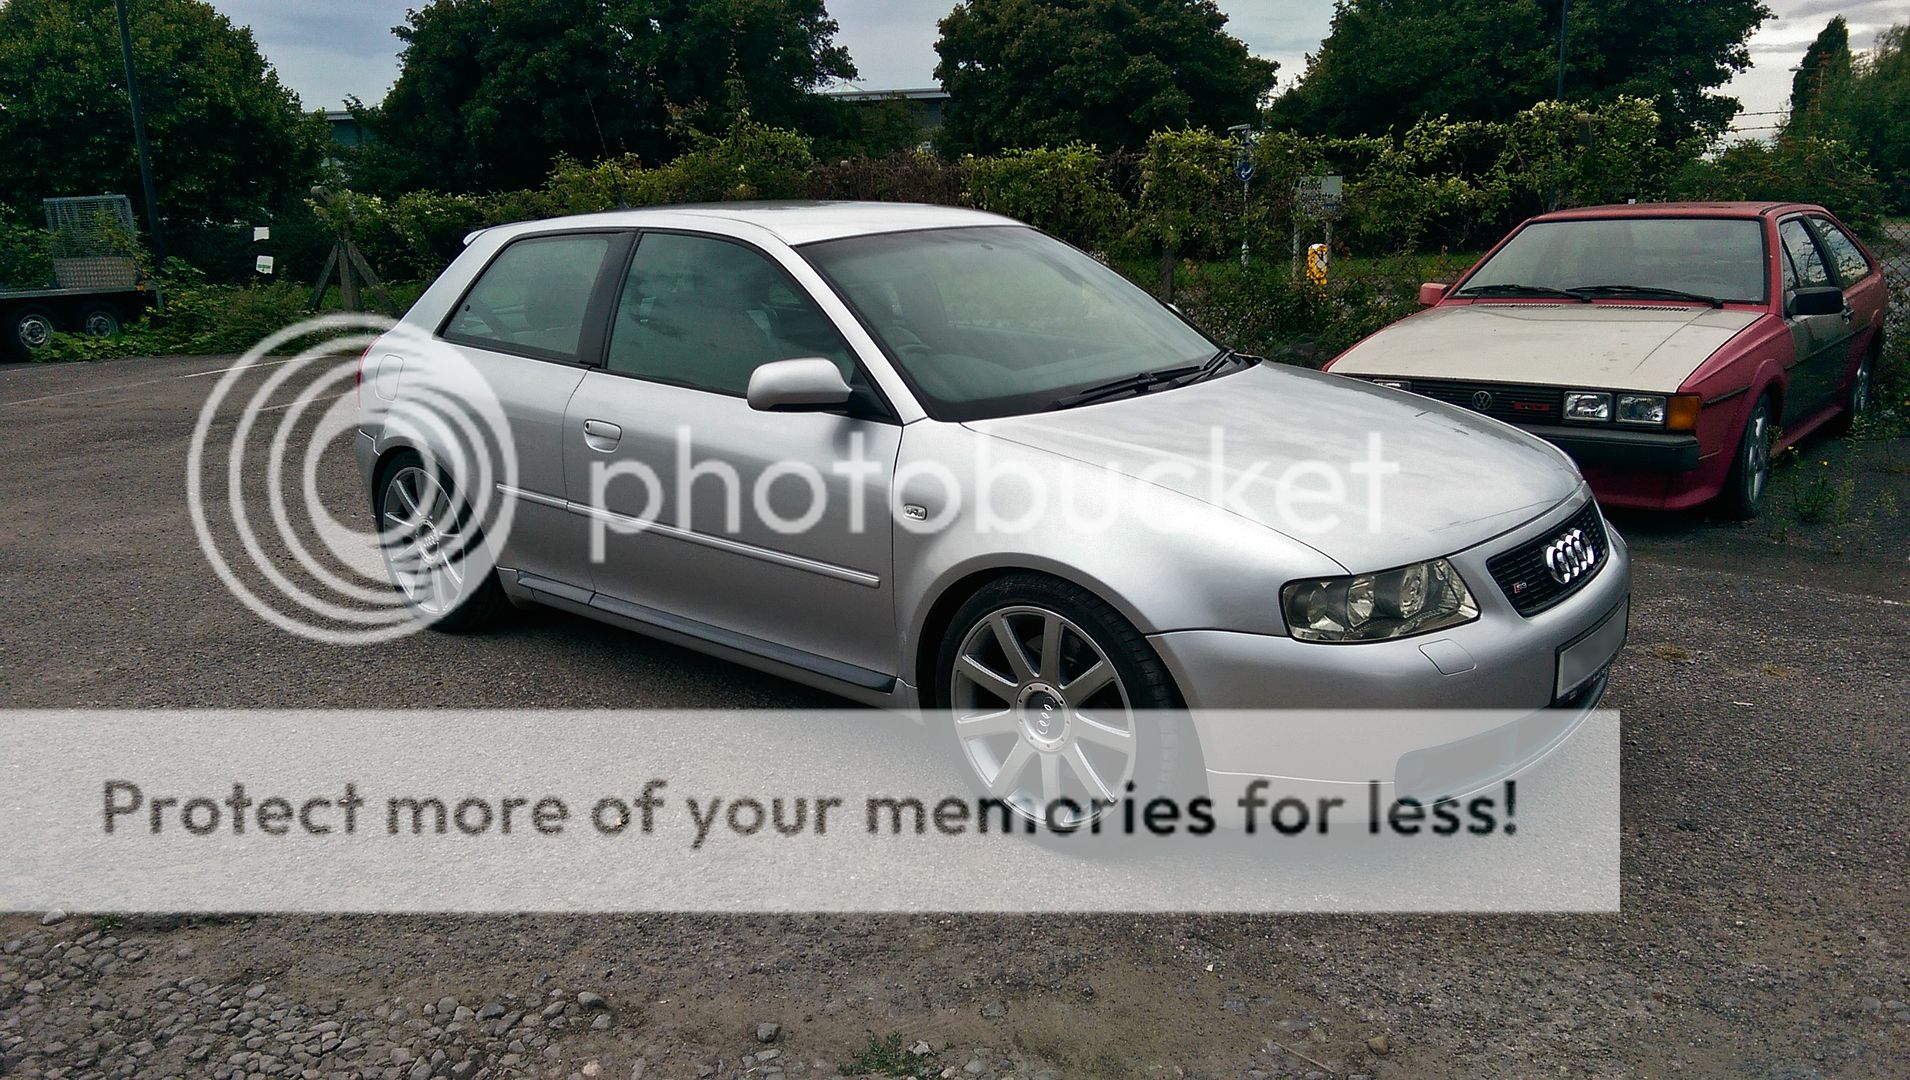
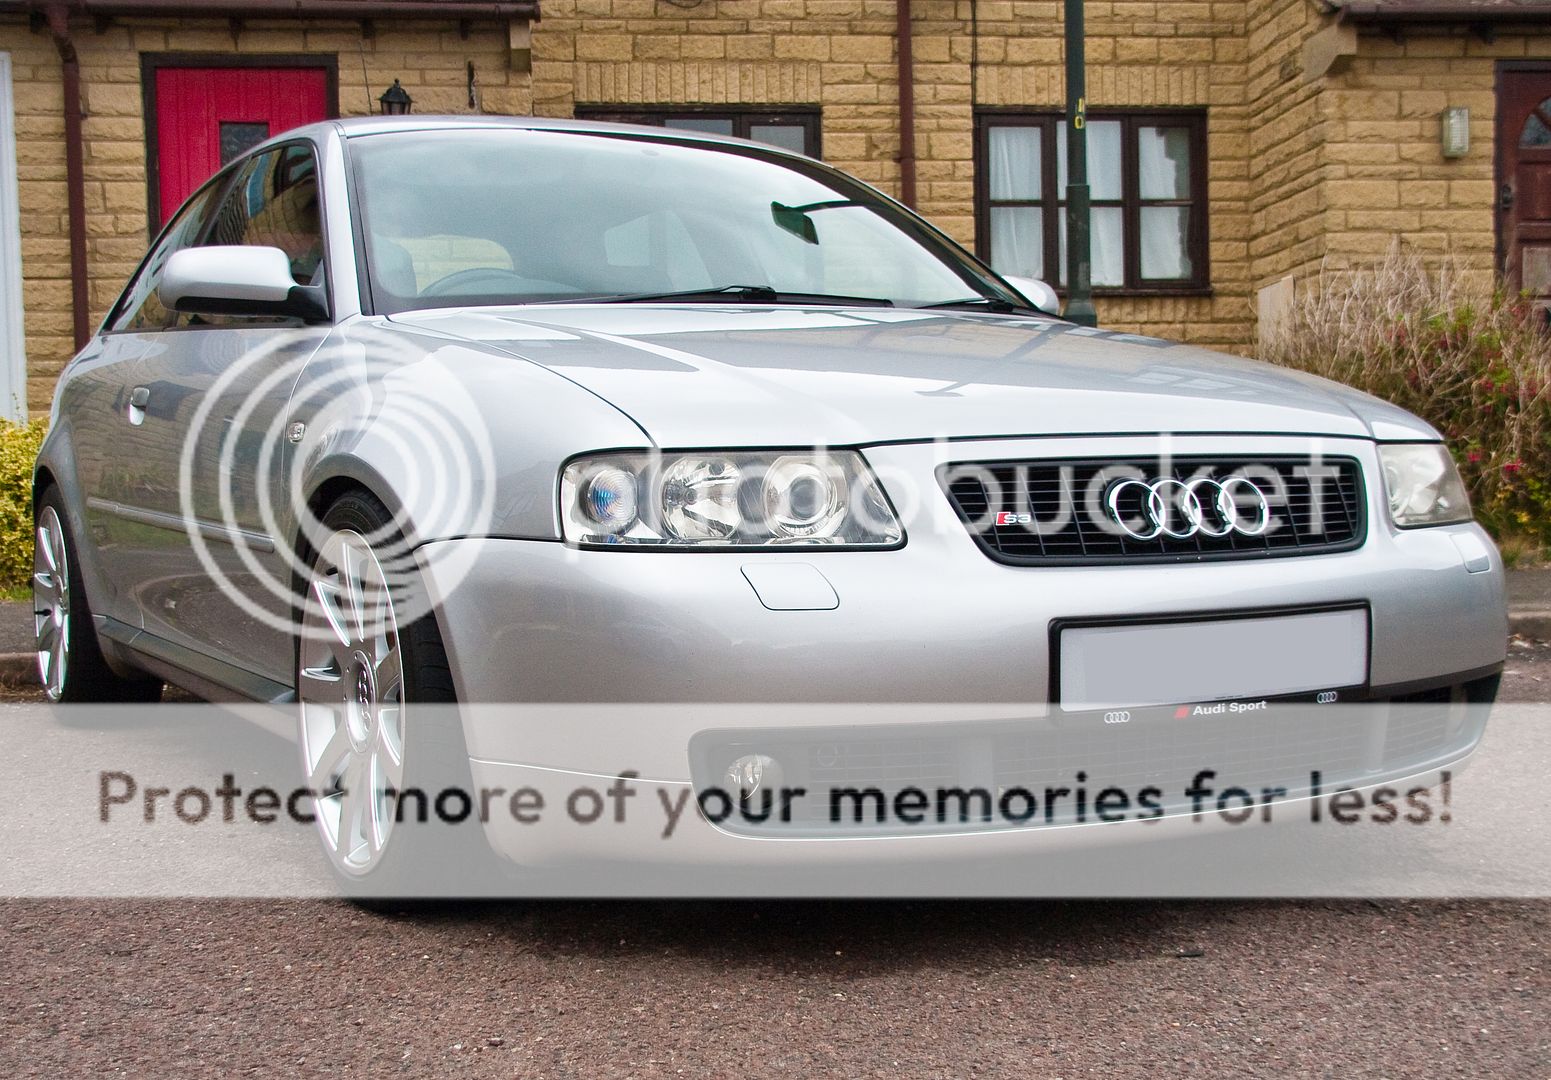
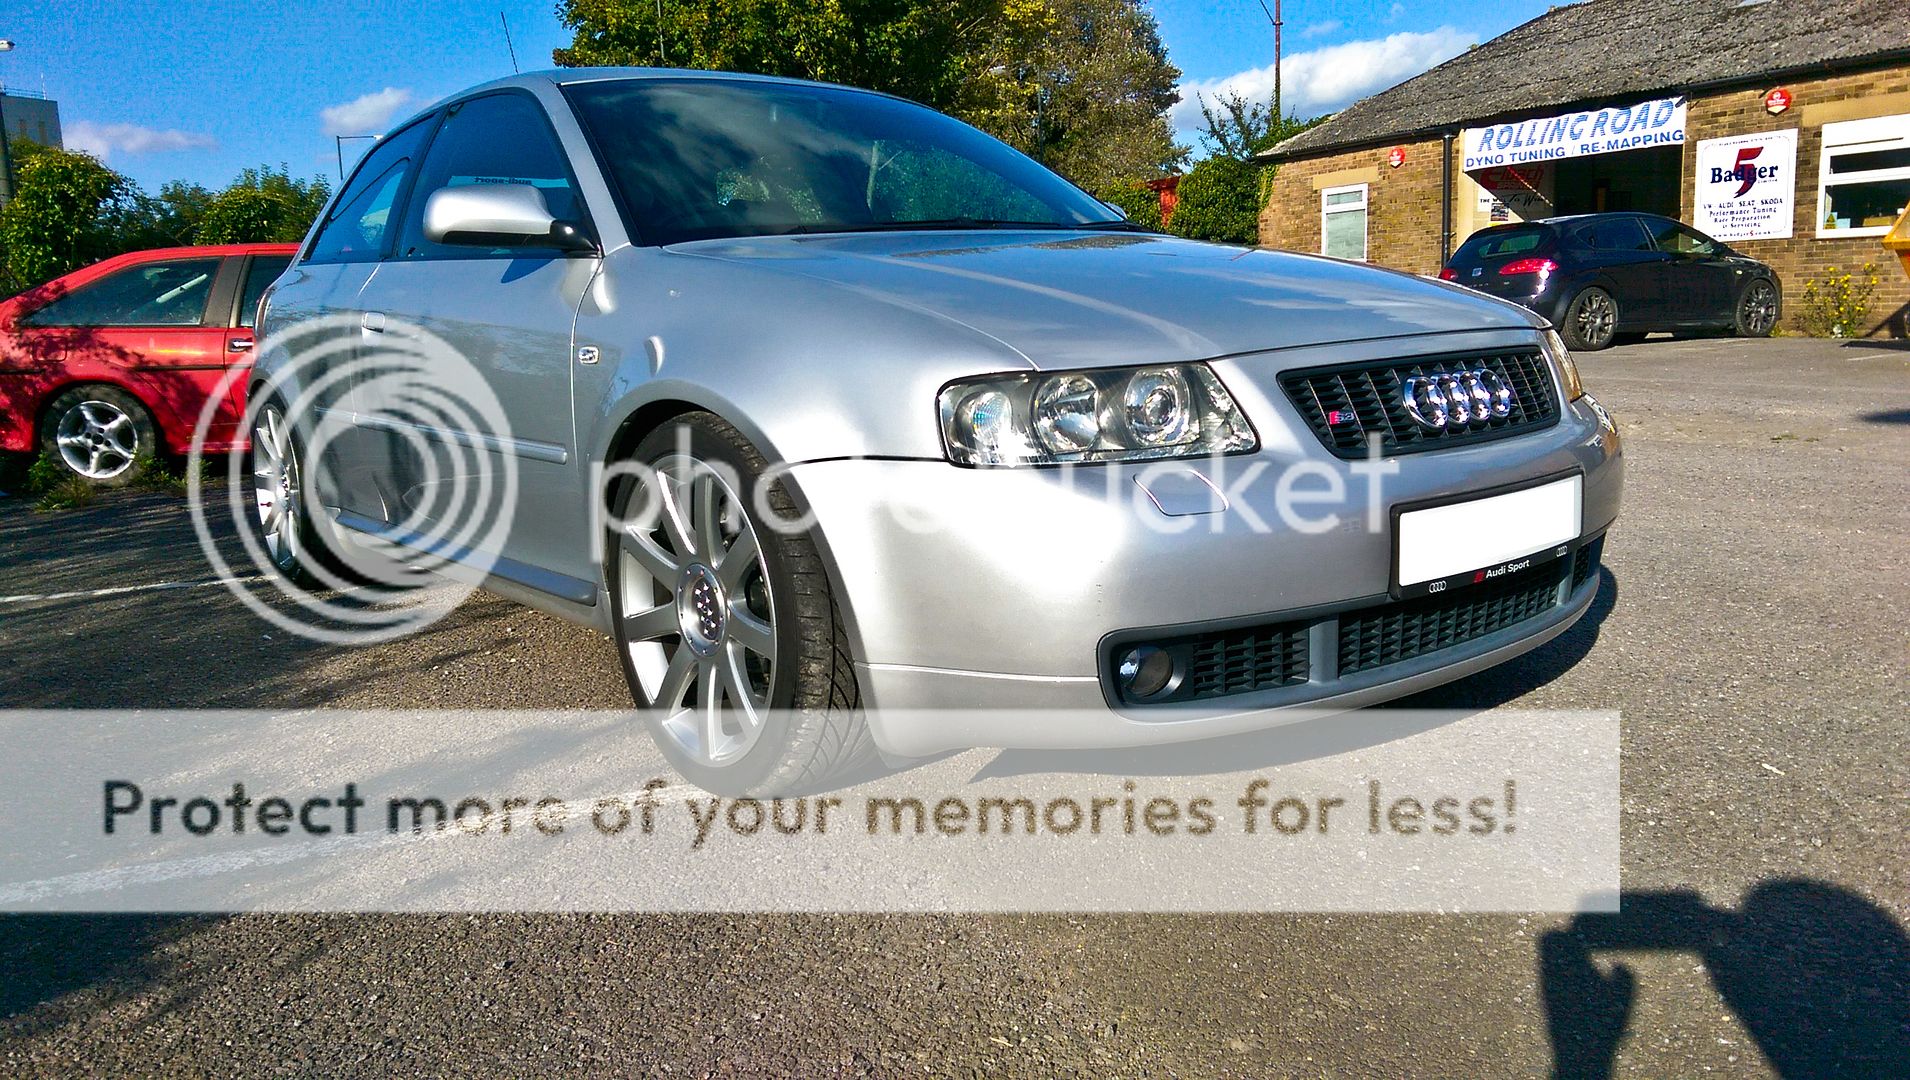
First impressions on the drive home.... car feels flatter though corners, feels very solid and tight... not really had a chance to push her but there is a noticeable improvement on feel...

I have a small issue currently with the new tyres I have fitted to the rear... I now have Hankook V12 Evo's and they seemed fine on the front but since having them on the rear too the back end seems quite loose... not grip wise as they do grip but there is a discernible lurch which is unsettling to say the least... I am not sure if it was bush related of maybe the tyres are softer walled than the FK452's I used to run...

I have upped the pressure to 35psi and things appear better but not pressed the car as yet to really see... if pressures and the rear arm bushes make no difference then they will be going...

All in all though I am well happy with the ways things are progressing... few more bits to sort out of course but a few more things off the list now

<tuffty/>
 
Last edited:
  • Like
Reactions: S3Alex and Sam_
Looking good mate.

What's the benefit of the pagparts belt setup over the standard one?
 
Looking good mate.

What's the benefit of the pagparts belt setup over the standard one?
Not much I doubt... Marginly easier to do a cam belt change maybe... More benefit for something with supertech valve train as it appears to give the benefits of manual tensioner and preload like the damper...

Manual tensioners were preferred on engines with valve trains as the extra load can cause them to compress but manual tensioners are trickier to set up right... Pag parts one seems to be the best of both worlds... We shall see as it's expensive and comes with a a sh*t belt

<tuffty/>
 
i was very surprised how soft the sidewalls were on those hankooks, i had a poke around when a friend bought them, mad for a relatively high performance tyre, i dunno, you'd expect them to be stiff
 
i was very surprised how soft the sidewalls were on those hankooks, i had a poke around when a friend bought them, mad for a relatively high performance tyre, i dunno, you'd expect them to be stiff

Going to faff with tyre pressures and see how things go... grabbing some time off soon so I can hopefully sort these rear arm bushes... I saw you post and s3Dave's post on doing these... need to give myself a day just in case lol

<tuffty/>
 
Going to faff with tyre pressures and see how things go... grabbing some time off soon so I can hopefully sort these rear arm bushes... I saw you post and s3Dave's post on doing these... need to give myself a day just in case lol

<tuffty/>
my mates car was a very light car and it handled brilliantly with those tyres, maybe they aren't well suited to the barge S3.

im sure you wont **** it up like i did first time. Attack them with a drill and they come out easily.
 
  • Like
Reactions: <tuffty/>
Drove the car to work today... she feels better than she did but will see if I can have a go at doing the bushes Sunday if there is a ramp available... will then get her 4 wheel aligned and see how she feels after that... going to play with the tyre pressures a bit more too...

<tuffty/>
 
  • Like
Reactions: Prawn, jojo and Jenno007
So... I am walking a little funny today after buying this from TPS...

IMAG0230.jpg


IMAG0227.jpg


I couldn't be bothered to reclean and blast the current cam cover so bought a new one (85+vat retail!!) and will redo my current one (which is pretty clean anyway) later to sell on and get a bit back to cover this...

The casting is pretty rough so with a combo of wet and dry plus scotch bright I got rid of the worst of the roughness and prepped it for etch primer
IMAG0230.jpg


Will finish painting that tomorrow...

Other stuff on tomorrows list are the rear arm bushes and haldex oil and filter change...
IMAG0226.jpg


One thing I want to do when I repaint the top charge pipe is replicate the warning 'label' on the OE charge pipe...
IMAG0229.jpg


I have considered a sticker but fairly convinced the heat will see that off... might try a little creative masking and see what stencils are available... might consider getting some laser cut maybe? could be adhesive for the sake of using as a mask I guess

<tuffty/>
 
  • Like
Reactions: Vex182
Fantastic work Paul....

I love your build thread.... Dedication, Love, Care and Hard Graft.
Just amazing.....
 
  • Like
Reactions: <tuffty/> and S3Alex

Similar threads

Replies
5
Views
1K
Replies
1
Views
1K
D
Replies
0
Views
702
Deleted member 65282
D