What have you done today?

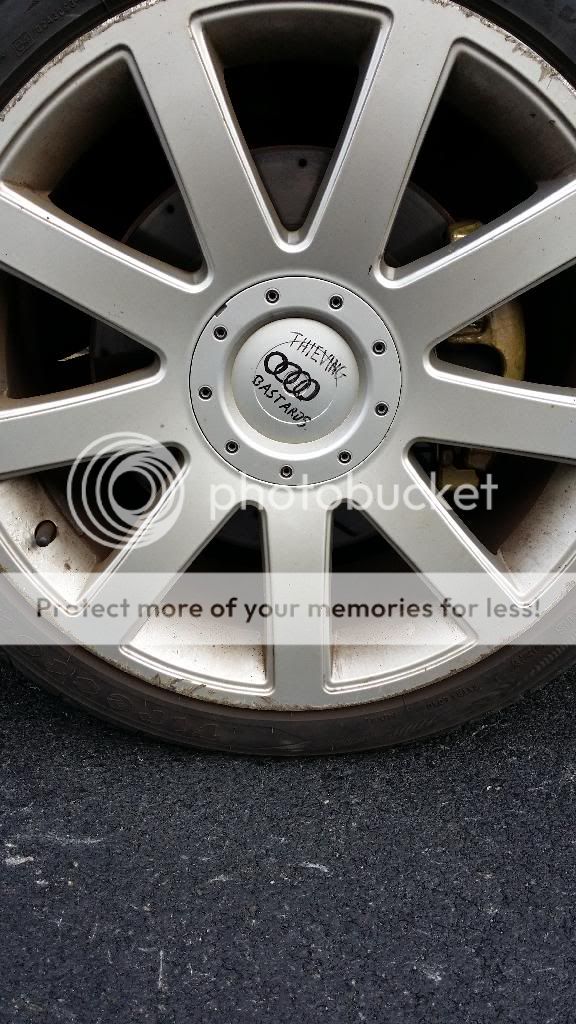
Got it aligned today with the adjustable tie bars moved to the bottom, lined up perfectly.

The toe was way out with the bars at the top, looks like it is far better to fit them to the bottom:

S3-alignment_zps02ffe413.gif

So with them at the bottom they are able to correct the toe AND the camber? Ive a set of adjustable arms waiting to go on...
 
Stripped the tie rod ends and boots of my old pas rack before sending it back on exchange, figured may aswell keep them as spares.

DSCF0632_zpsbe9cfb6f.jpg


Can see why it failed

DSCF0630_zpscc50b8a4.jpg


:sm4:
 
So with them at the bottom they are able to correct the toe AND the camber? Ive a set of adjustable arms waiting to go on...

Nope, you can adjust the toe and camber if you fit them to the top or bottom, but it is in my opinion that sticking them on the bottom allows the tow to be adjusted to factory specs.
 
So with them at the bottom they are able to correct the toe AND the camber? Ive a set of adjustable arms waiting to go on...

Fit them to bottom.

When fitting them to the top you correct camber by pushing the top of the wheel out, the whole wheel ends up about 15mm further out in the arch. Good for looks, but it ends up rotating the trailing arm about 2 degrees and throws the toe way off. This wears out tires very quickly as I found out.

Fitting them to the bottom you correct camber by pulling the bottom of the wheel back in to its stock position and the trailing arm is not rotated around its mount. You get factory spec toe and can fit wheel spacers if you like the fat look.
 
Nope, you can adjust the toe and camber if you fit them to the top or bottom, but it is in my opinion that sticking them on the bottom allows the tow to be adjusted to factory specs.

Your right, couldn't get anywhere near factory toe spect with them fitted to the top.
 
Today we rescued a rabbit.... Spotted in the garden a few days ago obviously a pet as it was cow print trying to catch it but it was running rings around us! Finally yesterday we saw it cornered by some cats and managed to catch it then tracked down the owners who weren't bothered at all first thing they said was "oh you can have it I can't catch it when it escapes" I have a feeling they just got bored and released it. It wasn't kept the best and we felt bad so have now gained a rabbit til we find a nice new home for him.
 
There are some idiots out there!
Two years ago we caught a guinea pig abandoned over the Cannock Chase. Turned out to be pregnant, still got them :)
Dave
 
  • Like
Reactions: Wallm0nkey and Nilz
Yesterday I fitted a new NS rear caliper as the old one was seized. Also gave it a reet good clean and polish!
 
Finally fixed my passenger window as the clip broke last year! what a pig of a job just to replace a small plastic clip but glad its done
 
Finally fixed my passenger window as the clip broke last year! what a pig of a job just to replace a small plastic clip but glad its done

I've been avoiding this job for 3 years dude! haha. Did you upgrade to the A6 metal clips jobby in blue IIRC?

I suppose with all this lovely weather and them costing less than a round of drinks to fix, I should really pull my finger out :laugh:
 
I've been avoiding this job for 3 years dude! haha. Did you upgrade to the A6 metal clips jobby in blue IIRC?

I suppose with all this lovely weather and them costing less than a round of drinks to fix, I should really pull my finger out :laugh:

2 x new clips from TPS was £7.50 (you can buy them singley too but why not replace both anyway) and they are the new style with the metal inserts and sort of a pink colour.

Part number is 4B0 837 463 B

putting the clips on is easy its the removing of the door sub frame that's a bit of an art but as long as you mark all the torx bolts, wedges etc before removal its not too bad.

I used this guide for reference Audi A3 Electric Windows Fix

Its just all proper fiddly but back together now and my little dog is happy too cos he can once again stick his head out the window :)
 
  • Like
Reactions: @udi A3 and kwistof
Went to visit Phil Miller, put on my s3 brakes for me so now have 312mm drilled and groved disks and gave the calipers a rough coat on paint. Also bled the brakes and filled them back up with ATE super blue, and polybushed my dogbone.

20140312_151528.jpg
 
  • Like
Reactions: Nilz
Today I enjoyed chavving it up with a new map and launch control! Right now im bench flashing a 'more boost more fuel' map on a second ecu for lol's.
Not 8L related, but also made 2keys for mk6 golf clocks i have laying around, ready to fit in a pair of lucky mk5's!
 
Not today, but on Monday, I gave my S3 a cheeky road test to try out my latest suspension setup, even had a nice play with a mk2 TTS, much fun, and things are looking promising! I'm out again tonight, and I is a very happy with the handling, it does what I expect from it now, especially using the power mid corner, I can really lean into the corners. This is running the standard 17" Avus rims, need to stick my 18" BBS on and hope it does the same with those on! :racer:
 
  • Like
Reactions: Nilz, s3dave, <tuffty/> and 1 other person
Not today, but on Monday, I gave my S3 a cheeky road test to try out my latest suspension setup, even had a nice play with a mk2 TTS, much fun, and things are looking promising! I'm out again tonight, and I is a very happy with the handling, it does what I expect from it now, especially using the power mid corner, I can really lean into the corners. This is running the standard 17" Avus rims, need to stick my 18" BBS on and hope it does the same with those on! :racer:

Another satisfied customer lol glad it's as you wanted mate
 
  • Like
Reactions: jojo and Nilz
Picked up my S3 last night. New clutch, dmf, slave cylinder, gearbox seals, driveshaft gaitors, and various ****ed bolts.

Oh and its been mapped back to stage 1. Feels lovely.

Advised on a track rod to be done and tracking, other than that shes sweet again!
 
  • Like
Reactions: Nilz
I finally found my feeler gauges and poped the new plugs out of the S3 and gapped them to 0.7 from 0.8 /0.75 that they were pre-set as - Boring! I also fitted my brother new full exhaust system on his 306.
 
Nearly knocked myself out when my ladders fell on my head. Still have a headache 8 hours later :-(
 

Attachments

  • ImageUploadedByTapatalk1394742230.972277.jpg
    ImageUploadedByTapatalk1394742230.972277.jpg
    10.8 KB · Views: 289
Started to strip mine down to do the final stage 2 tweaks I want to do before I actually finally ditch Revo and get it custom mapped. Hopefully only take me this week to complete and then can start trying to make it look pretty lol
 
Mine needs plenty of tlc as well, booked some bodywork repairs in for next month (rusty rear arch and front bumper)

Fitted my new wheels today though
1186749_10152273937925792_1292038756_n.jpg
 
Fixed my leaky read washer jet under the bonnet, did up two loose gearbox mount t bolts and put the Airbox pipe on properly, finally no more vibrations and some throttle response back. I hate shoddy garages who don't do the job properly.
 
Thought I'd check the state of the power steering fluid having used the car a few times and done around a 100 miles since replacing the rack the other week, despite flushing most of it out at the time, it was looking manky again. It had the wrong fluid in it previously and that mixed with the gunk from the failed rack it wasn't looking too good.

Started off with this

DSCF0638_zps1089a232.jpg


after draining and refilling the tank about 4 or 5 times and letting it circulate in between changes, I got it looking much better, this is what I took out before I re-filled it again for last time.

DSCF0640_zpse9df5c9f.jpg


Will check it again after some more miles and maybe swap out a couple more tanks, then hopefully it should be good. :)
 
Last edited:
Just given mine a well deserved wash. 1st proper one of the year.

ImageUploadedByTapatalkHD1394901747660869

ImageUploadedByTapatalkHD1394901758569987
 
i have lowered car on 30mm apex springs with kw shocks and also bought a decat (brand new) had it fitted and found a crack in 1 of the welds! not happy at all so hopefully be welded at the start of the week and fitted again also done doggone mount what a difference in that
 
Did the dump valve to in take manifold anti spag bol pipe junction thing (amk lump), and repaired pcv piping. Hoping it will work now. Just feeding the little one, then out to try :)
Dave
 
success and failure in 1 afternoon for me,

success = beachbuggy uprated actuator fitted

failure = turbo to manifold bolts, 2 came out third one proper stuck and now socket slips on the head of it :(
 
Did the dump valve to in take manifold anti spag bol pipe junction thing (amk lump), and repaired pcv piping. Hoping it will work now. Just feeding the little one, then out to try :)
Dave

All good, started first time. Prob in my head, but boost sounds like it's getting dumped with more conviction ;)
Dave
 
Plus adjusted the hand brake so a rear passenger doesn't have to release it.
Dave
 
Removed my front fogs, gave them a clean and replaced bulbs with LED's.
 
removed inlet manifold etc, Sending my injectors off 2moro for servicing and then once back rebuild with new gaskets.
 
Treated her to a service and fixed my knackered clips on the window, only to wind my sump plug out and the thread came with it,

Cheers to who ever stripped it before and just wound it back in knackered.

But plus side I have a working window,
But waiting for a new sump :(
 
Today I've snapped my clutch pedal and then thought about which car I'm going to buy next as I'm sick of the audi :(
 

Similar threads

Replies
33
Views
2K
Replies
10
Views
3K
Replies
61
Views
6K
Replies
21
Views
2K