Little more today...

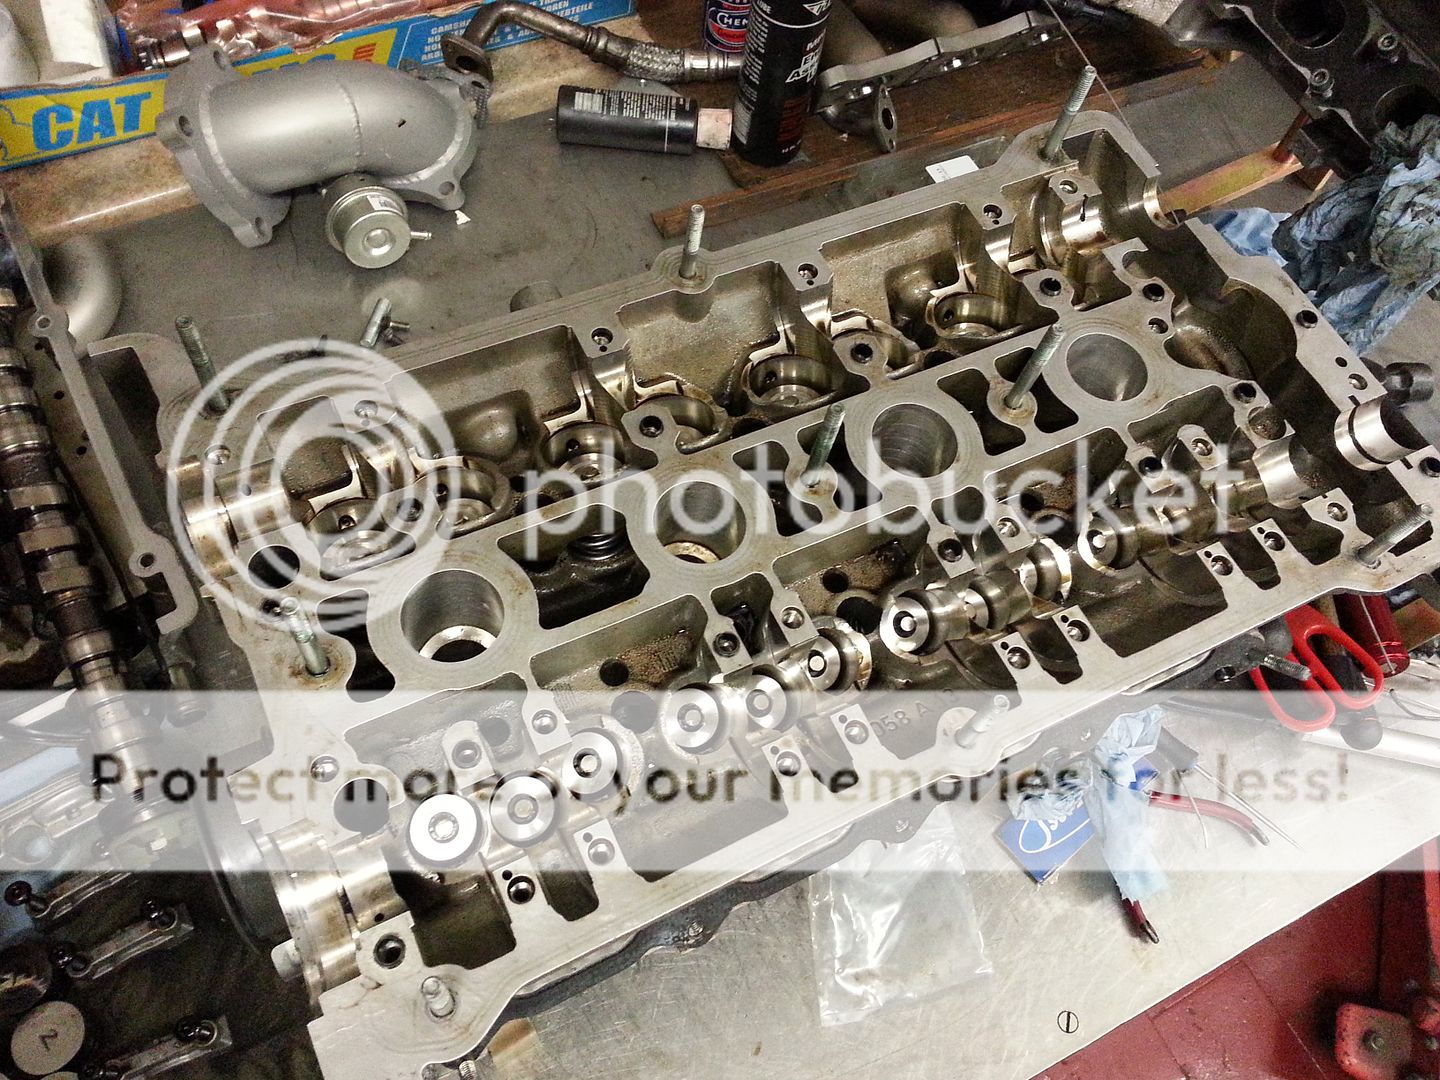
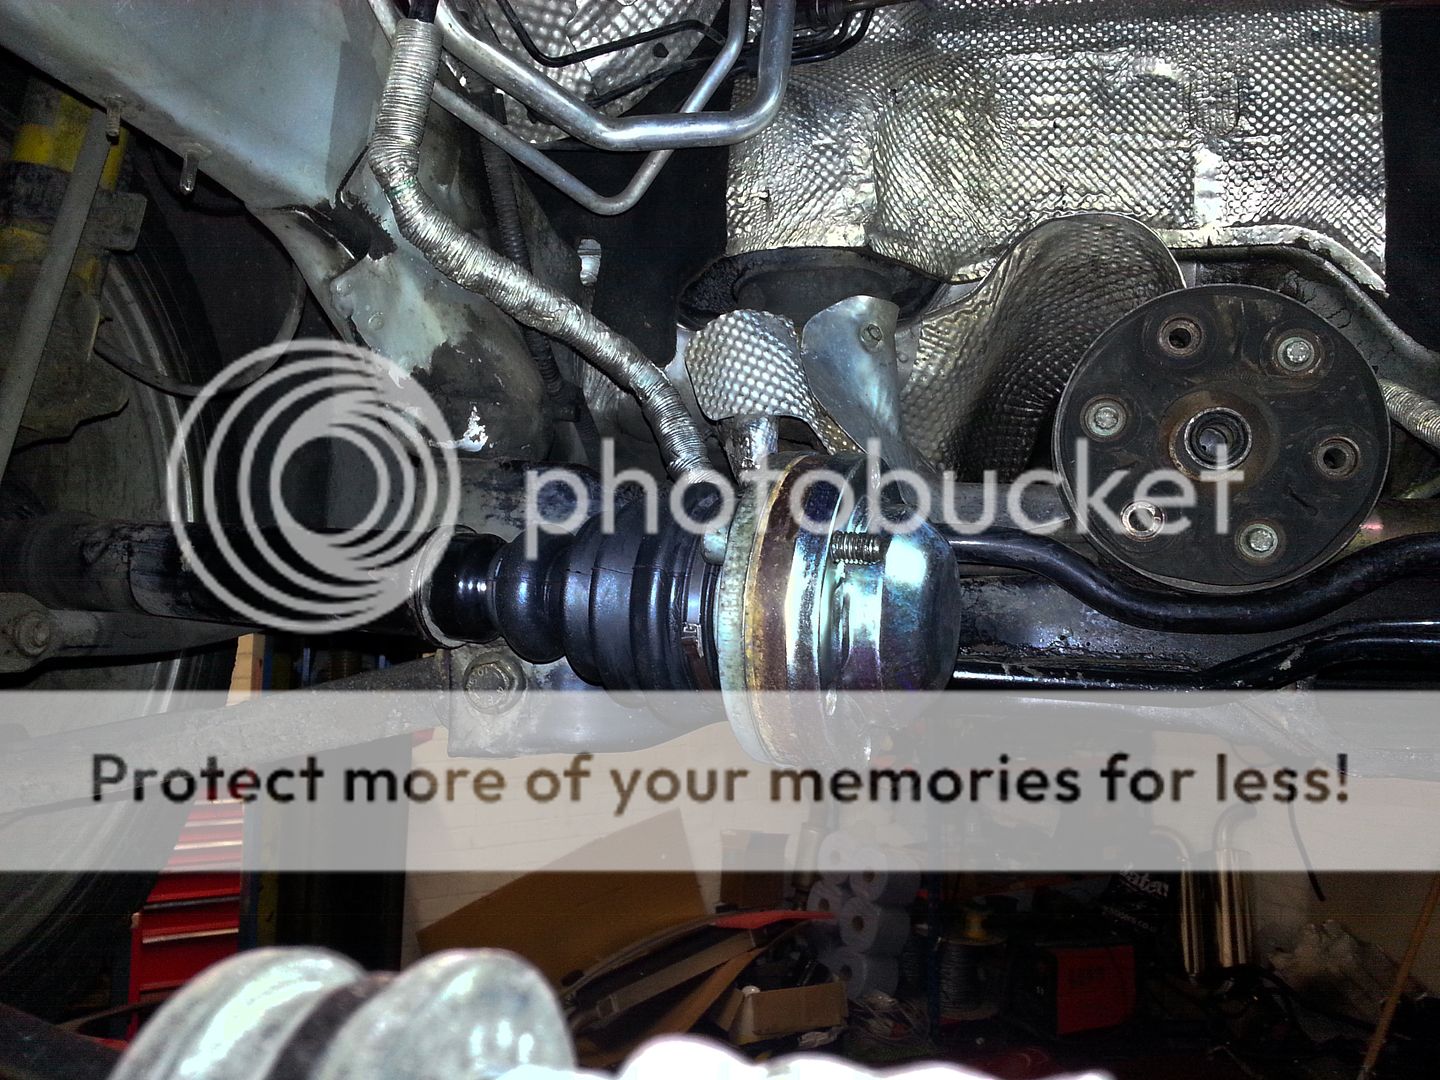
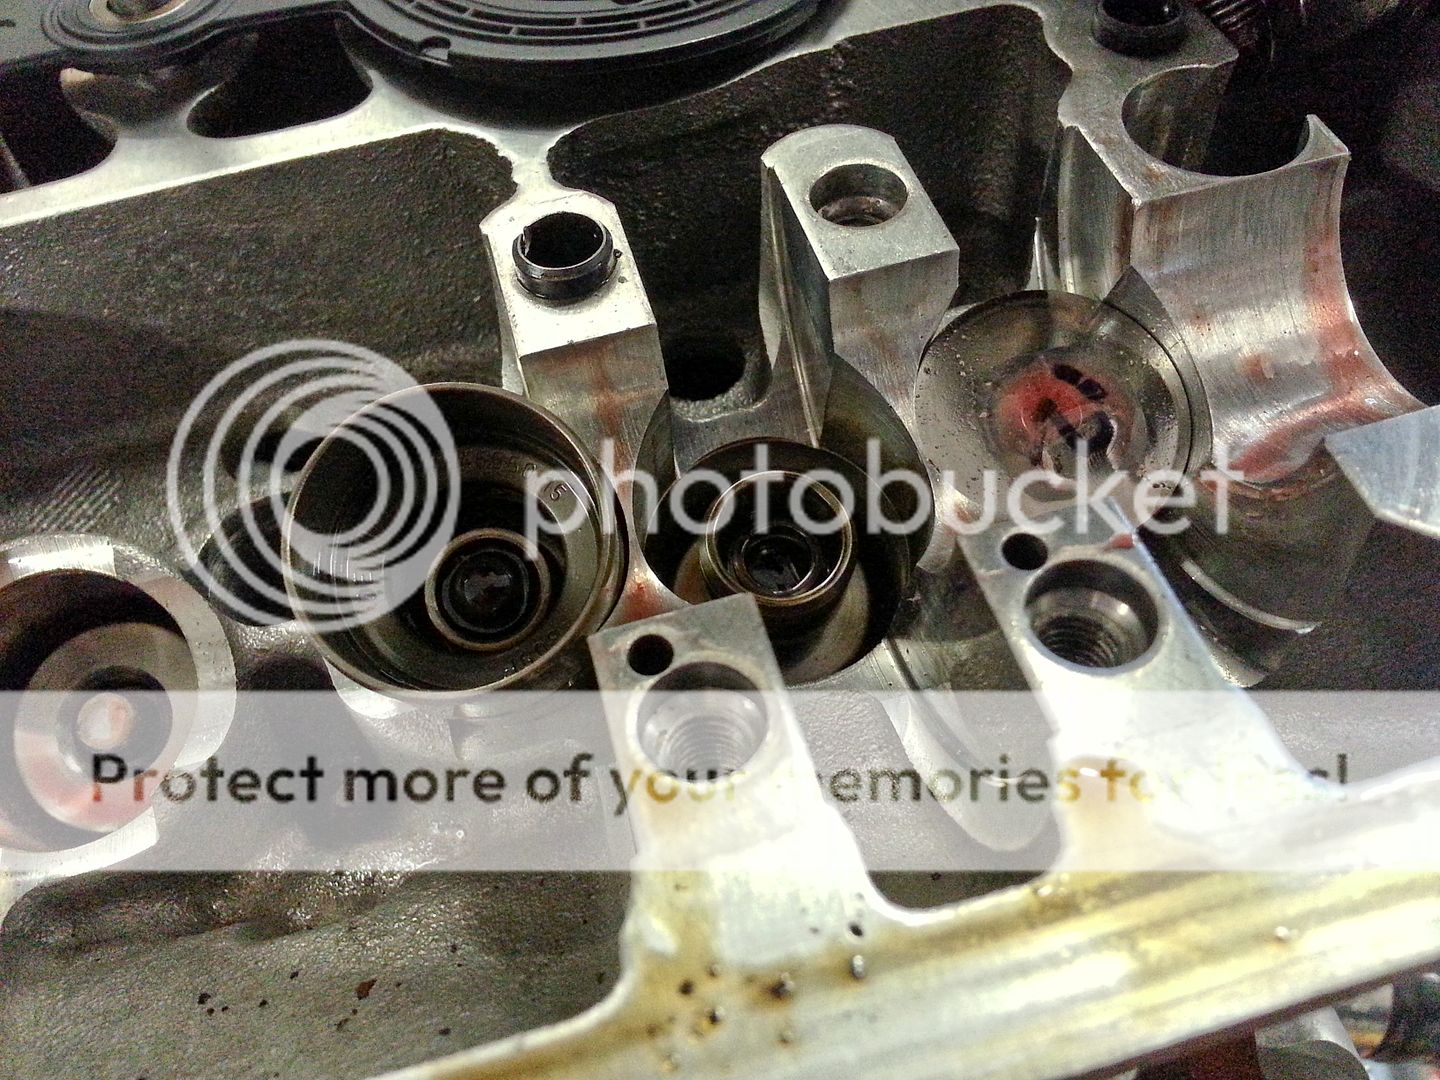
I had already replaced the exhaust lifters as there was a little bit of odd wear on the cyl 4 ones... when I rebuilt the head I had an inlet lifter drop its centre when I took it from the box... put it together hoping it would be fine then read about the issues Scullies had with a missfire having found a similar lifter issue... this of course bothered me so bought a new set of inlet lifters too

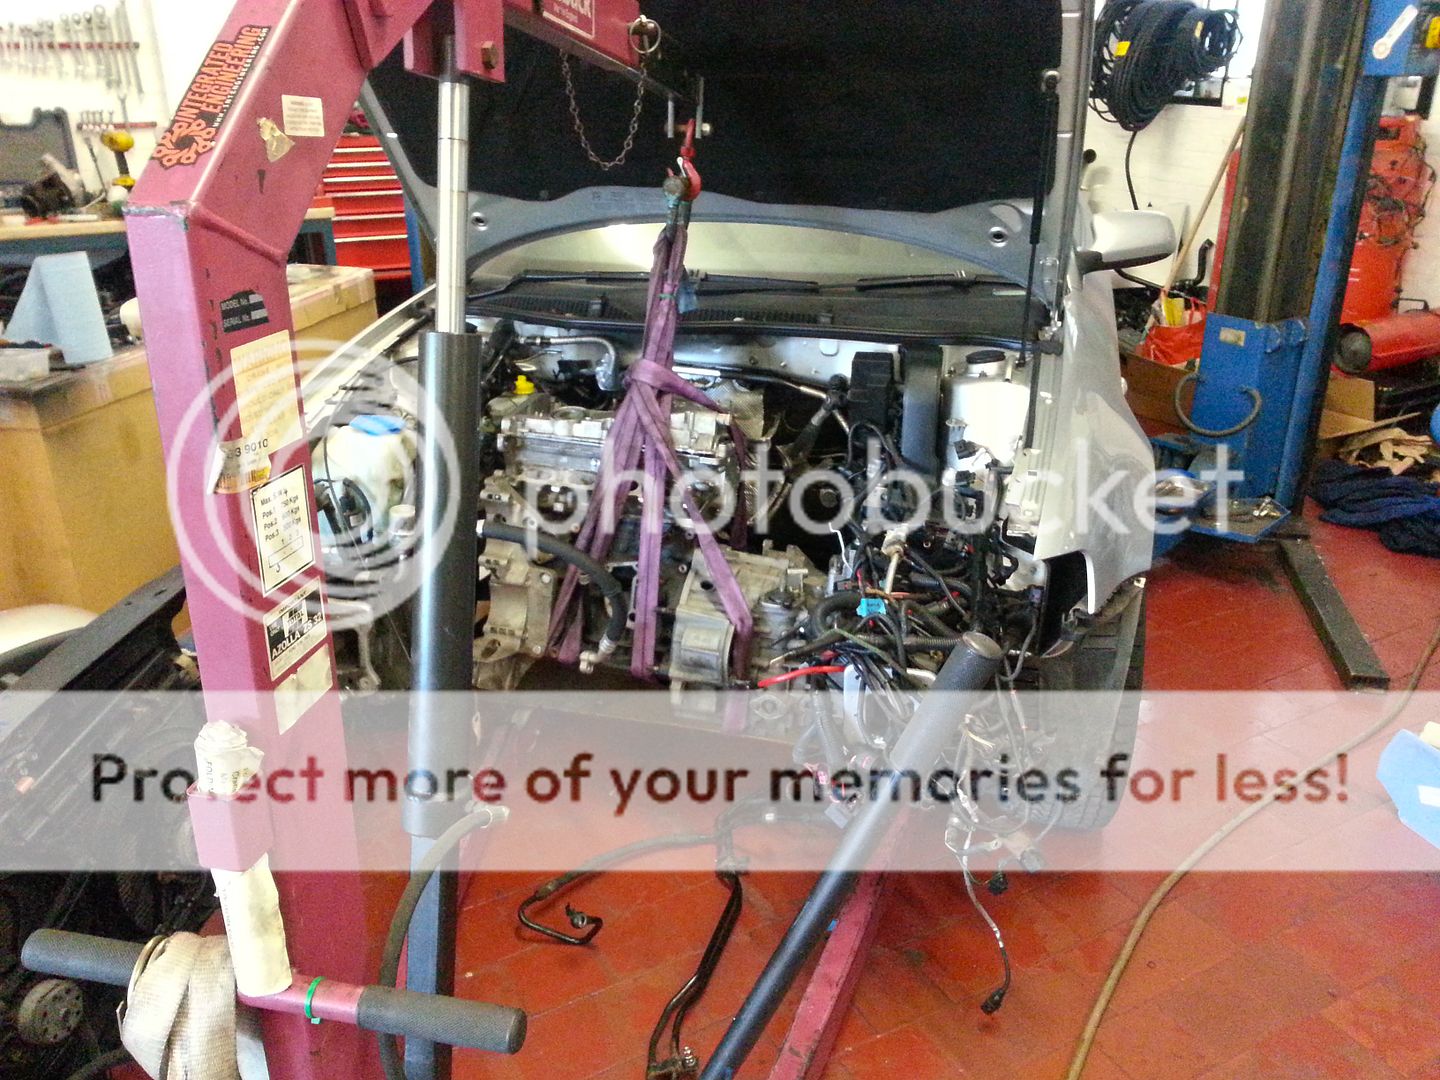
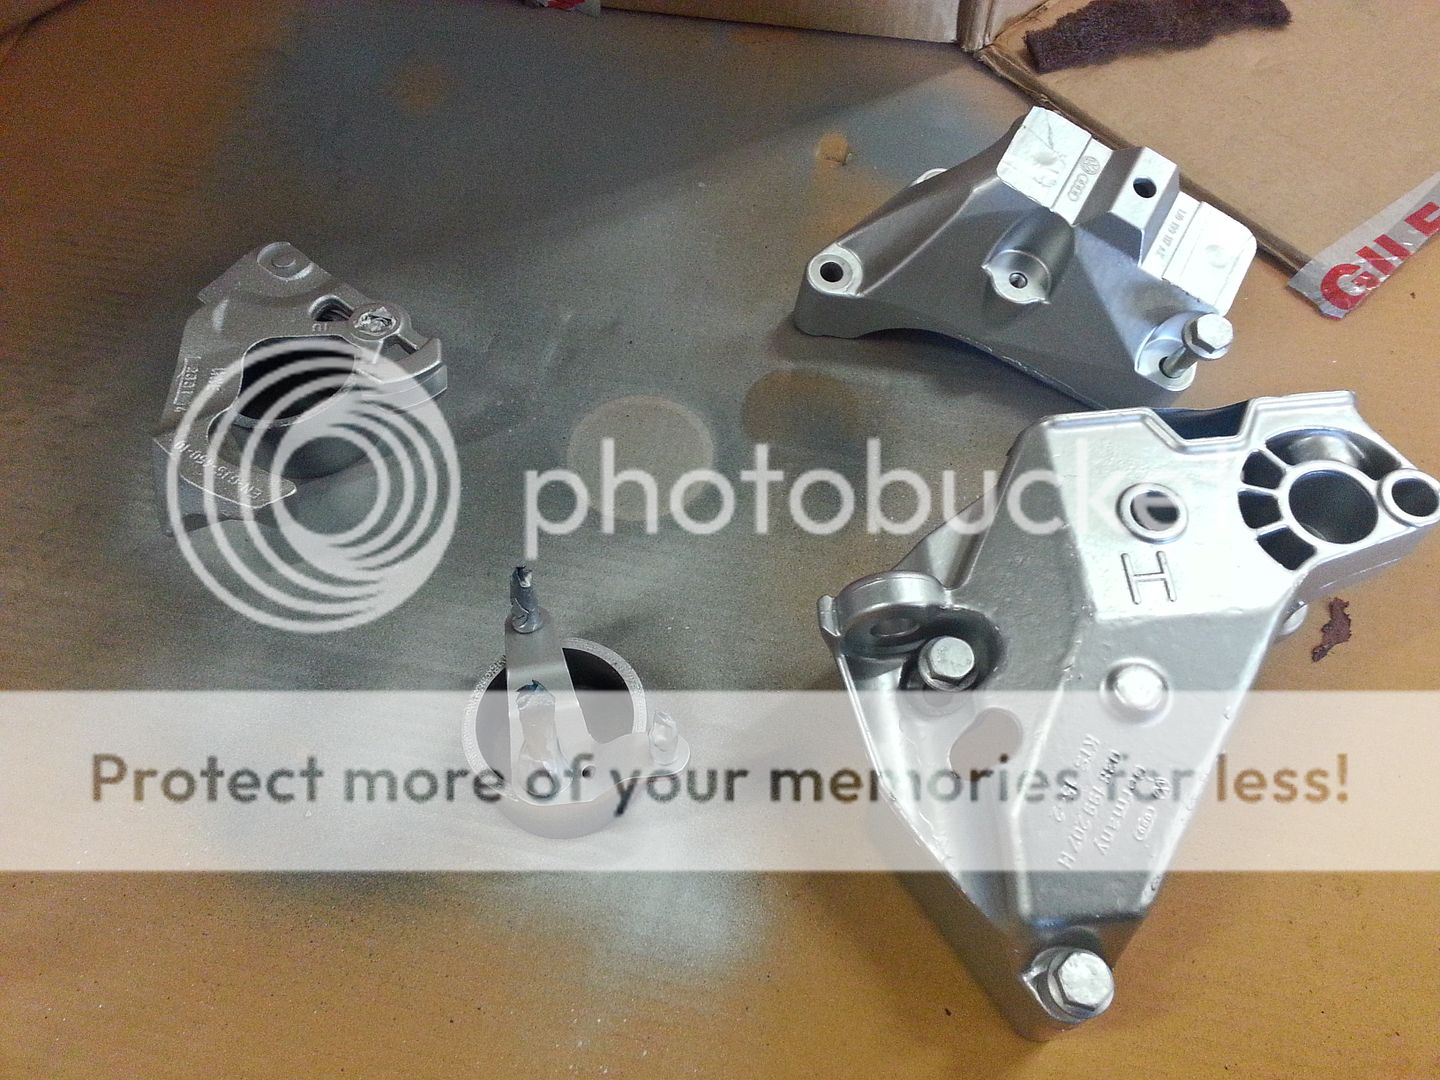
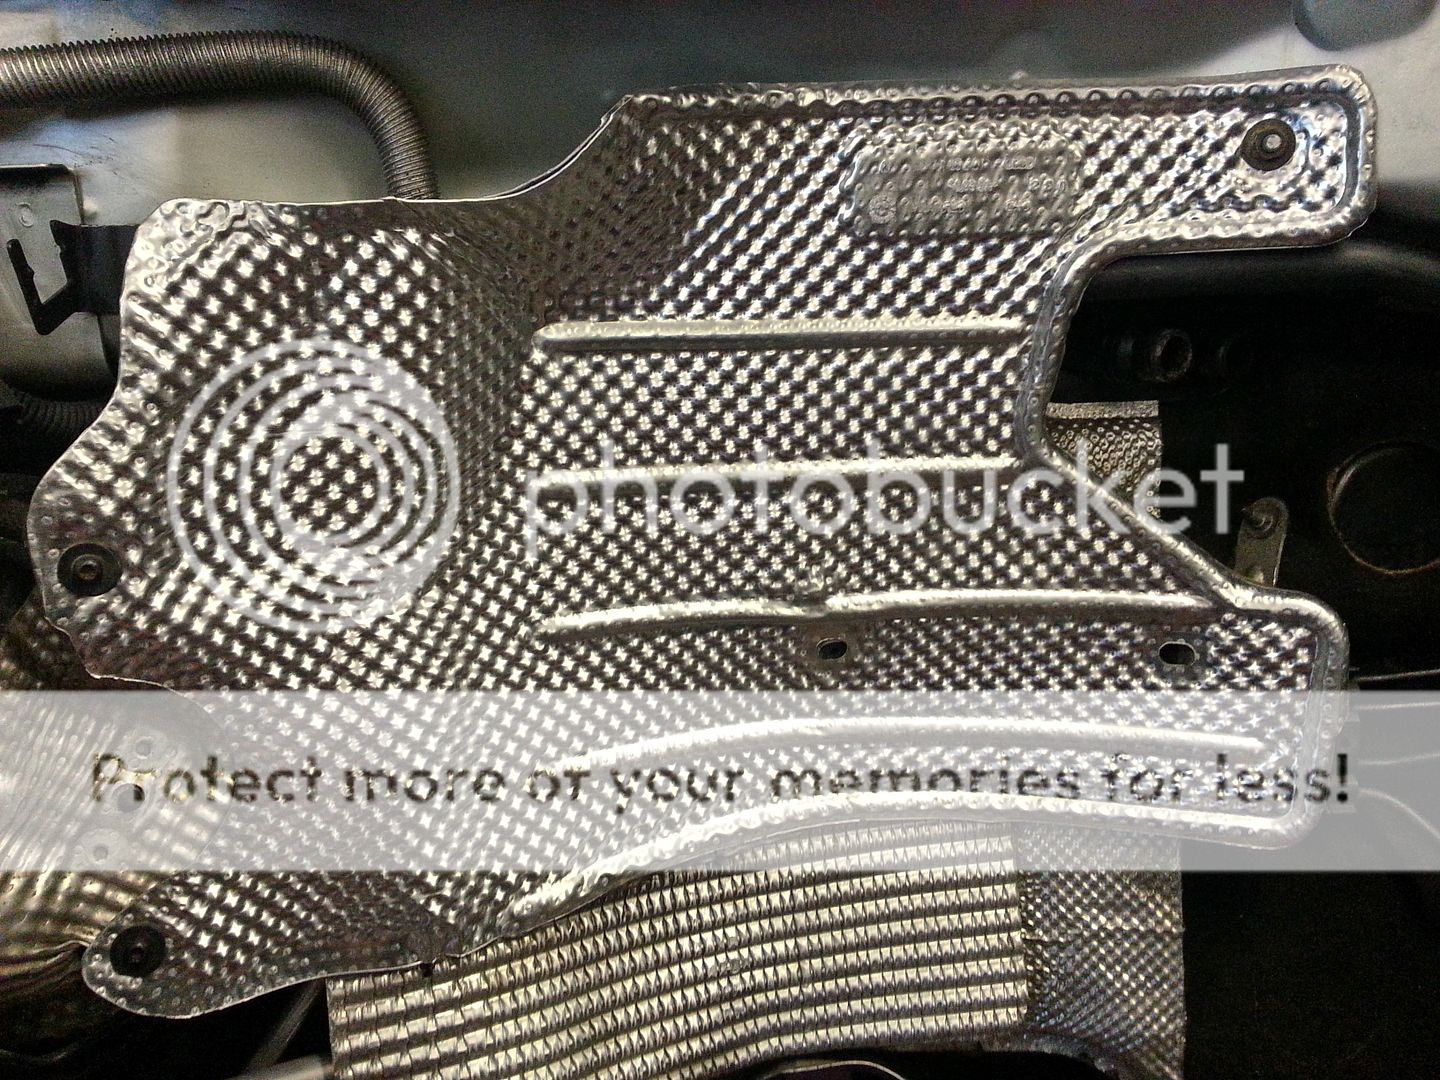
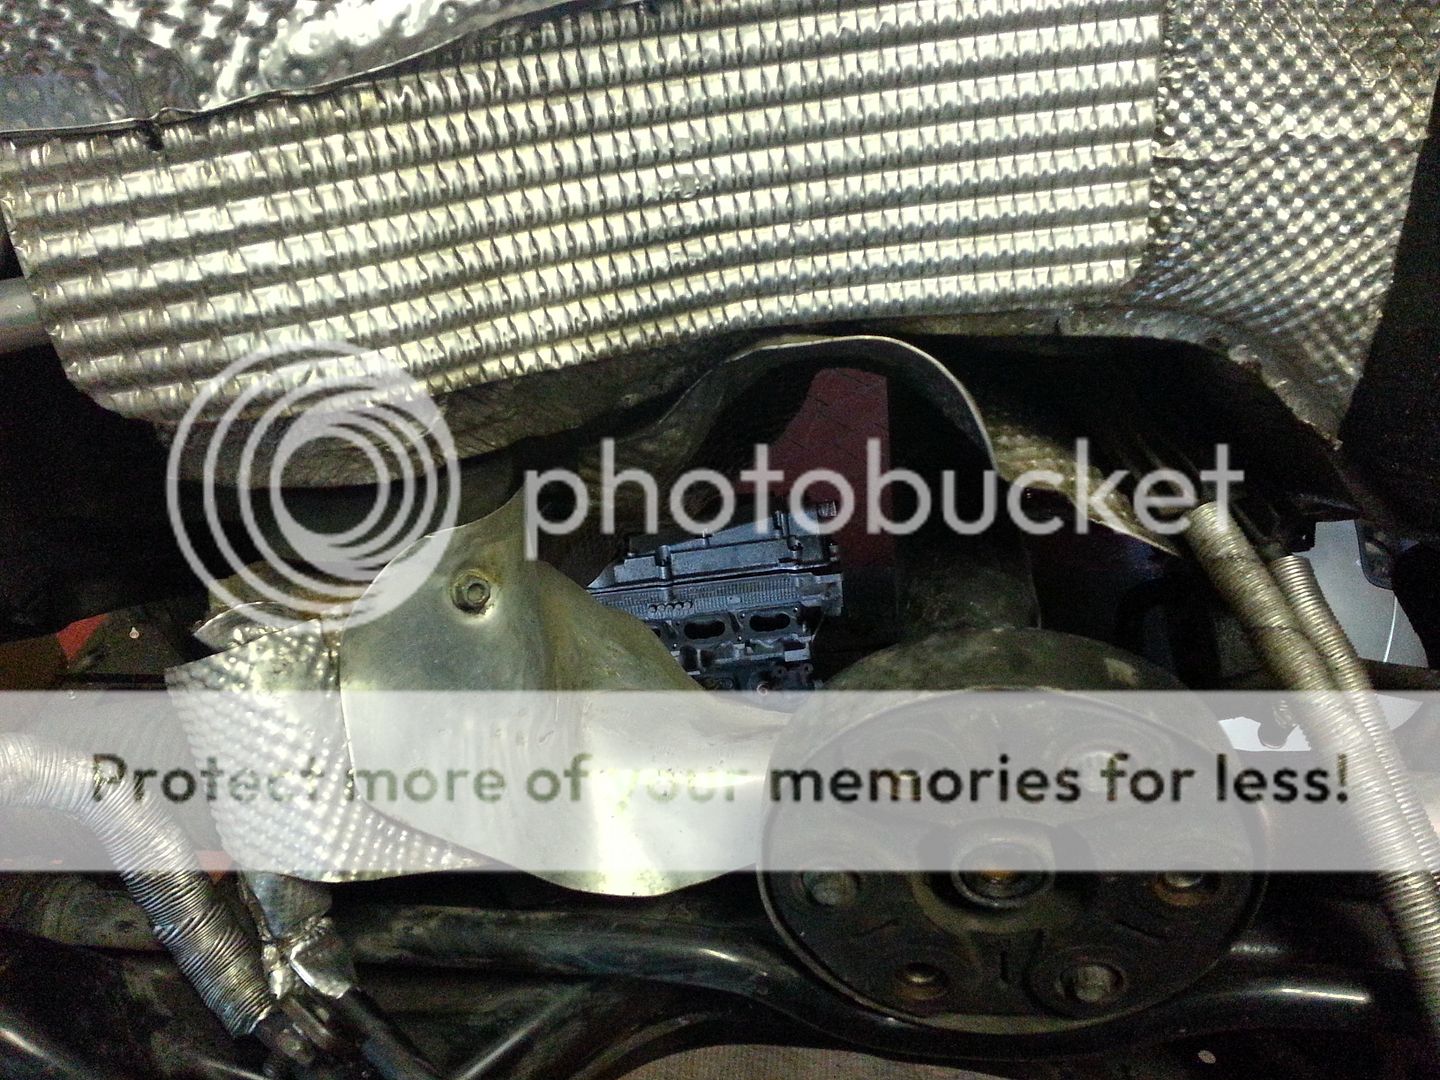
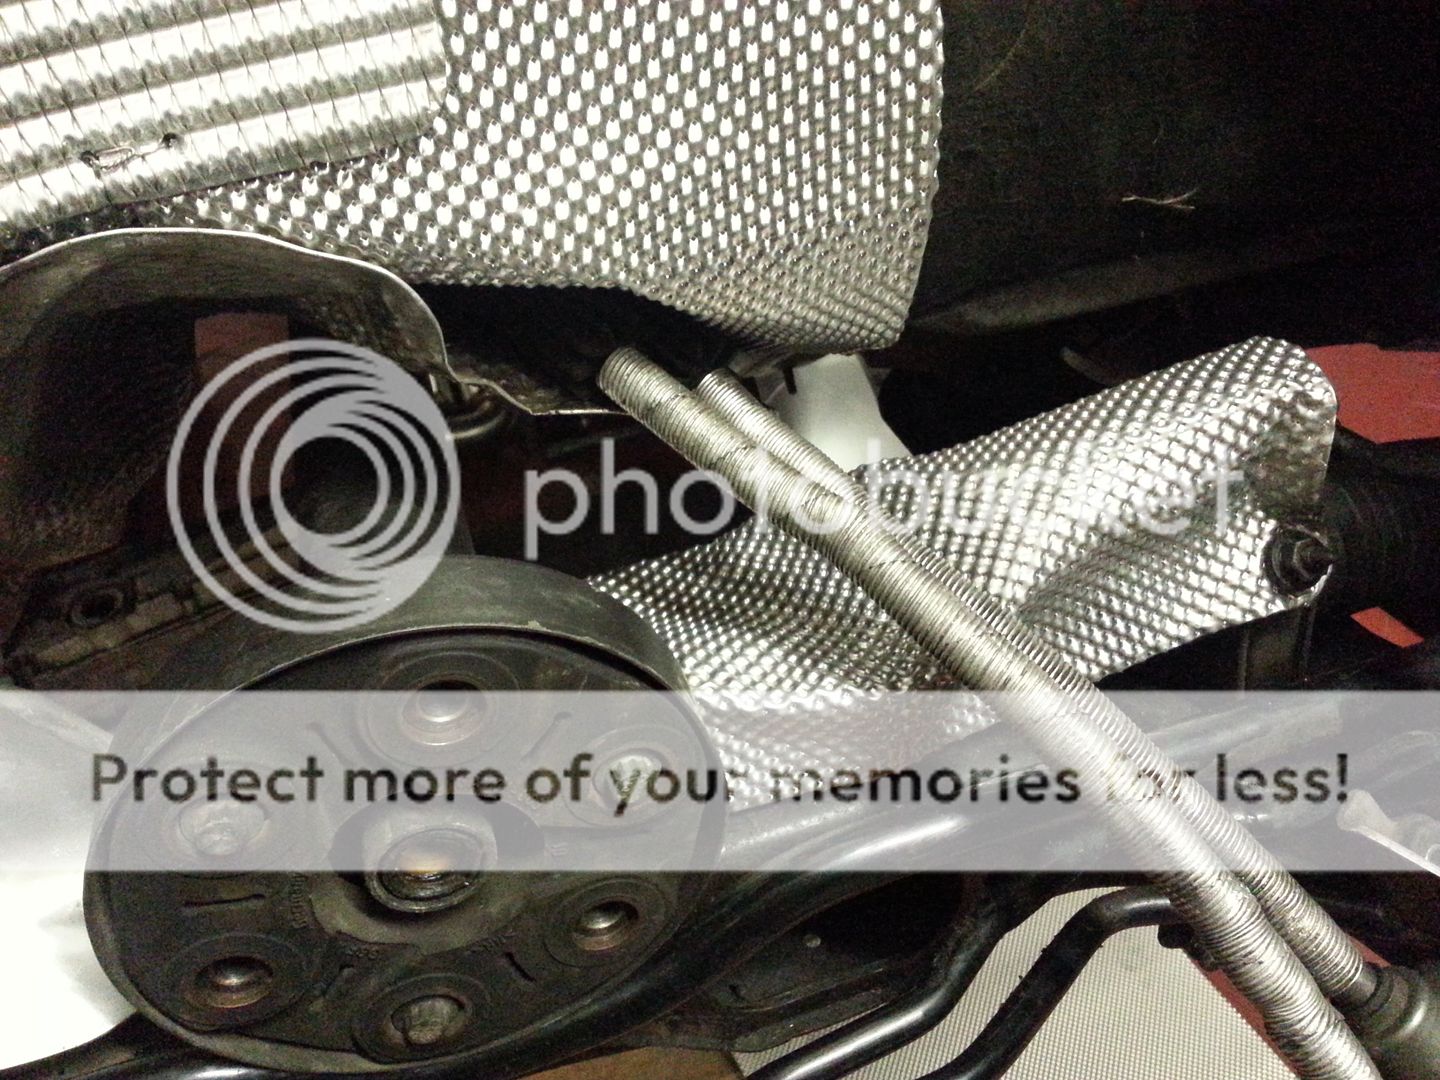
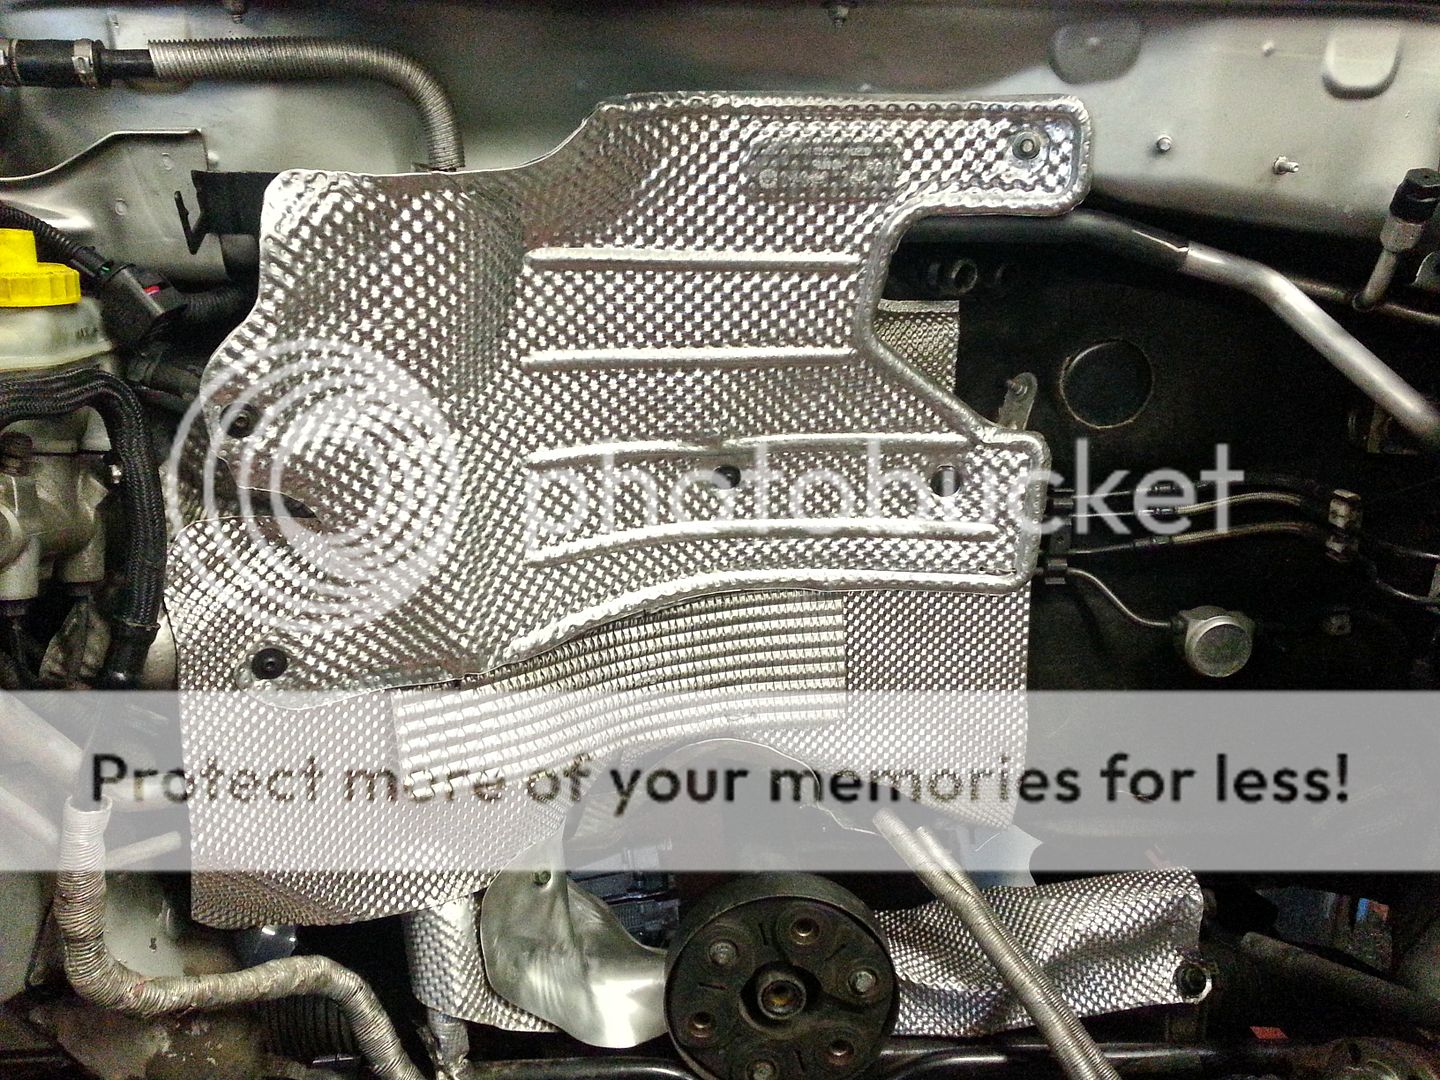
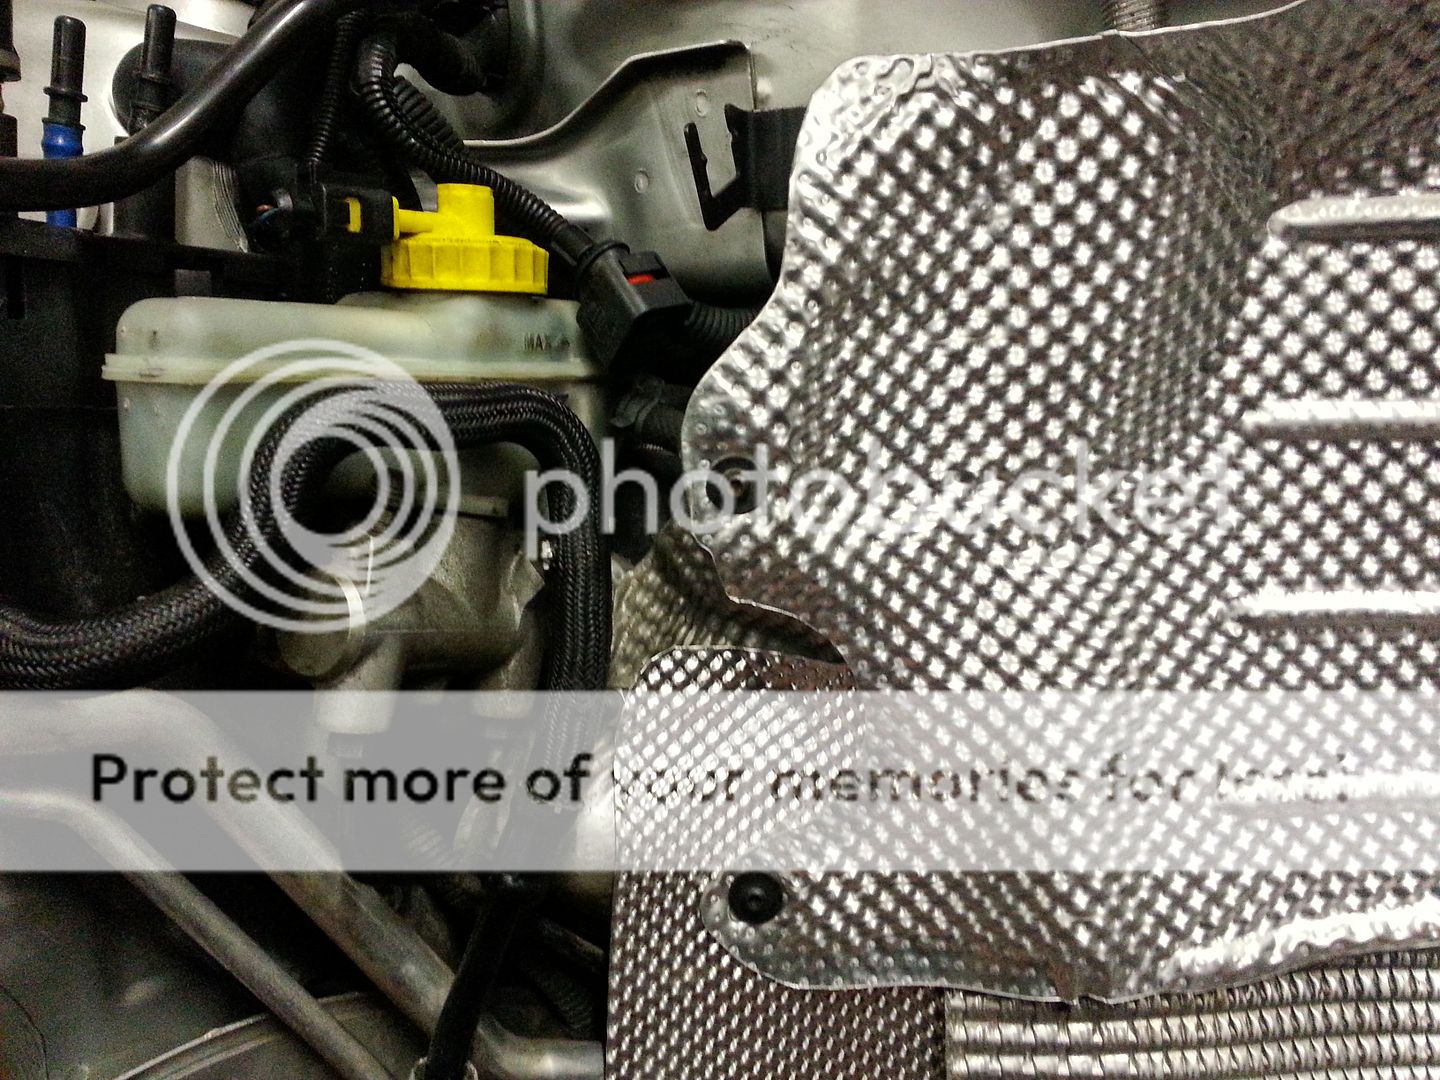
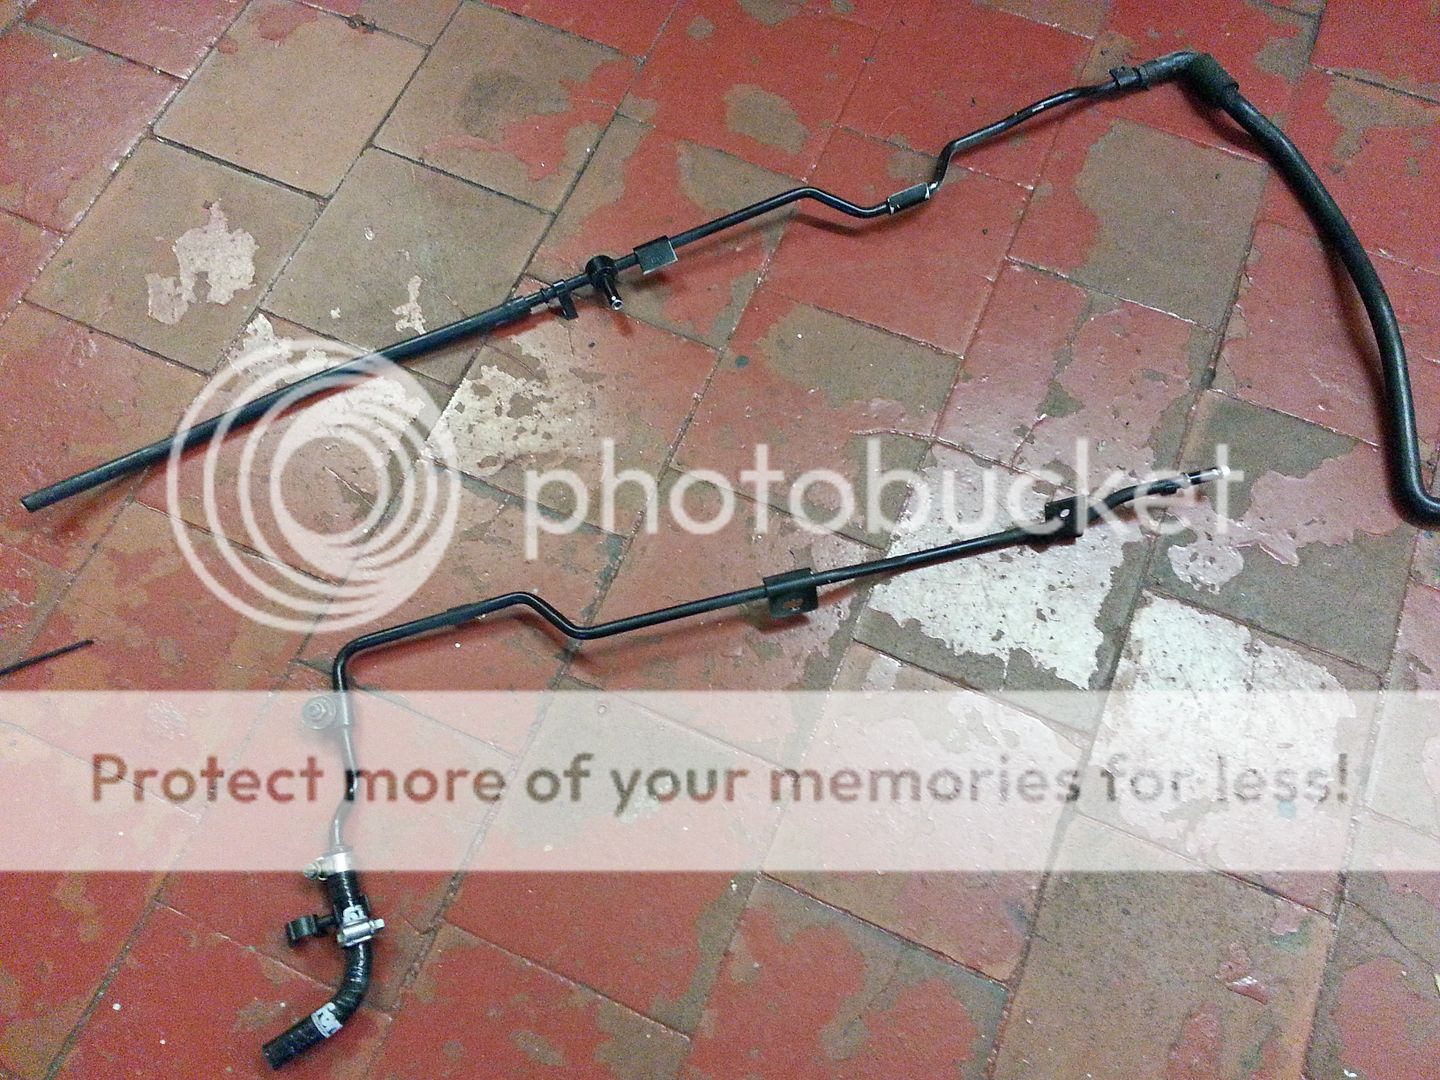
So stripped off the manifolds and cam cover (needed to anyway as the manifold goes off this week to be finished)
20140126_105734.jpg


20140126_112411.jpg


20140126_115506.jpg


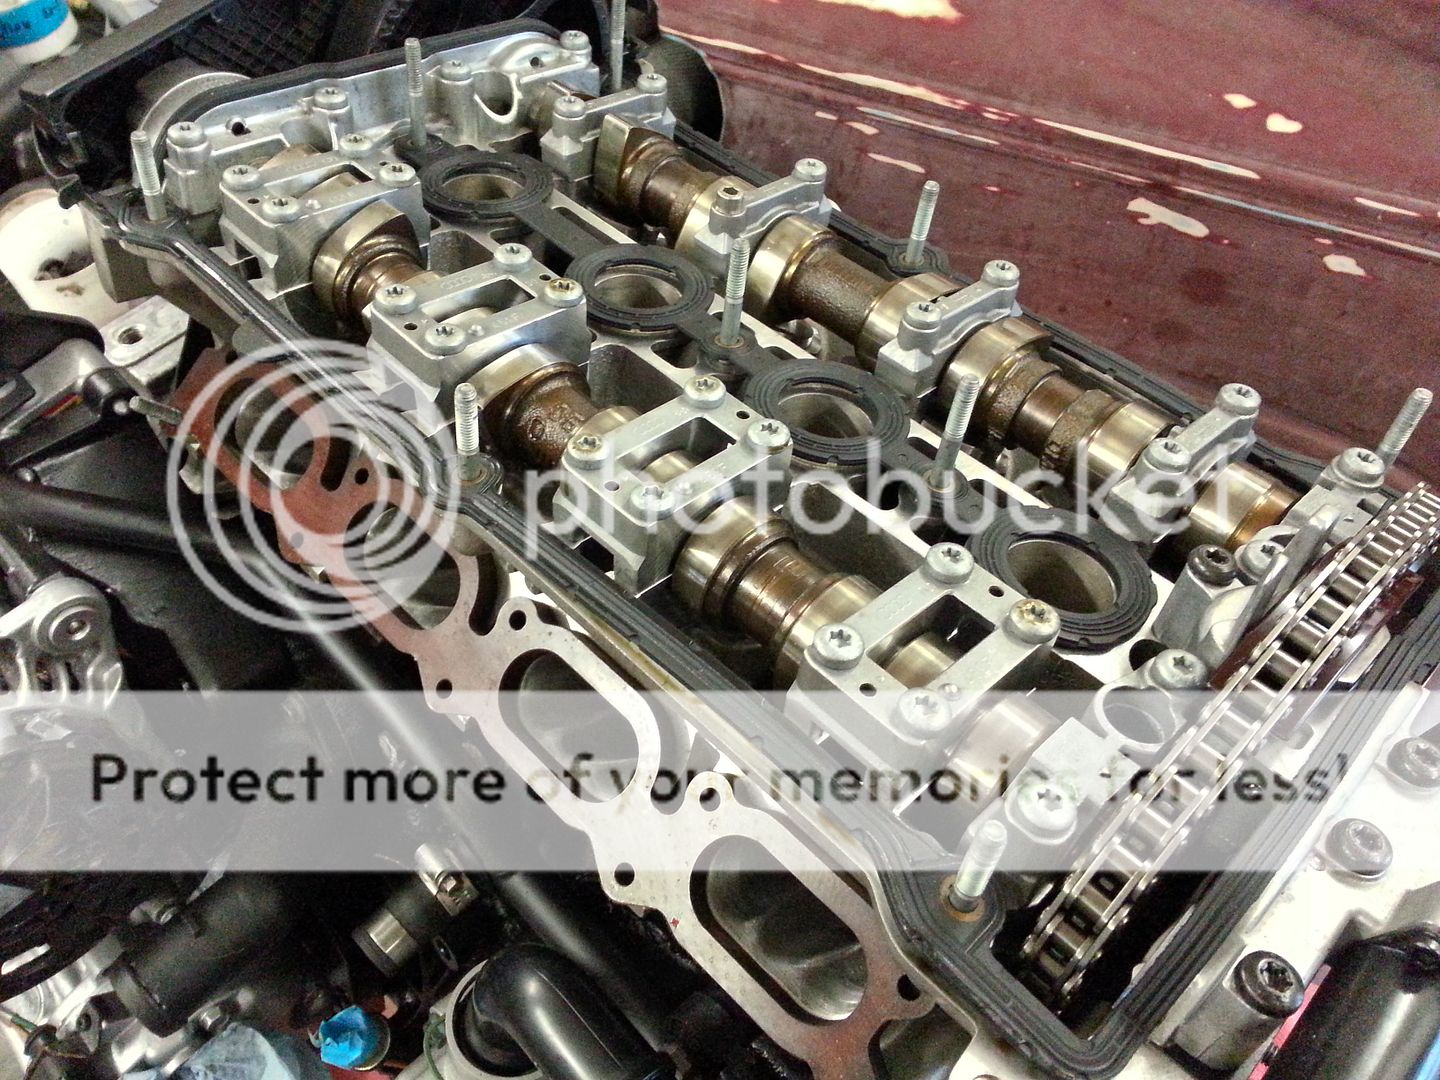
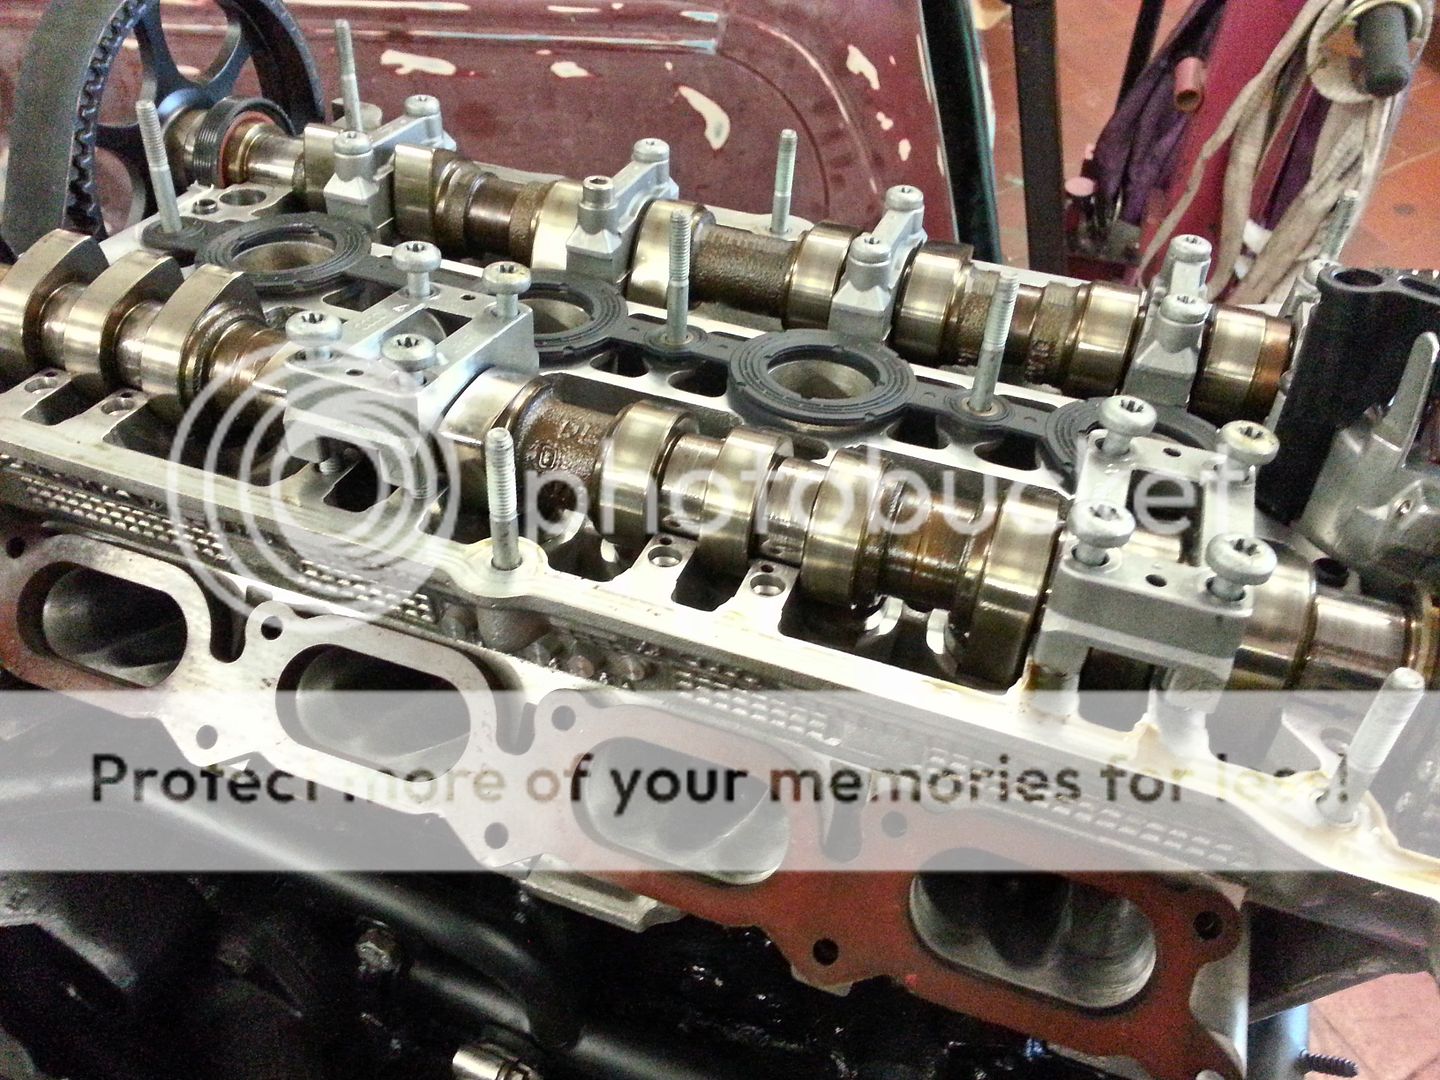
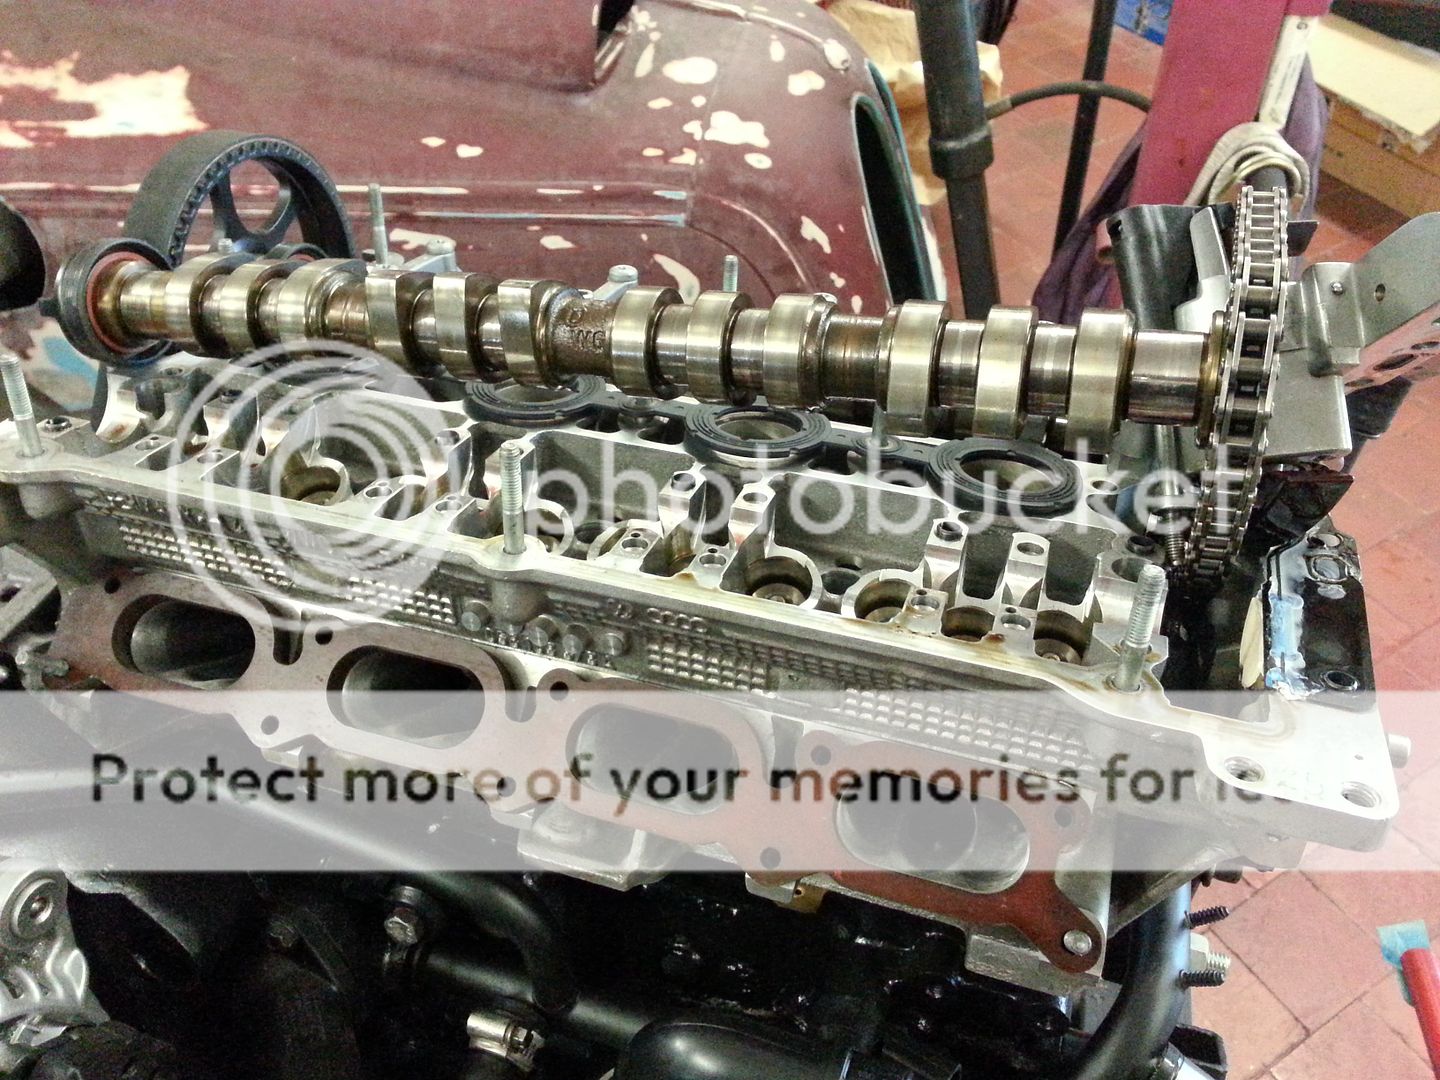
Good job I decided to do this as when I lifted out the 11th lifter the centre kinda stayed there :/
20140126_113227.jpg


20140126_113424.jpg


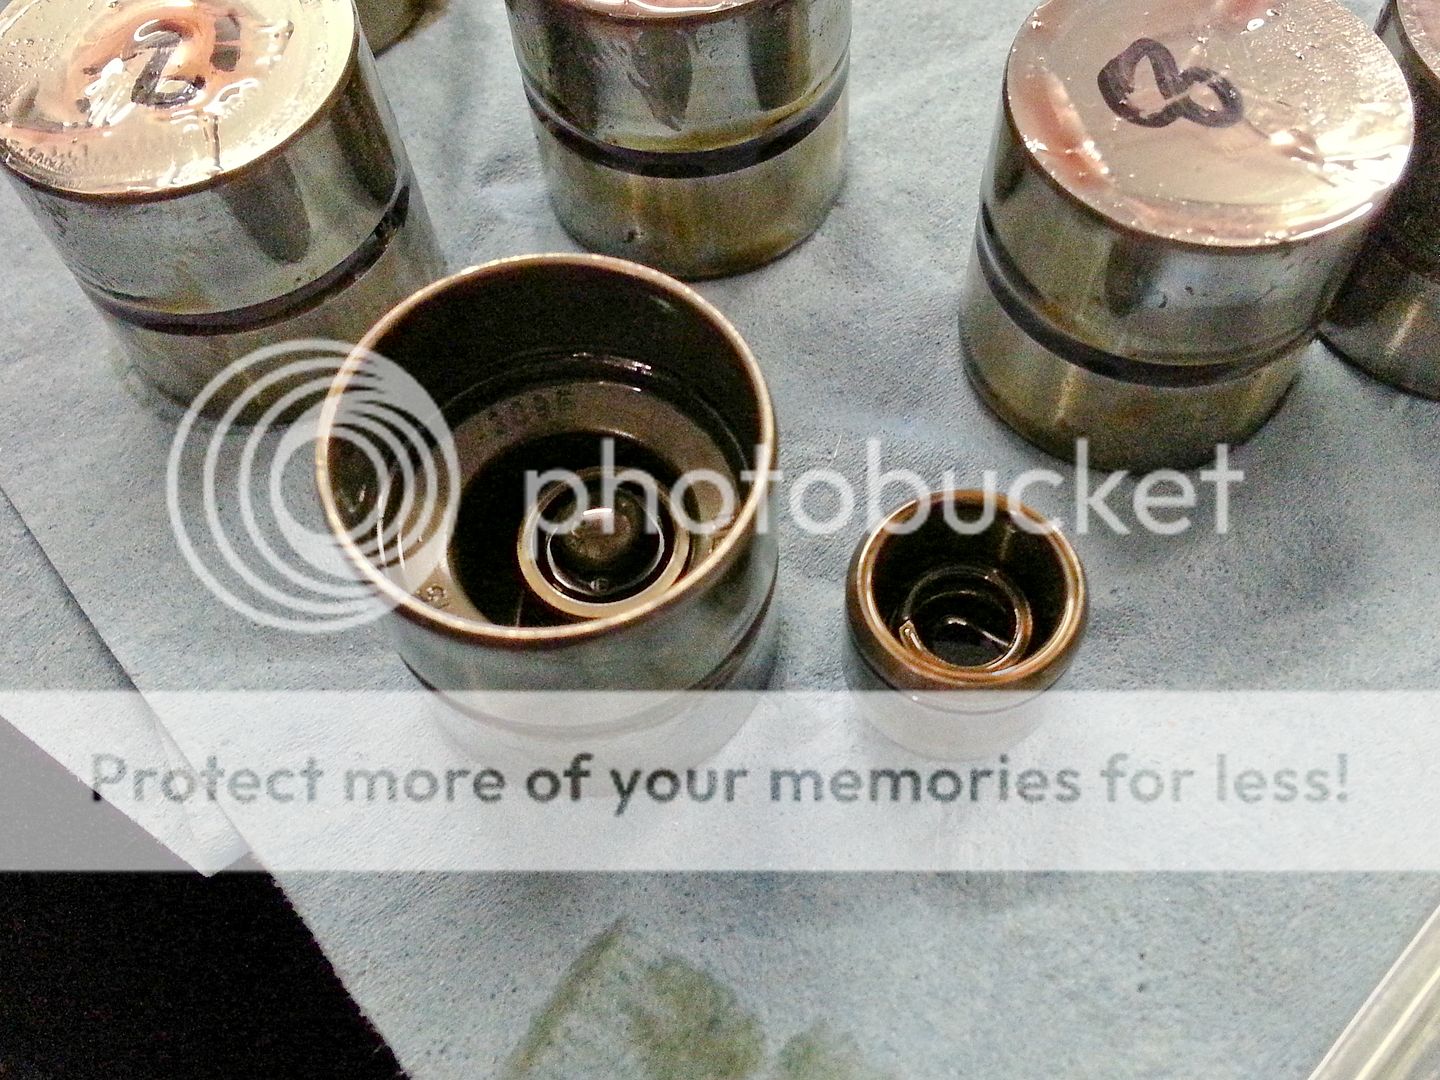
The culprit for whatever reason is a little clip that had come off and stayed inside the bucket... clearly no good would come of this...
20140126_113644.jpg


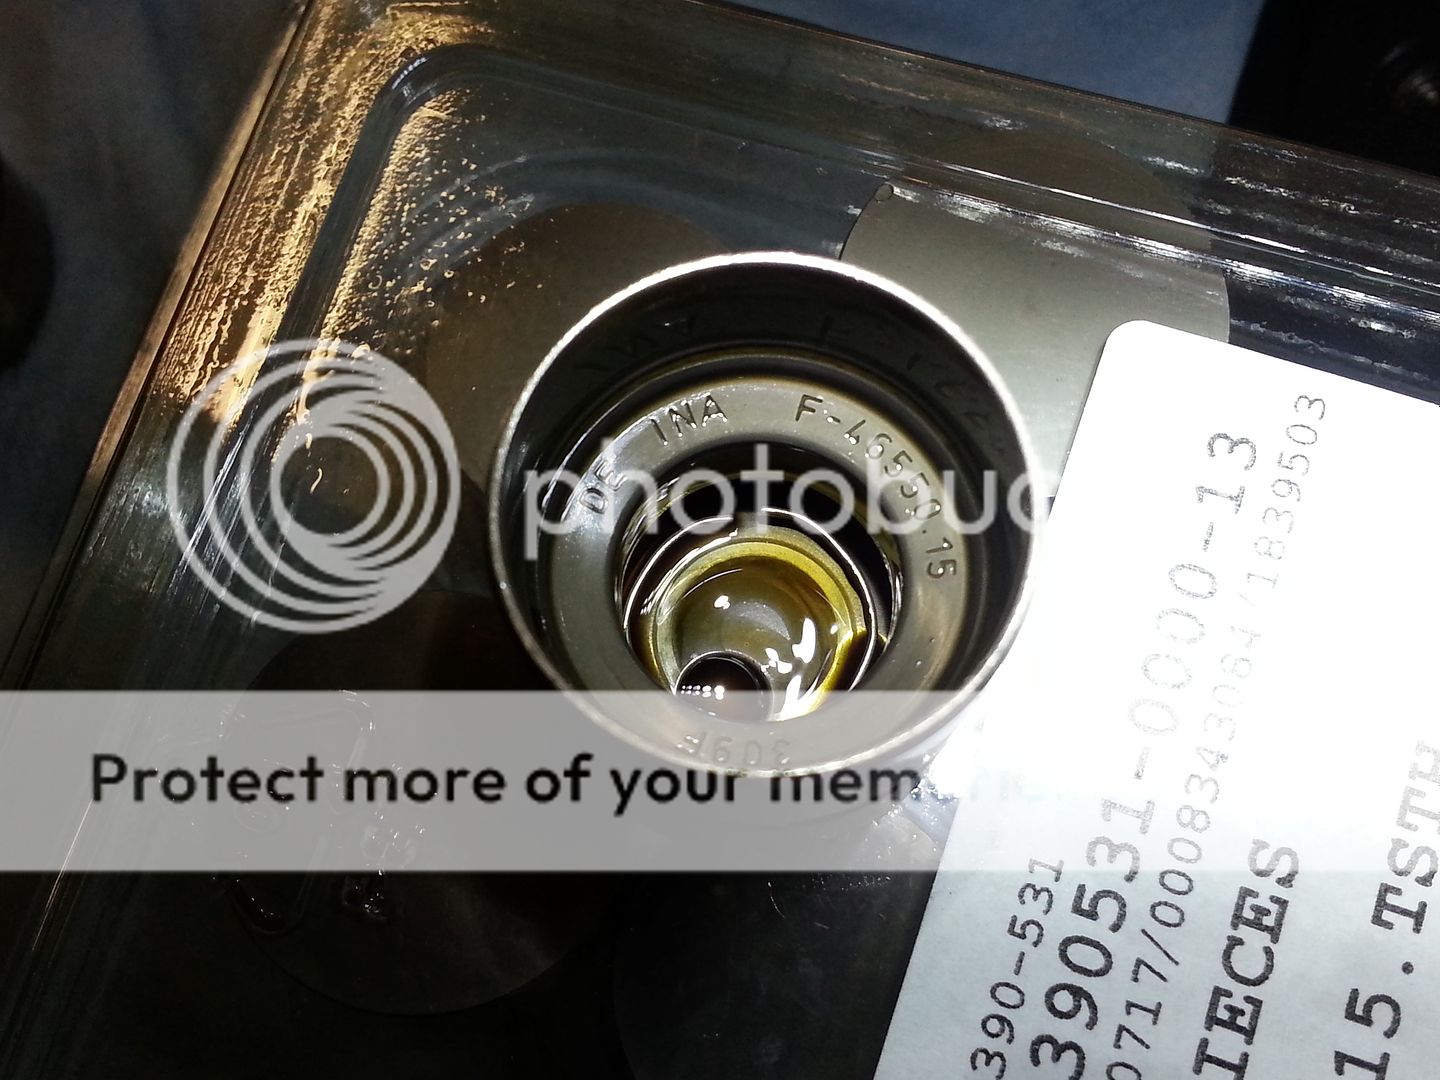
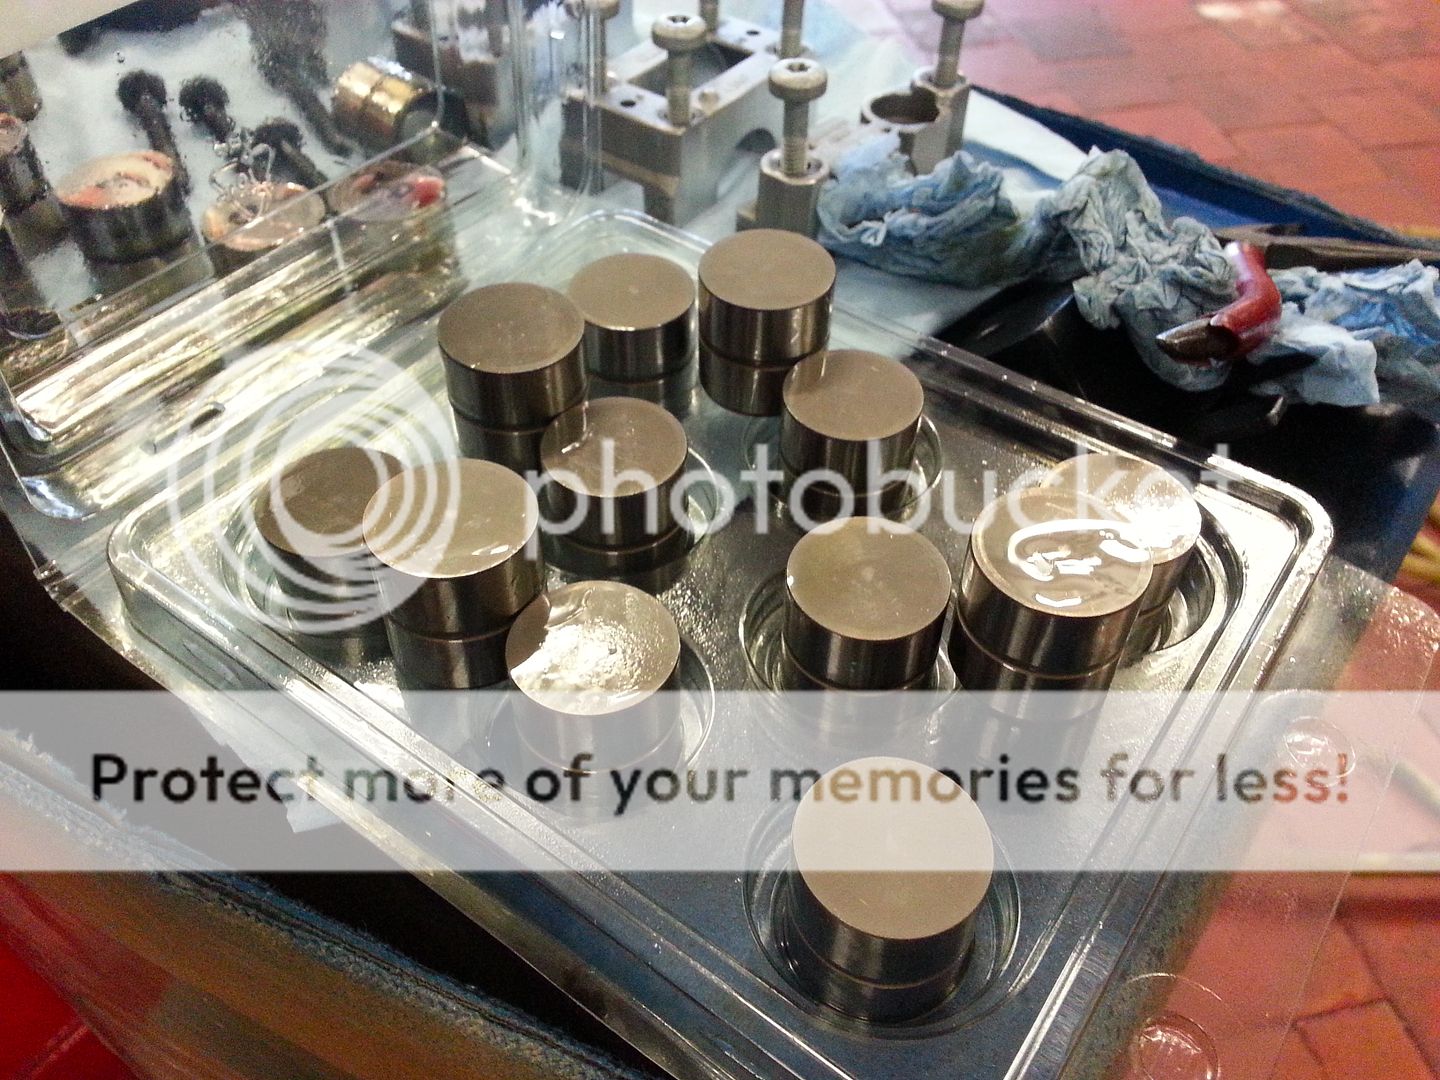
Nice new ones ready to go back in...
20140126_113731.jpg


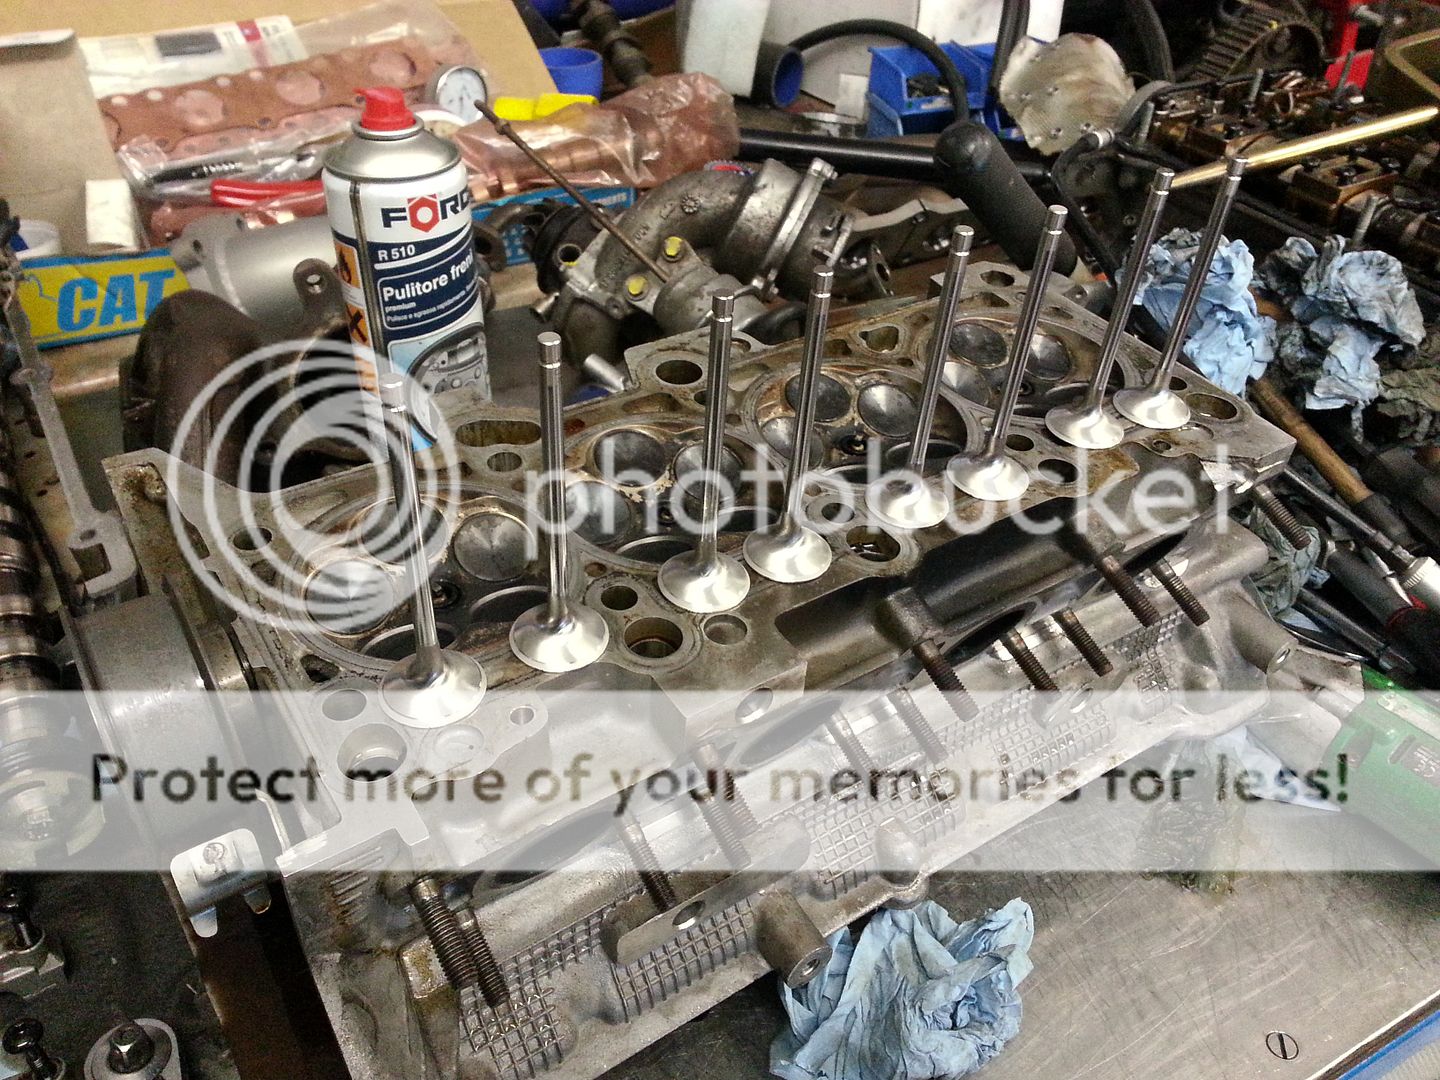
...as I was in the mood for working on heads I stripped another one that was lying about and fitted super tech valve train to it :D
20140126_134729.jpg


20140126_162214.jpg


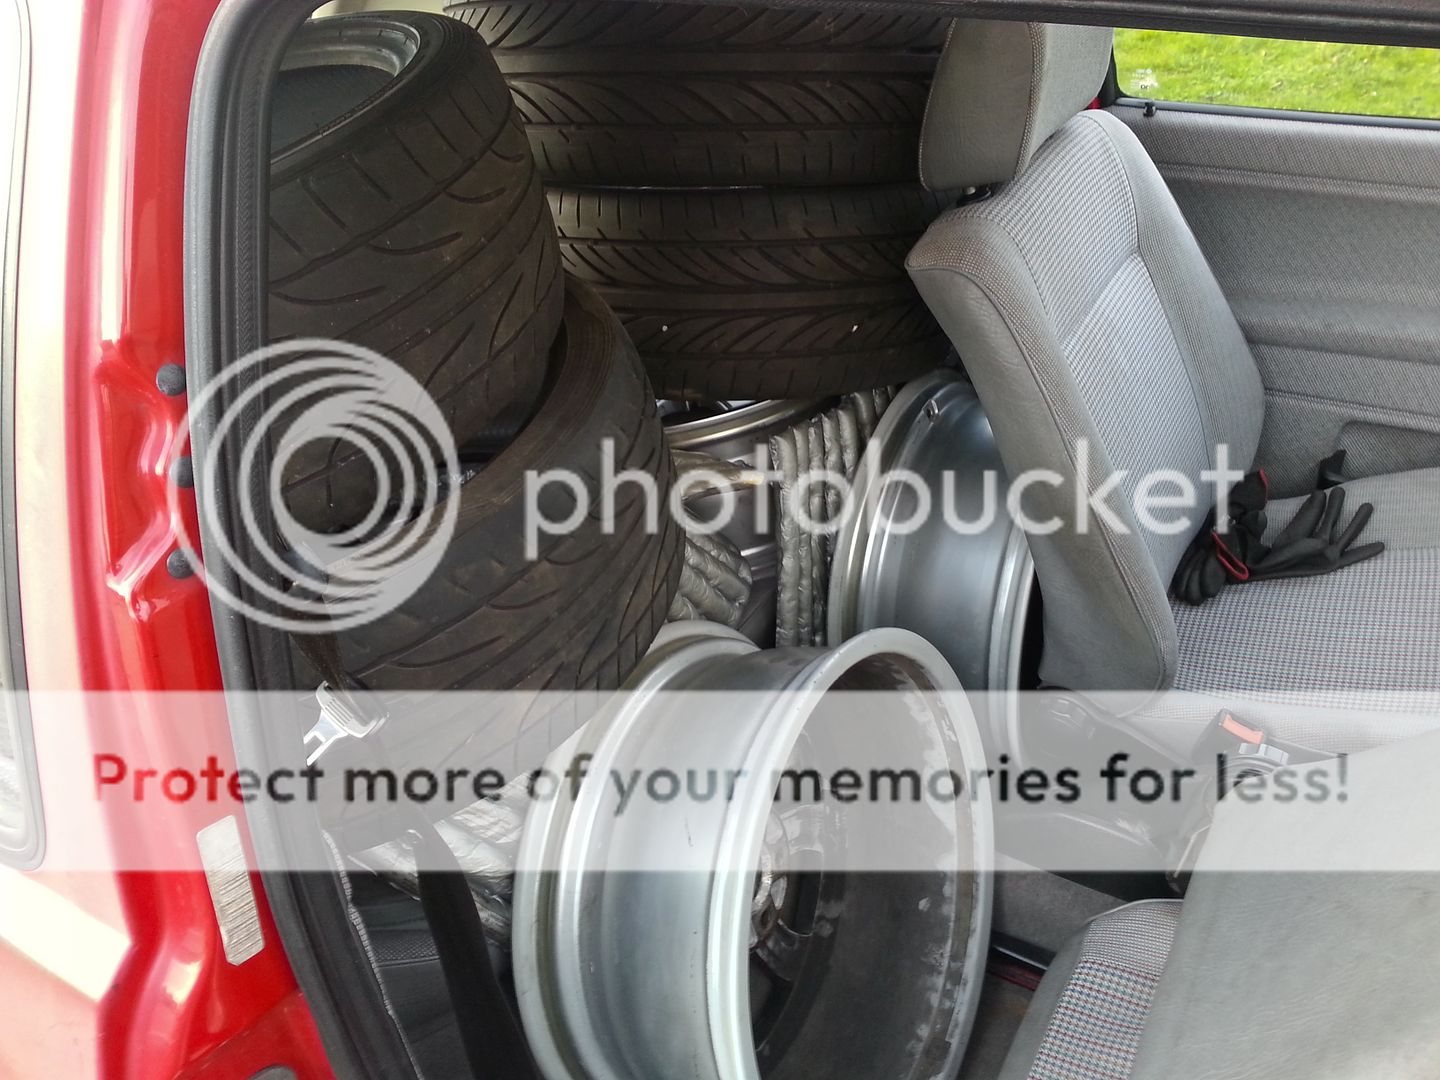
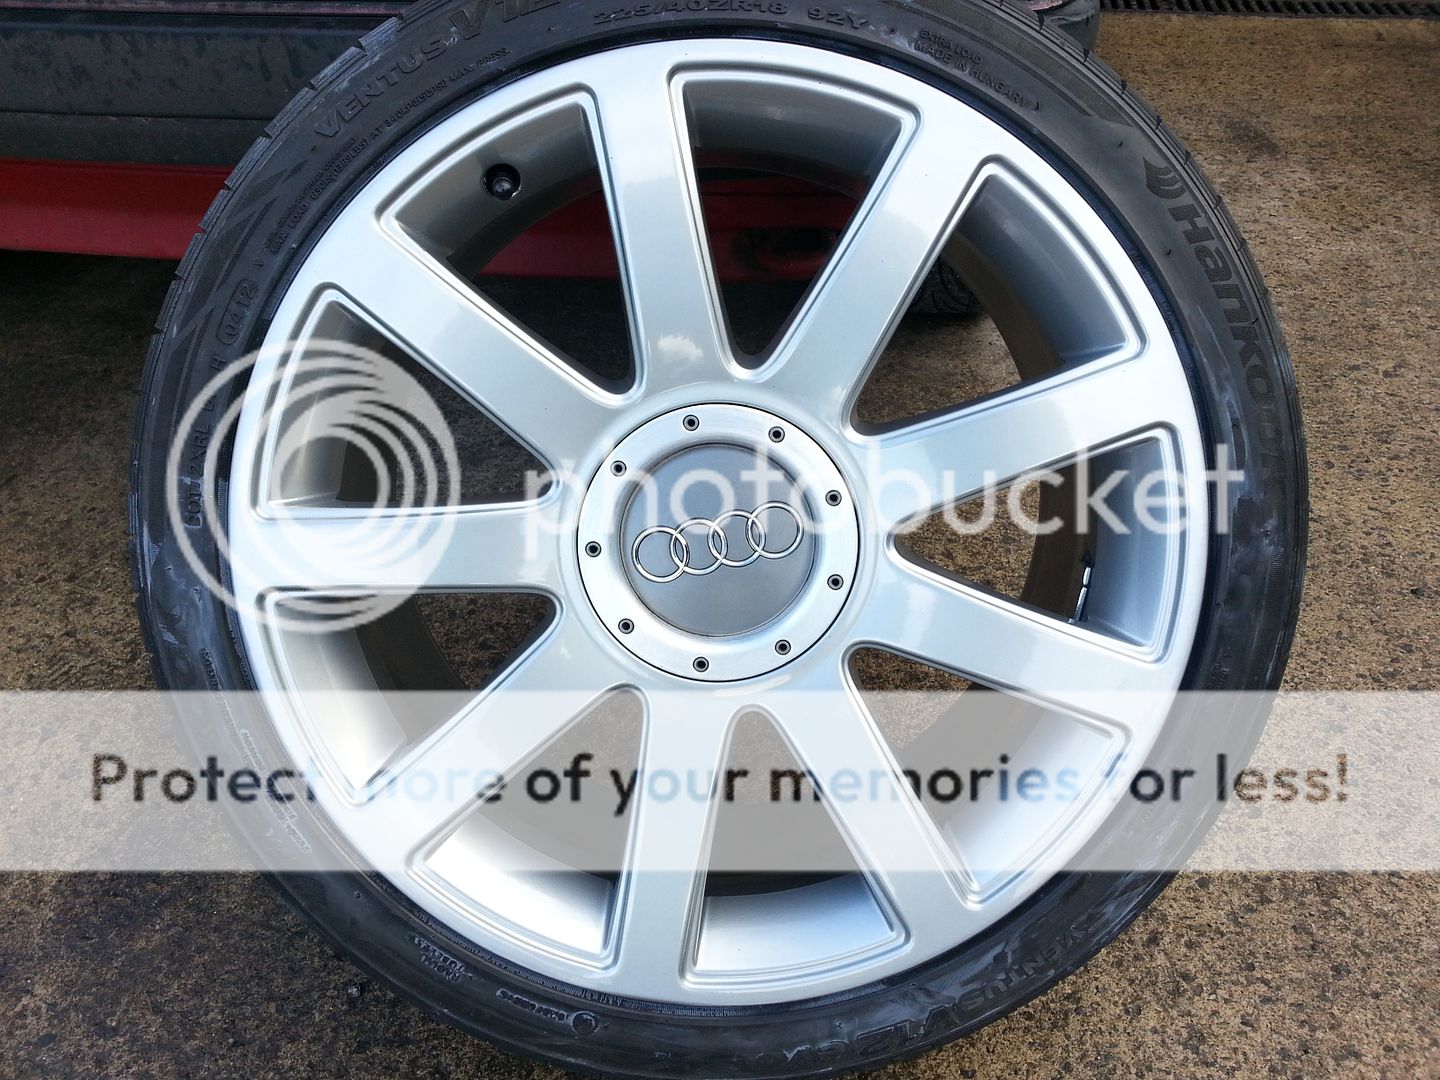
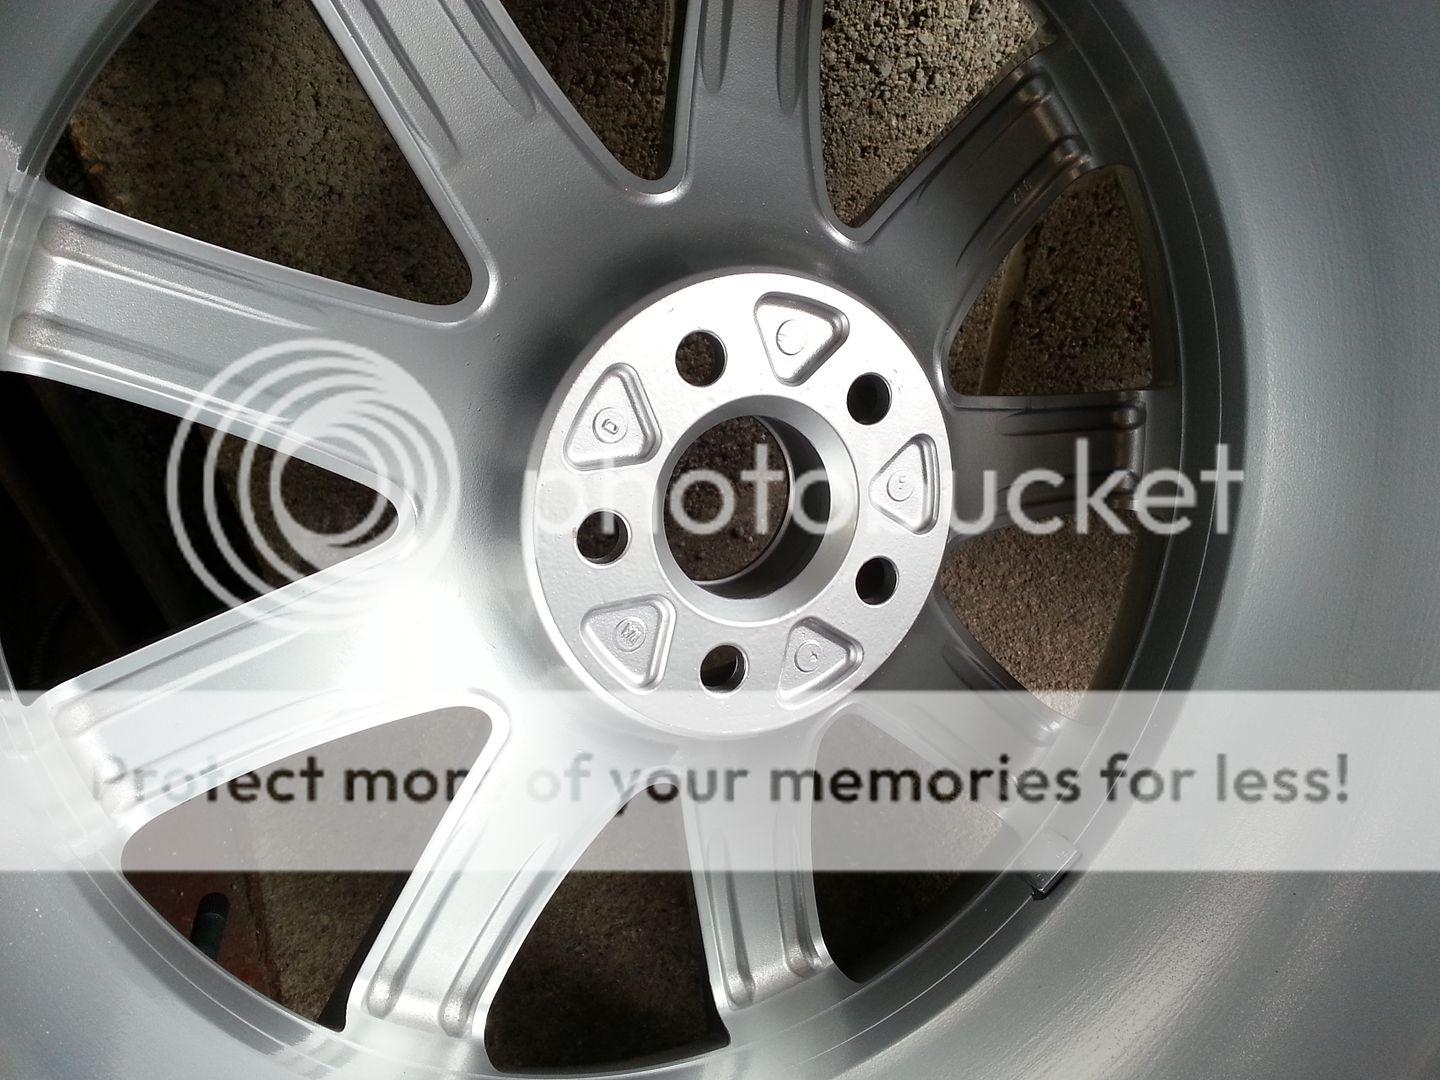
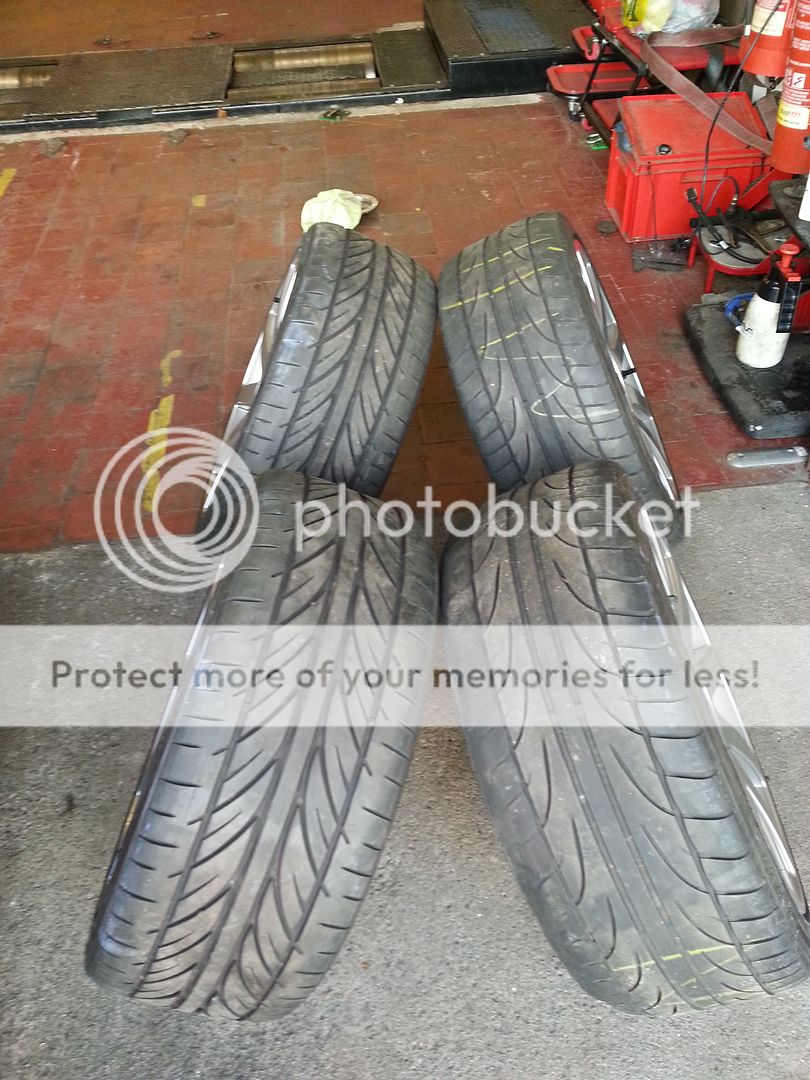
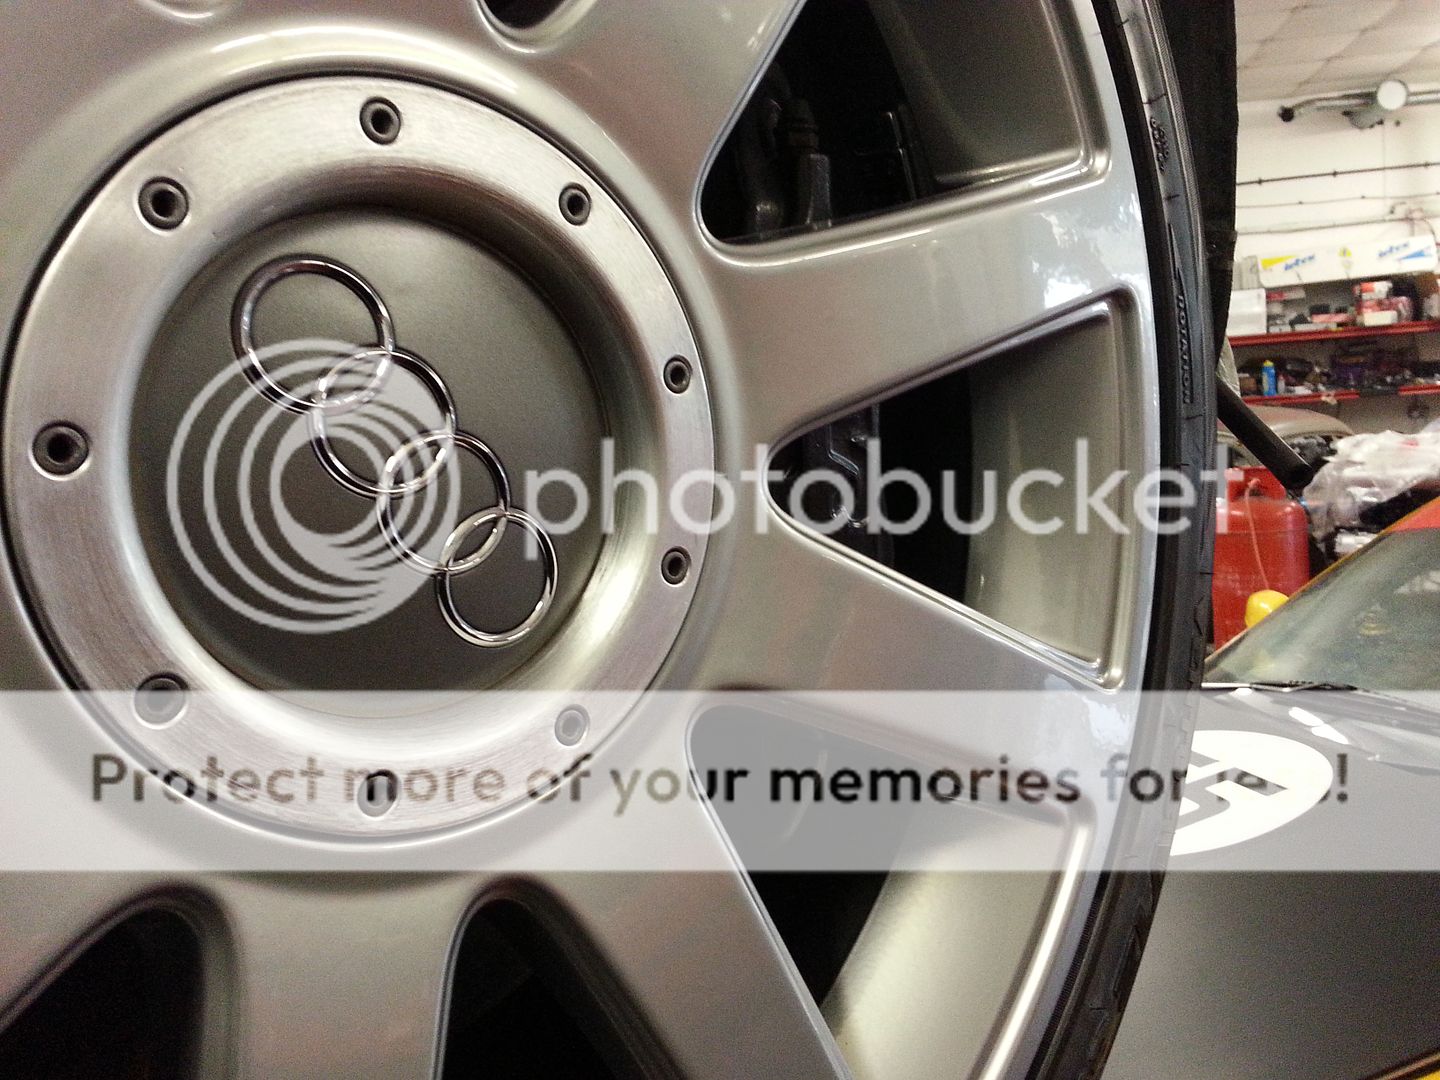
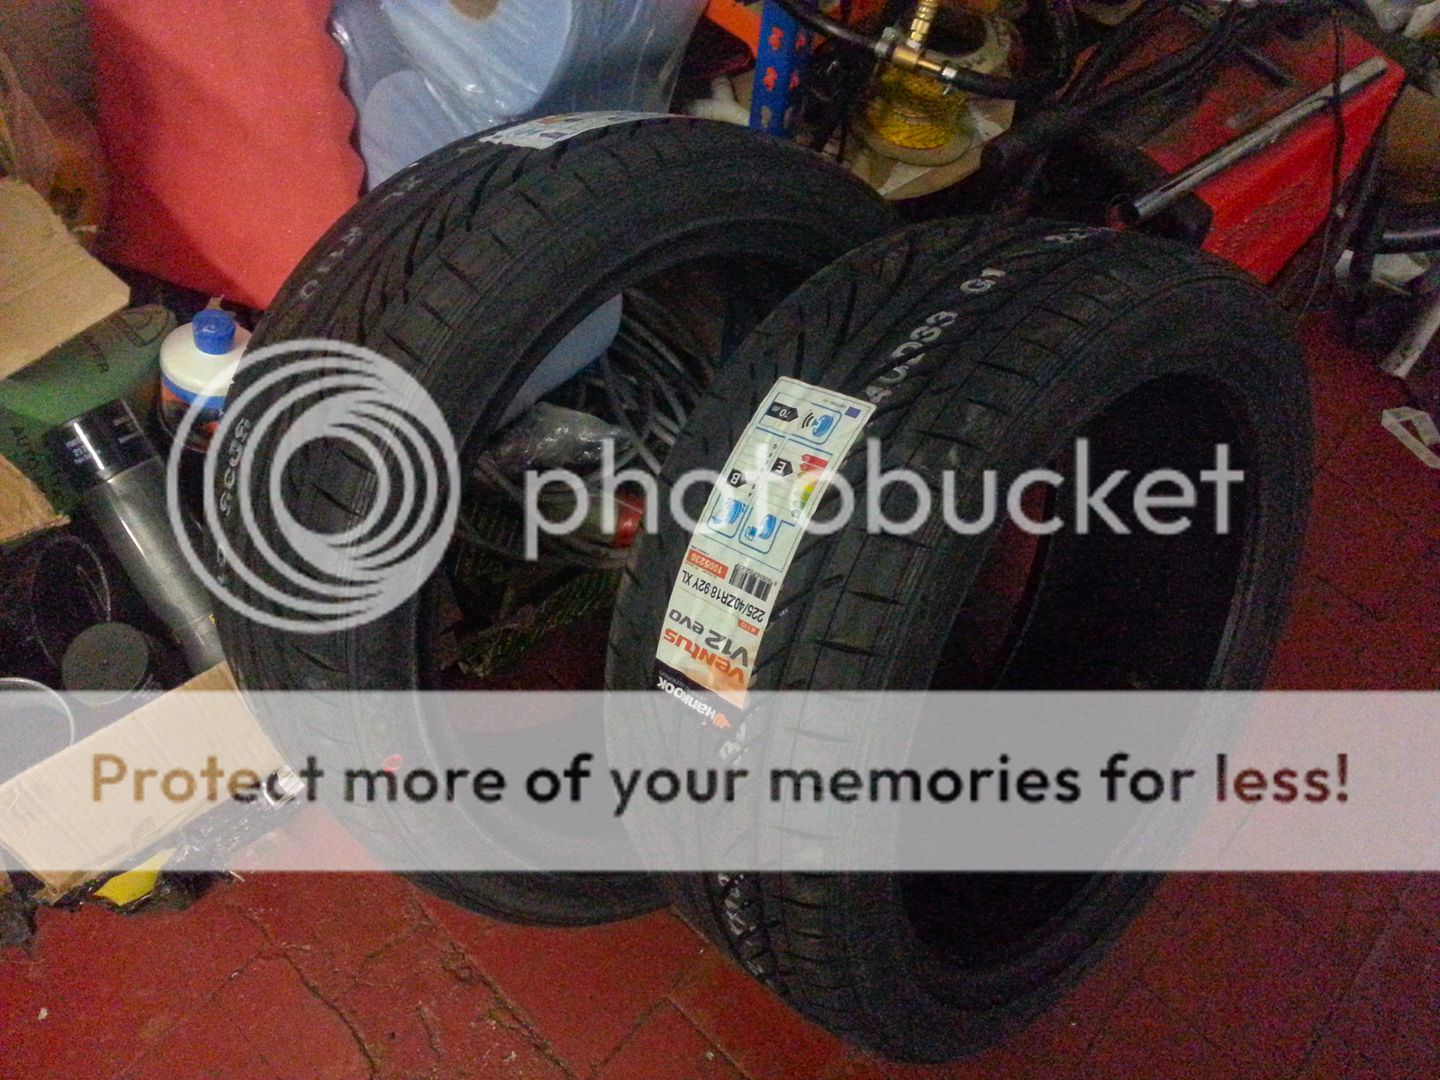
Loaded my wheels and tyres into the racing Golf ready for a trip to the powder coaters tomorrow...

<tuffty/>
 
  • Like
Reactions: S3Alex
Have you searched for any info on why the lifters can come apart in the engine?
I couldn't find any info on the web :(

My theories are either, the oil pressure is pushing the internal part of the lifter out of its socket or the valve stem is forcing the internal part into the lifter and causing the clip to be dislodged.
Plausable?

No mate... I have done many many 20v heads and this is the first one I have seen do this... even on lifters with mileage so I put it down to a faulty lifter and just changed them as a set

<tuffty/>
 
Another day off to get stuff done... loaded the Racing Golf up with my wheels to take to City Powder Coaters...
20140127_094719.jpg


At £20 a wheel plus £5 to fit and balance the tyres I couldn't really be bothered to pursue painting them as it would end up costing me more in paint to get the finish I want... went for the plain silver rather than the sparkly silver as the sparkly effect was very sparkly and a little ott for me

Bumped into JoJo at Maccy D's too (crap selfie pic alert!)
20140127_103342.jpg


The Golf was faultless on the journey (some 130 odd miles round trip)... not too shabby for a 22 yr old little 1.3 :)

Back at Bills around midday and cracked on with pulling the mock up engine/box from the car...
20140127_142515.jpg


After my initial selfie fail with JoJo, I gave it another go with the lesser quattro'd Mark...
20140127_142558.jpg


Then Mr Wellings of Wellycooler fame popped in...
Messenger_5833569861989382076_13908314376531384.jpg


Slightly failed selfie in empty engine bay pic...
20140127_150401.jpg


...and thats it until the weekend... more stuff on order and a couple more days off next week to pick up wheels and see if I can get a little closer to getting the engine in the car...
20140127_183325.jpg


...and I finished off fitting the supertech valves to the customers head too ;P
20140127_183239.jpg


<tuffty/>
 
  • Like
Reactions: StaceyS3
the only selfie i can ever actually remember taking was today!


75878_10152178819935792_977561710_n.jpg


Took advantage when there was a couple hours of sun to give it a quick wipe over and polish with SRP so thought i would take the standard reflection in the door selfie
 
  • Like
Reactions: <tuffty/>
I have to say...this thread is pure art.

I wish someone made exhaust manifolds for the 8P that looked even halfway as good.
 
  • Like
Reactions: <tuffty/>
I have to say...this thread is pure art.

I wish someone made exhaust manifolds for the 8P that looked even halfway as good.

thanks mate... the guy welding mine up (I can tack stuff but not actual weld lol) is planning a tfsi one but he hasn't got a car to work from as yet...

<tuffty/>
 
  • Like
Reactions: S3Alex
Now then! Bit booked up at present... doing the final welding on tufty s mani plus another 3 in the mix! So if your serious Dave we can do you one in a couple of months.....
 
More of the little jobs done this weekend..

The threads in the engine mount (the crappy one that gets in the way of cam belt changes) were pretty much non existent... in fairness its been off a few times and the threads don't seem to last more than a couple of belt changes before showing signs of failing...
20140201_102101.jpg


So bought a helicoil kit and set about sorting it...
20140201_102510.jpg


Drilled out the holes
20140201_103605.jpg


Tapped then with the supplied tap...
20140201_104311.jpg


...and screwed in a couple of helicoils (they were 16.5mmm deep so used two for better thread contact on bolt)
20140201_104646.jpg


20140201_112404.jpg


20140201_112416.jpg


Next I removed my gearbox from the the build engine for cleaning...
20140202_135059.jpg


Gave it a good going over with a water based detergent, stiff brush and a scotch brite pad then power washed it...
20140202_144943.jpg


Finished off with a wire brush... not 'clean' but paintable at least...
20140202_160517.jpg


Unfortunately I spotted a small issue... there were a couple of small cracks on the oil filler boss :(
5835772753224377905_13913566478149829.jpg


I think this could be due to the filler plugs being metal rather than the later ones which are plastic and there has been some sort of reaction or expansion that has caused this damage to occur... just as well I am planning on rebuilding another box then really... I have a low mileage (40k) 02m FWD box from a Leon that I will use the internals of to build a quatty box...
20140202_135116.jpg


Bill has a broken 02M quatty box (selector fork and a dodgy syncro)... Hoping this might be available as a donor for the build...
20140202_162647.jpg


That won't be for a little while yet though as I want the car up and running first...

I also decided to replace all the engine mount bolts as they are supposed to be a one use affair but I am still on the originals so all things considered they are being retired...
20140202_163407.jpg


Mounts waiting to be blasted for painting :p
20140202_163420.jpg


Last job of the day is to change the inboard CV boot... I didn't remove the shaft tis time as to be fair I wasn't struggling for access... :)
20140202_163536.jpg


Cleaned the joint of grease (that stuff gets everywhere!!!) and refitted with new grease and the new boot...
20140202_173042.jpg


Greased up the back of the joint and fitted the new cap...
20140202_174441.jpg


So thats it for now... a few more little jobs and a bit more fabrication left to do... still waiting on a few parts... manifold is having the last bits welded up so should be back soon then I can see if I have any money left to ceramic coat it lol... have ordered a replacement OE heat shield which I am hoping will arrive soon as it was on back order...

Might get a bit of paint on the box tomorrow morning as I have other stuff to do in the afternoon... Tuesday I am off to pick up the wheels from the powder coaters... hopefully they will have come out ok but tbh the damage on one rim might not be easy to sort..

No matter... I am keeping an eye out for another set of RSTT's with a mind to get them perfect..

<tuffty/>
 
  • Like
Reactions: S3Alex, Gops, StaceyS3 and 1 other person
I still have my old box if you need one mate :) City powdercoaters giving a warranty?
 
  • Like
Reactions: <tuffty/>
Are you back from Brum yet???

How are the wheels looking?
 
oh yes he has - :p

I may have been a bad influence on messer tuffty on this one.. (as I painted badgerwagens gbox way back)

1551524_10152251516624874_2092739714_n.jpg
 
  • Like
Reactions: bigray, Broken Byzan, <tuffty/> and 1 other person
With this new 2.0 engine and GT35 turbo it will be so much faster and will be so much cleaner with everything been painted that everyone thats waiting to see it go up the strip will never see it happen as Paul will be under the car polishing his sump and gearbox
 
Last edited:
  • Like
Reactions: Lavis89, Scullies, StaceyS3 and 4 others
Went and got the wheels today...

20140204_131717.jpg


Compared to a rather knackered set of OE finished RSTT's
20140204_131855.jpg


Considering the price (£20 per wheel plus £10 if they have to remove/refit a tyre) the finish is very good... there were a few issues though...

They had powder coated the mounting face of the wheel... this can be a problem do to heat softening the powder coat and allowing the wheel to move a little which can lead to wheel wobble at best or if enough can effectively release the torque of the bolts which then come loose.... plan will be to sand the coating off at a later date...
20140204_132128.jpg


There are also a few little imperfections here and there...
20140204_131731.jpg


I treated them to some poorboys of course...
20140204_133334.jpg


I was about to fit them and discovered a small issue...
20140204_134844.jpg


They had fitted the tyres incorrectly... rather than pairing them per axle, they paired them side to side!!... ***!...

You may also notice that two of the tyres are pretty much had it... they are legal enough to get the car on the road and the engine run in... once thats done I will be replacing the old 452's and will get the others swapped so they are paired on a axle...

As a comparison I took a few pics of the sparkle silver... it does look quite cool but its a little OTT for me...
20140204_103918.jpg


20140204_103936.jpg


I think I made the right colour choice personally
20140204_155842.jpg


In other news... the engine mount blocks came back from super George having been blasted
20140204_155756.jpg


And the new OE heatshield turned up too...
20140204_162743.jpg


Plan is to use this as a second layer to my old one to improve heat management...
20140204_162804.jpg


Thats it until the weekend... gearbox will get a few coats of the same black as the block, mounts will get a bit of paint too... few more things I am waiting on (manifold, flexis and a clutch plate) but should be able to get all the heat shielding in place... I want to build most of the bits onto the engine before I put it back in the car so it will be after the manifold is done/ceramic coated/wrapped (whatever I have case left for lol)

<tuffty/>
 
  • Like
Reactions: bigray, Kuvi-S3, jojo and 2 others
looking good matey! do you plan on just having the heat shield in the standard location or you having anymore anywhere such as by brake master cyclinder area? iv just fitted some g2 layer heatshield on my s3 very impressed with it and planning on putting OE shielding somewhere else. can never have too much :D
 
looking good matey! do you plan on just having the heat shield in the standard location or you having anymore anywhere such as by brake master cyclinder area? iv just fitted some g2 layer heatshield on my s3 very impressed with it and planning on putting OE shielding somewhere else. can never have too much :D

I do plan to fit heatshielding in other place yeah... the OE position on the K04 cars is pretty good so pointless reinventing the wheel there... any place where heat will be an issue (everywhere essentially) will get shielding in some form or other...

Have learnt a lot about heat management over the years on my own car and customers cars... half the reason this evolution of the build id taking so long is because I am trying to make sure all I have learnt about this stuff is done right on mine... and obviously waiting for paint to dry takes time :)

<tuffty/>
 
I've not had a problem with the powder coated mounting face on my car Paul.

Not saying its bad dude just pointing out a couple of things... overall I am happy with the result... its a cheap and effective way of getting your wheels looking good...

Should also mention that the thickness of the powder coating also made fitting the spacers tight in the centre bore... I did torque then undo and re-torque the bolts to be sure...

Just something to be aware of when refitting the wheels is all... only real issue for me was the mounting face being coated... have experienced issues when I painted my disc bells and the paint softened causing horrendous wobble while driving and large amount of juddering under braking... powder coat is a little more heat resistant but we have had issues with powder coated cam covers on BT builds were the coating softened from the heat and a few screws backed out causing an oil leak... this is why I normally clean paint off all contact surfaces where something is bolted...

<tuffty/>
 
  • Like
Reactions: jojo
thanks mate... the guy welding mine up (I can tack stuff but not actual weld lol) is planning a tfsi one but he hasn't got a car to work from as yet...

<tuffty/>

Maybe I or he(or preferably both of us) would be interested in trying that....when he's finished yours of course,or even better,I could get one of the ones I currently use,and have him see what he can do with that as a template?
 
there is a tfsi in house ;)

I like to get around!

Thing is,no matter how much you think you know about your own car,seeing what others are doing often helps,and you guys have such a wealth of modding and building experience behind you,where the TFSi is a bit short on some areas like exhaust and inlet manifolds....

Please......keep up the good work!

I'm seriously looking forwards to the results for several builds here.
 
thats why I bought myself a TFSi car to be development mule..
time remains my enemy as usual..

lots of ideas, so much less time to try them out. :(
 
  • Like
Reactions: S3Alex
thats why I bought myself a TFSi car to be development mule..
time remains my enemy as usual..

lots of ideas, so much less time to try them out. :(

My problem is time too.....just fitting it in between my work,and AMD's schedule is difficult at times(my fault,not theirs) but it all adds up,doesn't it!
 
Bit more done...

Start as you mean to go on... painting stuff... :)
20140209_131408.jpg


20140209_180600.jpg


Then moved onto the heatshielding... double layered the OE one using a new OE part.. this will have a bit of an airgap to help limit heat transfer but the double layer will be beneficial too...
20140209_145045.jpg


20140209_145052.jpg


Need to add a bit more here...
20140209_145101.jpg


Added a bit more to the rack on the side the wastegate pipework will go down...
20140209_180615.jpg


...main part of the heatshielding done...
20140209_163214.jpg


Looks a little patchy but its that way due to thin alloy sheet being a ballache to shape as one piece lol...

Still need to look at doing a bit round by the brake master cylinder but will wait until the engine is in so I can make sure it fits properly as its quite tight in that corner...
20140209_180651.jpg


Next I separated the EVAP pipe from the coolant return pipe as my EVAP vents to air currently anyway and I plan to remove the canister and put the fuel filter there in its place...
20140209_163521.jpg


20140209_164408.jpg


Fitted it in place... plan is to run a bit a heatshielding up from behind the OE piece and bolt it up onto this bracket...
20140209_183609.jpg


Last thing I did was to look at what I need for adapting the RS4 MAF tube to 100mm... Bill had one adaptor already but I will need another for the other side...
20140209_183753.jpg


Test fit onto the filter...
20140209_184005.jpg


And a little comparison of the RS4 and S3 MAF tubes :)
20140209_184038.jpg


Getting there... will be ordering a clutch plate tomorrow and have mineral oil and some other stuff on order too... hoping that my manifold will be ready for next weekend so I can wrap it... decided against ceramic coating at this time for a few reasons... well... 400 of them to be exact as thats more or less what Zircotec want to do it!!! plus a 10-15 "working" day turnaround... I got a quote from the same place Stacey got his done which was more favourable but at the moment I want to just get the car back on the road and money is a little short so wrapping will do the job and will also allow the manifold to settle... I don't expect any issues but just in case at least it can be easily welded without an expensive ceramic coating on it..

Also need to sort the flexi's for the coolant line and oil drain from a local fella...

All things being well I should be able to pop the engine into the car next weekend sometime :D

<tuffty/>
 
Had a few odds and sods turn up this week...

Mineral oil and cheap filters for running the engine in... and a new clutch plate...
20140214_164253.jpg


Decided that my old Falkens were past their sell by date so ordered a new pair of Hankooks (same as the good ones I have currently) as they were on a good deal at Camskill...
20140214_164315.jpg


I plan to replace these at a later date (when funds allow) for 235/40/18's (currently 225/40/18) to get a little more rubber on the ground and the slightly taller sidewalls should be a bit more pothole friendly...

I have plans for further suspension mods... I am not a particularly press on driver but enjoy a bit of a 'spirited' drive so I am not going to go mental at this time... I am collecting poly pushes and stuff to freshen everything up and will be giving the caster adjust bushes from superpro (like prawn) a go as well as looking at swapping the rear ARB for a 16mm 4-motion one (std is 15mm)... after doing a bit of research it would appear that just fitting the 19mm R32 rear ARB can make the car feel unstable at speed so a bit of further reading suggests the 16mm will give a little bit of balance back without going OTT with it... I am not worried about going too silly with handling at this time as I have yet to really push the car and lets face it I would need to take it on a track which as most people who know me will tell you is not sometign I am really that interested in lol

In other news... I found the source of a bit of a knocking feeling that I got occasionally through the steering wheel... nearside front drop link had a worn ball joint so bought a pair of very cheap replacements from eBay knowing that if they last a year then I would have easily got my moneys worth out of them and if they last longer then its a bonus... (they were a tenner delivered!)
20140214_171430.jpg


20140214_172330.jpg


20140214_174550.jpg


The list of little jobs is steadily getting smaller... if all goes well then the engine and box will be mated sunday and my manifold back so I can wrap it and fit it to the engine ready to go in the car... Monday I will pop over to the hose guy and sort out the flexi's and the engine and box should be back in the car by close of play... excited much :D

<tuffty/>
 
  • Like
Reactions: StaceyS3, sssline and g60leigh
have just spent a good number of hours working through this thread. i have to say mate, youve got some patients...but then i suppose doing this sort of build you have to have. Unbelievable how OEM the bay still looks...brilliant work from you and bill!!!
looking forward to seeing the final stages come together
 
  • Like
Reactions: <tuffty/>
Here's my day going to see tuffty last weekend! Check out his gangsta engine aiiiiight!

ImageUploadedByTapatalk1392418572629305ImageUploadedByTapatalk1392418581595090ImageUploadedByTapatalk1392418590294671ImageUploadedByTapatalk1392418596227557
 
  • Like
Reactions: <tuffty/>
Youll like the 16mm rarb mate, I fitted one years ago and planted the car more.
 
  • Like
Reactions: <tuffty/>

Similar threads

Replies
5
Views
1K
Replies
1
Views
1K
D
Replies
0
Views
702
Deleted member 65282
D