Kowalski Details v Ibis White RS3

N8

Kowalski Details
VCDS Map User
Joined
Jul 4, 2007
Messages
17,105
Reaction score
719
Points
113
Location
Salford, Manchester
Website
www.facebook.com
Hi People,

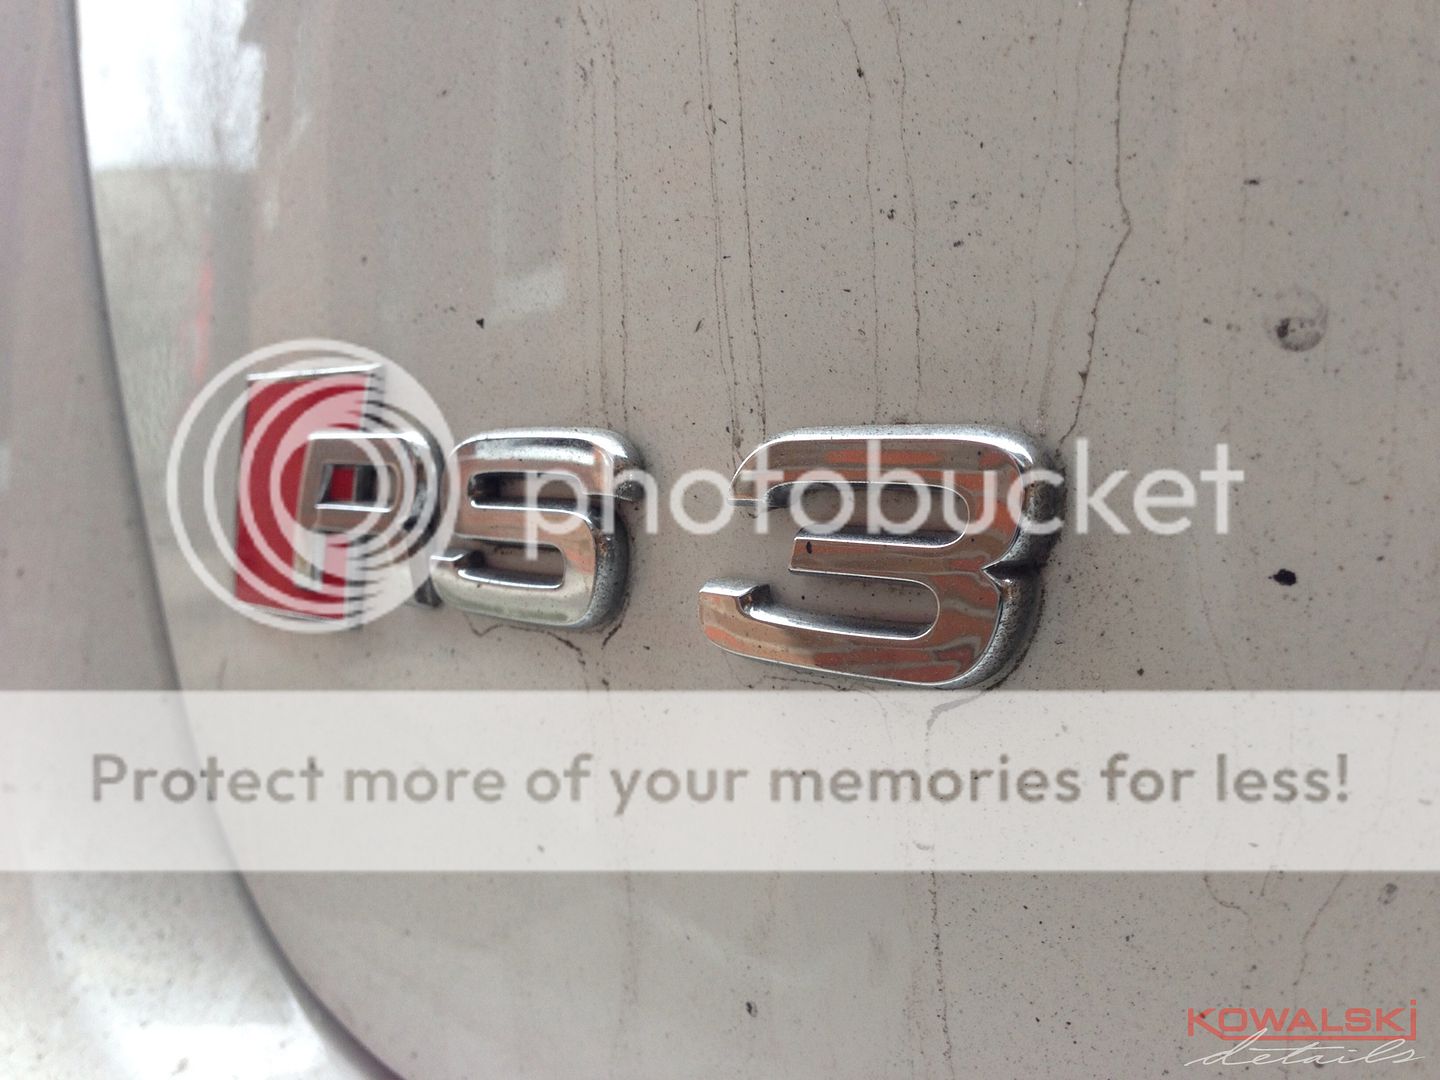
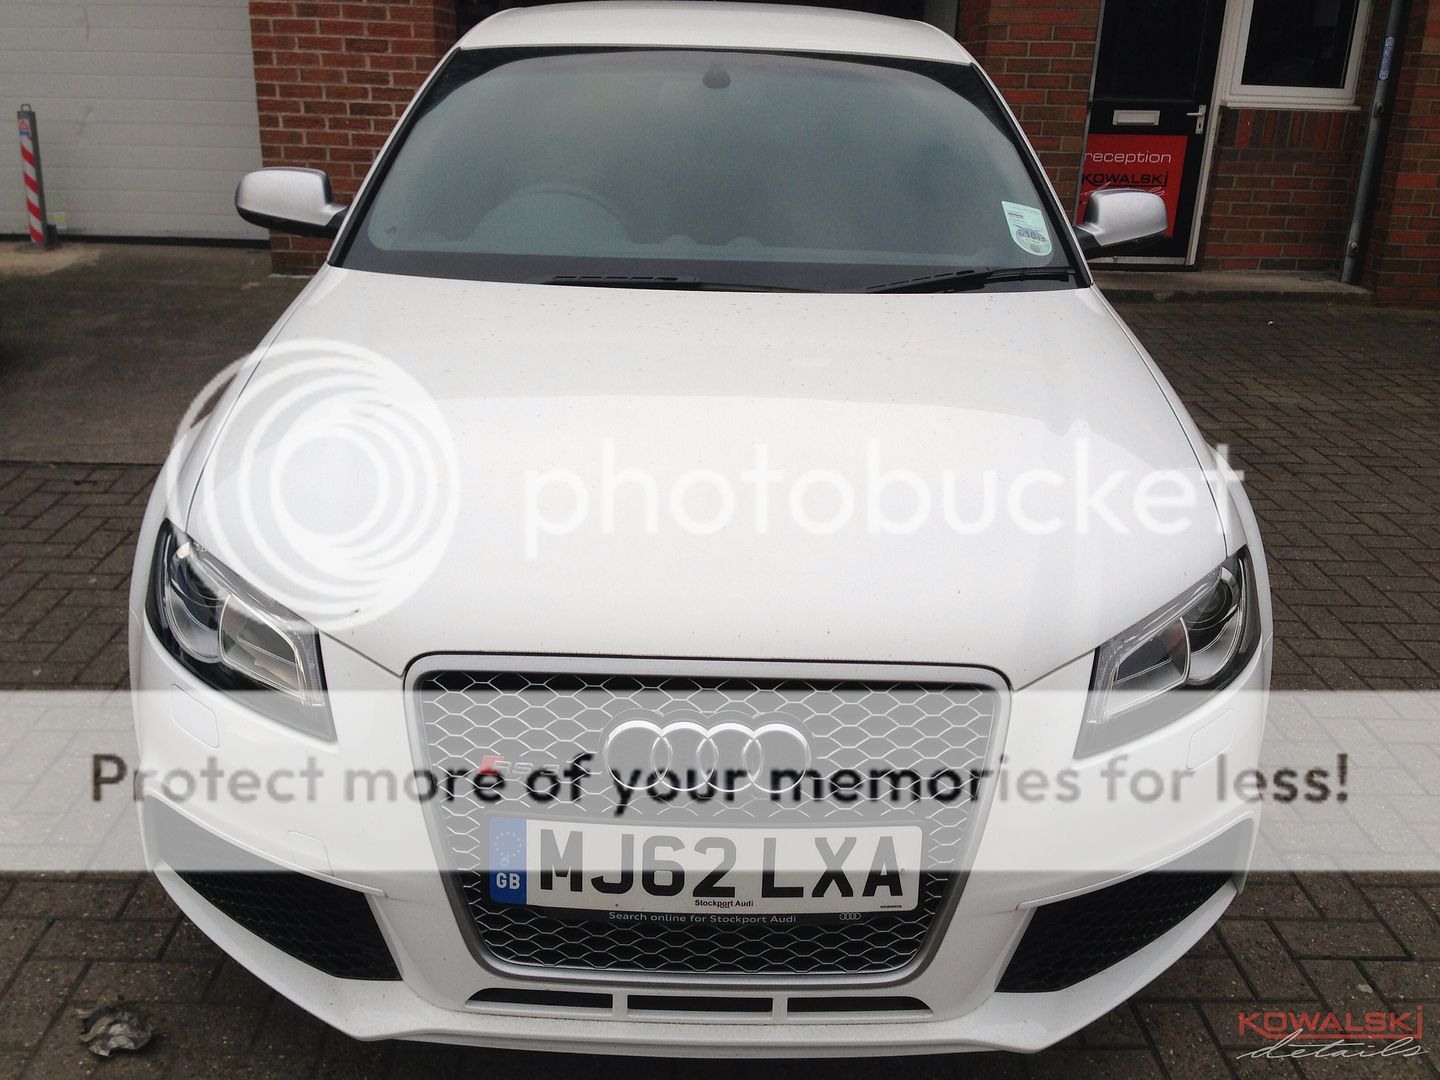
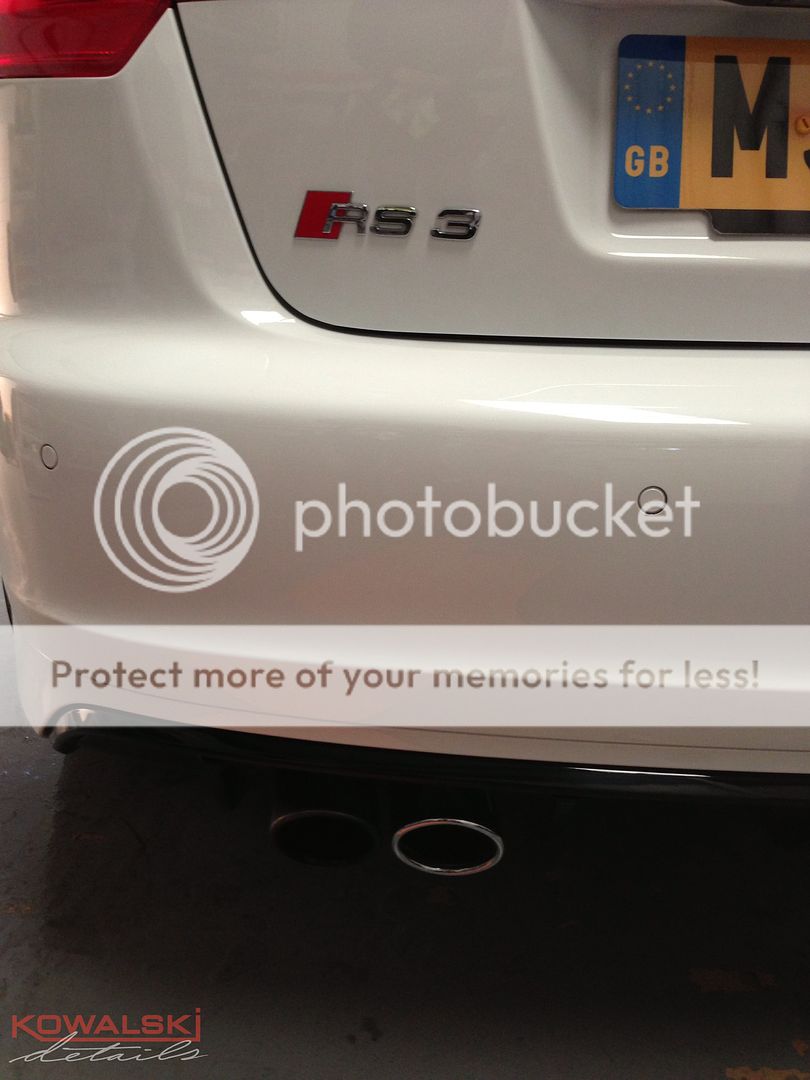
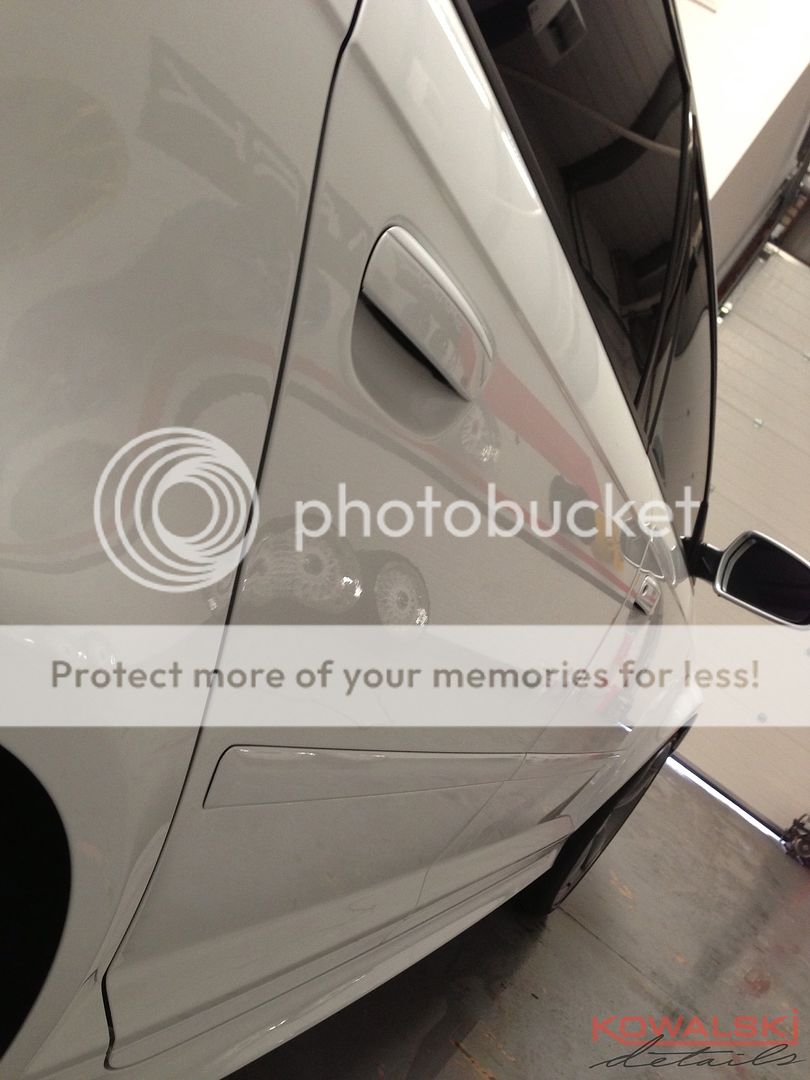
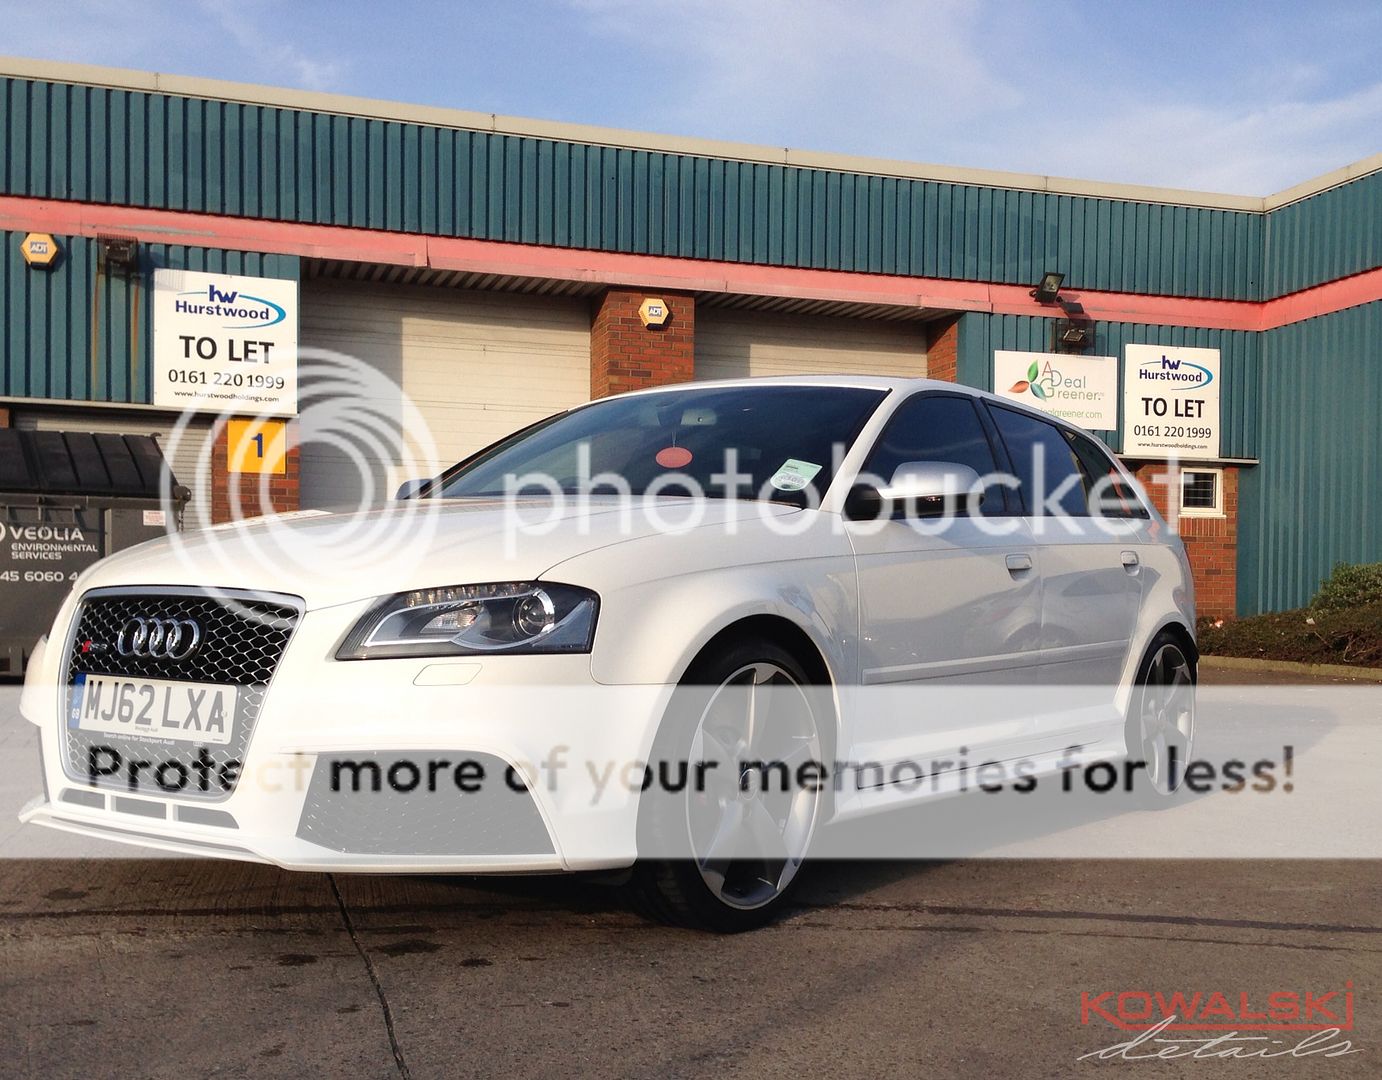
This is a protection detail on an RS3 that we did a few weeks back. The owner wanted a protection detail, the main aim being a thorough cleanse. Due to being a white car the main aim was ensuring that all traces and Iron contamination were completely removed before adding protection. The owner dropped the car off to us early hours of the of the morning which allowed us to spend the same amount of time on the protection detail as we would with an enhancement detail. Which is what we like to do here at Kowalski Details.

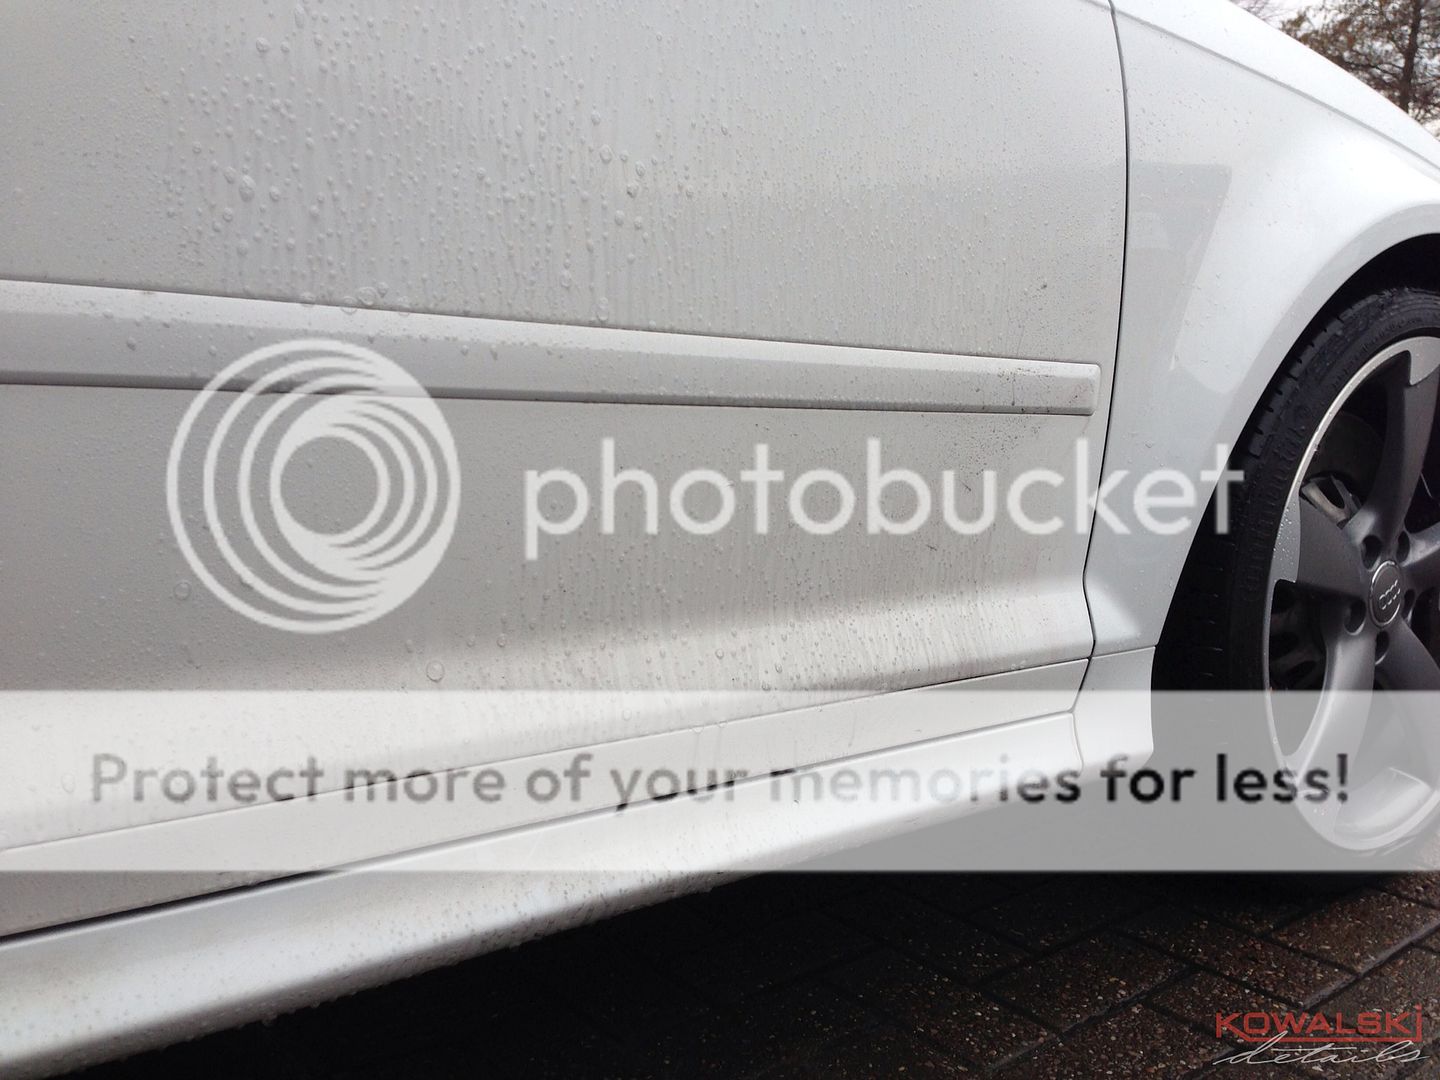
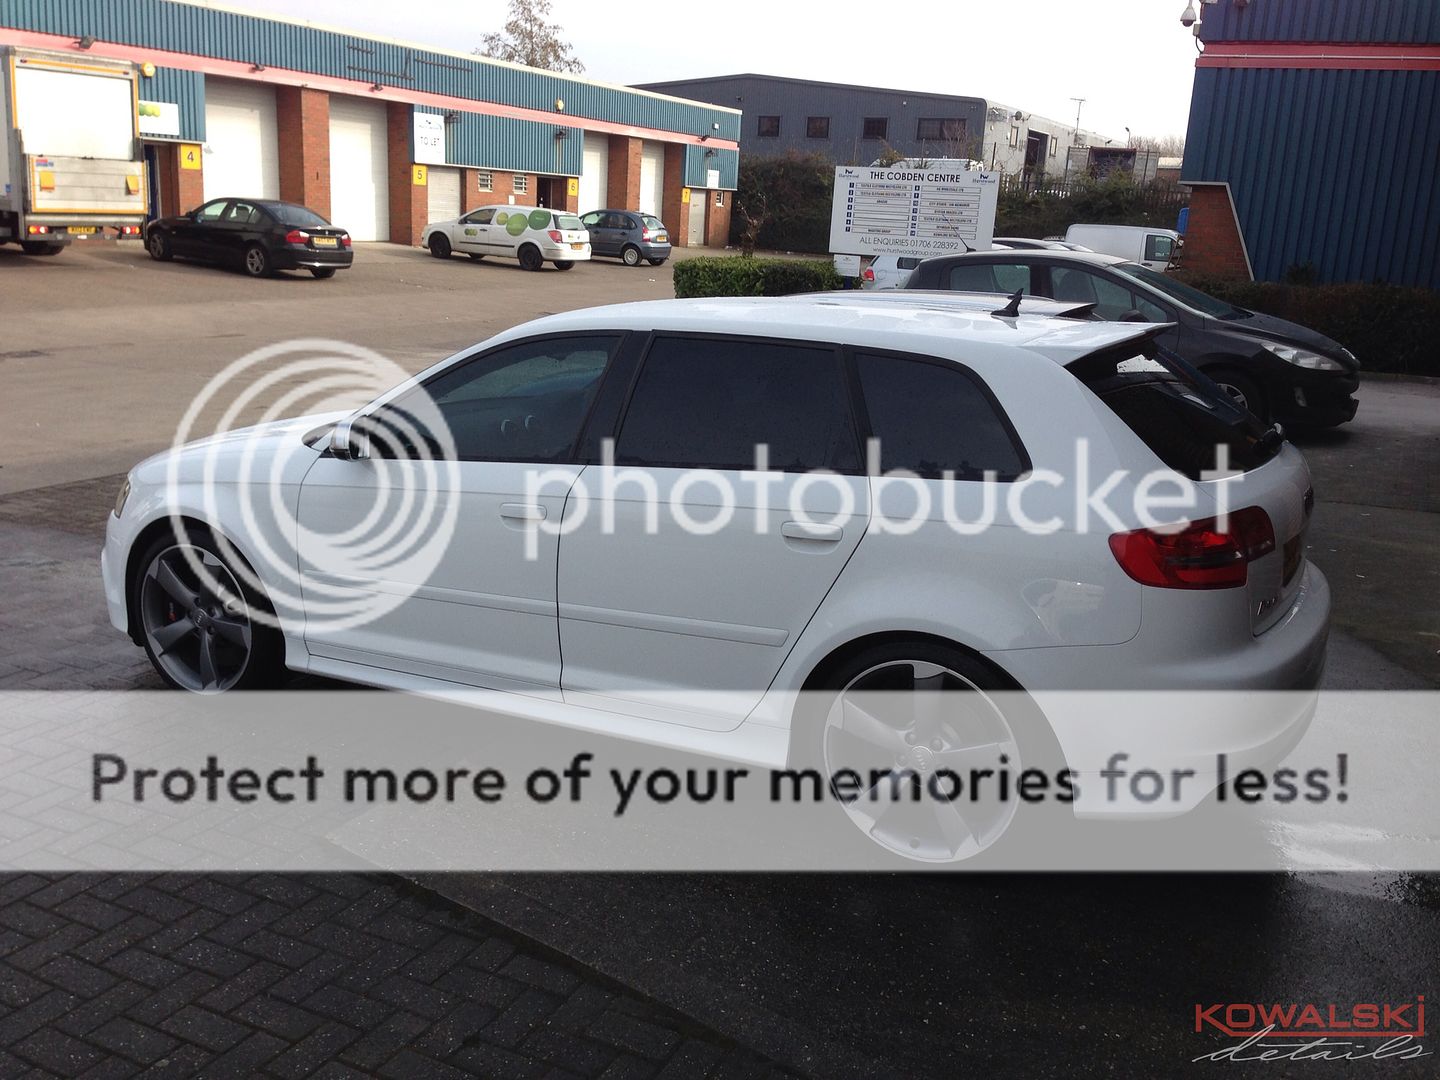
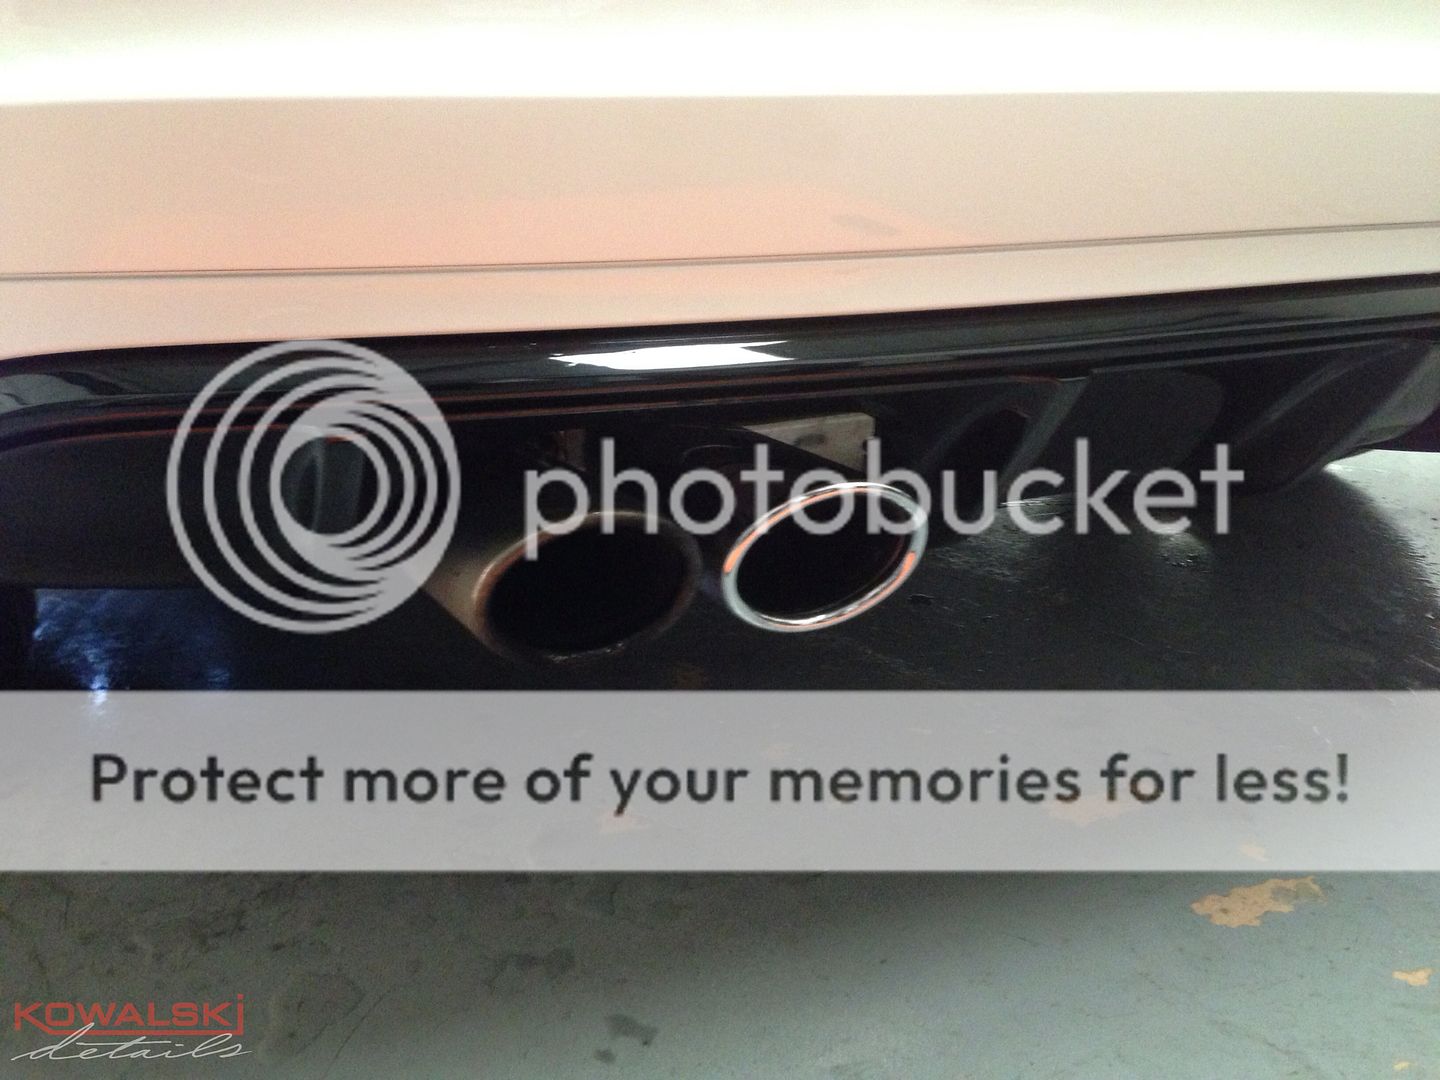
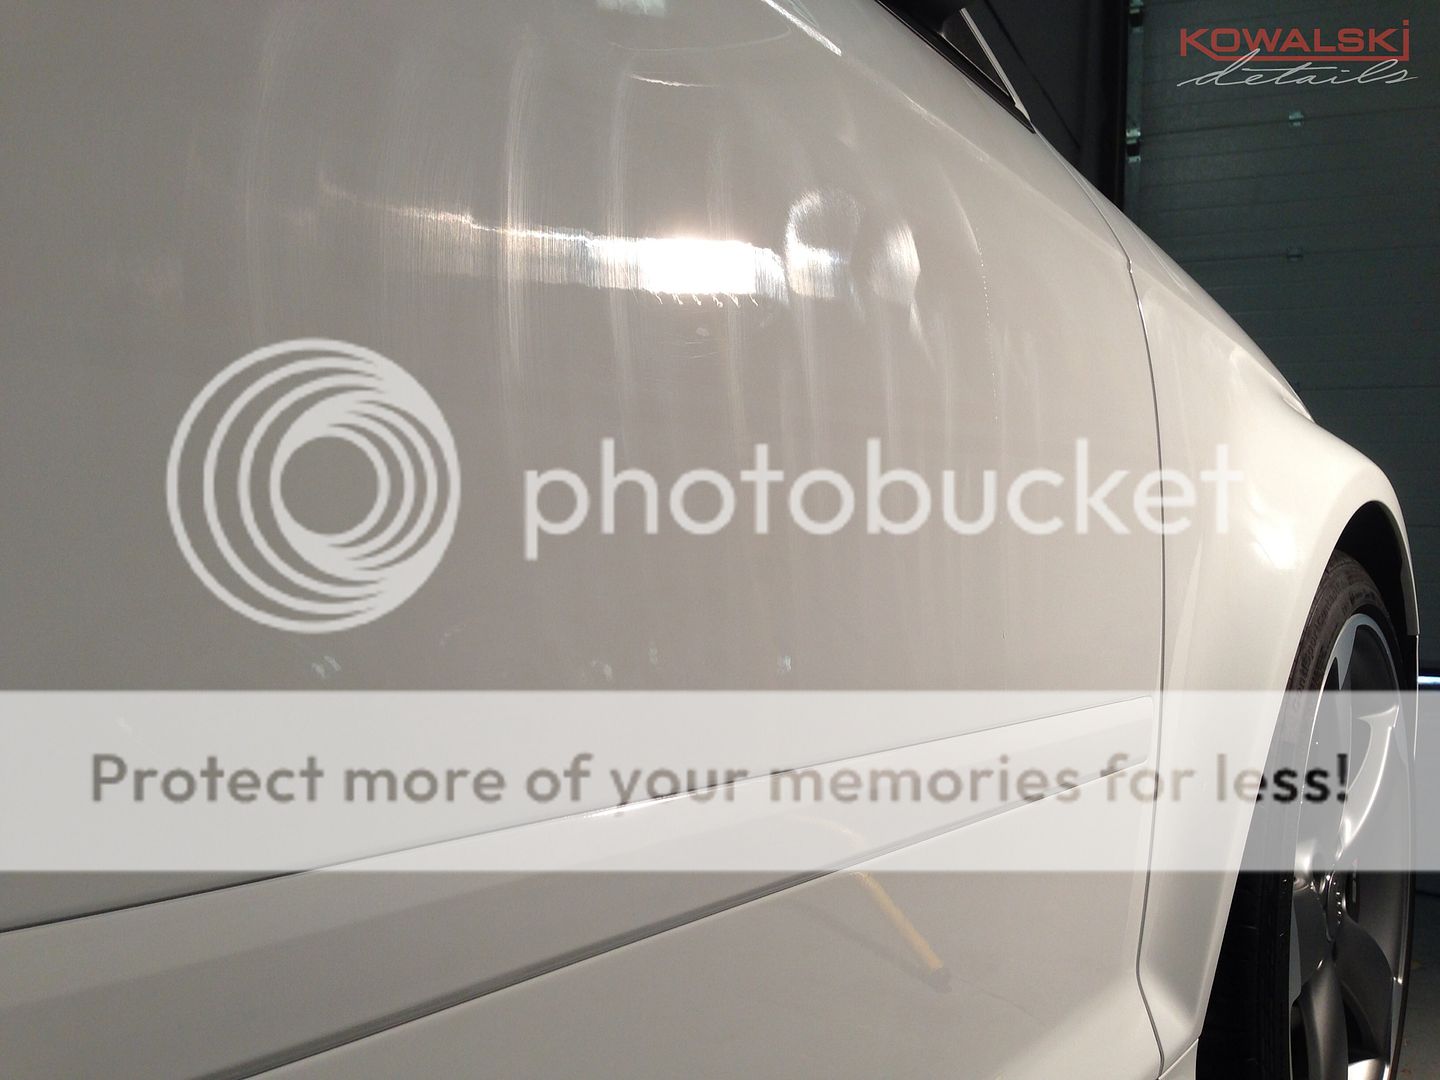
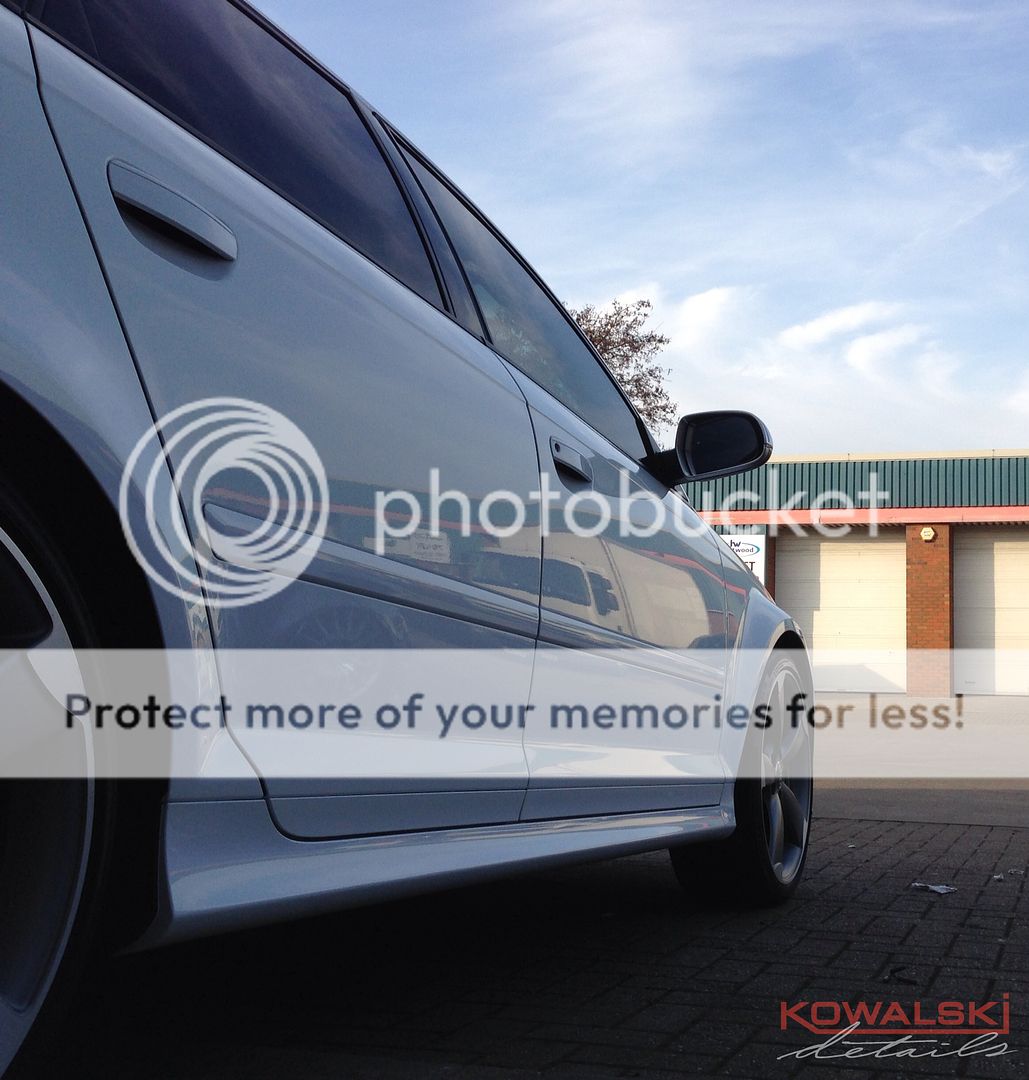
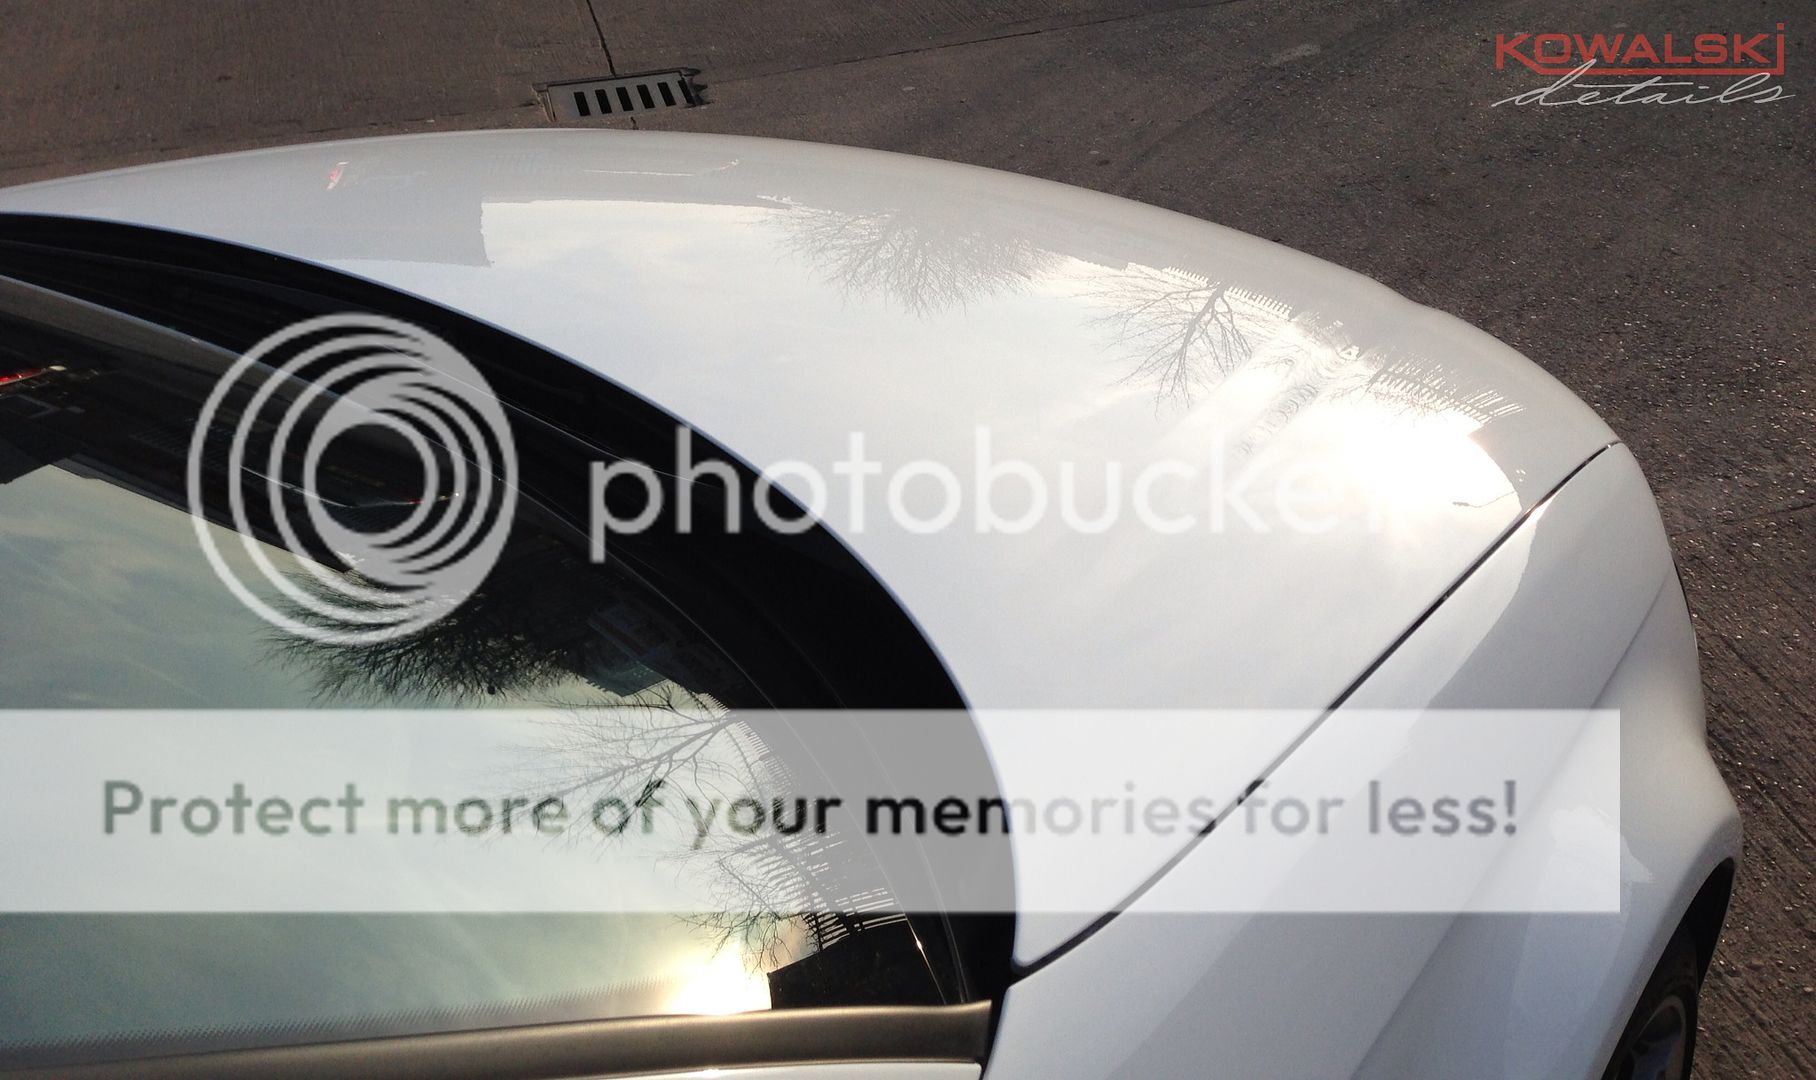
The car came to us looking very flat with loss of reflection due to the bad weather & salt on the roads which covered most of the rear of the car.

1copy_zps38b1bc67.jpg


2copy_zpsa1086945.jpg


3copy_zps07a20005.jpg


4copy_zps1e99f095.jpg


5copy_zpse5be9391.jpg


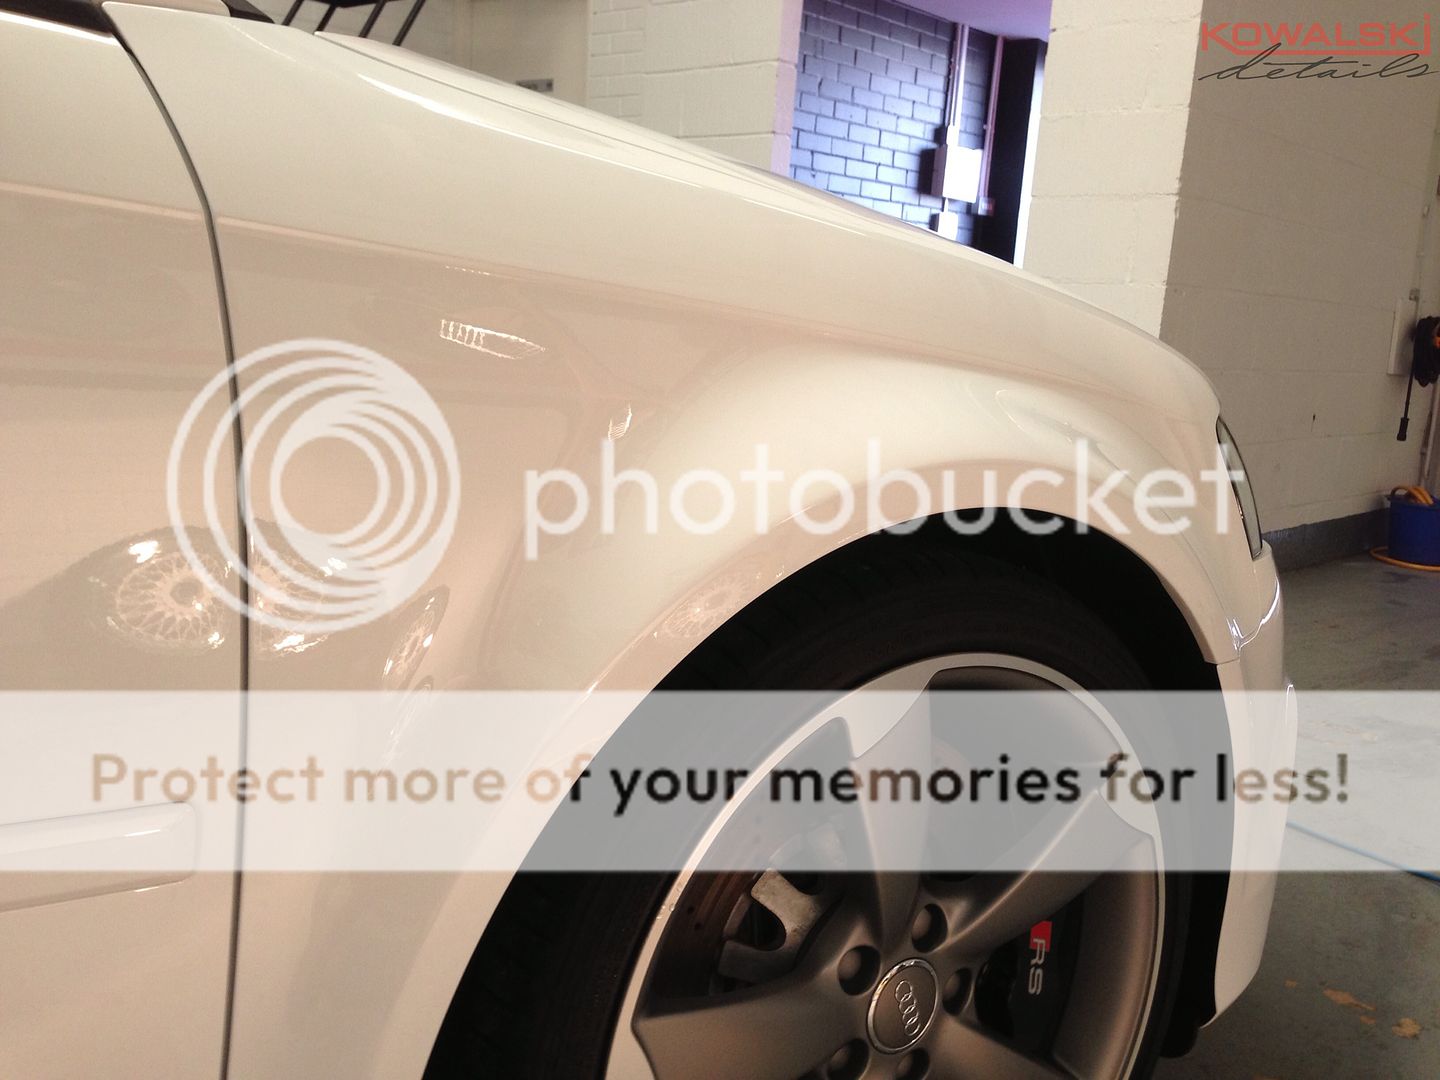
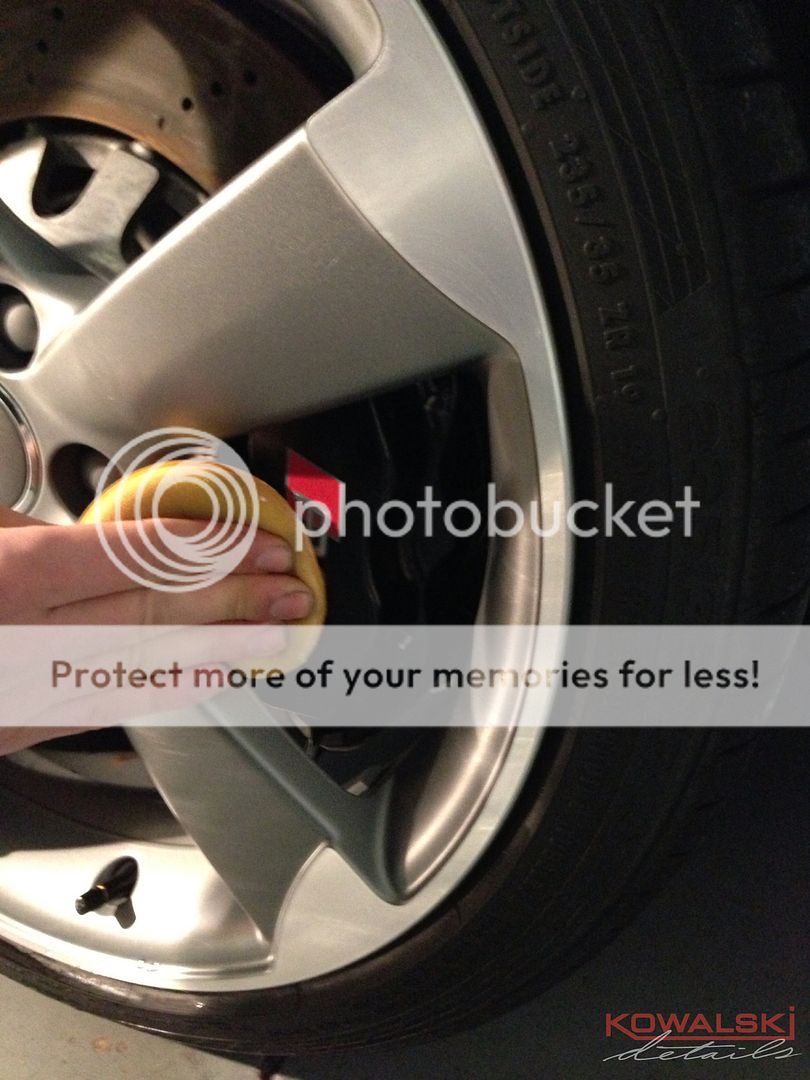
First job was to thoroughly clean the wheels. Using a special collection of brushes and Espuma Wheel Cleaner (diluted to a safe ratio). Very special care was taken when cleaning these 'Rotors' due to the satin finish & the diamond cut edges. The wheel woolies provide the safest method of cleaning due to the 100% metal free design providing scratch free cleaning along with enough bite from the poly-polypropylene fibre heads to tackle and remove the toughest of grime.

6copy_zps394f31a0.jpg


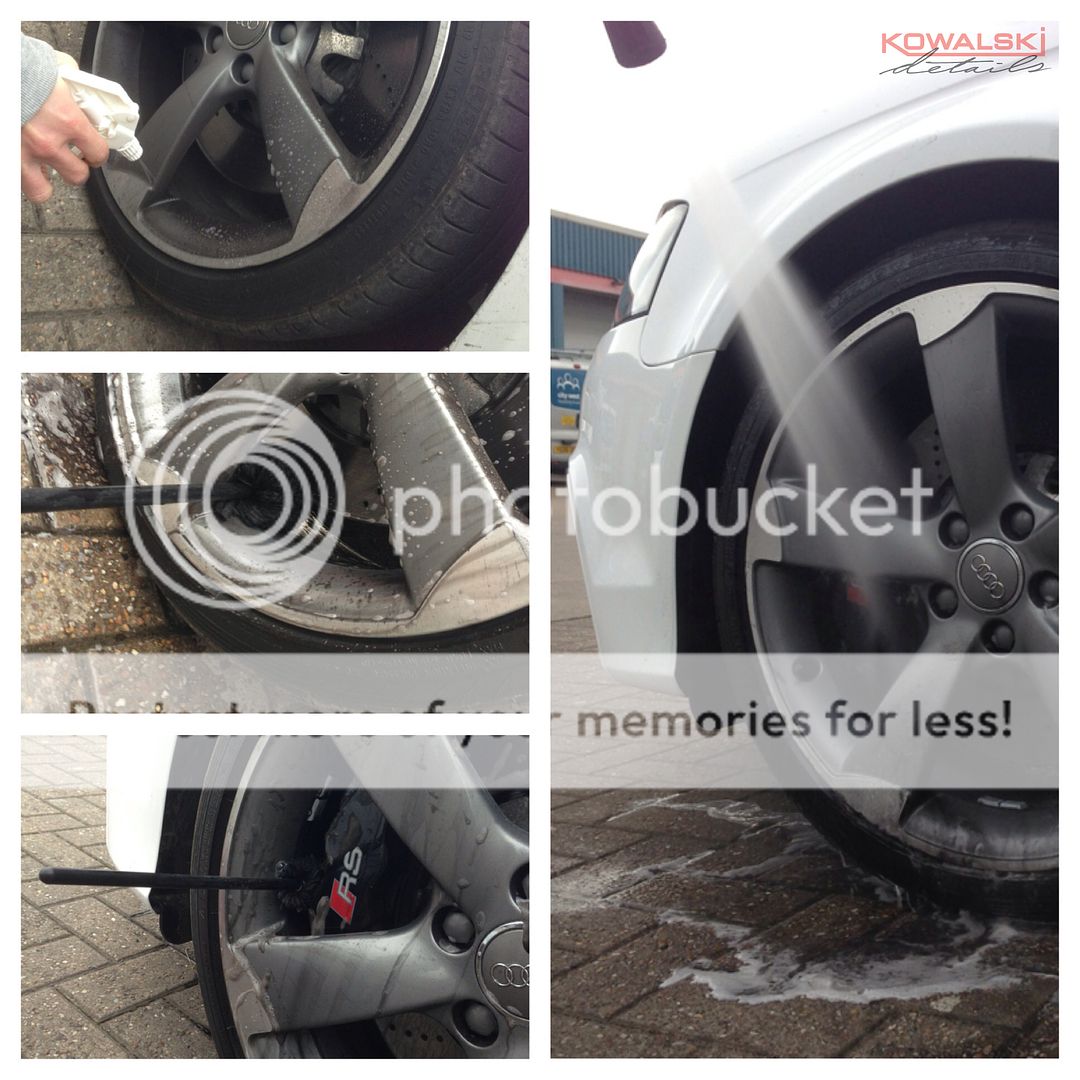
The backs of the wheels were thoroughly cleaned, which is an important part of our process.

8copy_zps5e97486a.jpg


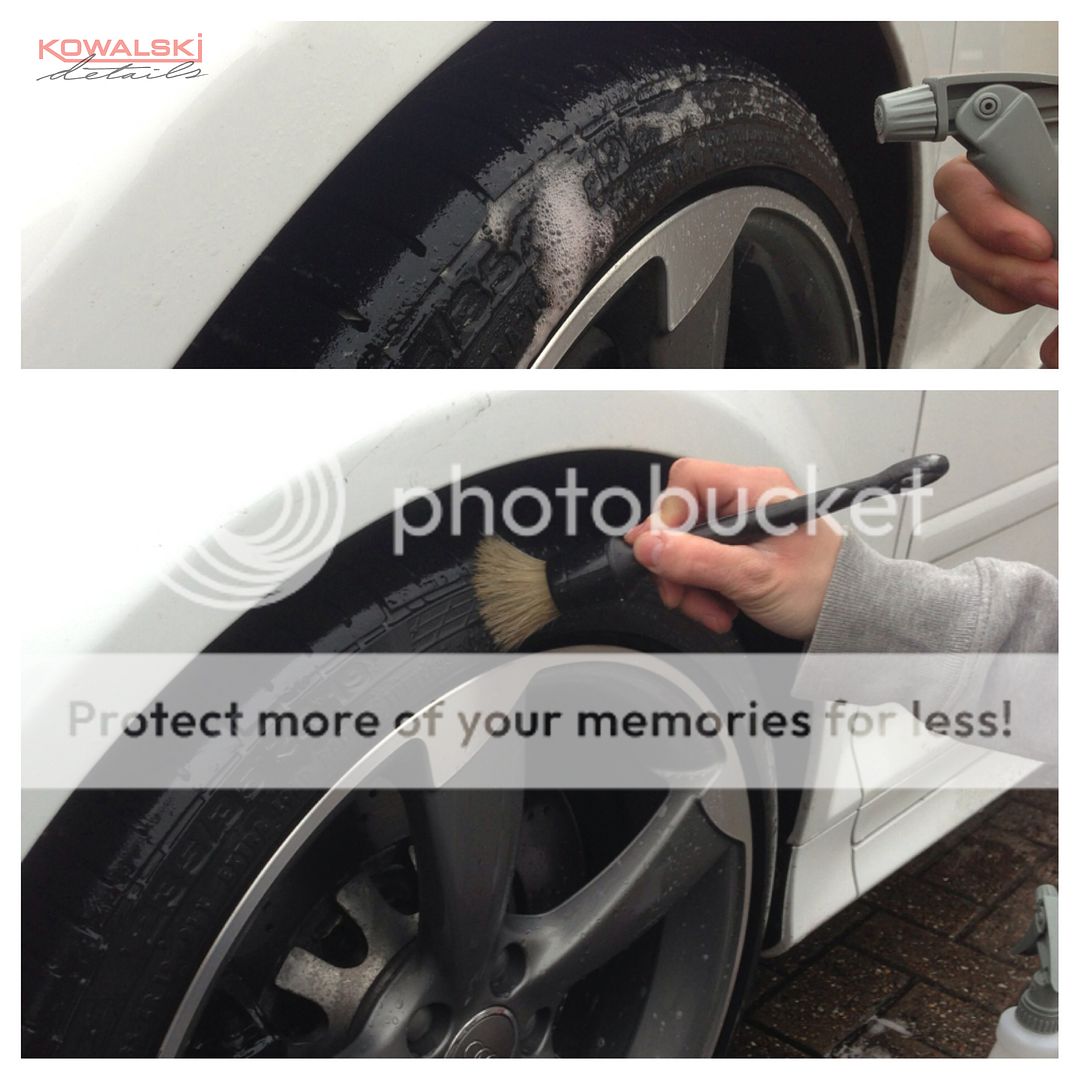
Meguiars Superdegreaser was used for the arches and tyres. The medium sized wheel woolie was used for the arches & a second seperate set of woolies were used to clean the wheels. Tyres were agitated with the smallest wheel woolie & Valet Pro small detailing brush.

7copy_zps826eecd4.jpg


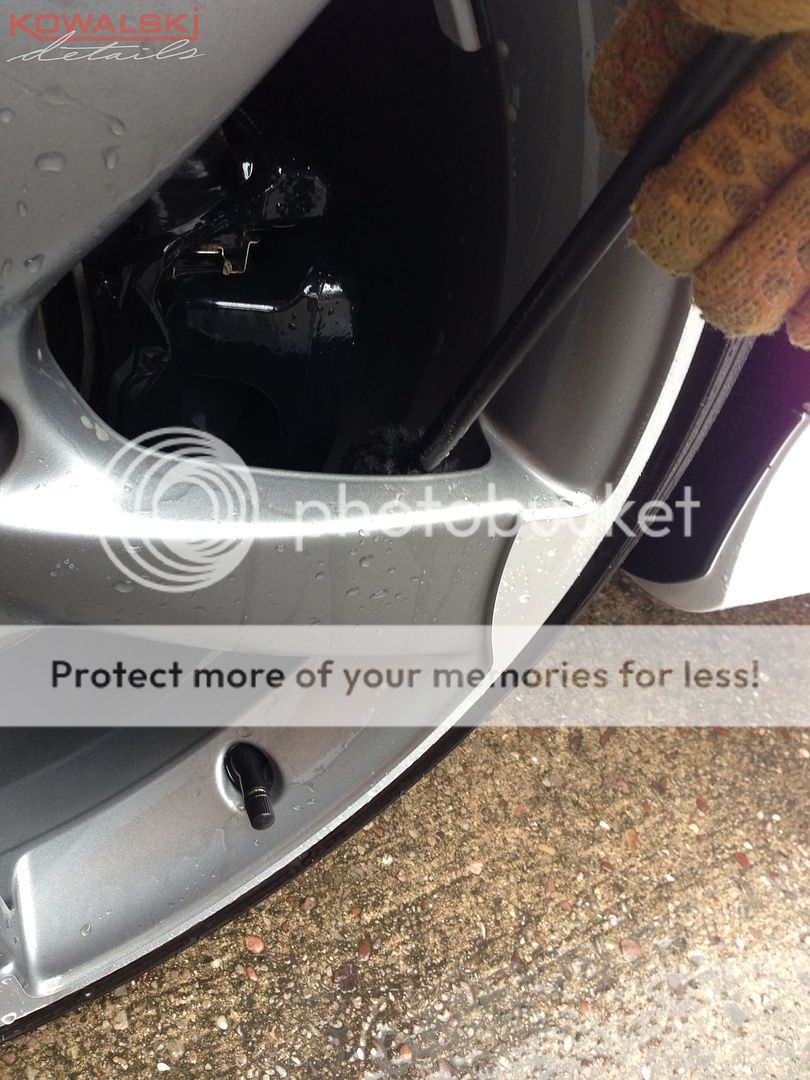
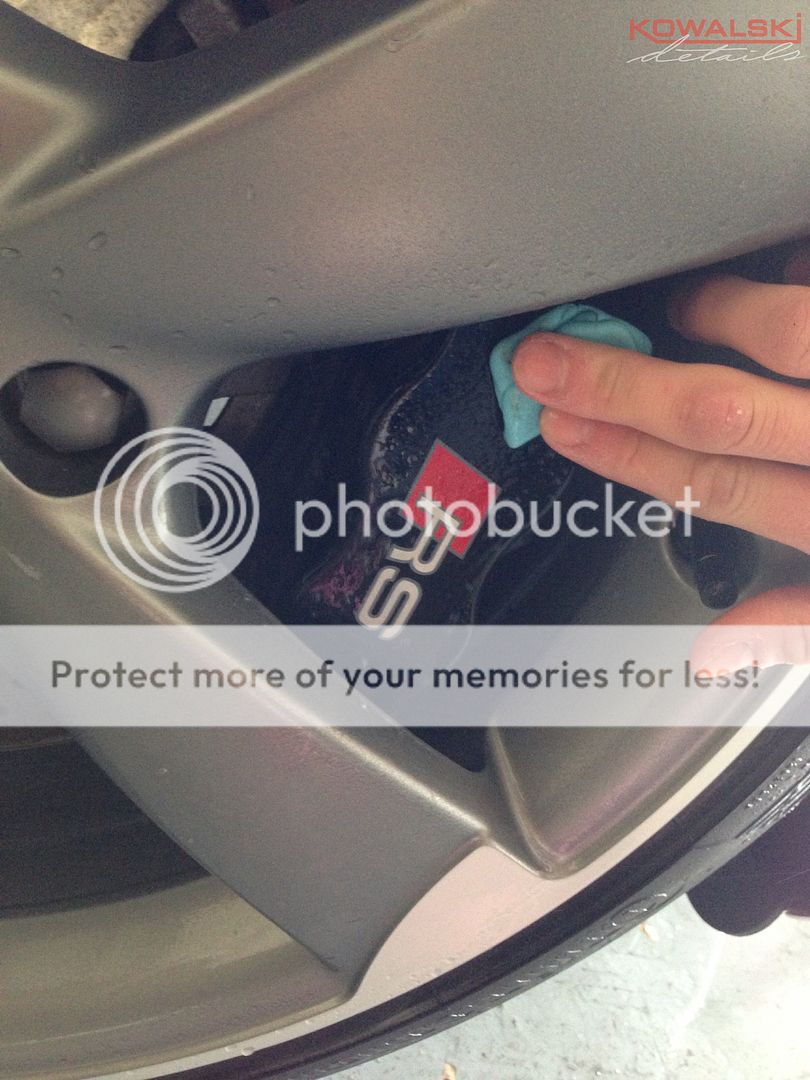
Tar X & Iron X were used to remove Ironfillings & Tar from the wheels. It is important to recognize that cars with big brakes like the RS3 only provide a short amount of cleaning space between the disc/caliper & barrel of the wheel. The car was rolled forward at regular intervals to ensure that each wheel was fully cleaned before moving on.

9copy_zpsd4b1f1f8.jpg


With the wheels finished the next step was to cover the car in citrus pre-wash. Rather than rinsing the car it was applied directly onto the dirt and grime and left to dwell for a few minutes. In my opinion this emulsifies the dirt better rather than rinsing, then applying the pre-wash.

10copy_zps7870b3dc.jpg


11copy_zpsbd3afc69.jpg


12copy_zps4d69223d.jpg


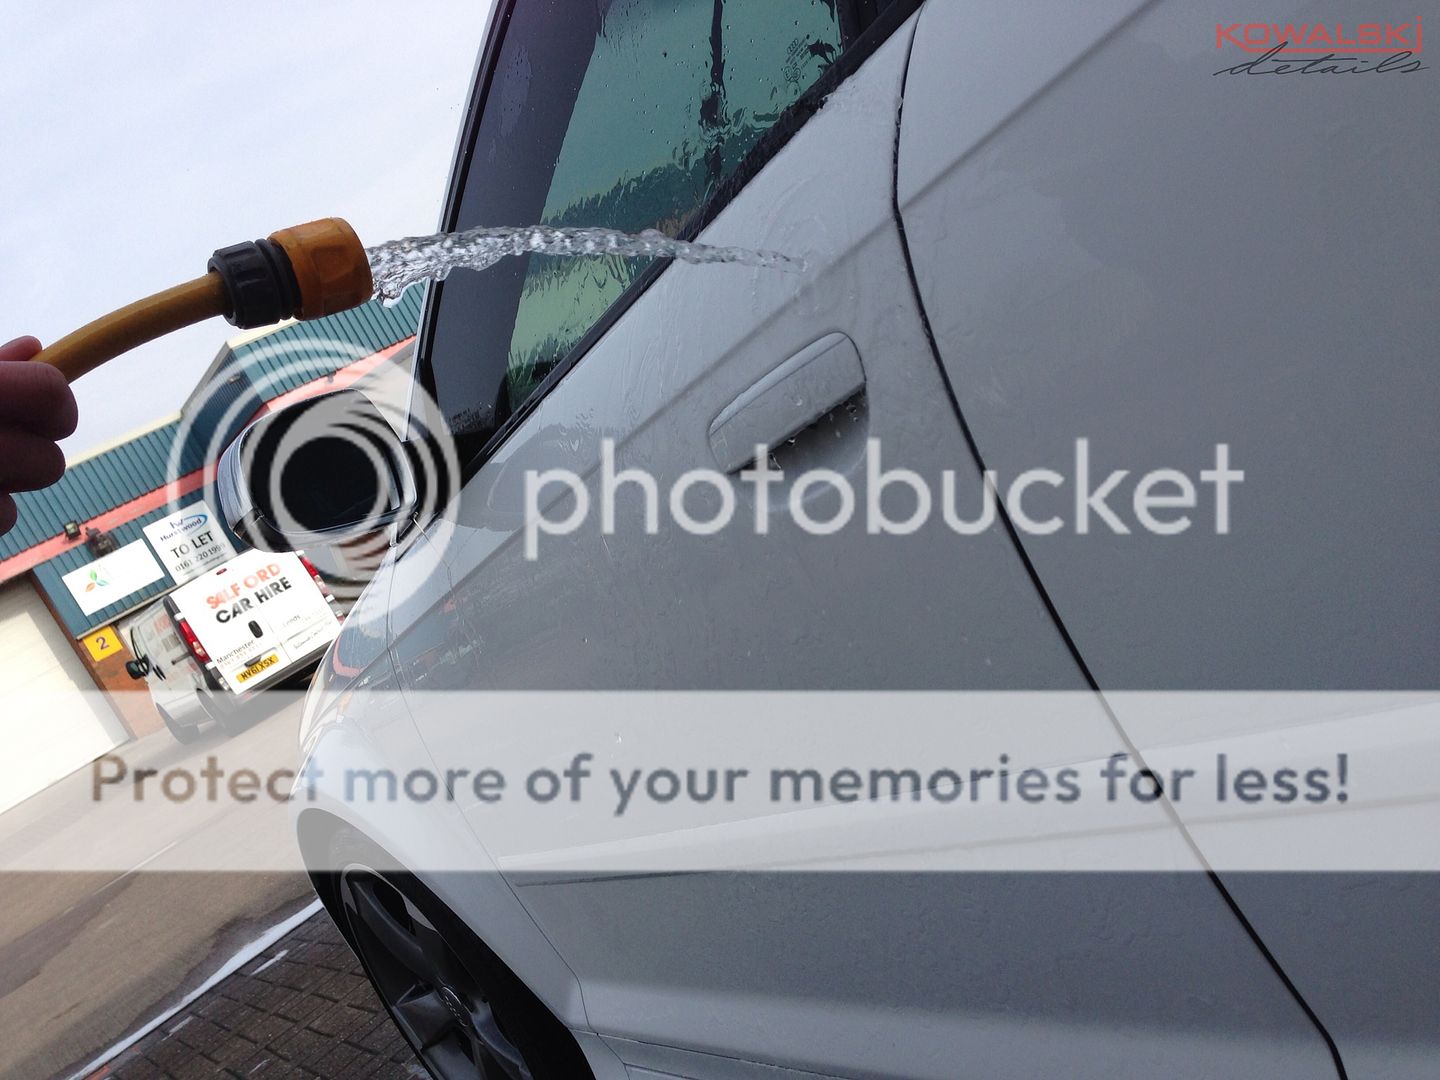
The car was then thoroughly rinsed for 10 minutes covering all intricate areas of the car prior to the wash.

13copy_zpsc7eeaa14.jpg


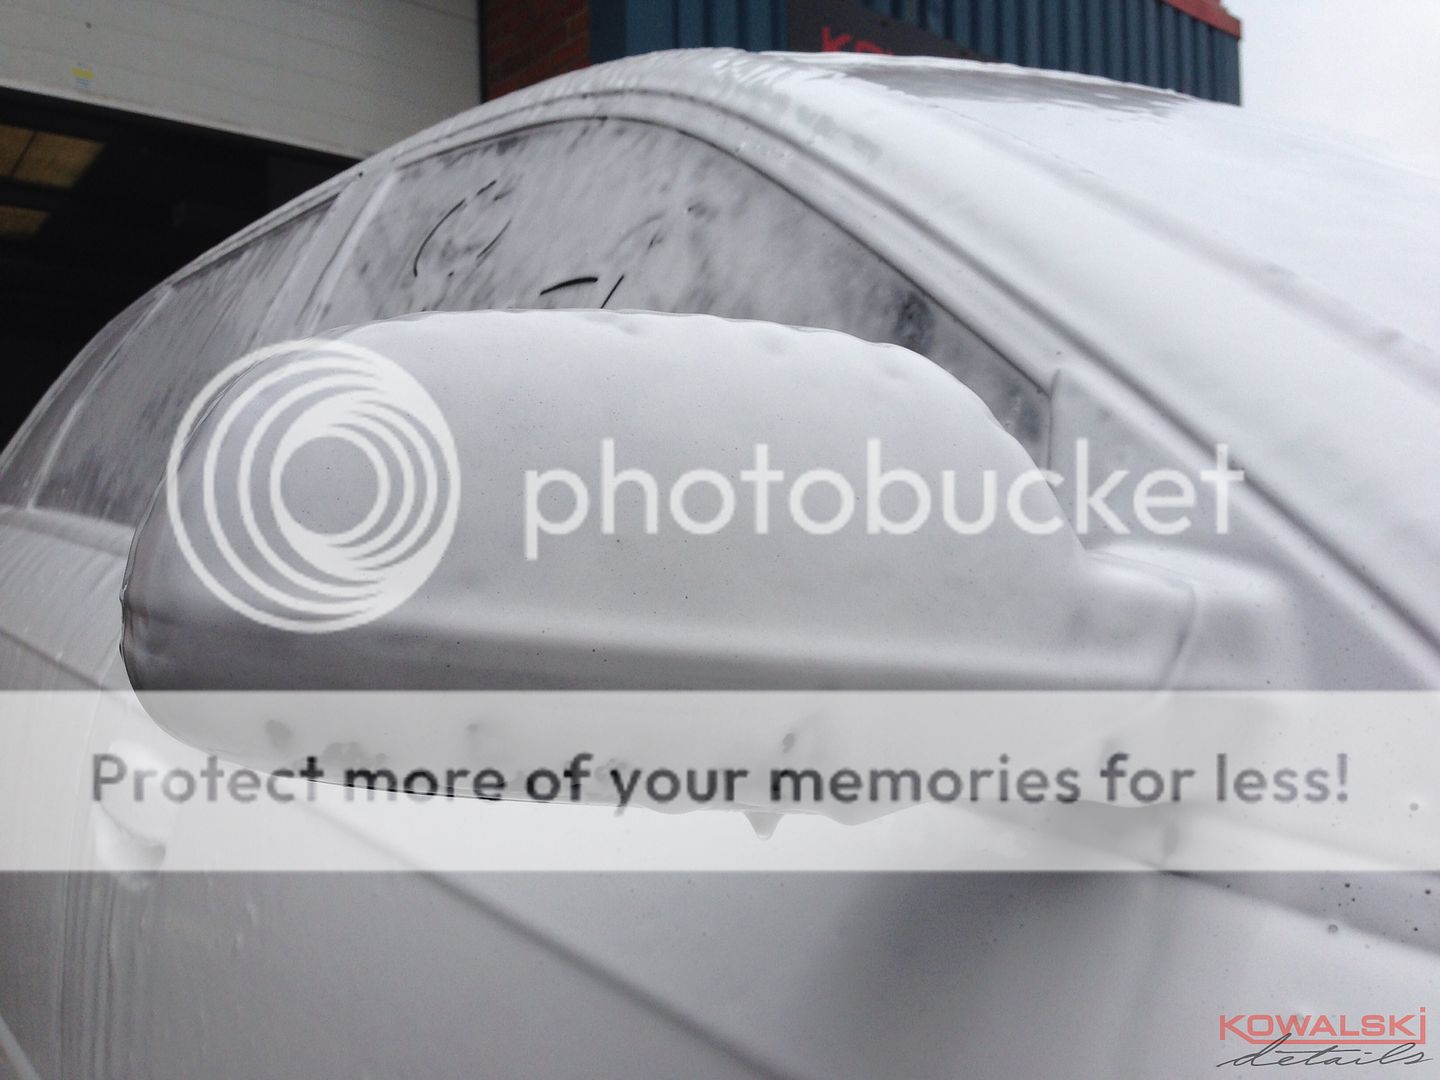
Although we applied the citrus pre-wash the carwas then snow foamed and left to dwell for 10 minutes.

14copy_zpsfc684478.jpg


15copy_zps2acdb7e7.jpg


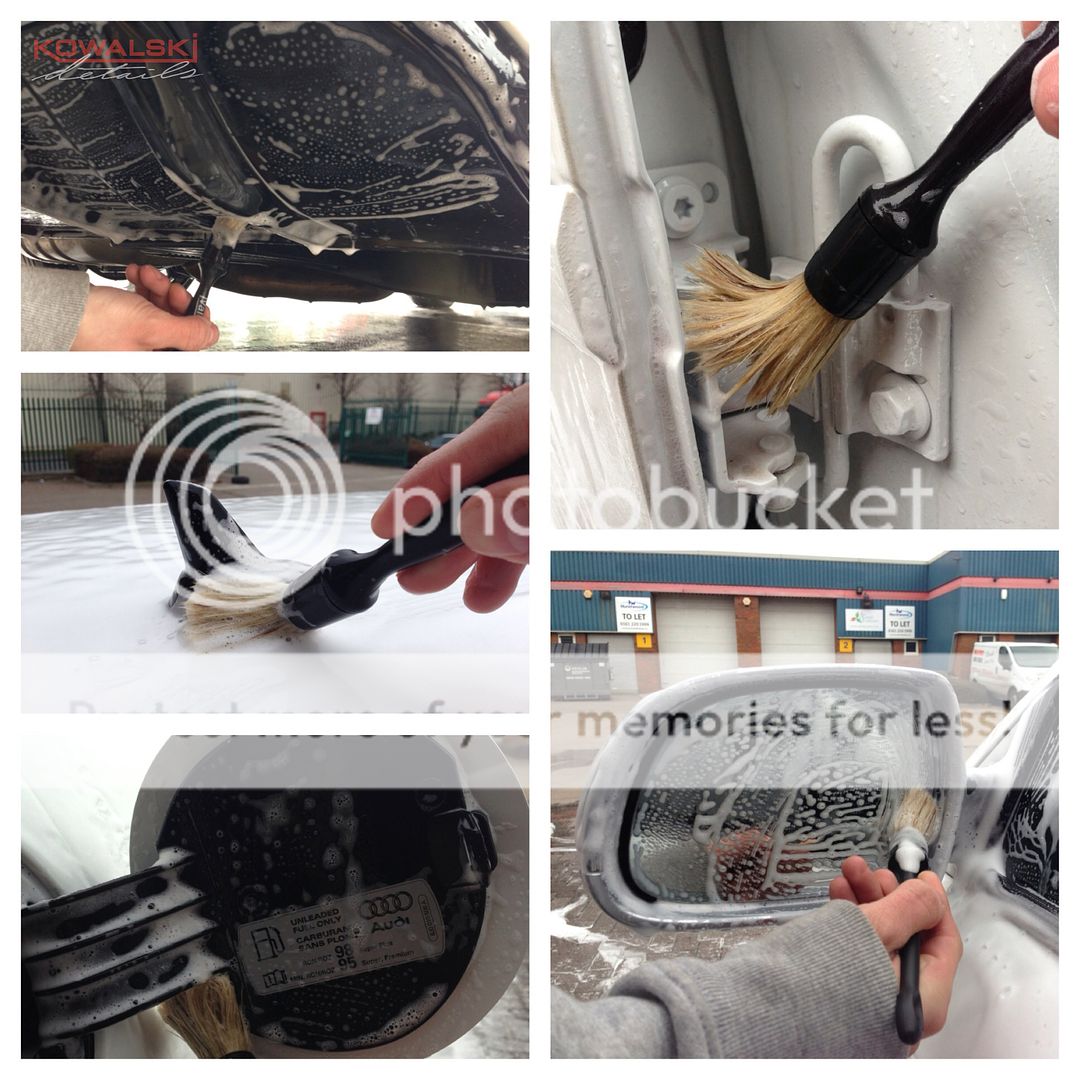
Whilst the snow foam was dwelling, we agitated the intricate areas around the car with the small detailing brush.

16copy_zpsd8a57cc7.jpg


17copy_zpsd0fa7506.jpg

The car was then fully rinsed in preparation forthe wash process.

18copy_zps78473068.jpg


The car was the washed using Megs Shampoo Plus, water at 60 degrees and in my opinion the safest wash media that money can buy for the bodywork (Carpro Wash Mitt) and a Dodo Juice MF sponge for the shuts.

19copy_zpsdee5287f.jpg


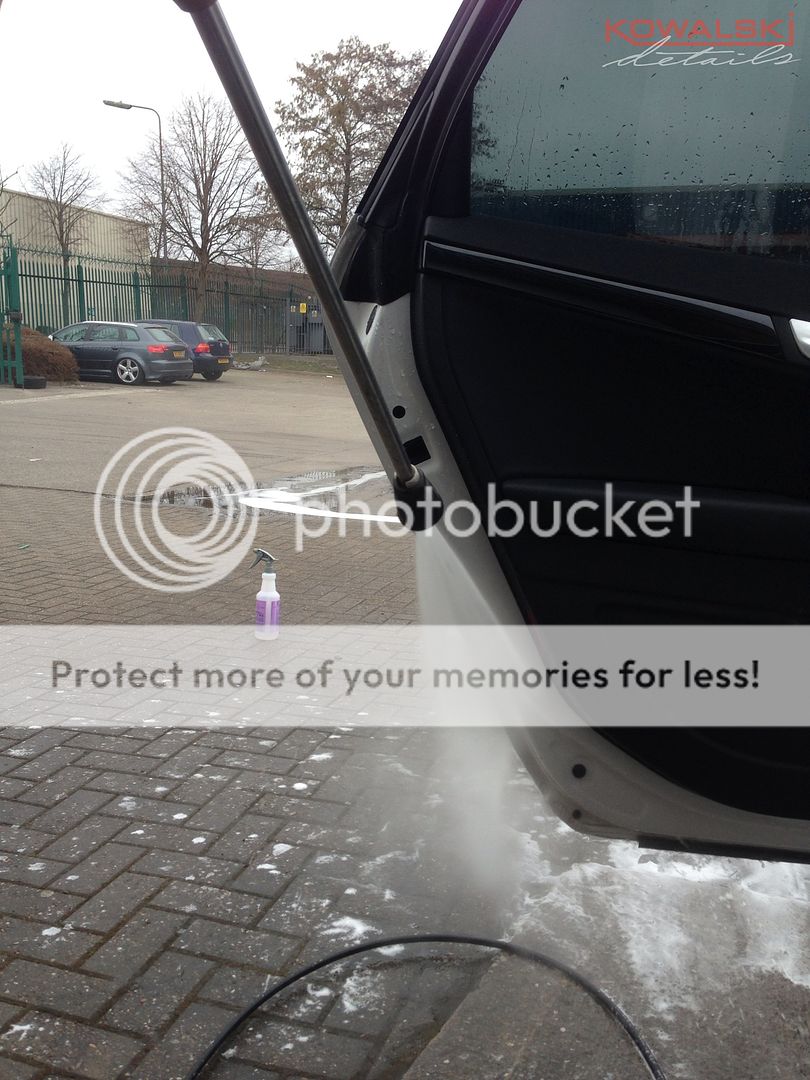
The car was then rinsed including the shuts whichhad megs APC applied prior to the wash.

20copy_zpsf026f07c.jpg


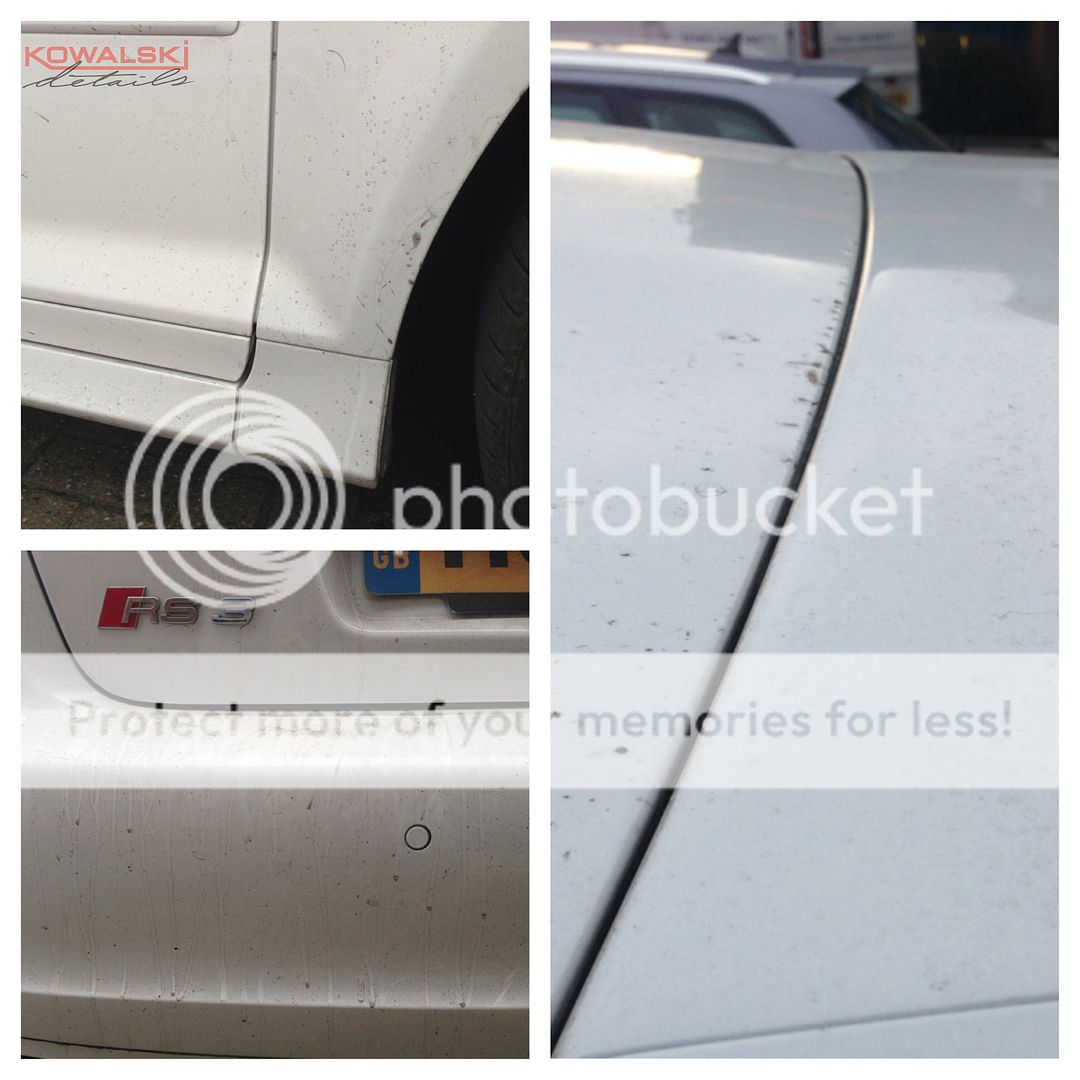
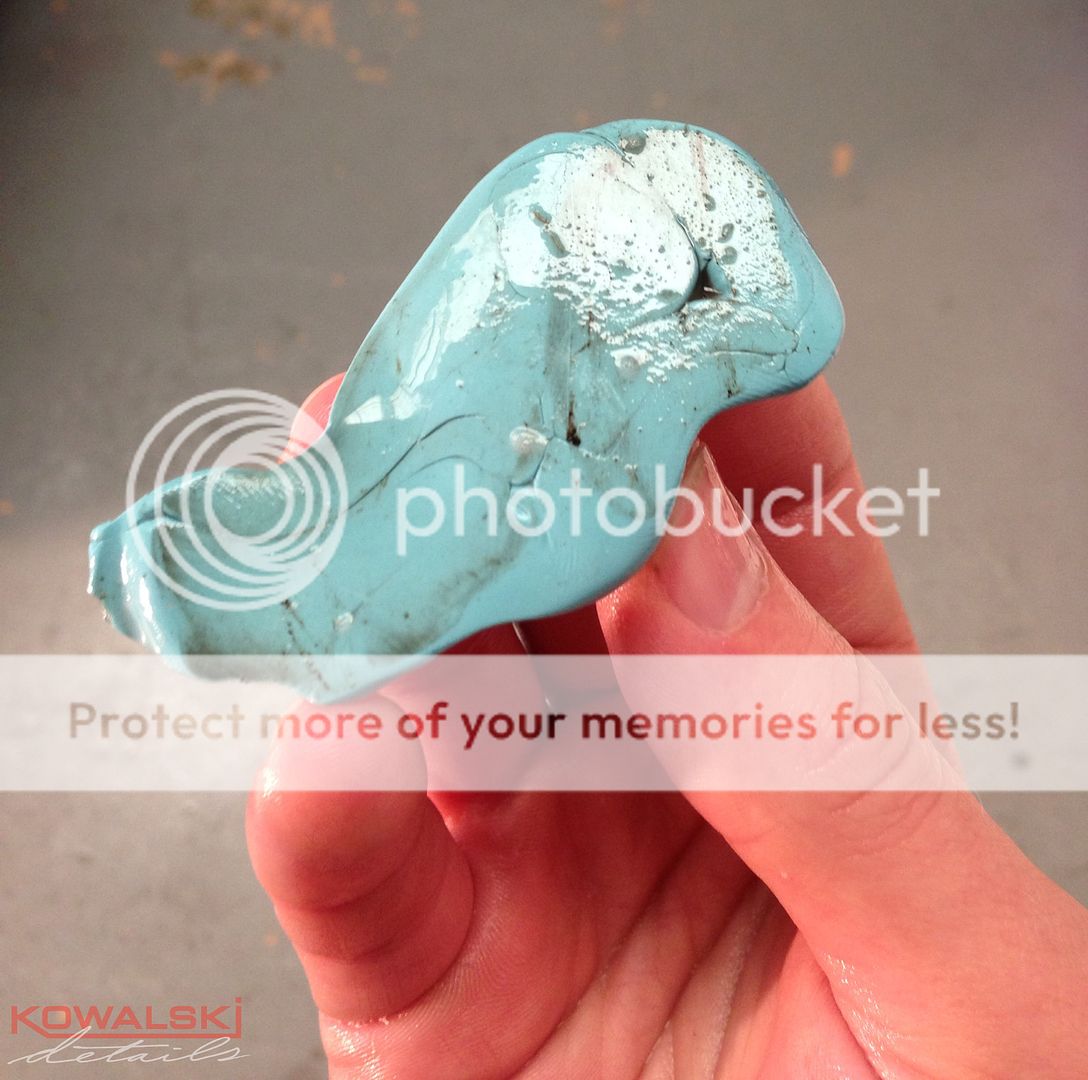
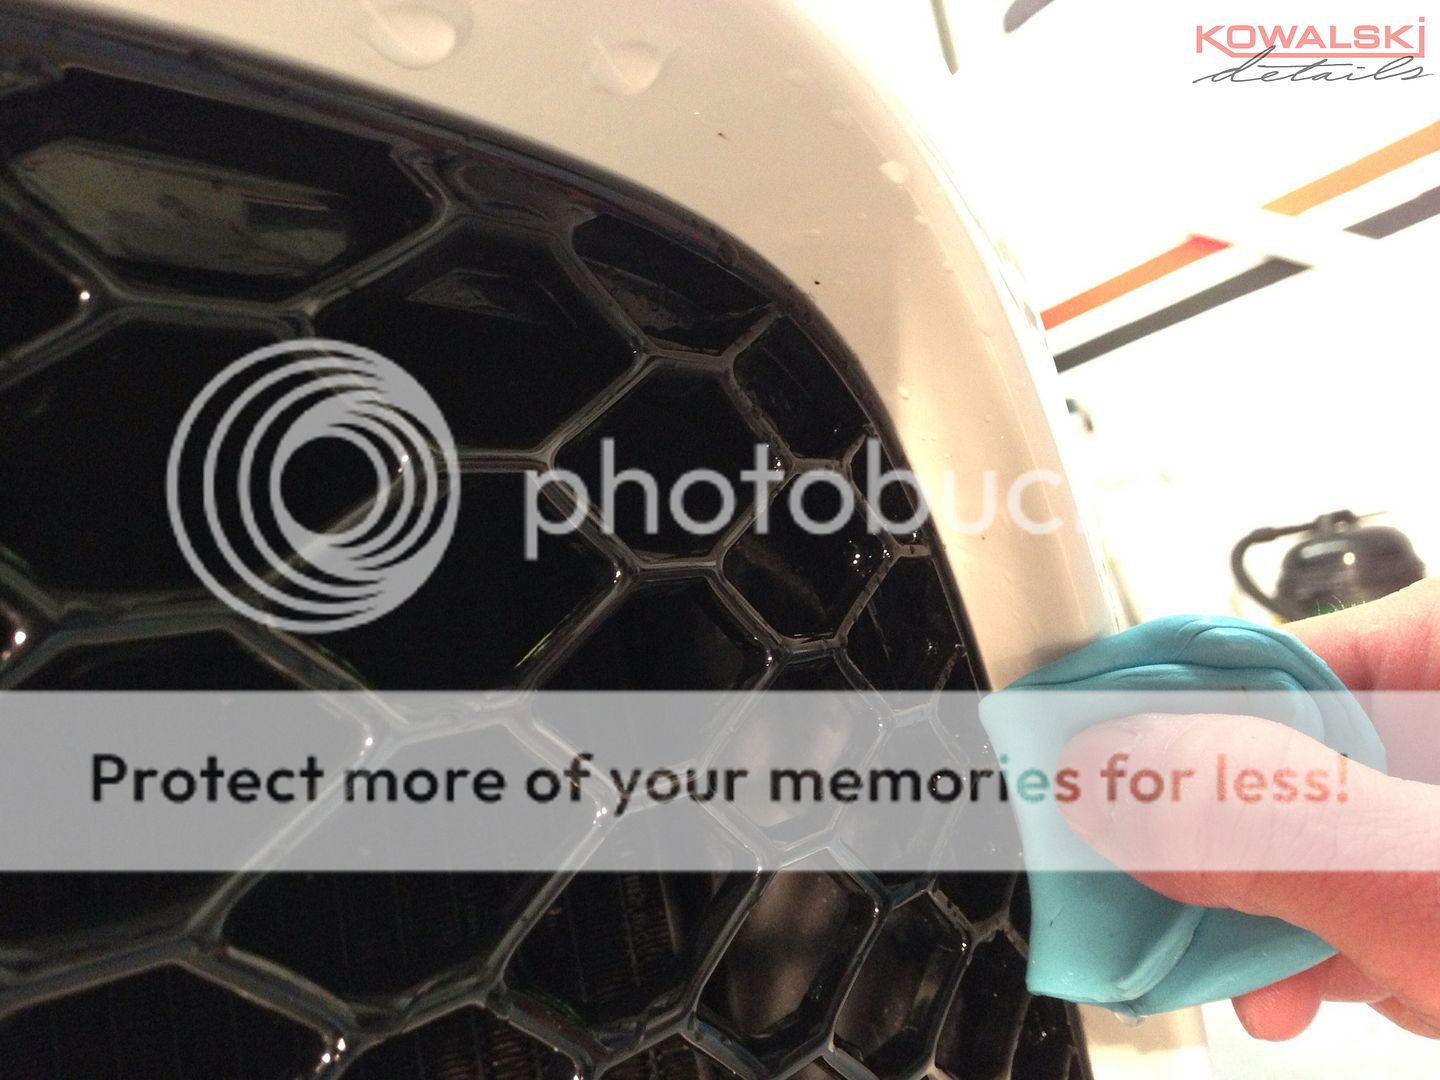
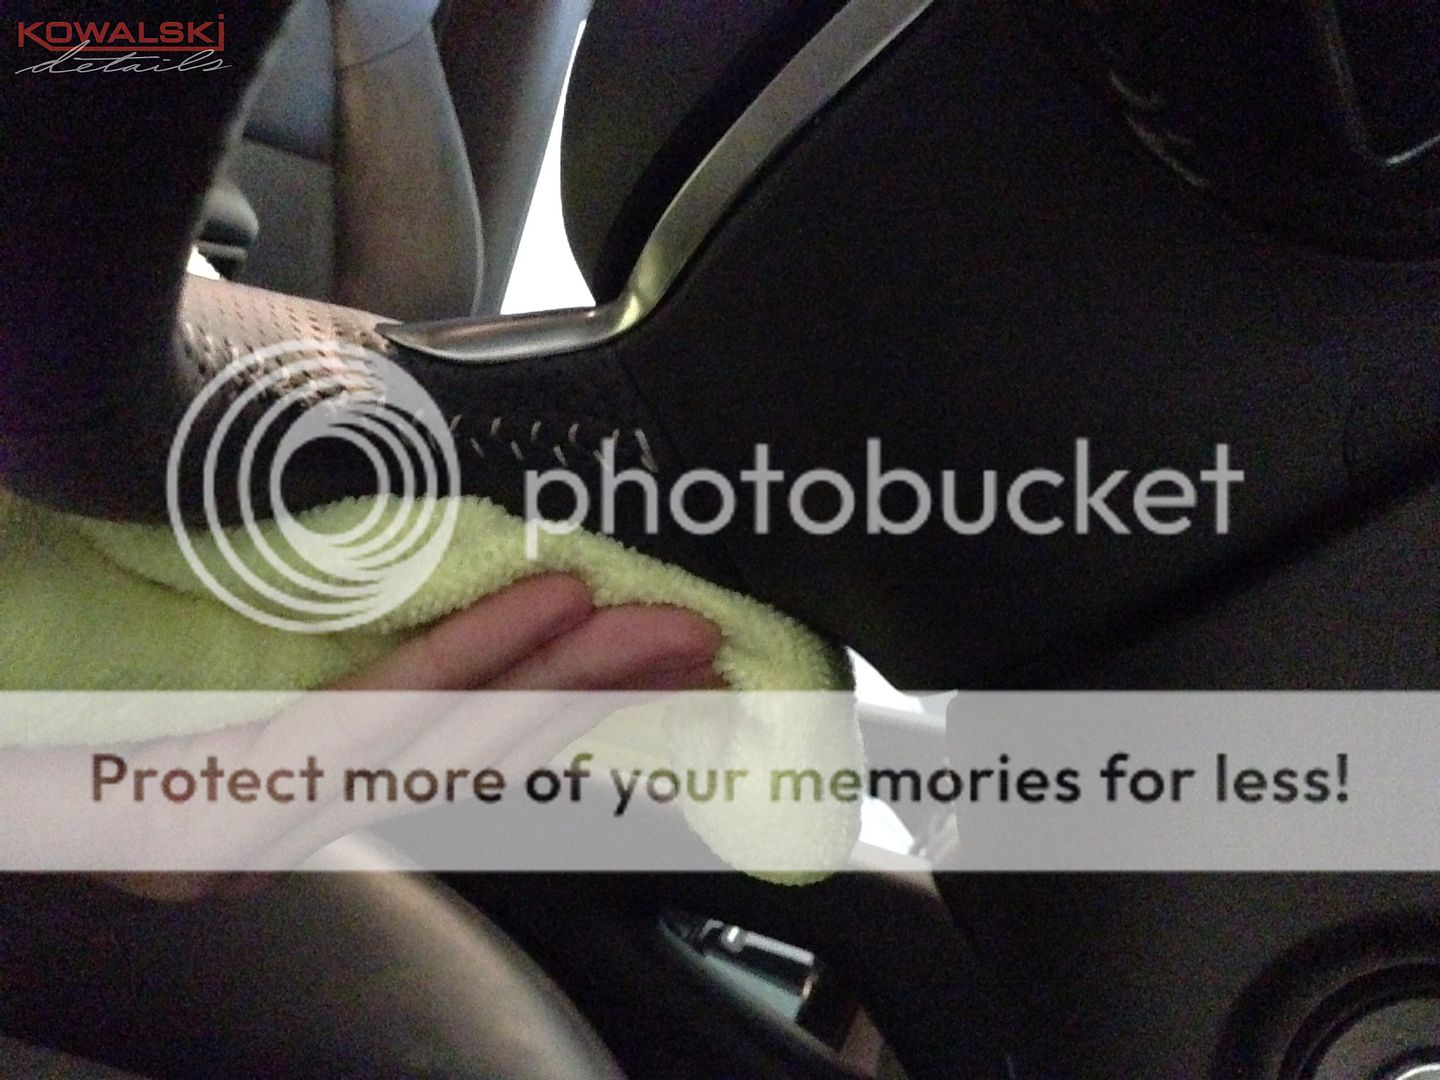
The next step was the de-contamination stage. First up was to remove the tar.

21copy_zpsf265c1e4.jpg


New microfibre cloths, cotton wool balls and cotton buds were used to ensure the safest method of removal. The cotton wool ball, provides enough flexibility around the most intricate of areas and has no loss of absorption. The cotton buds get into the most intricate areas as detailed in the pictures.

22copy_zpsddf1f08d.jpg


23copy_zpsdabb5804.jpg


24copy_zpsaac73741.jpg


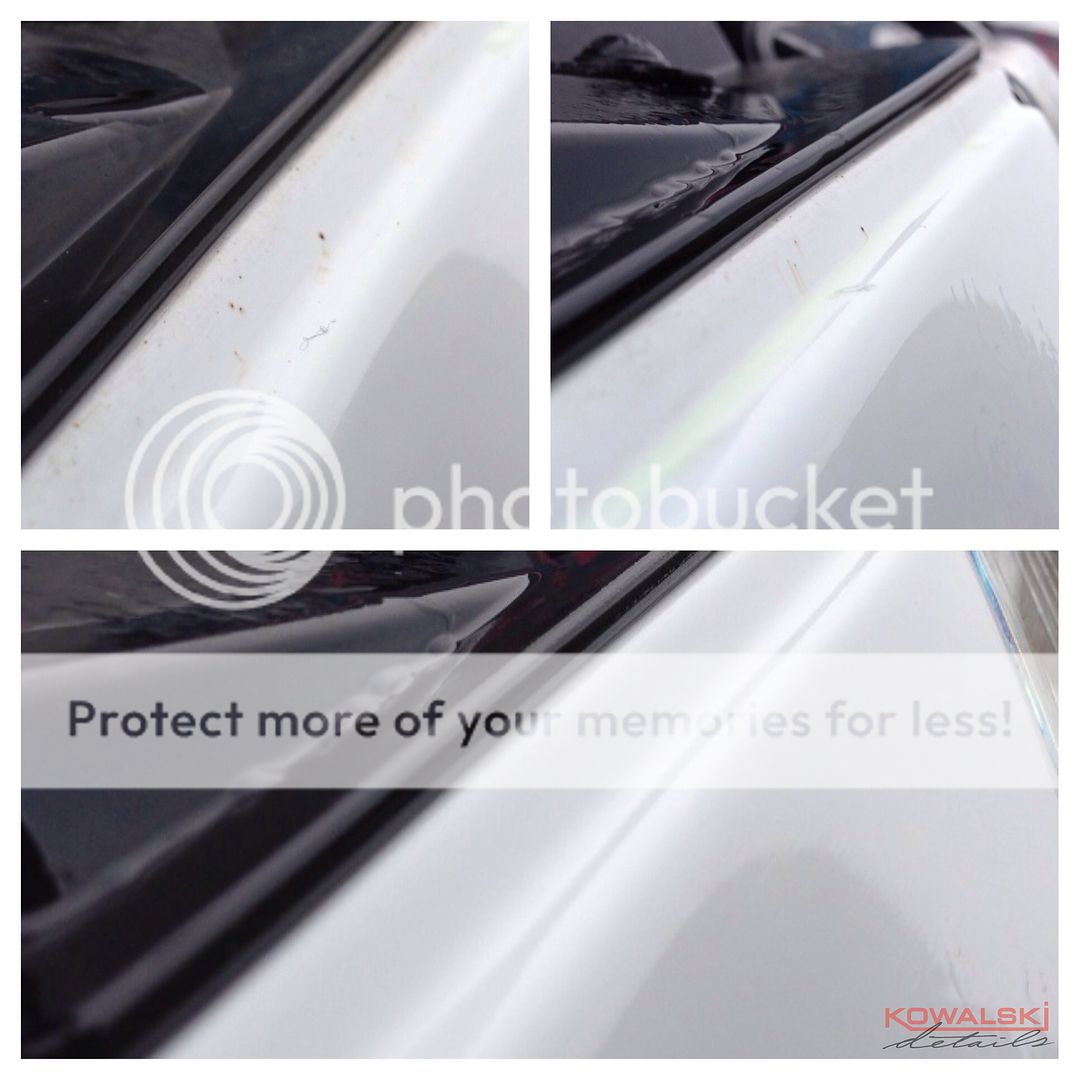
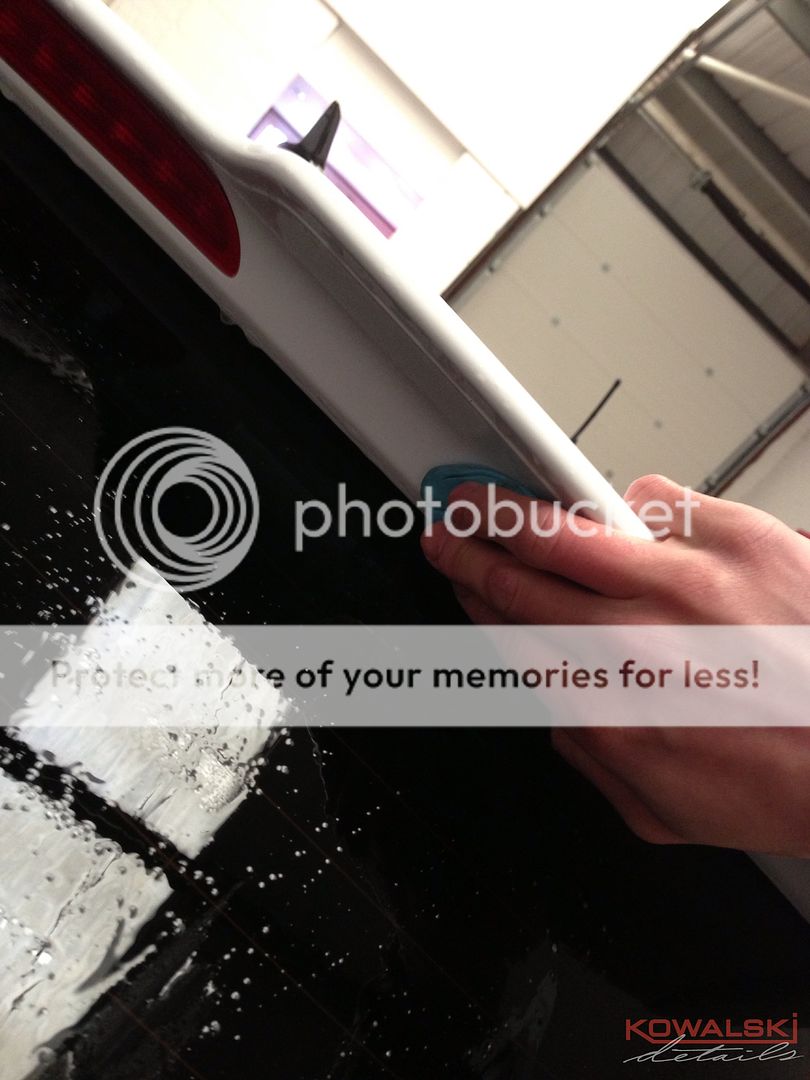
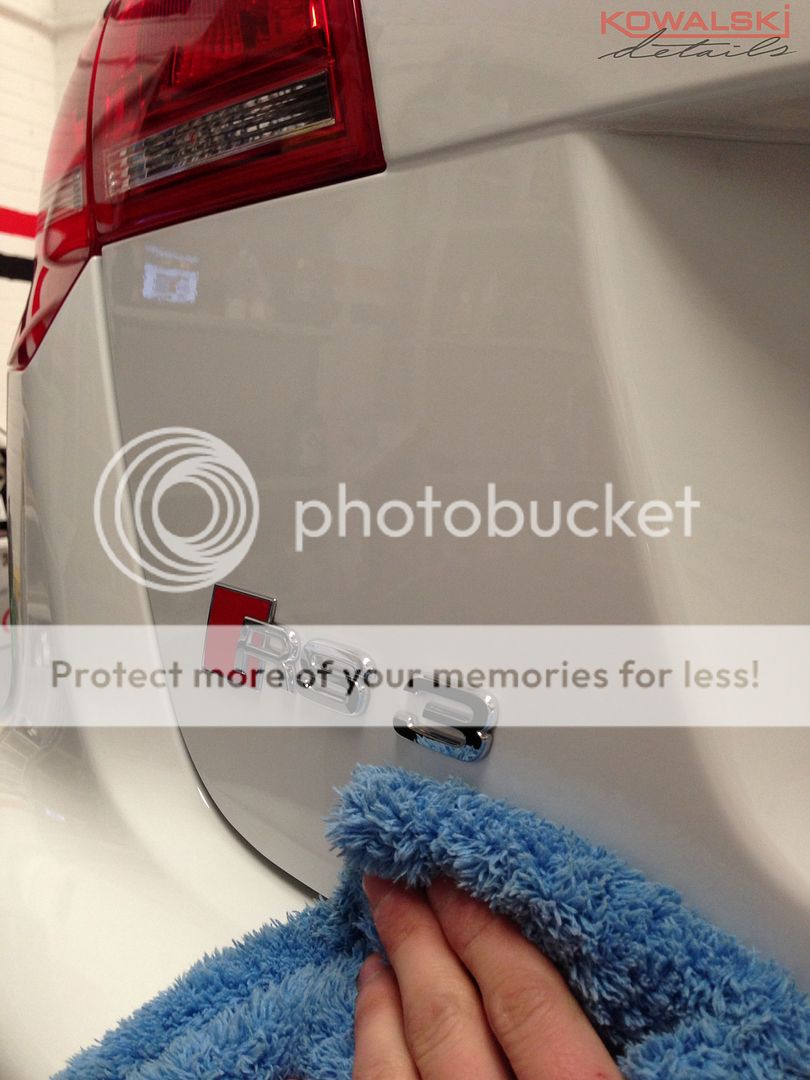
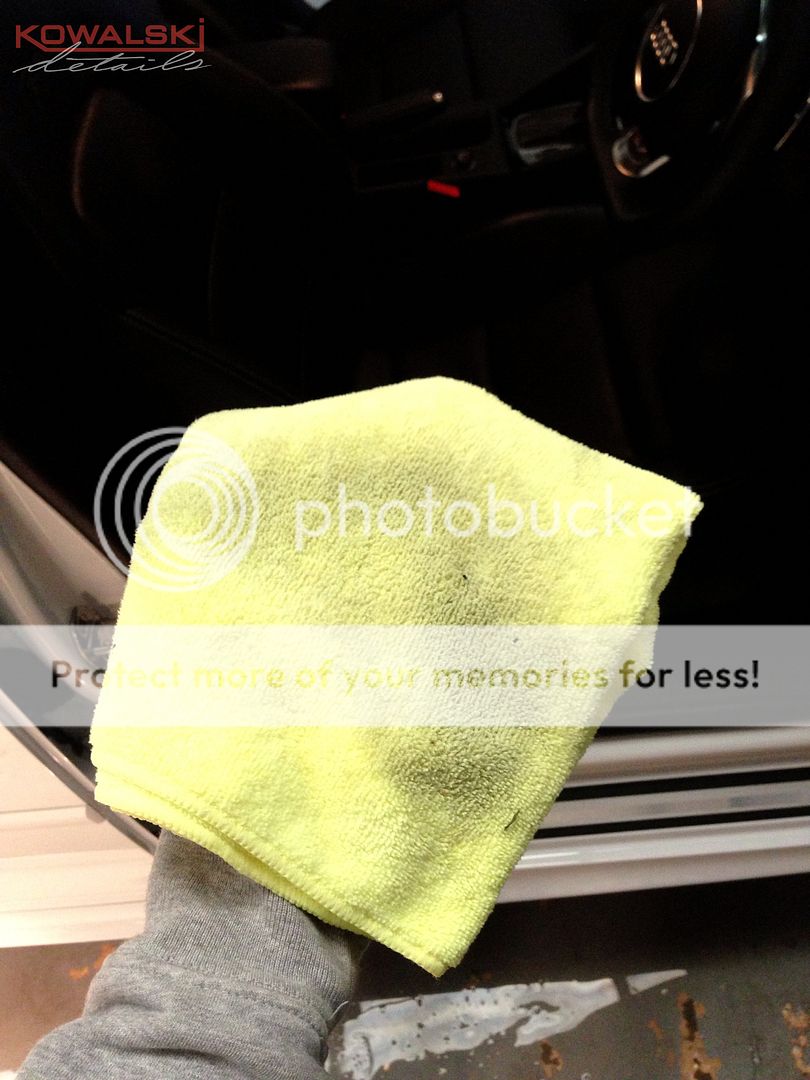
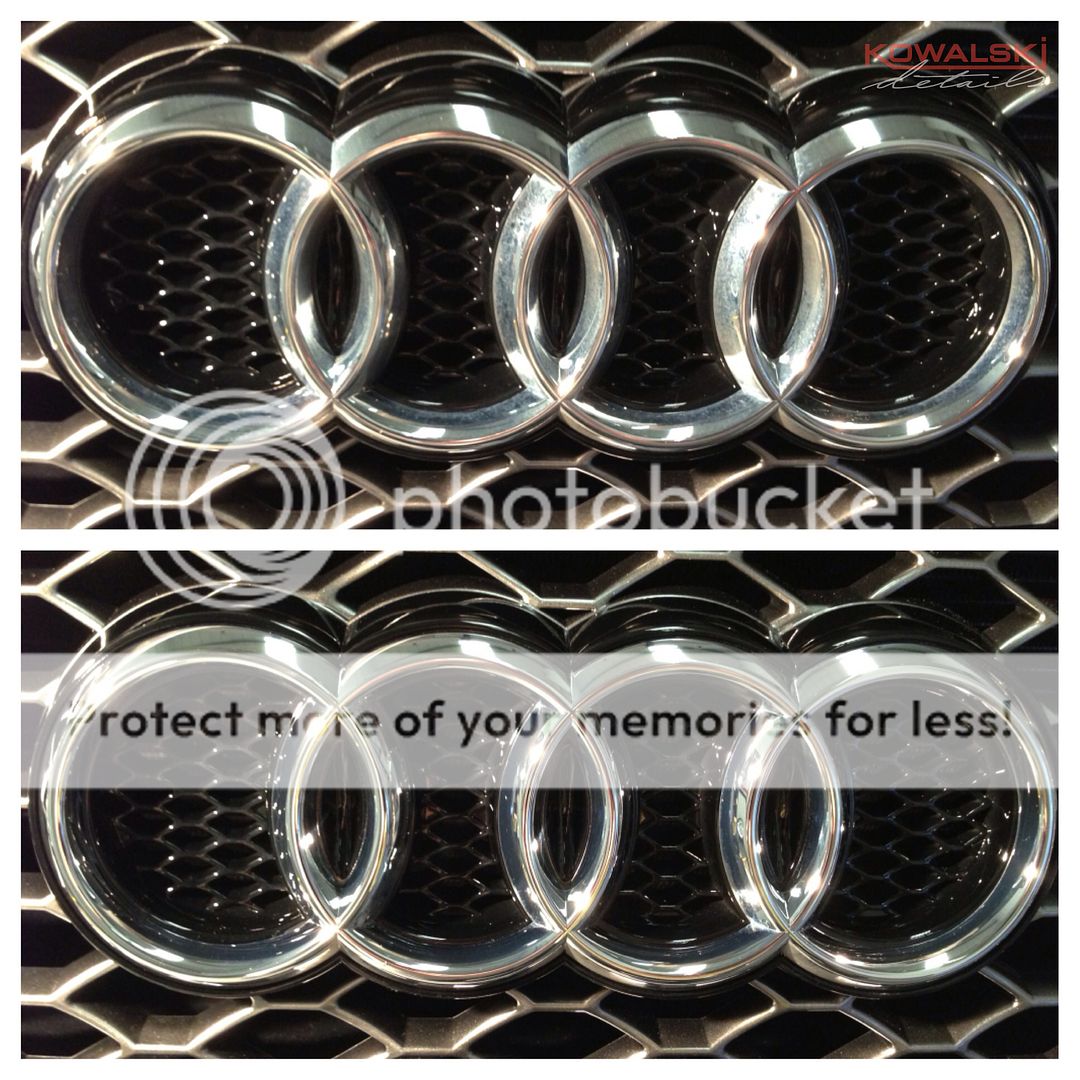
Iron X's job was to remove the iron fillings fromthe paint, being a white car it is easily recognizable.

25copy_zps50e9e438.jpg


26copy_zps9a09a0d3.jpg


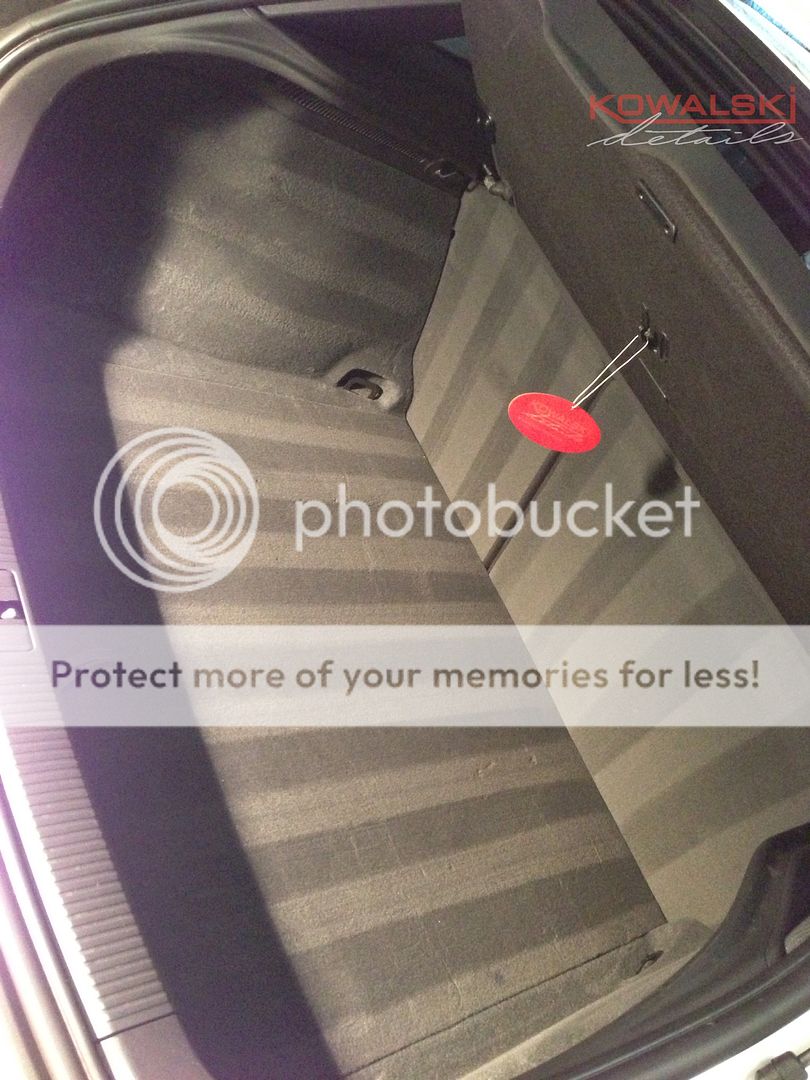
We ensured all the shuts were contaminate free also.

27copy1_zps5719b141.jpg


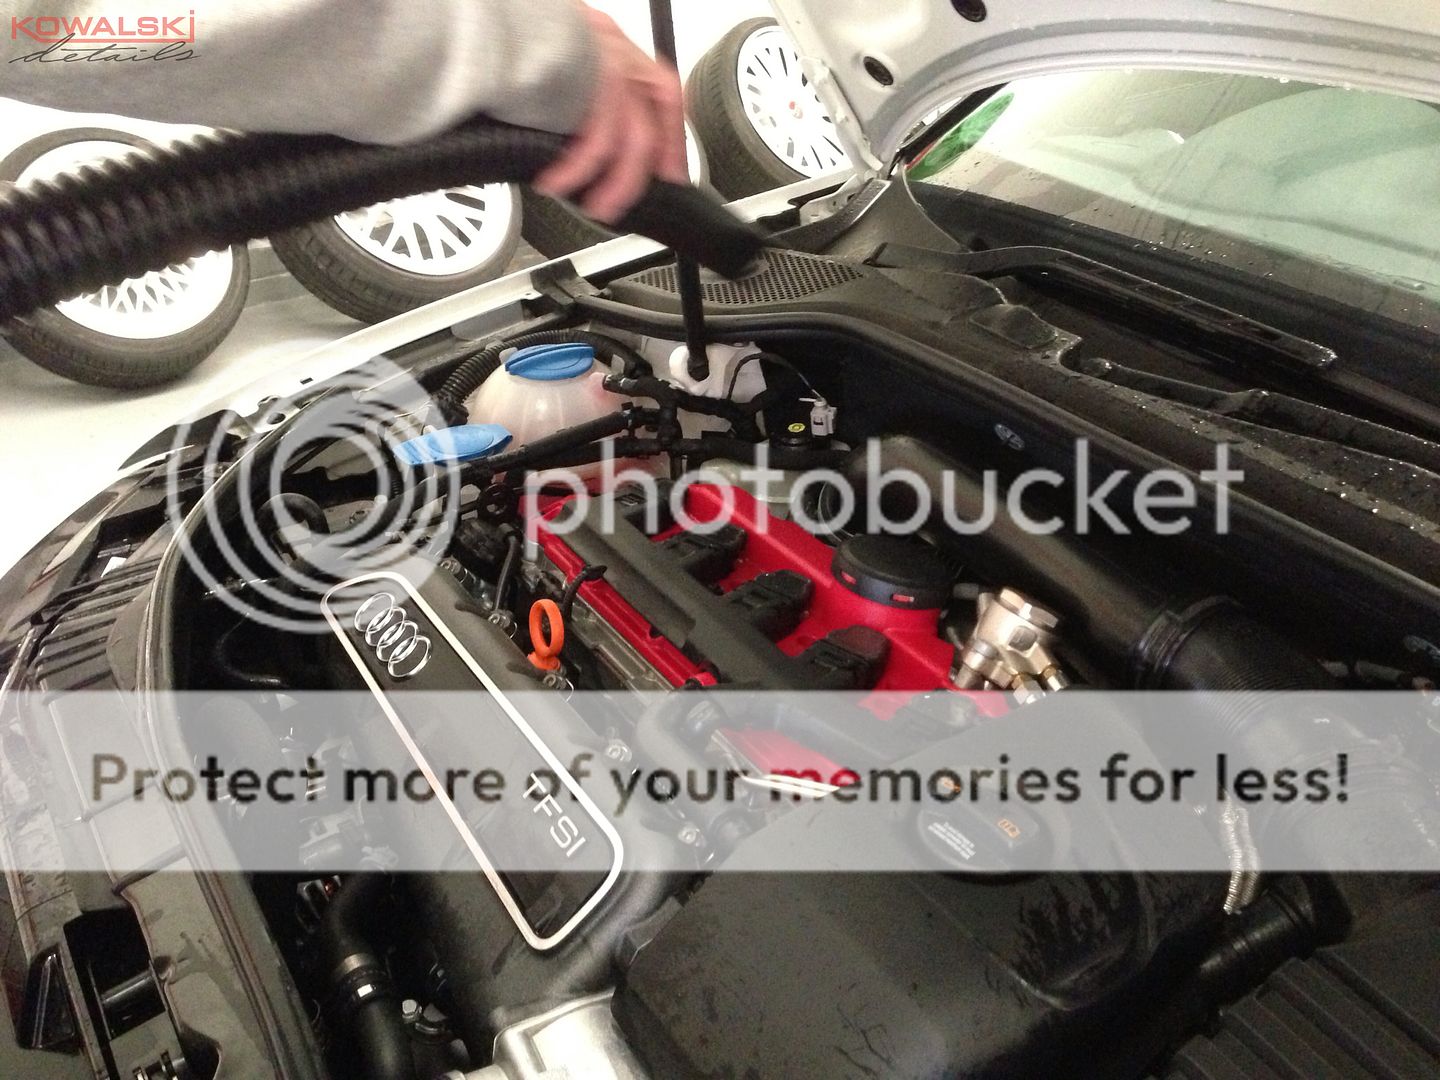
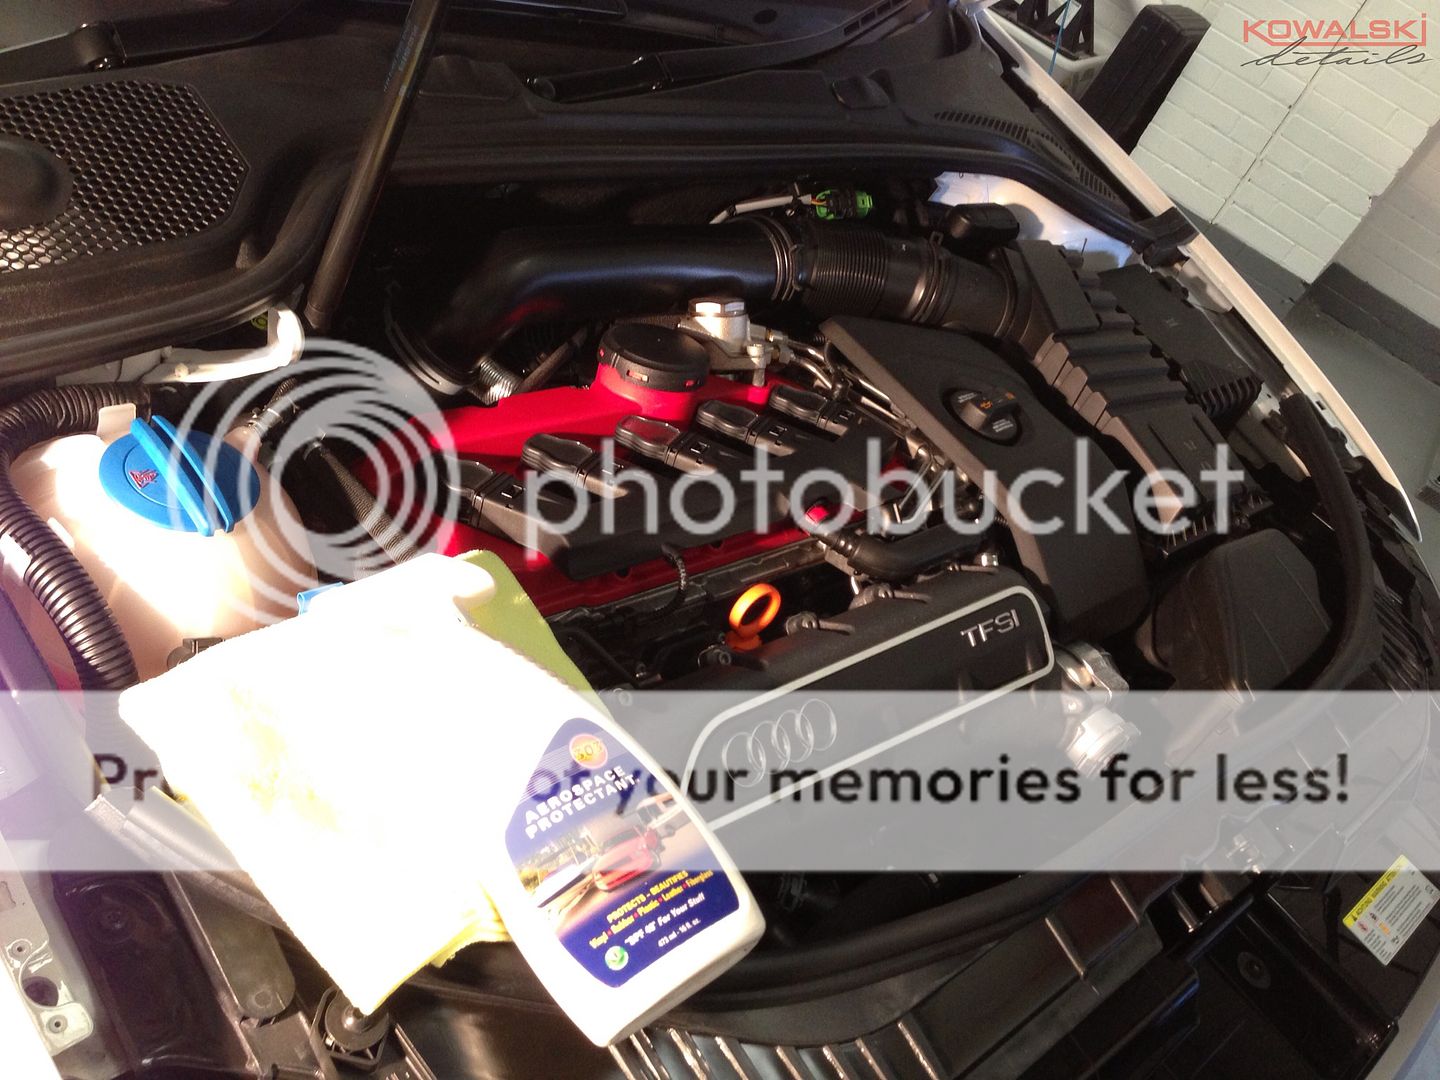
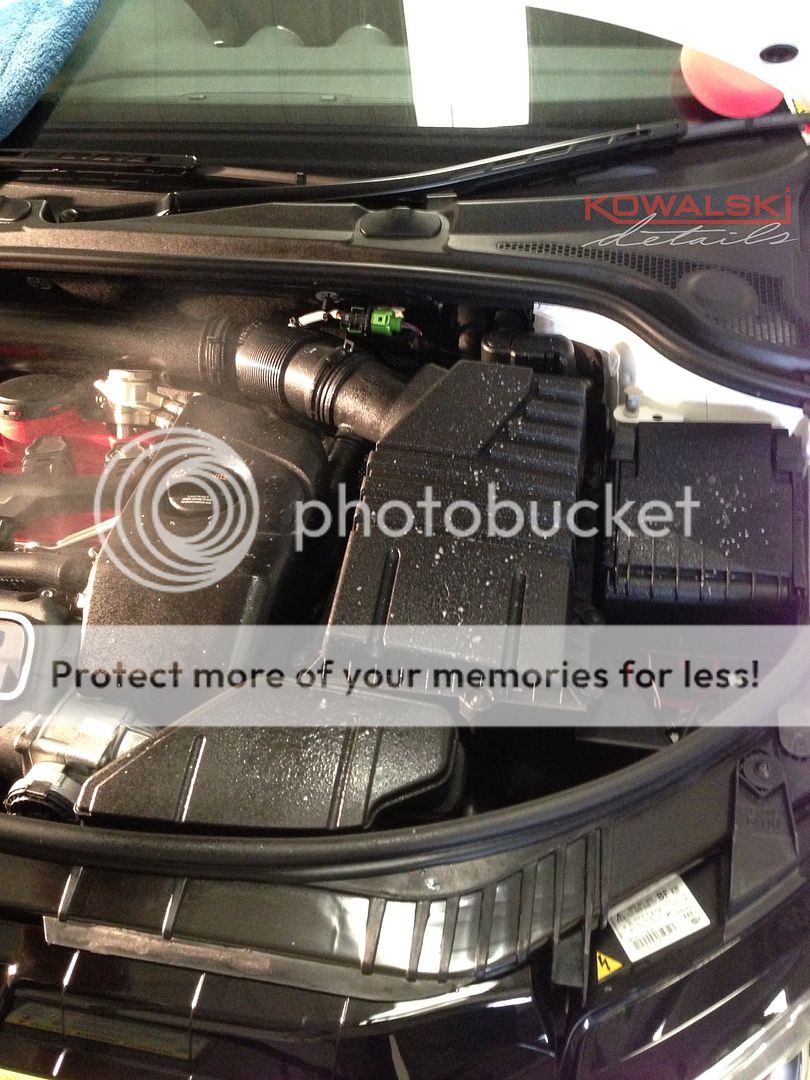
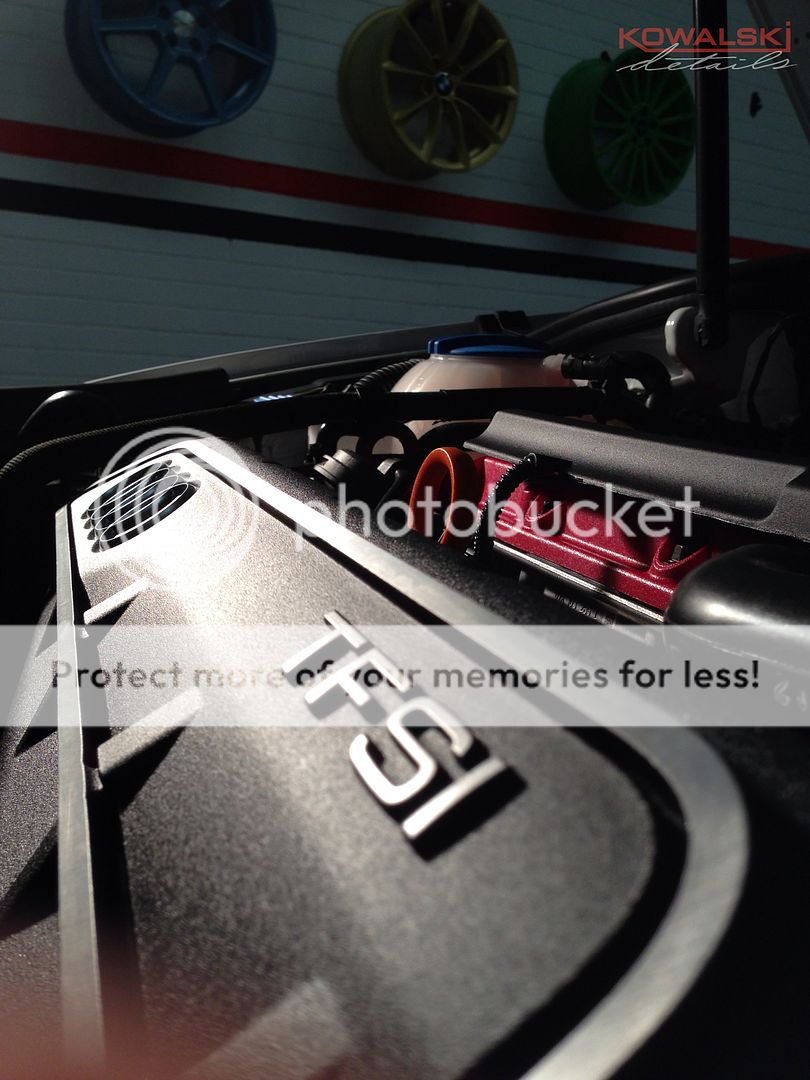
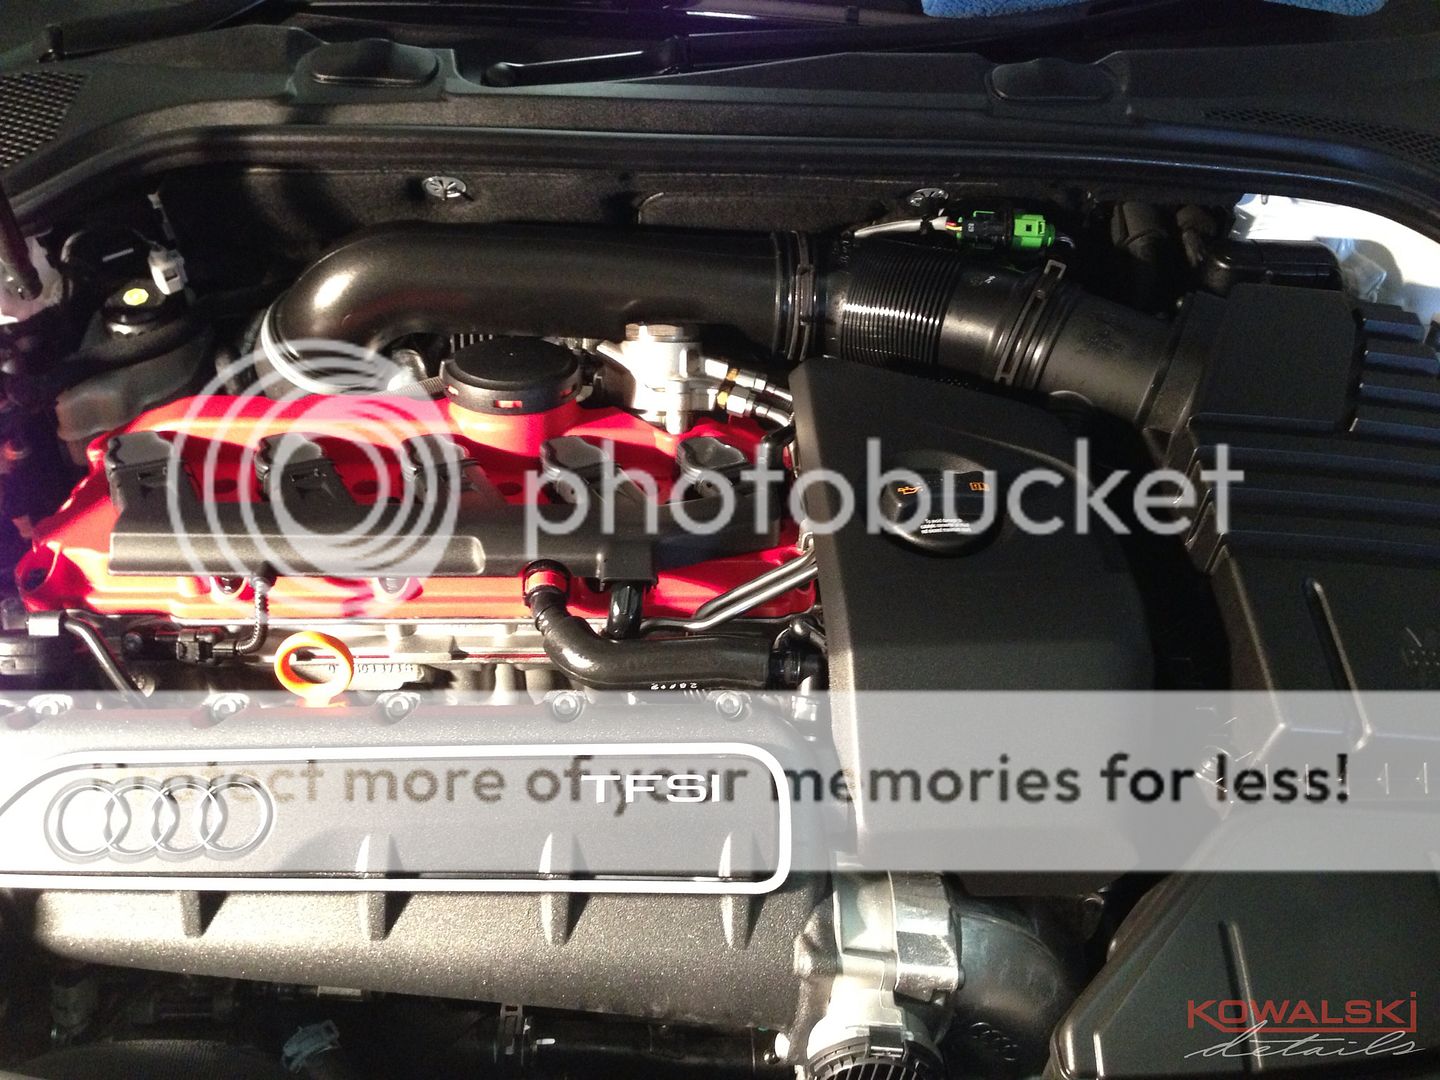
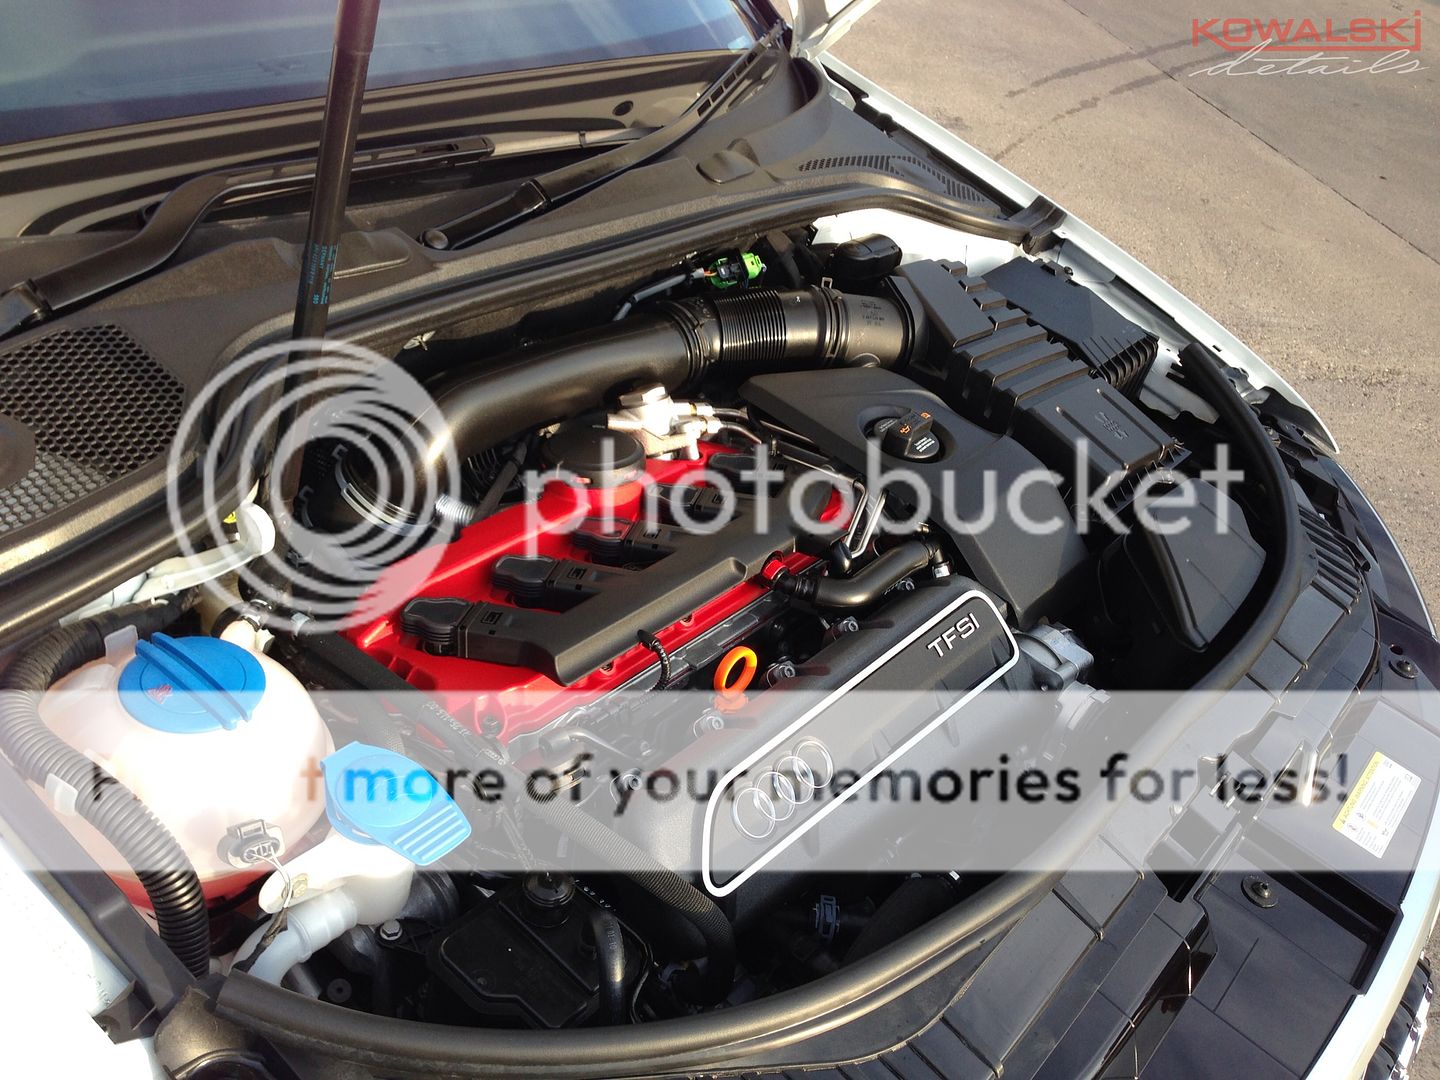
Then we turned our attention to the engine bay. It wasn't overly dirty, but still needed some TLC all the same.

45copy_zps0659cf2f.jpg


APC was used again on the top side of the grille, tops of the wings, around the bolts and the underside of the bonnet and agitated with the detailing brush.

46copy_zps1b8b1925.jpg


47copy_zpsd2205bc6.jpg
 
Last edited:
  • Like
Reactions: umbrella, buttons89 and 45bvtc
We also noticed alot of tar build up so Tar X was used to remove this.

48copy_zps209e49ad.jpg


The engine was then rinsed off at medium pressure, with the car being started up prior to this.

49copy_zps2dc3ab1b.jpg


The car was then thoroughly rinsed, ready for the claying process. This picture demonstrates there was no protection at all on the windows, as you can see how much water is being held by the glass. In bad conditions this can be very dangerous even with the wipers on the highest setting. Our protection details, include G-Techniq which offers wiperless driving after speeds of 40mph, visibility is greatly improved.

28copy_zps2d2cafed.jpg


The car was already looking greatly improved from when it first arrived.

29copy_zps68844270.jpg


It was then moved into the unit for the claying process.

30copy_zps34a27b58.jpg


We like to clay indoors as the wind outside can sometimes carry dust or blow fine dirt particles from the ground which would mean we would be claying dirt into the paintwork. This way we can ensure the perfect environment for claying. We used Megs mild clay along with Megs Last touch, with warm water in the bottle. We find the use of warm water aids to the suppleness of the clay as it easier to bend round edges as well as folding the clay onto a new section.

31copy_zps38e77e7a.jpg


The car wasn't overly contaminated as alot of the contamination was removed in the wash process. There was still enough to be removed.

32copy_zpsff5adae2.jpg


Here is an example of how intricate we get on our protection details. It is important to remove contamination from everywhere on the car, not just the exterior!

33copy_zps012f9fd8.jpg


34copy_zps800ada5d.jpg


35copy_zps19613758.jpg


36copy_zpsab5d9a4e.jpg


37copy_zpsf7afe435.jpg


38copy_zpsb2dead47.jpg


Whatever contaminates land on the paint, also land on the glass. So the glass needs as much attention as the bodywork.

39copy_zpsf312c010.jpg


This picture demonstrates the pattern in which we like to clay. Up and down being the first with horizontal claying to follow in a small section at a time ensuring we have overlapped each pass.

41copy_zps9541f7b3.jpg


The calipers were also clayed in preparation for protection.

40copy_zps62ca1c44.jpg


This left us with the car looking like this.

42copy_zpsf938ff31.jpg


43copy_zpsd53884c4.jpg


The car was taken back out to be rinsed. It was rinsed with an open hose, for those who don't know, this method of drying sheets the water in a pooling effect on each panel, resulting in minimal or no water left to dry.

44copy_zps130e0627.jpg


Which left us with this.

50copy_zpsdf5d5f33.jpg


51copy_zpsbc87004c.jpg


The car was the back inside to be dried with warm filtered air. In our opinion this is the best method of drying. Firstly because it removes water from crevices such as door handles and mirrors which often trap water and drip once the vehicle is fully dried and secondly it offers touchless drying without inflicting marring or light scratching which can be caused even with the plushest of towels. Also it offers drying in places where it is impossible for a microbfibre to reach such as the grilles on this RS3.

52copy_zps00fb9ed3.jpg


53copy_zps0377b53a.jpg


54copy_zps3ae91b15.jpg


Next up was to apply the pre-wax cleanser, which was Prima Amigo. This polymer based pre-wax cleaner/glaze in our opinion is the best out there. The filling abilities along with the ease of use make it hard to compete with. The duration of the product curing on the paintwork has no relation to the results of the finish, leave it for 1 hour or 1 minute. It wipes off with the gentlest of touches, which is why it is a highly valued product by us and will always have a place on our shelves. It was applied via a Sonus MF pad.

55copy_zpscbf6f421.jpg


On darker colours it deepens like you wouldn't believe. On whites it leaves the glassiest of finishes leaving the perfect surface ready for the wax.

56copy_zps75379363.jpg


The exhaust needed some attention. A microfibre was used along with autosol & Mother's metal Polish. Here's a before.

57copy_zps34c54b34.jpg


A 50/50.

58copy_zps297f062e.jpg


59copy_zps6467323b.jpg


60copy_zpsba04126b.jpg
 
Last edited:
  • Like
Reactions: Oily Audi and 45bvtc
Here are the exhausts cleaned, looking back to as they should do.

61copy_zpsc766bdc0.jpg


Once Amigo had been applied and removed it was time to apply the wax. At first we opted for 2 layers of Zaino Z2, however speaking to the customer he wanted durability as well tight beading. Zaino offers great looks and protection however sheets the water where as Collinite offers tight beading and layered up alongside regular washing can offer the same durability.

62copy_zps1419c876.jpg


Everywhere is waxed, including places out of the line of sight.

63copy_zps0dae42eb.jpg


64copy_zps22b405ed.jpg


It was applied in half an hour intervals.

65copy_zps7bc5c324.jpg


It was then buffed off with a Plush MF cloth.

66copy_zpsa010c544.jpg


67copy_zps28ec0766.jpg


Here you can see the reflection the Collinite gives, even on white paint with 0 lighting.

68copy_zpse8a59662.jpg


69copy_zpse60daca8.jpg


With the exterior well under way it was time to turn some attention to the inside, starting with the bootlid. Although it's a protection detail, we like our customers to drive away in a clean interior. The boot was hoovered and APC was used for the surroundings plastics.

70copy_zpsde133ed1.jpg


71copy_zpsa58a489c.jpg


72copy_zpsea73e2e9.jpg


The mats were taken out, the silver edges were cleaned via APC and MF cloth and the carpet was hoovered.

73copy_zps443afb7b.jpg


74copy_zpsed258439.jpg


APC was used to clean all the interior plastics, applied via a MF cloth.

75copy_zpsd50abb8e.jpg


76copy_zpsca92e5ab.jpg


Although it didn't look dirty, the leather was given a wipe down with a specialist cleaner we like to use. This restores the factory smell of the car's interior and matted finish that the leather should always have.

77copy_zps4fd8976b.jpg


78copy_zpsc2933bdc.jpg


79copy_zps36da908f.jpg


80copy_zpsa7fa5c21.jpg


Even though the car only had 4000 miles on the clock, it just goes to show, how dirty the leather can get in such a short period of time.

81copy_zpsf6dfb6a7.jpg


The calipers were sealed also with Werkstat Prime, which is a sealant giving good protection as well as gloss.

82copy_zps52c7c870.jpg


The engine which is a masterpiece to say the least was treated with 303 Aerospace. Which restores the original look to the plastics without any gloss. This together with the red rocker cover of the 2.5 litre engine looks like a work of art.

83copy_zpsfcb062ec.jpg


84copy_zpsb049ef94.jpg


303 Aerospace was used on all the rest of the exterior plastics around the car.

85copy_zps8ee1ca81.jpg


86copy_zps6d4ba09a.jpg


G-Techniq G3 was used to seal the glass.

87copy_zps198366b6.jpg


Werkstat used on all the door shuts as well.

88copy_zps897173a1.jpg


Mothers Metal Polish was used on the door latches.

89copy_zps38c742eb.jpg
 
  • Like
Reactions: buttons89
The badges were cleaned also with Mother's.

90copy_zps7d321512.jpg


91copy_zps37178ca4.jpg


92copy_zpsfc9364af.jpg


Tyres were dressed with Poorboys Natural Look & the car was given a final wipe down with Zaino Z8 to improve the gloss.

93copy_zps930d8b39.jpg


Here are the final shots of the car.

94copy_zps213873c6.jpg


95copy_zpsdd118e62.jpg


96copy_zpsd7fb14f6.jpg


97copy_zpsc5480ba1.jpg


98copy_zps546d806c.jpg


99copy_zps6a9970e3.jpg


100copy_zpsd41f1aa8.jpg


101copy_zpsb42f394d.jpg


102copy_zpsa6827f1c.jpg


103copy_zpsb1b3639c.jpg


104copy_zps386e73f5.jpg


105copy_zpsbf59cb2a.jpg


106copy_zpsab2ac0cc.jpg


107copy_zpsbf5d0fca.jpg


108copy_zps1e9dd17b.jpg


109copy_zpsbcaf2ab6.jpg


110copy_zpsfd31b20b.jpg


112copy_zps255e2536.jpg


Hope you enjoyed reading, if you have any questions or comments then feel free to post.

Thanks N8
 
Last edited:
  • Like
Reactions: Oily Audi, Audi-Rog, Battlekrapz and 13 others
Great write up as always n8 :wub: Bet the owner was very pleased the results. He or she could of got buckets though! :laugh:
 
Whats this specialist leather cleaner you used as my leathers on my b6 seems like dry, wrinkling and sagging in certain places.
 
Nice write up Nath!!
love a good detailing session on here, one thing.
How do you get the carpet stripes so good.?
Mine never come out as pronounced as that.
 
Top job N8.
That's one lucky car owner, nice to see so much effort being put in to someone elses pride and joy.
Keep up the good work.
 
Nice work!! excellent results bet the owner was chuffed to bits.
 
To perfection by an expert ! That is stunning keep it up ! :)
 
Nice to see you have given an RS3 the once over, it's definately up to your usual high standard N8. Any other RS3 booked in ?
 
Amazing work and inspirational for us non pro detailers. Given me a few ideas on what else to add in to my own cleaning session!
 
Very comprehensive write up there Nate. Useful for people doing it themselves or coming to you which is good to see. :icon_thumright:

White works as a colour for the RS3 too :wub: Not sure I would have said that before the detail however ;)
 
good writeup mate, even i took a few pointers from this. you'll deffinately be seeing my car in the future
 
Great write up and awesome results.

Brilliant results, well done.
 
Amazing write up, and some top quality products used :wub:
 
Fantastic job and attention to detail, with great photos and write up ... thanks for posting !
 
Meh...looks ok.

Pretty sure the boys down the local £5 washy washy get the same results :whistle2:

Looks great mate, was that 1 man full day job ?

Interesting you find Z2 sheets? Ive used Zaino for years on various cars, and never had problems getting beading.
I usually go for 3 coats of Z2 (with zfx) have also tried a Z6 wipedown in between each coat. Then follow up with Z6, then Z8, and once i did use ZCS, but generally just use that for wheels etc now. As im always adding / painting / flatting / mopping something so pointless using it for now.
But, im sure youve used it a lot more than me. So not saying your wrong, just not what ive experienced.

Going to try some of that G Techniq for sure. Been on my list for a while but never get round to buying it.

The extent you go through, surprised your not using RO water :p
 
Very impressed Nath you and Ian have done a top job, if only I could keep it this clean haha!

Love the write up to got some amazing pictures there, would recommend this to anyone thinking of having it done..

Thanks again
 
Beautiful, Epic, Awesome, whatever word you use it represents one thing... Perfection...
 
Lovely job

Need to try that G-Techniq G5 (as it is now I understand taken over from G3?) Only ever used Rain-x and although it works fantastic it doesn't last very long at all
 
Thanks for the feedback guys, if anyone else wants their car detailing then please get in touch. To reply to a few of the messages.

Whats this specialist leather cleaner you used as my leathers on my b6 seems like dry, wrinkling and sagging in certain places.

We have a few different leather products that we use depends on what needs doing, this was a cleaner which we had made up.

How do you get the carpet stripes so good?

It's just technique! Once you master

What you do with one built in the 1990's :) :)

Here's a 70's SL, any good?

photocopy_zps82efd12c.jpg


Looks great mate, was that 1 man full day job ?

Interesting you find Z2 sheets? Ive used Zaino for years on various cars, and never had problems getting beading.
I usually go for 3 coats of Z2 (with zfx) have also tried a Z6 wipedown in between each coat. Then follow up with Z6, then Z8, and once i did use ZCS, but generally just use that for wheels etc now. As im always adding / painting / flatting / mopping something so pointless using it for now.
But, im sure youve used it a lot more than me. So not saying your wrong, just not what ive experienced.

Going to try some of that G Techniq for sure. Been on my list for a while but never get round to buying it.

The extent you go through, surprised your not using RO water :p


Rom, I've used Z2 on many occasions. Like any other LSP thinner applied is better. I've used the ZFX kit along with wipe downs of Z6 in between like you say, it's a fantastic product offering a great look. Z2 can be super fussy sometimes on black cars even with the thinnest of layers so curing time along with the correct conditions must be taken into consideration when applying it. The Z8 IMO is the best spray sealant out there. It just offers that bit more gloss and protection to the finish, on top of anything else. What you have said is correct. Zaino does bead upon contact with water however leave it 4-5 days in and take the pressure washer to it, if you apply a door and a rear quarter one with Z2 and the other with a wax, what you will find is the wax will bead upon contact of the water no matter how far away but the Zaino you are able to cover and 'flood' the panel leaving basically nothing left to dry, where as the wax will have beaded the water and have small droplets scattered across the panel so there is much more water to dry coming straight from the pressure washer. The client wanted long lasting beading with durability and the king of protection in my opinion is Collinite, which is why most people use it over the winter months. G-Techniq is a brilliant form of protection, especially C1. However be very careful when applying it as we have tested it and it literally crystallizes the microfibres overnight. It's basically a crystal lacquer so curing times are very very important. Leave it too long and your left with either having to re-apply C1 over the already dried product to remove it or if that fails your into wetsanding the panel to remove it. I've used it, lost its beading in a very short time, I know beading isn't an indicator of protection however I like to see it happening as did my customer with the RS3! I can however see it being slightly scratchproof as the cquartz which is also a good product! RO water is used if requested!

Need to try that G-Techniq G5 (as it is now I understand taken over from G3?) Only ever used Rain-x and although it works fantastic it doesn't last very long at all

Try G1 also!
 
Last edited:
N8, fantastic job! I must say the carpet vacuum pattern just floored me! That's an added touch only you would do!
 
What a fantastic write up with pics along the way.Almost felt like we were handing u the cleaning products. Just one question do u use the aerospace 303 for the plastics in the interior, and does it smell nice? Absolutely stunning job u done N8 thanks for sharing :)
 
Last edited:
You can use it on the interior yes, doesn't leave a smell usually. Poorboys Natural look is probably better suited for this, and smells lovely.
 
I have finally discovered how to get the stripes so good..
I was using the wrong attachment haha. Your secret is safe ;)
 
Just a quick question N8, what do u use for cleaning the inside of the windows with? Cheers :)
 
Amazing write up :drool: can see myself slowly but surely dragged into the detailing world!
 

Similar threads