

AARON77
Registered User
manged to sort it its AMAZING what a bit of wet n dry(1200) and some auto glym paint restorer can do
BEFORE

AFTER
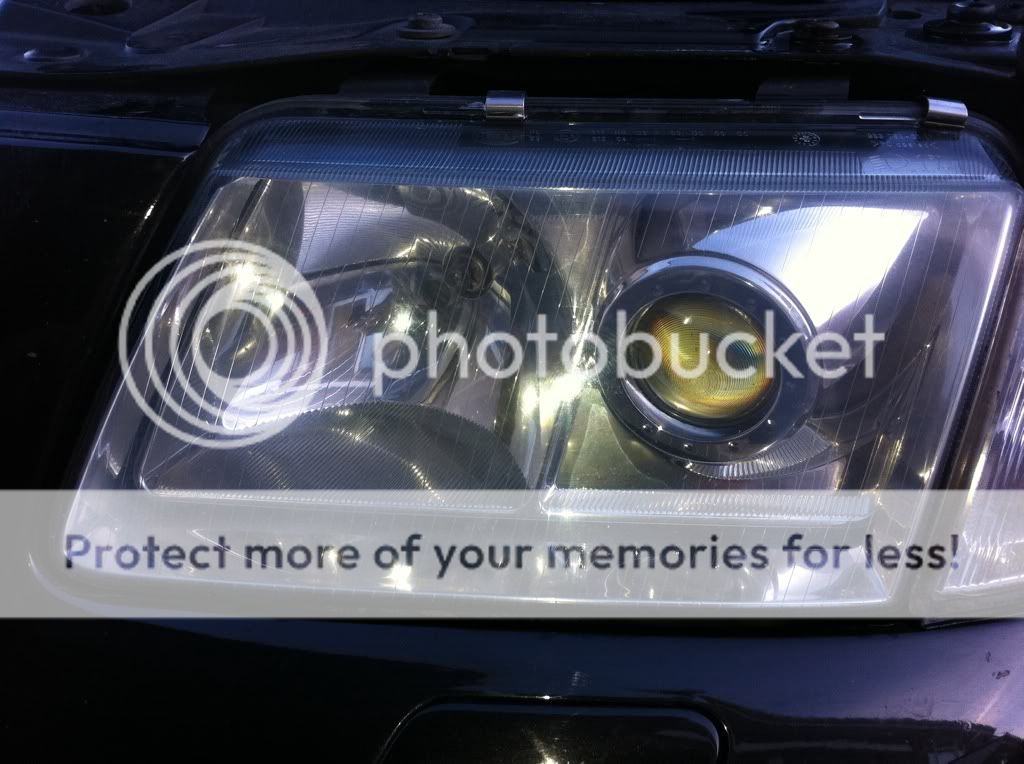
BEFORE
AFTER
Lovely job fella, this has just been add to the late night mechanics list. lol


I bought the gear yesterday and will be having a go at this next week with S3baby on one of our late night car sessions
Late night sessions eh?? lol.....
This has been added to my list of to dos....
We've been doing different jobs each week. Got some big ones soon, suspension and FMIC.


Dude ???? Give it another go with finer sandpaper maybe????
Im not even going to start on ya


 westle how the hell you managed that?