Jimmeh
Registered User
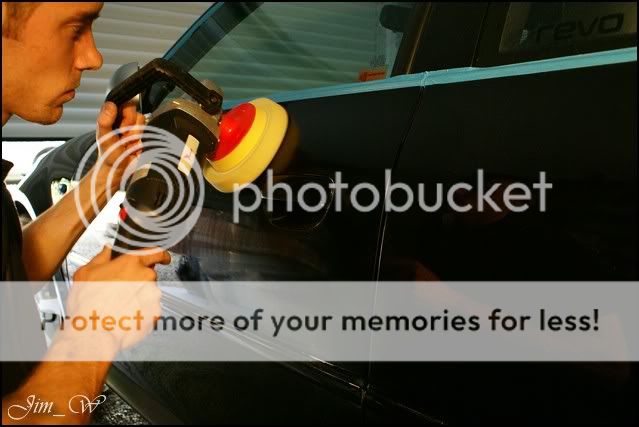
How I miss my S3! Having previously owned 2 A3s and the S3, youd of thought by now I know this shape off the back of my hand. Wrong! I still managed to spend 13 hours on it, thats the clean/prep stages and a minor correction. Some 85% correction was achieved with 106FA (..*waiting on my 203s*)
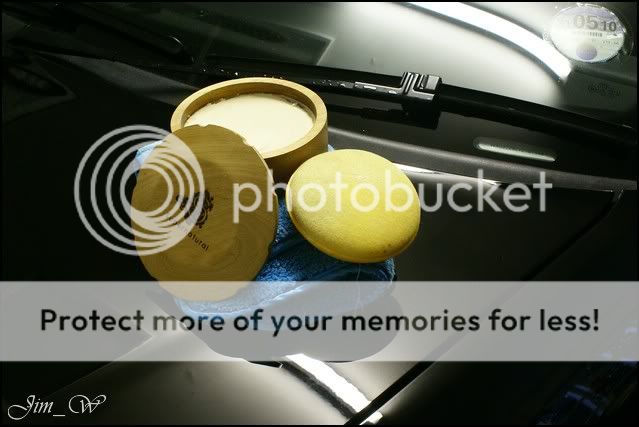
Product!
303 Aerospace Protectant
AutoGlym Glass Polish
AutoSmart Tardis
AutoSmart G101
Autosol - metal polish
ChemicalGuys JetSEAL109
ChemicalGuys New Look Trim Gel
Dodo Juice Born To Be Mild
Dodo Juice Limeprime
Dodo Juice Supernatural
Meguiars All-Season Dressing
Meguiars Super-Degreaser
Menzerna 106FA
Zaino Z8
Pre-detail:


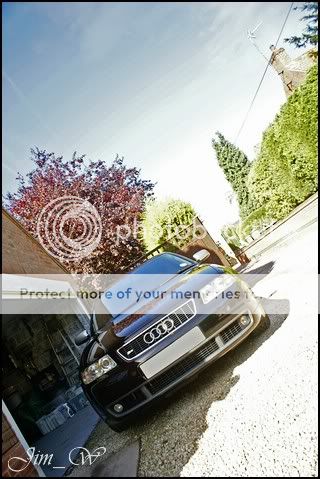
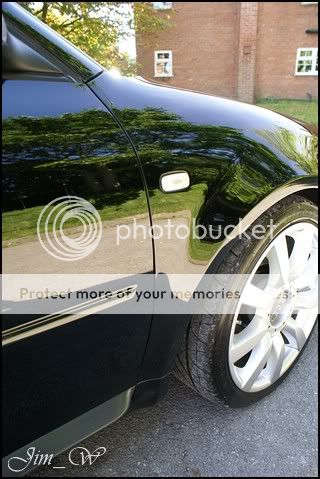
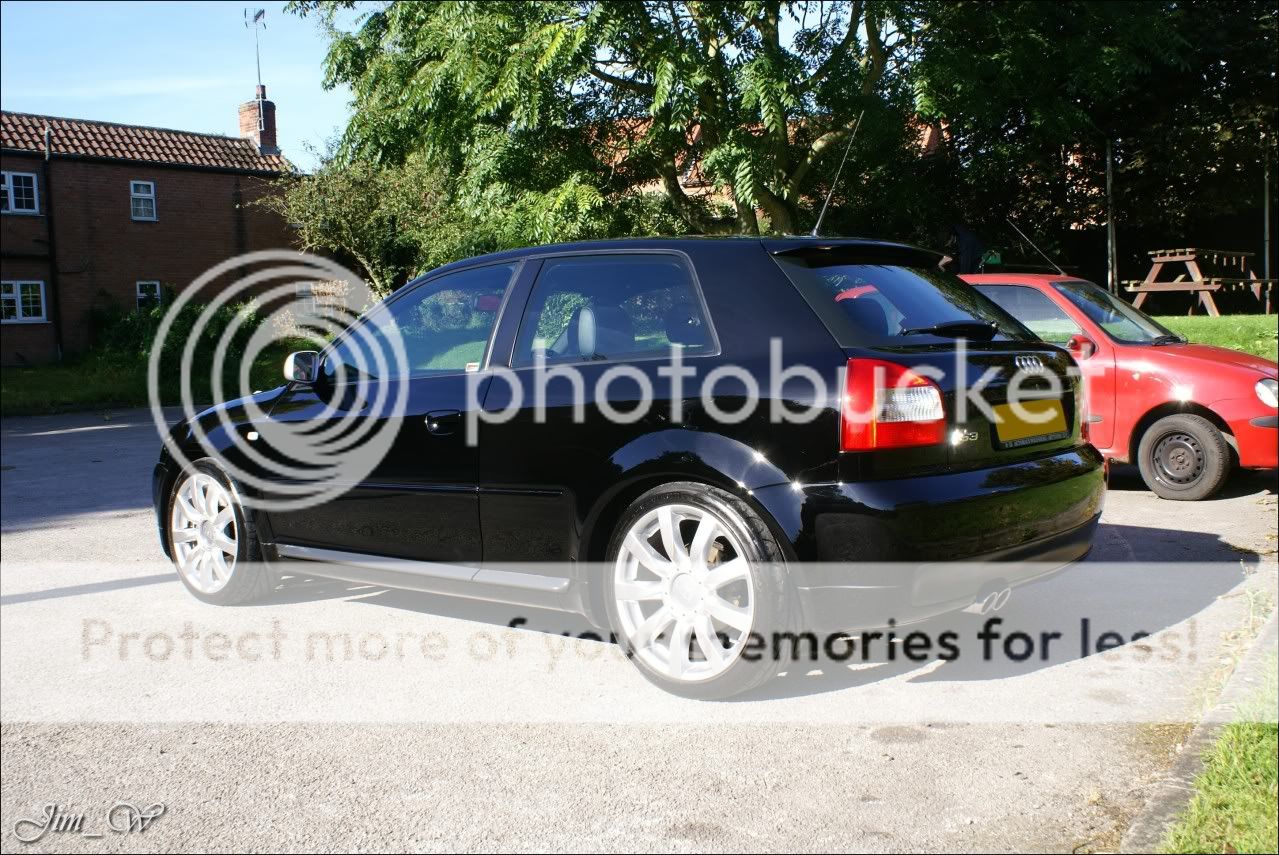
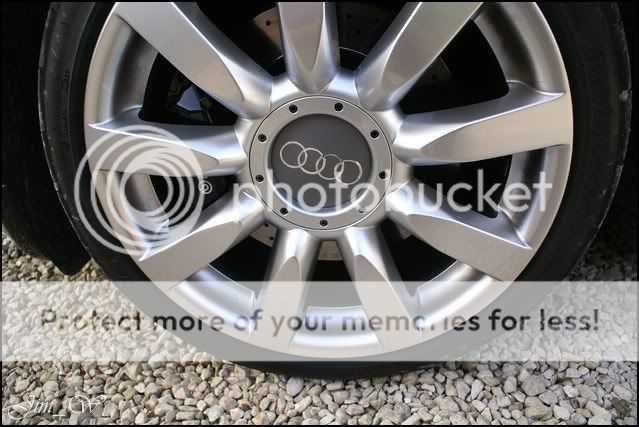
Post-detail:


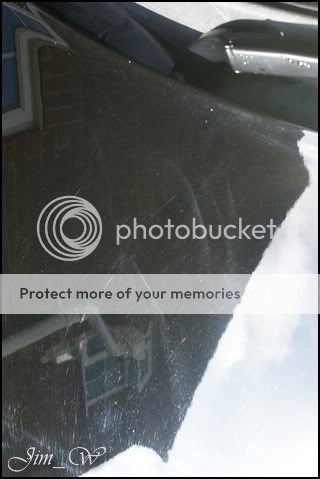
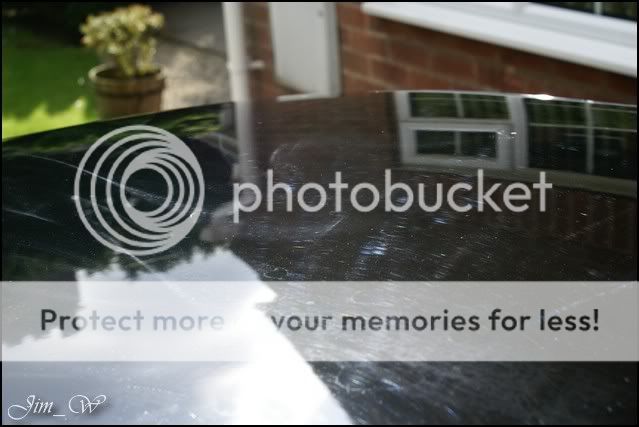
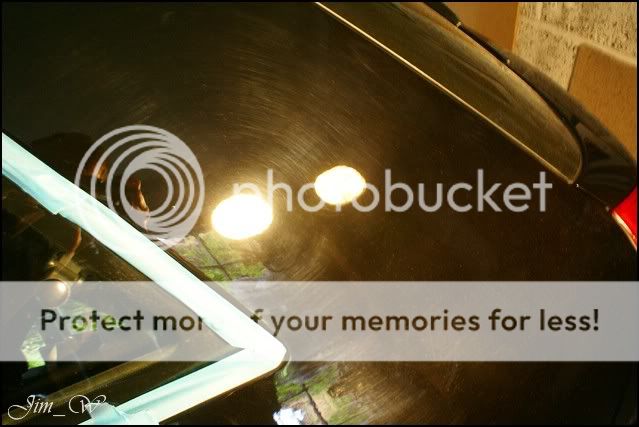
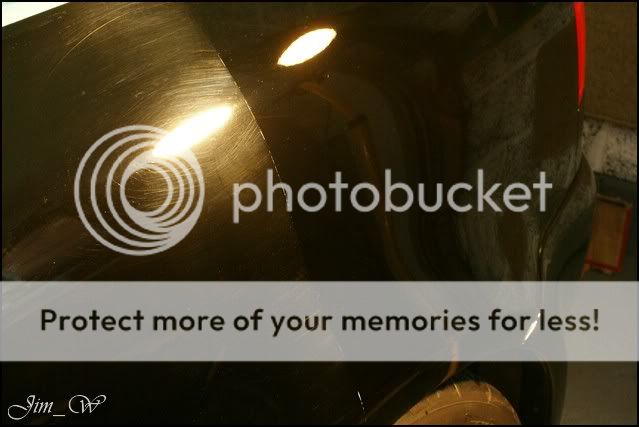
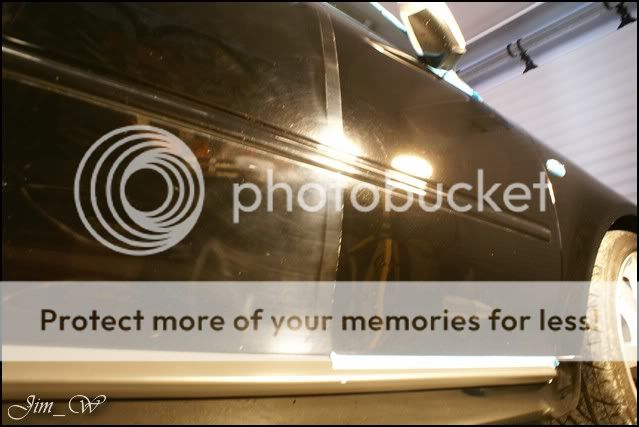
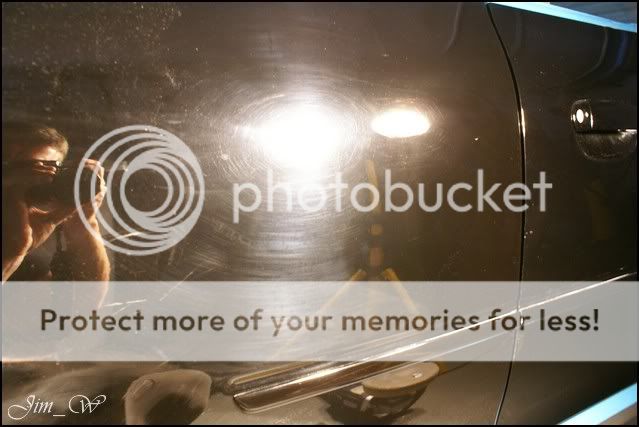
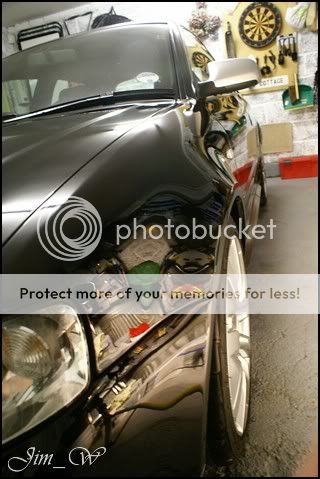
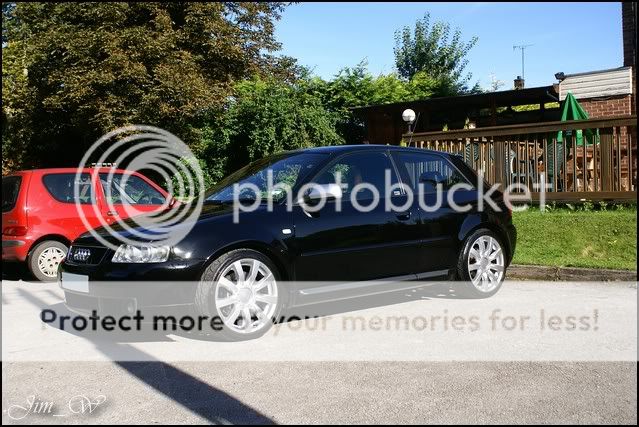
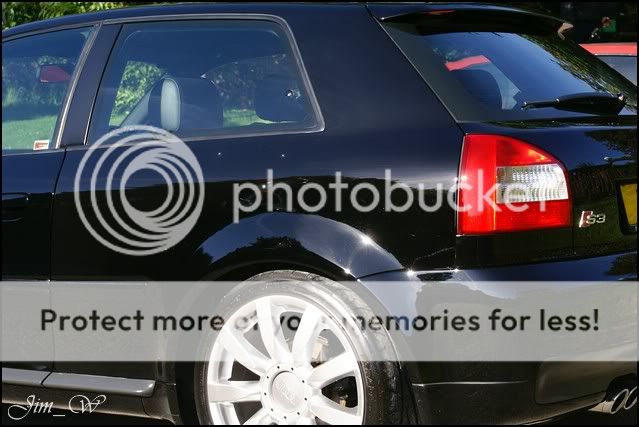
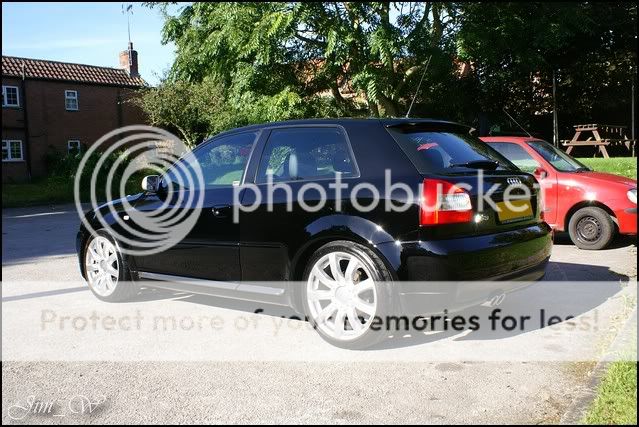
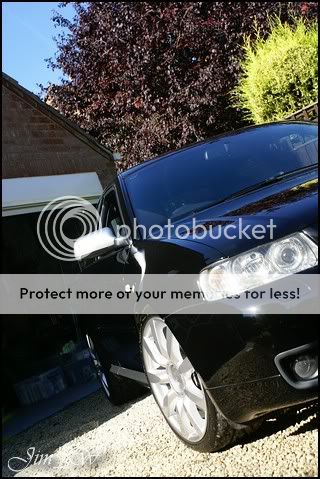
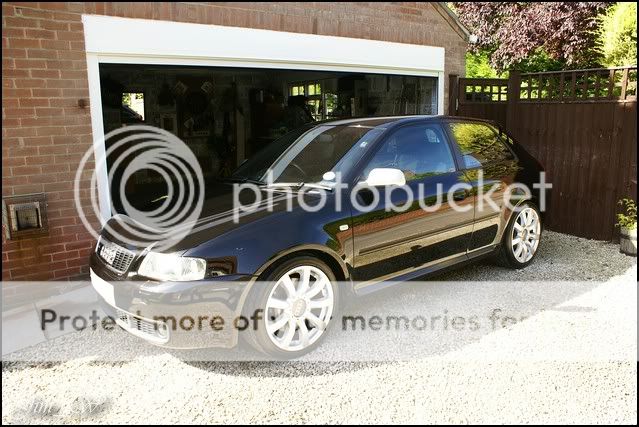
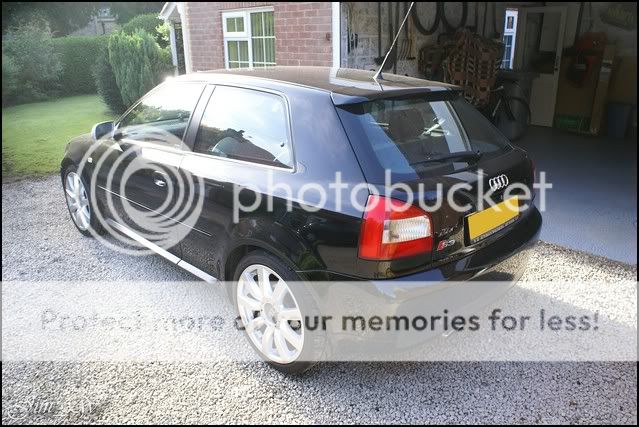
I first saw the car at Ketterings Audi in the Park show last month a fellow Audi-Sport member that Id known for some time. The car was wearing the Blackfire kit, and, I began to wonder if it even needed the work! Overall, it appeared to be a well presented/looked after car. It has however been mopped at some point in its life. Typical bodyshop doings and buffer-trials all over the place. Well touch this a bit later..
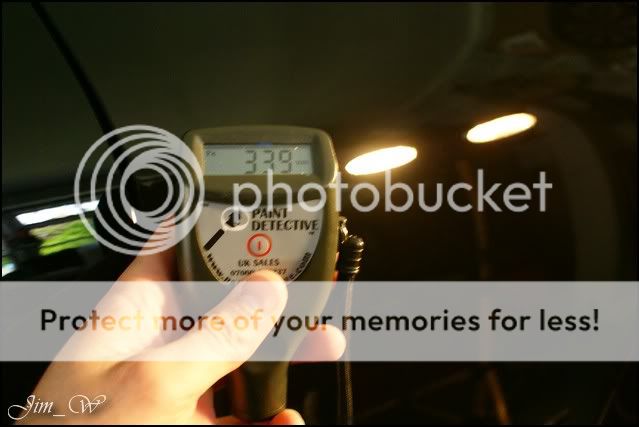
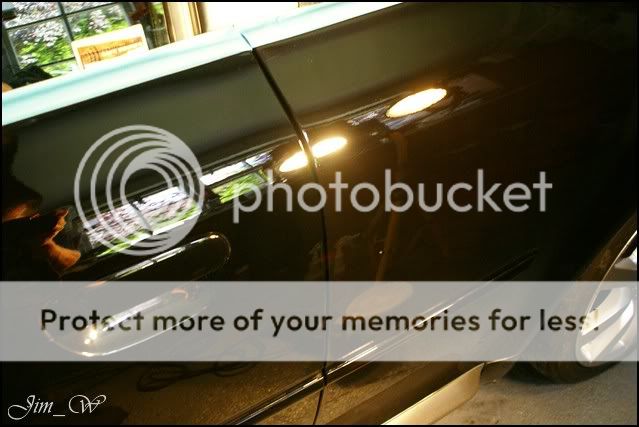
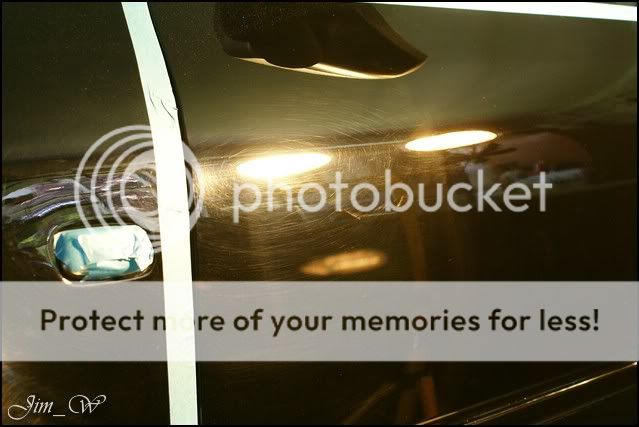
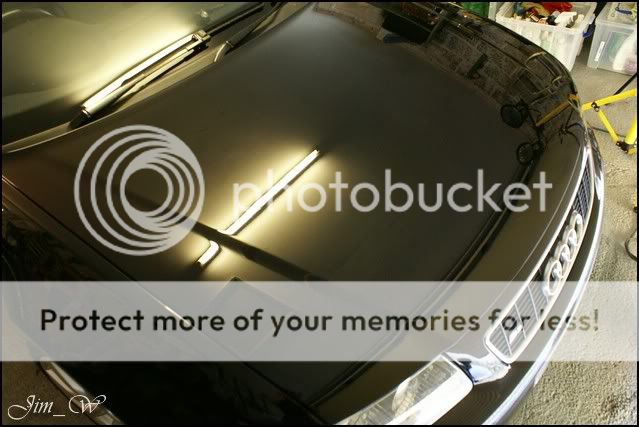
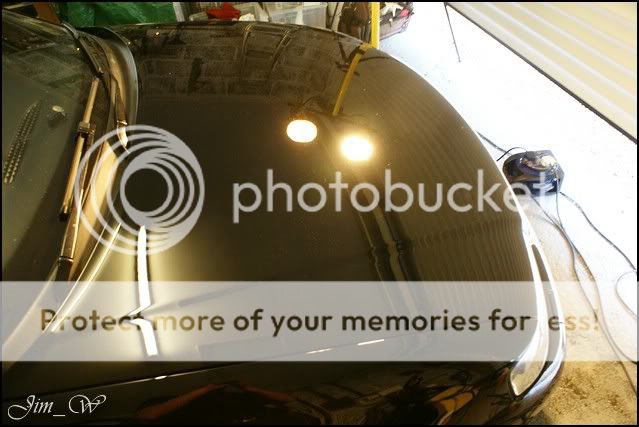
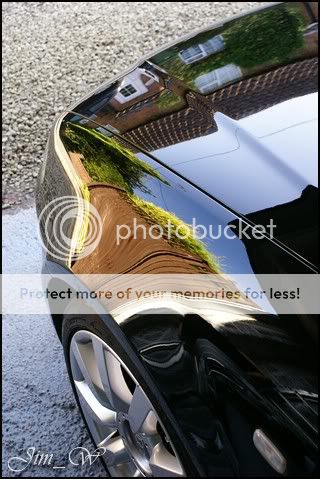
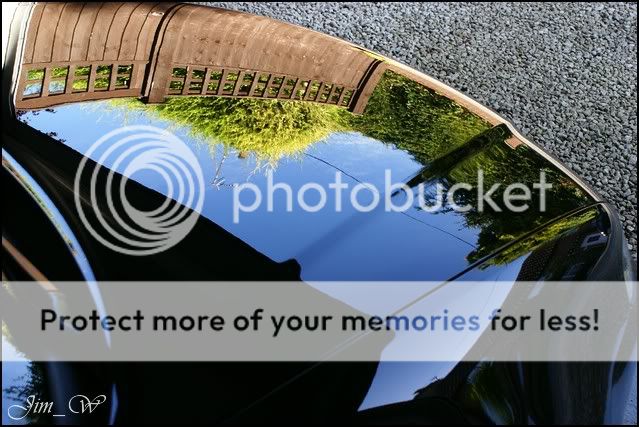
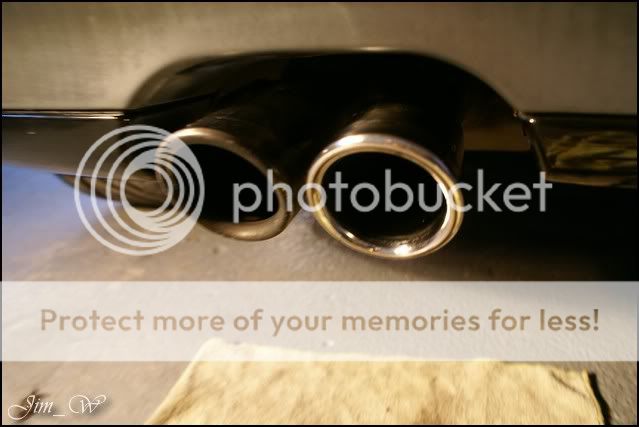
Inspection photos:

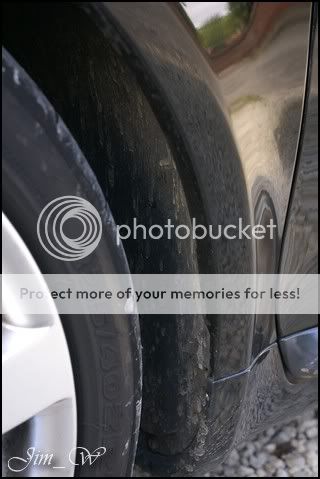


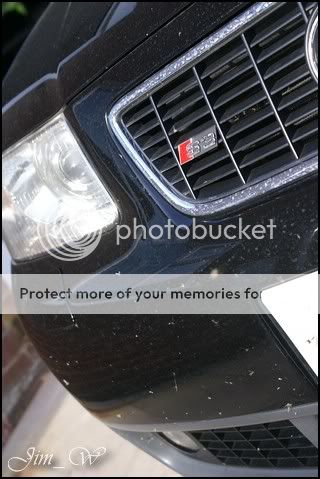
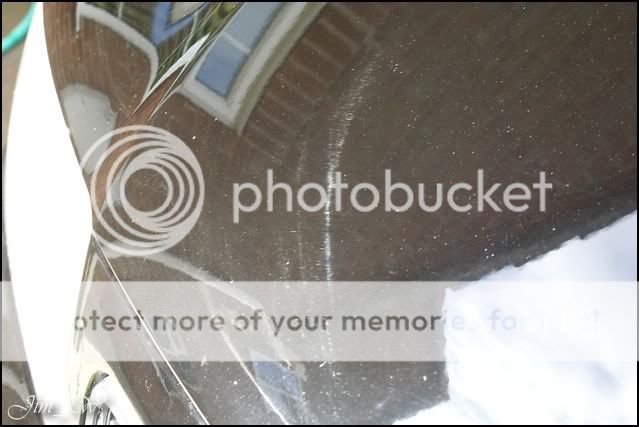
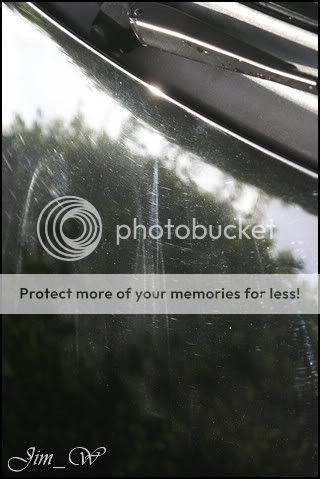
A few rough areas on the paintwork were seen through the dirt once the sun was out... A series of random marks down the drivers side and the usual kamikaze bugs dotted around on the front end.
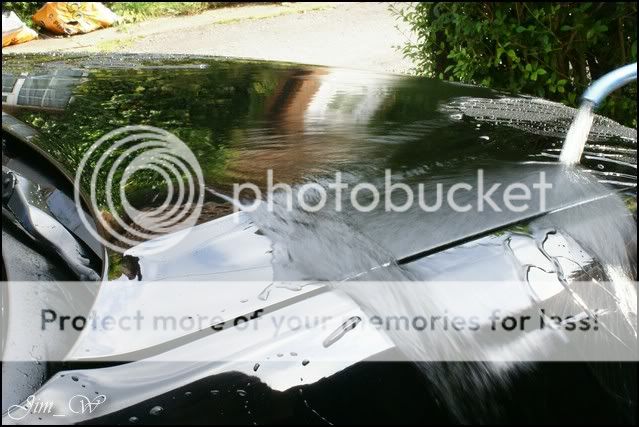
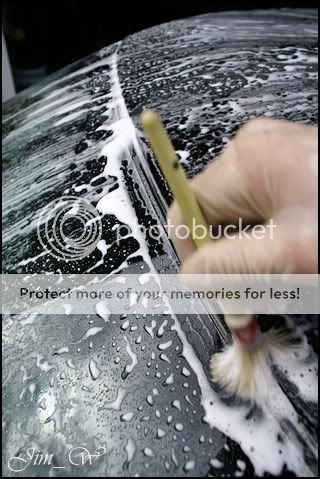
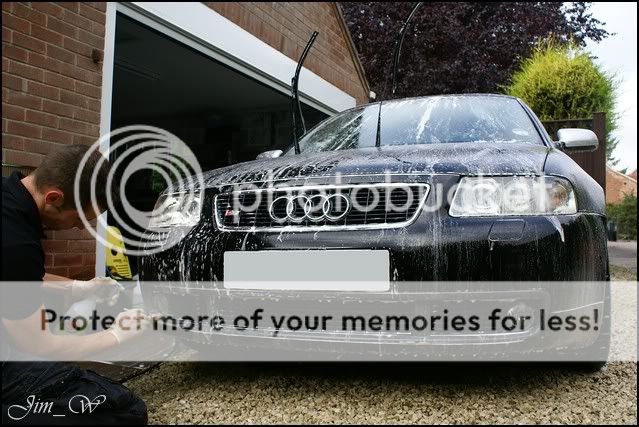
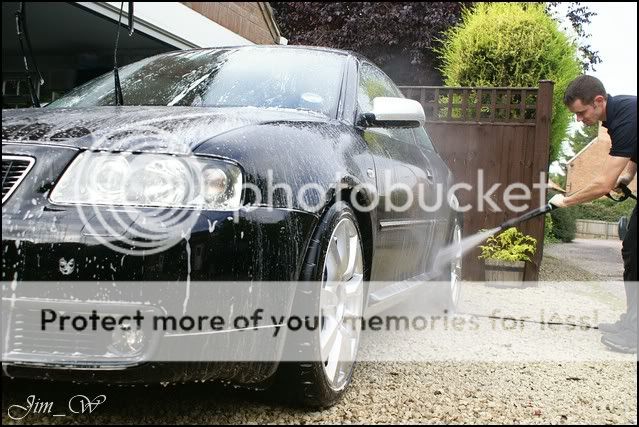
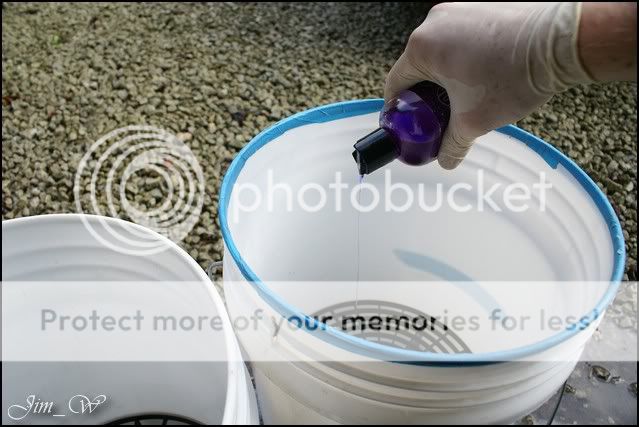
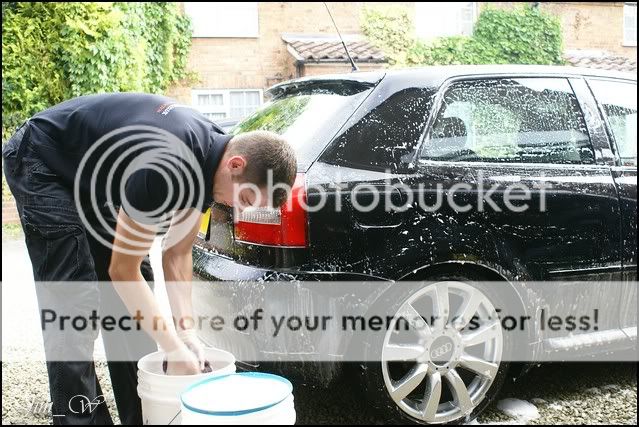
Wash: ValetPRO Snowfoam. Dodo Juice Born To Be Mild. Two buckets with grit-guards
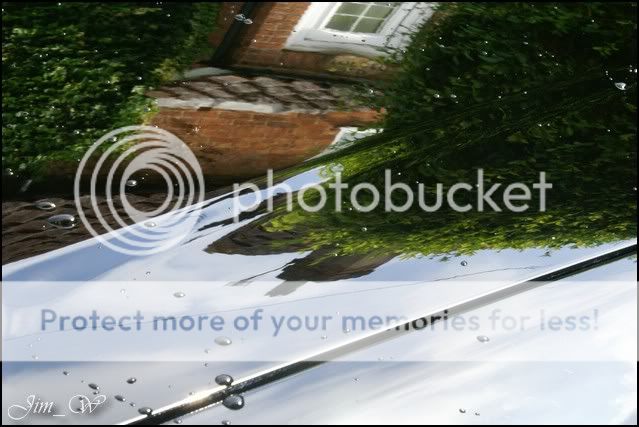
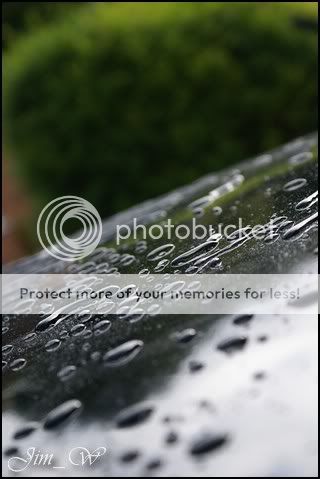
I must say, I was impressed by the water repellent that had been applied to the windows! Nothing would stick to it, not even my foam

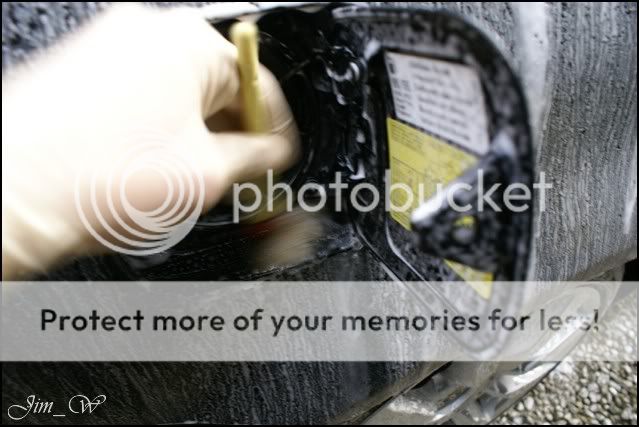


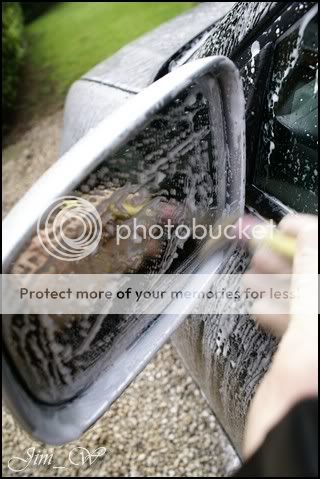
The front end had G101 sprayed liberally all over it helped to loosen the embedded flies from the bumper/grill and mirrors
After the foam was taken off, signs of Blackfires protection were promising!
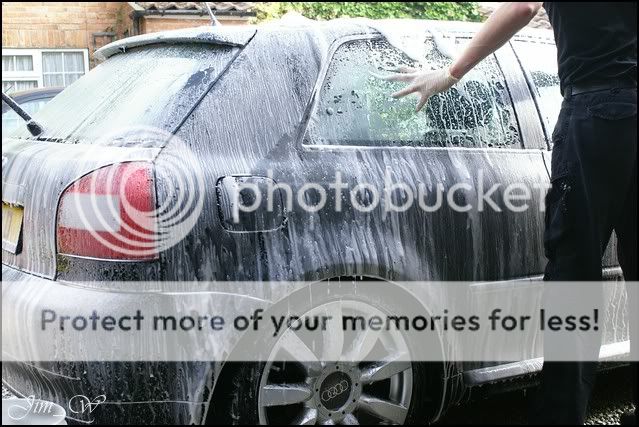
Re-foamed and washed.
Small sponge used for the under-carraige:


Rinsed, and, again, Im mighty impressed with the Rain-X (or equivalent!) that is on the windows:

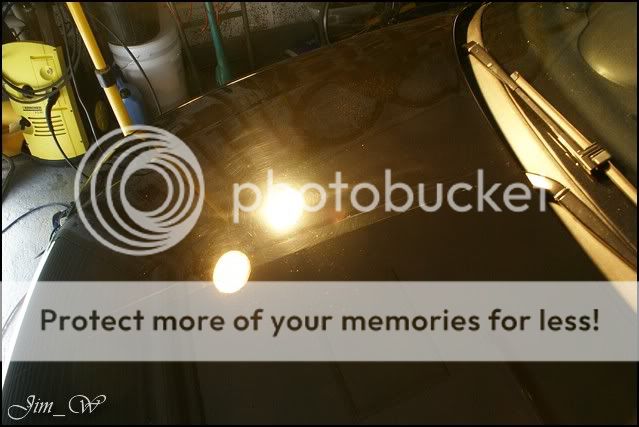
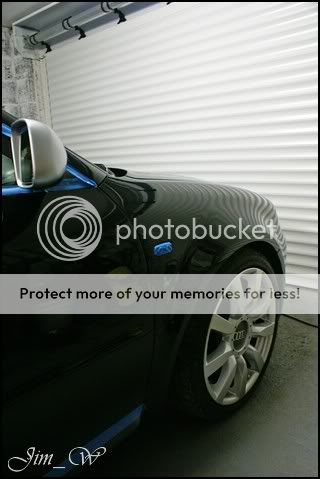
S3 was moved into the garage for the claying stages; the sun was beaming down and I wanted to avoid watermarks if possible. (Quite warm today!!)
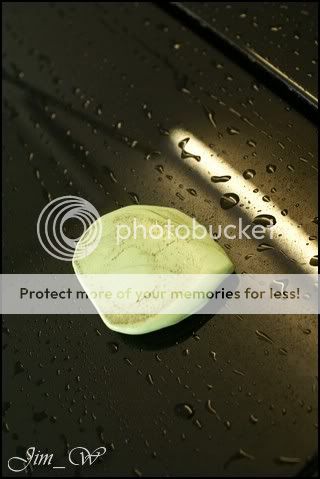

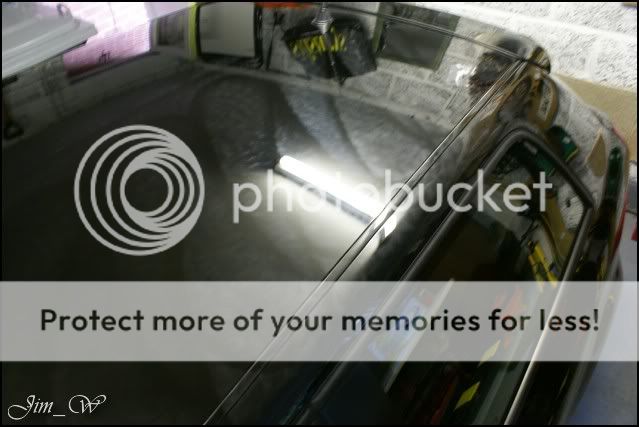
Claying wasnt too bad the above was the worst I could pick up (roof)
Product!
303 Aerospace Protectant
AutoGlym Glass Polish
AutoSmart Tardis
AutoSmart G101
Autosol - metal polish
ChemicalGuys JetSEAL109
ChemicalGuys New Look Trim Gel
Dodo Juice Born To Be Mild
Dodo Juice Limeprime
Dodo Juice Supernatural
Meguiars All-Season Dressing
Meguiars Super-Degreaser
Menzerna 106FA
Zaino Z8
Pre-detail:
Post-detail:
I first saw the car at Ketterings Audi in the Park show last month a fellow Audi-Sport member that Id known for some time. The car was wearing the Blackfire kit, and, I began to wonder if it even needed the work! Overall, it appeared to be a well presented/looked after car. It has however been mopped at some point in its life. Typical bodyshop doings and buffer-trials all over the place. Well touch this a bit later..
Inspection photos:
A few rough areas on the paintwork were seen through the dirt once the sun was out... A series of random marks down the drivers side and the usual kamikaze bugs dotted around on the front end.
Wash: ValetPRO Snowfoam. Dodo Juice Born To Be Mild. Two buckets with grit-guards
I must say, I was impressed by the water repellent that had been applied to the windows! Nothing would stick to it, not even my foam
The front end had G101 sprayed liberally all over it helped to loosen the embedded flies from the bumper/grill and mirrors
After the foam was taken off, signs of Blackfires protection were promising!
Re-foamed and washed.
Small sponge used for the under-carraige:
Rinsed, and, again, Im mighty impressed with the Rain-X (or equivalent!) that is on the windows:
S3 was moved into the garage for the claying stages; the sun was beaming down and I wanted to avoid watermarks if possible. (Quite warm today!!)
Claying wasnt too bad the above was the worst I could pick up (roof)