Ok so not exactly a performance mod and probably not high up there on the list of cool mods to do to an S3 for most people.
Don't worry I won't be towing any trailers or caravans, this is purely for mounting my Thule bike carrier on so I don't risk damaging the paintwork using roof bars or an off the boot carrier!
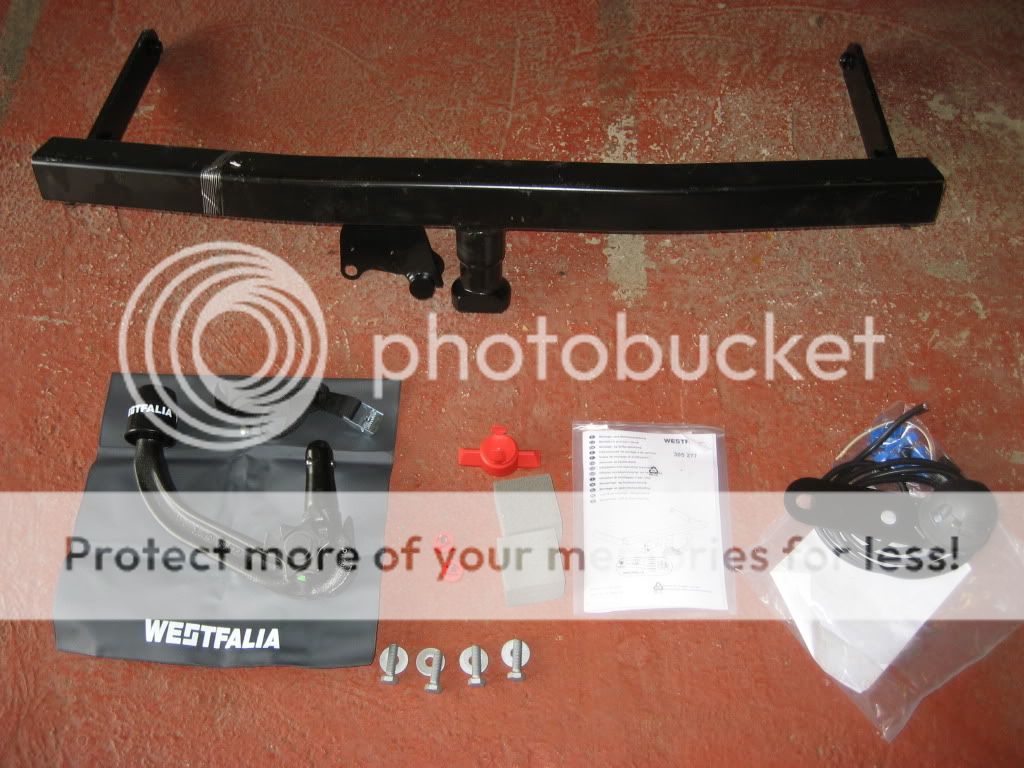
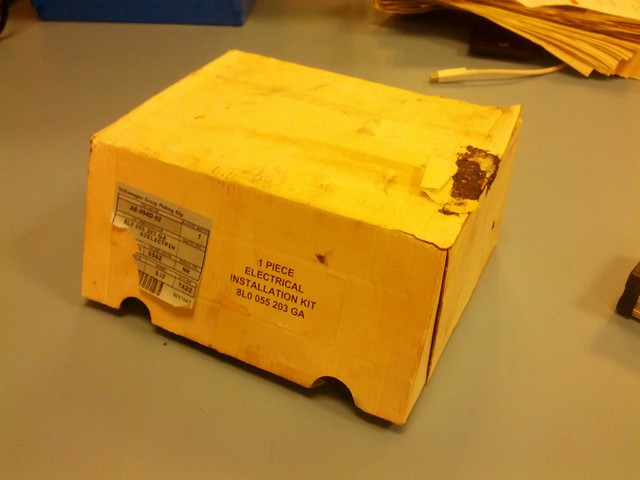
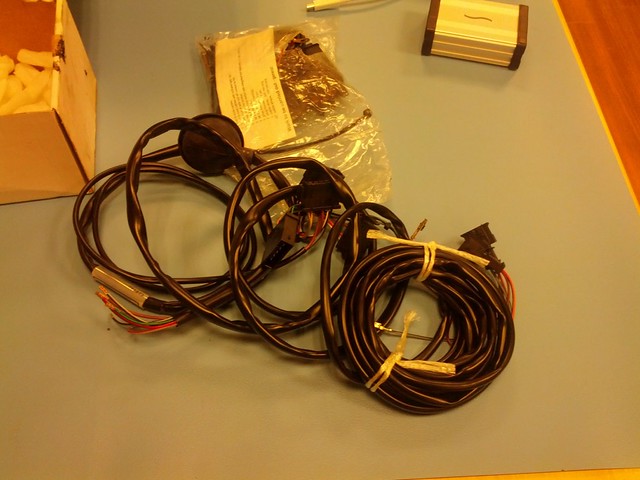
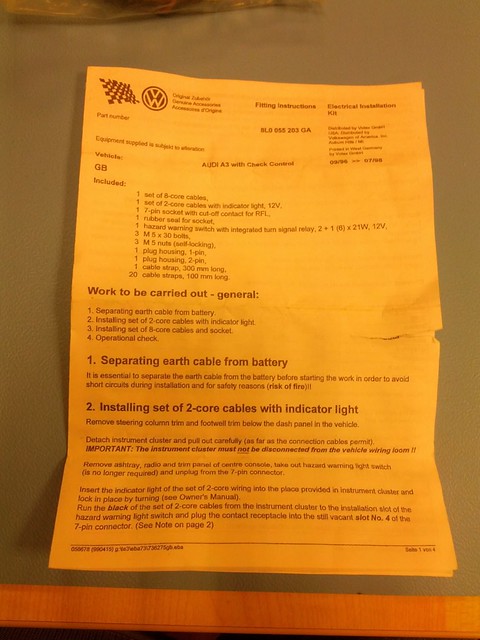
I went for a Westfalia detachable towbar from http://www.pfjones.co.uk/a3-hatchback-quattro-and-s3-1996-2003-detachable.html which cost me £190 including wiring kit and delivery, and arrived super quick within 2 days. the Westfalia towbars are the same brand that Audi use as OEM. The detachable towbar will even fit into the oem spare wheel toolkit with a tiny bit of modification (they have obviously changed the towbar since the original design so it no longer fits straight in which is a shame).
Please note that I am no expert towbar installer, this is only the second one I've ever installed, my previous install was a Westfalia swan neck towbar on my old 1998 1.8T A3 last year. Here's my install pics, hope they are usefull to someone.
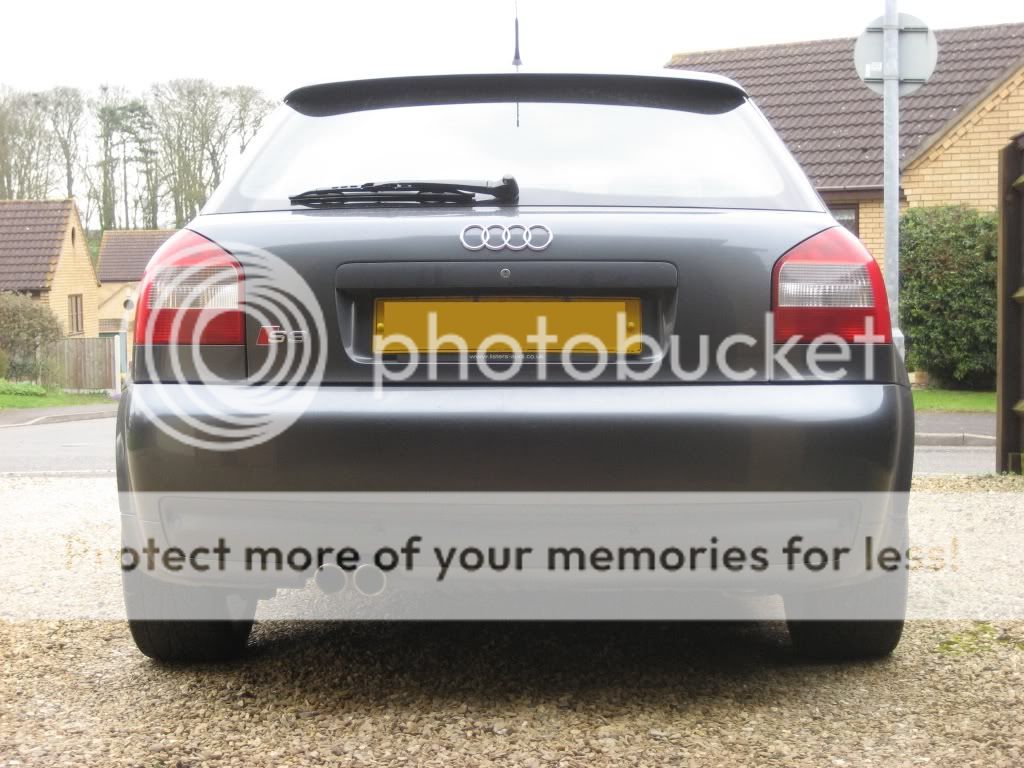
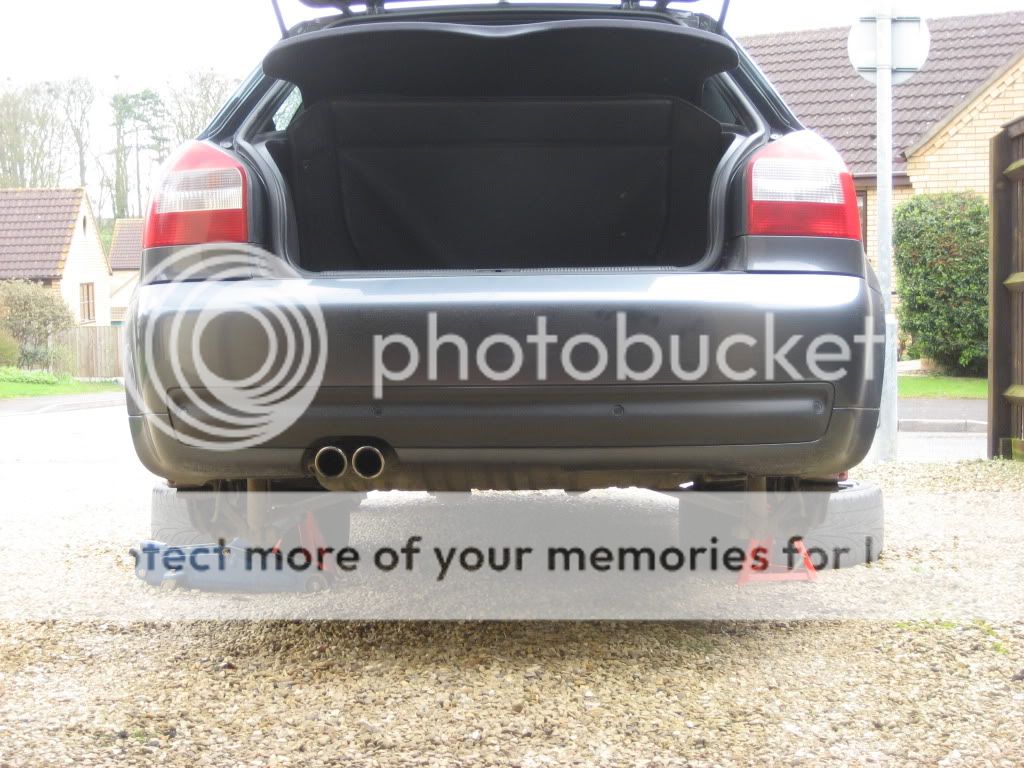
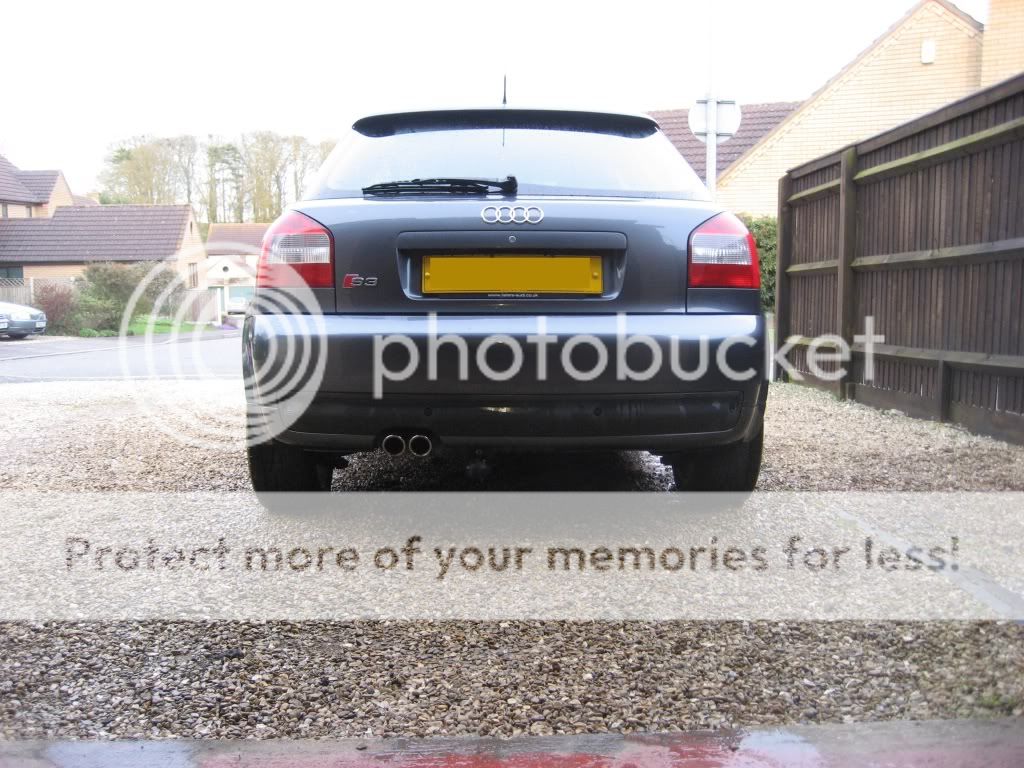
Before I started the install:
Jacked up and ready to start:
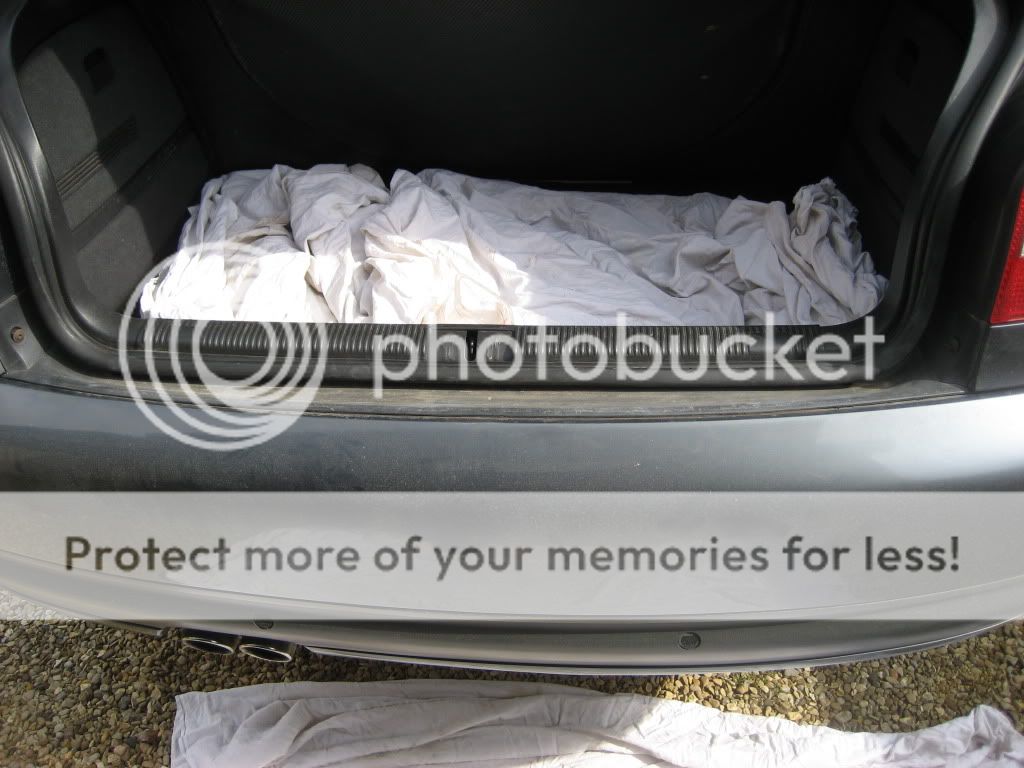
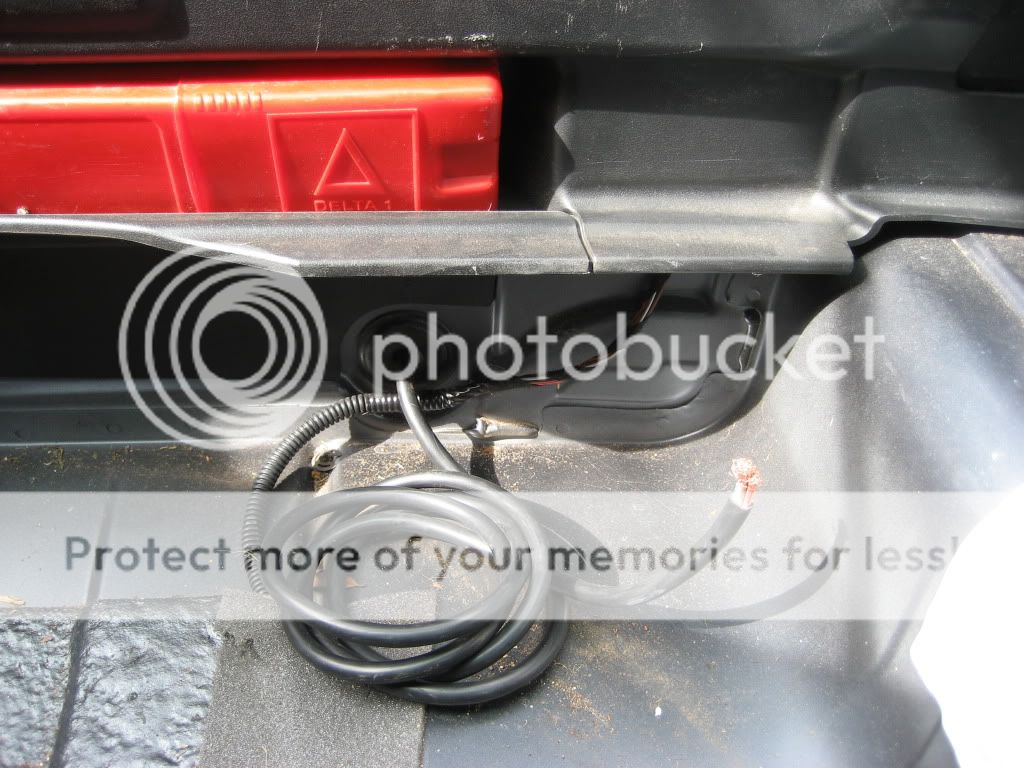
Firstly you need to remove the black plastic trim along the top edge of the bumper:
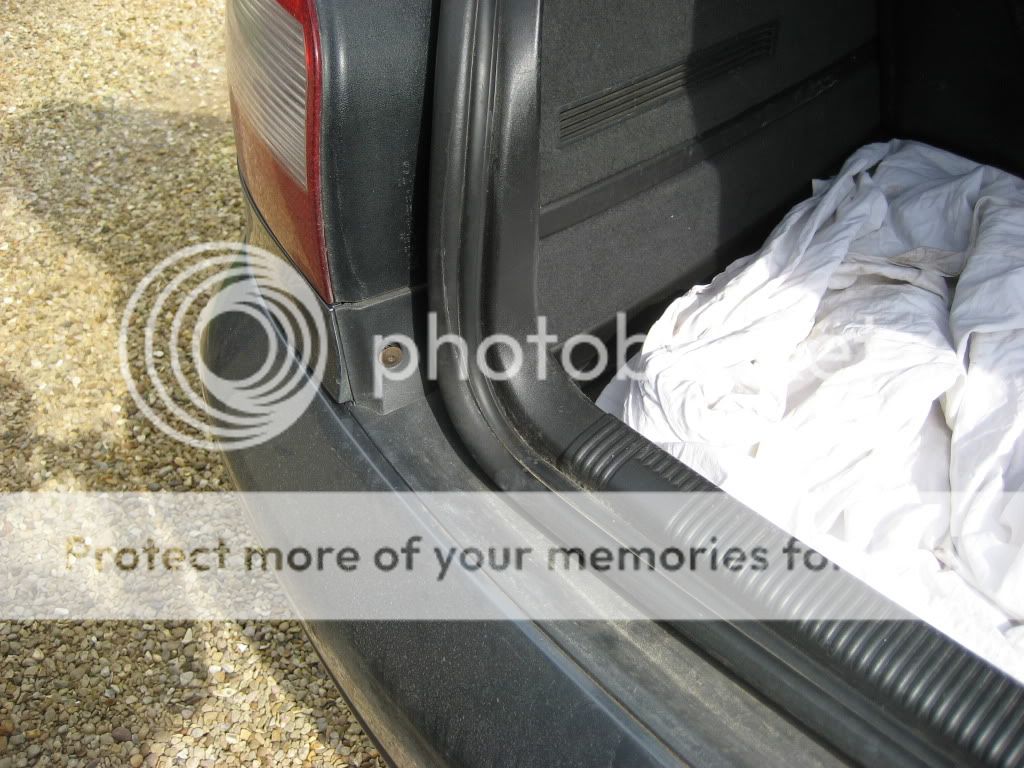
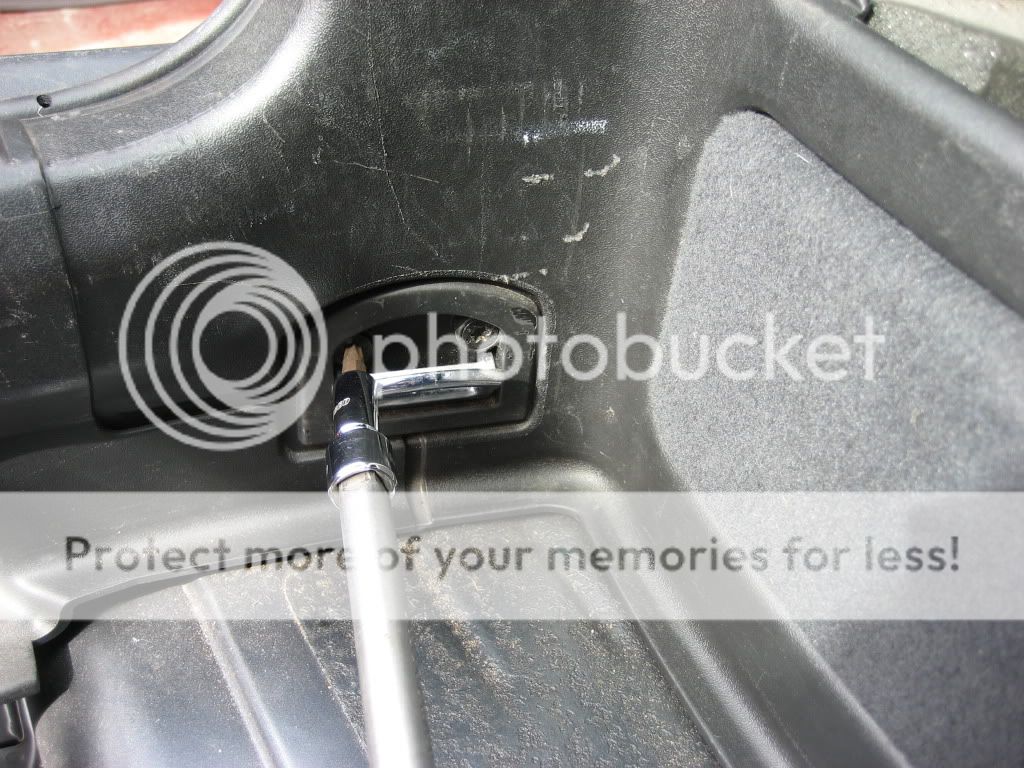
Remove this screw:
And also this screw:
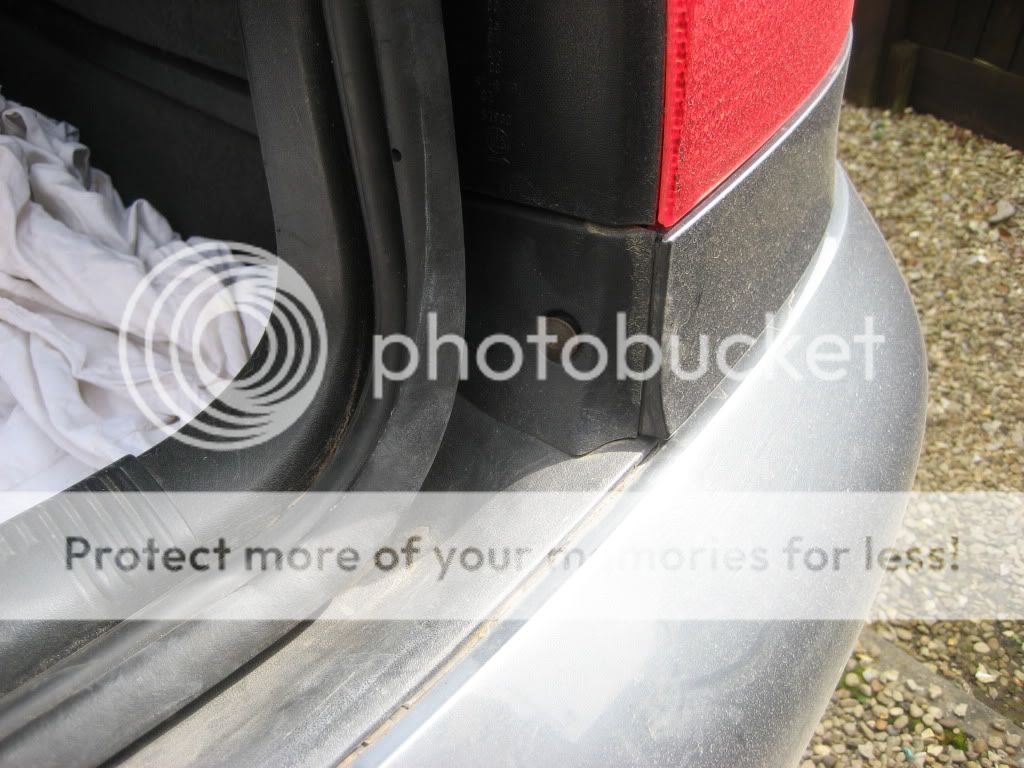
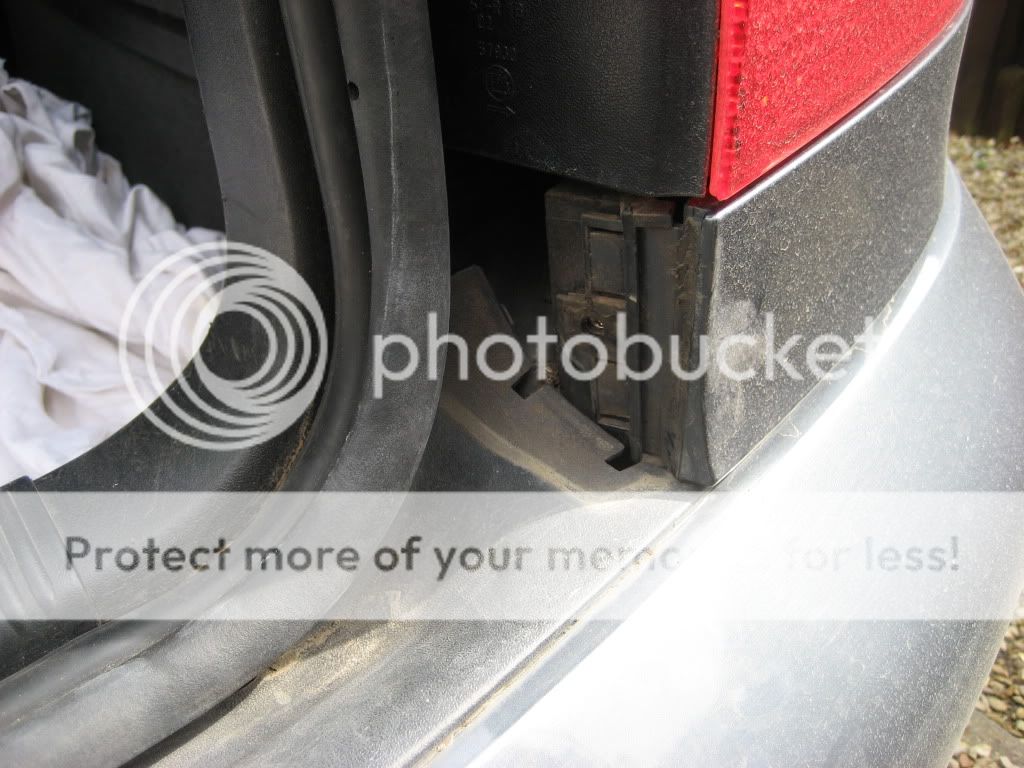
Now you can remove the small piece of trim. Note that it is only the right hand side piece that is removable:
You can now carefully lift the trim up, if this is the first time it has been removed you will need a knife to cut the silicone which glues it down. The trim is also held in place by velcro strips:

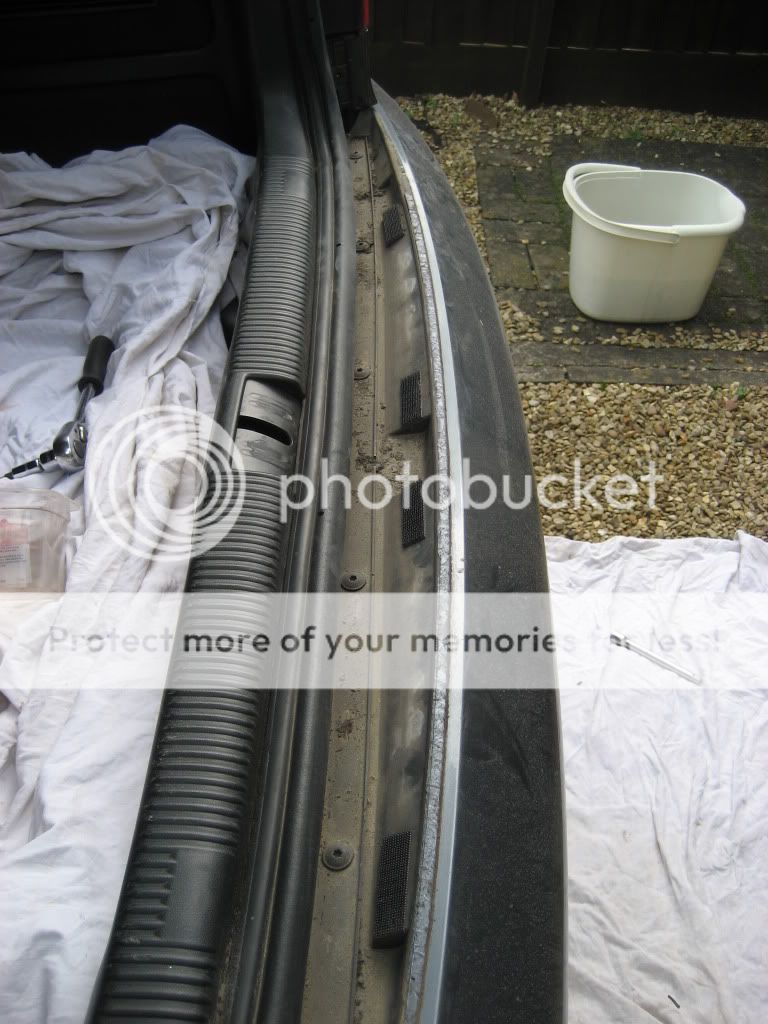
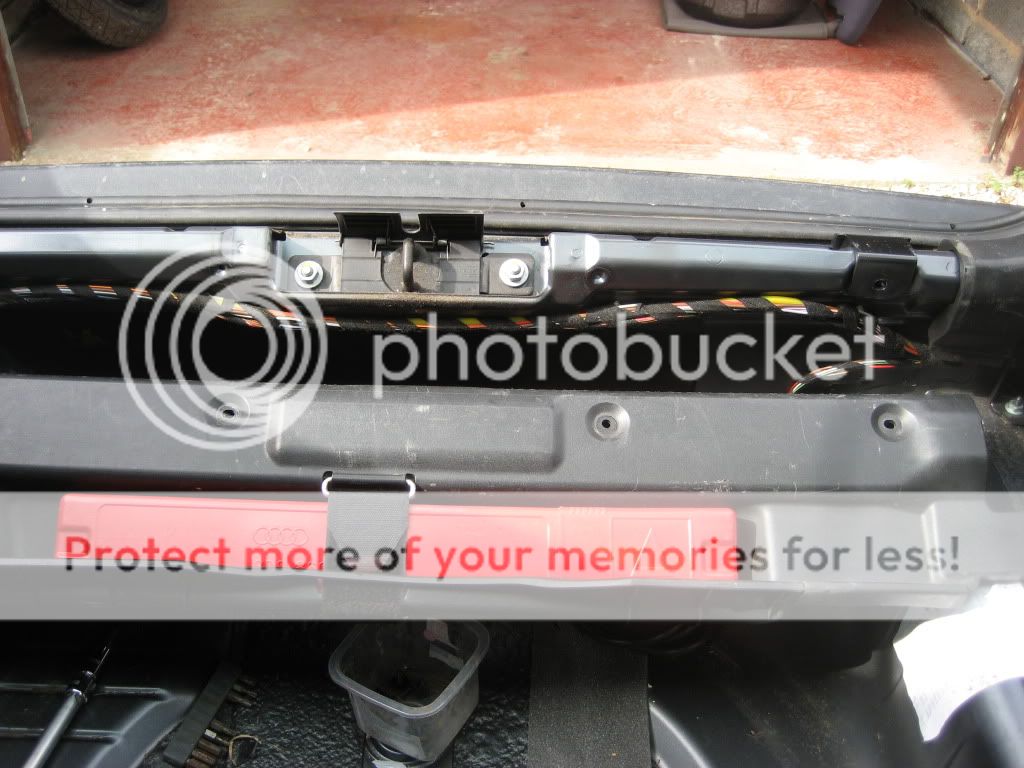
Now that piece of trim is out of the way we can remove the metal bar and the 6x screws that hold it in place:

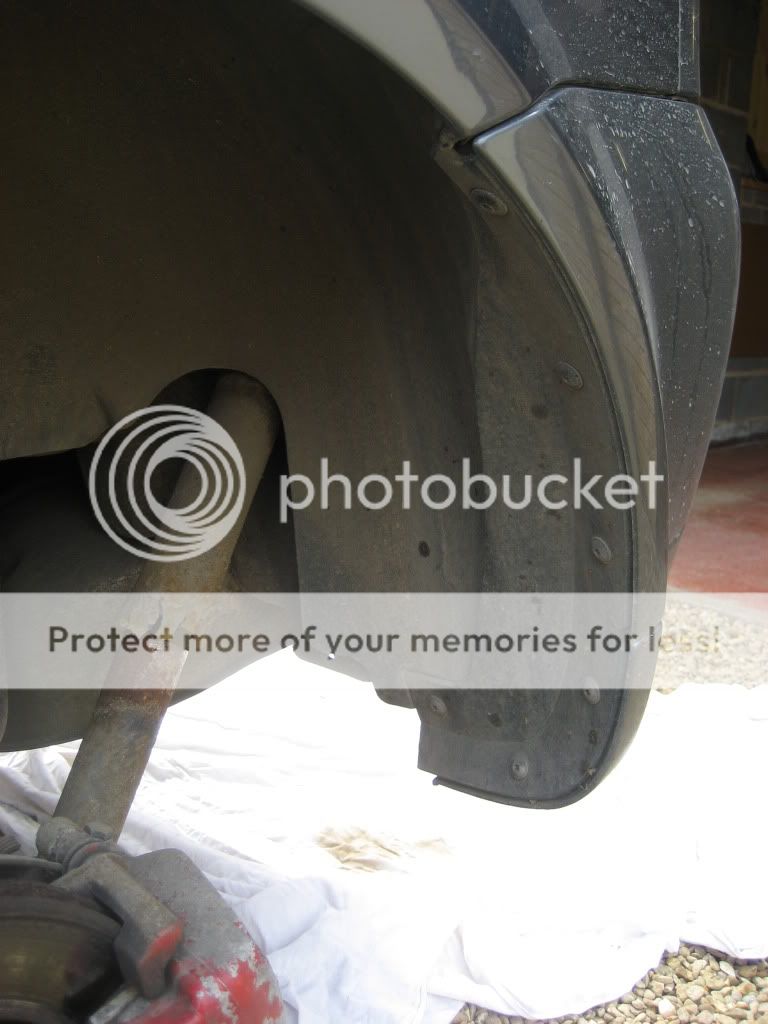
Now you can turn your attention to removing the 5x screws that hold the bumper on in the inside edge of each side of the wheel arches. My rear shocks look a state in this picture, the covers have rusted away.... another job on the list of things to replace:
Now remove this screw on the under side:

And finally the last screw to be removed hides on the underside between the exhaust tips:

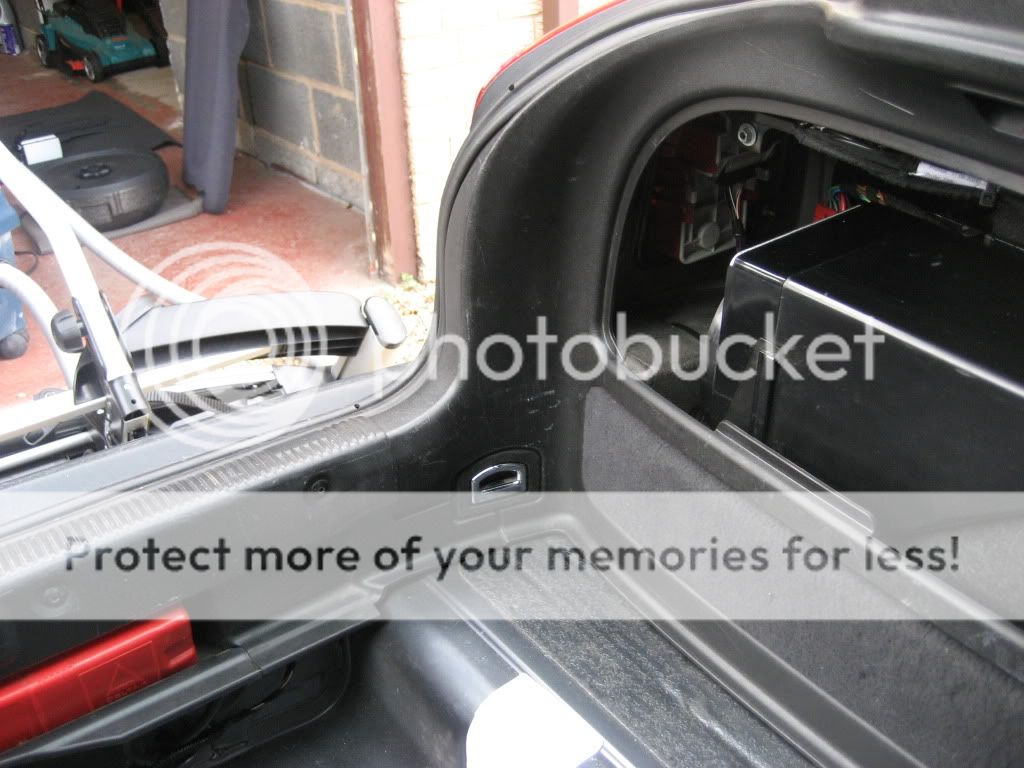
The rear bumper should now just pull off with a gentle tug. If you have rear parking sensors you will need to be carefull when removing the bumper as there isn't much slack in the wiring, you will need to pull the bumper off far enough to get your hand behind and cut the cable ties holding the loom to the inside of the bumper and then unplug each individual sensor:

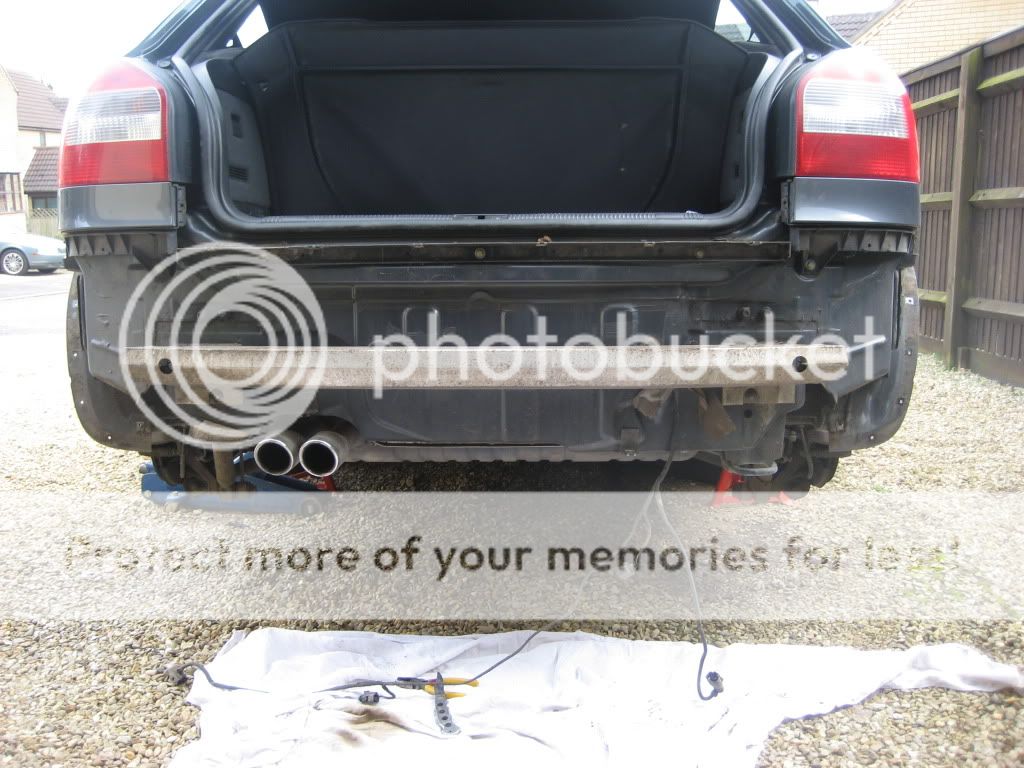
Here's what it looks like with the bumper off:
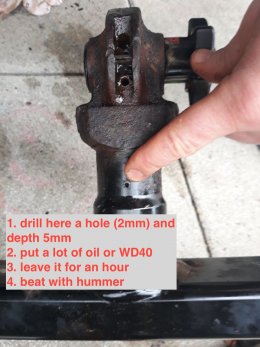
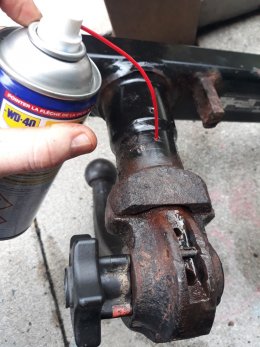
To remove the rear beam to make way for the new towbar beam you will need to unbolt the 4x bolts holding it on. I strongly advise you soak the nuts with some wd40 before you try to undo them, if you don't and the bolt breaks away from it's anchor point then it's a real pain to remove, this hapened when I installed a towbar on my old A3 and I ended up having to cut the bolt with an angle grinder to get the beam off:
Beam off:
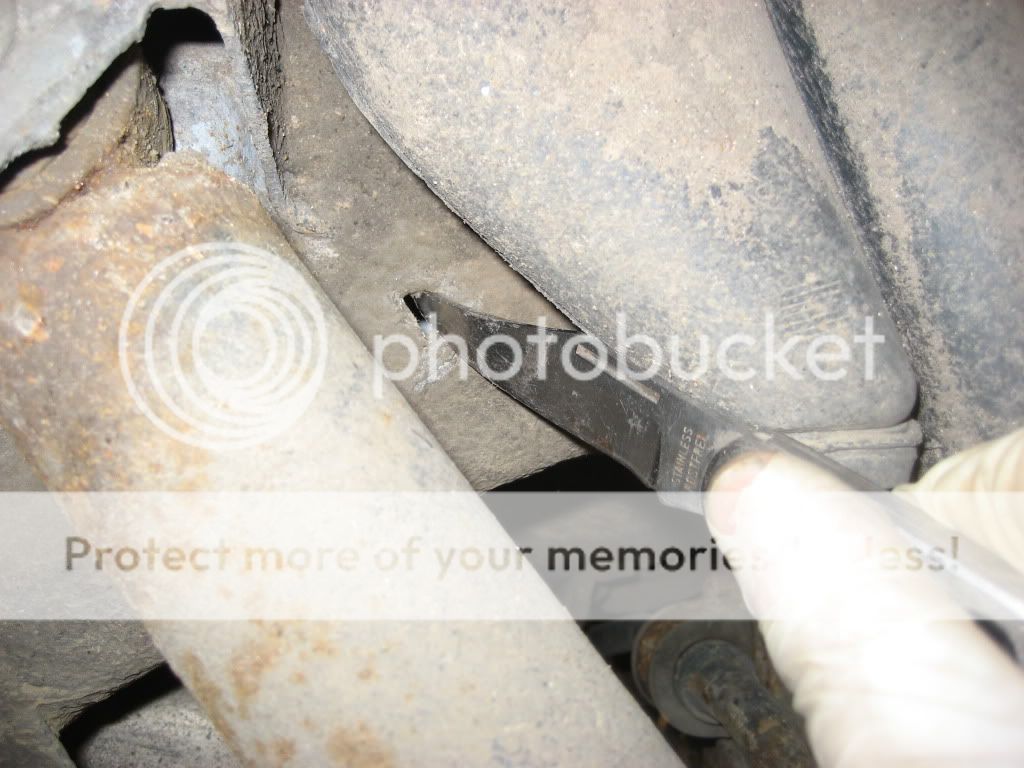
The mounting holes for attaching the towbar can't be seen as they're covered by the rubberised protective coating that Audi have applied to the underbody. Have a feel around and you should eventually feel a soft spot in the coating where the predrilled bolt holes are. Stick a knife through the hole and clean away enough of the protective coating around the hole so that the towbar bolt and washer will firmly seat against the metal:
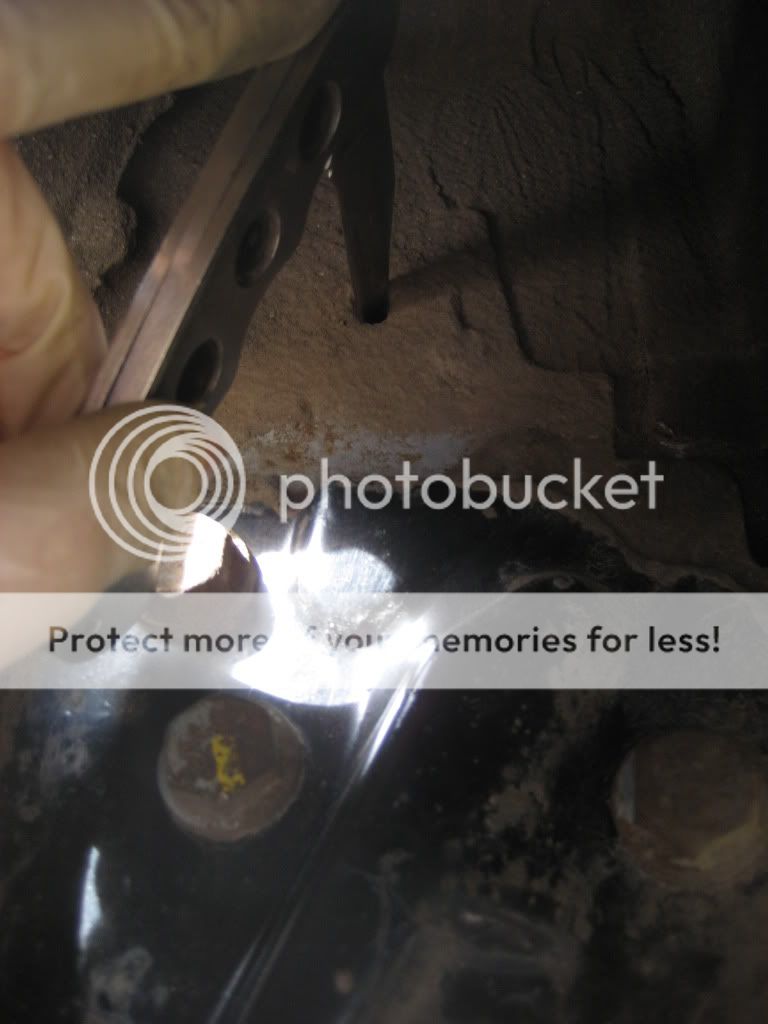


It is a good idea once you have bolted the towbar to the car to give the bolts a good coat of paint or wax oil to prevent any rusting

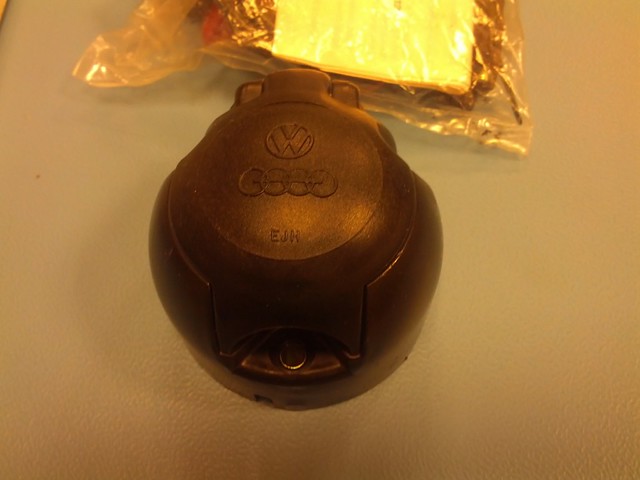
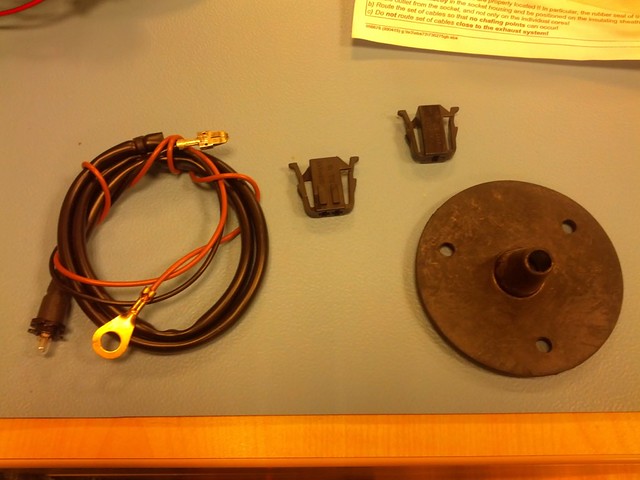
The only problem I've had with the install is that the supplied wiring kit doesn't fit the Westfalia mount as there is no hole to allow for the sockets rear feed, I suspect it should be fitted with a socket that can be wried from the side. I did initially think I could just drill a hole through but it's not going to be that simple! I need to customise the plate that the socket is mounted to as it doesn't drop down low enough to clear the bumper valance and allow you to get enough access to plug into it, for now I have just attached the socket with 1x screw to the plate, it's funcyional but won't allow me at present to fold it up out of the way when not in use.

Towbar installed but unfortunately trailer socket still on show until I get the bracket modified:
Thule bike carrier and GT i-Drive mountain bike mounted on S3:


Still got the electrics to wire into the car, hopefully get that done tomorrow. Really wanted to get a dedicated wiring loom so I don't have to splice into the cars loom, but unfortunately the Audi dealership and all the 3rd party suppliers I have found that do the looms don't have any stock and apparently there is no longer enough demand for the MKI A3/S3 dedicated wiring looms so it's a splice job which is a shame as I won't be able to use vcds to deactivate the rear parking sensors when the bike carrier is connected.
Don't worry I won't be towing any trailers or caravans, this is purely for mounting my Thule bike carrier on so I don't risk damaging the paintwork using roof bars or an off the boot carrier!
I went for a Westfalia detachable towbar from http://www.pfjones.co.uk/a3-hatchback-quattro-and-s3-1996-2003-detachable.html which cost me £190 including wiring kit and delivery, and arrived super quick within 2 days. the Westfalia towbars are the same brand that Audi use as OEM. The detachable towbar will even fit into the oem spare wheel toolkit with a tiny bit of modification (they have obviously changed the towbar since the original design so it no longer fits straight in which is a shame).
Please note that I am no expert towbar installer, this is only the second one I've ever installed, my previous install was a Westfalia swan neck towbar on my old 1998 1.8T A3 last year. Here's my install pics, hope they are usefull to someone.
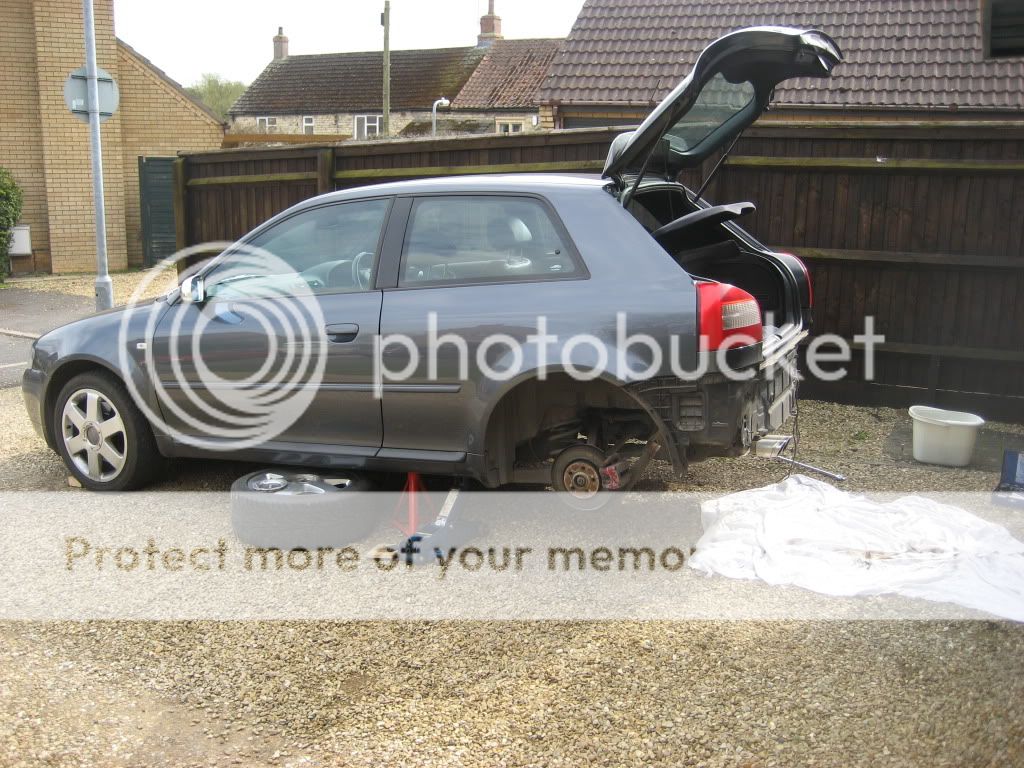
Before I started the install:
Jacked up and ready to start:
Firstly you need to remove the black plastic trim along the top edge of the bumper:
Remove this screw:
And also this screw:
Now you can remove the small piece of trim. Note that it is only the right hand side piece that is removable:
You can now carefully lift the trim up, if this is the first time it has been removed you will need a knife to cut the silicone which glues it down. The trim is also held in place by velcro strips:
Now that piece of trim is out of the way we can remove the metal bar and the 6x screws that hold it in place:
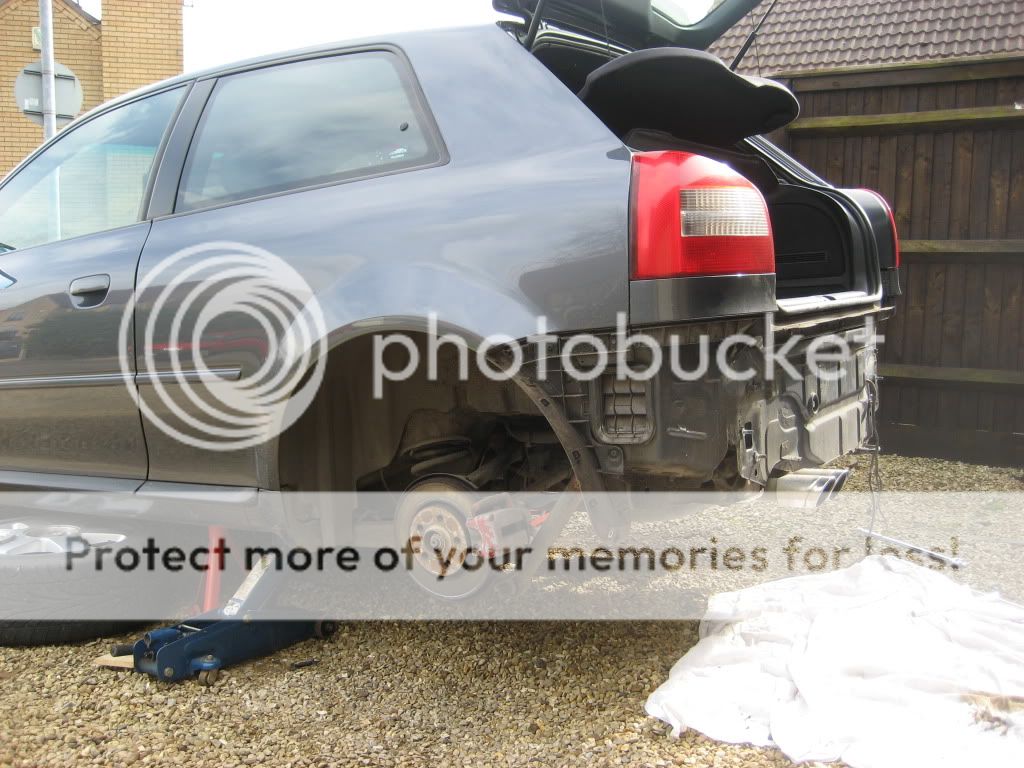
Now you can turn your attention to removing the 5x screws that hold the bumper on in the inside edge of each side of the wheel arches. My rear shocks look a state in this picture, the covers have rusted away.... another job on the list of things to replace:
Now remove this screw on the under side:
And finally the last screw to be removed hides on the underside between the exhaust tips:
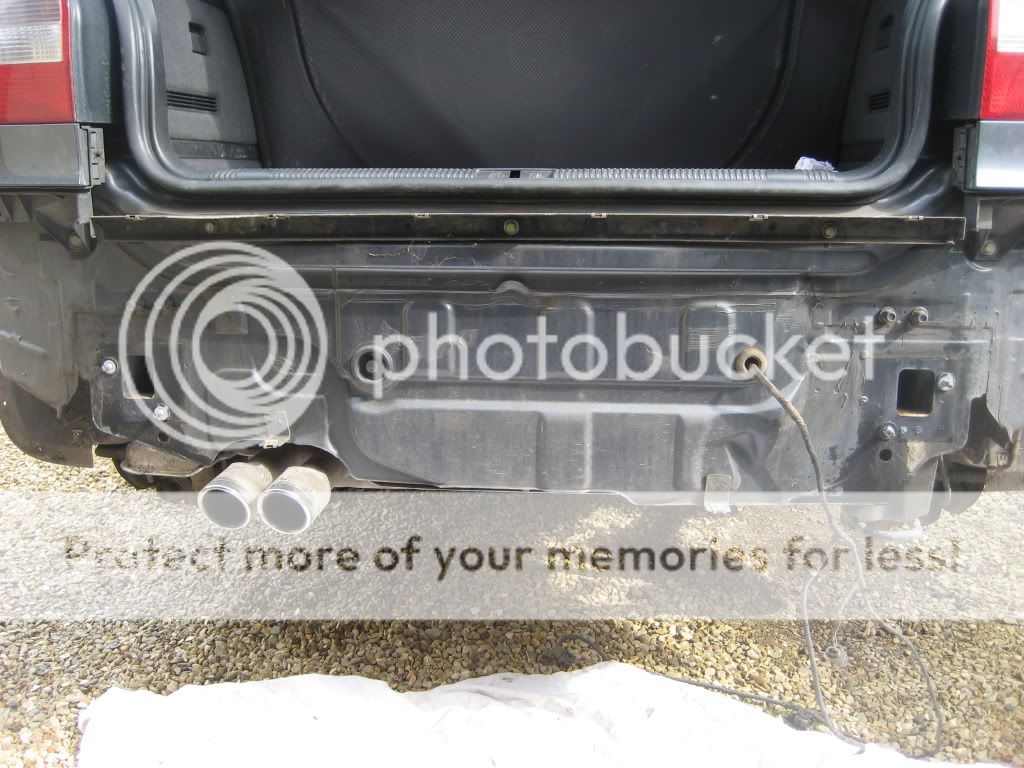
The rear bumper should now just pull off with a gentle tug. If you have rear parking sensors you will need to be carefull when removing the bumper as there isn't much slack in the wiring, you will need to pull the bumper off far enough to get your hand behind and cut the cable ties holding the loom to the inside of the bumper and then unplug each individual sensor:
Here's what it looks like with the bumper off:
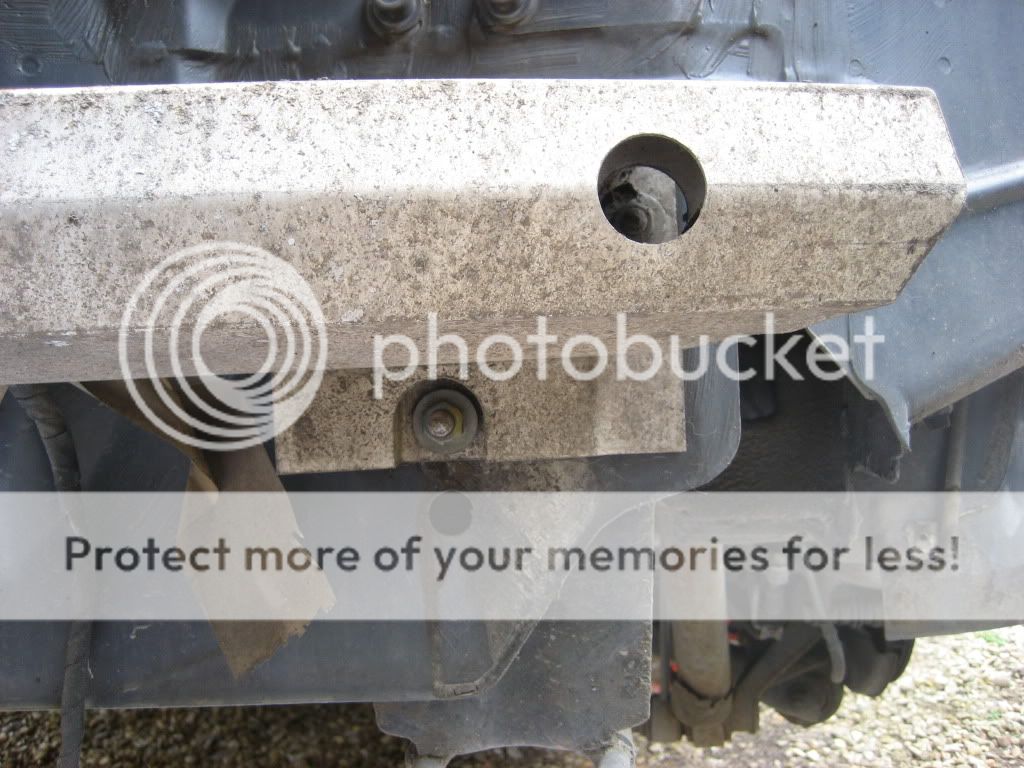
To remove the rear beam to make way for the new towbar beam you will need to unbolt the 4x bolts holding it on. I strongly advise you soak the nuts with some wd40 before you try to undo them, if you don't and the bolt breaks away from it's anchor point then it's a real pain to remove, this hapened when I installed a towbar on my old A3 and I ended up having to cut the bolt with an angle grinder to get the beam off:
Beam off:
The mounting holes for attaching the towbar can't be seen as they're covered by the rubberised protective coating that Audi have applied to the underbody. Have a feel around and you should eventually feel a soft spot in the coating where the predrilled bolt holes are. Stick a knife through the hole and clean away enough of the protective coating around the hole so that the towbar bolt and washer will firmly seat against the metal:
It is a good idea once you have bolted the towbar to the car to give the bolts a good coat of paint or wax oil to prevent any rusting
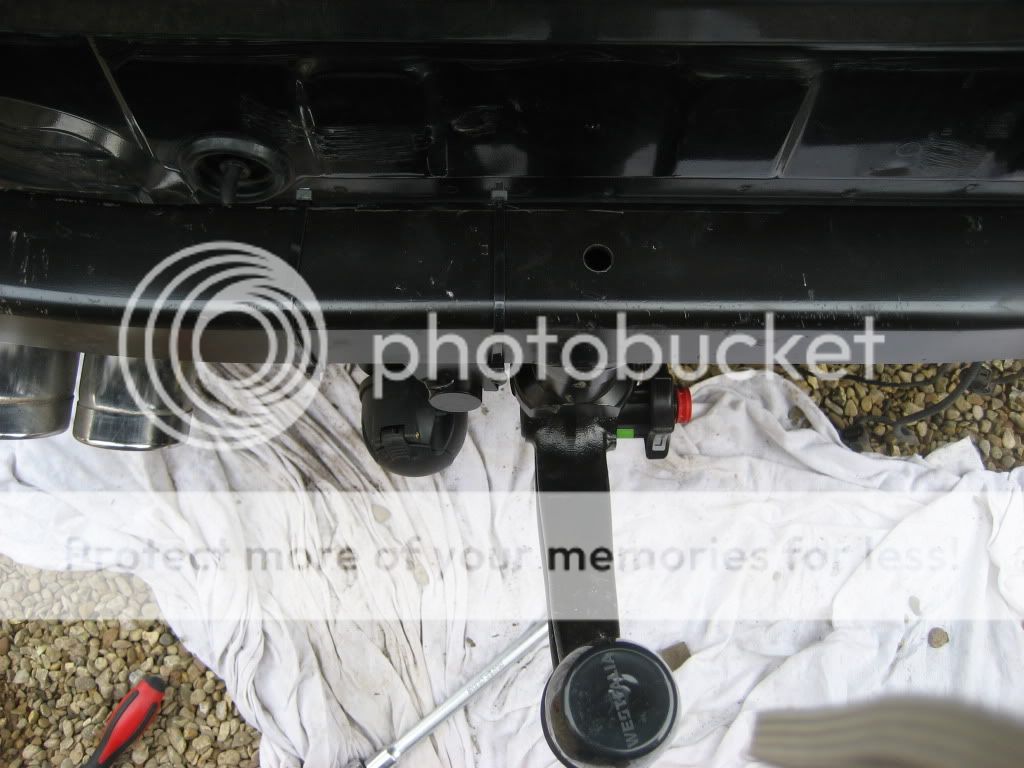
The only problem I've had with the install is that the supplied wiring kit doesn't fit the Westfalia mount as there is no hole to allow for the sockets rear feed, I suspect it should be fitted with a socket that can be wried from the side. I did initially think I could just drill a hole through but it's not going to be that simple! I need to customise the plate that the socket is mounted to as it doesn't drop down low enough to clear the bumper valance and allow you to get enough access to plug into it, for now I have just attached the socket with 1x screw to the plate, it's funcyional but won't allow me at present to fold it up out of the way when not in use.
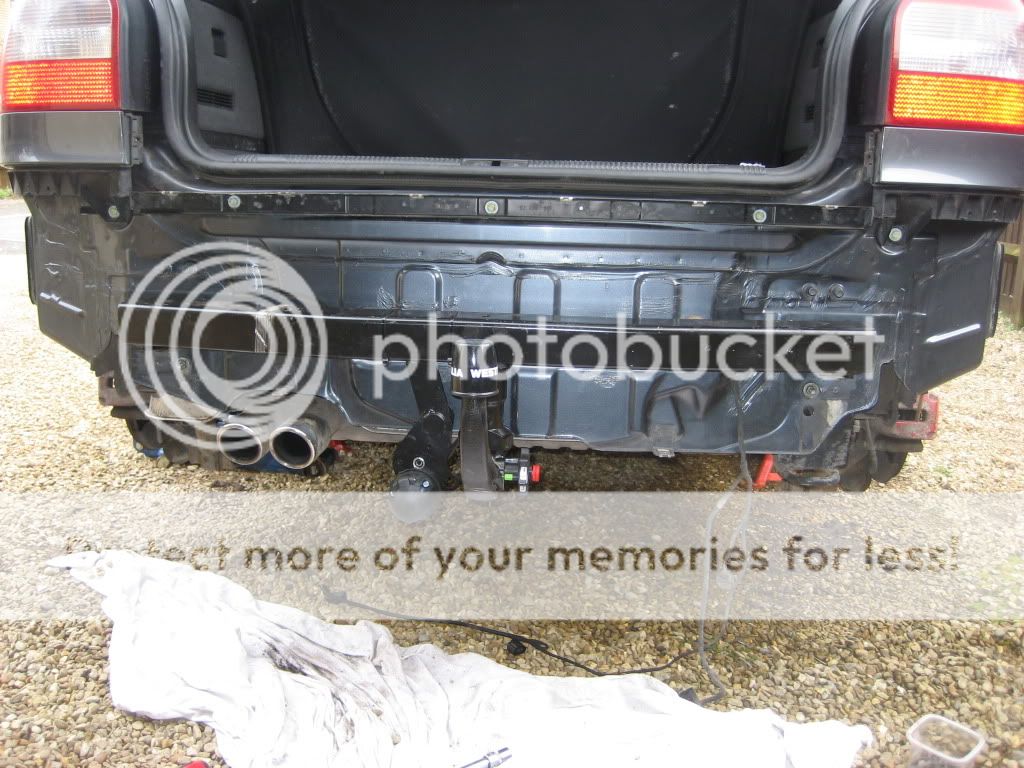
Towbar installed but unfortunately trailer socket still on show until I get the bracket modified:
Thule bike carrier and GT i-Drive mountain bike mounted on S3:
Still got the electrics to wire into the car, hopefully get that done tomorrow. Really wanted to get a dedicated wiring loom so I don't have to splice into the cars loom, but unfortunately the Audi dealership and all the 3rd party suppliers I have found that do the looms don't have any stock and apparently there is no longer enough demand for the MKI A3/S3 dedicated wiring looms so it's a splice job which is a shame as I won't be able to use vcds to deactivate the rear parking sensors when the bike carrier is connected.
Last edited:


 Can you post a picture please? Thank you very much