micky2 not 1
Registered User
Hey Bill, you know my thoughts on it all....I want mine doing asap. Think tuftys going for tax exemption status on his. Push mine out if you need the space....I'll be back up on Friday.


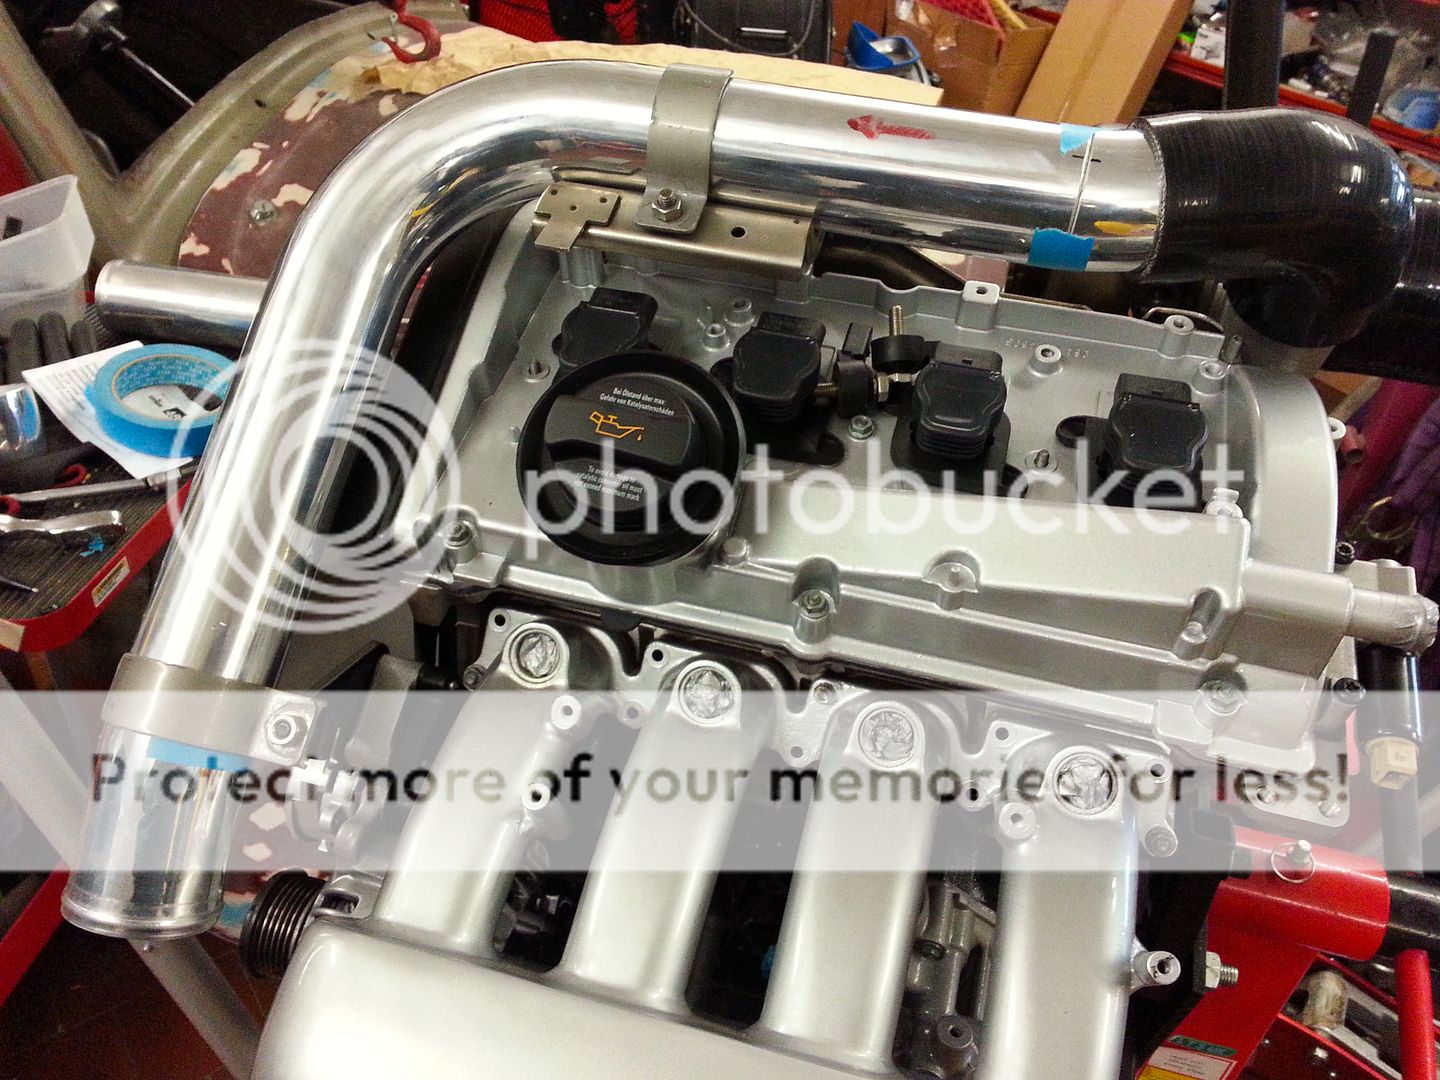


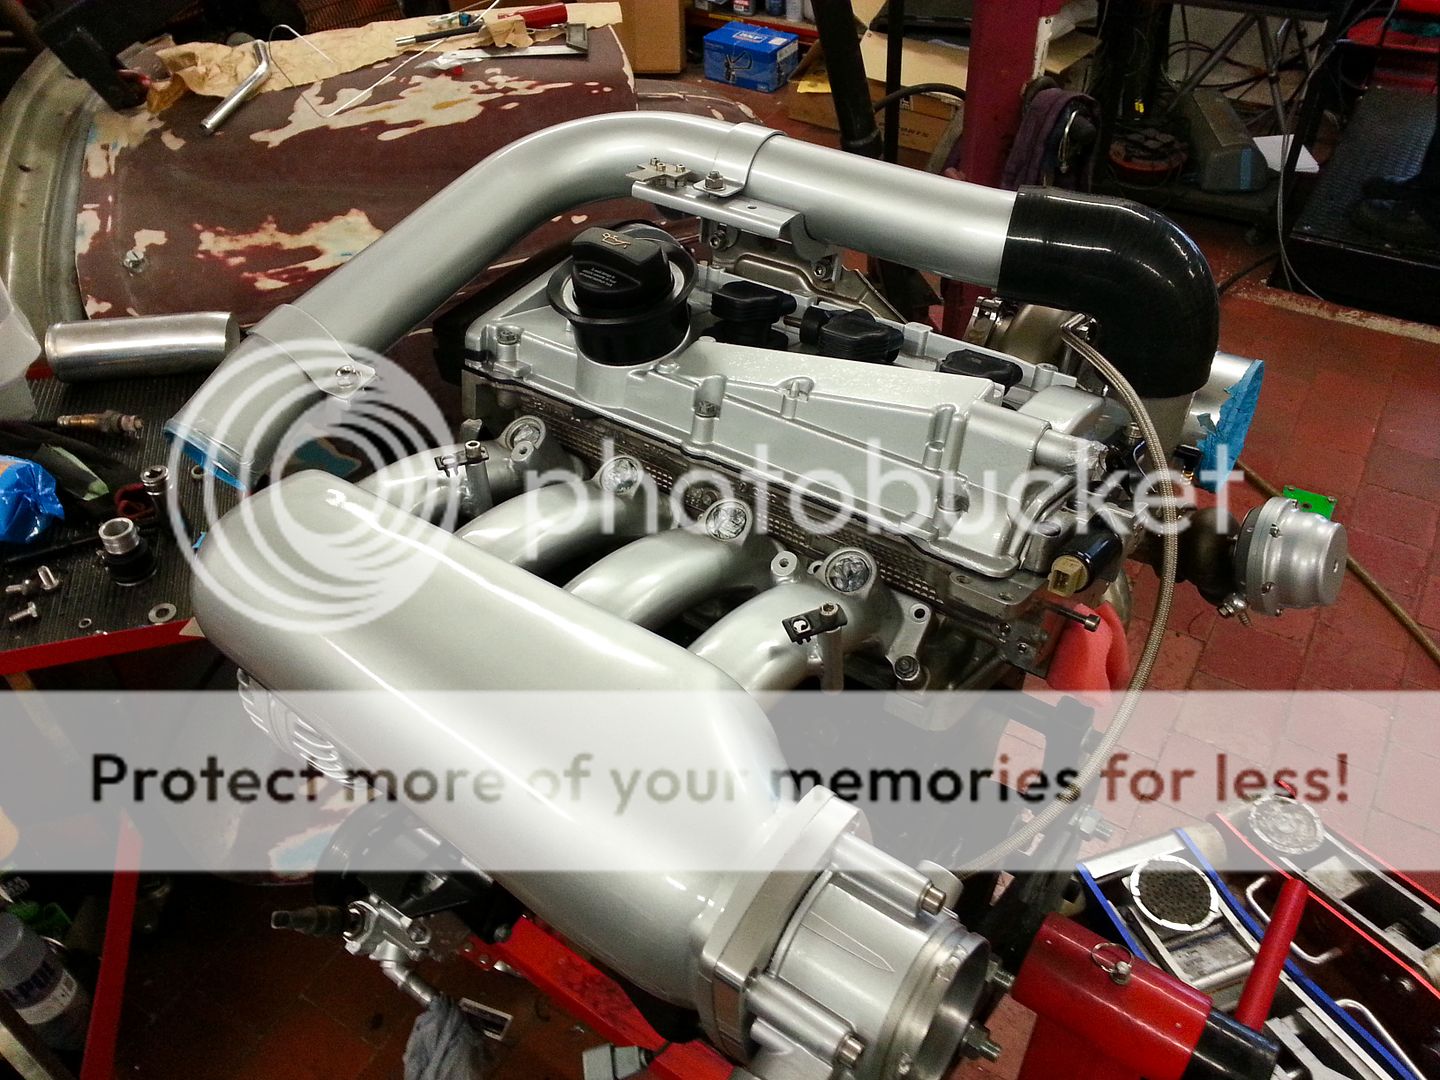
i like that colour...shame mines black


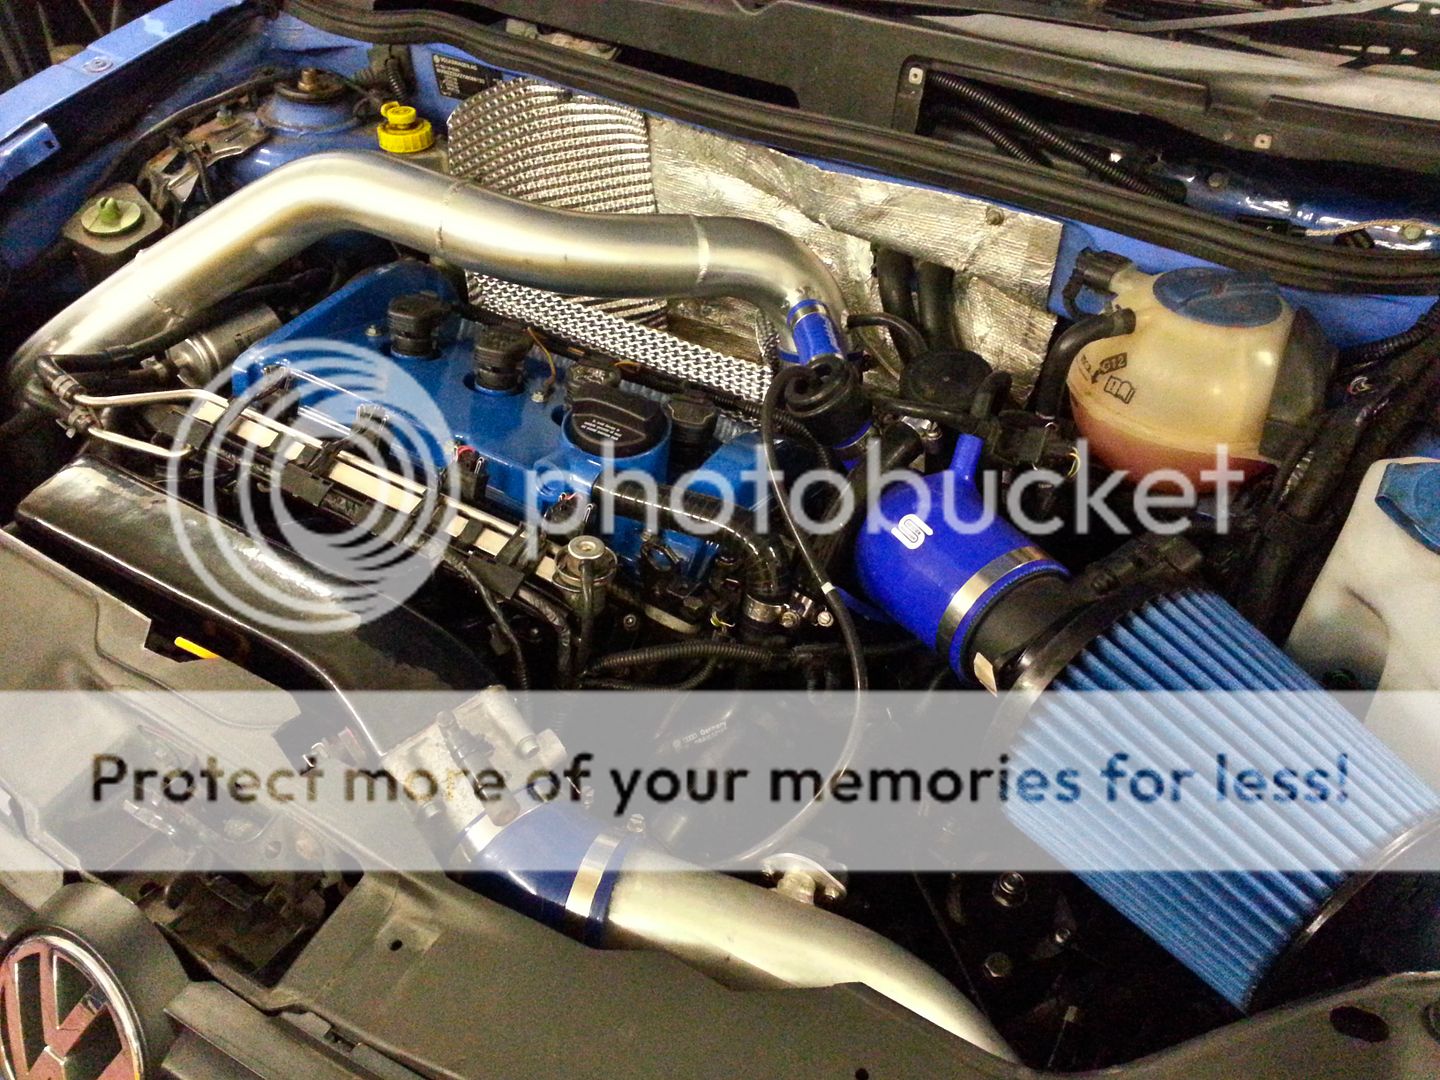


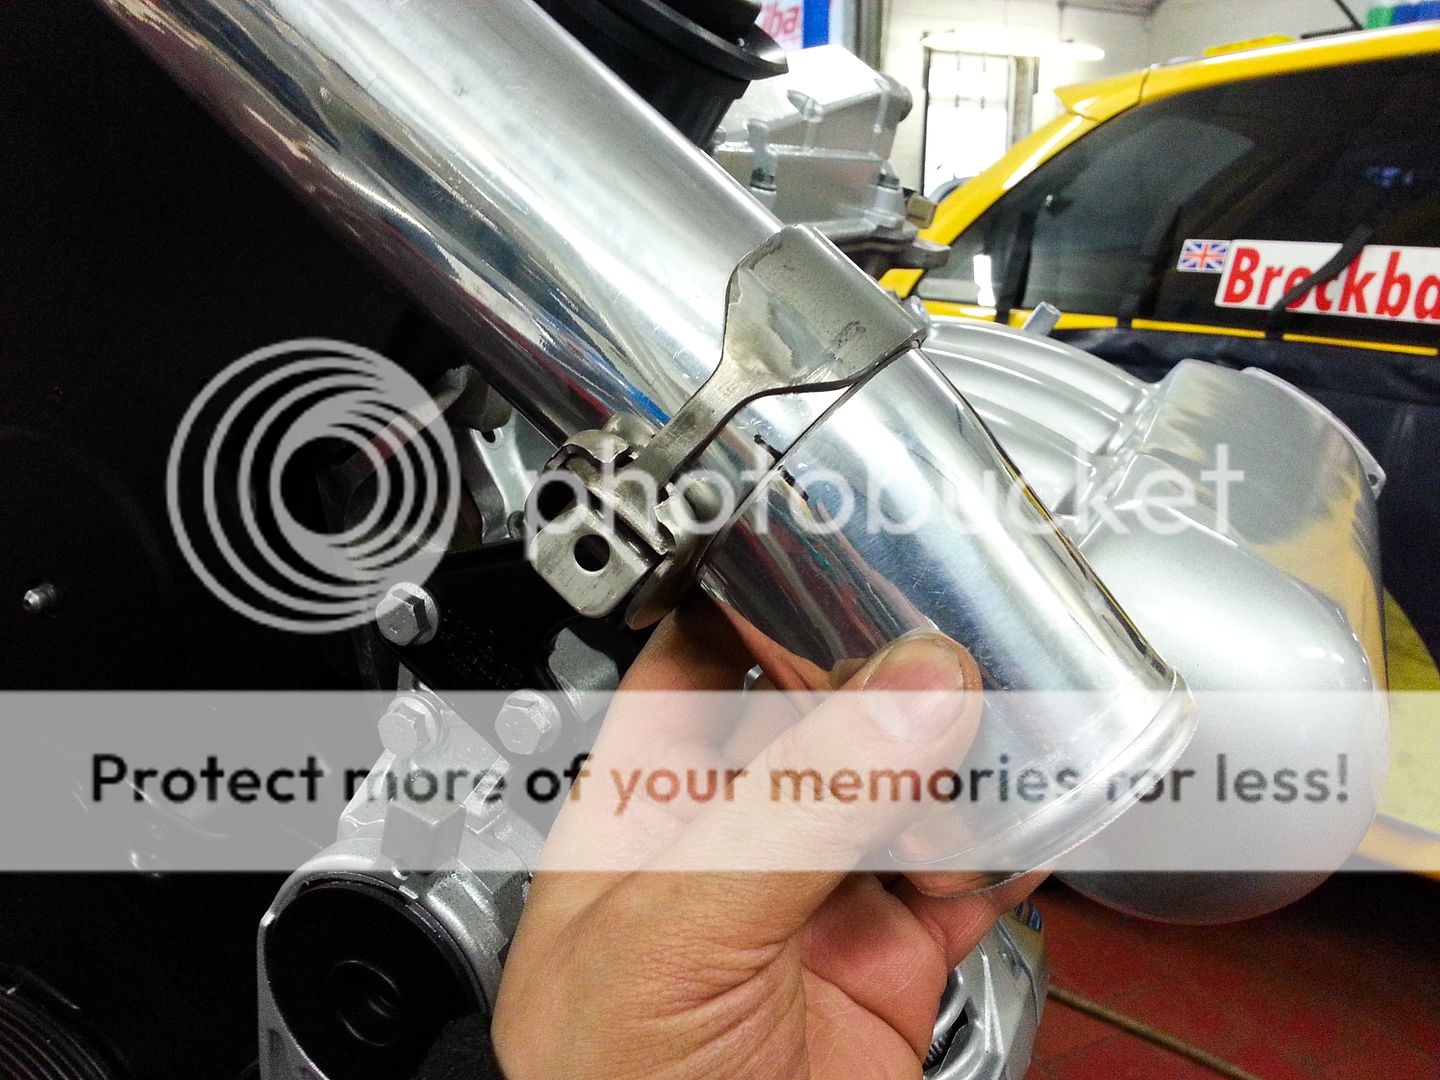
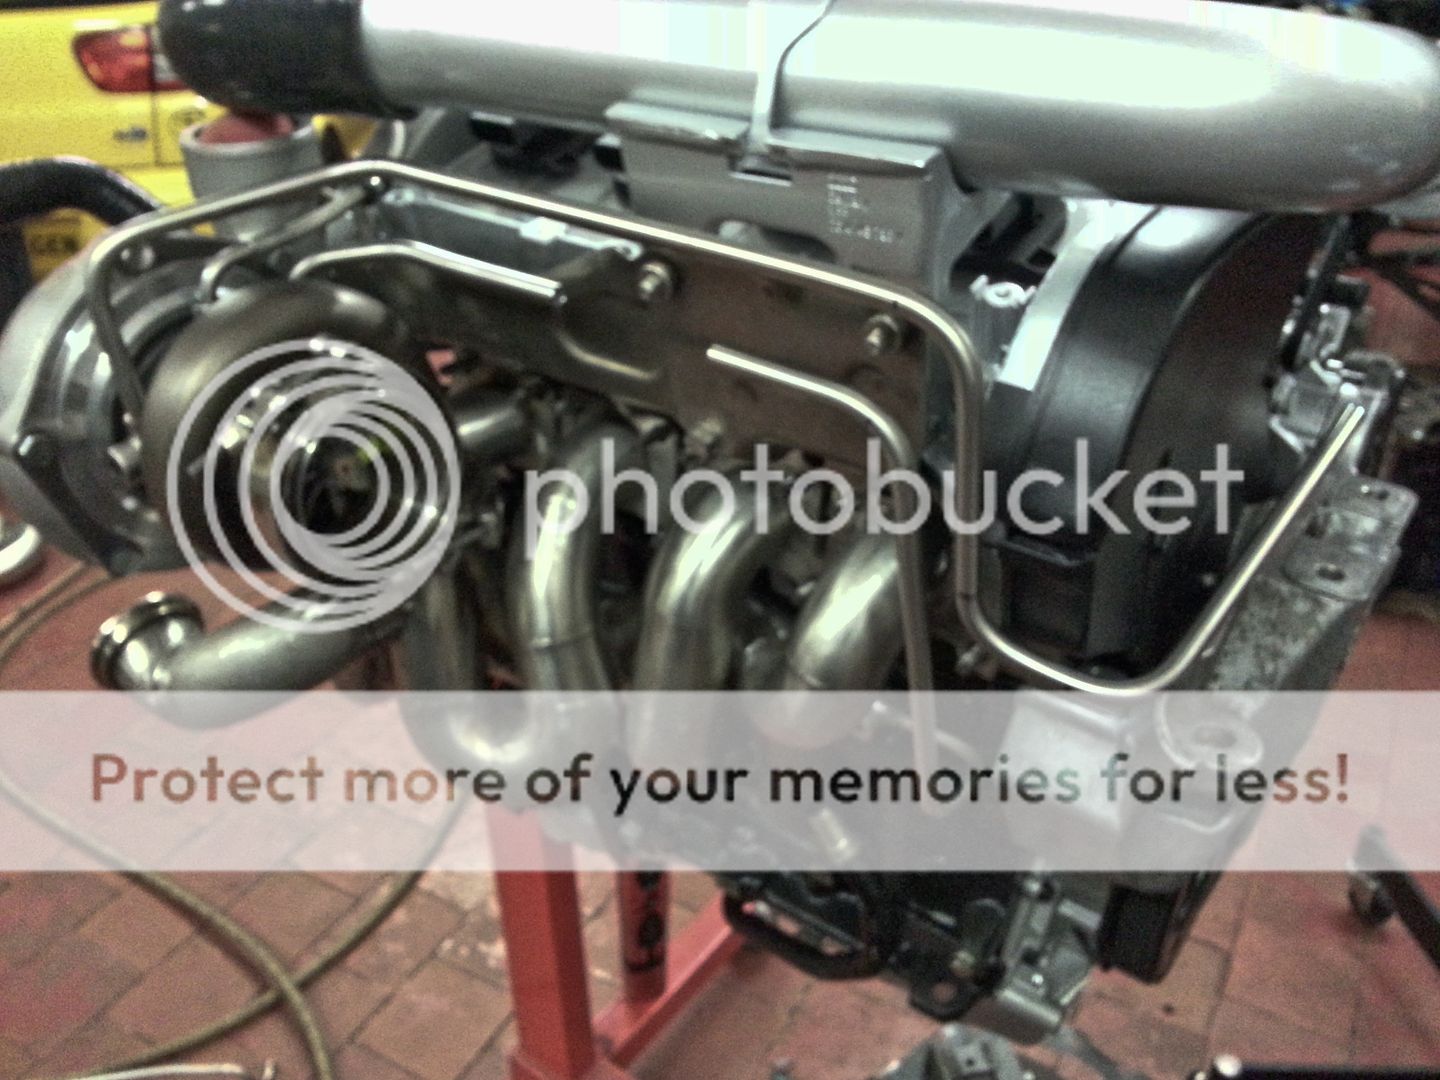
When you going to smooth out the comp housing and paint it


Fatal mistake mate... tell the missus nothing lol...
<tuffty/>


Love it.
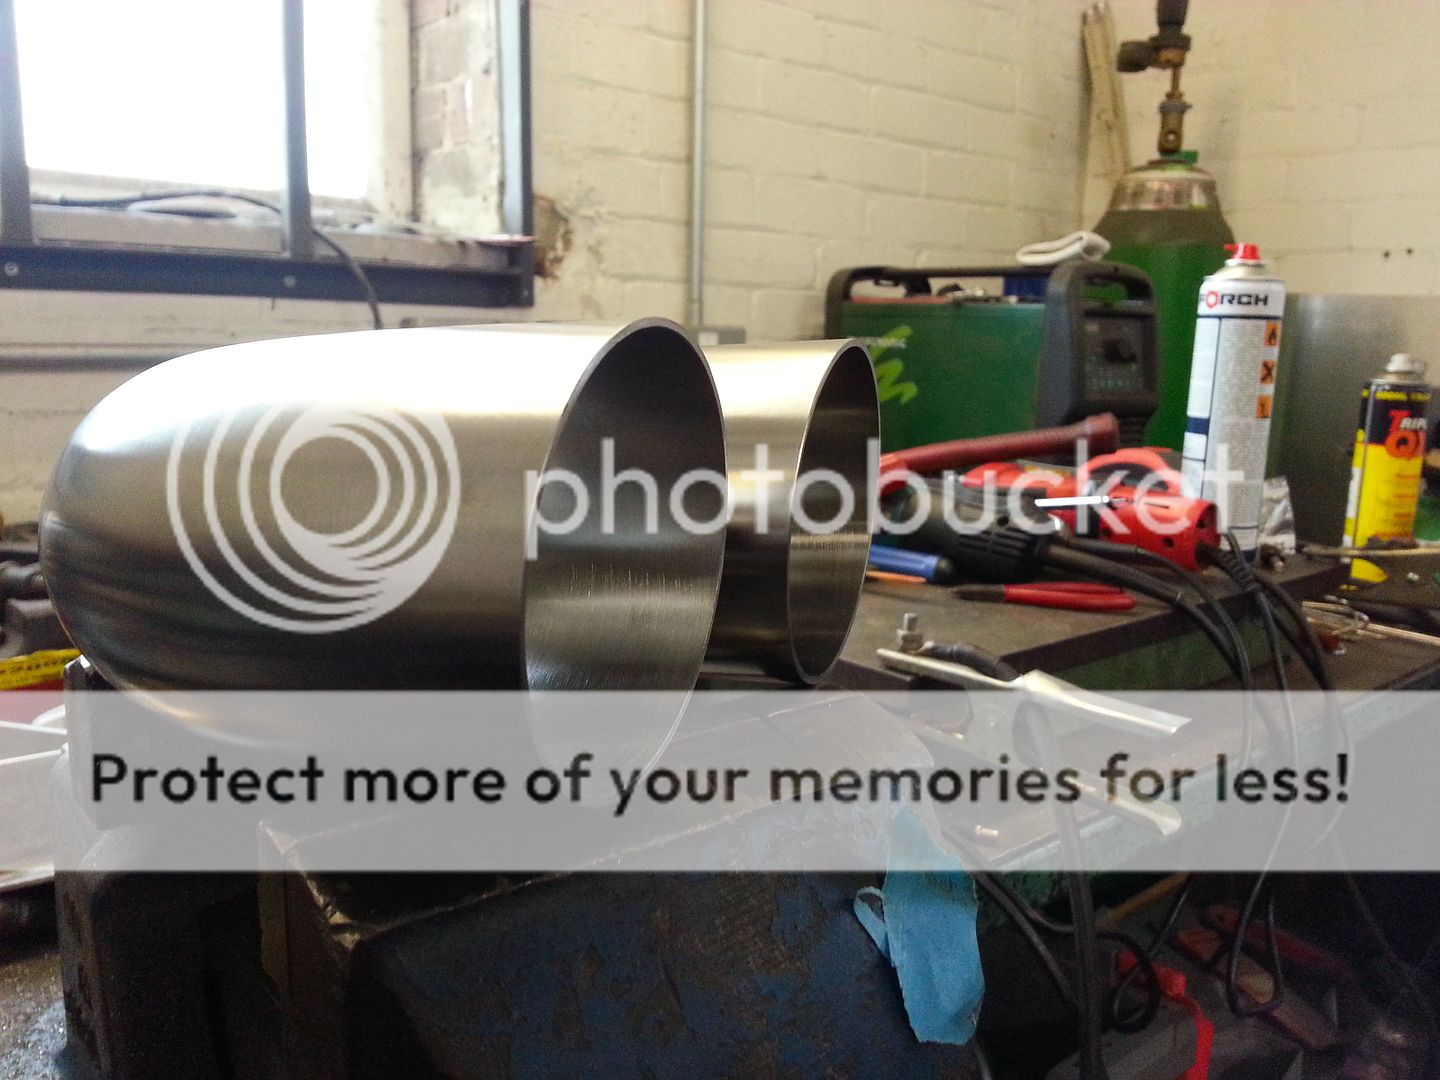
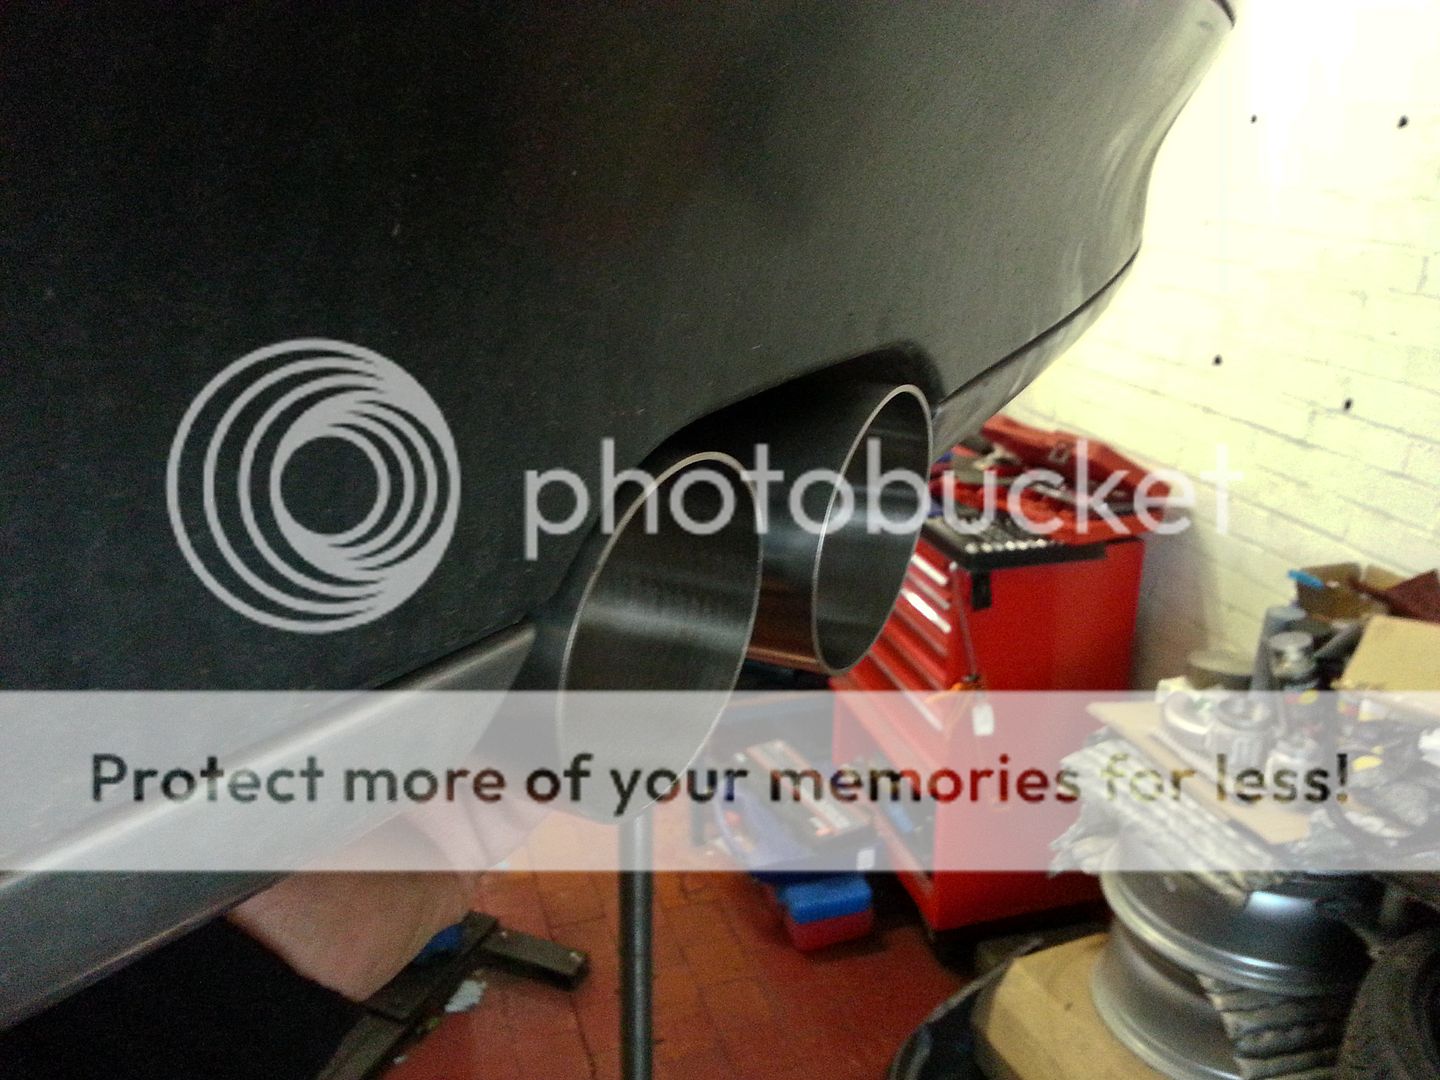
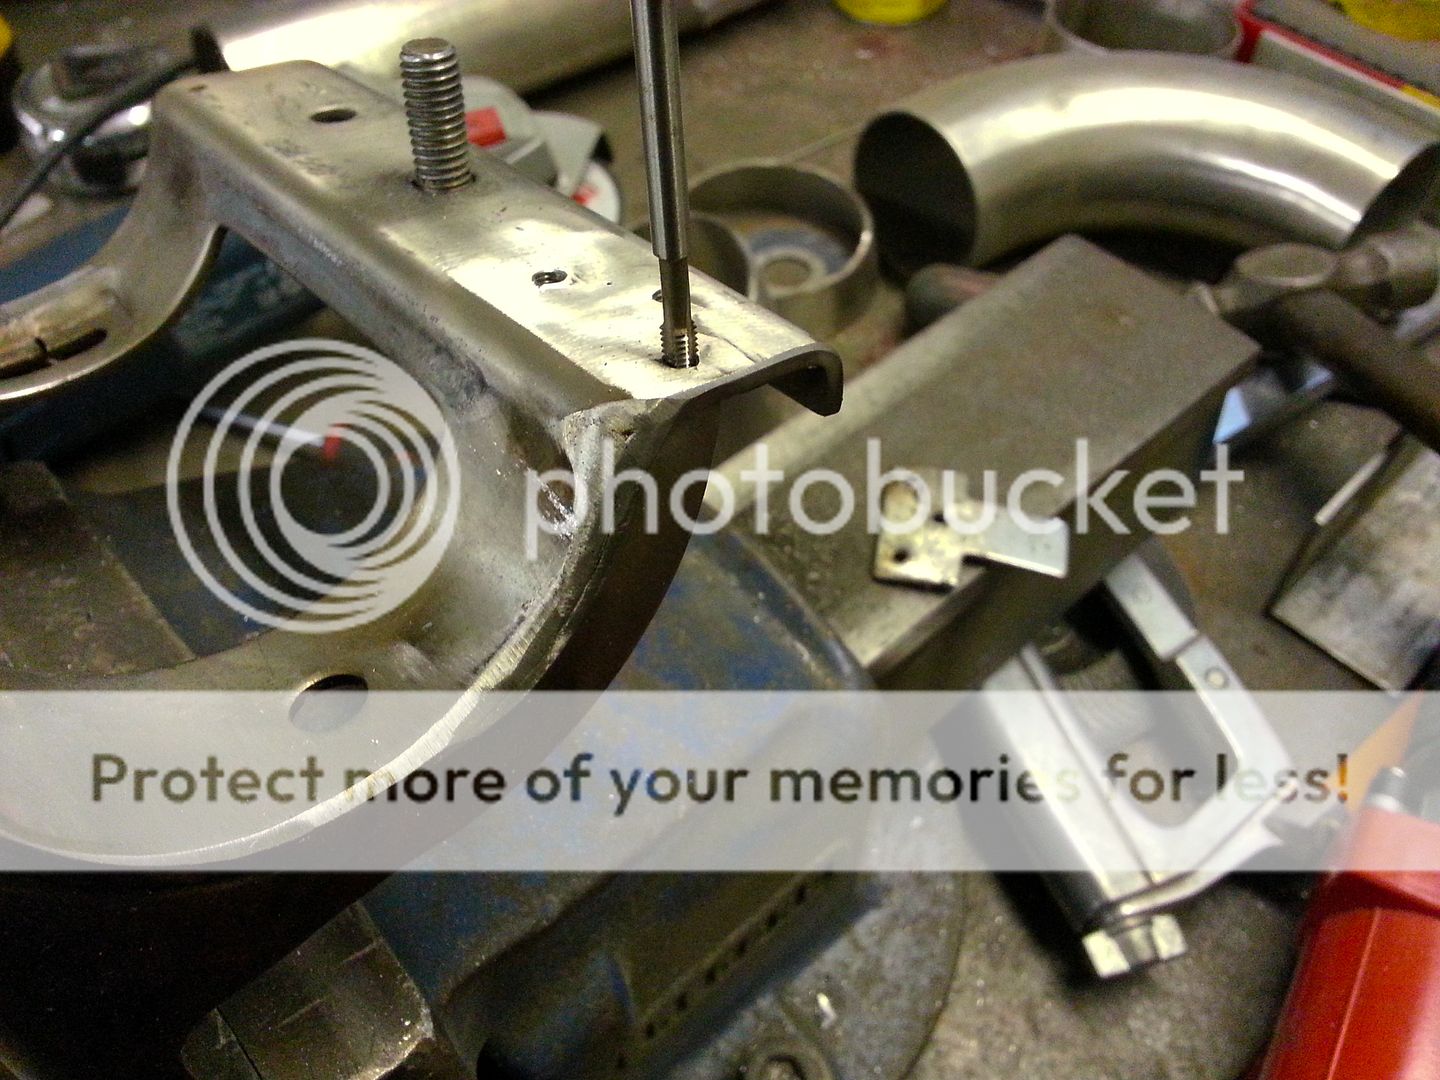
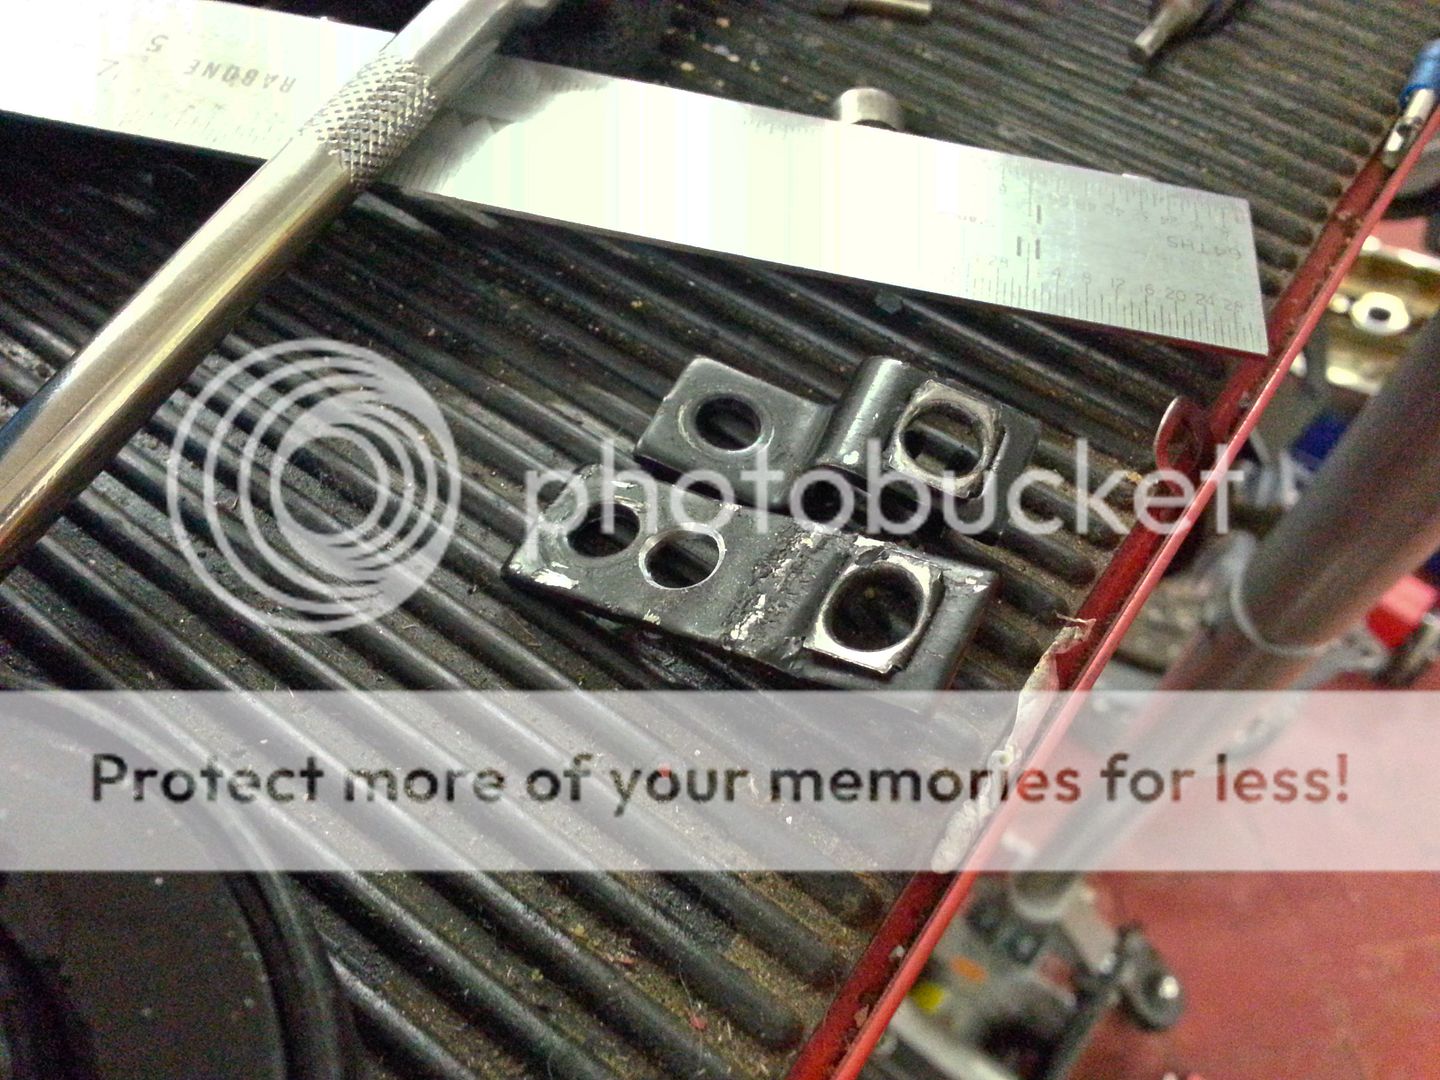
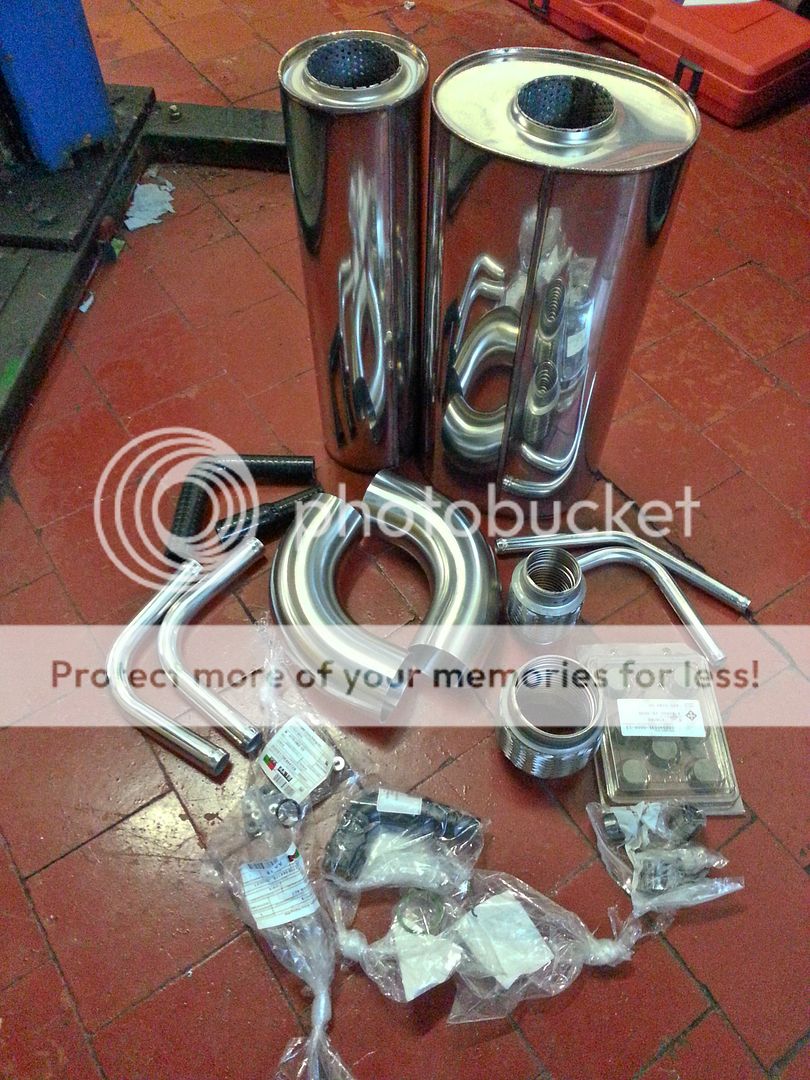
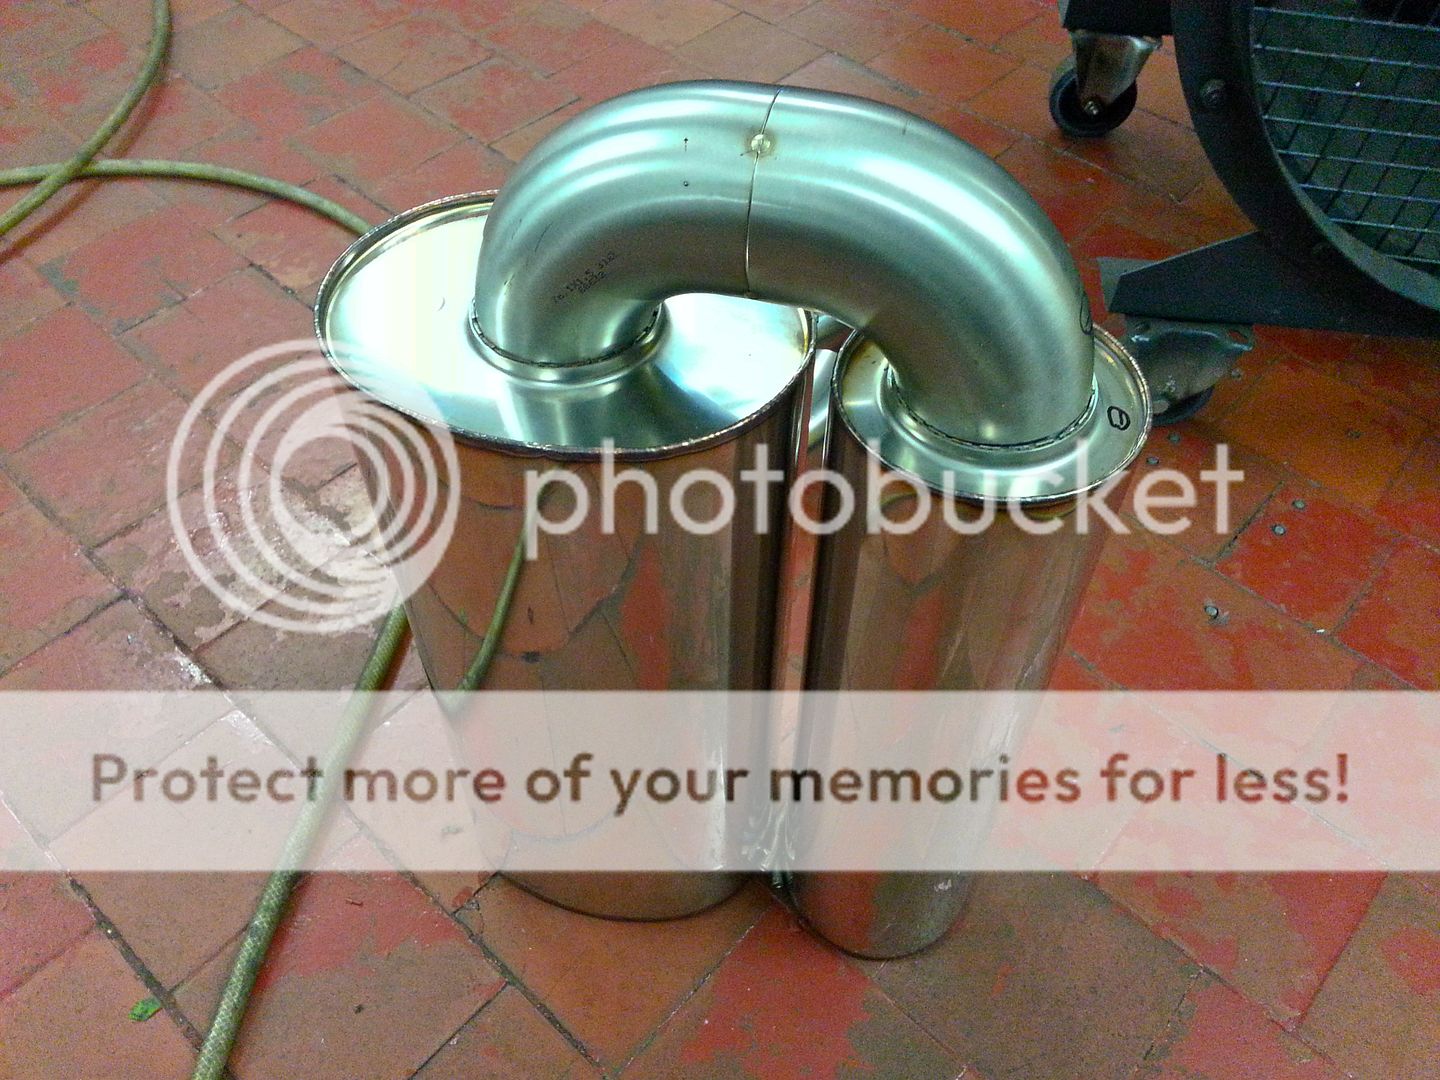
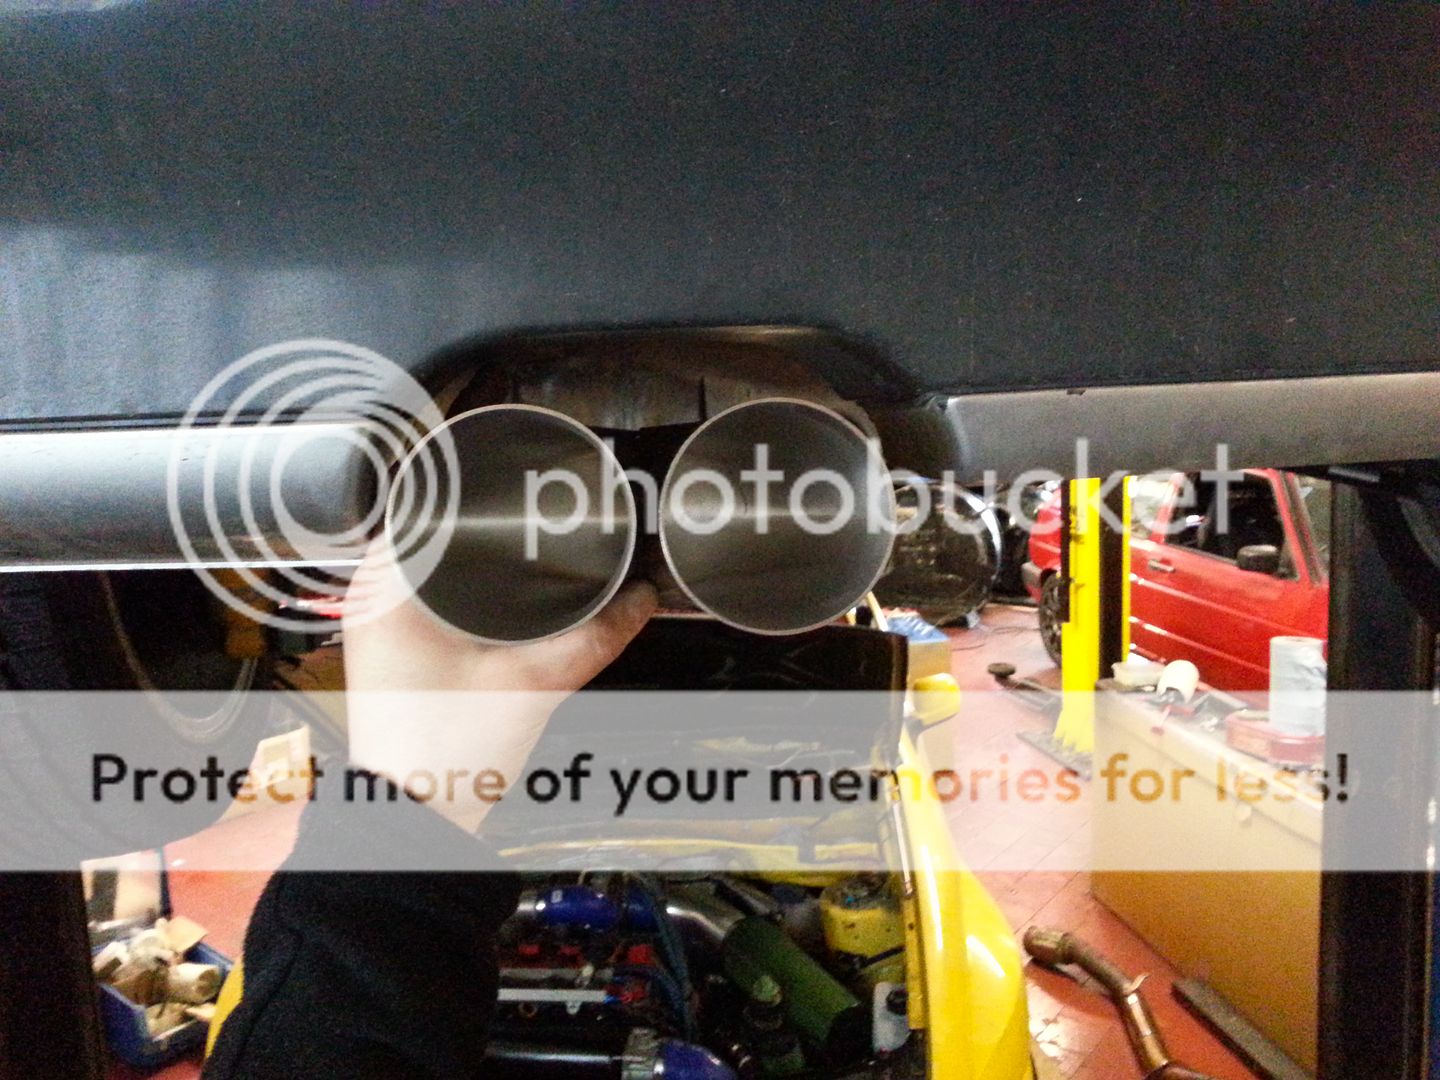
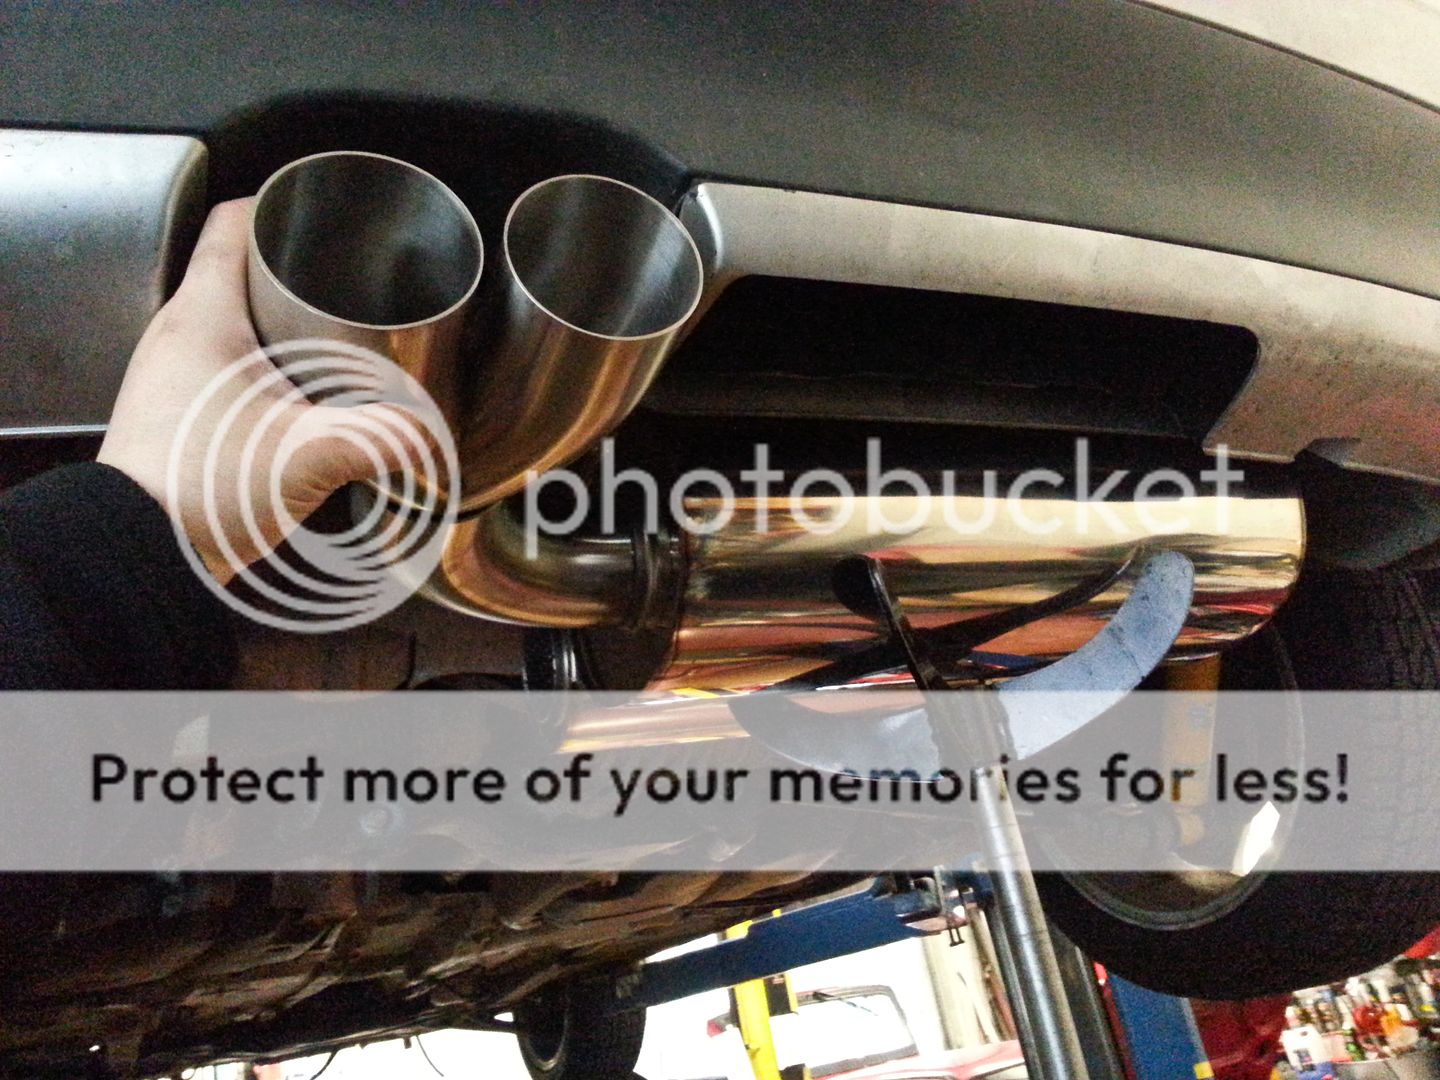
How many times did you measure those tail pipes lol?
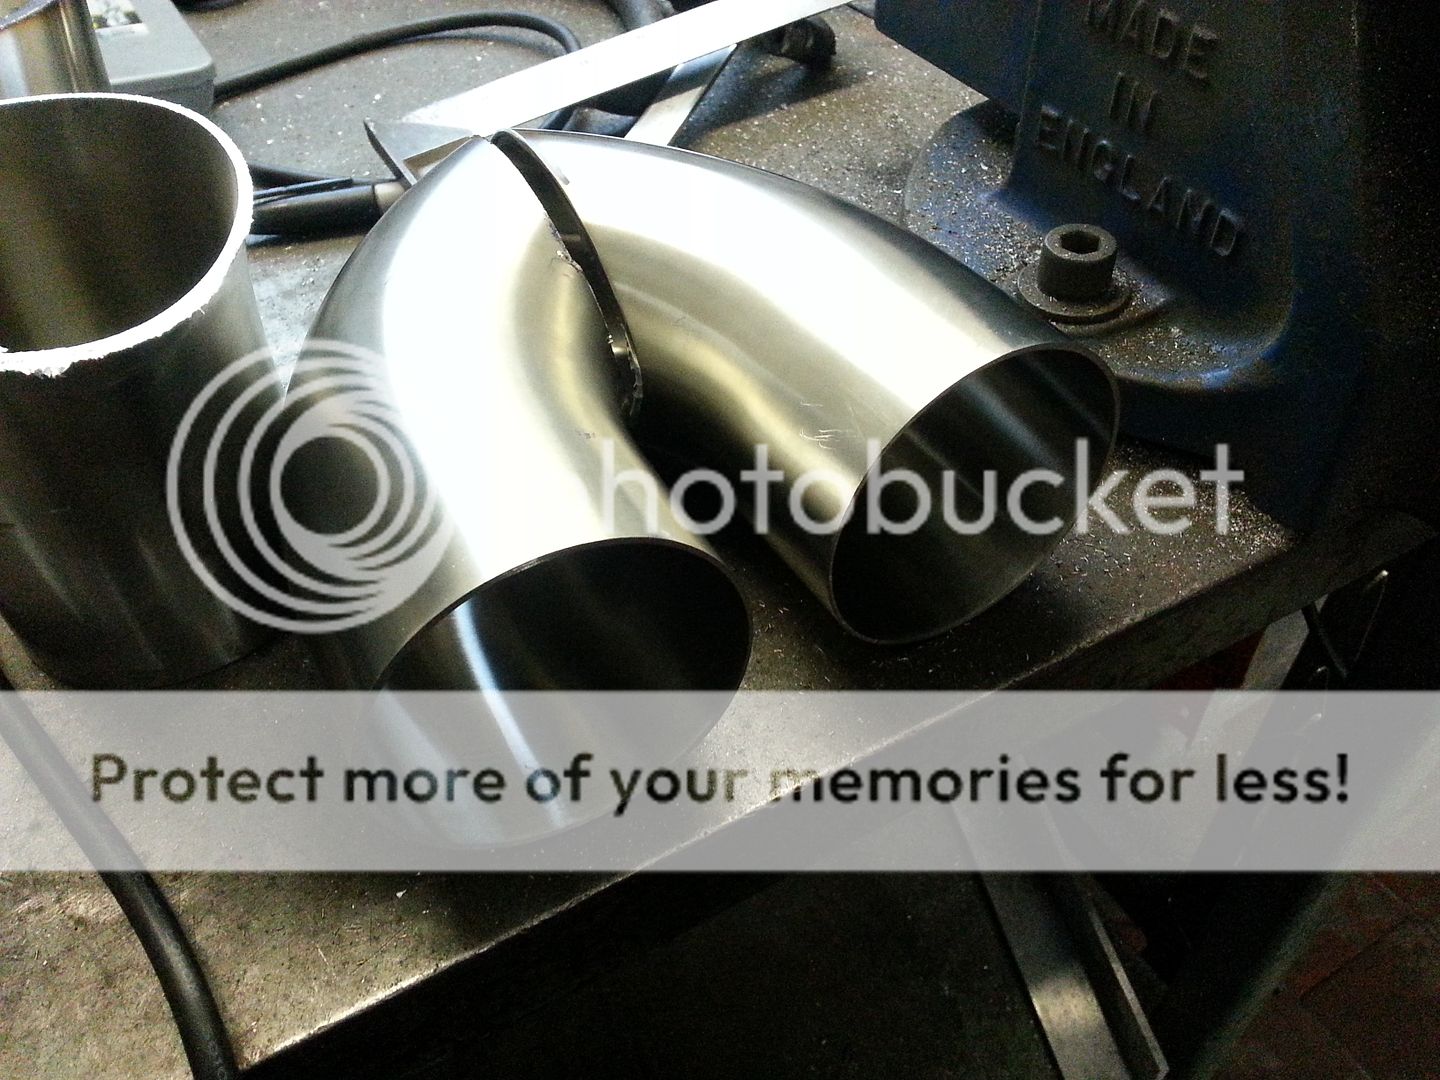
I think I can pop down Saturday Paul.. You still wanna measure the slash cut?
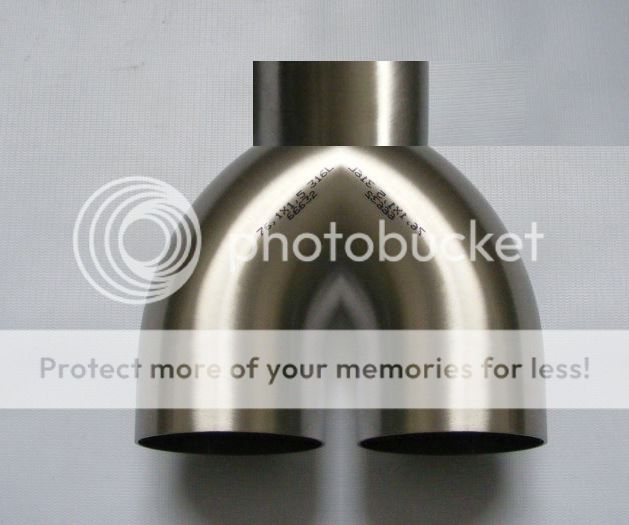
If you are passing then all good but no need to make a special journey mate although obviously always good to see you... I can get a slash angle from the miltek on the car thats in but yours has the 'special' tailpipes so dunno if there is a difference..
I think I am just going to stick to the slash cut rather than the slash and bumper angle as it looks a real c*ck to do and I don't want to end up scrapping these and have to start over...
<tuffty/>
I'm not sure what difference there is if there is any... But always around to offer help where I can!