Audi S3 8L Brake Disc and Pads Replacement Guide

mark_S3

Team Silver
Joined
Sep 5, 2012
Messages
823
Reaction score
309
Points
63
Location
Wakefield
Audi S3 8L Front Discs and Pads Replacement
There may have a guide already, but since I started taking photo’s I though about making a full guide, for others to see.

Parts and Materials:
Pagid Discs x 2
Black Diamond Predator Pads x 4
Plastilube
Red Rubber Grease
WD40/GT85 or Similar
Brake Cleaner
Rags/Blue Roll


Tools:
Rachet
18mm Spanner or Socket
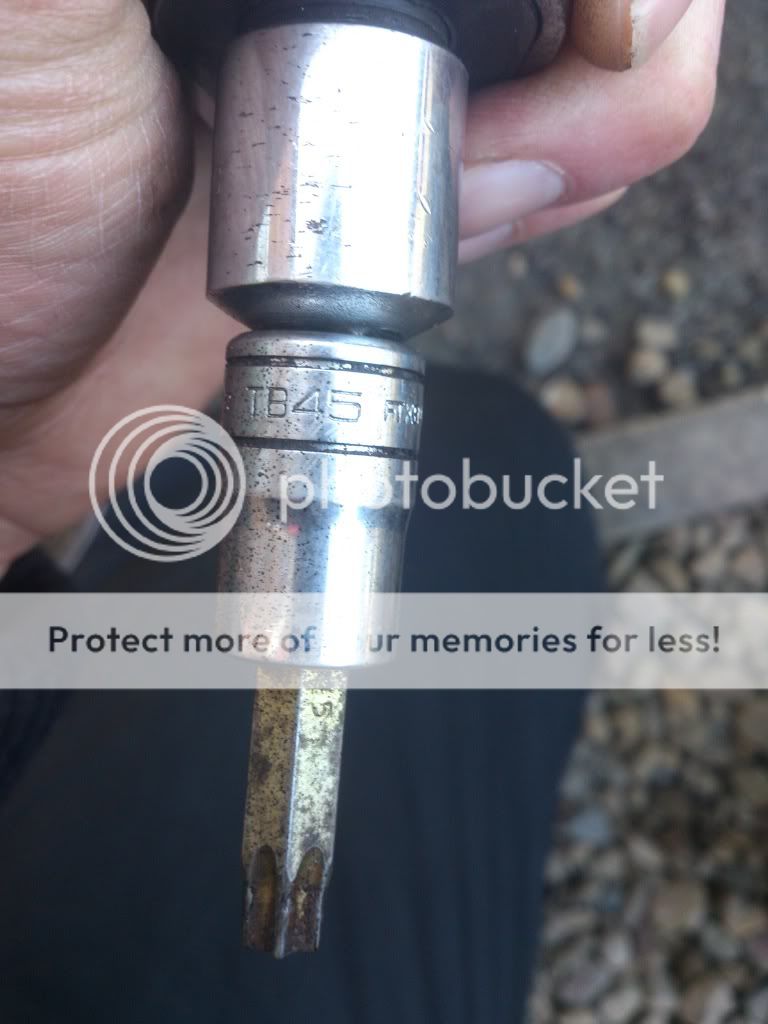
T45 Hex Bit
Torque Wrench
Flat Headed Screw Driver
Pry Bar
Wire Brush (Small and Big)
Caliper Piston Rewinding Tool
File
Axle Stands
Jack

1.Safety First and HandBrake On.

2.Gently Loosen off Wheel Nuts


3.Jack Car Up at your desired location


4.Loosen all Wheel Nuts and Remove Wheel


5.Place Axle Stand at your desired location (Repeat Steps 2-4 for the other side)


6. Remove Caliper Spring with Flat Headed Screw Driver


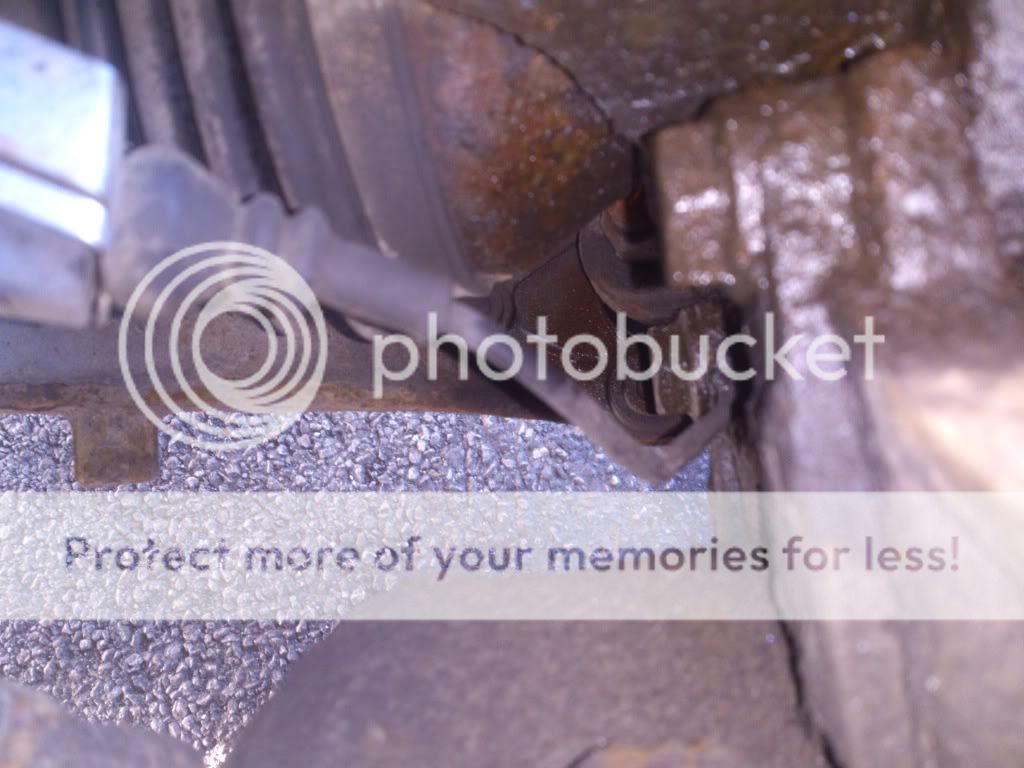
7. Rear of Caliper you will see two of these (Top and Bottom)


8. Remove Both of these caps


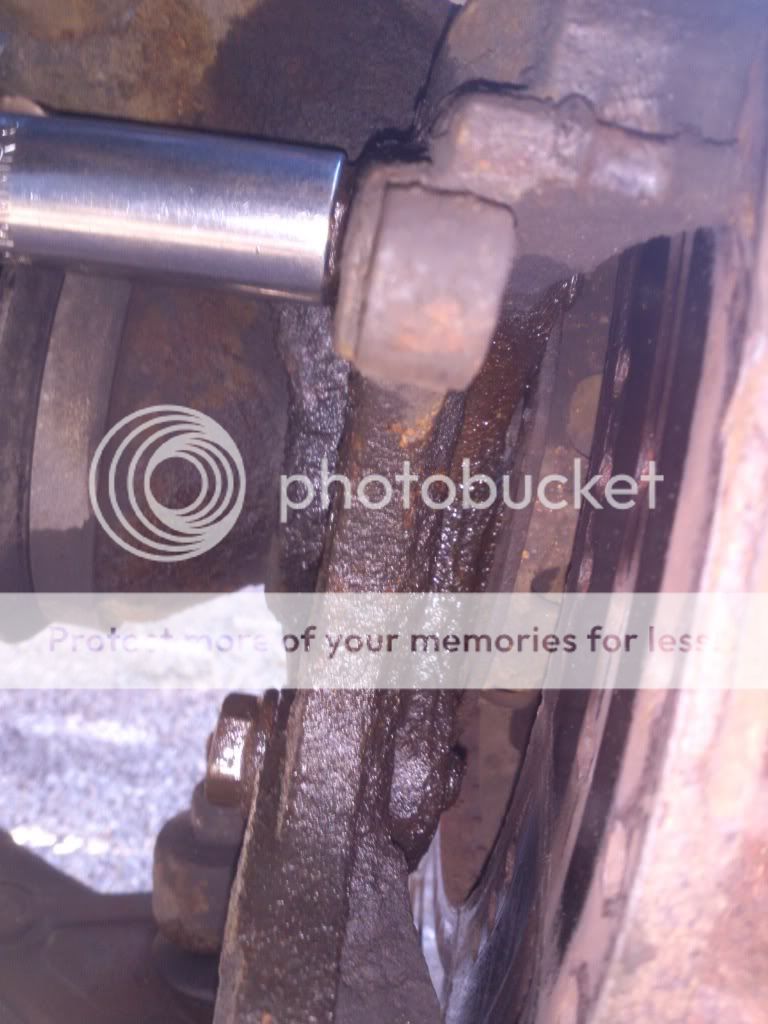
9. Then inside the rubber cylinder is the calliper sliding bolt. Using a T45 Hex Bit with my Ratchet, loosen both bolts and remove
DSC_1338.jpg


DSC_1337.jpg


10. Then using my pry bar, I gently forced the calliper away from the pads


11. Once calliper is off, using a bungee cord, support the calliper up in the air and not to place stress onto the flexi hose, as shown.


12. Now you will just have the discs and carrier left and bolted to the hub. Behind and side of the disc is the pad carrier. These are joined to the hub by two 18mm bolts, Spray some WD40 or similar and allow to penetrate. Then I used my 18mm socket with my torque wrench to loosen the bolts as they where very tight and probably haven’t been removed for a while.
DSC_1339.jpg


DSC_1343.jpg


13. Once Carrier is off, remove the discs holding screw. Then your discs are off.


14. Start to clean up your carrier and hub making sure all traces of rust and dirt is removed. File and wire brush away the dirt. And plenty of brake cleaner. I also used a air compressor with air gun. Clean up the carrier whilst taking care around the dust seal. Used an old toothbrush will some brake cleaner on the dust seal.


15. Then loosen off the brake fluid tank cap and place plenty of blue roll around the cap. Stop any spillages from leaking onto parts. Allows any pressure to escape when you rewind the piston into the caliper


16. Using a Caliper piston Rewinding tool, slowly push the piston back into the calliper.


17. Once done. I then cleaned up the calliper sliding pins and the rubber holders. Then regreased the pins with Red Rubber Grease. Then place the pins back into the holders.


Last edited by a moderator:
  • Like
Reactions: bigray, voorhees, Dani_B19 and 1 other person
18. New Disc can then be remounted back onto the hub. Clean off the face of both sides of the disc with brake cleaner removing the protecting grease. Place holding screw back on. Carrier can then be bolted to the hub as shown.


19. Then time to fit the new pads. Lightly smear Plastilube to the backs of the pads and also the pad guides where they make contact with the carrier


20. Reassemble the calliper and pads back on, then tighten up the sliding pins.


21. Now it will look like this.


22. Then pop back on the spring onto the calliper as shown.


23. Then finally it’s nearly done. (repeat Steps 5 – 22 for the other side).


24. Keep Brake Fluid Level and Top up if necessary then Replace the Brake Fluid Tank Cap back on, and wheel back on. Tighten up bolts. Raise Jack. Remove Axle Stands. Lower Jack and Retighten up wheel bolts. Then give the brake pedal a good few pumps


Please Note:
I don’t not accept damage, safety or mishaps for any work done to your vehicle. Take this as a guide for replacing Discs and Pads. I’m no mechanic and have learnt this technique over the years . There will be people who will do it differently and other ways.

Old vs. New


Please also Bed the disc and pads in gently. There are many different ways.

Took me approximately 3hours to do both sides in which I took my time doing them. No need to rush with brakes. They stop you remember!
 
Last edited by a moderator:
Well done matey nice little guide although I dont think the fronts need winding In, I believe they push back its the rears that need winding.
 
  • Like
Reactions: mark_S3
Well done matey nice little guide although I dont think the fronts need winding In, I believe they push back its the rears that need winding.

Oh yer... Well used the caliper tool to push back in but it's the same principle if you used a clamp....

Need to re edit the post when I can gain access again.
 
  • Like
Reactions: Dani_B19
nice work, thanks for taking the time to do this
a couple of commnets from when i did mine

the sliding pins were normal allen key heads not torx on mine
the carrier bolts are tight, i have a 3ft extension (oh er missis) and it was difficult with that
be prepared to drill out the little cross head screw that holds the old disc on, seemed to be made of the softest steel known to man. if it needs replacing is debatable, i see you used the wheel nuts to hold the new disk in place, once its all back together the pads tend to hold the disc in position
i use the C clamp method to push the pistons back in, if you give the pad/caliper a little squeeze with the clamp before step 10, the
caliper just slides off nice and easy

as you say, brake work is really pretty easy, just be methodical, BUT if you are not confident, ask a friend who is to come along, you don't get many second chances with brake failure.
 
  • Like
Reactions: mark_S3
nice work, thanks for taking the time to do this
a couple of commnets from when i did mine

the sliding pins were normal allen key heads not torx on mine
the carrier bolts are tight, i have a 3ft extension (oh er missis) and it was difficult with that
be prepared to drill out the little cross head screw that holds the old disc on, seemed to be made of the softest steel known to man. if it needs replacing is debatable, i see you used the wheel nuts to hold the new disk in place, once its all back together the pads tend to hold the disc in position
i use the C clamp method to push the pistons back in, if you give the pad/caliper a little squeeze with the clamp before step 10, the
caliper just slides off nice and easy

as you say, brake work is really pretty easy, just be methodical, BUT if you are not confident, ask a friend who is to come along, you don't get many second chances with brake failure.

Cheers for the advice pal....

My sliding pins where definitely T45 Torq bit. Only bit I had that fitted. After removal you can clearly see the torq shape on the pin. Presume they have been replaced for these before.

My disc holding screws are long gone... Put it in the guide just to reference for others. Just used a wheel bolt to hold it to the hub whilst I got carrier and caliper back on. Kept slipping of hub. Lol
 
And btw the New Discs and Pads are slowly bedding in nicely. 100% improvement already.
Old discs with shot and on one pad there was hair line cracks. Tbh pads where about 50% worn.

Just in time for winter. ;-)
 
what bedding in method do you use?

it seems there are differeing opnions

last decent set i used (hawk HPS) i did the 10 stops from 50 and the drive around till cool, they did smell a bit after that :)
 
  • Like
Reactions: mark_S3
what bedding in method do you use?

it seems there are differeing opnions

last decent set i used (hawk HPS) i did the 10 stops from 50 and the drive around till cool, they did smell a bit after that :)

Like you said everyone has a different opinion on bedding in pads...

I just did around 20 stops for around 5 seconds with 50% force on the pedal then allowed to cool.

Just using them gently now for a few hundred miles whilst allowing them to cool.
 
Predator Pads where £54.95 after abit of haggling the supplier.
Discs where £24 each from ECP. (trade discount).
Although the discs are on offer at £33 from ECP at the moment.

Maxxis MAZ1 are pretty good.
Had one's on front for a few hundred miles and just yesterday had the rears replace with Maxxis.
Read alot about them on tyrereview.co.uk. They get a good review on there.
The supplier is a authorised dealer and rates them to be a upcoming decent Tyre.
Had no issues. No understeer. Reasonable road noise. And fairly grippy. Haven't tested them out in heavy rain yet but they have got good reviews in wet.

I've also got guarantee for all tyres from Maxxis for any defects.

I would recommend them. Would love the more premium tyres but would definitely class these as middle range tyres and a decent price. These are far NO budget tyres.
They are well known for bike and road bikes tyres plus they are venturing in to off road and rally tyres.
 
  • Like
Reactions: aterro
prepared to drill out the little cross head screw that holds the old disc on


All you need here is an oversized philips headed screw drivers & a mallet to bang it in, this should allow you undo the screw.
 
  • Like
Reactions: mark_S3
What rims are thoose ? :D great guide man :)
 
Nice little guide :) I'm a bit late coming to the thread but I noticed mention of the disc retaining screws. Mine were on their way out so I bought some stainless steel replacements off eBay which have a small Allen key insert instead of a Philips screw head - they last much longer - but as you say they don't really do much other than keep the disc in place so debatable whether it's worth replacing them, especially if the originals have snapped and it means drilling them out.
 
Some of my pictures aren't showing. And it won't let me 're edit them. Please could admin either 're sort them or allow me to edit this post.
Thank You.

Only 30 photos per post Mark,if you want to I can cut unto the point the pics stop showing then put it on your next post
 
Only 30 photos per post Mark,if you want to I can cut unto the point the pics stop showing then put it on your next post

Ahhh... I didn't know that.

Yes that would be much appreciated. I was rushing and my laptop kept paying up so unfortunately some things are messed up.

Thank you ;-)
 
Ahhh... I didn't know that.

Yes that would be much appreciated. I was rushing and my laptop kept paying up so unfortunately some things are messed up.

Thank you ;-)
Any changes not right just let me know
 
Nice little guide :) I'm a bit late coming to the thread but I noticed mention of the disc retaining screws. Mine were on their way out so I bought some stainless steel replacements off eBay which have a small Allen key insert instead of a Philips screw head - they last much longer - but as you say they don't really do much other than keep the disc in place so debatable whether it's worth replacing them, especially if the originals have snapped and it means drilling them out.

Cheers Pal....

You got a link on the retaining screws off eBay?
Just my fronts that have seized in and heads broken off, but rears are ok. Problem is with these, they normal get over tighten and long periods without removal. Then the seize.
 
Thanks, this guide really helped me out for my A3. My front brakes were completely bare. Saved myself over £110 doing this myself instead of my local garage. I used Pagid disks and pads to stick with the same brand. I also got this tool to wind back the caliper pistons. I had to be quite forceful to remove my caliper as the pads were stuck on the flange gouged out of the old disk. Good that the grinding brake noise has gone now! 100% instant improvement. Still a bit mushy though so I need to bleed the brake fluid.
 
  • Like
Reactions: mark_S3