Hurry up :thumbsup:

Will it be a quick engine swap of a weekens or are there other things you are looking at?

20130823_171702.jpg


20130823_171556.jpg


<tuffty/>
 
  • Like
Reactions: Sam_ and superkarl
Nice one! Peer pressure worked then. That turbine housing is way bigger than the GT30 one!

So you going big turbo now :eyebrows:

Hahaha... you guys... :)

Ok... the plan is as follows...

Bill has a GT3582r CHRA on the shelf that just needs a new turbine... he also has a Tial 0.63 hotside for it so... with a 2ltr stroker, suitable tubular manifold with short/smaller diameter runners and a 0.63 hotside spool should be not much worse than I currently have with the GT30 but with the potential for more power without having to rag it silly... I can run 24psi and potentially get 450+ hp and decent torque...

This is of course the theory... and subject to all sorts of other stuff like fitment and stuff.. I still need to get a comp housing for the turbo and I have to make a manifold...

This means this won't happen overnight so the car will be off the road for a while as I want this to be 100% right... I have learnt a lot over the past 4 years from Bill, working on my car as well as customers cars... there are a few things I want to change and stuff I want to do better...

My head is going to be in the capable hands of Andrew@A.L.D for a little work so this should help too

There is a few things to work out before I finally go down this route as of course I have already heavily invested in my current turbo setup but it kinda makes sense to me and appeals to my goal of decent power without having to push hard (OE-esque if you like)...

I have no issue over 'lag'... I have adapted the way I drive to what I have now and this shouldn't be much different... my engine is capable of handling this power so what the hell...

Starts a new phase in the old girls evolution :)

<tuffty/>
 
  • Like
Reactions: Gizmo20VT and Dani_B19
Looking forward to see it when all done

I just need to get my finger out and get mine done but just to busy to work on it and i also have another project i'm working on.
 
Looking forward to see it when all done

I just need to get my finger out and get mine done but just to busy to work on it and i also have another project i'm working on.

Yeah man... get it sorted LOL... I still have to source a GT35 comp housing and back plate before I can use the GT35 anyhows so mine may take a while yet lol

<tuffty/>
 
you MUST have switchable map and a 'LOL' setting with that gt35, gotta be 500+hp capable surely??
You cant just run a modest 450 with that. Thats like wining the lottery and still only shopping at aldi
 
  • Like
Reactions: fanta, S3 Rav and Goubo1
you MUST have switchable map and a 'LOL' setting with that gt35, gotta be 500+hp capable surely??
You cant just run a modest 450 with that. Thats like wining the lottery and still only shopping at aldi

There will of course be switchable maps :)

Injectors are unknown at the moment... my 550's @4bar seem to be coping with the GT30 currently but I am under no illusion that they will be inadequate going forwards... having used Dekas (never again) I am drawn towards the USRT GenII 630's or maybe the Bosch EV14 750's... 500hp would be nice but it really depends on boost etc... if I have to run 28psi to achieve it then its not going to the daily map...

I will settle on a power level that repeatable, have always said that and plan to stick to it... Bills Ibiza has done 480hp @22psi... while my spec won't touch that at that boost 450hp should be close but we shall see...

The most important thing for me is not to rush the build now... I will be looking at everything to ensure that there is enough heat management in place and that from a reliability perspective the build is as good as I can make it... if it means this takes longer to get right then so be it... I have not had too many issues over the years but there are things I would do differently and having the engine out etc will make life easier...

Looking forward to getting my teeth into this and have some time off coming up to get things moving...

450hp will be a daily power goal... 500hp maybe reserved for dyno days only ;P

<tuffty/>
 
I will be selling my 870cc cheap when I fit mine

I'll bear it mind mate... will need to know the specs as I have had my fingers burnt with injectors that are non linear at low pulse widths... totally fracks idle trims and you can't dial fuelling in accurately enough as ME7 has a spaz trying to control it...

The Bosch injectors just work fantastically which is why I am using them at 4bar...

<tuffty/>
 
Made a start by removing the head...

20130825_143418.jpg


20130825_171756.jpg


20130825_171805.jpg


20130825_172113.jpg


Tomorrows job is to strip the head ready to be sent off for porting

<tuffty/>
 
that turbo and manifold would sit lovelly on an a4 dont ya think?

or complete proven kit of parts for a.n.other S3 rhd car
 
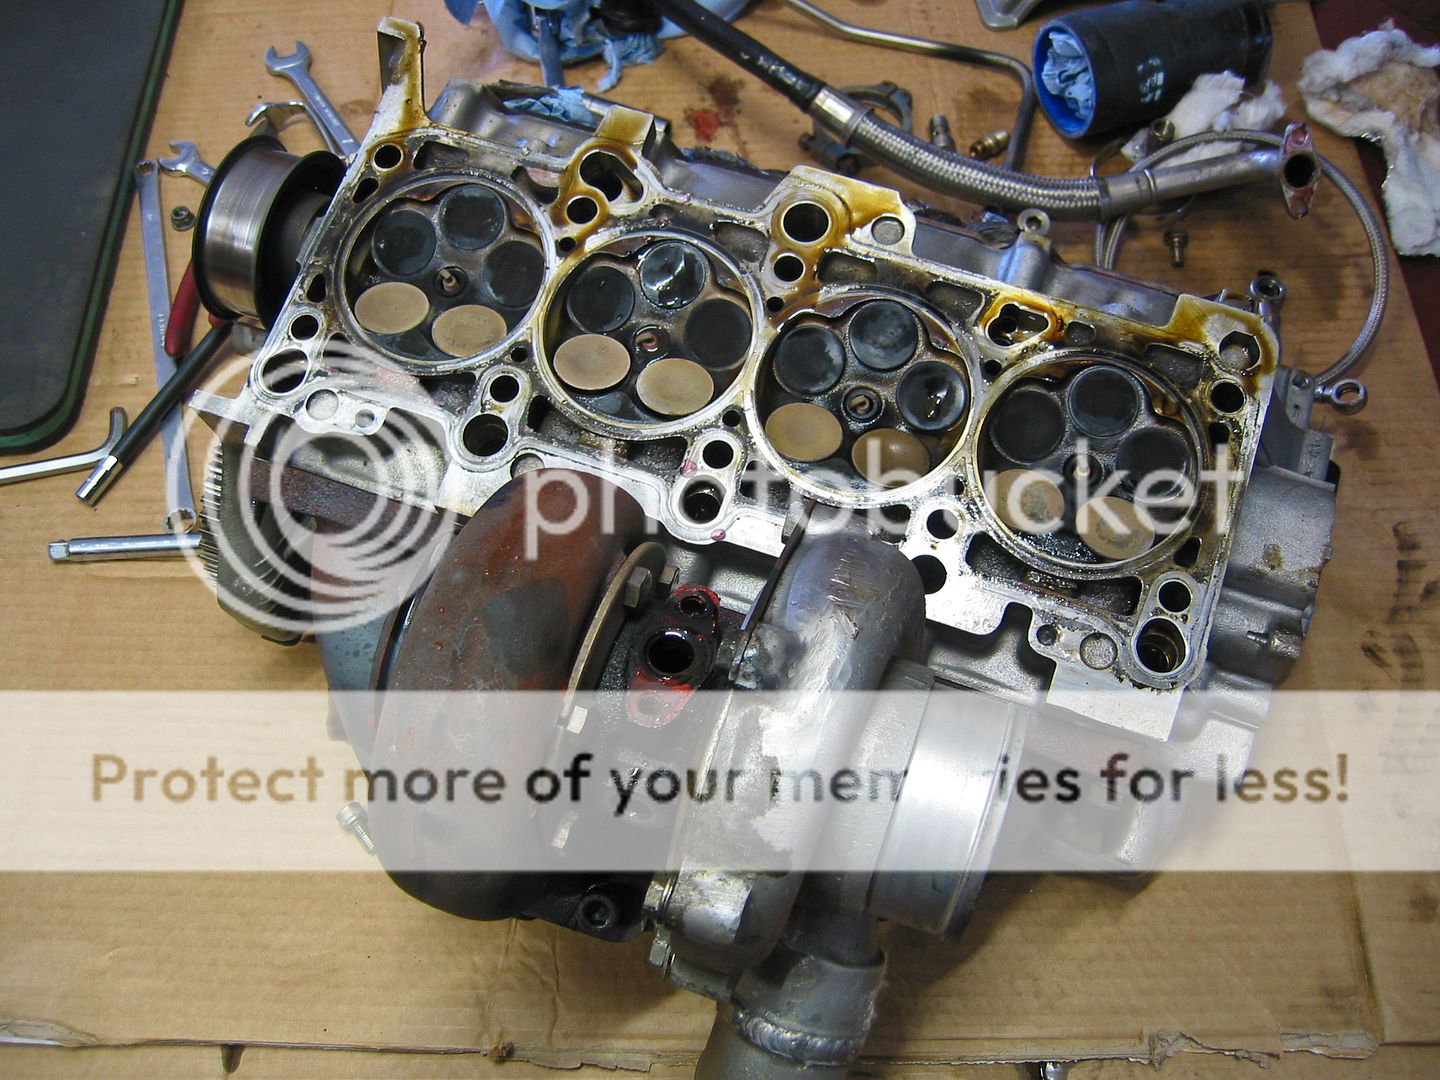
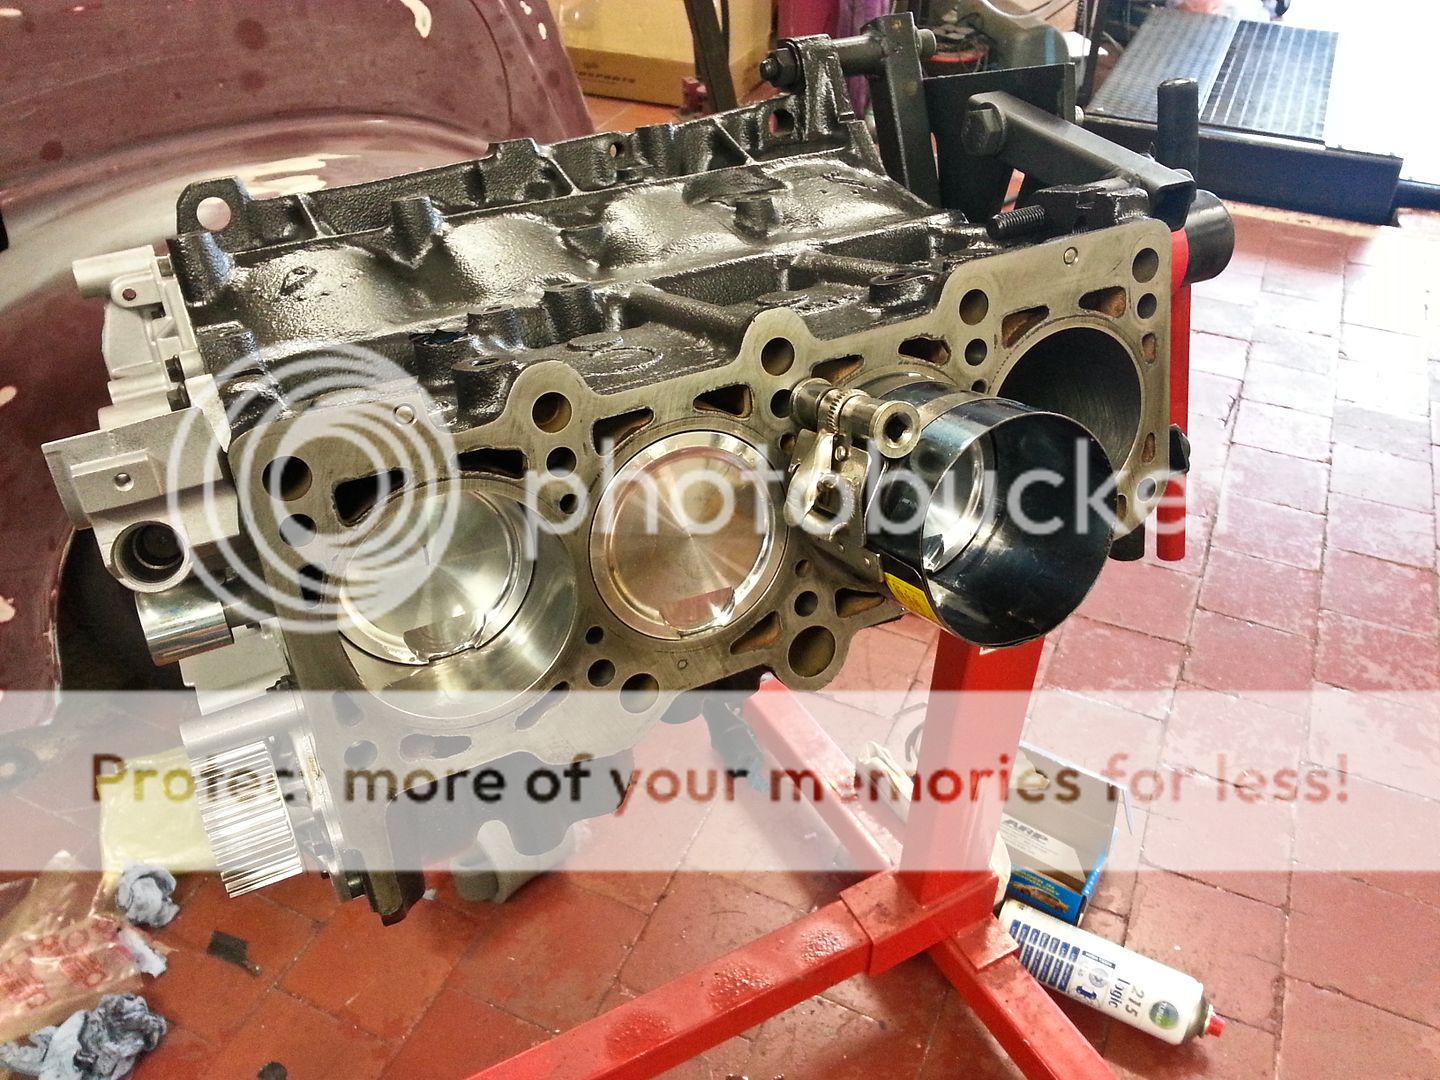
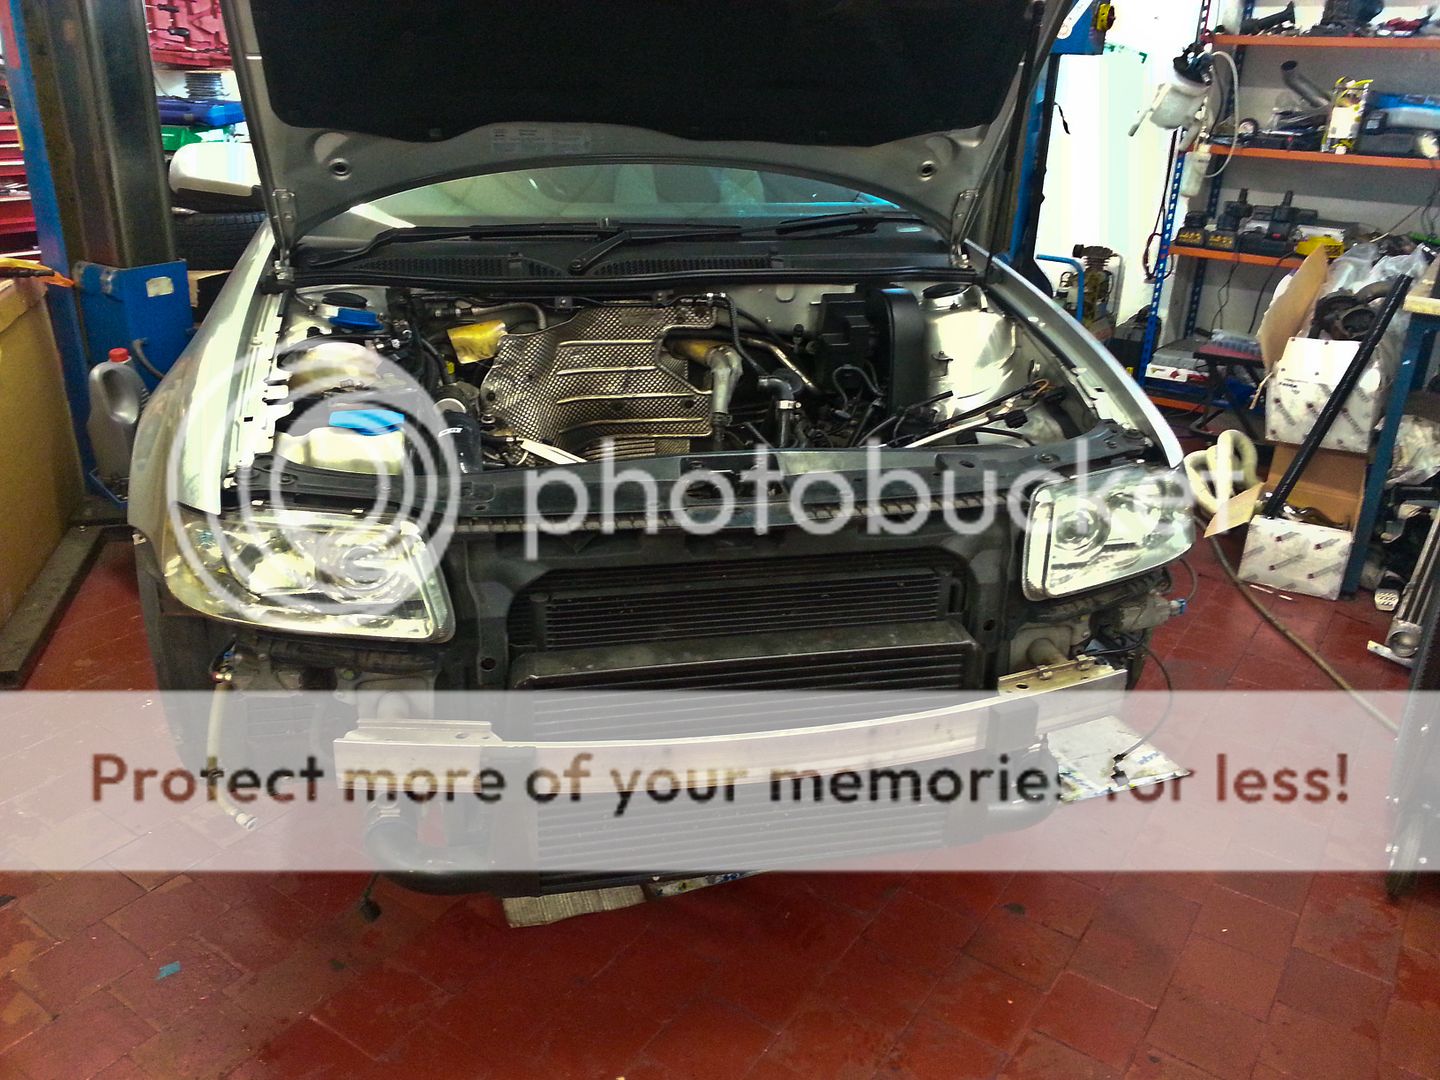
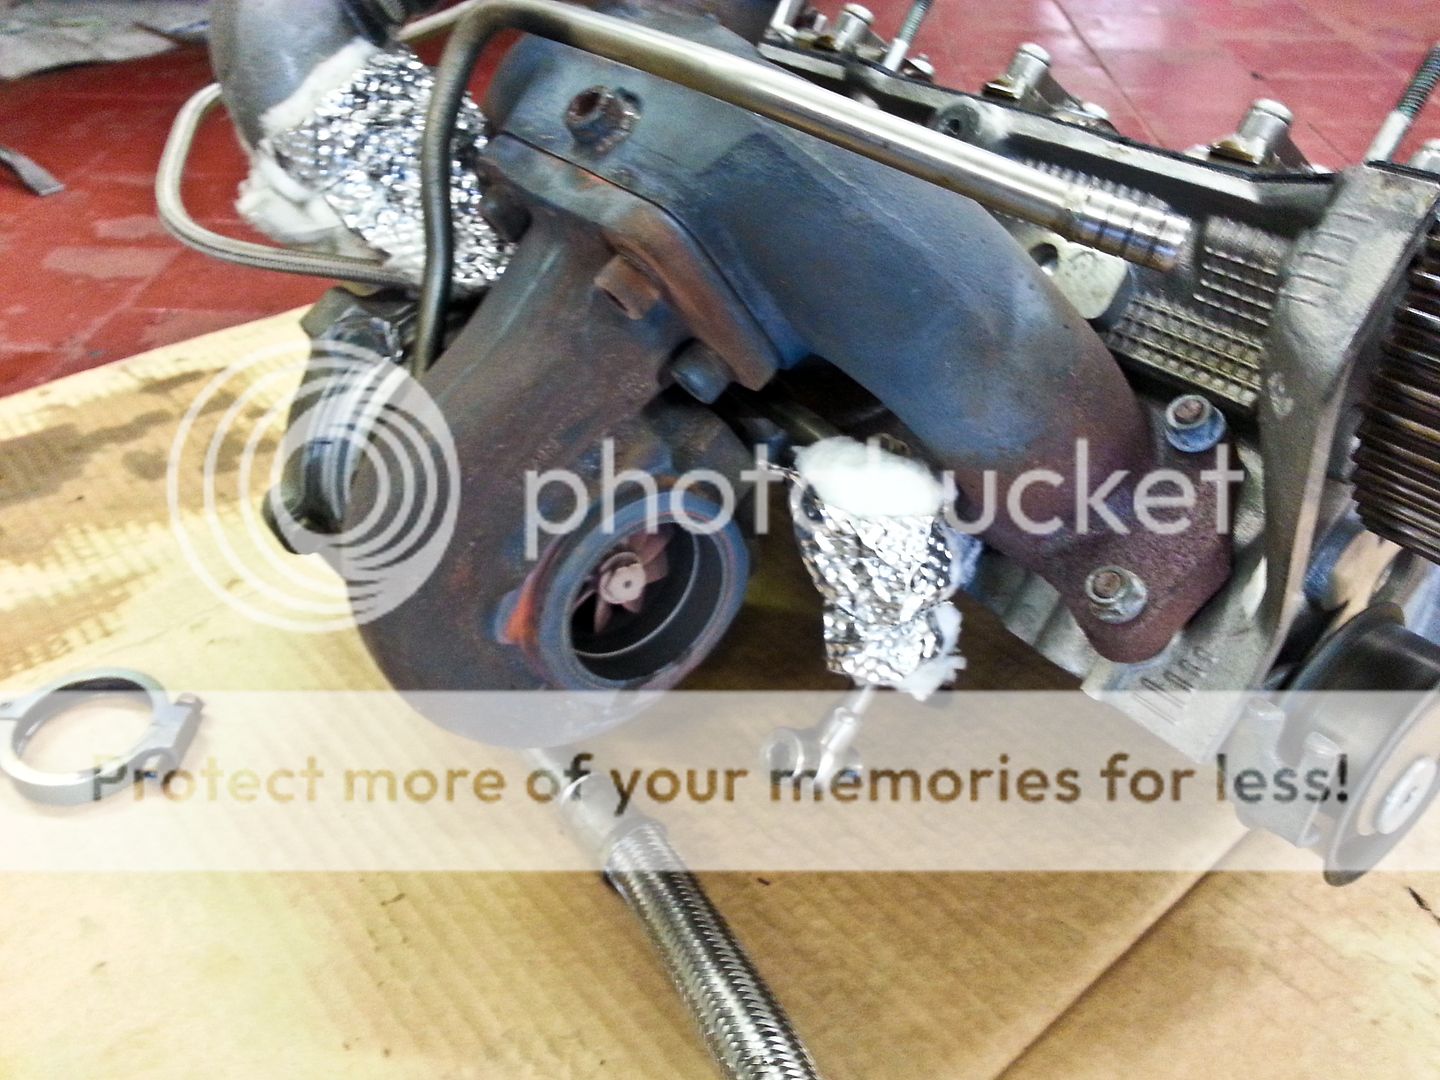
Reasonably productive day... noticed a bit of oil around the comp housing and on the transfer box... on further inspection I noticed the oil feed was loose!!??!!... luckily how I had it fixed round the back of the block meant it wasn't going anywhere soon and the amount of oil was more a seep than a flood so thankfully no damage or other drama there... phew!

IMG_4692.jpg


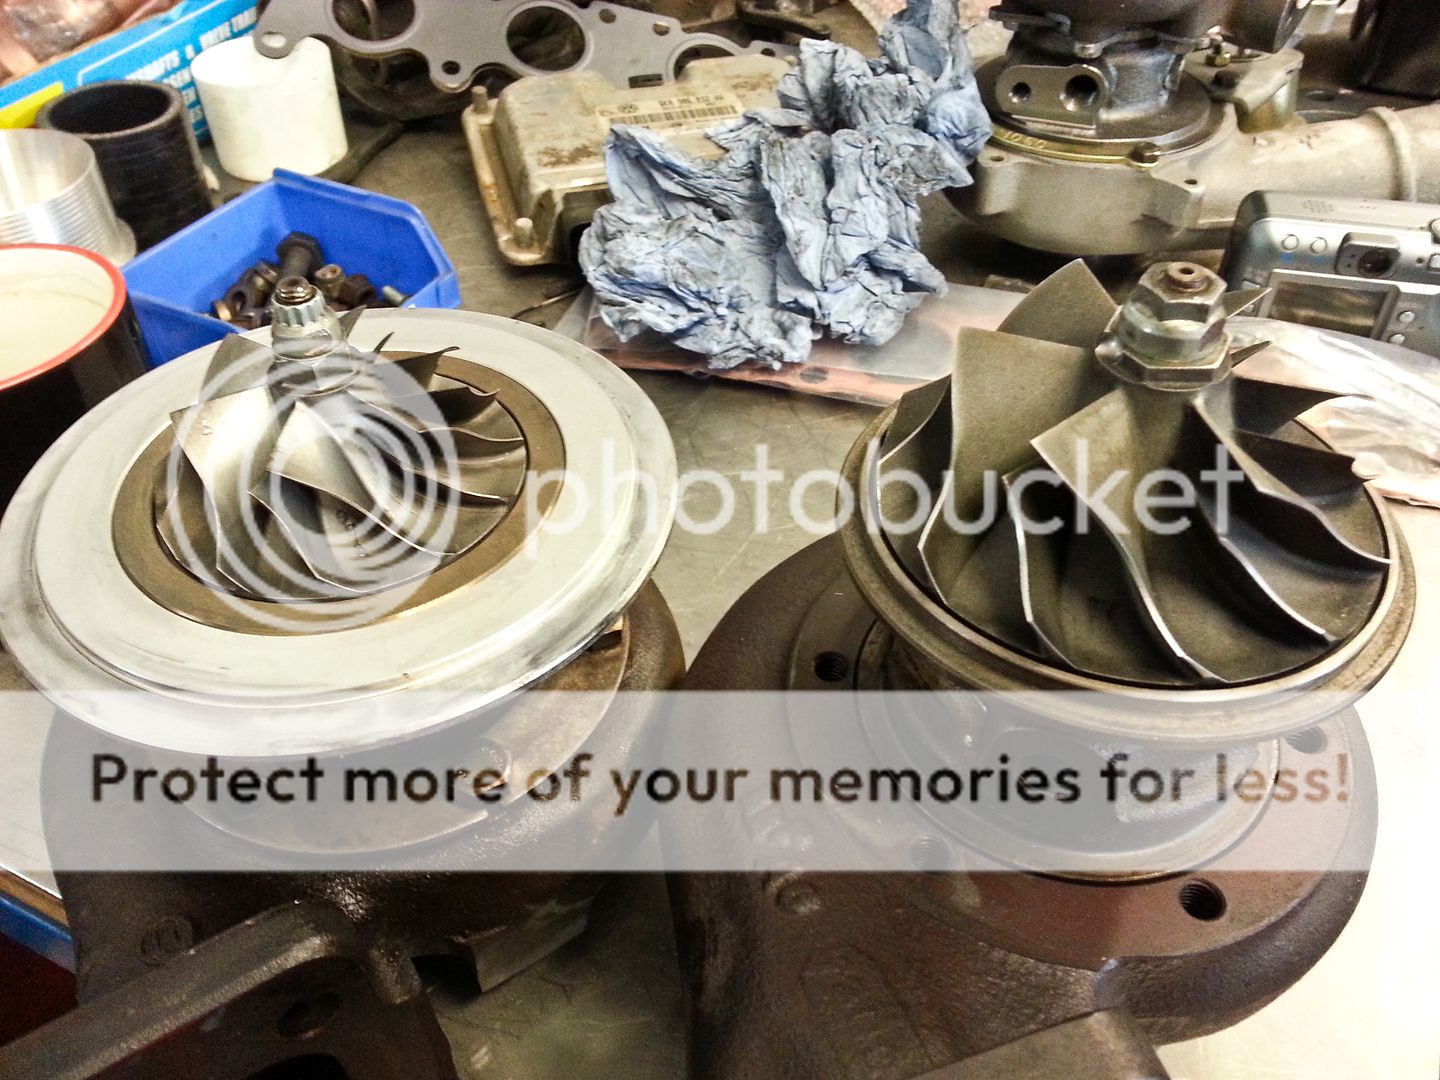
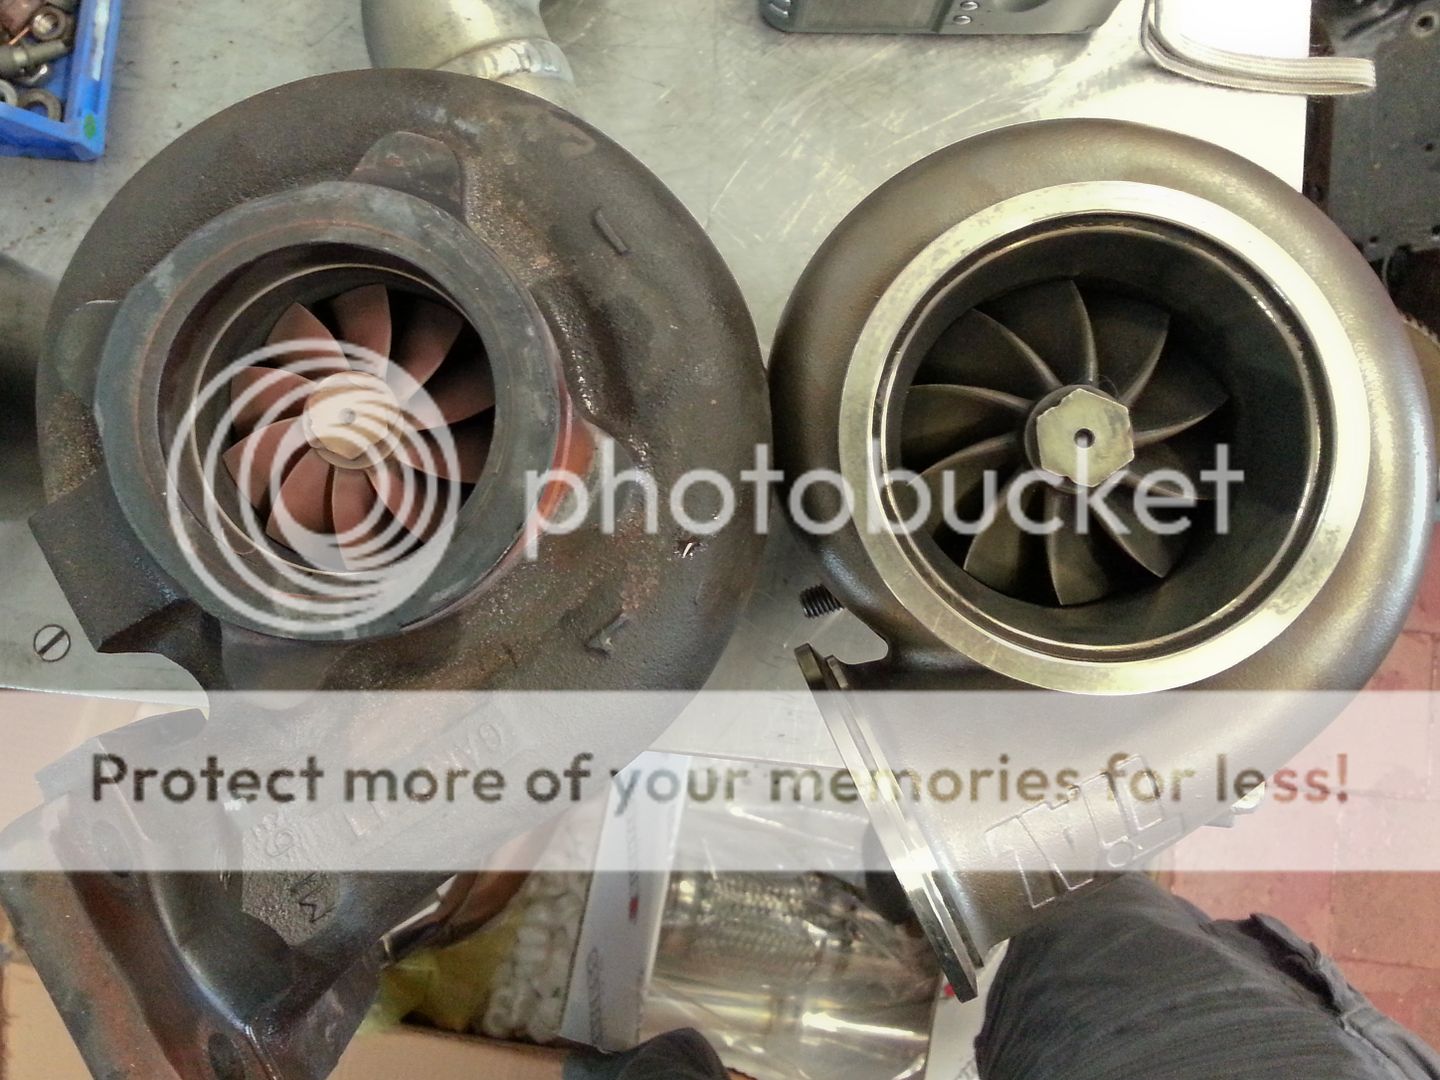
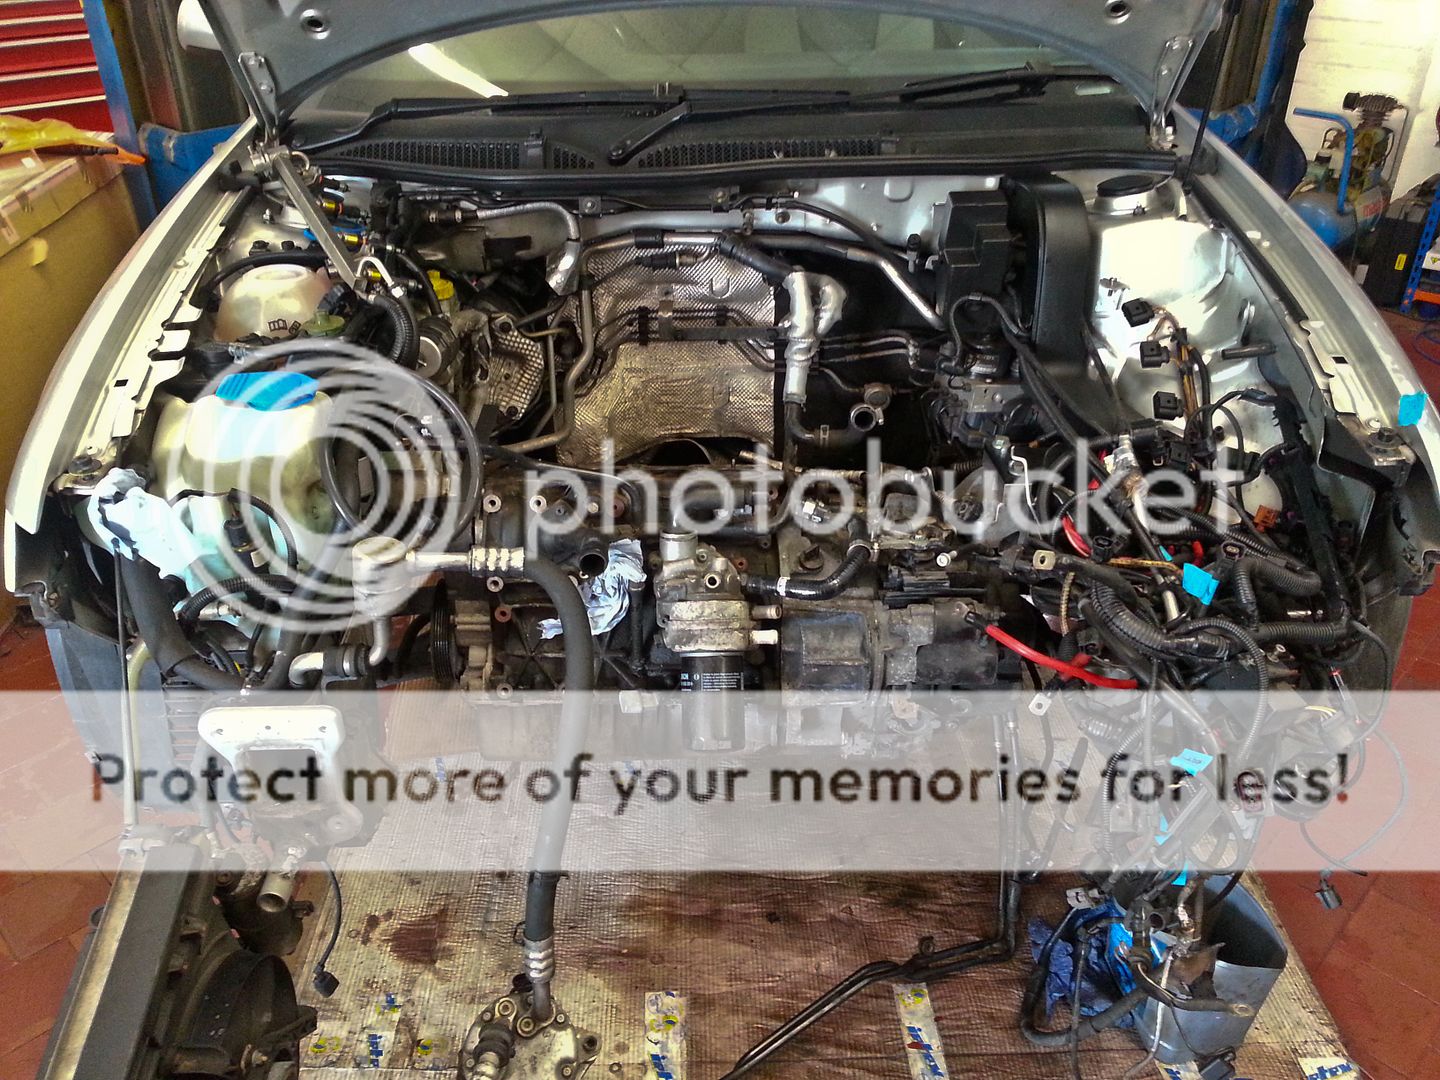
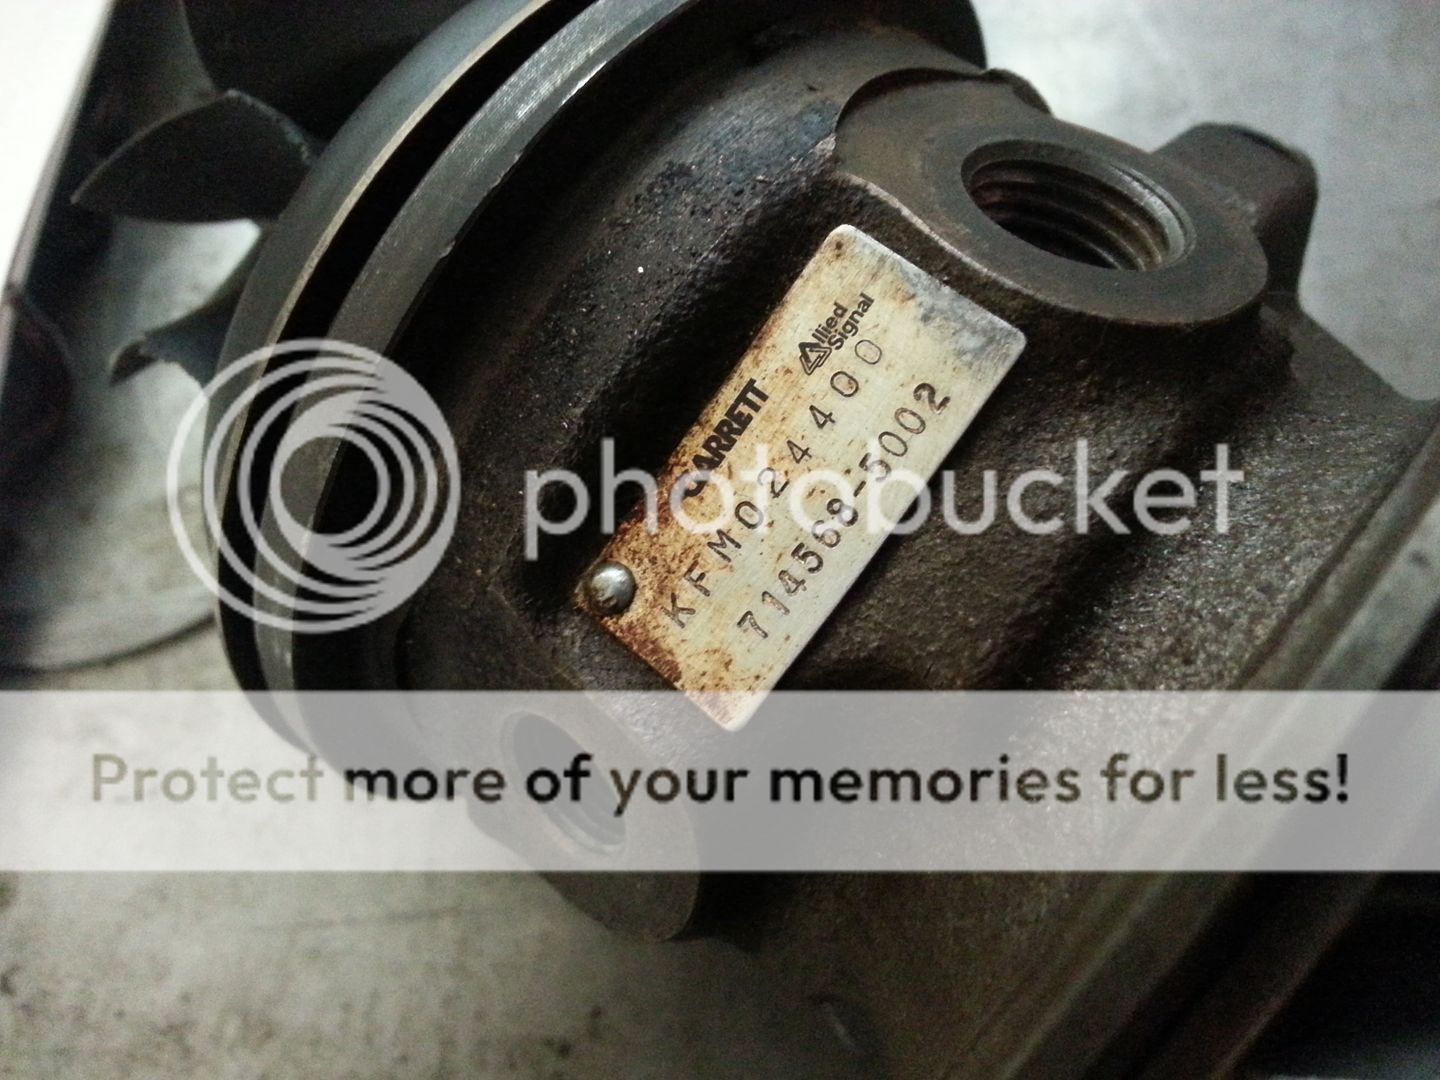
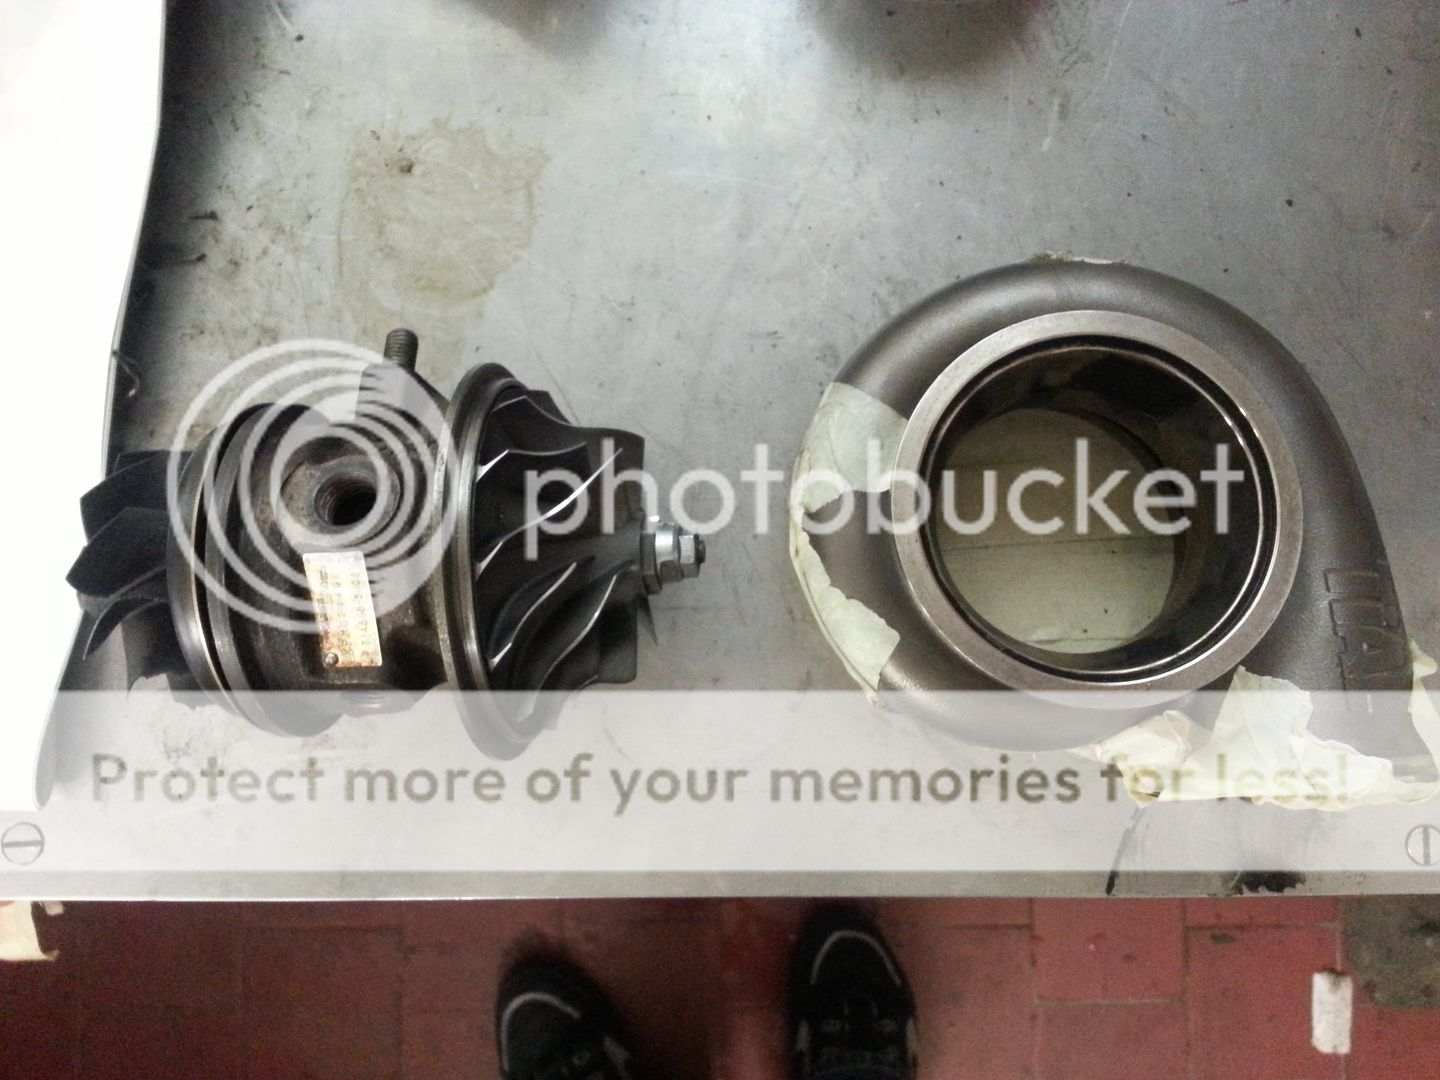
So removed the turbo and the manifold... all I can say is nordlocks and the M10 conversion just works!... ****** things took a little effort to move, nothing was loose so pleased that worked at least lol.. removed the comp housing to clean the oil off and took the chance to do a little comparison...
20130826_113133.jpg


20130826_113143.jpg


20130826_120630.jpg


Quite a difference...

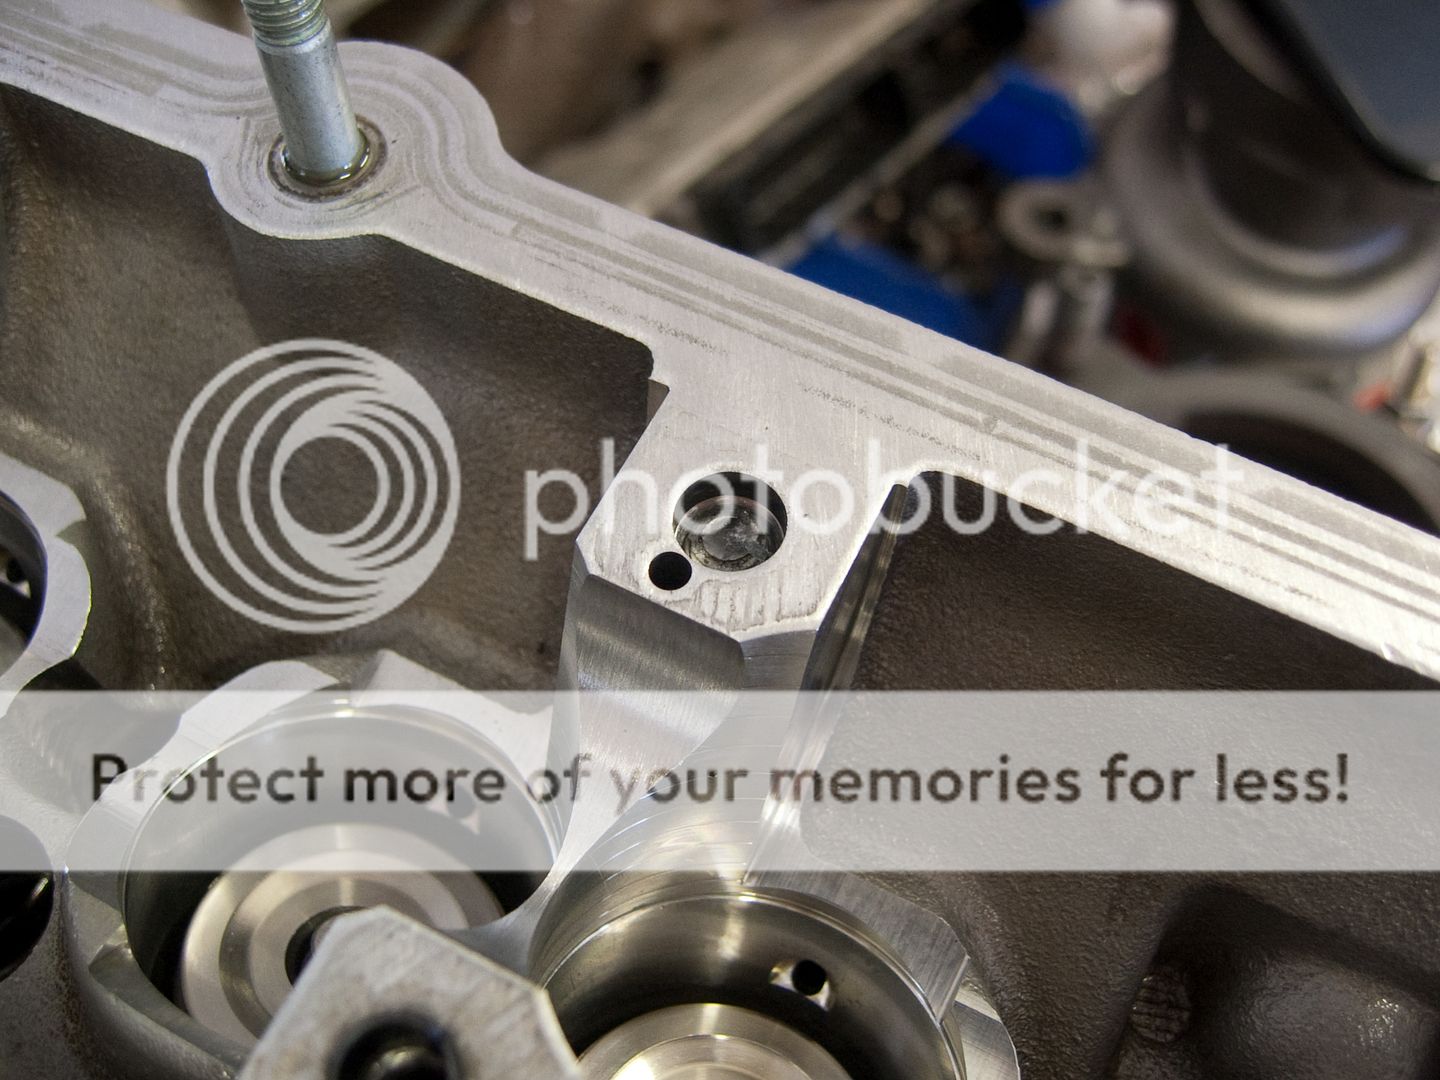
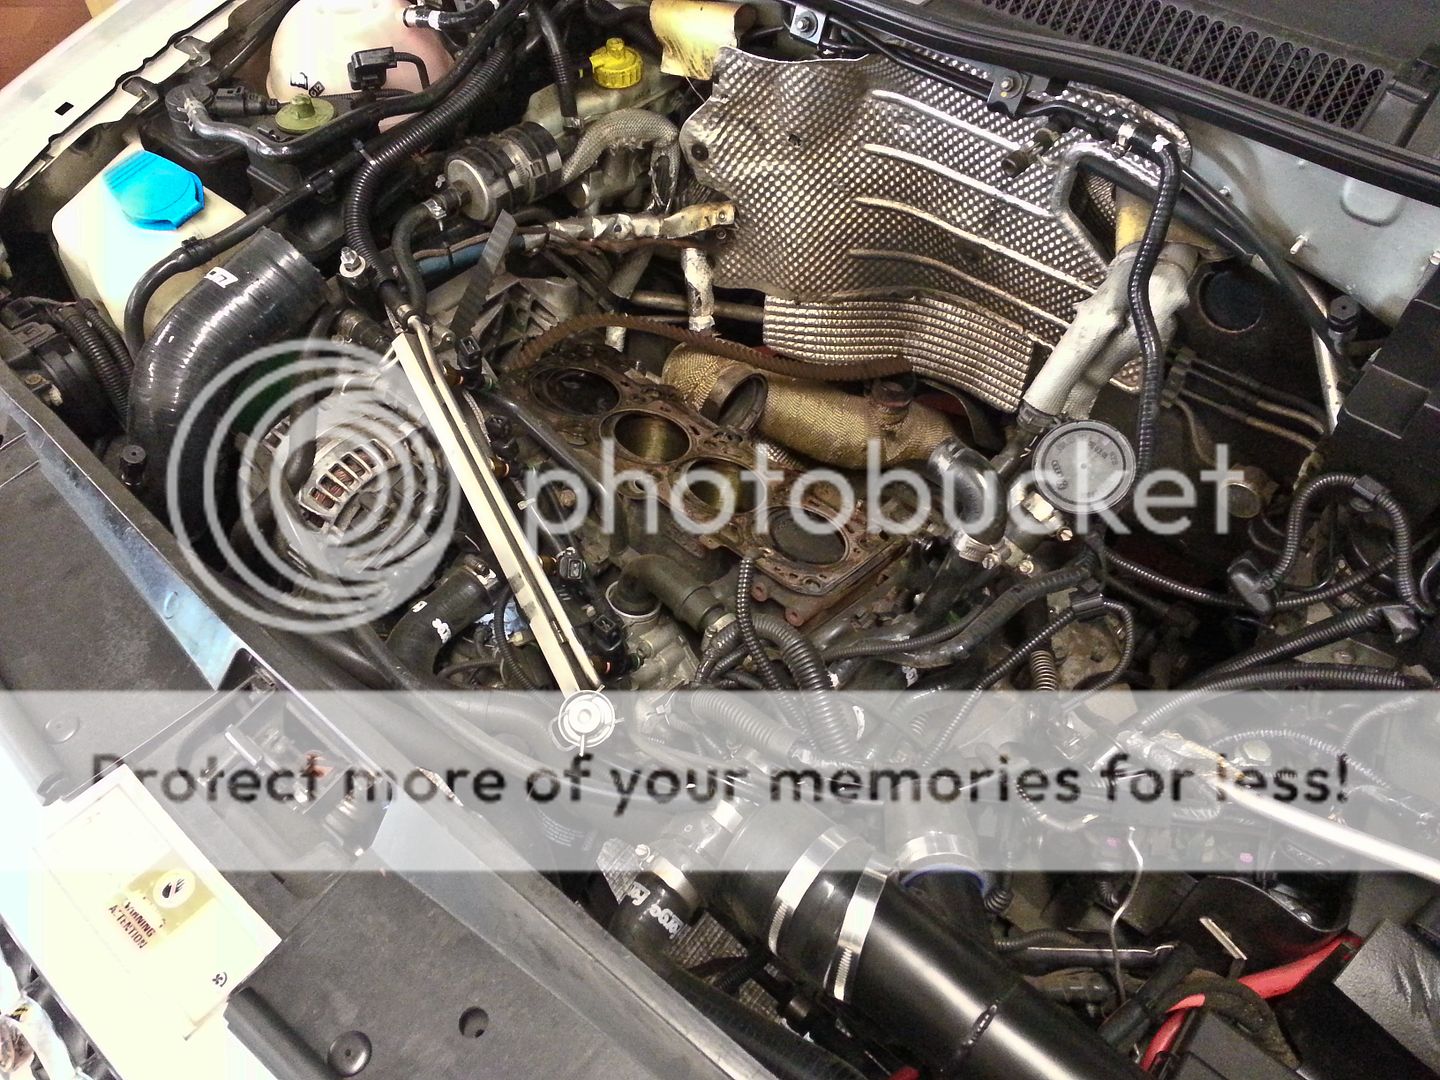
Next was to strip out the cams so I could remove the valves... I still had the ADR cams in but will be putting my std cams back in when I rebuild the head... however... not all went as planned... I was doing the usual crack off the bolts then wind out gradually but was surprised to find two bolts sheared off!... needless to say those bolts have been retired and I will buy 32 new ones!
CRW_4703.jpg


CRW_4710.jpg


CRW_4711.jpg


Brilliant!!!... will have to sort that later... cleaned the head and put all the followers/caps away
CRW_4706.jpg


CRW_4709.jpg


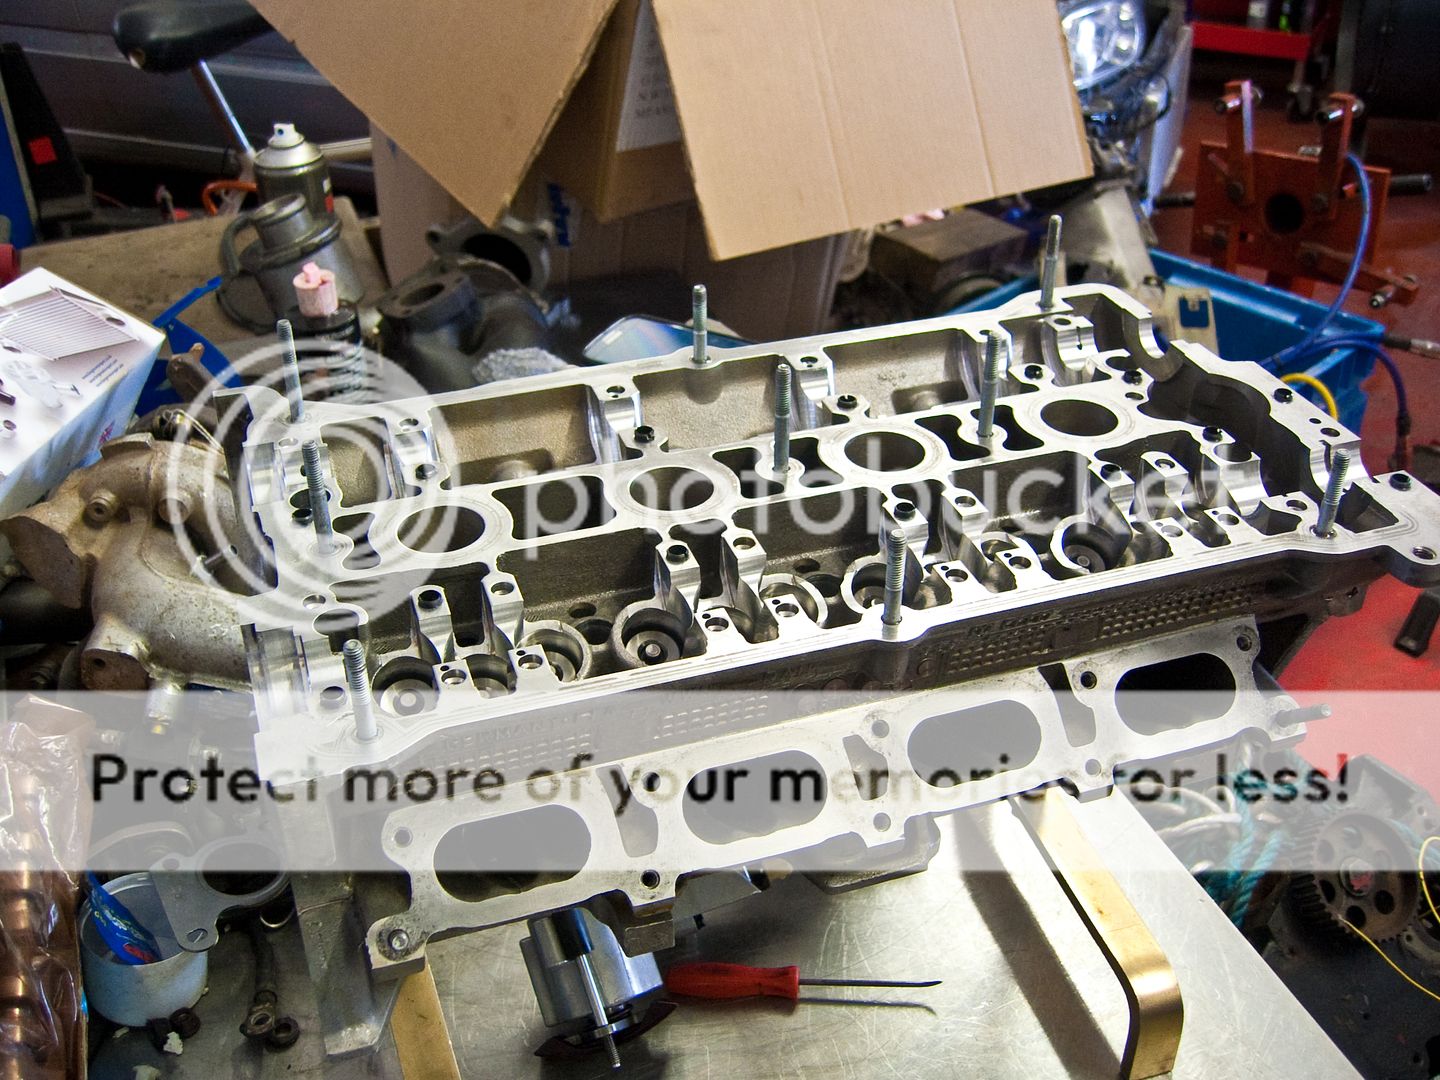
...and started taking the exhaust valves out... I have supertech single groove valves and ****** me they are grippy!... the collets are designed to grip the valve stem rather than rely on the grooves which can act as a weak point for high load/revving setups... the exhausts have double spring so grip tightly and they mark the valve stems so you have to use a bit of wet and dry (plus oil) to de-burr them else they can damage the guides on the way out..
20130826_160320.jpg


..then onto the inlets... only nine more to go!!! (20v heads... what a silly idea!!)
20130826_161332.jpg


Finally done!!...
CRW_4712.jpg


Will let Bill have a look and see what he suggests to get the broken studs out... means I won't be sending the head off just yet :(

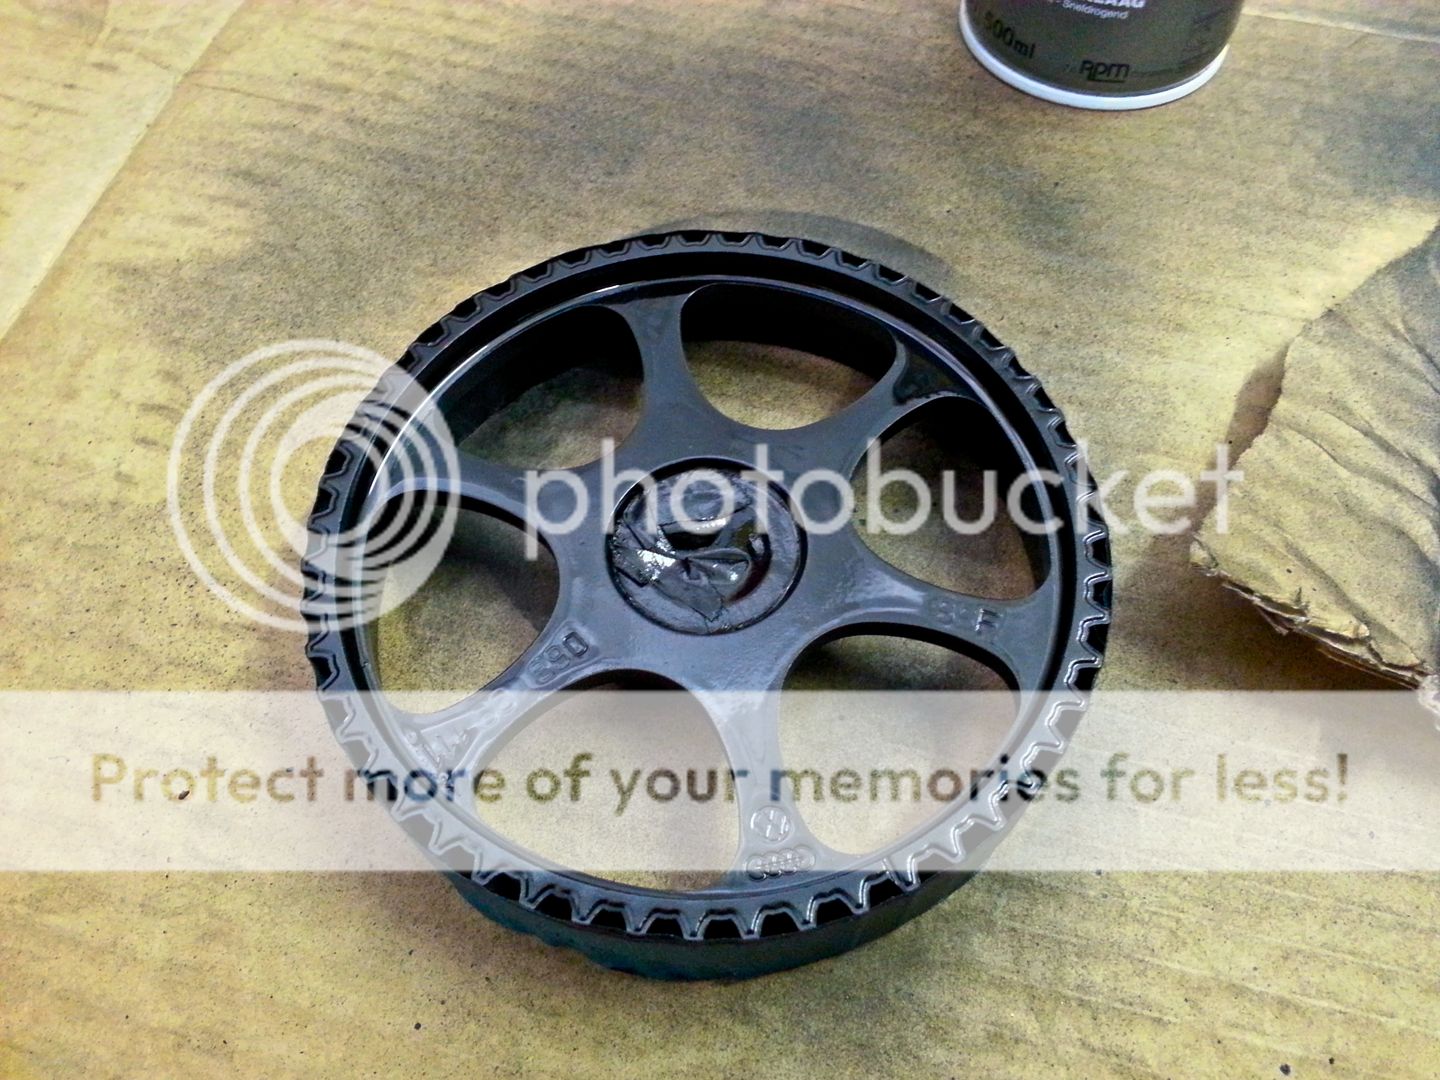
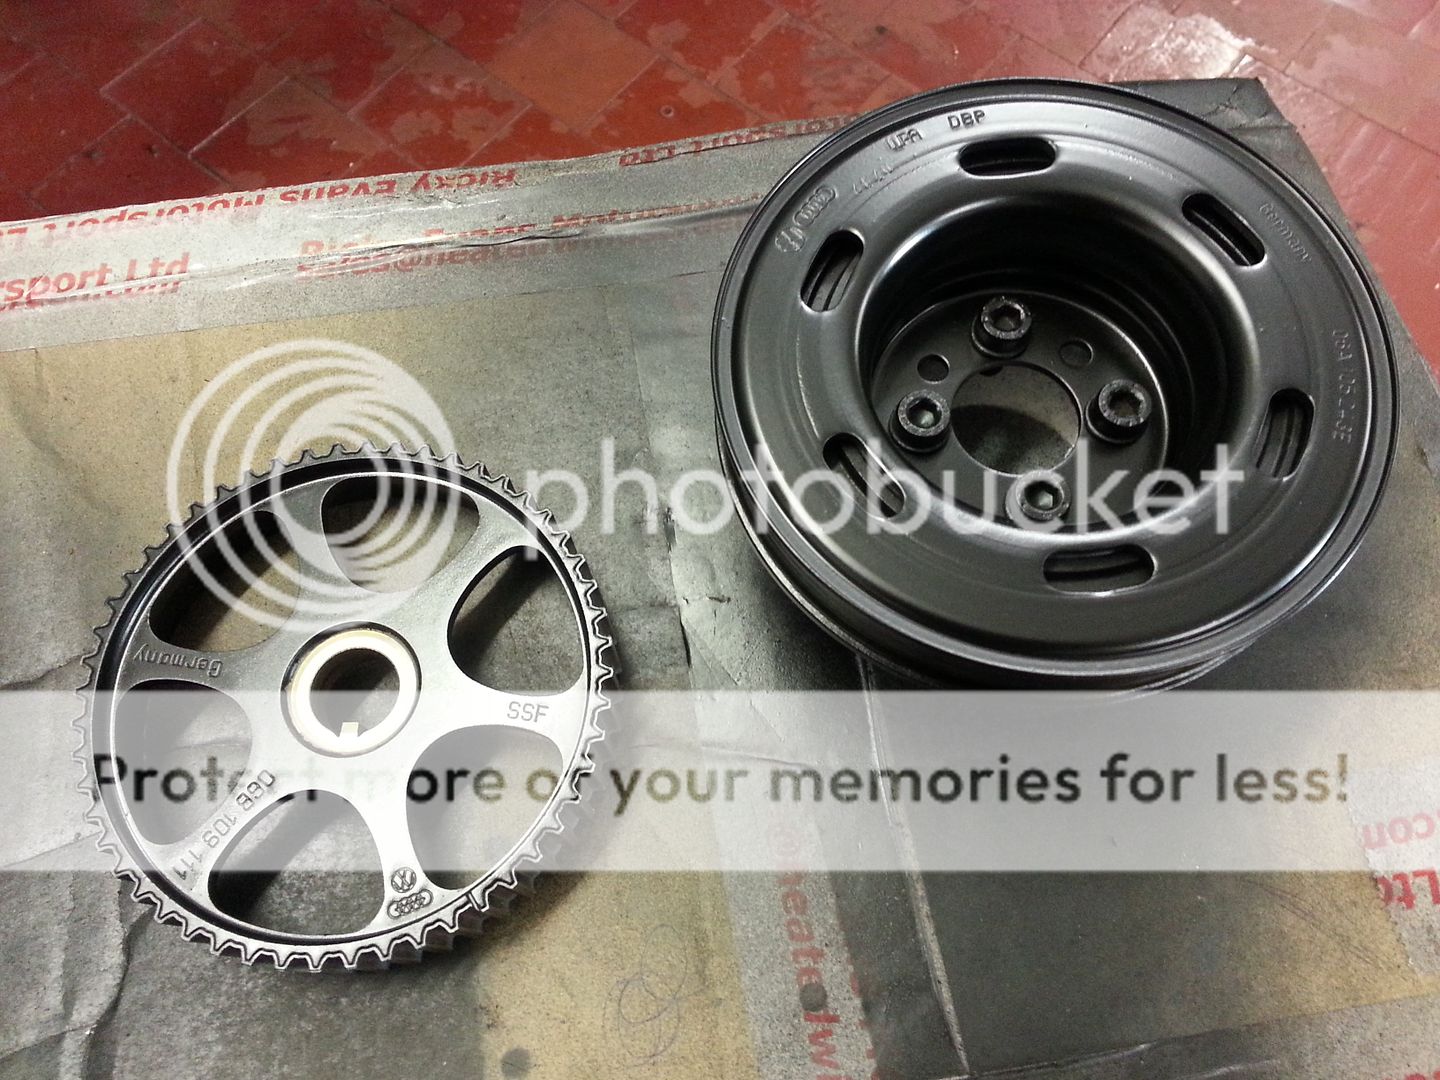
To get over my disappointment I painted the cam pulley :)
20130826_173653.jpg


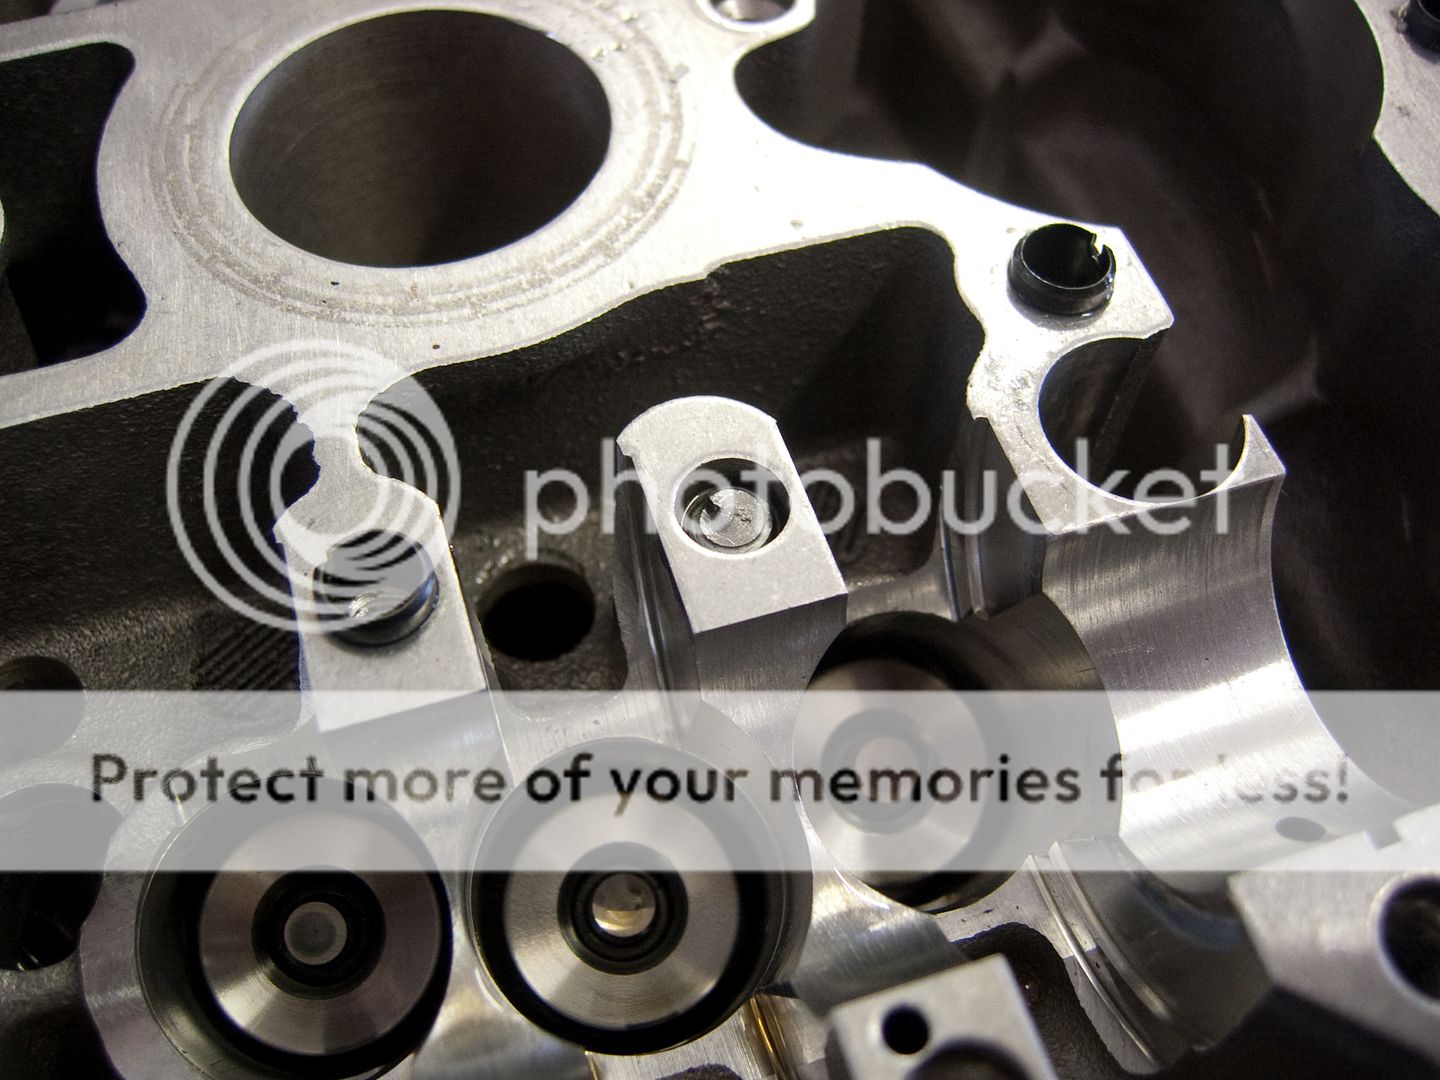
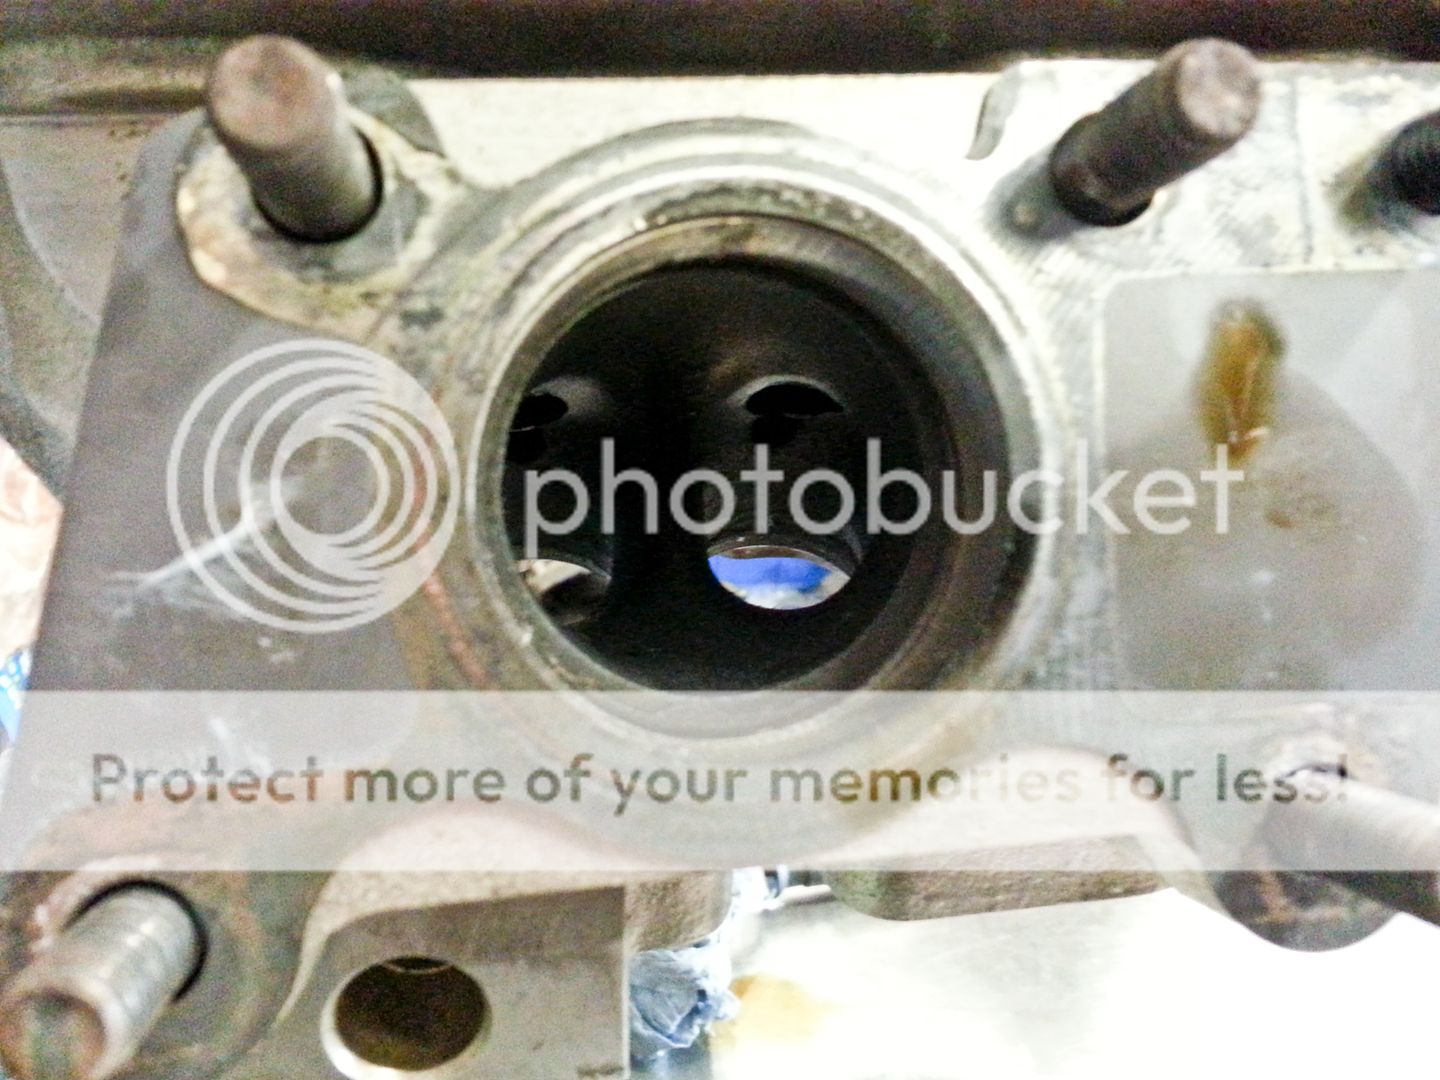
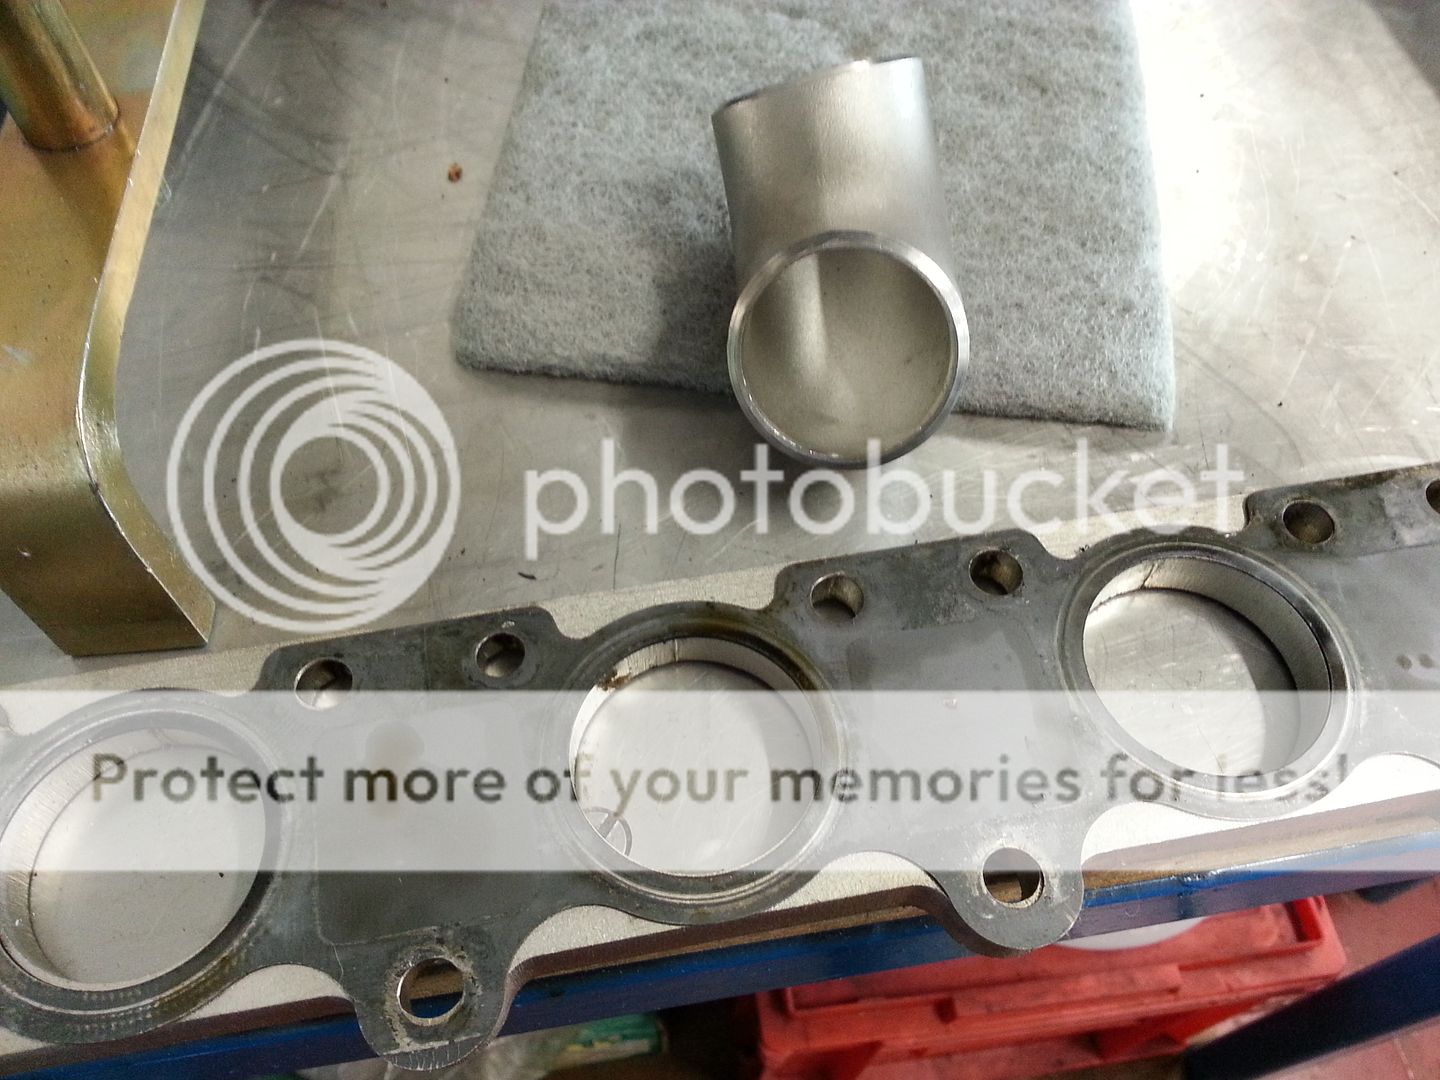
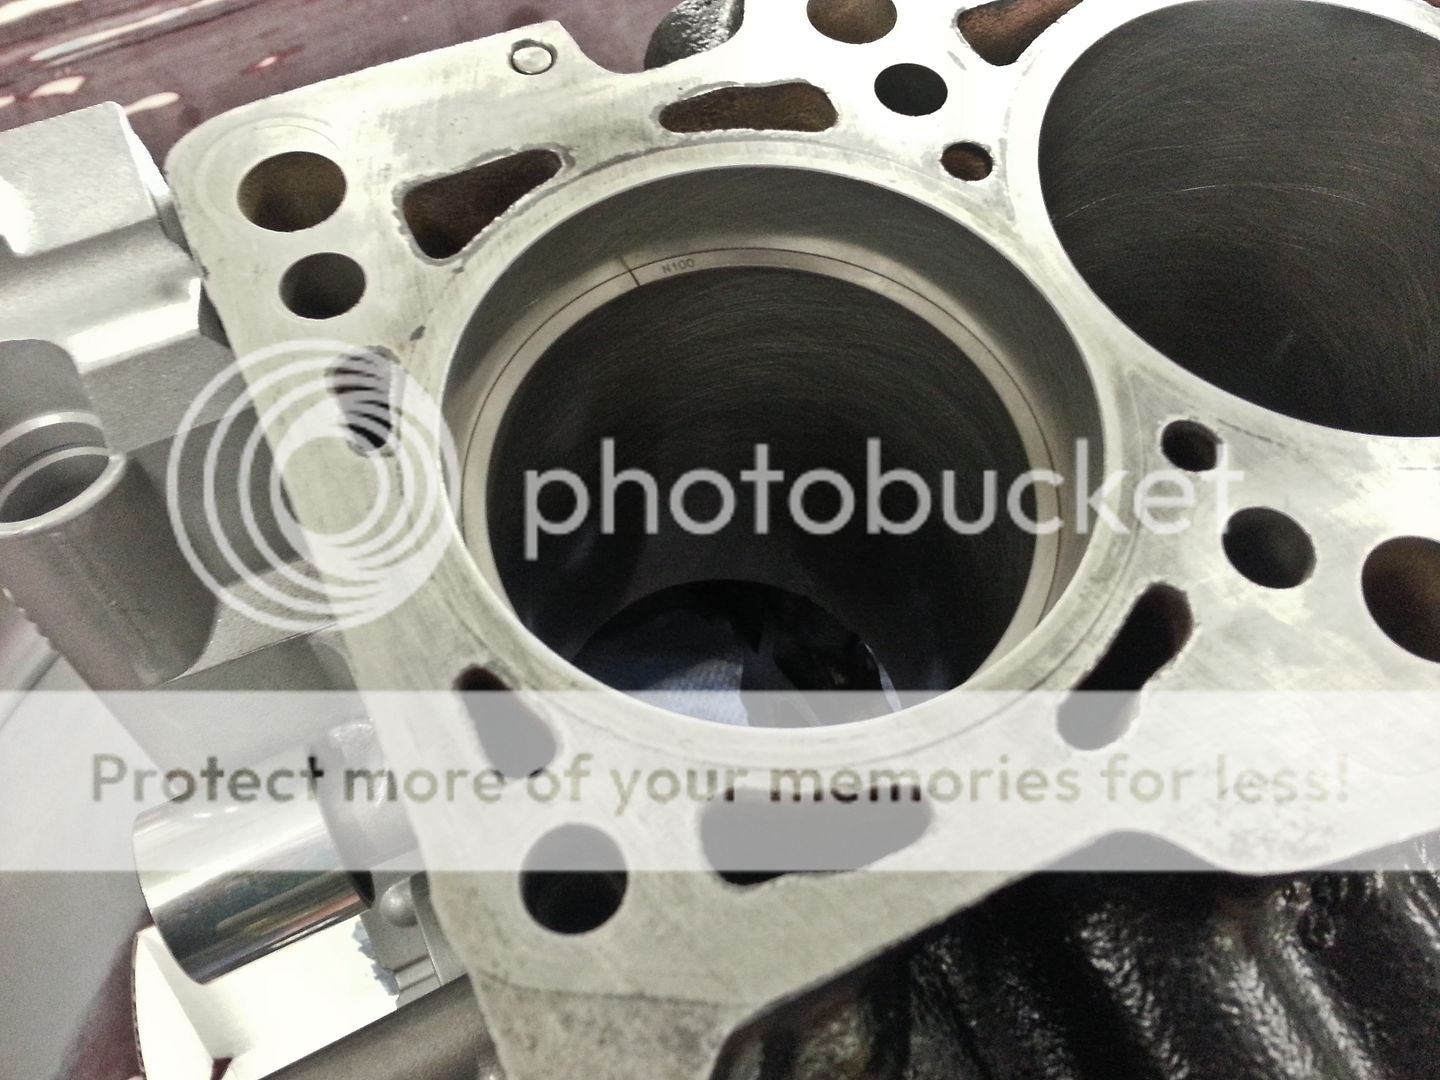
So... I decided to have a look at the exhaust ports and try and get an idea of the direction for the porting and exhaust manifold...

Exhaust port (large port AEB head)..
20130826_174900.jpg


The exhaust flange I'll be using...
20130826_174822.jpg


20130826_174726.jpg


..and the size of fittings...
20130826_174813.jpg


20130826_174743.jpg


20130826_175606.jpg


20130826_175646.jpg


While it may seem a little small there is method to the madness... for a start its the same size as used on the TSR exhaust manifold that Stacey has on his engine, its being used to help get a big *** turbo to spool and its easier to work with than the larger fittings...

Will have a proper faff around at some point later but thats it for now... productive but a little disappointing at the same time... however I did find some issues I wasn't aware of so not all bad and rather it happened this way than after the engine grenaded itself...

<tuffty/>
 
Good info for me this as i know not to port the hell out of it, i will do more work on flow for greater air speed.

I do have friend that can make uprated bolts to any spec i like, do you think there is a market for uprated cam cap bolts?
 
Last edited:
How the **** did I miss this turbo change going on!

This all looks really good/inspiring stuff tuffty but its kinder making me want to pull this td05 20g back off and put something bigger back on before I have even had bill map it lol.

That of course won't be happening but for a future power up I'm gonna have to see if the fp red can be fixed as even running less boost and power than the fp green it seemed to pull better/stronger from when boost came in until the redline. Especially with the 8cm hot side over the 7cm, which I have seemed to crack all over.

Gt35 size goodness Ftw though.
 
Good info for me this as i know not to port the hell out of it, i will do more work on flow for greater air speed.

I do have friend that can make uprated bolts to any spec i like, do you think there is a market for uprated cam cap bolts?

I thought it would be mate which is why I posted up... will discuss the spec fully with you at some point but glad you are thinking along the same lines... its a 600hp capable turbo but I won't be using it anywhere near that... 24psi is the target for a daily and 26psi for dyno queen moments... potentially 450-500hp I guess but we shall see...

The torque spec for these bolts is 10nm... they clearly don't need much so it could have been a case of a little too tight or just one too many uses... I normally only use a T30 on a 1/4 drive to do these so I know they are not tight... thankfully they didn't snap in use it was just the act of undoing them that did it for these two... to be fair these have been on and off a few times now...

Having a harder material is not the answer I don't think, its only aluminium and harder bolts with a higher torque setting may just distort the caps/bearing a little...

Will just get a set of new ones and remember that these things clearly have a shelf life once disturbed... they are not massively expensive (60p each I think) but there are 32 of them lol...

How the **** did I miss this turbo change going on!

This all looks really good/inspiring stuff tuffty but its kinder making me want to pull this td05 20g back off and put something bigger back on before I have even had bill map it lol.

That of course won't be happening but for a future power up I'm gonna have to see if the fp red can be fixed as even running less boost and power than the fp green it seemed to pull better/stronger from when boost came in until the redline. Especially with the 8cm hot side over the 7cm, which I have seemed to crack all over.

Gt35 size goodness Ftw though.

External gate dude... if you can find a way to do that then the power will come... those internally gated things are rubbish at this power level tbh..

<tuffty/>
 
Going external gate is something I've been thinking about since i saw you and bill last but this td05 was simply the cheapest way to get back on the road before the summer was over :)

Good shout though mate as it looks like that is definitely the way forward. The waste gate wouldn't take more than 1.7bar before opening on the fp red but I do have the stiffest option white spring in the actuator now instead of the red spring I had in back then. I'm not totally confident about the forge actuator either but couldn't use the new one I got with the turbo.

Will have to see what happens when I'm back down bills on the 21st, if your about we can chat more about future plans too.

No more melting brake lines this time too hopefully ;)
 
Got a few more things done...

Miltek is off... will be using a similar setup to Stacey as the miltek is struggling and if I end up with more power then it will just be inadequate...
20130826_182302.jpg


Packed the head ready to go to Andrews... sorry dude but Bill has had a couple of heads damaged by couriers in the past so I may have gone a little OTT on the packing :)
20130901_140619.jpg


20130901_145623.jpg


20130901_160314.jpg


...being booked tomorrow so should be with you Wednesday mate...

Next... rings... not the most fun job in the world... lots of measuring and filing and measuring and filing... etc... :(

Started on Cyl 1... the top rings are chrome and are hard as nails... nothing we had would touch the buggers and the last set I seen of these got ruined when my mate got slightly over zealous with a file as they were that hard!... so, used a grind wheel on a dremel and carefully held the ring in the vice (using packing and not too tight as to stress it... fragile little buggers!!) I then very carefully ground a little at a time checking that the ring closed properly and after a few measure/grind cycles the first piston was done... the second compression ring was filed as this was not a hard material like the top ring but the two supporting rings for the oil ring were a spring steel so needed grinding too...
20130901_174707.jpg


1 & 2 done...
20130901_183026.jpg


...home stretch, cyl 4 top ring gapped...
20130901_192412.jpg


Phew!... thats one job less to do... next up will be plasti gauge the mains and big ends just to satisfy myself everything is good and will be a nice learning experience too...

Next weekend I hope to have the engine and gear box out and the bottom end built

<tuffty/>
 
  • Like
Reactions: Scullies, Gizmo20VT, Andrew@A.L.D and 1 other person
Todays fun and games....

Started by putting the new bottom end together... crank as it came back from balancing..
20130907_103606.jpg


Removed caps from block and cleaned bearings... also cleaned the crank...
20130907_110500.jpg


20130907_110454.jpg


Popped a bit of ARP lube on the threads and the mating surface of the nuts...
20130907_121641.jpg


Torqued the mains as per the spec working from the middle cap out... next fitted the new oil pump chain and tensioner...
20130907_151325.jpg


...followed by the front crank seal/cover...
20130907_155033.jpg


Laid out the rods/pistons ready for fitting...
20130907_155016.jpg


...after which they went in the block...
20130907_171631.jpg


...big ends all torqued up...
20130907_174009.jpg


...new oil pump and pick up...
20130907_180340.jpg


Done!...
20130907_181753.jpg


...and even found time to paint the pulley :D (had to paint one thing at least..)
20130907_182736.jpg


Now I need to get a sump... most likely going to be a Forge baffled one...

Tomorrow I will be mostly taking the front off the car and getting the engine/box out :)

<tuffty/>
 
  • Like
Reactions: Sam_
dont forget sump and arp mains.. bell housing end clearance req'd - i'm sure you have'nt but mention it anyhows

Yeah mate... not forgotten... just need to persuade Forge to sort me out with a sump ;P

(..and one of their wastegates so we can test it vs Tial's :D)

<tuffty/>
 
Persuade them to send a sump to Sydney for me too yeah? cheers...

Tricky enough getting them to send one here and they are only a couple of miles up the road LOL!!...

See Forge? already getting peoples interest ;P

<tuffty/>
 
  • Like
Reactions: driftymcgee and Prawn
Todays progress...

Started with a sophisticated breakfast of Tesco finest scotch egg and of course Dr Pepper
20130908_102254.jpg


...then on with the job in hand... off with the bumper to start the journey through all the wiring and hoses to the engine...
20130908_105301.jpg


20130908_150248.jpg


20130908_155045.jpg


While the engine is out I am going to see if I can reroute the PAS return hose as its a right royal PITA where it is...
20130908_155057.jpg


I also plan to redo all the heat shielding and get rid of the pipes currently running along the top of the scuttle... these are the coolant return to the expansion tank and the EVAP to the TIP which I don't have connected anyway...
20130908_155102.jpg


Finally everything disconnected and moved out the way ready to remove...
20130908_170513.jpg


Et voila... (told you I was sophisticated...)
20130908_185259.jpg


Tomorrow I will crack off the box and start stripping the bits I need for the new engine...

<tuffty/>
 
  • Like
Reactions: Vex182
PT I hope you've taken a photo in the empty engine bay which is accustomed to every engine removal. It's the law. :angrymod:

I'll make sure I do that as the first job tomorrow... :)

...although the last pic in my update is a kinda arty version of an empty engine bay shot... :p

<tuffty/>
 
tuffty what paint did you use on the boost pipe did you use ang high tekp stuff
 

Similar threads

Replies
5
Views
1K
Replies
1
Views
1K
D
Replies
0
Views
702
Deleted member 65282
D