Nice one on fixing it in situ! I didn't realise you were running a pag parts manifold. Have you seen his underslung vband cast stainless tubular?

There's a guy here running 43psi through a GTX3071R on a TFSI lump.
 
  • Like
Reactions: basil brush
Nice one on fixing it in situ! I didn't realise you were running a pag parts manifold. Have you seen his underslung vband cast stainless tubular?

There's a guy here running 43psi through a GTX3071R on a TFSI lump.

If I do a fundamental change of mani and turbo it will be to a tubular top mount... the most interesting results I have seen in all the BT conversions I have been involved with was the TSR tubular manifold and HTA GT3071 on a stroker... as much as I like my underslung setup the v-banded top mount makes life a bit easier maintenance wise

The GTX2867r looks to be a nice looking turbo... certainly on a par with my current GT3071 towards the top end but with the potential to spool sooner on a 1.8...

I like the idea of setup as I think from an almost perfect 1.8t BT conversion it looks to give the best of both the GT2871 and the GT3071 and remaining compact for ease of installation and v-banded for reliability etc....

We shall see... need to price my kit up for sale and the new stuff to buy and see where it sits... if its financially viable (I am not made of money lol) then I'll go ahead...

As I mentioned before, while I could just go fr a bigger turbo (GTX30 or something) I have never really been chasing power and just want to get a nice reliable 400hp and a drivable car rather than a dyno queen :)

<tuffty/>
 
Yeah I'd like to go top mount eventually but the TSR manifold is mega money and it's either that or the CTS which seems to have it's downsides. What I like about the pag parts manifold is there's an off the shelf downpipe to suit. If I want a custom downpipe here to suit either, I'd need to be loaded.

From what I've seen the GTX28 does look good. If I'd not bought the GTX30, I'd probably look at getting a T25 one to replace the GT2871 I have lined up.
 
You not thought about making your own top mount manifold any more Paul?

Would certainly save you some money and you could run your current setup until its built.
 
It was on the list... maybe still could be but tbh I have not really given it any more thought for now... I have a few other things to do and will spend a bit of time later this month sorting some stuff out and look at the prices of it all...

The GTX2867r appeals and the TSR mani is low enough that the turbo isn't in your face like some top mount setups... the appeal of the underslung was purely the OE look but I have learnt loads over the past 3 years and in the back of my mind I know I would do things differently purely because I enjoy the building probably more than the driving lol...

Anyhoo... some compressor maps showing the difference between the GTX28 and the GT30

GTX2867vsGT3071compmap.jpg


<tuffty/>
 
Much better surge line. Spool like a beast.
Theres a fella on vortex who im going to request some compressor and turbine maps from soonish.
Plotted against revs to try anpredict how it will behave and wha sort of rev limit im going to have.
 
Spent Monday playing with my PC in prep for a small upgrade, only car related thing I did was put the new tax disc in the Golf and had time to think about where to go next.... pricing up the GTX28 and all the other stuff I would need has realistically made my mind up... I am looking at around 1k min on top of selling on my gear and all the other unforseen costs that I haven't factored in as yet as I couldn't see much point in going to any more detail once I had worked out the basic hardware costs...

Obviously at the time I was a little cheesed off with it all but the car drove lovely on the way home from Bills Sunday and after all the work we have put in getting the car this far it would be rude not to see it through...

So... I have a list of stuff to sort out short term, VT mounts are ordered, I am going to poly other bits and replace some of the worn running gear components to freshen her up a bit, get the WMI installed and sort the DP out as its still knocking on the rack currently...

Long term I am going back to looking at fabricating a tubular manifold and also upgrading my current CHRA with a billet compressor wheel...

<tuffty/>
 
hey Tuffty nice too see ur never ending progress mate youve gone so far with that 8L , neway i thought it be rude not to say hello as its been a while since my incident ... hope all is well mate

and thanks for the help u always gave too :D
 
Bit of an update... have been busy over the past week accumulating stuff...

First up some number plate and sidelight LED's from our good friend Trups at EM Tuning... not fitted the sidelights yet as I have plans for the headlights later..
20130329_120410.jpg


Needed to remove the plate and the surround to allow the light fitting to be removed..
20130329_120744.jpg


...needed to clean up the contacts with wet and dry as they were looking a little corroded...
20130329_120854.jpg


Swapped out the bulbs... Trups supplies ones that don't light up the road behind you :)
20130329_121842.jpg


...nice white light...
20130329_122417.jpg


On to the next job, fitting some aero wipers I got well cheap on ebay.... these are the proper aero type, I have been running the std arms with aero 'upgrades' but these came along at a real good price and I needed new wipers...
20130329_152908.jpg


20130407_173624.jpg


...and bought a new blade for the Polo rear I already had...
20130329_114318.jpg


I have also bagged a pair of the TT fan jets for a bargain £8 (eBay again) which I will fit later...
20130406_152728.jpg


After the minor incident where I was close to parking the car up for a year I decided to change the engine mounts... I already have a set of THS uprated ones which have been working well but decided to make sure the engine stays where its put I went for a set of Vibratechnics mounts...
20130406_111421.jpg


20130406_111444.jpg


Gearbox side first...
20130407_125046.jpg


...two bolts have to be accessed through the trunking so the strut brace etc was undone so I could remove the top of the trunking to gain access to...
20130407_130226.jpg


...and
20130407_130435.jpg


VT and THS (and OE)
20130407_130822.jpg


VT gearbox mount fitted
20130407_132347.jpg


Engine side is hidden by just about everything... so charcoal filter out and everything bungied out of the way (inc charge pipe)
20130407_133249.jpg


VT vs THS
20130407_134820.jpg


..and VT fitted...
20130407_135951.jpg


Surprisingly the THS mounts are in rather good nick... nothing to suggest they are knackered at all... so they will be going on eBay LOL...

One last job of the day... where I have had the head off more than a few times the bolts holding the damped crank pulley on were getting a little tired... these are quite a hard bolt too... 10,1 rated IIRC and I bought a set of replacements a while back but never got around to fitting them so today, I did.. just as well as one needed a little more effort to remove... these bolts require a 6mm allen key to remove... one rounded and needed a a bit of persuasion with a hammer and a splined bit...
20130407_155946.jpg


...nice new OEM ones fitted...
20130407_155937.jpg


All in all fairly productive... I even manged to realign the exhaust as the middle clamp was loose and it was knocking in places and I even washed the car for the first time in weeks!!!...

The mounts are still bedding in so there is a little more vibration than previously on idle but this is to be expected... I fully anticipate this to die down a bit over time... on cruise its unnoticeable...

I have a week off at the beginning of next month... plans for then are:

  • Fit WMI (finally), I have all the bits now so no excuses...

  • Wire in a relay for the inline fuel pump

  • Look at modding the Miltek back box as its a little worse for wear after the NLS/launching and starting to make a hissing noise under full power... typically a sign its not flowing as well as it could so it will be dissected then made 3" internally with maybe some further fabrication on the tail pipes... don't know for sure until I am in there...

  • Refurb the headlights this time by removing them fully and doing it on the bench where I have a bit more control... I have bought some clear Lamin-x film which I am told (by Lamin-x) has UV protection built in...

  • Get the car on the dyno for tweaking and dialling in WMI...

I have also been given something else to test....
20130406_144736.jpg


Its a 70mm throttle body... just interested to see if it makes any difference at all...

<tuffty/>
 
VT vs THS
20130407_134820.jpg


..and VT fitted...
tuffty dose the alloy part of the drivers mount pull out of the rubber easily? Mine dose and I'm concerned there **** so just want some clarification as ths's customer service is a load of f**kin **** as I contacted them twice now and ive heard f**k all over a week or two now, so word of advice to peeps is to get them through a dealer as direct they don't even seem to have a number to call, c**ts
 
tuffty dose the alloy part of the drivers mount pull out of the rubber easily? Mine dose and I'm concerned there **** so just want some clarification as ths's customer service is a load of f**kin **** as I contacted them twice now and ive heard f**k all over a week or two now, so word of advice to peeps is to get them through a dealer as direct they don't even seem to have a number to call, c**ts

Guessing you are referring to the THS mounts? mine are fine mate, doesn't pull out at all... they are just over 3 years old and still seem pretty good tbh... I bought direct at the time as I had a discount code which knocked quite a bit off...

Sorry to hear you have had the issues though... you could try them on their facebook page of course... they would have to respond then...
THS Performance LTD | Facebook

<tuffty/>
 
Pics of washed car?

I can't mate... even washed she is still dirtier than I would like... (ask anyone that knows me lol)

I need at least 3 days working on her before I would be prepared for pics ;P

When done she looks a bit like this...
CRW_4589.jpg


<tuffty/>
 
  • Like
Reactions: richard2k6
Thanks for that mate, there bran new as well. I like the look of those vibes :) what's the rumble like in the cabin? It's never bothered me but I could stir a cup of tea on tick over if I sat it on the dash of my fiesta turbo lol
 
Thanks for that mate, there bran new as well. I like the look of those vibes :) what's the rumble like in the cabin? It's never bothered me but I could stir a cup of tea on tick over if I sat it on the dash of my fiesta turbo lol

tbh there is a little increase in cabin vibration on idle but its died down a bit as the mounts start to settle in and expect it to be even less over the coming weeks as they fully settle... its the same when doing the dogbone (I have a yellow bush)... that vibrated like hell initially now all is good... the VT's I have are the road ones...

The THS ones are a little less harsh but I expected the VT's to be firmer (its the reason I went for them)... feels nicely connected too... just the small dogbone bush to do

<tuffty/>
 
dont you already have your inline pump wired in?

been trying to get my head around wiring a pump in, im not very good with wiring etc. read a few threads where people have used a relay, i thought that was compulsory.
 
dont you already have your inline pump wired in?

been trying to get my head around wiring a pump in, im not very good with wiring etc. read a few threads where people have used a relay, i thought that was compulsory.

Mine is piggy backed off the OE wiring... while its man enough and I haven't had issues its just best practice to go for a relay really...

I did a little research prior to fitting mine and current draw isn't much different to OE as the intank isn't working anywhere near as hard as it would do on its own so there is a slight increase in overall current draw but for completeness I will fit a relay..

<tuffty/>
 
I love the attention to detail! And I remember saying to you tuffty, your car even when dirty, looks cleaner than mine, ALWAYS! Lol. I could eat food out of the engine bay
 
  • Like
Reactions: MIGGZ
Have some time off work so obviously this meant tinkering time with the car.... :D

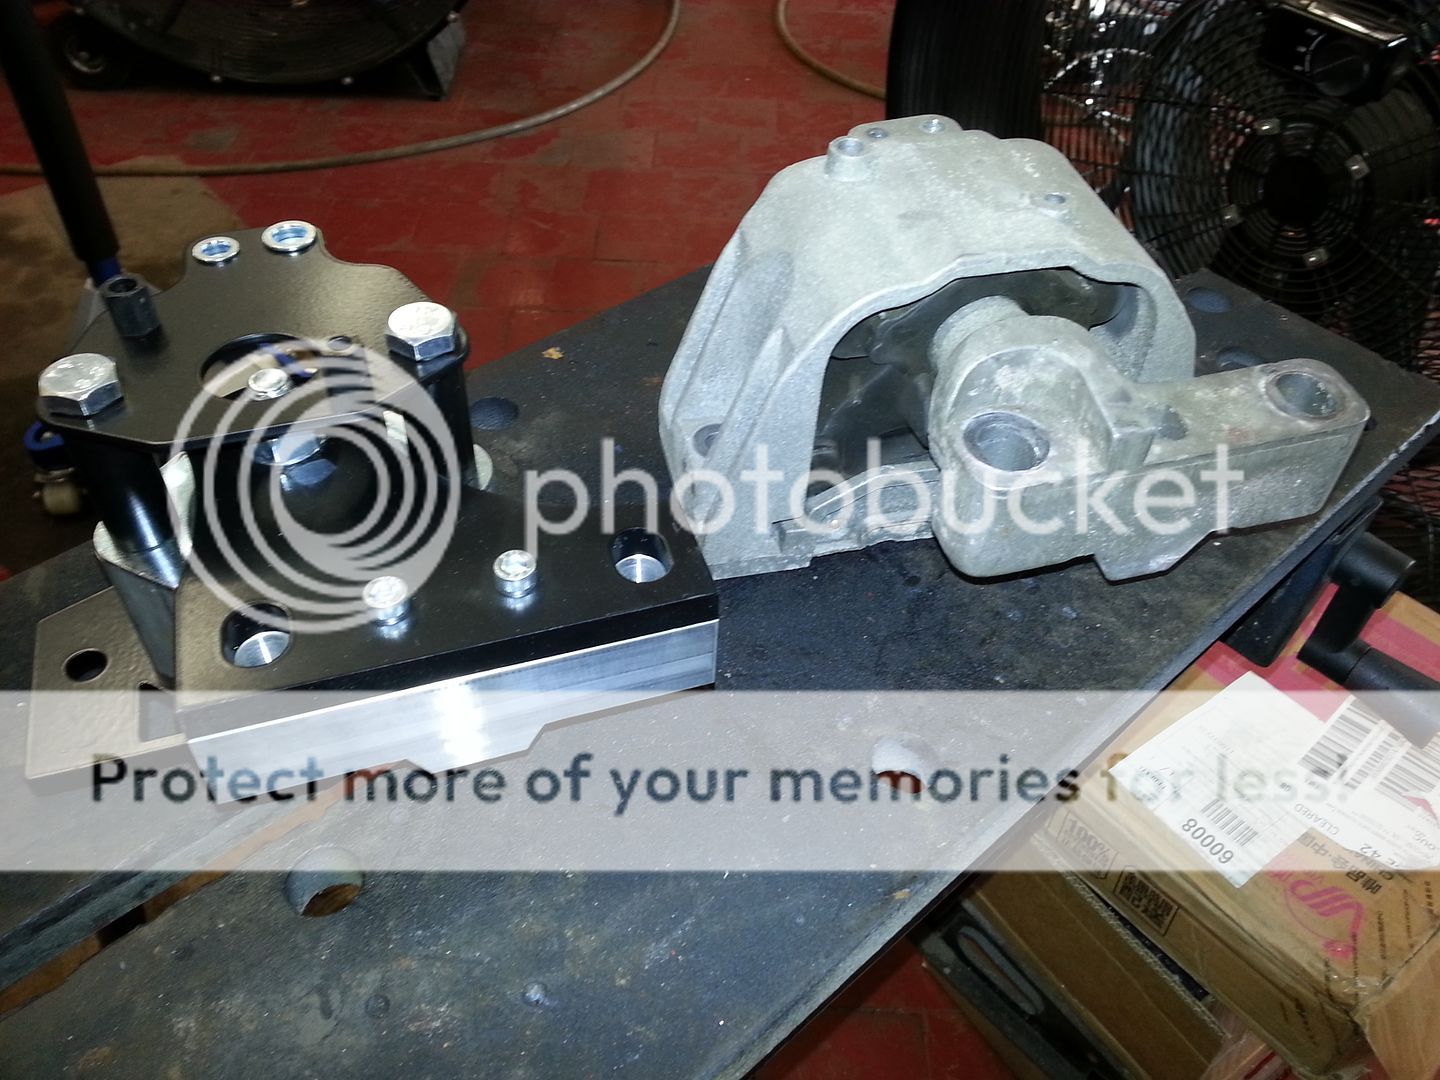
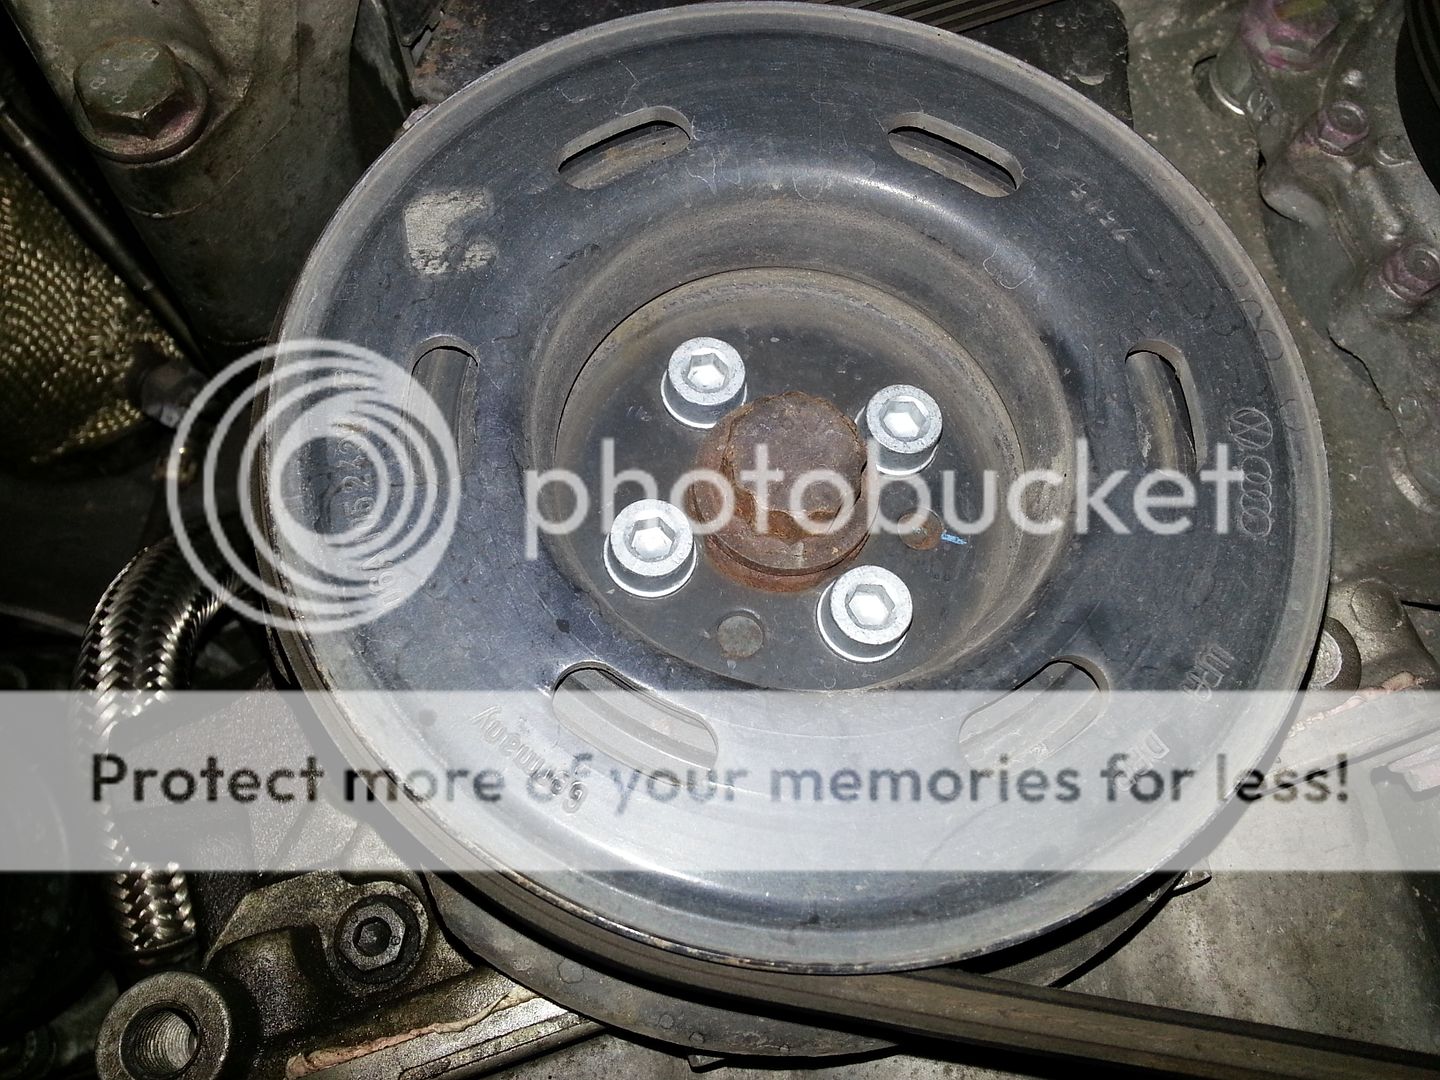
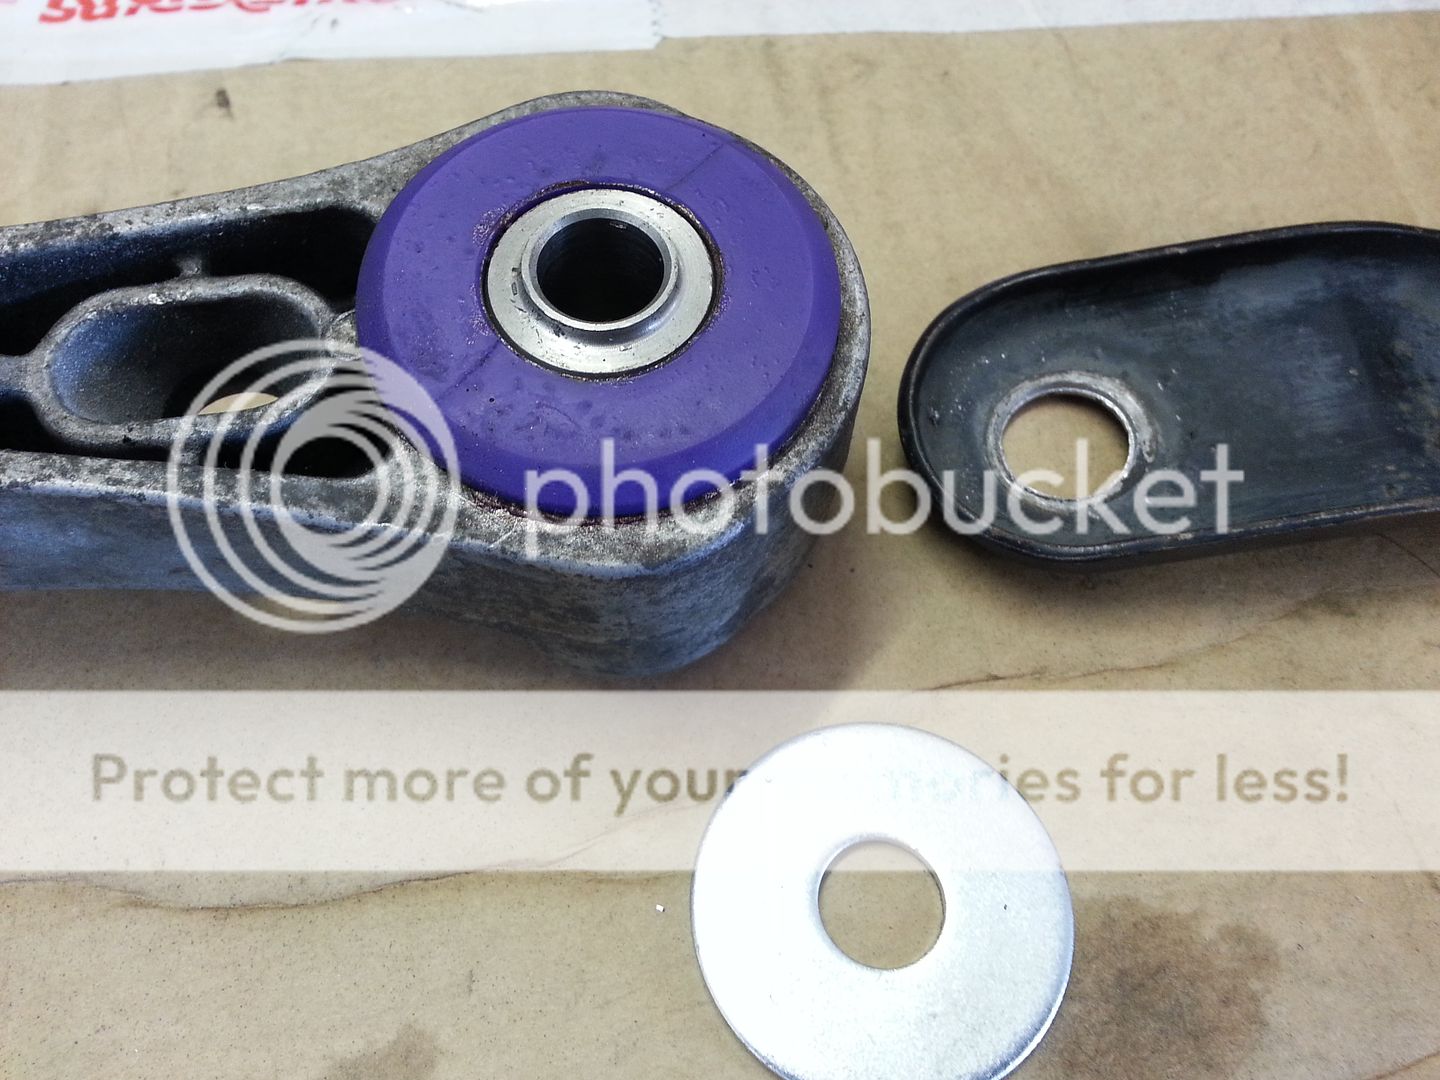
First job was to replace the small dogbone bush... instructions are supplied so won't bother with the detail so pics should do :)
20130505_161957.jpg


20130505_164043.jpg


20130505_164840.jpg


20130505_170533.jpg


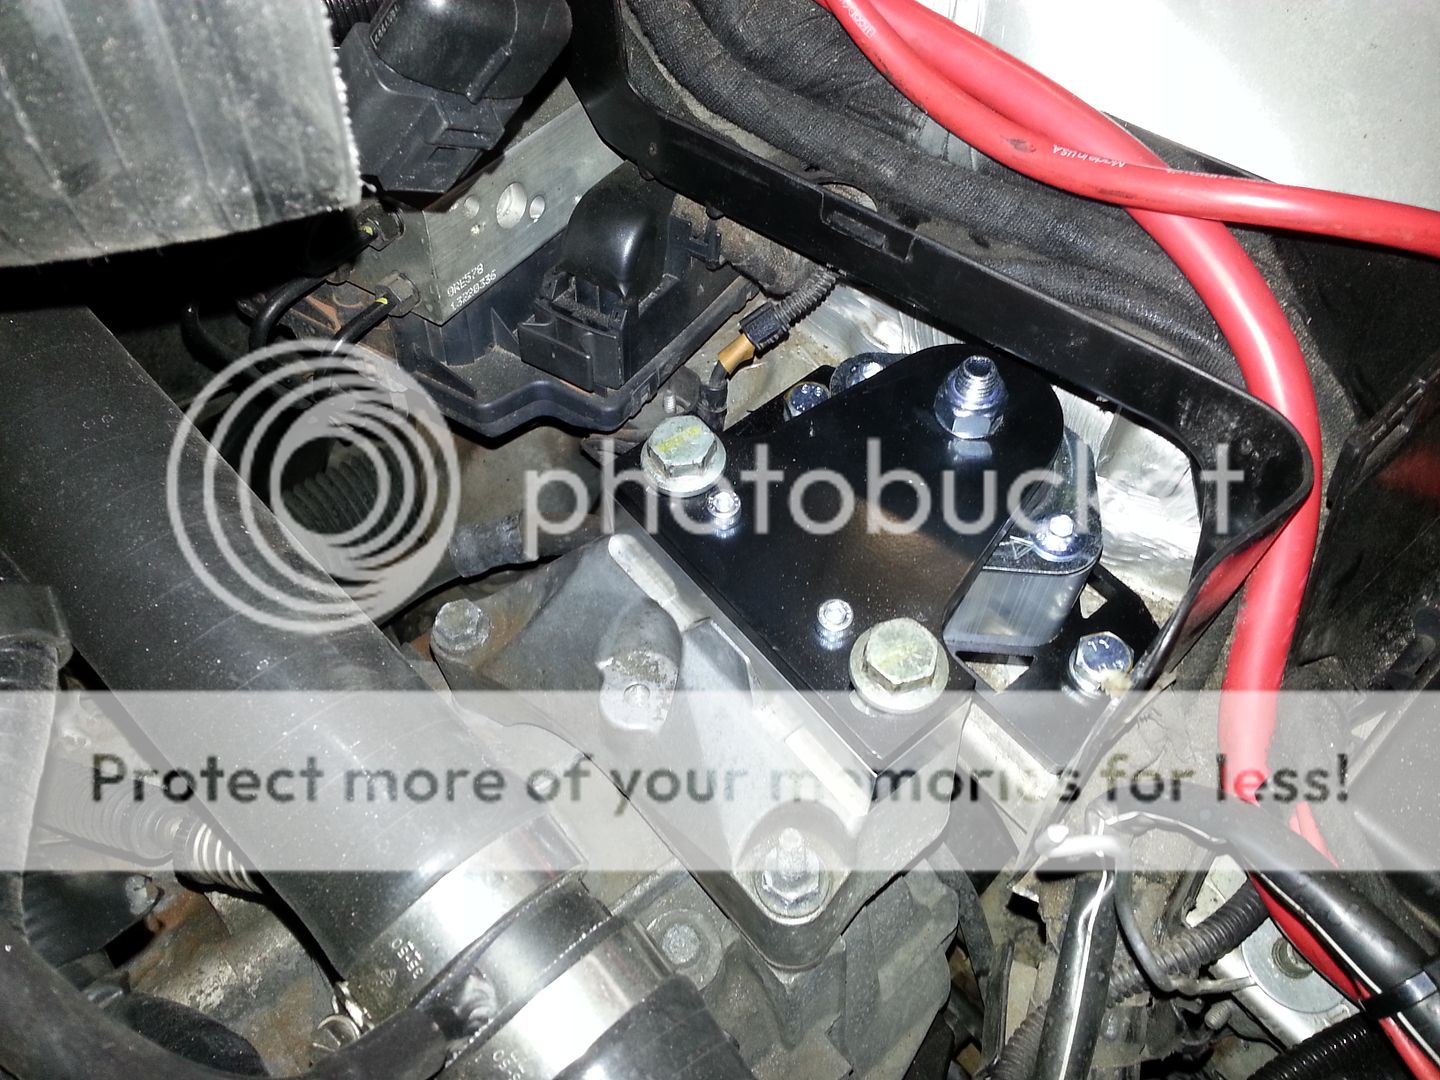
There was an increase in vibration on idle but this has settled now... with VT road mounts, a yellow bush and now this bush there is of course going to be increased vibrations and engine noise... its the price of power or at least effective use of power... but when cruising there is nothing really noticeable and thats fine with me...

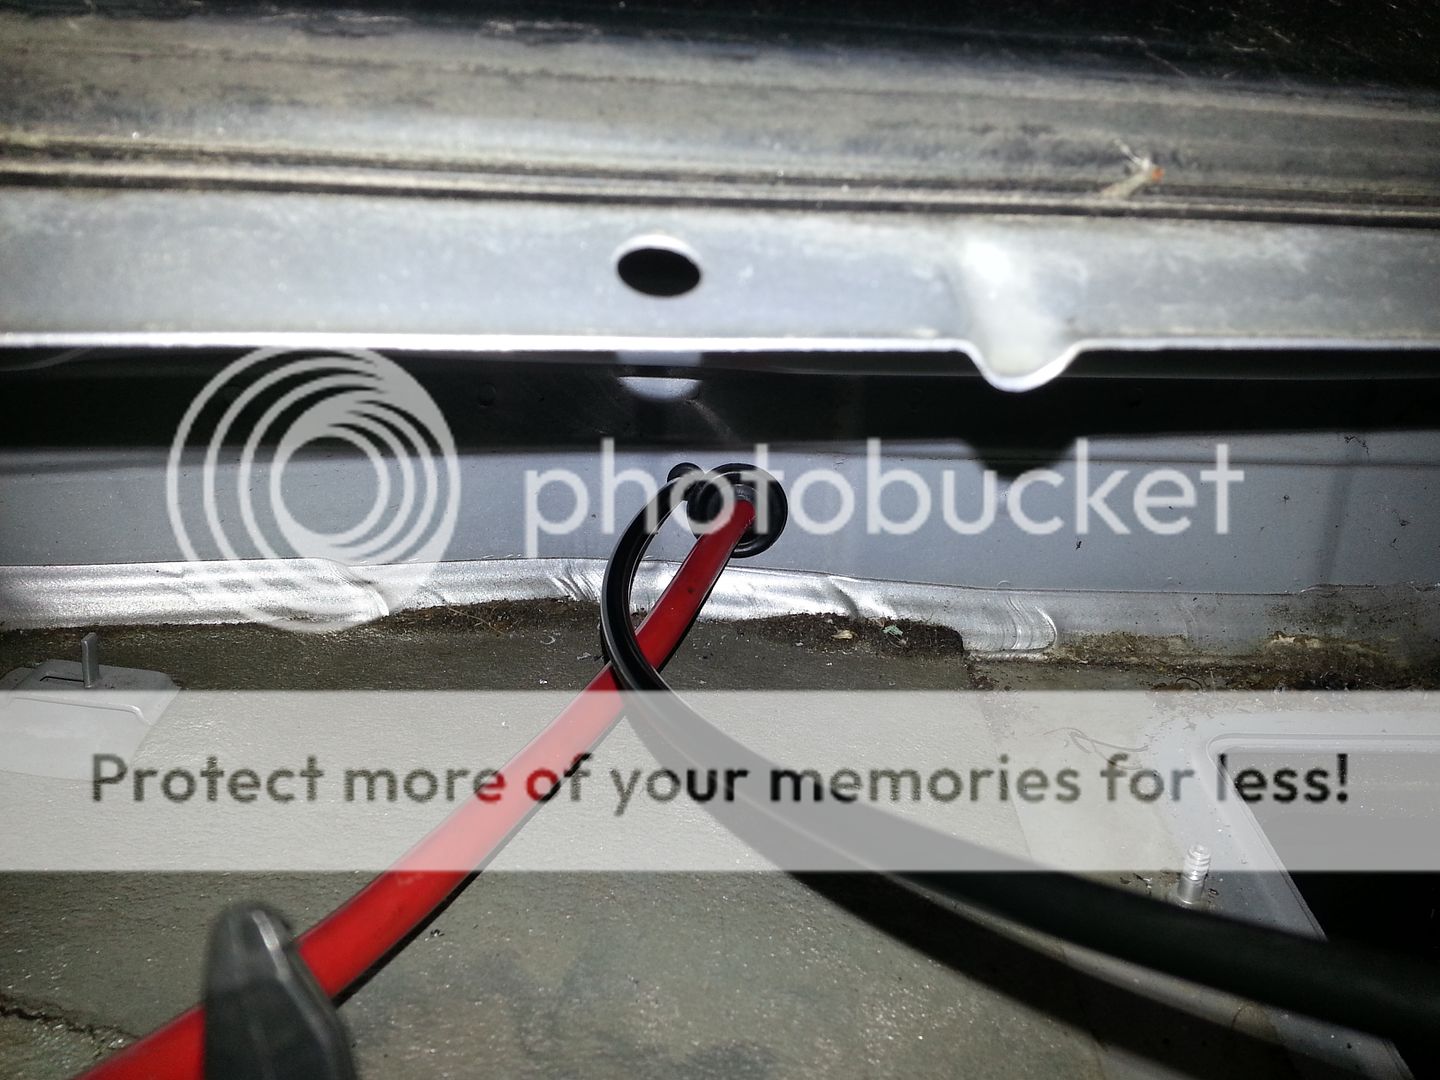
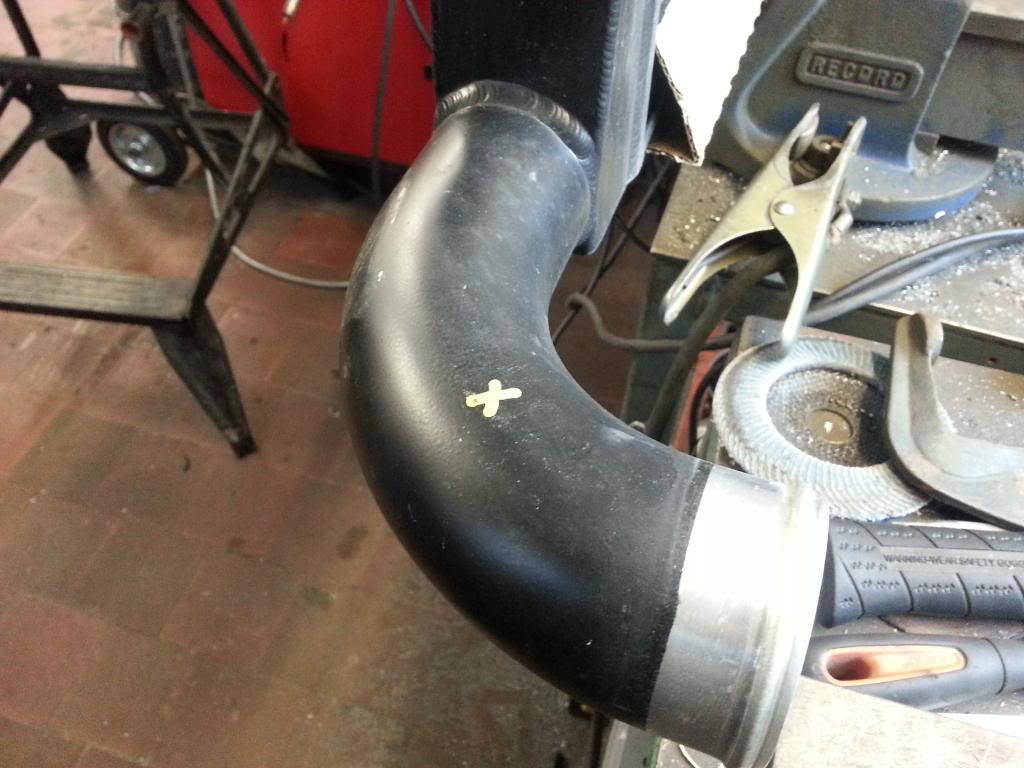
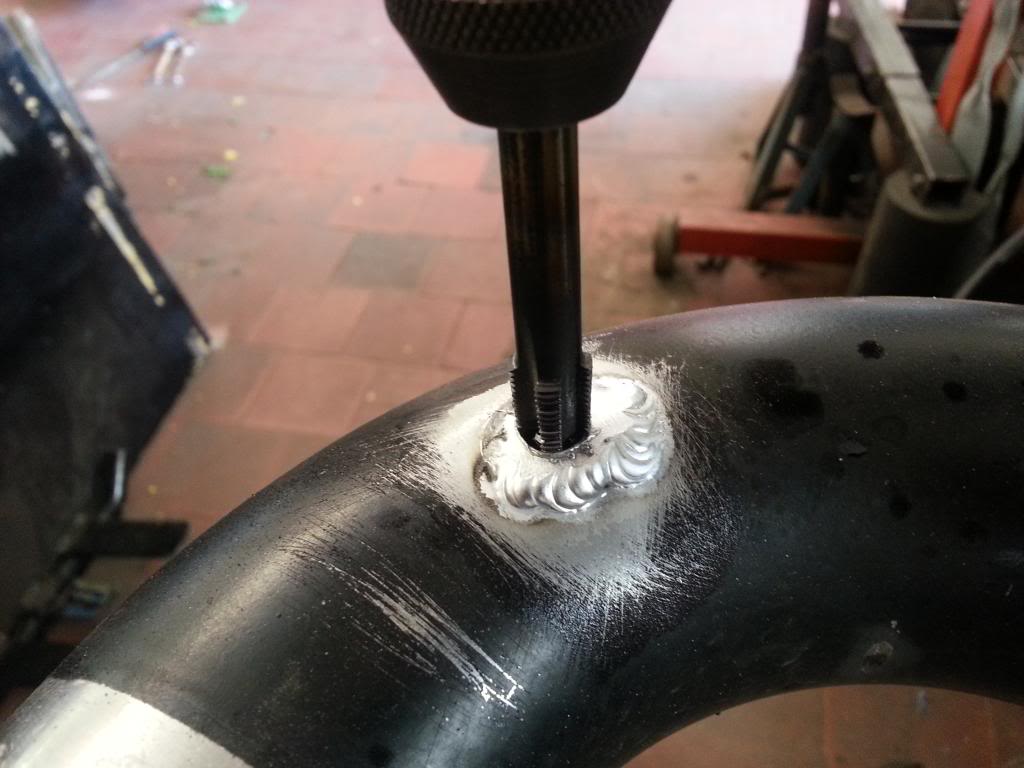
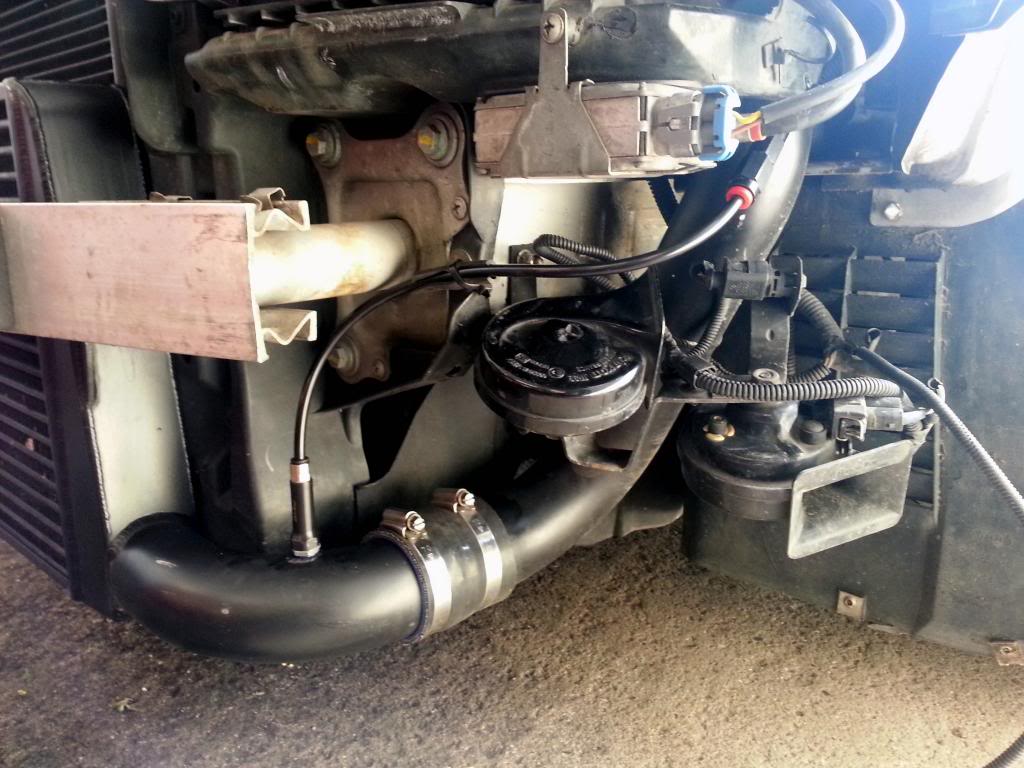
Next job was to run the hose for the WMI... interior apart... again!...
20130507_104656.jpg


...drilled a smaller hole next to the one that the opposite side of the pollen filter...
20130507_120254.jpg


...getting busy in the cable trunking...
20130507_122412.jpg


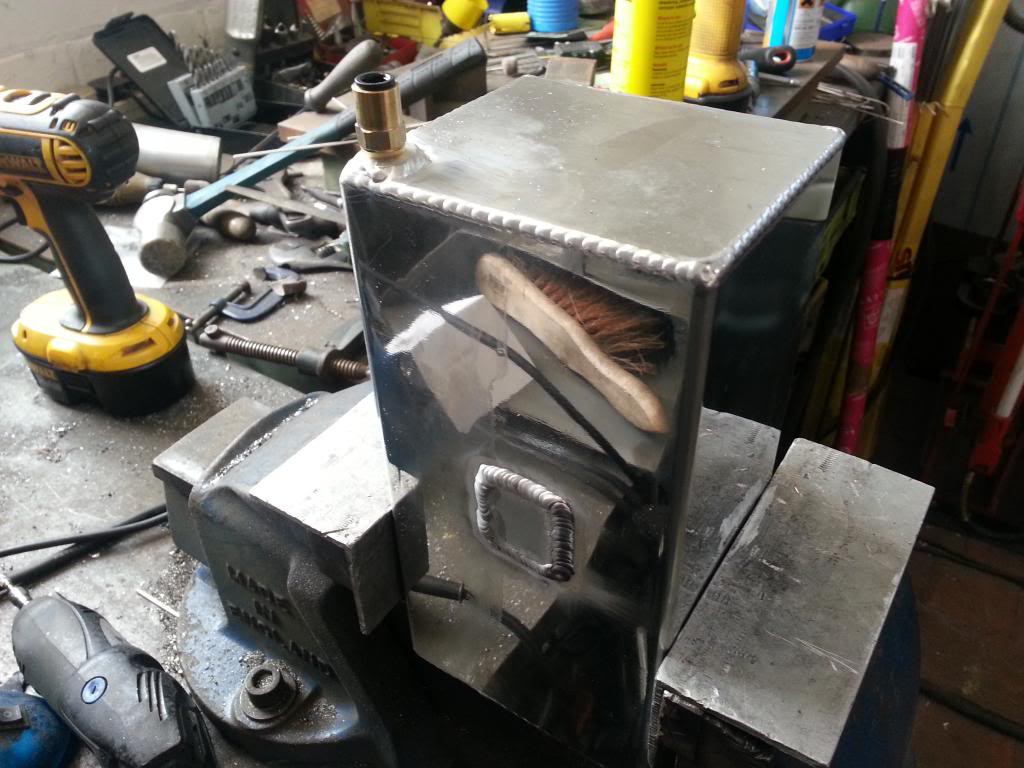
Not fitted the pump yet as I need to run the wires and work out which side of the battery to fit it... that will come later as will fitting the nozzle which I have decided will go initially in the FMIC outlet... I am looking at using a dual nozzle system as have seen one of these work rather well... I may even look at staging delivery too...

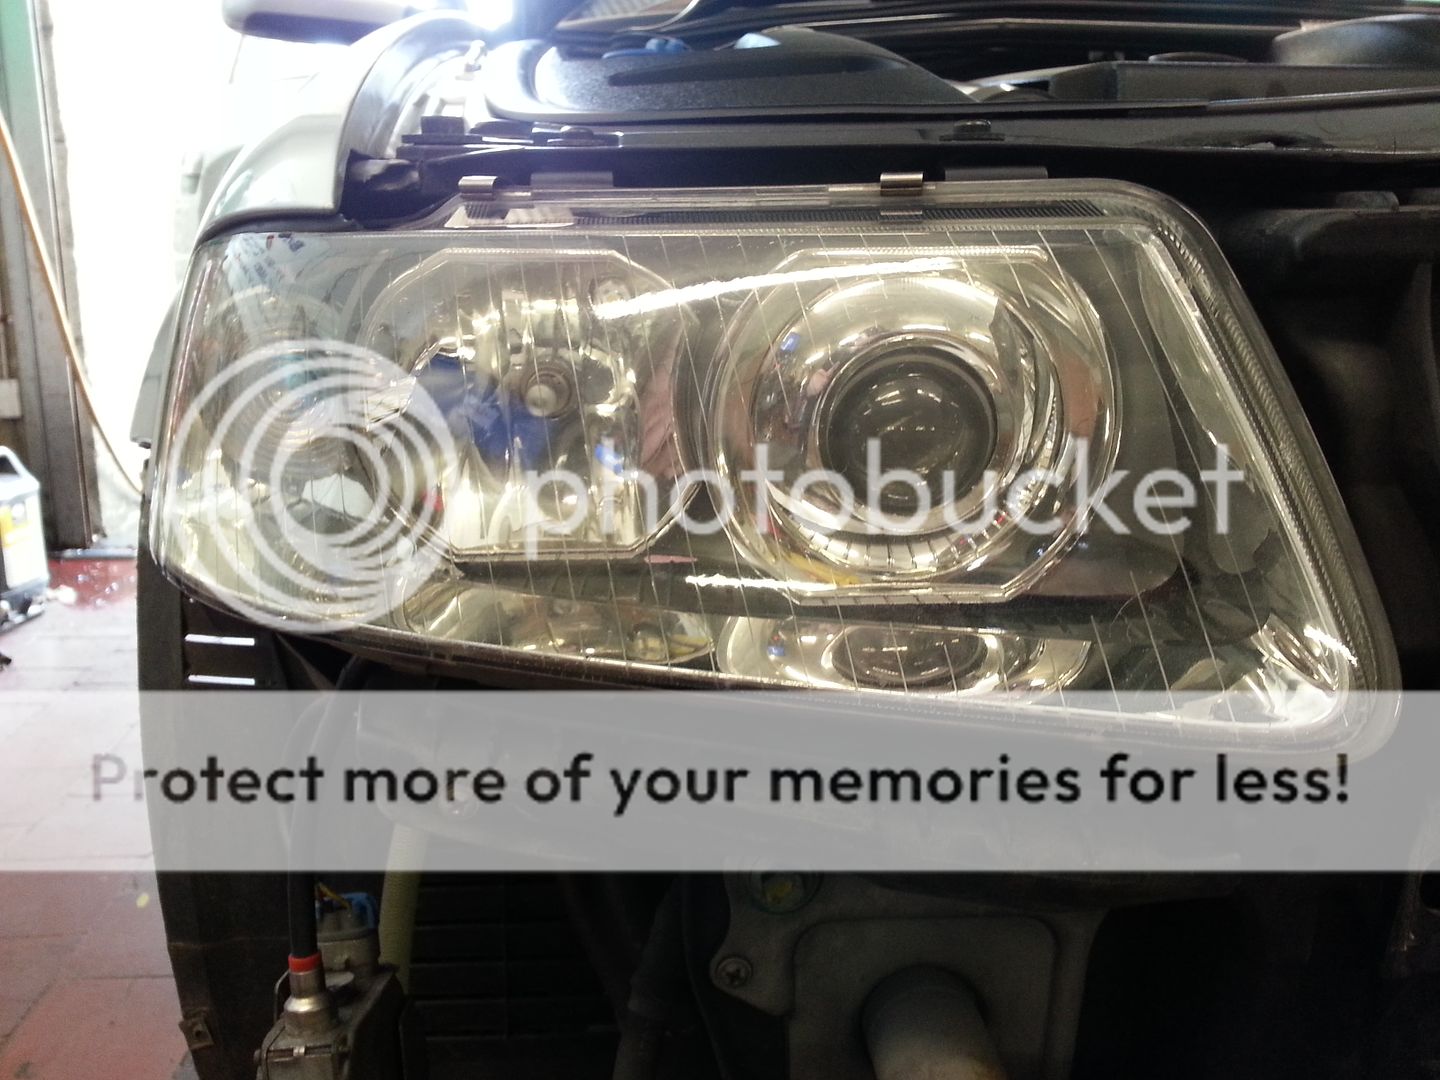
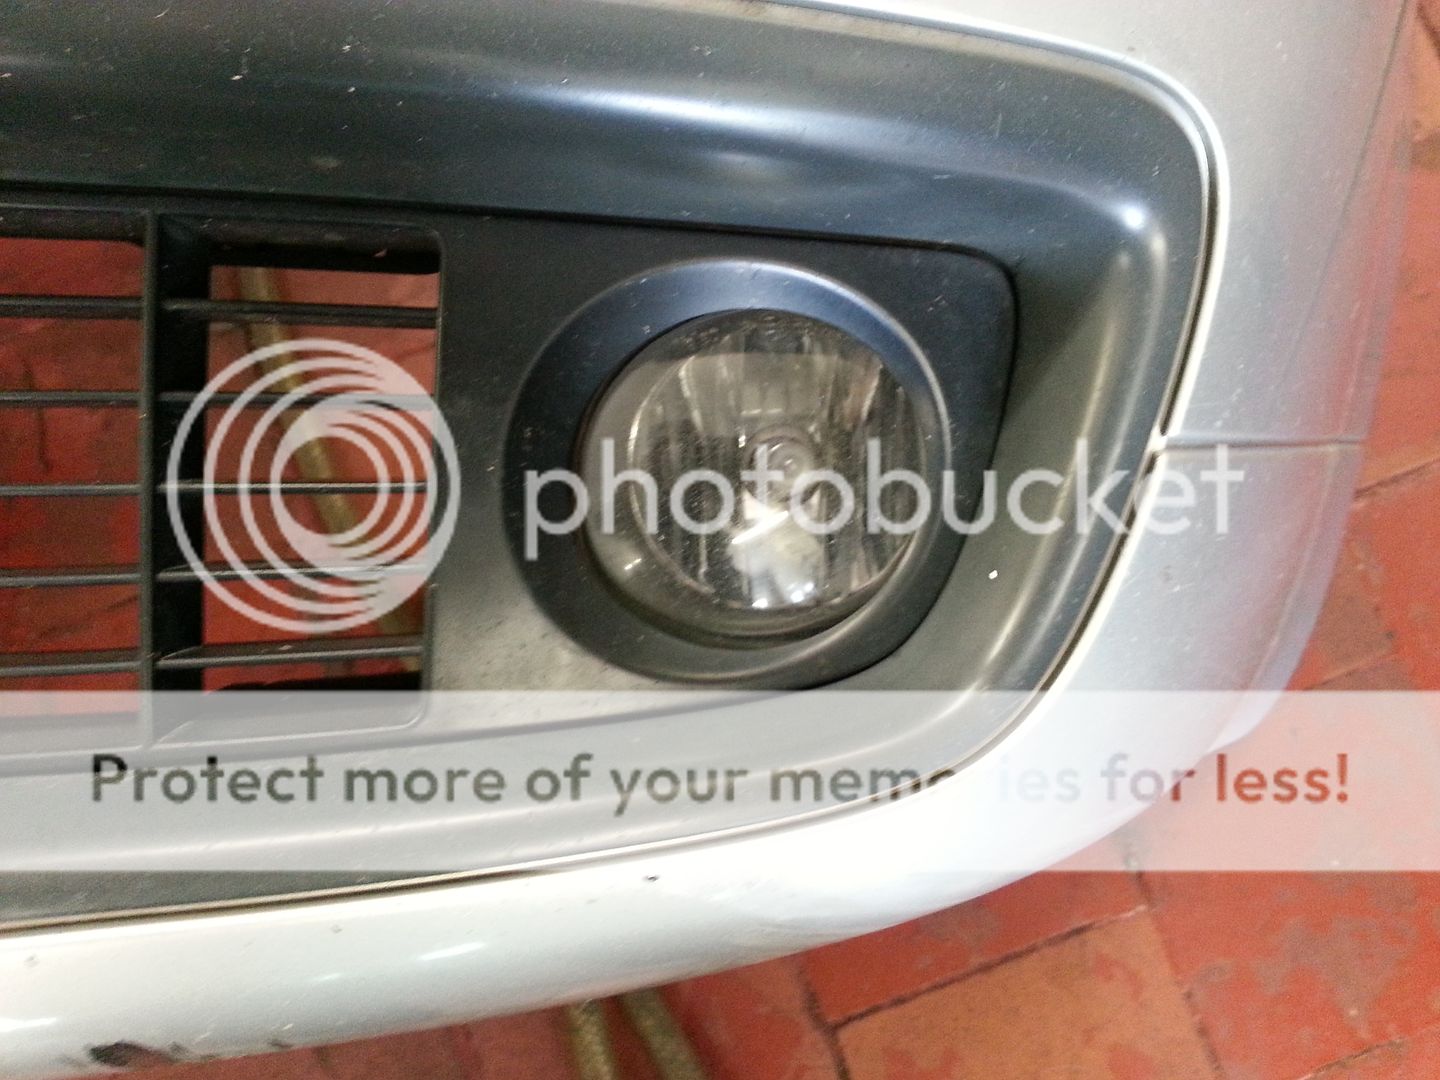
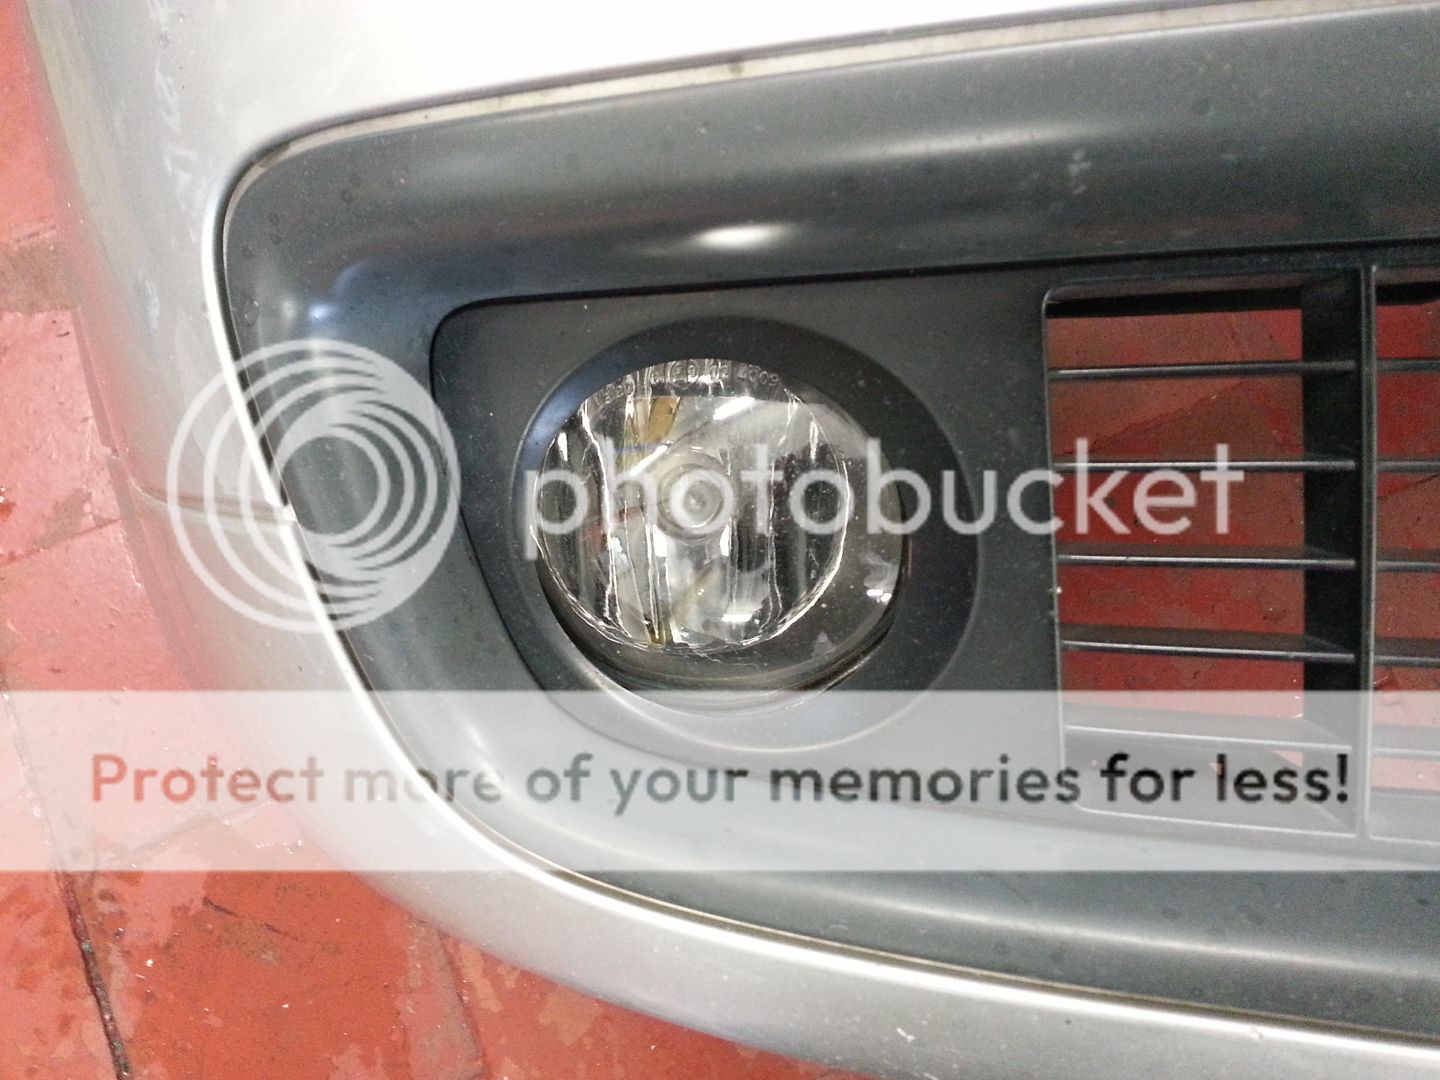
Next I polished the headlights again as they were showing signs of going a bit yellow again... this time however I have bought some Lamin-x to act as a UV shield... also had some LED sidelights from Trups to fit...
20130507_153817.jpg


...after a couple of passes with the DA...
20130507_160058.jpg


Applying the Lamin-x..
20130507_160619.jpg


...and done ready for trimming...
20130507_161021.jpg


Refitted..
20130507_171449.jpg


...and next the passenger side :)
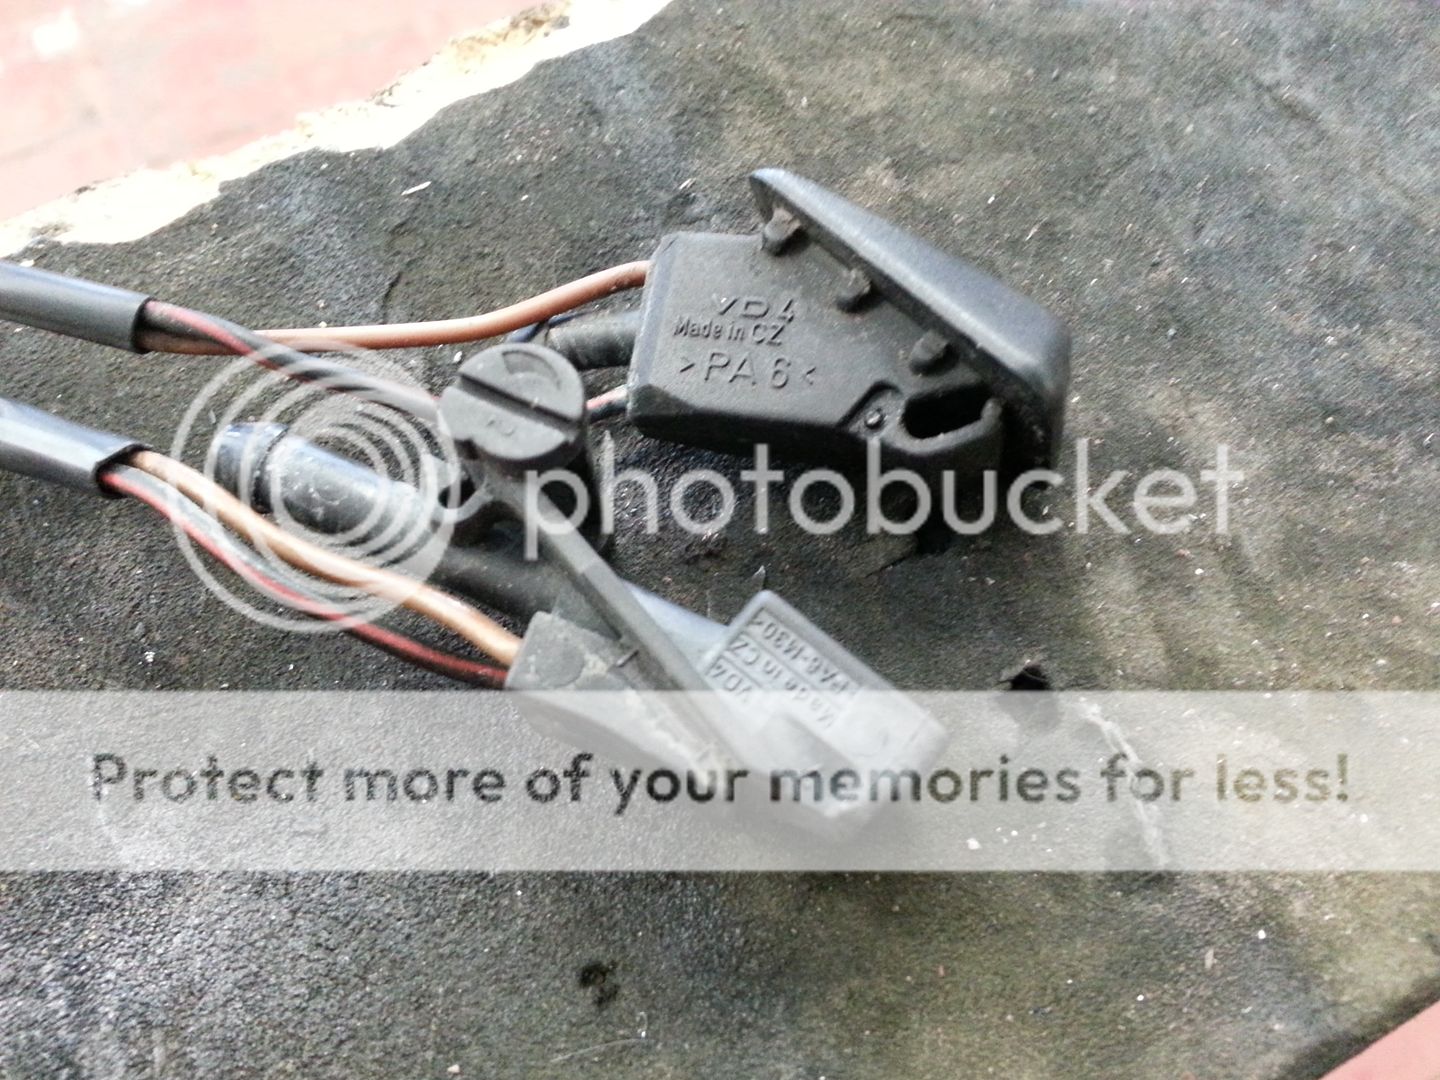
20130507_171455.jpg


LED sidelights...
20130507_171826.jpg


...old 'blue' bulbs...
20130507_171832.jpg


Next job... new scuttle...
20130508_095227.jpg


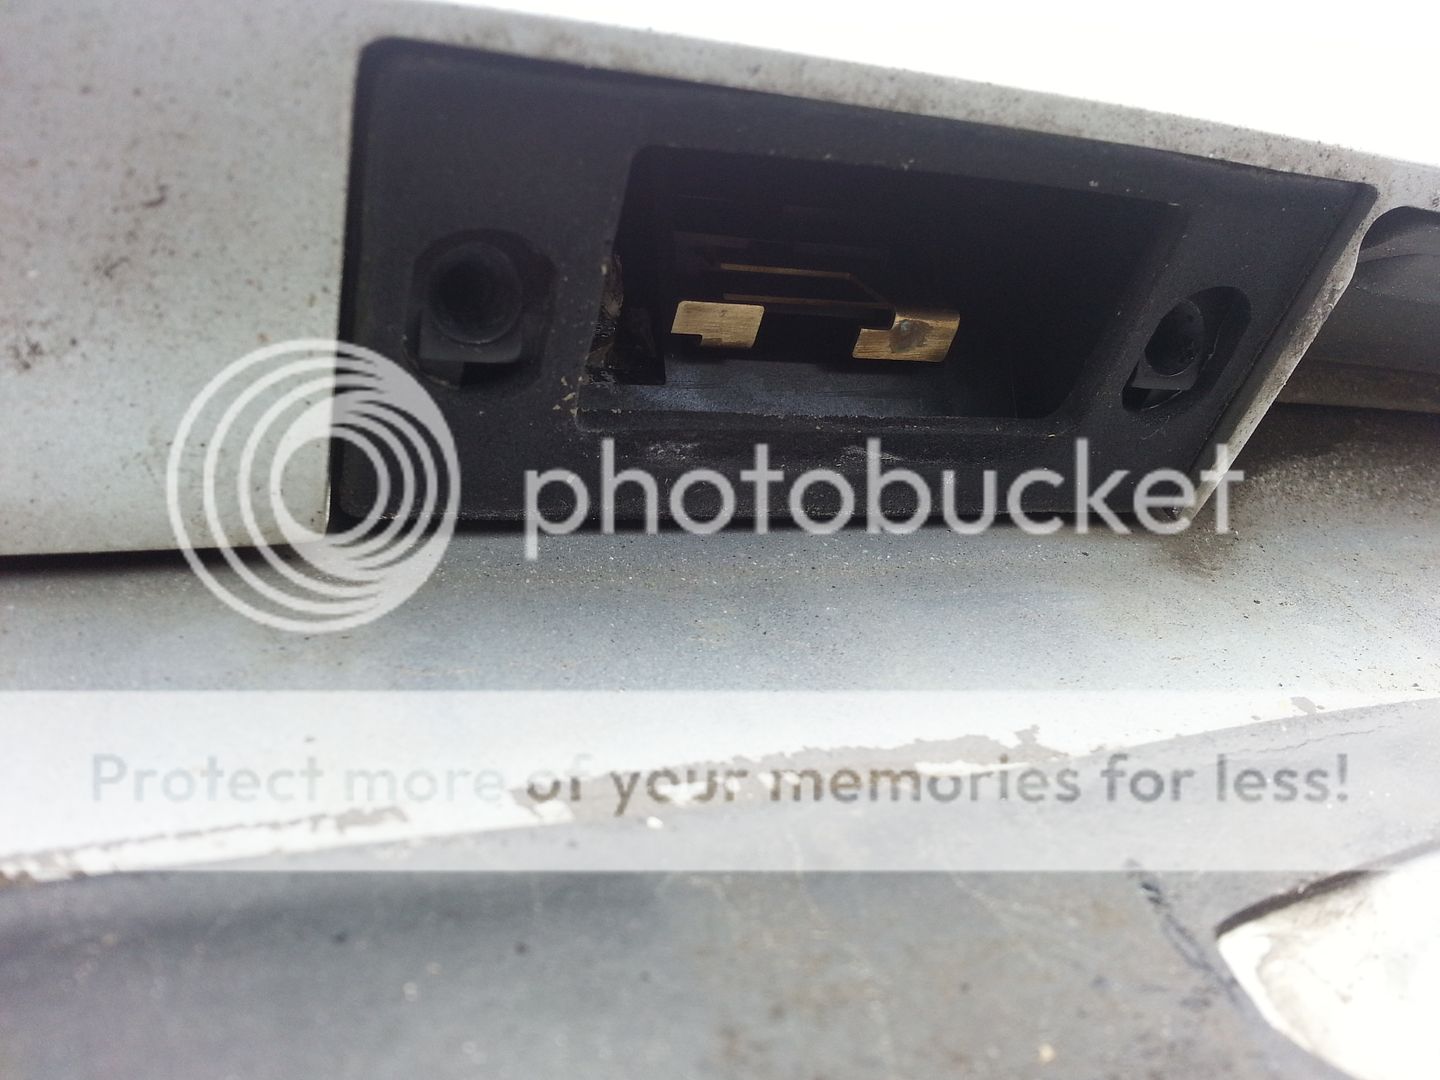
...TT fan washer jets... (part number 8N0 955 986 C)
20130507_143515.jpg


TT washers require a little work to fit... hole needs widening and lengthening...
20130507_143728.jpg


...the hose fitting is a different angle to S3 ones...
20130507_144033.jpg


...so a hot air gun, careful heating and a 3mm drill....
20130507_144819.jpg


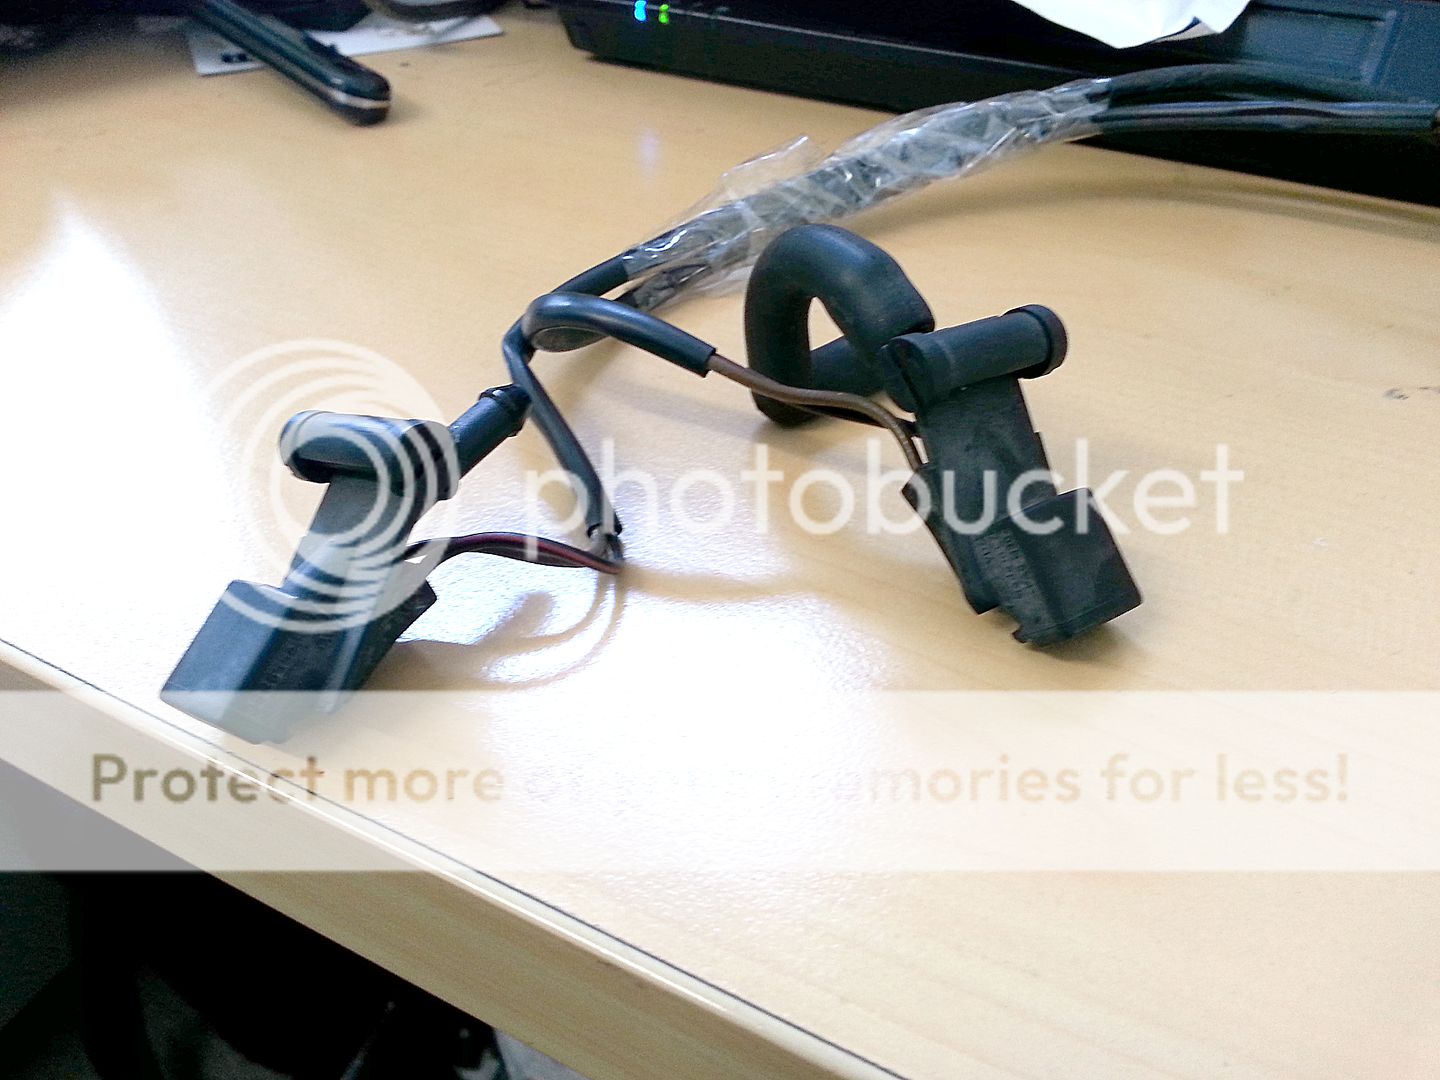
..extended the wiring on one of the jets...
20130508_152129.jpg


Fitted it on and wow... well impressed with the way they get fluid on the screen... great upgrade... will try and get a vid of them working tomorrow...

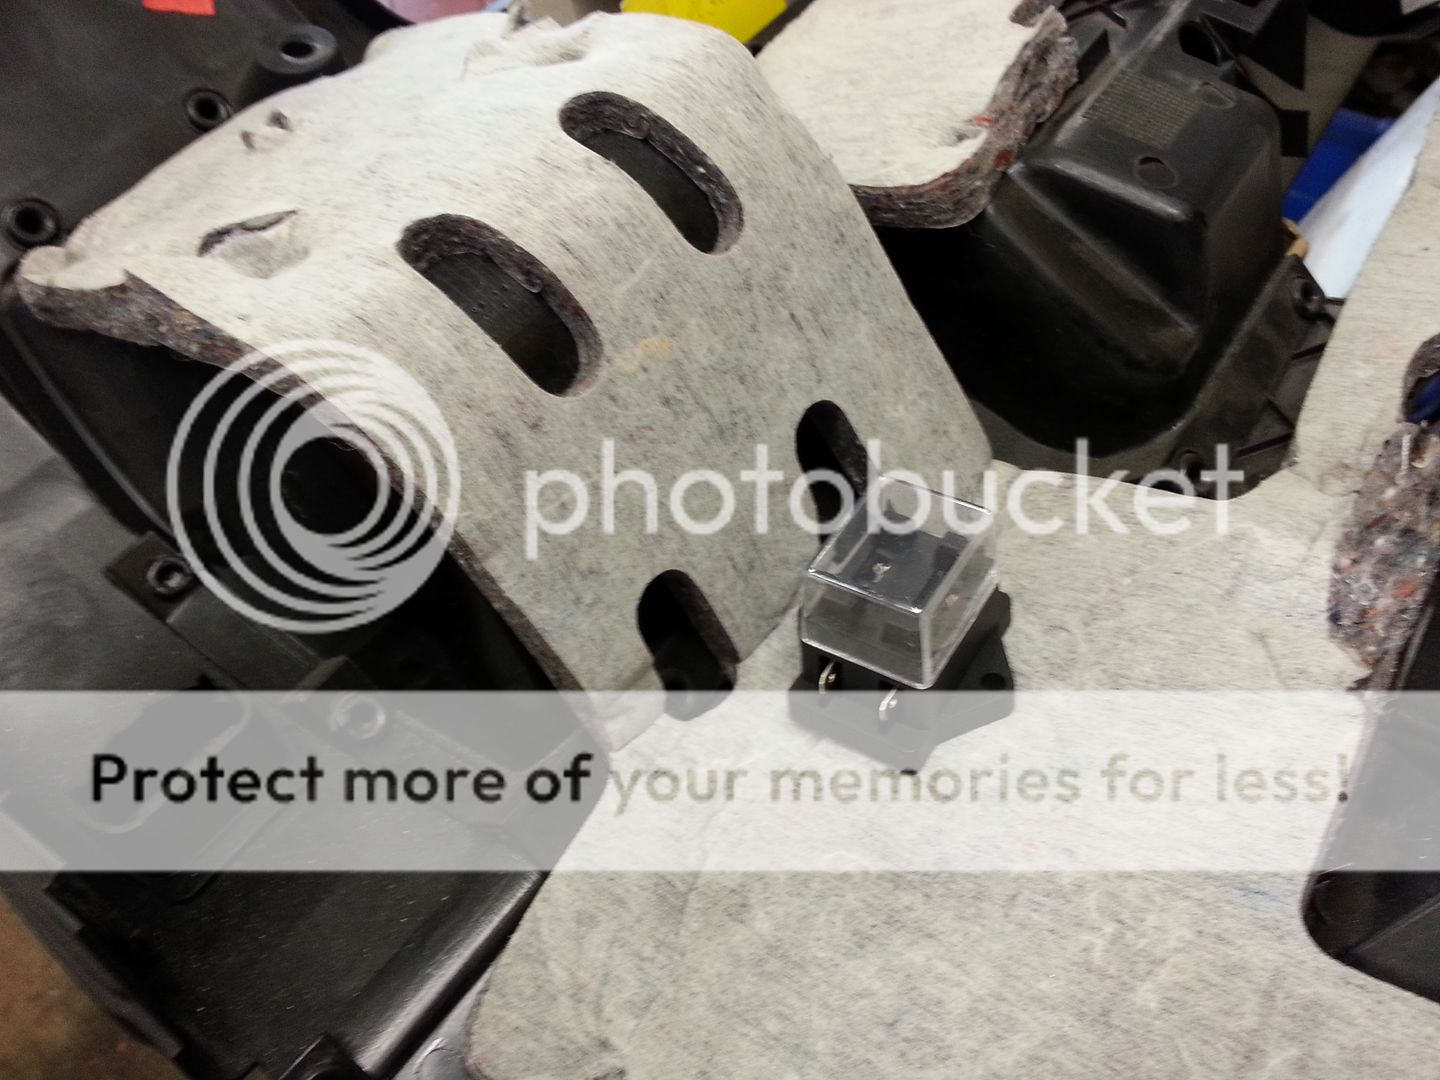
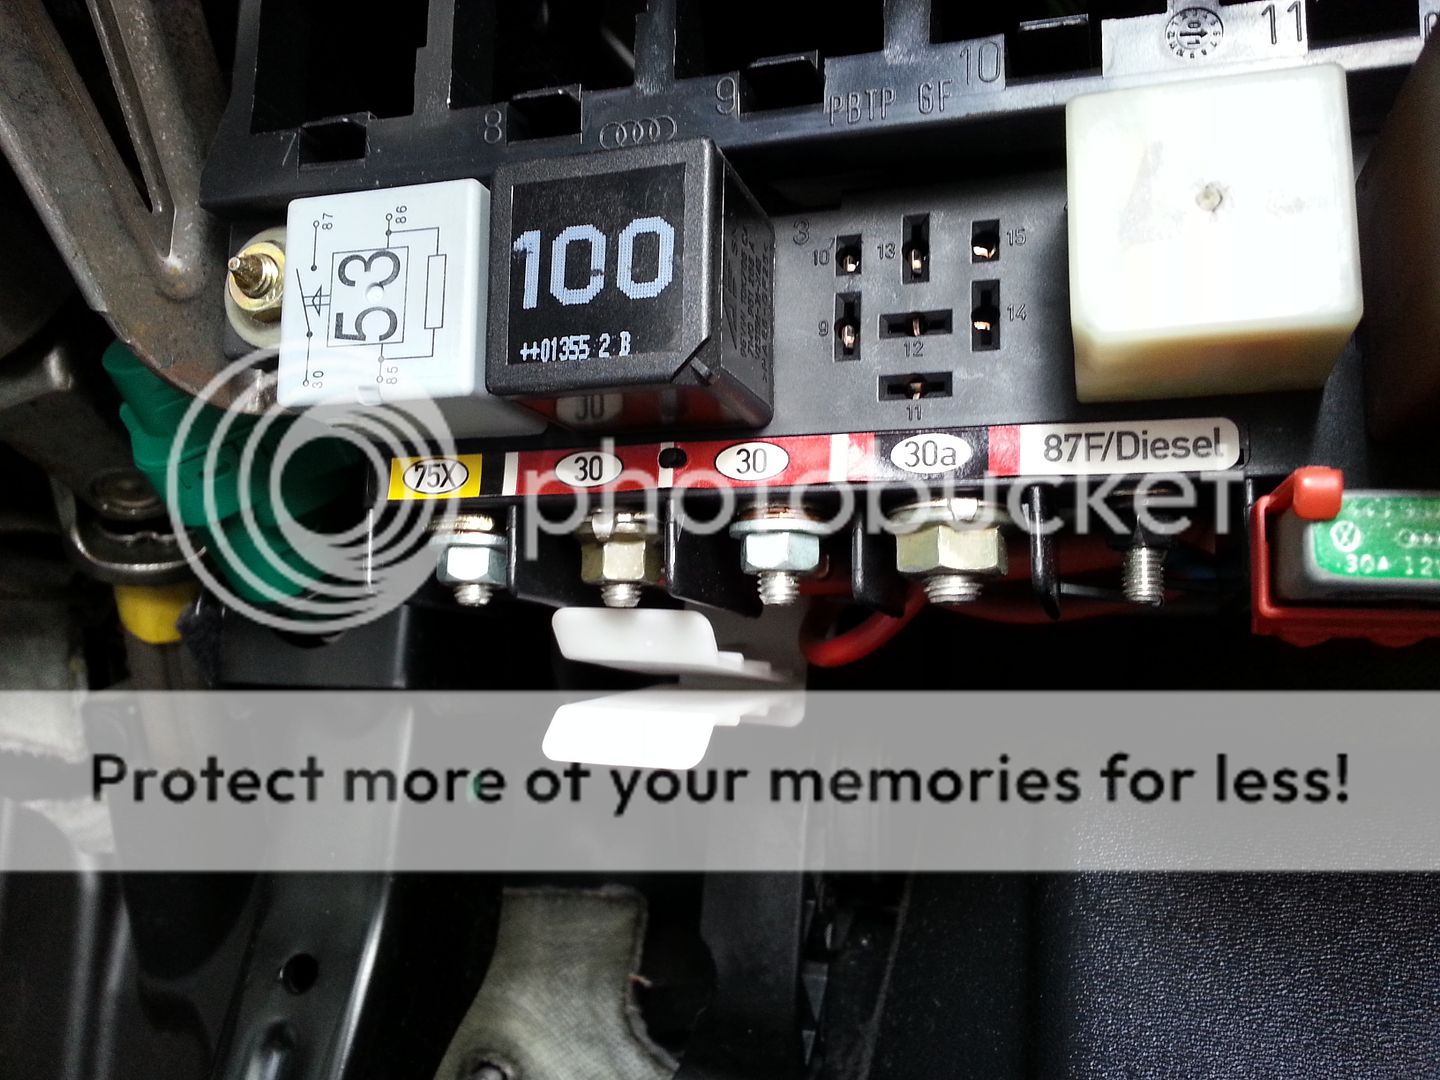
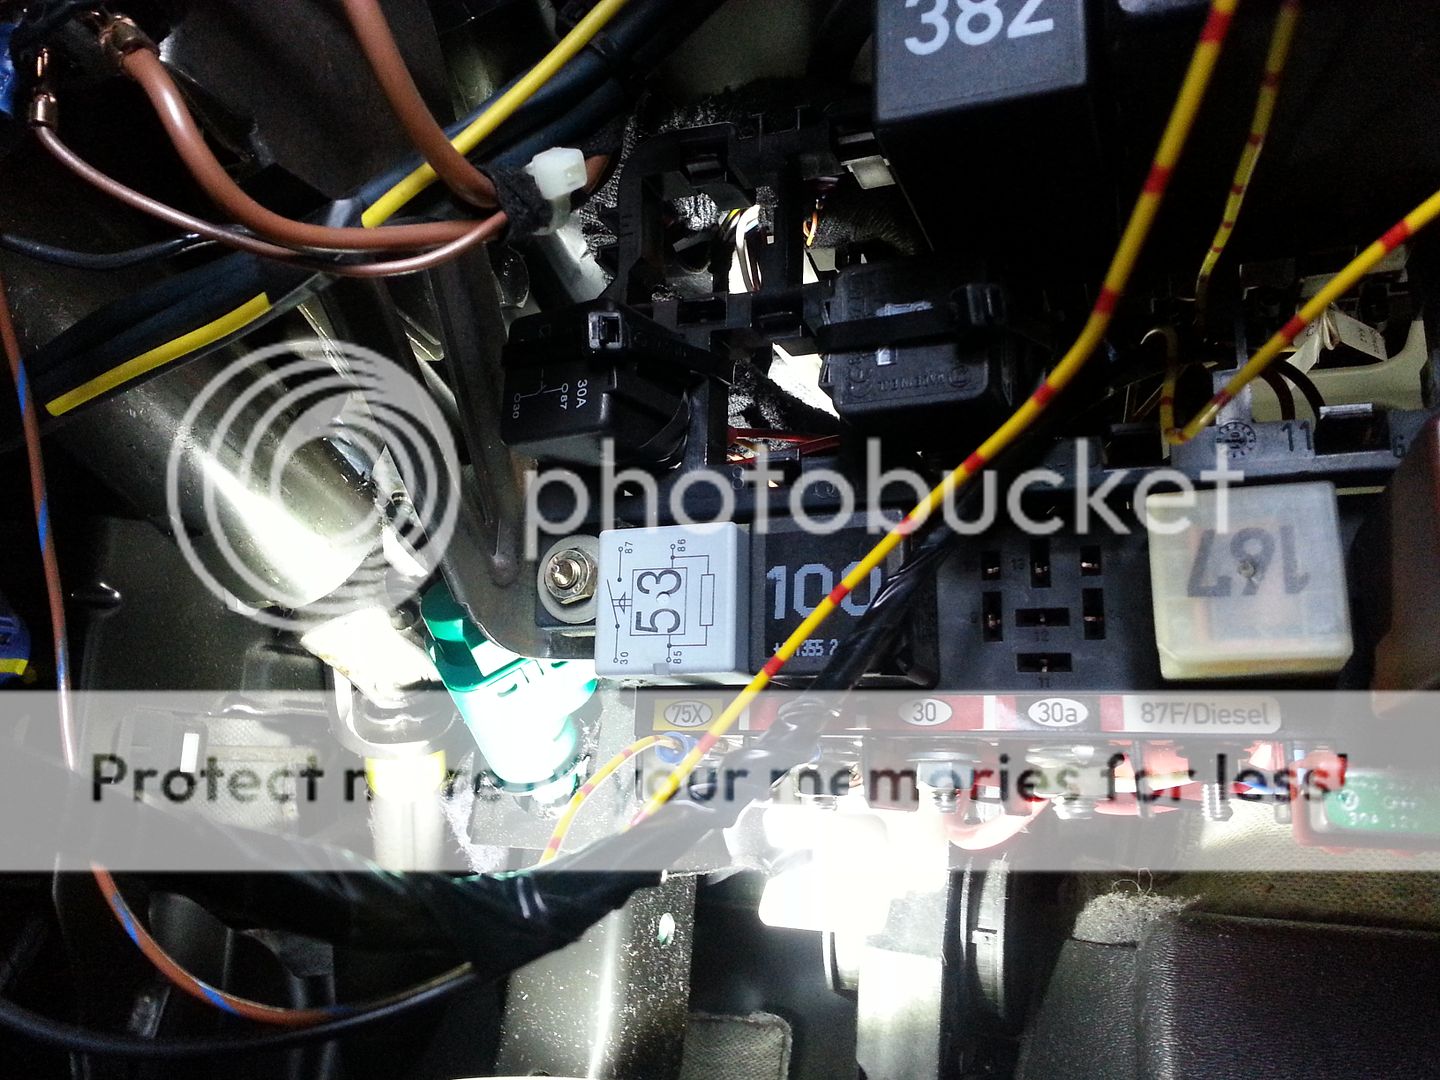
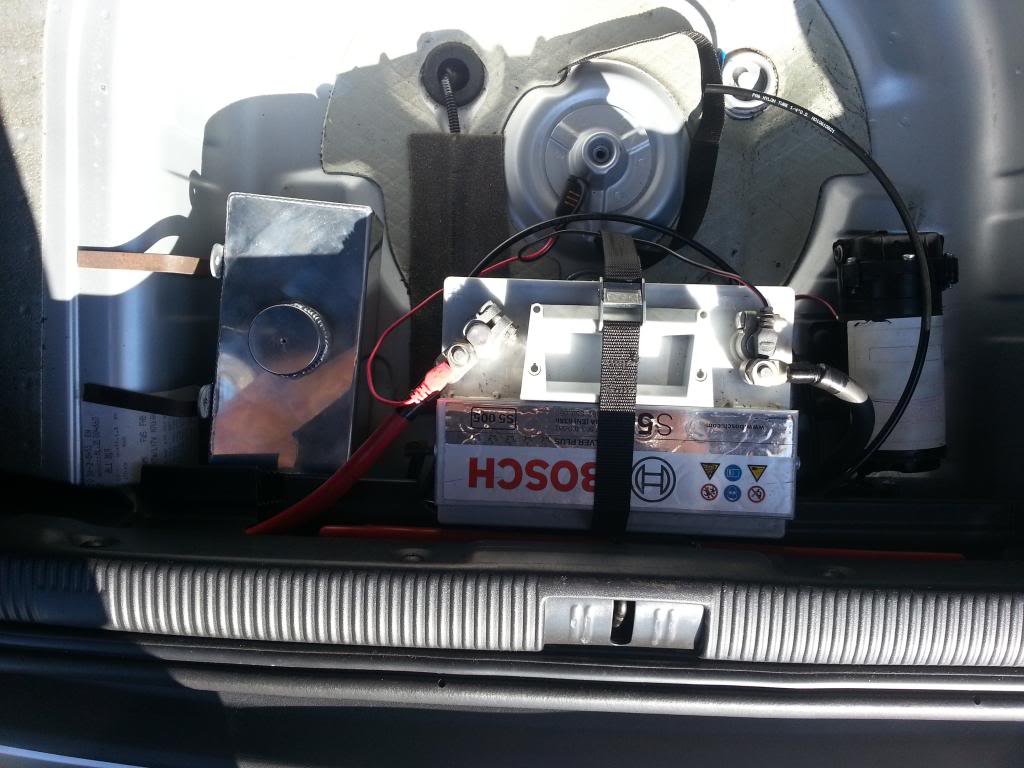
Next job was to start the wiring for the WMI pump and the inline fuel pump as I am rewiring that to run from a relay... bought a 2-way fuse holder so I could sort easy access to the fuses in case the pump one went, that way I don't need to remove half the dash to sort it... removed the lower drivers side dash panel...
20130508_104957.jpg


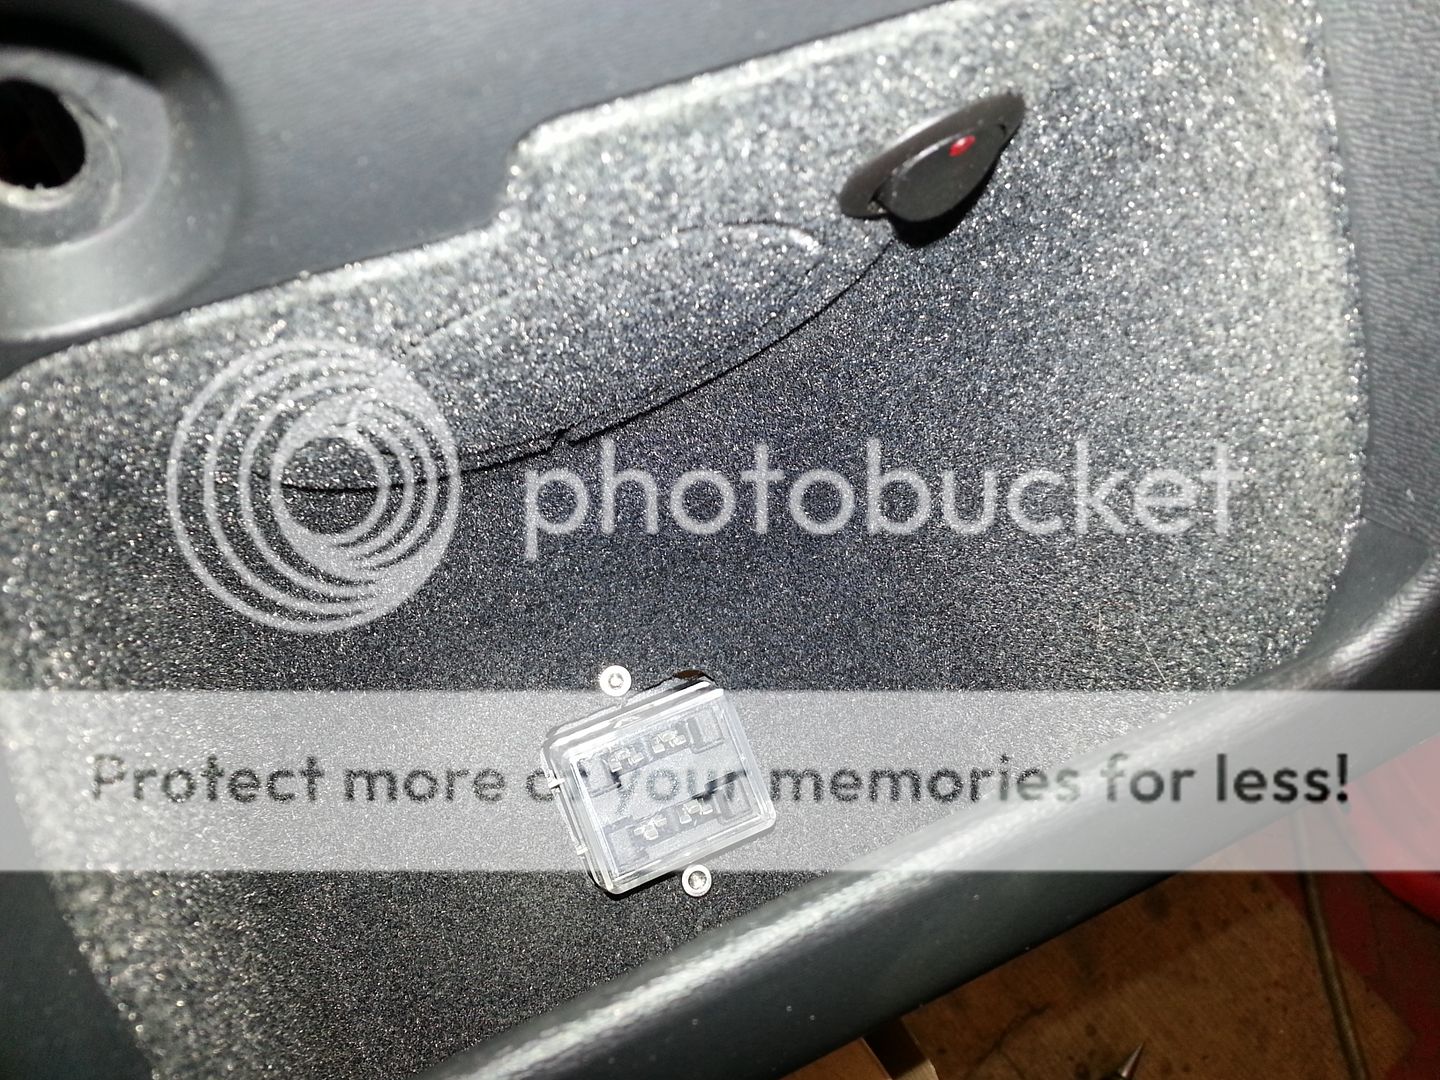
Marked up and cut a hole for the fuse box and mounted this in the back of the little cubby...
20130508_123557.jpg


...also fitted a switch so I could 'arm' the WMI as and when I needed too...
20130508_123610.jpg


...and the finished article...
20130508_123706.jpg


Rest of the wiring to do next and hooking up of the pressure switch for the WMI...

<tuffty/>
 
Last edited:
  • Like
Reactions: ScottD3 and s3dave
Quick vid of the fan washers...


<tuffty/>
 
Last edited by a moderator:
  • Like
Reactions: jojo, Alex C, ScottD3 and 1 other person
Great work tuffty I'm in the middle of fitting my relay for the inline fuel pump which relay do I get pal 5 pin or 4 pin thanks
 
Best to use a 4 pin, I used a 5 pin as its all I had at the time. 1 pin not used.
I used this diagram
 

Attachments

  • image.jpg
    image.jpg
    17 KB · Views: 1,022
you are a very controlled man PT.

Many would have gone for the sustained pull and squirt to demonstrate the new fan jets, but not you oh wise one.

A simple on / off, that's your lot. Point made

:laugh:
 
Good work mate, lights look so much better to they did look in a sad state when I saw your car on the weekend :)
 
After the success with the headlights I had a go at the foglights too... I have read up on some techniques for this as they are glass but I don't have a coarse enough cutting compound to give it a go at the moment so decided just to do a few passes with the coarsest compound I had and while still showing signs of pitting they were a lot clearer so applied a little lamin-x over them too...

Before...
20130510_141818.jpg


...after...
20130510_141826.jpg


Found a spare few hours to get the wiring started too.... wired up the inline fuel pump to a relay and wired up the WMI control wiring ready to fit the pump and tank...

Useful wiring posts.... yellow is ignition live but this cuts on turning the engine over so no use for the fuel pump... reds are permanent lives...
20130510_161825.jpg


For the pump I decided to use the fused side of the intank fuel pump as a trigger for the relay...
20130512_150131.jpg


Wired the relays in, used the yellow ignition live post for the WMI as this doesn't matter if it looses power during engine start and used the permenant post next to it as this had the thickest red cable going to it... this supplies the +12v for both the inline fuel pump and the WMI pump...
20130512_162001.jpg


Loomed up to go to the fuse box I had previously fitted and wired up the switch so I could switch WMI on and off as needed...
20130512_161948.jpg


Earthed the inline fuel pump securely too as the original earth looked like it had got a little warm... soldered all the connections too be sure...
20130512_171238.jpg


Even though the WMI pump is not yet fitted I did test the setup prior to refitting the dash panel... pressure switch is set for 18psi...
20130512_172722.jpg


Thats about it for now... back to actual work tomorrow but now that most of the ground work is done then the rest of the WMI install won't take long to finish... just need to work out what I am doing with the boot now :)

<tuffty/>
 
God tuffty that looks hard when I don't do wires and that ha em

Its not too bad when you put your mind to it... just looks worse than it is... if you are in any doubt though leave it to someone that is more confident as tbh getting this wrong can lead to potential engine damage

<tuffty/>
 
Managed to grab a couple of hours today to get a little more done....

Marked up the FMIC outlet for the WMI nozzle boss...
20130526_142044.jpg


Bill worked his magic and a boss appeared... I then drilled and tapped it to take the nozzle...
20130526_154613.jpg


My WMI kit is made from a combo of AEM and Devils Own parts as I already had a pump and Bill had some other spare bits lying about so I took the one way valve out of the AEM nozzle holder as I was using a DO check valve and fitted it with the smallest nozzle... idea being that I would rather have a proper atomised mist of meth to help cool stuff down and aid consistency... if it looks like I need more volume of meth then I will look to fit a second fine nozzle further up the pipe work... twin nozzle setups seem to work quite well if done right...
20130526_162252.jpg


Bill also worked his magic on a small alloy tank I bought which while small should be fine for my needs... blocked up the 'supplied' hole as I wanted the tank to sit low and Bill welded a boss on the end so I could fit an outlet
20130526_163121.jpg


Made up some brackets to support the tank and this is the final layout....
20130526_165741.jpg


Just need to actually fit the brackets, tank and pump and its job done :)

<tuffty/>
 
Baby Meth tank!

Looking smart as ever mate. Be good to see this finally running on meth like the rest of us :)
 
Mines not on meth yet as i'm still trying to find a good W/M kit

Any old pump, any old nozzle, DO check valve and a pressure switch... its the controllers that are usually crap and tbh if you do it right there is no need for progressive... progressive just reduces the pump pressure... if you use a fairly large nozzle then at lower pressure its not going to atomise properly... I plan to try small nozzles but use a twin nozzle setup running at full pressure... have seen a similar setup work well like that...

<tuffty/>
 

Similar threads

Replies
5
Views
1K
Replies
1
Views
1K
D
Replies
0
Views
705
Deleted member 65282
D