

Hey everybody!!
Right⦠Well I have had these pedals sat around for ages and the other day I decided to fit them. Iâm not an engineer or installer and could have got one of our guys to fit them but I decided to have a go and do it myself!! Thought it would be more rewarding that way. Anyway as quite a few people have asked how you do it, I documented the process.
Just to let you know I have a 62 Plate Manual Audi A3 Black Edition (MY13). Iâm sure the process is pretty similar for the Auto & DSG Gear box.
Here we go:
Step 1
Take a look at your current setup and see if you have a manual or auto setup

--
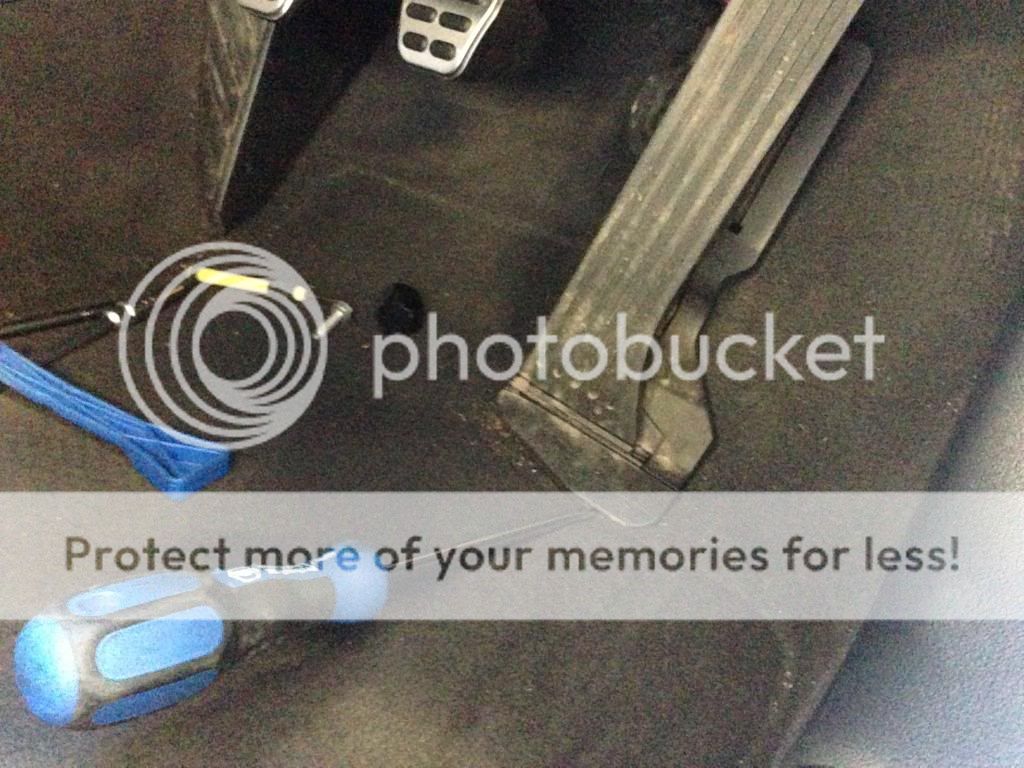
Step 2
I started with the Accelerator as itâs the one that can take a little bit longer. So to the left of the pedal there is a hidden 8mm bolt. Using a small screwdriver just pull out the hidden panel to reveal the bolt.

--
Step 3
Using a long reach, you can easily unscrew the 8mm bolt. If you have access to a long reach magnet then it will make it easier to grab hold of once un-screwed.

--
Step 4
Ok so the next bit for some people is quite difficult but was surprisingly easy for my pedal. You need to pull out this connector to disconnect the pedal from the car. There is a red security tab that needs to be pulled upwards first. Just get your fingernail in the groove and pull upwards slightly

--
Step 5
Once the tab is pulled up you then use it as a little lever (push down towards to floor) this will open the connector so that you can give it a quick tug and it will pull out of the pedal

--
Step 6
This was the next step I found the hardest. Removing the pedal from the floor of the car. I used the new pedal as a guide and realised there was two flat holes either side. They both have clips that you need to disengage whilst pulling that side up. Picture below shows the location of them and how the clips look.

--
Step 7
So I started with the left hand side first. The carpet does hide the slits but push it down and you will see it. I used a big flat headed screwdriver for this bit. You push it into the slit and then push the handle to the right. At the same time you pull that corner up (Donât be scared to use some force)

--
Step 8
Move on the right hand side and when you get the flat head in you just need to push and it will disengage. Pull that corner up slightly but not fully off. (I tried to pull it straight off but it wouldnât budge)
--
Step 9
Now with the left hand side fully unclipped and the right hand side raised I twisted the whole pedal to the left and it just popped off. This was just the method that worked for me.

--
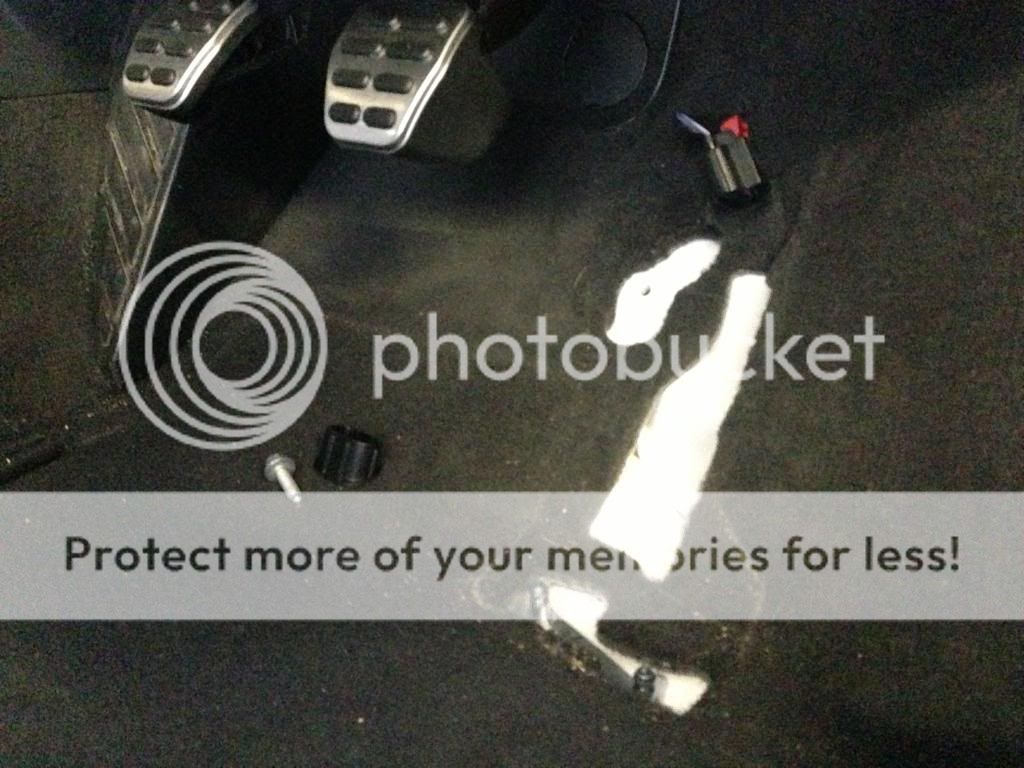
Step 10
You should then have an empty area like this
--
Step 11
Now this is a bad photo but it gives you an idea on what those metal round clips look like
--
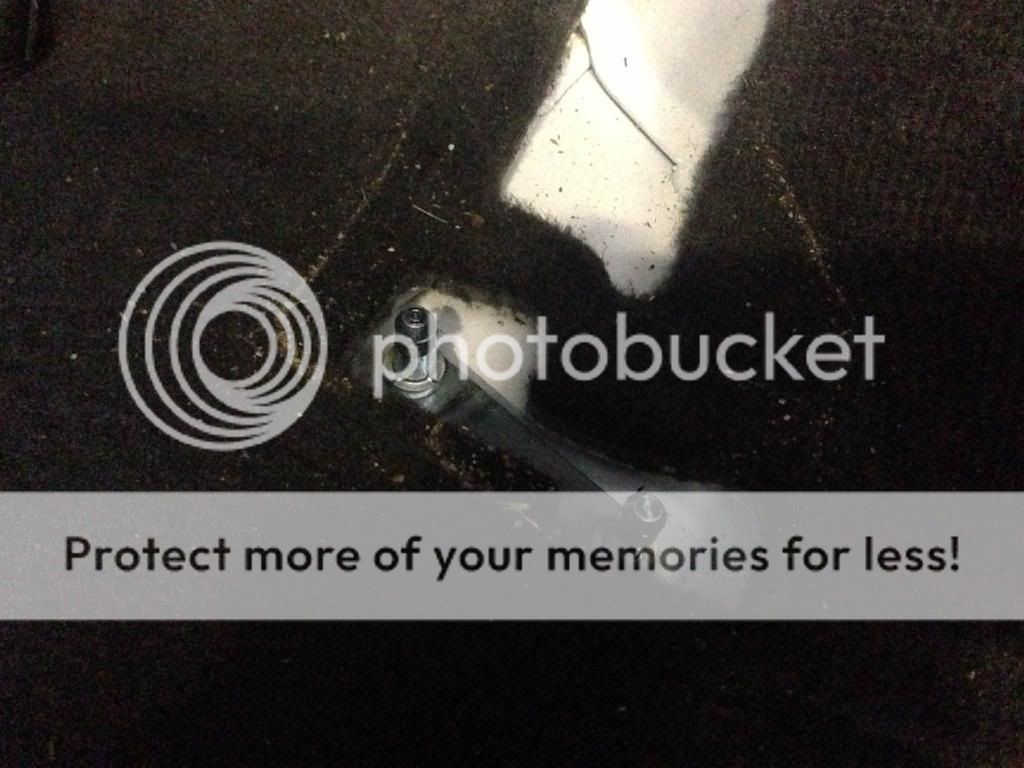
Step 12
Next is the exciting part. Get your new pedal, line up the clips and give it a hard push down and the clips will lock in. You then have to push the pedal fully down into the space. I found that getting the bolt in at this stage helped with lining the pedal up with the floor. You then need to plug the red connector back in. Once you feel a click, push that red tab back into place to keep it locked in.
--
Step 13
Now admittedly I did my clutch and brake pedals before anything else and didnât get any pictures of them off. But the best way to get these suckers off is with a trim tool. Start from the bottom to get the rubber lip off and then pull really hard at the top to get that badboy off! Donât be scared to get rough with it

--
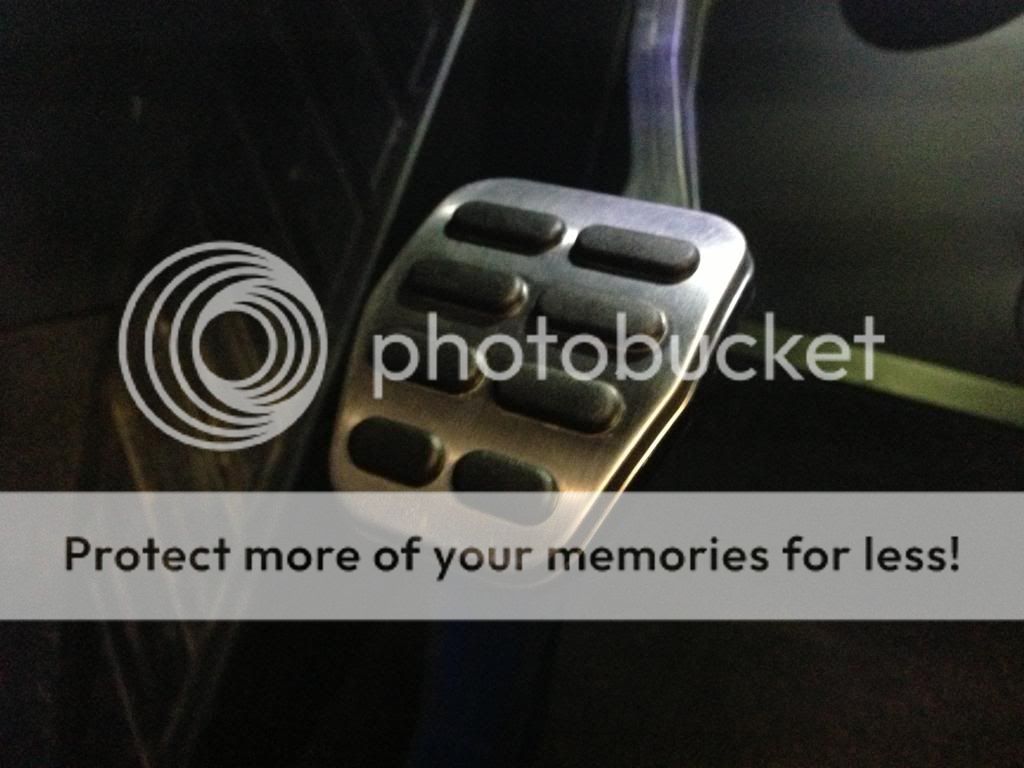
Step 14
You will then be left with a nice looking pedal like this
--
Step 15
Once everything has been fitted into place⦠Stand back and admire your work

--
So here is the final transformation. The old rubber pedals to the new Aluminium S3 Pedals!

Hope this How-To was useful and not teaching you to suck eggs!
Any questions just shout!
Tim
Right⦠Well I have had these pedals sat around for ages and the other day I decided to fit them. Iâm not an engineer or installer and could have got one of our guys to fit them but I decided to have a go and do it myself!! Thought it would be more rewarding that way. Anyway as quite a few people have asked how you do it, I documented the process.
Just to let you know I have a 62 Plate Manual Audi A3 Black Edition (MY13). Iâm sure the process is pretty similar for the Auto & DSG Gear box.
Here we go:
Step 1
Take a look at your current setup and see if you have a manual or auto setup
--
Step 2
I started with the Accelerator as itâs the one that can take a little bit longer. So to the left of the pedal there is a hidden 8mm bolt. Using a small screwdriver just pull out the hidden panel to reveal the bolt.
--
Step 3
Using a long reach, you can easily unscrew the 8mm bolt. If you have access to a long reach magnet then it will make it easier to grab hold of once un-screwed.
--
Step 4
Ok so the next bit for some people is quite difficult but was surprisingly easy for my pedal. You need to pull out this connector to disconnect the pedal from the car. There is a red security tab that needs to be pulled upwards first. Just get your fingernail in the groove and pull upwards slightly
--
Step 5
Once the tab is pulled up you then use it as a little lever (push down towards to floor) this will open the connector so that you can give it a quick tug and it will pull out of the pedal
--
Step 6
This was the next step I found the hardest. Removing the pedal from the floor of the car. I used the new pedal as a guide and realised there was two flat holes either side. They both have clips that you need to disengage whilst pulling that side up. Picture below shows the location of them and how the clips look.
--
Step 7
So I started with the left hand side first. The carpet does hide the slits but push it down and you will see it. I used a big flat headed screwdriver for this bit. You push it into the slit and then push the handle to the right. At the same time you pull that corner up (Donât be scared to use some force)
--
Step 8
Move on the right hand side and when you get the flat head in you just need to push and it will disengage. Pull that corner up slightly but not fully off. (I tried to pull it straight off but it wouldnât budge)
--
Step 9
Now with the left hand side fully unclipped and the right hand side raised I twisted the whole pedal to the left and it just popped off. This was just the method that worked for me.
--
Step 10
You should then have an empty area like this
--
Step 11
Now this is a bad photo but it gives you an idea on what those metal round clips look like
--
Step 12
Next is the exciting part. Get your new pedal, line up the clips and give it a hard push down and the clips will lock in. You then have to push the pedal fully down into the space. I found that getting the bolt in at this stage helped with lining the pedal up with the floor. You then need to plug the red connector back in. Once you feel a click, push that red tab back into place to keep it locked in.
--
Step 13
Now admittedly I did my clutch and brake pedals before anything else and didnât get any pictures of them off. But the best way to get these suckers off is with a trim tool. Start from the bottom to get the rubber lip off and then pull really hard at the top to get that badboy off! Donât be scared to get rough with it
--
Step 14
You will then be left with a nice looking pedal like this
--
Step 15
Once everything has been fitted into place⦠Stand back and admire your work
--
So here is the final transformation. The old rubber pedals to the new Aluminium S3 Pedals!
Hope this How-To was useful and not teaching you to suck eggs!
Any questions just shout!
Tim


