

I finally bit the bullet and decided to try and fit in the TTS fbsw I have had sitting around for a couple months myself. After reading how easy it was on a few threads here and on other sites I gave it a go this afternoon.
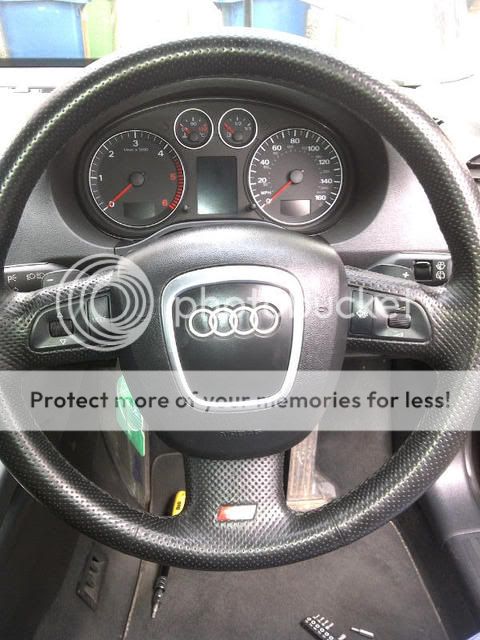
Here's what I was working with before retrofit:
It really is a doodle tbh, although you must have the correct tools namely:
M12 spline bit as seen below:

... and ratchet.
Also needed are a T30 bit and matching tool.
Once you have the correct tools and bits, before unplugging the battery you need to pop out 2 x tabs that will be at the 3 o'clock and 9 o'clock positions as pictured below by turning wheel until these are upright then they just pop out.

Pop these are out loosen the airbag screws that are under the tabs until the airbag is loose enough to come out, make sure the airbag doesn't drop out.
Now disconnect battery and remove airbag unclipping the connectors- one goes into the slip ring and is a yellow connector it has an orange tab that is pulled toward you to release, do so carefully. Then there's another black one that pulls out easily.
Back into car and time to use that M12 spline tool...
Under the airbag you will find a screw that needs to be removed as seen below:
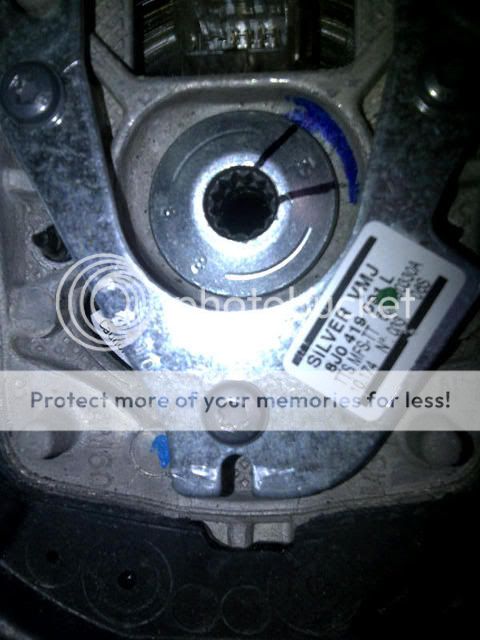
There are 2 marks on mine as it has been removed once before and I read this screw should only be removed and put back 4 times before needing to be replaced. Hence the marks for reference.
So, this screw is removed using the M12 tool and once removed you can just lift off your old SW.
Just below the clear plug at the top of the image above you will see a line marked into the metal plate. This is inside the steering wheel, under this on the steering rack is another line used to align your wheels and steering wheel (SW). Ensure the line on the rack is as close to in the middle of the line on your steering wheel as possible for good alignment when fitting the new SW.
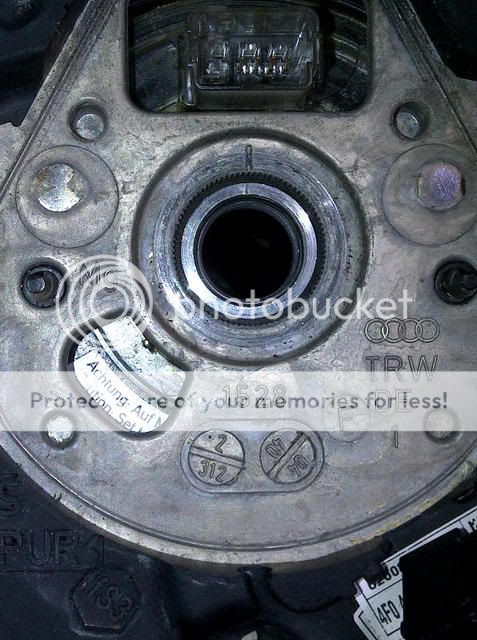
Well now your SW is off it should look like this:

Simply stick your new SW on and walla!
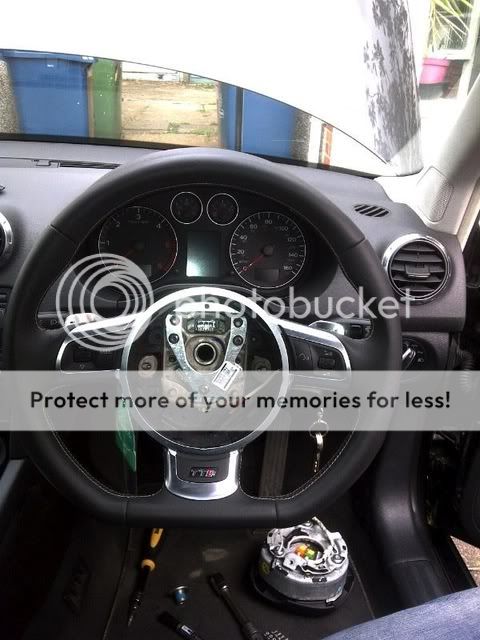
Backtrack through the steps above and refit everything as it should be leaving you with an updated interior

Amazing what a SW can do to freshen up the interior of your car")
Here's what I was working with before retrofit:
It really is a doodle tbh, although you must have the correct tools namely:
M12 spline bit as seen below:
... and ratchet.
Also needed are a T30 bit and matching tool.
Once you have the correct tools and bits, before unplugging the battery you need to pop out 2 x tabs that will be at the 3 o'clock and 9 o'clock positions as pictured below by turning wheel until these are upright then they just pop out.
Pop these are out loosen the airbag screws that are under the tabs until the airbag is loose enough to come out, make sure the airbag doesn't drop out.
Now disconnect battery and remove airbag unclipping the connectors- one goes into the slip ring and is a yellow connector it has an orange tab that is pulled toward you to release, do so carefully. Then there's another black one that pulls out easily.
Back into car and time to use that M12 spline tool...
Under the airbag you will find a screw that needs to be removed as seen below:
There are 2 marks on mine as it has been removed once before and I read this screw should only be removed and put back 4 times before needing to be replaced. Hence the marks for reference.
So, this screw is removed using the M12 tool and once removed you can just lift off your old SW.
Just below the clear plug at the top of the image above you will see a line marked into the metal plate. This is inside the steering wheel, under this on the steering rack is another line used to align your wheels and steering wheel (SW). Ensure the line on the rack is as close to in the middle of the line on your steering wheel as possible for good alignment when fitting the new SW.
Well now your SW is off it should look like this:
Simply stick your new SW on and walla!
Backtrack through the steps above and refit everything as it should be leaving you with an updated interior
Amazing what a SW can do to freshen up the interior of your car
Last edited:


